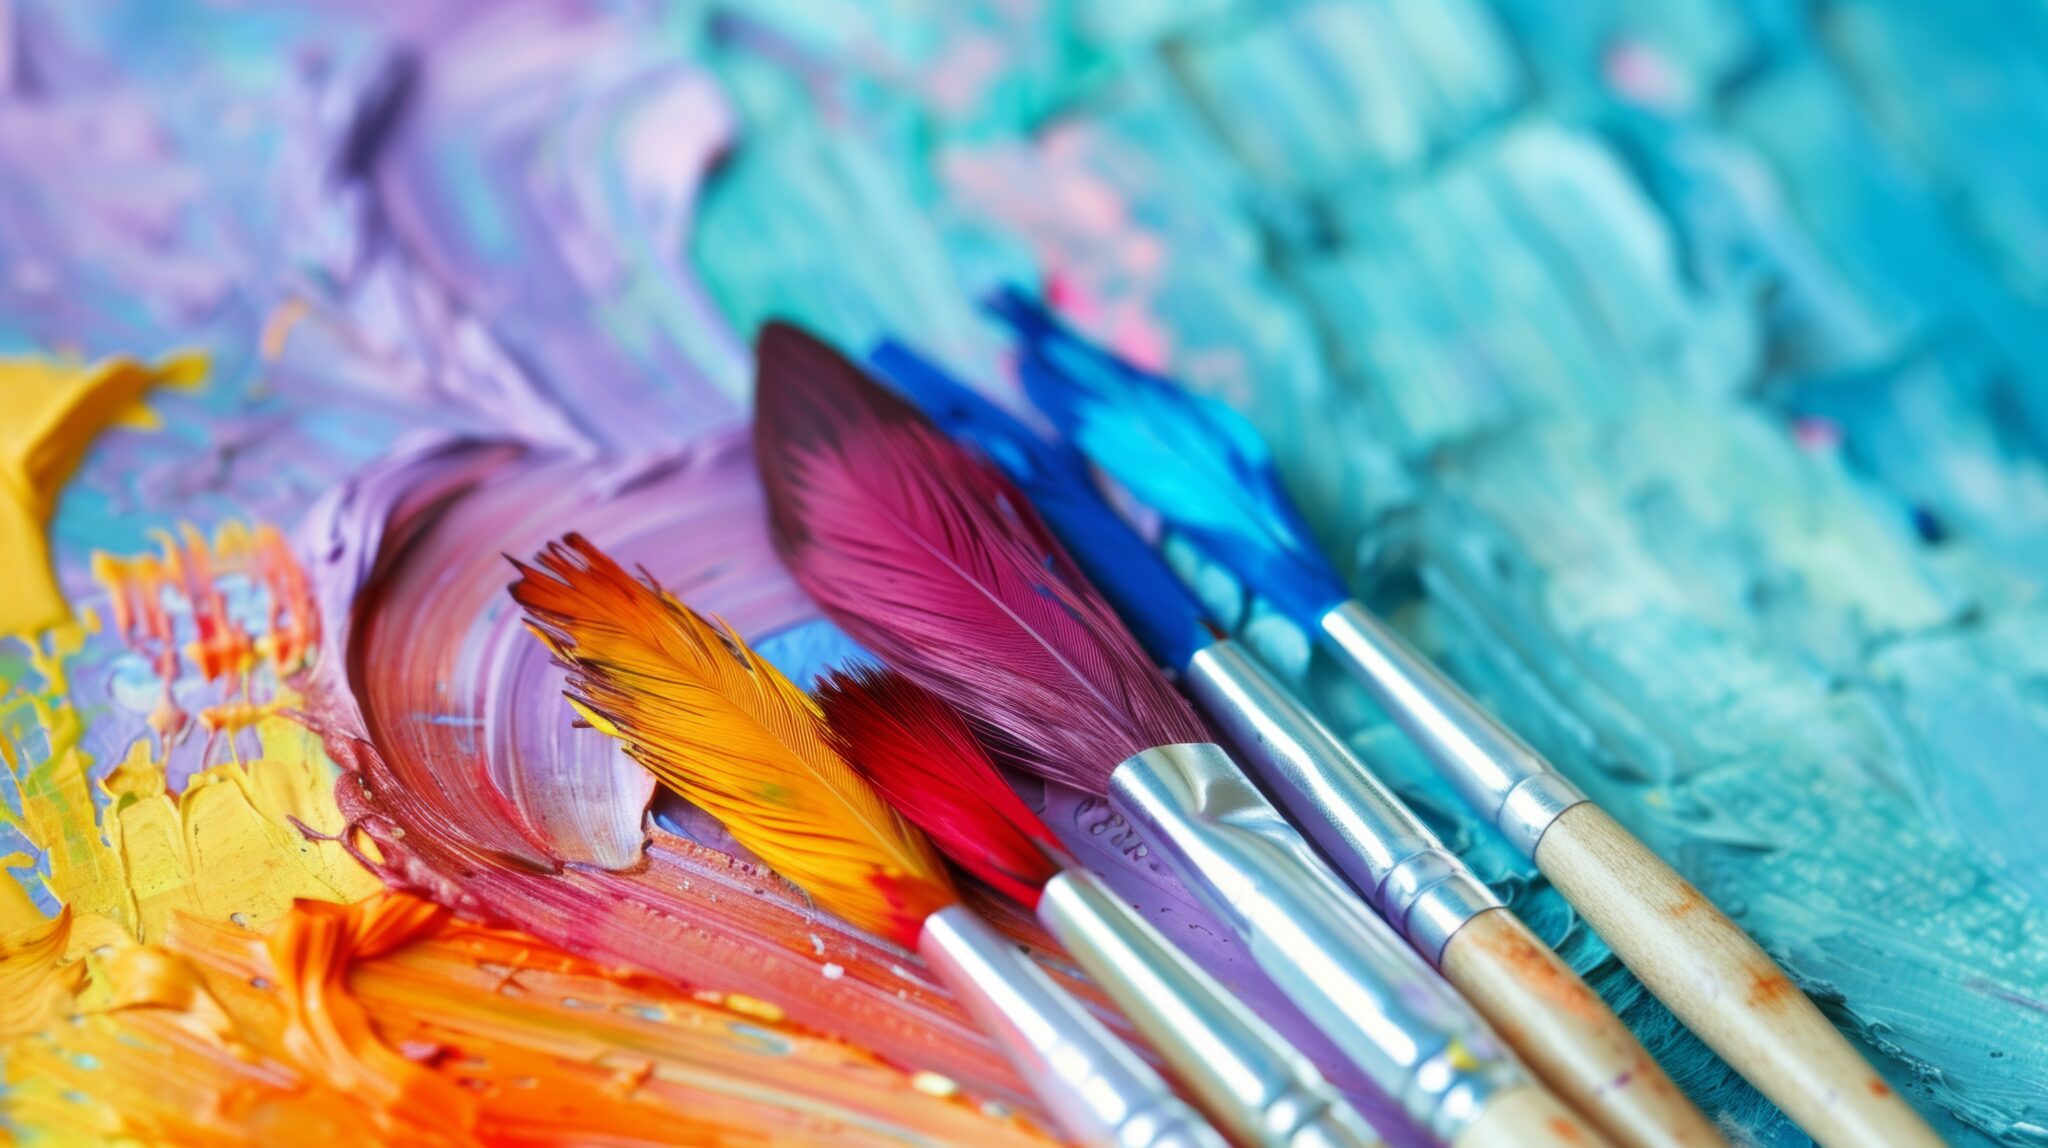
The angular brush is an indispensable tool in the arsenal of acrylic artists. With its distinctive slanted bristles, this brush is specifically designed to help you achieve precision, control, and unique perspectives in your artwork. From creating crisp edges to adding depth and dimension, the angular brush opens up a world of possibilities for your artistic expression. In this blog post, we’ll explore the best practices for using the angular brush effectively, allowing you to master its unique capabilities. Be sure to visit urartstudio.com for a wealth of tips, resources, and tutorials as you enhance your painting skills!
1. Understanding the Angular Brush: Your Tool for Precision
The angular brush features a slanted edge, making it ideal for achieving sharp lines, corners, and intricate details. Its shape allows for versatility in stroke direction, enabling you to paint both broad and fine details effortlessly. The design is particularly useful for blending and shading, making it a go-to choice for artists looking to create depth in their compositions.
2. Techniques for Perfecting Edges
Creating clean and defined edges is one of the primary benefits of using an angular brush. Here’s how to perfect your technique:
- Hold the Brush at an Angle: The key to utilizing the angular brush effectively lies in its position. Hold it at a slight angle to the canvas, allowing the slanted edge to create crisp lines. Use the tip of the brush for precision, especially when outlining or defining edges of shapes.
- Use the Brush for Cutting In: The angular brush is excellent for “cutting in” around edges of areas where colors meet, such as trees against the sky or buildings against a background. For clean lines, load your brush with paint and gently drag it along the edge of your intended area, ensuring the slanted bristles distribute paint evenly.
- Practice Feathering: Feathering is a technique where you lightly drag the brush to create a soft transition between colors. Use the angular brush to achieve this effect by applying pressure lightly at the beginning of your stroke and gradually releasing it as you pull the brush away.
3. Creating Unique Perspectives
The angular brush’s unique shape can help you explore new perspectives in your painting. Here are some ways to leverage this tool:
- Dynamic Brushwork: Use the angular brush to create dynamic lines and strokes that add energy to your composition. Experiment with varying pressure and stroke length to generate movement within your painting, making it come to life.
- Add Texture and Depth: The angular bristles allow you to create textured effects, whether you’re depicting foliage, textured surfaces, or dramatic skies. Stipple or dab with the brush to layer colors and create a sense of depth, enhancing the three-dimensional quality of your work.
- Experiment with Shape: Don’t be afraid to approach your subject matter from unusual angles. The angular brush can encourage you to break away from traditional perspectives and allows you to experiment with abstraction and expression in your artwork.
4. Blending and Shading Techniques
In addition to perfecting edges, the angular brush is excellent for blending and shading. Here’s how to effectively use it for these techniques:
- Layering Colors: Apply the base color first and allow it to dry. Then, using the angular brush, layer a slightly darker or lighter shade over the base, using short, controlled strokes to blend the two colors seamlessly. This technique is particularly effective for creating hues in flowers or shading in portraits.
- Use Back-and-Forth Motions: To blend colors smoothly, utilize back-and-forth motions with the angular brush. This technique works especially well when transitioning between colors, allowing for a soft, natural gradient.
5. Practice and Experimentation
The best way to master the angular brush is through consistent practice. Create swatch palettes to experiment with blending and layering techniques. Try different subjects—landscapes, portraits, or abstract designs—to see how the angular brush performs in various contexts.
In summary, the angular brush is a powerful tool for achieving precision, perfecting edges, and exploring unique perspectives in your acrylic artwork. By employing the techniques outlined in this post, you’ll be well on your way to mastering this versatile brush.
Don’t miss out on the opportunity to enhance your artistic journey by visiting urartstudio.com to browse our selection of angular brushes and other essential art supplies.
Be sure to explore our online store at https://urartstudio.com/shop/ for a variety of art supplies and online tools. Additionally, check out valuable painting tips at urartstudio.com/painting-tips/ and our detailed step-by-step painting instructions at https://urartstudio.com/step-by-step-painting-instructions/ to further enhance your skills.
Keywords: angular brush, perfecting edges, unique perspectives, acrylic painting techniques, blending, art supplies.
#AngularBrush, #PerfectingEdges, #UniquePerspectives, #AcrylicPaintingTechniques, #Blending, #ArtSupplies


Leave a Reply
You must be logged in to post a comment.