

 Exploring the Filbert Brush: Best Practices for Blending and Creating Soft Edges in Acrylic Painting
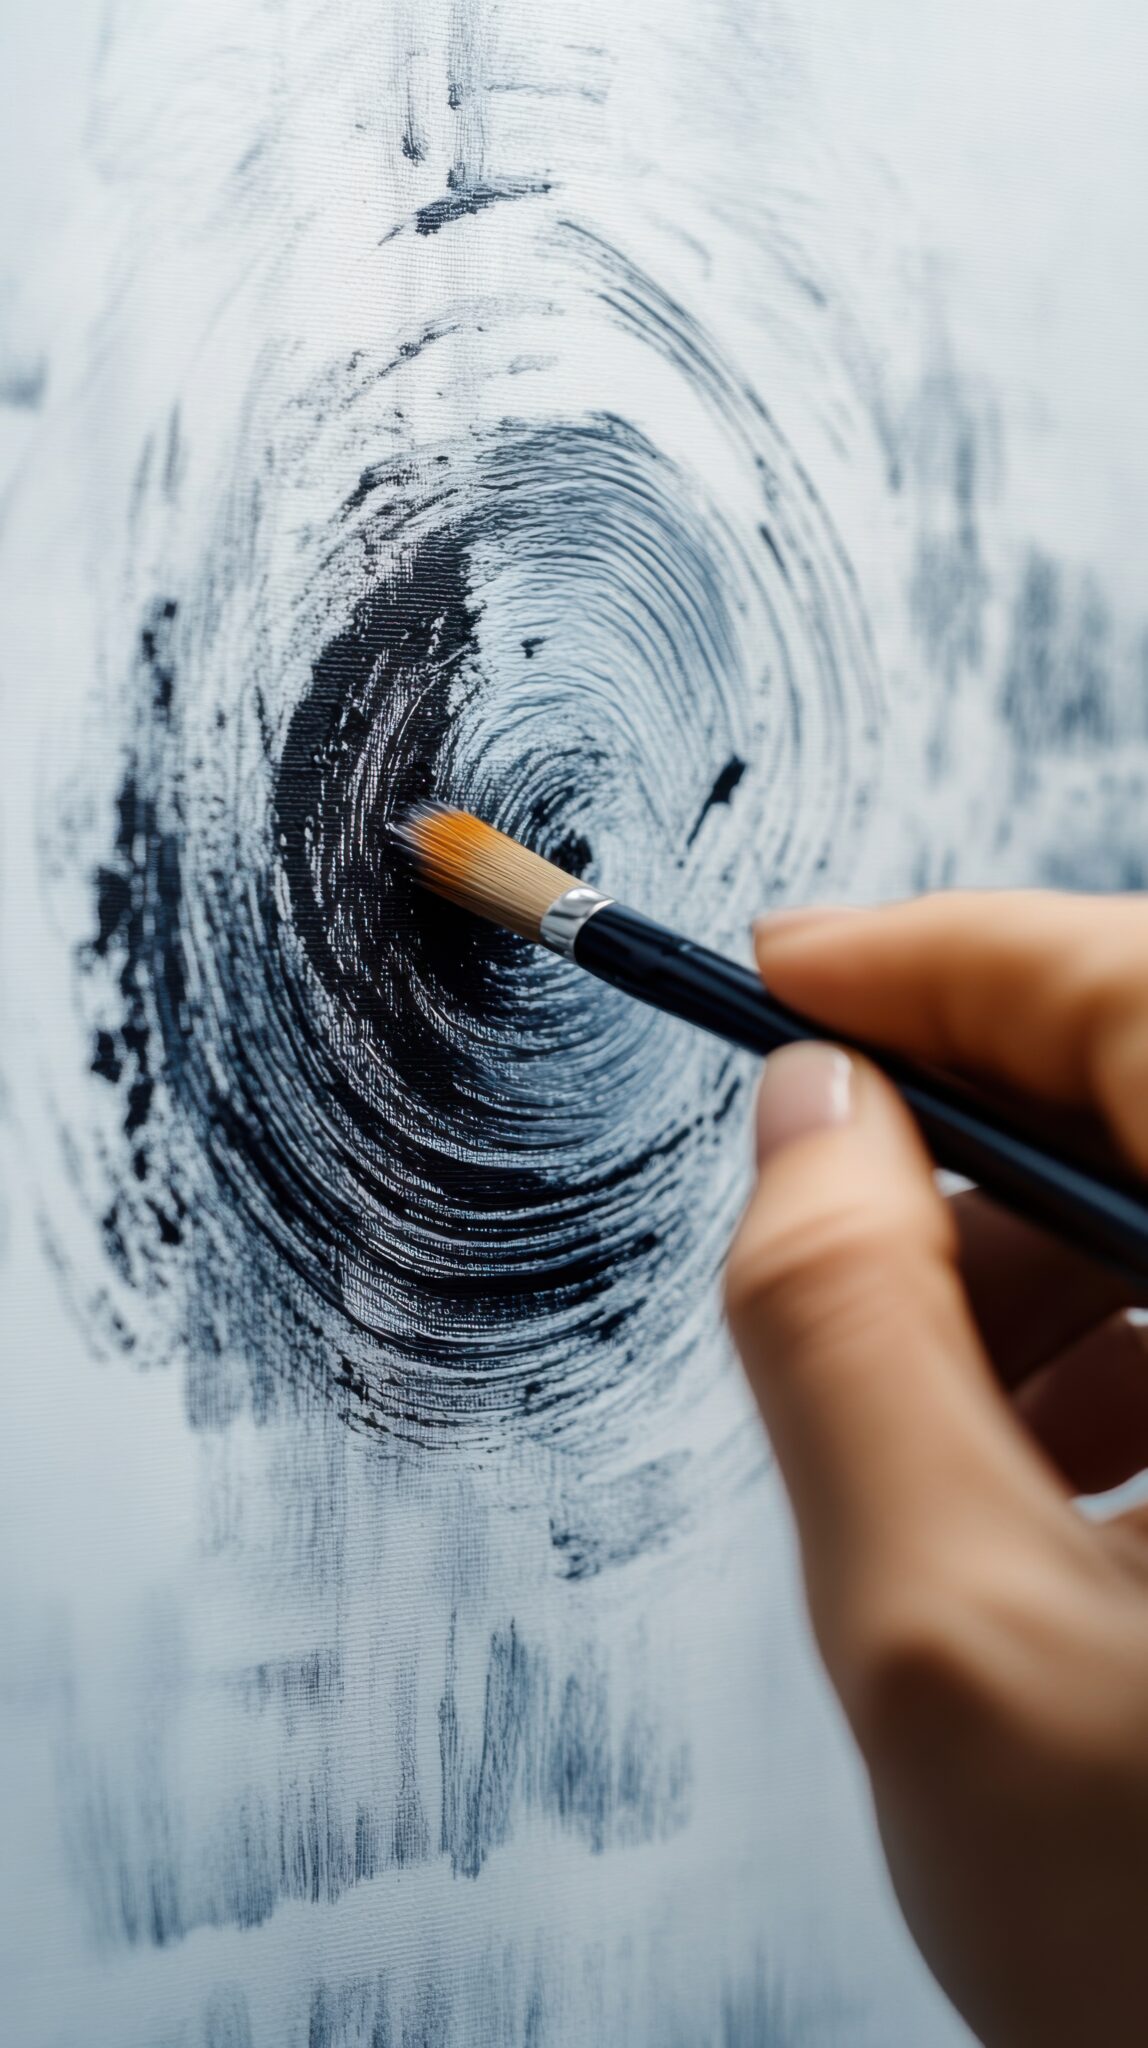
When it comes to achieving a harmonious and polished look in acrylic painting, the right brush can make all the difference. The filbert brush, with its unique oval shape and medium-length bristles, is a favorite among artists for creating soft edges and smooth blends. In this blog post, we’ll dive into the various ways to master the filbert brush, enabling you to elevate your paintings with exceptional techniques and effects. Don’t forget to visit urartstudio.com for a wealth of resources, tips, and tutorials as you explore this versatile tool!
1. What Makes the Filbert Brush Unique?
The filbert brush offers a unique combination of the rounded and flat brush types, making it incredibly versatile. Its shape allows it to blend colors seamlessly while also being capable of creating both fine detail and broader strokes. This dual functionality makes it an excellent choice for artists looking to achieve a range of effects, from soft gradients to defined edges.
2. Best Practices for Using the Filbert Brush
To make the most of the filbert brush, consider the following best practices:
- Load the Brush Correctly: When applying paint, dip the brush in your chosen color and then remove any excess paint on the edge of your palette, ensuring an even distribution. This technique helps you control the amount of paint applied and prevents smearing during your painting process.
- Use a Light Touch: A light touch allows the bristles to glide over the canvas, making it easier to blend colors and create soft edges. Practice varying your pressure to find the sweet spot that works best for the effects you wish to achieve.
- Angle Your Brush: The filbert brush can produce different effects depending on how you angle it. Holding it flat can create broad strokes, while working it on its edge will yield finer lines and more control when adding details.
3. Achieving Seamless Blends
One of the standout features of the filbert brush is its ability to blend colors effortlessly. Here’s how to achieve those seamless transitions:
- Work While Wet: Blending works best when colors are wet. Apply your base color, then immediately layer a second color next to it. Use the filbert brush to gently stroke over the area where the two colors meet, working back and forth until you achieve a smooth blend.
- Use Glazing Techniques: Glazing with the filbert brush can help achieve depth and richness in your colors. Thin your paint with a glazing medium, then apply it with light strokes over dried areas. This method not only enhances your blend but adds luminosity to your work.
- Cross-Hatching for Depth: For areas needing more dimension, use a cross-hatching technique, alternating strokes in different directions. This helps to integrate colors while maintaining texture.
4. Creating Soft Edges
The filbert brush is perfect for softening edges in your paintings, which contributes to a more cohesive look. Here’s how to do it:
- Feathering Technique: To create soft edges around subjects like clouds or flora, use the feathering technique. Lightly drag the edge of the filbert brush across the canvas where you want the edge to soften. This technique helps to blur the transition, creating a delicate effect.
- Layering with Transparency: Experiment with transparent glazes to soften edges further. Apply thin washes of color over existing dry layers using the filbert brush to create soft transitions that enhance the overall composition of your painting.
- Touch Up with a Fan Brush: After softening edges with the filbert brush, you may find that using a fan brush can help refine the texture. Use the fan brush to add additional depth or highlight details, providing a nice contrast to the softness you’ve created.
5. Practice Makes Perfect
To develop your skills with the filbert brush, practice is key. Experiment with different colors, techniques, and subjects. Create color swatches to test blending and layering methods. Consider painting simple landscapes or abstract pieces where you can freely explore soft edges and blends without the pressure of a detailed subject.
By incorporating the filbert brush into your painting repertoire, you’ll discover new ways to convey emotion and depth in your artwork. Mastering its use will enable you to create professional-looking pieces that resonate with viewers and showcase your artistic vision.
In conclusion, the filbert brush is an essential tool for artists eager to explore blending and soft edges in acrylic painting. By employing the techniques discussed in this post, you’ll enhance your ability to create beautiful, fluid paintings. Be sure to browse our selection of filbert brushes and other art supplies at urartstudio.com!
Don’t forget to check out our online store at https://urartstudio.com/shop/ for a variety of art supplies and online tools. Additionally, explore valuable painting tips at urartstudio.com/painting-tips/ and our step-by-step painting instructions at https://urartstudio.com/step-by-step-painting-instructions/ to further enhance your artistic journey.
Keywords: filbert brush, blending techniques, soft edges, acrylic painting, painting tips, art supplies.
#FilbertBrush, #BlendingTechniques, #SoftEdges, #AcrylicPainting, #PaintingTips, #ArtSupplies
Leave a Reply
You must be logged in to post a comment.