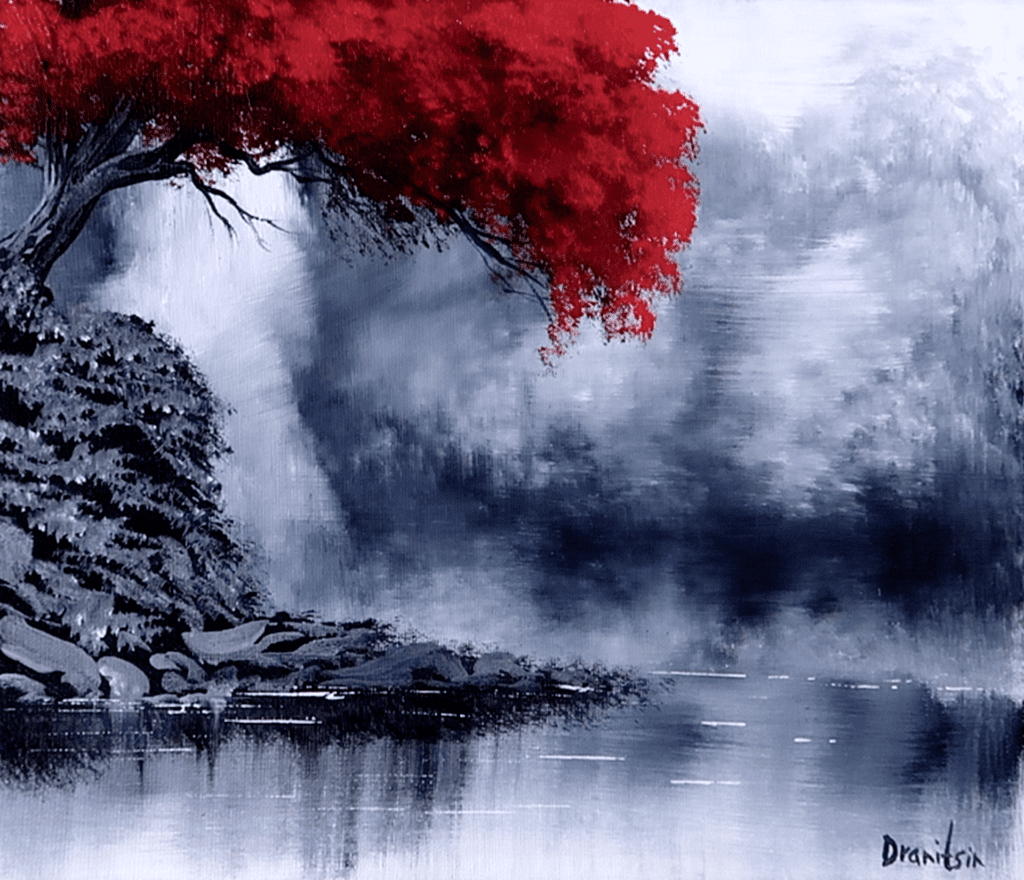
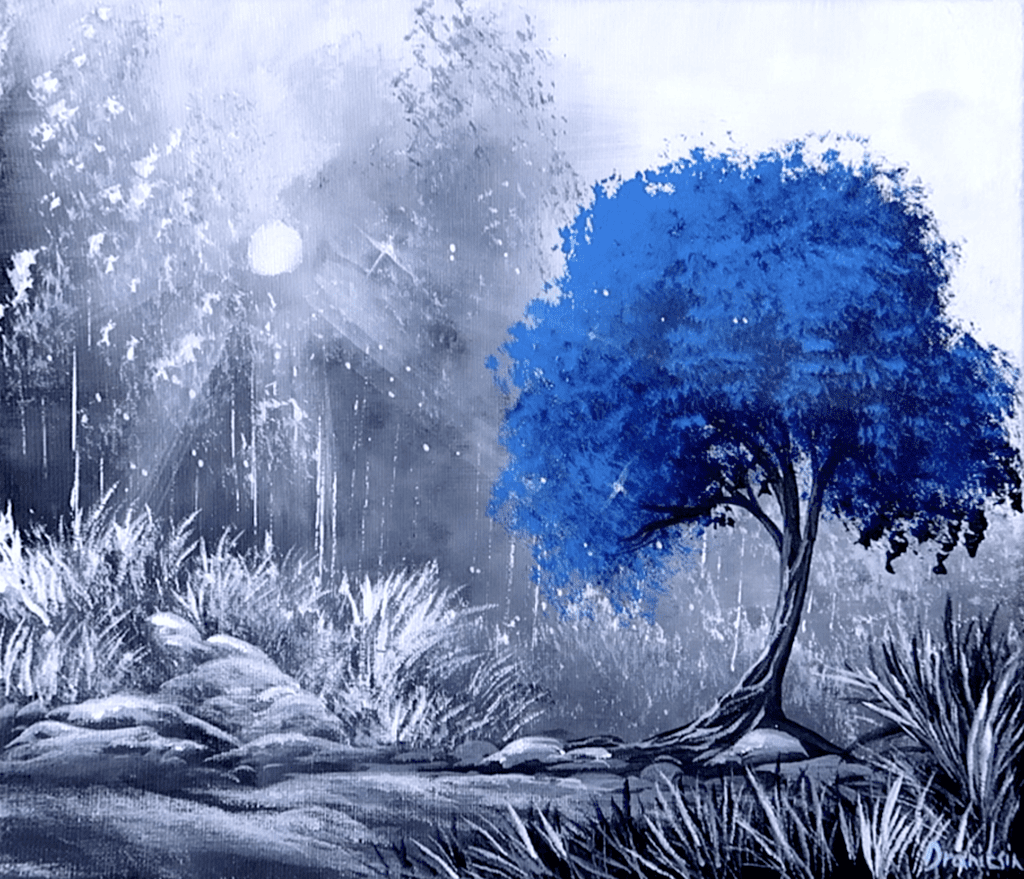
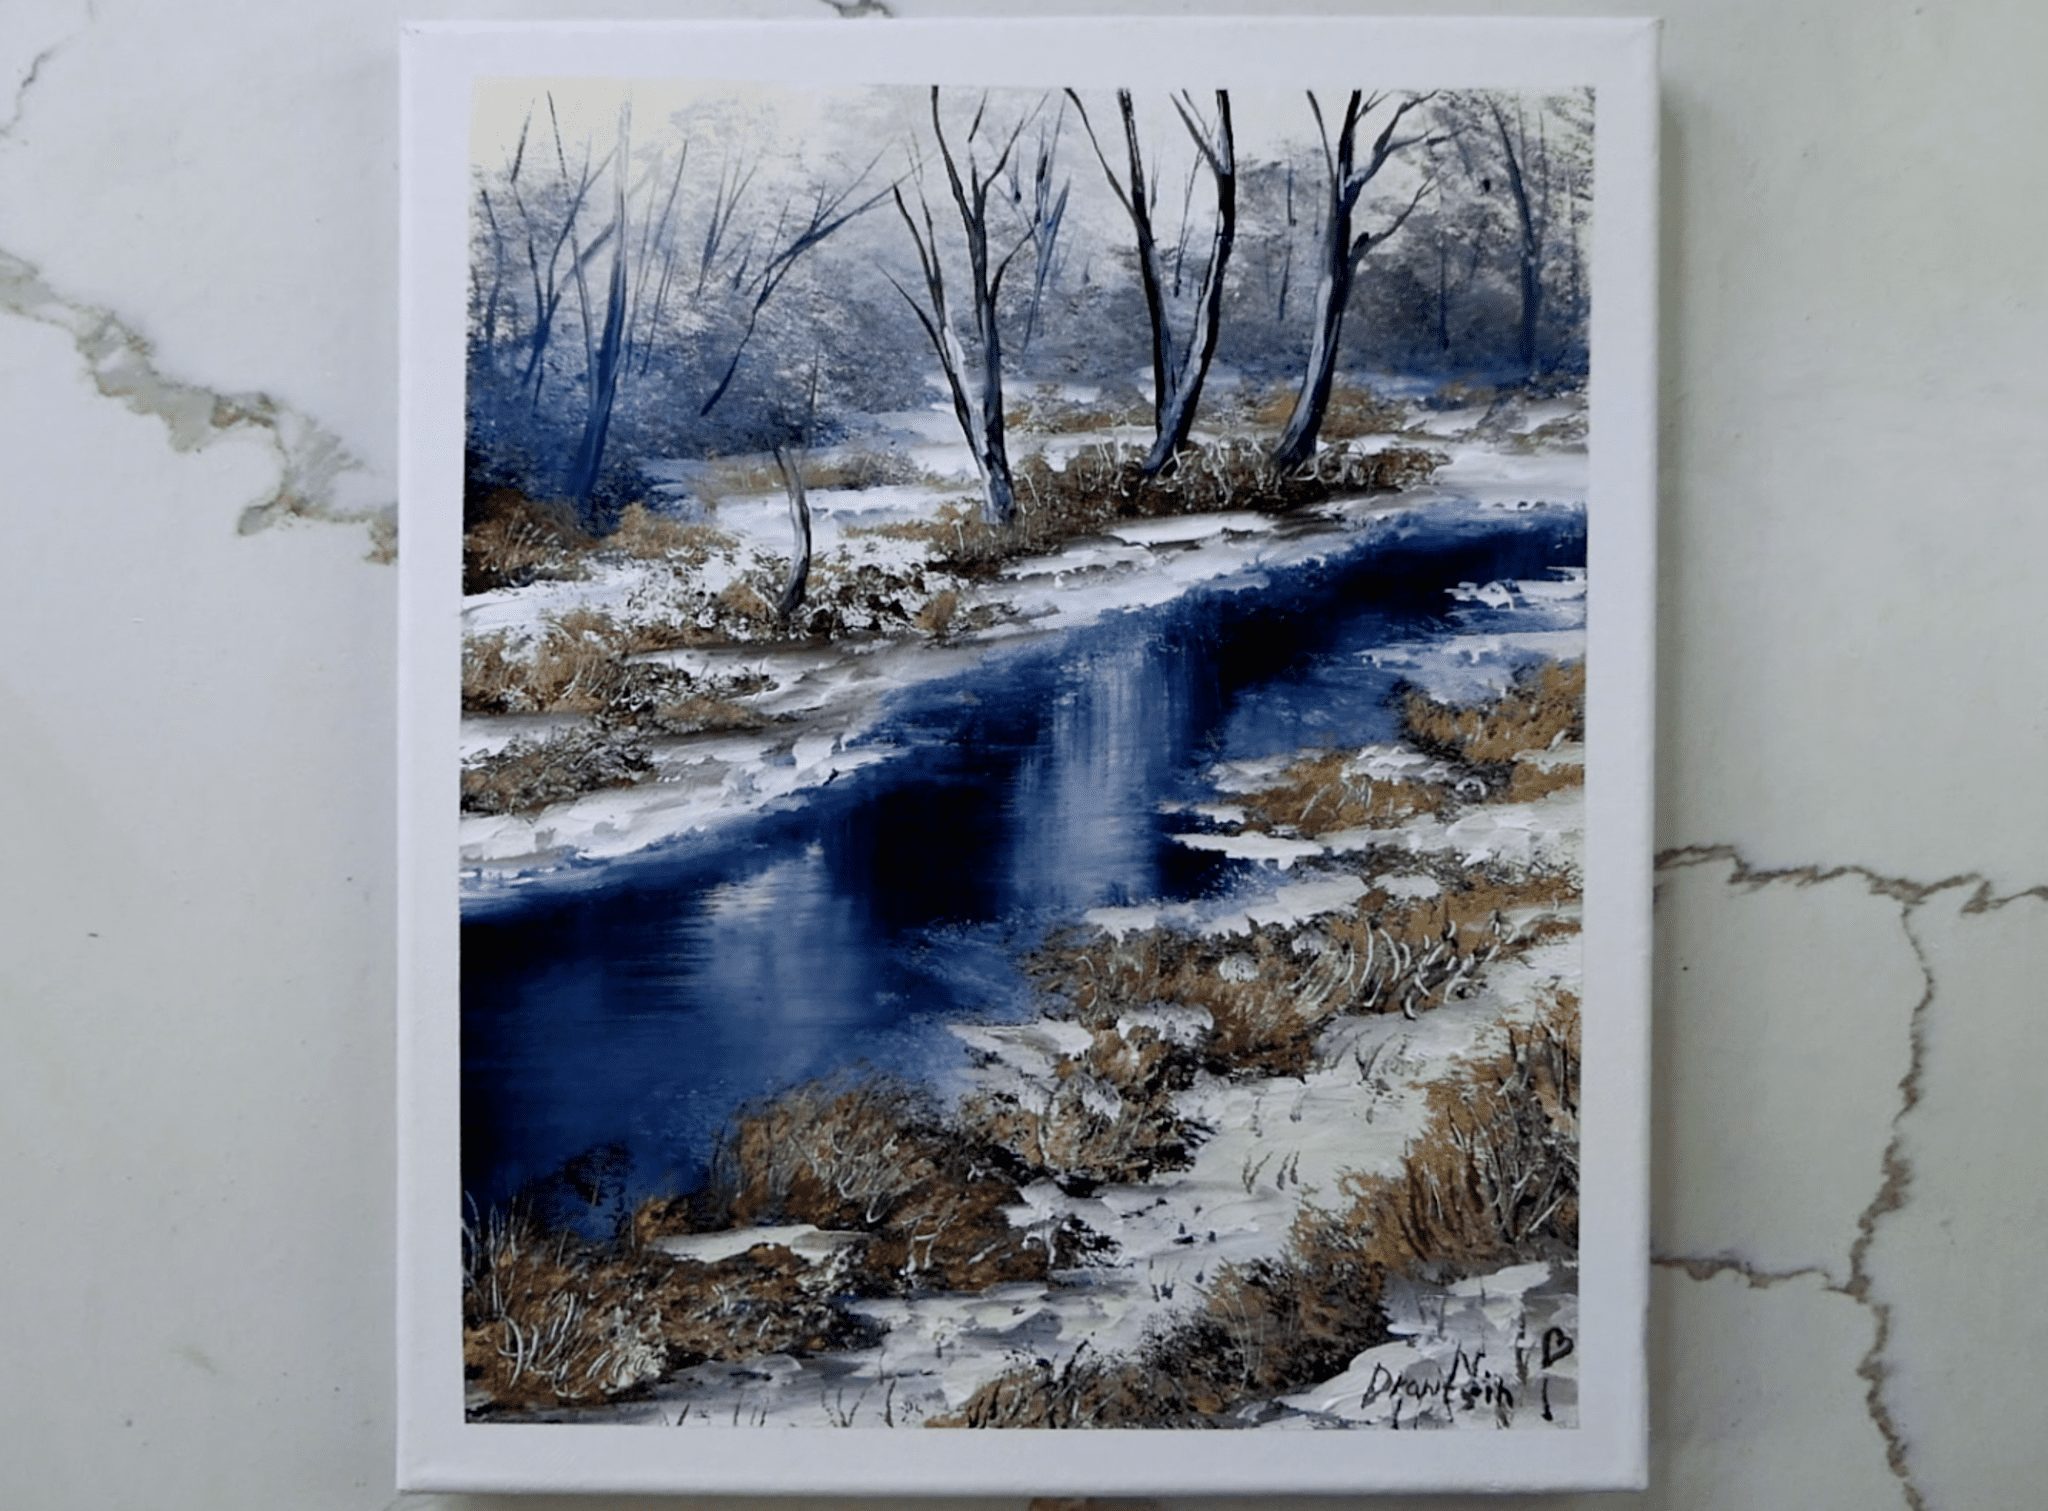
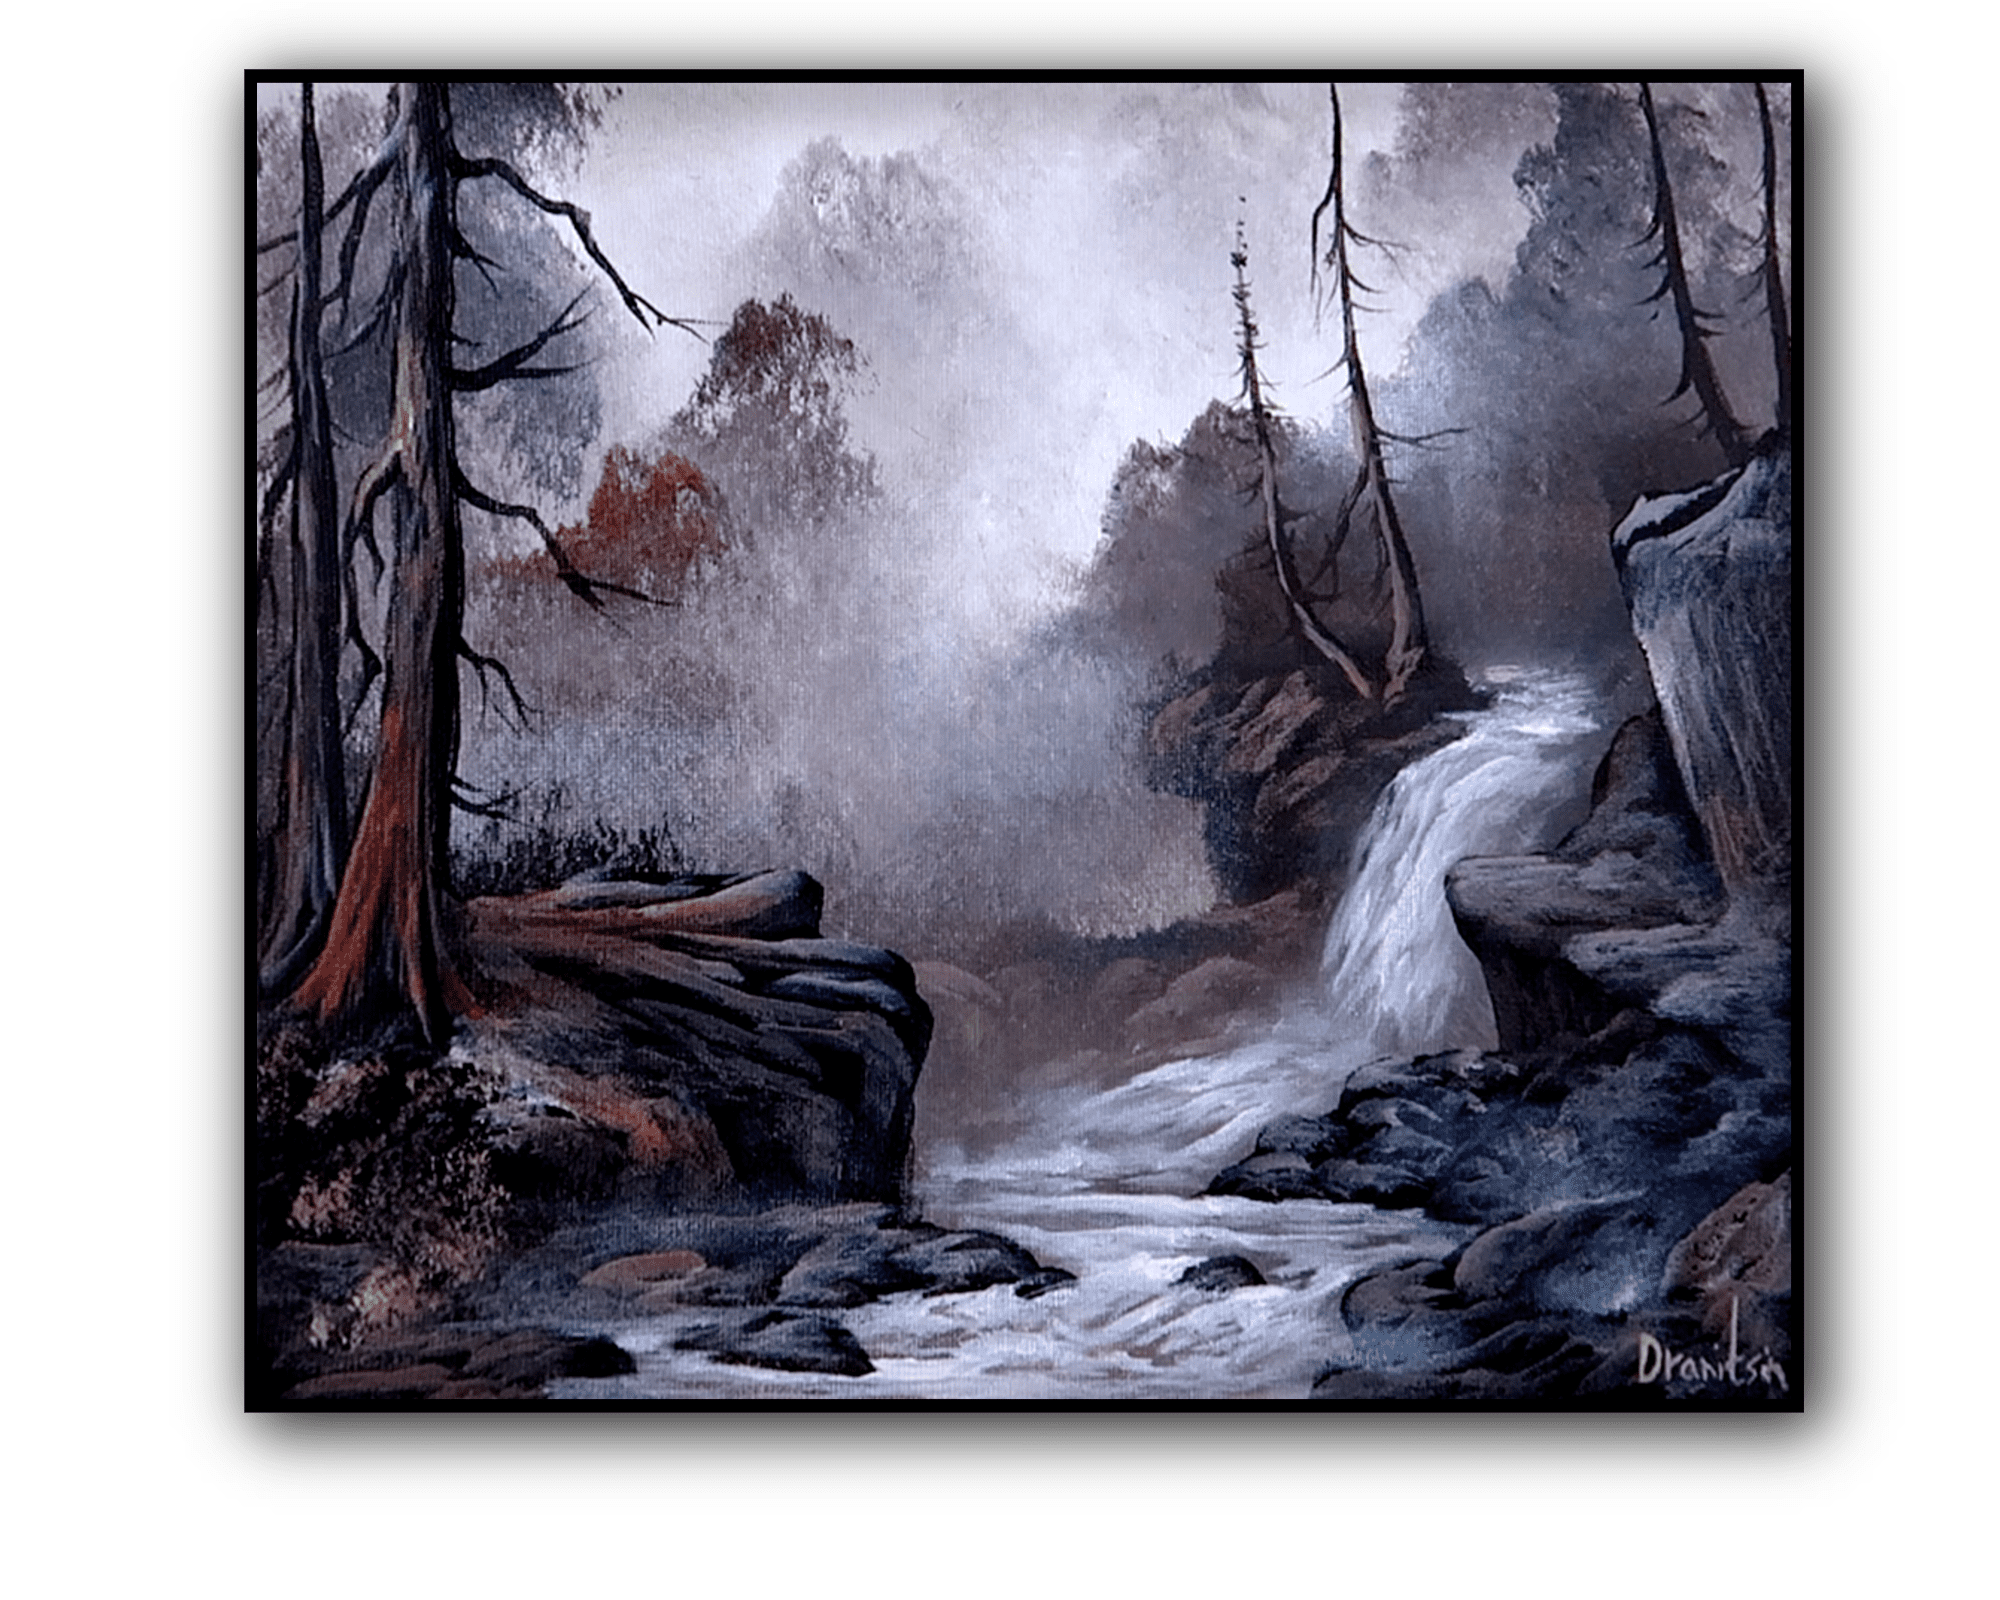
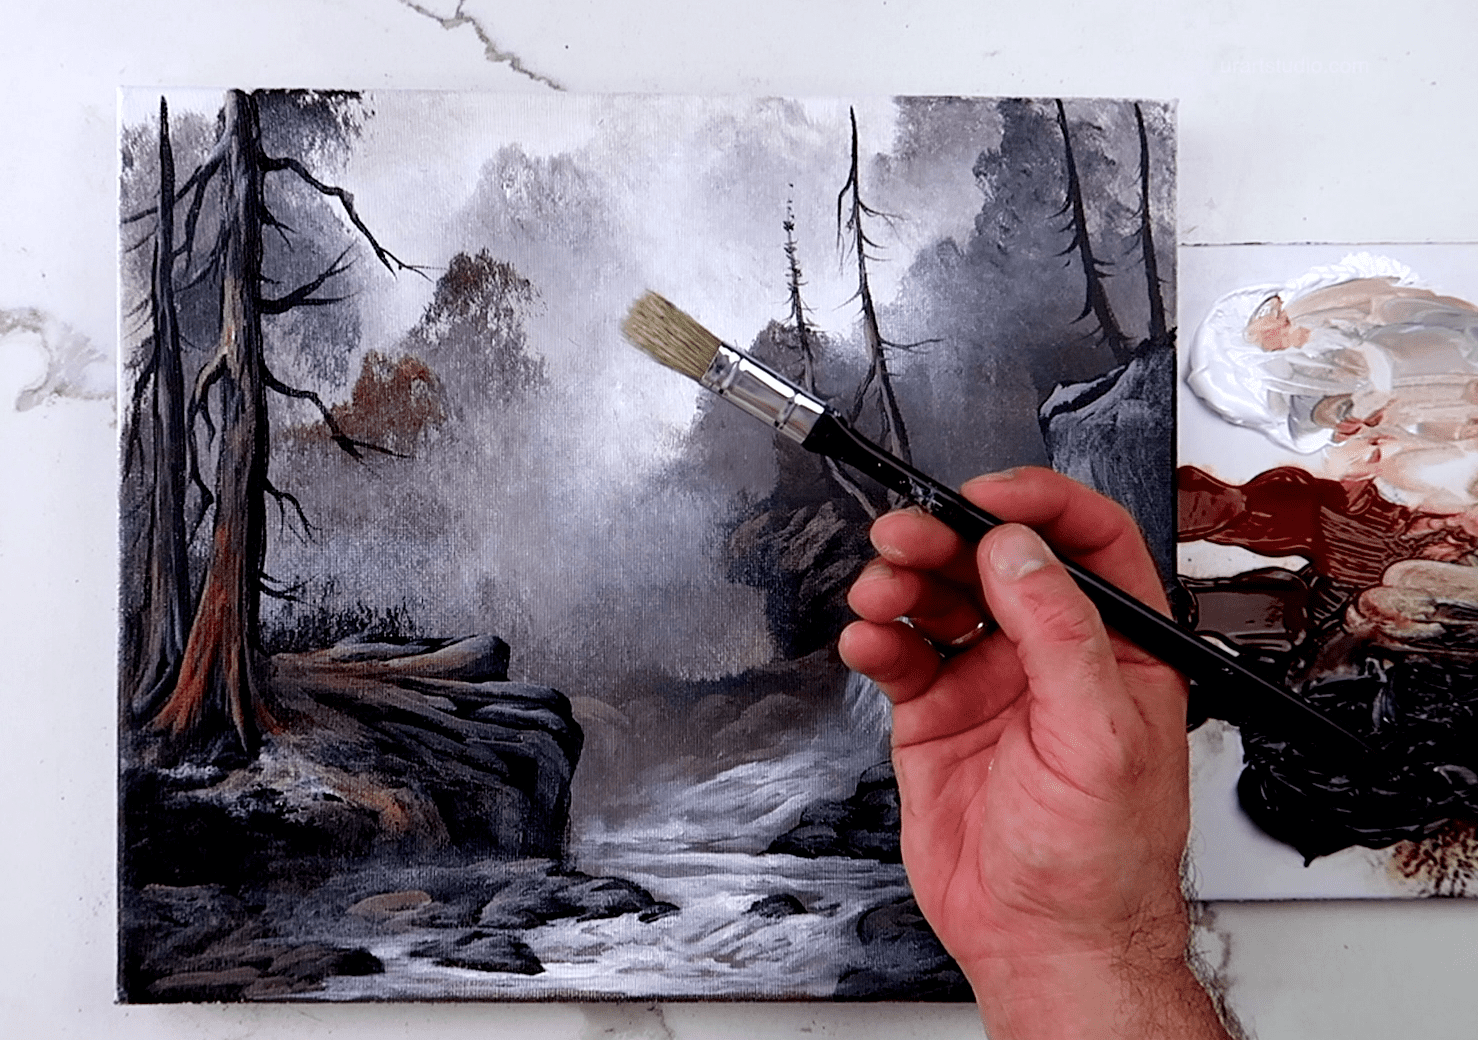
Welcome to our latest acrylic painting tutorial for beginners! Join us as we explore the beauty of a cascading waterfall against a rocky cliff, using a limited Earth tone color palette. Discover the art of creating depth and harmony in your artwork while learning to leverage the quick-drying nature of acrylic paints to your advantage. Watch as we demonstrate techniques to add highlights, enhance details, and infuse life into your painting. Visit urartstudio.com for additional painting tips and step-by-step tutorials to elevate your skills. Unleash your creativity, experiment with colors, and watch your artistic vision come to life on the canvas. Happy painting!
Throughout the acrylic painting tutorial for beginners featuring a cascading waterfall against a rocky cliff, the following tools were used:
1. Big oval brush
2. Filbert brush
3. Thin liner brush
4. Heat gun or hairdryer
5. Clean damp sponge
6. Small square brush
7. Number one big square brush
These tools were instrumental in creating various textures, highlights, and details to bring the landscape to life on the canvas.
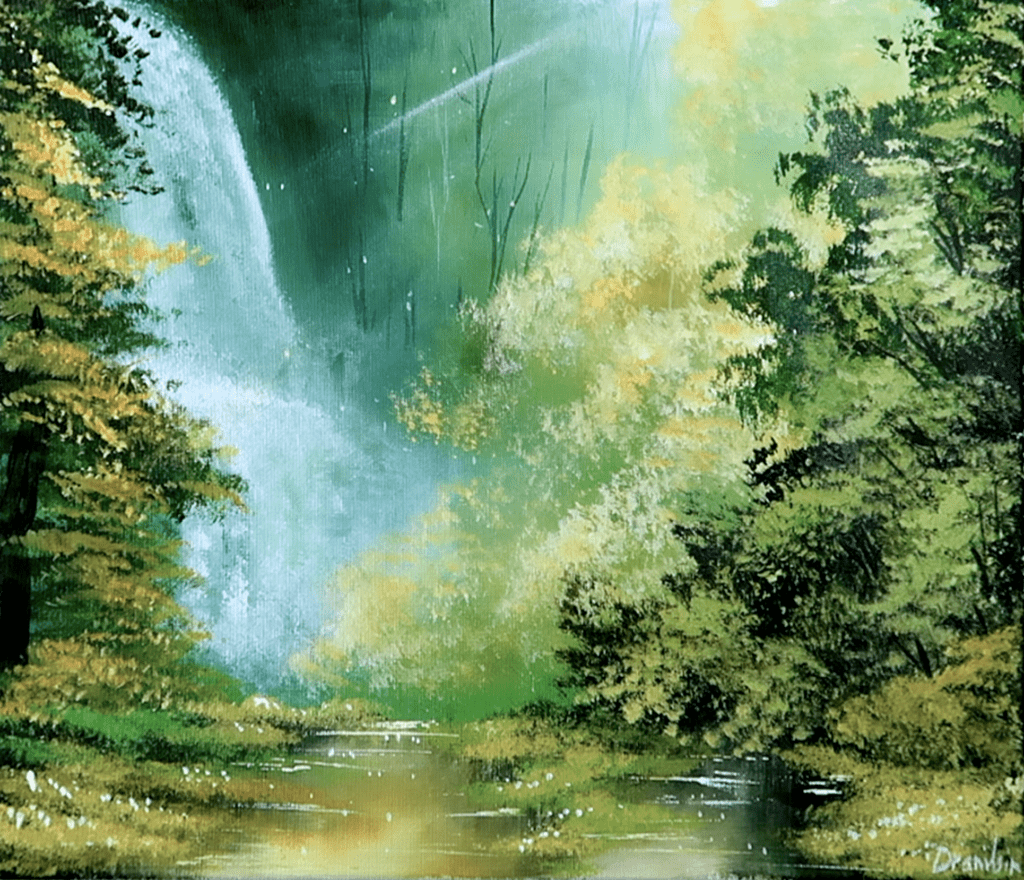
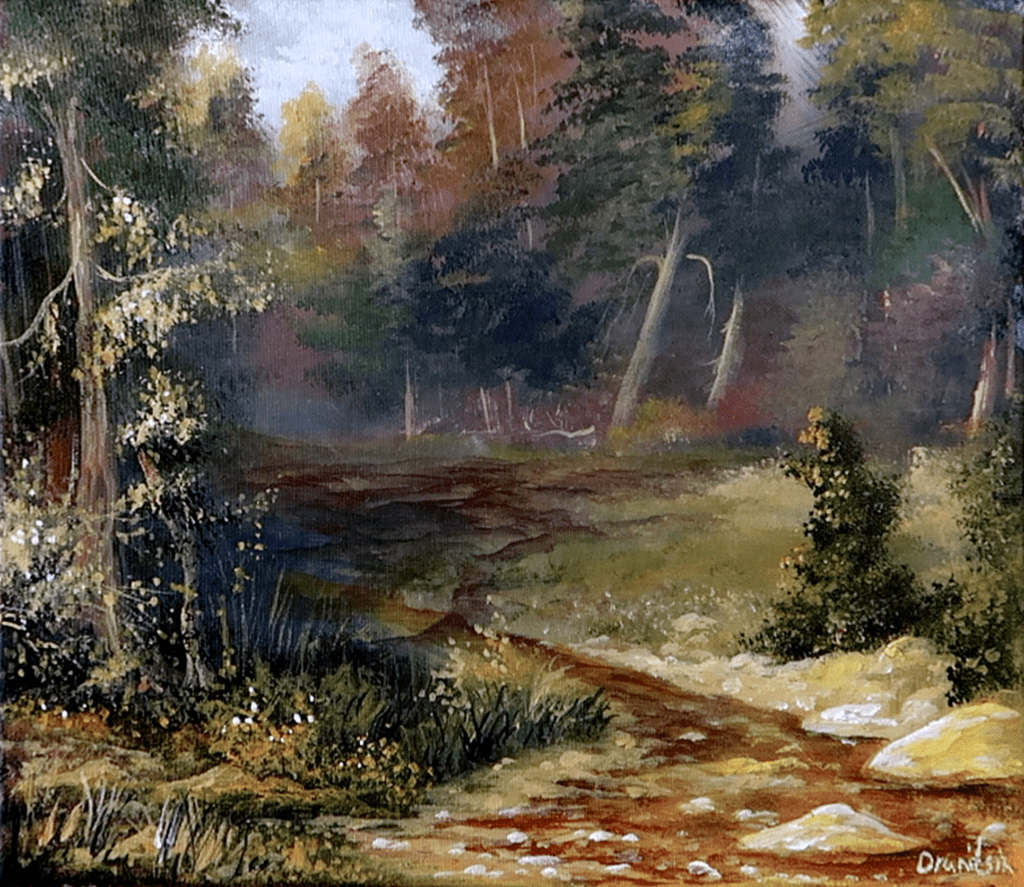
Hello, wonderful painters! Welcome to another blissful painting session. Today, we are delving into the serenity of a majestic waterfall cascading down a rocky cliff.
We’ll bring this scene to life using just a few Earth tone colors – white, burnt sienna, Van Dyke Brown, Mars Brown, and black.
Before we dive into our canvas, let’s ensure it’s prepped with a gentle moisture, allowing our acrylic paints to stay vibrant and fluid as we craft our masterpiece.
For painting tips on how to prepare your canvas please visit our website at urartstudio.com
To kick things off, we’ll paint the ethereal mist. Grab your trusty big oval brush and coat the upper canvas with strokes of pure white, creating a soft misty atmosphere.
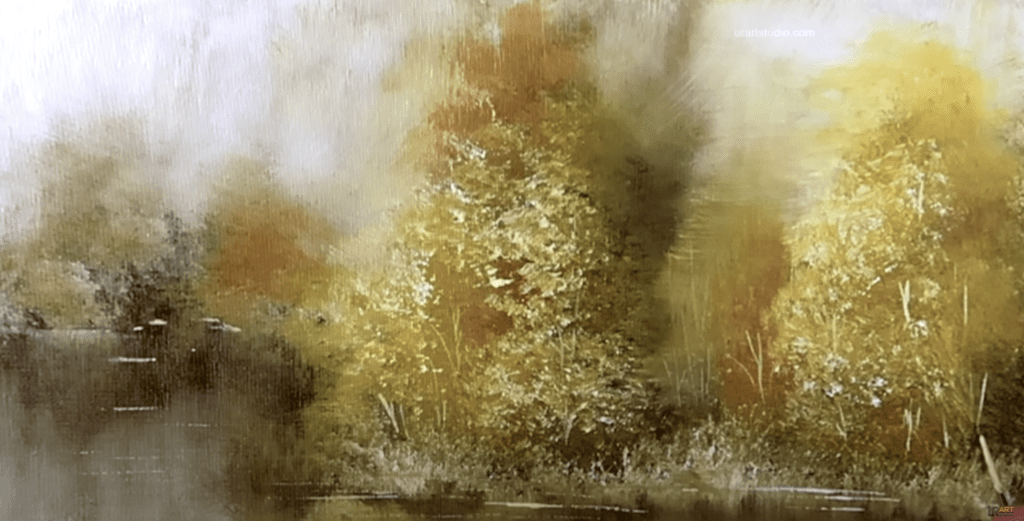
Now, with graceful movements and the essence of nature in mind, dip your brush into those rich brown hues. Dab the canvas to form distant trees enveloped in the fog, gradually fading into the white mist, just like trees vanishing in the fog. It’s magical how quickly a beautiful scene begins to emerge.
As we add more depth and detail to our forest, using darker tones and layering additional trees, continue sculpting the landscape with the same brush, allowing the trees to dance into existence.
For those seeking detailed step-by-step instructions and comprehensive video guides to sharpen their art skills, we invite you to explore our website at urartstudio.com.
Dive into a our detailed painting guides and painting tips where you’ll find a wealth of free step by step painting tutorials, each brimming with essential details and expert tips.
With more video guides being added weekly, you’ll have a constant stream of artistic inspiration and guidance right at your fingertips.
Visit us today to unleash your creativity and elevate your painting skills to new heights!
On the right side, let’s hint at the presence of a rocky cliff, still employing our big oval brush dipped in the darker shades. And at the base of the canvas, fill in a rich backdrop with various browns to set the stage.
Now, with our canvas still wet, we’ll conjure the waterfall.
Dip your brush in white paint, allowing white to play with the dark beneath, let’s create our waterfall with depth that give our waterfall its realistic allure.
With a clean oval brush clean up sides of the waterfall and creating rising mist.
Before we proceed, let’s expedite the drying process with a heat gun, ensuring our textures remain true.
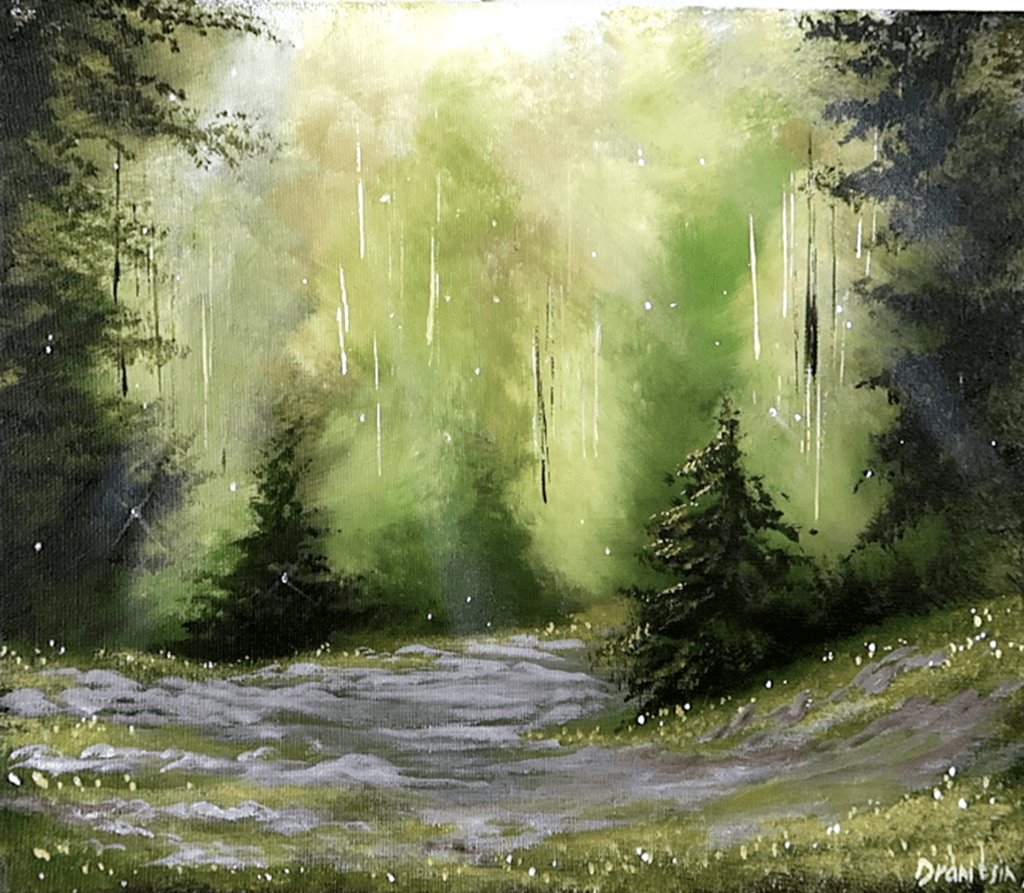
Once dry, we revisit the mist, adding a brilliant white layer among the trees, now that the canvas is receptive to pure brightness.
Notice how our Titanium White unveils the trees beneath its mist, creating a mesmerizing effect. As you continue to dab with the same brush without returning to the palette for a reload, the paint gradually becomes more transparent. Each dab on the canvas adds to the transparency, allowing the underlying elements to subtly peek through, adding depth and dimension to your painting.
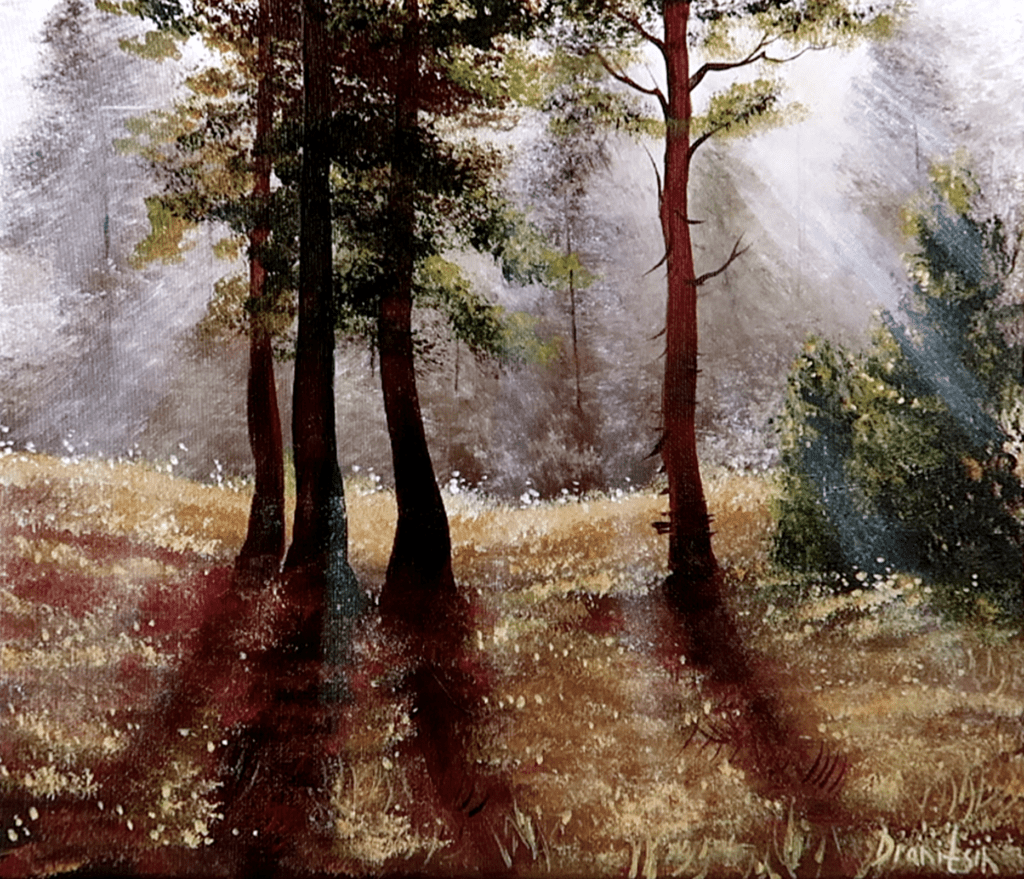
Switching to a thin liner brush, let’s add the silhouette of trees on the cliff, bringing a hint of mystery with stark black trunks and branches peeking through. Perhaps, these old trees are dead and all that remains are the tree trunks with branches.
Explore the flexibility of working with acrylic paint and harness its rapid drying capabilities to your advantage.
Seize the opportunity to expedite your creative journey by utilizing a hairdryer or heat gun to accelerate the drying process.
This allows you to confidently layer vibrant highlights or painting any other additional elements onto your background without the concern of accidental smudging.
In the event of any unwanted additions on your dried canvas, a fresh damp sponge can swiftly remove them with a simple swipe.
Embrace these tools as allies in your artistic pursuit, providing you with the freedom to experiment, adjust, and enhance your artwork with ease and precision.
Using the filbert brush, we’ll paint delicate highlights on the waterfall, shaping its flow and movement.
Mixing burnt sienna with white, we’ll then highlight the trees and earth below, adding a touch of life to the serene landscape.
Delve deeper into your painting technique by embracing the subtleties of translucency and layering. As you navigate the canvas, consider the interplay of opacity and transparency in your brushwork. Experiment with varying pressures and angles to control the paint’s coverage, allowing glimpses of the underlying layers to shine through like secrets waiting to be discovered.
By strategically building up these semi-transparent areas, you not only create depth but also infuse your artwork with a sense of mystery and intrigue, beckoning the viewer to explore the hidden narratives within your masterpiece. Remember, painting is not just about the destination but the journey of discovery and expression that unfolds with every stroke of the brush.
In the following step, we’ll tackle a smaller cliff with towering trees on the left side of our canvas. The painting process remains consistent – dark silhouette, then intricate highlights for beauty and depth.
Enjoy painting as often as possible to get better at it. Practice makes perfect just like how musicians practice daily. Every time you paint, you improve your skills and find your own style.
Take each painting session as a chance to learn and grow.
Don’t be afraid to make mistakes—they help you learn.
Remember, the more you practice, the more your painting skills will improve.
So, grab your brushes, paint regularly, and see your art evolve, showing you new ways to create and get inspired.
Utilize liner brush to paint a few elegant tree branches protruding downwords.
As you highlight specific areas using your filbert brush, consider blending a diverse palette of colors with white to enhance the richness and depth of your artwork.
To achieve smooth and cohesive transitions between colors, utilize the clean filbert brush to gently blend the hues into the background after each application.
This technique ensures a seamless integration of tones, creating a harmonious and visually captivating composition that showcases your attention to detail and artistic finesse.
As a reminder note, please be sure to spray your color pallete with water to ensure longer lasting acrylic paint.
Add a little flavor of color to your composition by dipping your paintbrush into burnt Sienna mixed with white.
Introduce a striking silhouette of a rugged rocky cliff on the opposite side of the cascading waterfall using the Filbert brush and bold black paint.
This addition will provide a contrasting element, adding depth and interest to your painting.
To breathe life into this cliff face, carefully layer on highlights with a lighter tone. These highlights not only bring out the texture and features of the cliff but also infuse it with a sense of character and presence, making it a focal point that draws the viewer’s eye and adds a dynamic contrast to the overall composition.
By skillfully balancing the silhouette with well-placed highlights, you enhance the visual impact of your artwork and create a captivating scene that beckons exploration and storytelling.
By limiting your color choices to just a few, you push yourself to think more creatively. Working with fewer options puts your artistic instincts and imagination front and center. This challenge encourages you to play around with different color mixes, tones, and shades, leading to surprising and stunning results.
When it comes to creating a sense of harmony and unity in your artwork, a limited color palette plays a key role. By choosing colors that work well together, you establish a unified and visually appealing composition. With fewer colors to work with, you pay closer attention to how these hues relate to each other, resulting in a more mindful and intentional approach. The result is a landscape painting that flows seamlessly and generates a sense of balance that draws in and captivates the viewer.
Using a small square brush dipped in white paint, we’ll highlight the waterfall where light naturally kisses the cascading water.
Our rocky shores will receive a reinvigoration with more highlights using the same brush.
Brighten up the massive tree with burnt sienna, infusing warmth and vibrancy into the scene.
As a final touch, to add a touch of shrubbery, use a number one big square brush to gently create small shrubs beneath our big tree and then add highlights and texture to it using lighter colors such as burnt Sienna mixed with white.
And now, my friends, it’s time to sign our creation, step back, and bask in the glow of our masterpiece.
Until we meet again, happy painting and may your brushes dance with joy!
#acrylicpainting, #beginnerpaintingtutorial, #cliffpainting, #stepbysteppainting, #landscapeart, #rockypainting, #easypaintingdemo, #waterfalleffect


Here are the step-by-step painting instructions for the “Waterfall Rocky Cliff” acrylic painting tutorial for beginners:
- Prepare Your Workspace:
- Gather your tools: Big oval brush, filbert brush, thin liner brush, heat gun or hairdryer, clean damp sponge, small square brush, number one big square brush.
- Set up your Earth tone color palette: white, burnt sienna, Van Dyke Brown, Mars Brown, and black.
- Creating the Misty Atmosphere:
- Use the big oval brush to paint a soft misty atmosphere with strokes of pure white on the upper canvas.
- Dab rich brown hues for distant trees enveloped in fog, gradually fading into the mist to create depth.
- Crafting the Landscape:
- Add depth to the forest by using darker tones and layering trees with the big oval brush.
- Develop the scenery on the right side with hints of a rocky cliff in darker shades and a rich backdrop at the base of the canvas.
- Painting the Waterfall:
- Dip your brush in white paint to create the waterfall, allowing it to interact with the dark beneath for a realistic allure.
- Use the thin liner brush to add tree silhouettes on the cliff, enhancing the mysterious atmosphere.
- Utilizing Tools and Techniques:
- Experiment with the drying process using a heat gun to maintain textures and details.
- Layer highlights and details with the filbert brush and emphasize translucency and layering for depth.
- Incorporating a Small Cliff and Trees:
- Paint a smaller cliff with towering trees on the left side, focusing on silhouette and intricate highlights for beauty and depth.
- Enhance the richness of the artwork by blending colors with white using the filbert brush.
- Enhancing the Rocky Cliff:
- Introduce a rugged rocky cliff silhouette using the Filbert brush with bold black paint.
- Layer highlights for texture and character, creating a focal point of interest and contrast.
- Final Touches and Details:
- Use a small square brush dipped in white paint to highlight the waterfall and rocky shores.
- Brighten the tree with burnt sienna and add small shrubs beneath using the number one big square brush.
- Signing and Admiring Your Artwork:
- Sign your creation, step back, and appreciate the masterpiece you’ve crafted.
Remember, each painting session is an opportunity to learn, grow, and refine your skills. Embrace experimentation, creativity, and the joy of expressing yourself through art. Happy painting!
Feel free to ask if you need further guidance or have any questions.


STEP BY STEP PAINTING INSTRUCTIONS AND NARRATED GUIDES FOR URARTSTUDIO.COM YOUTUBE ART VIDEO DEMONSTRATIONS

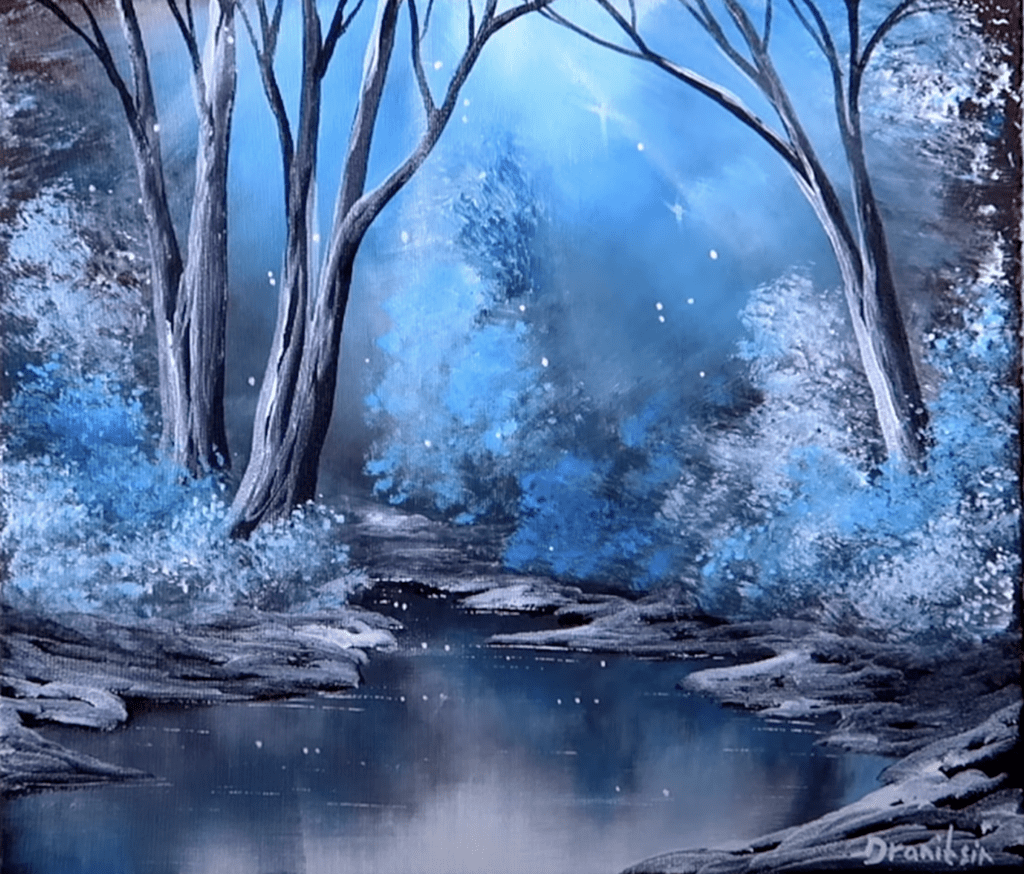
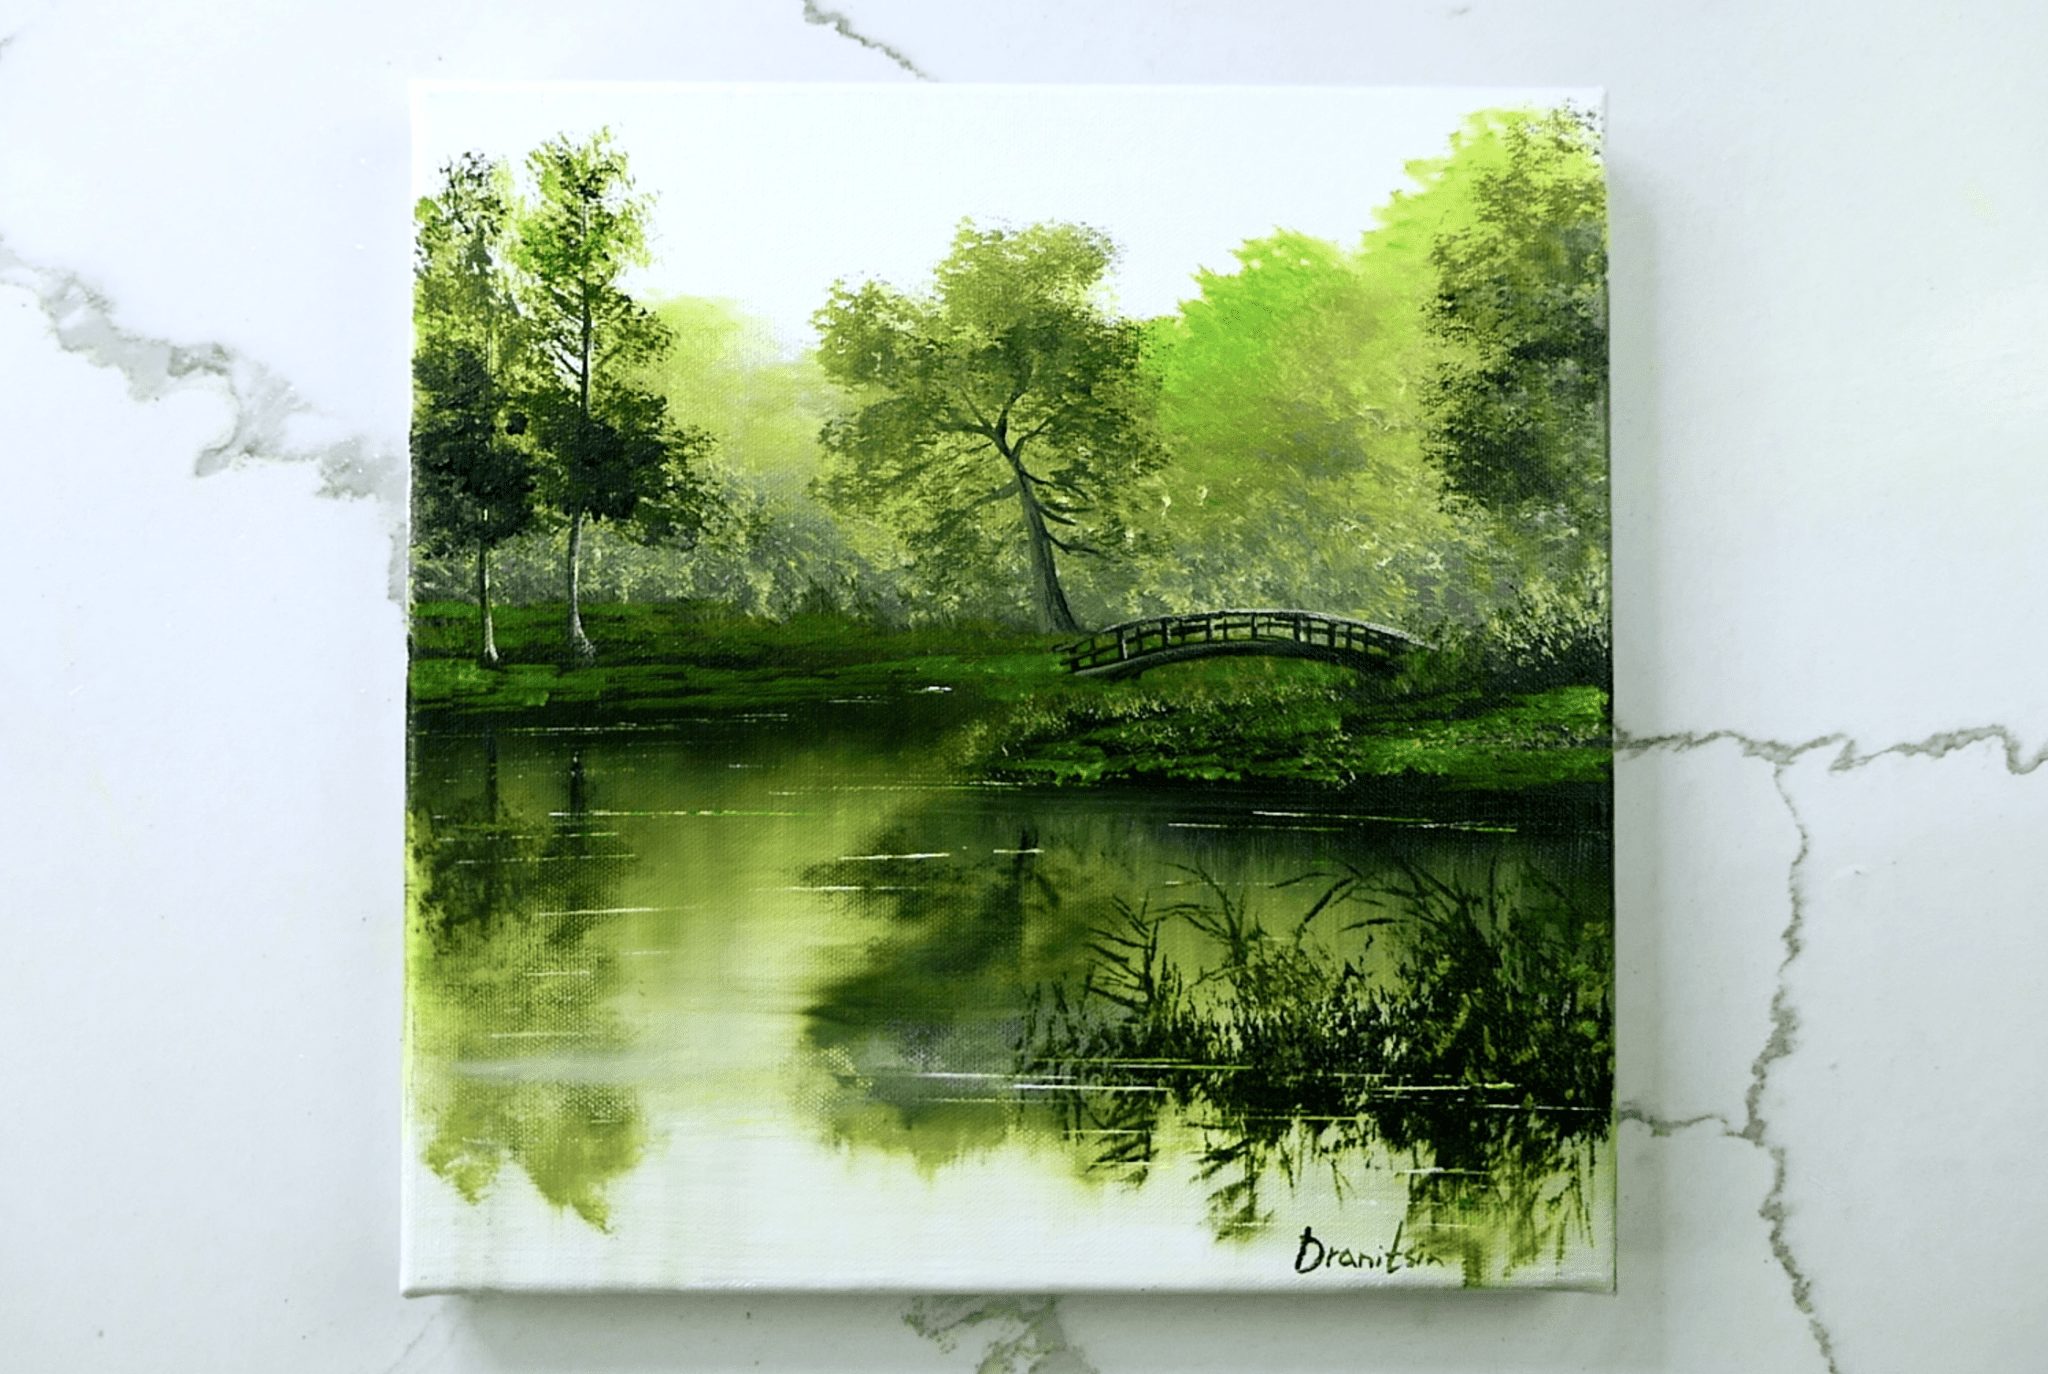
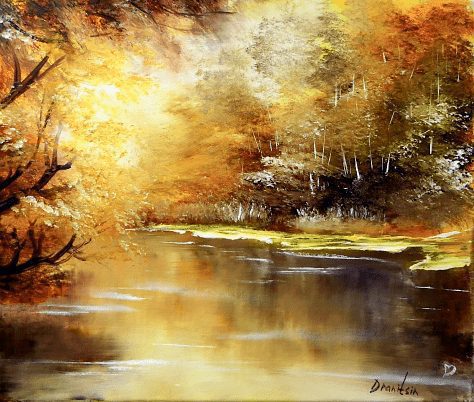
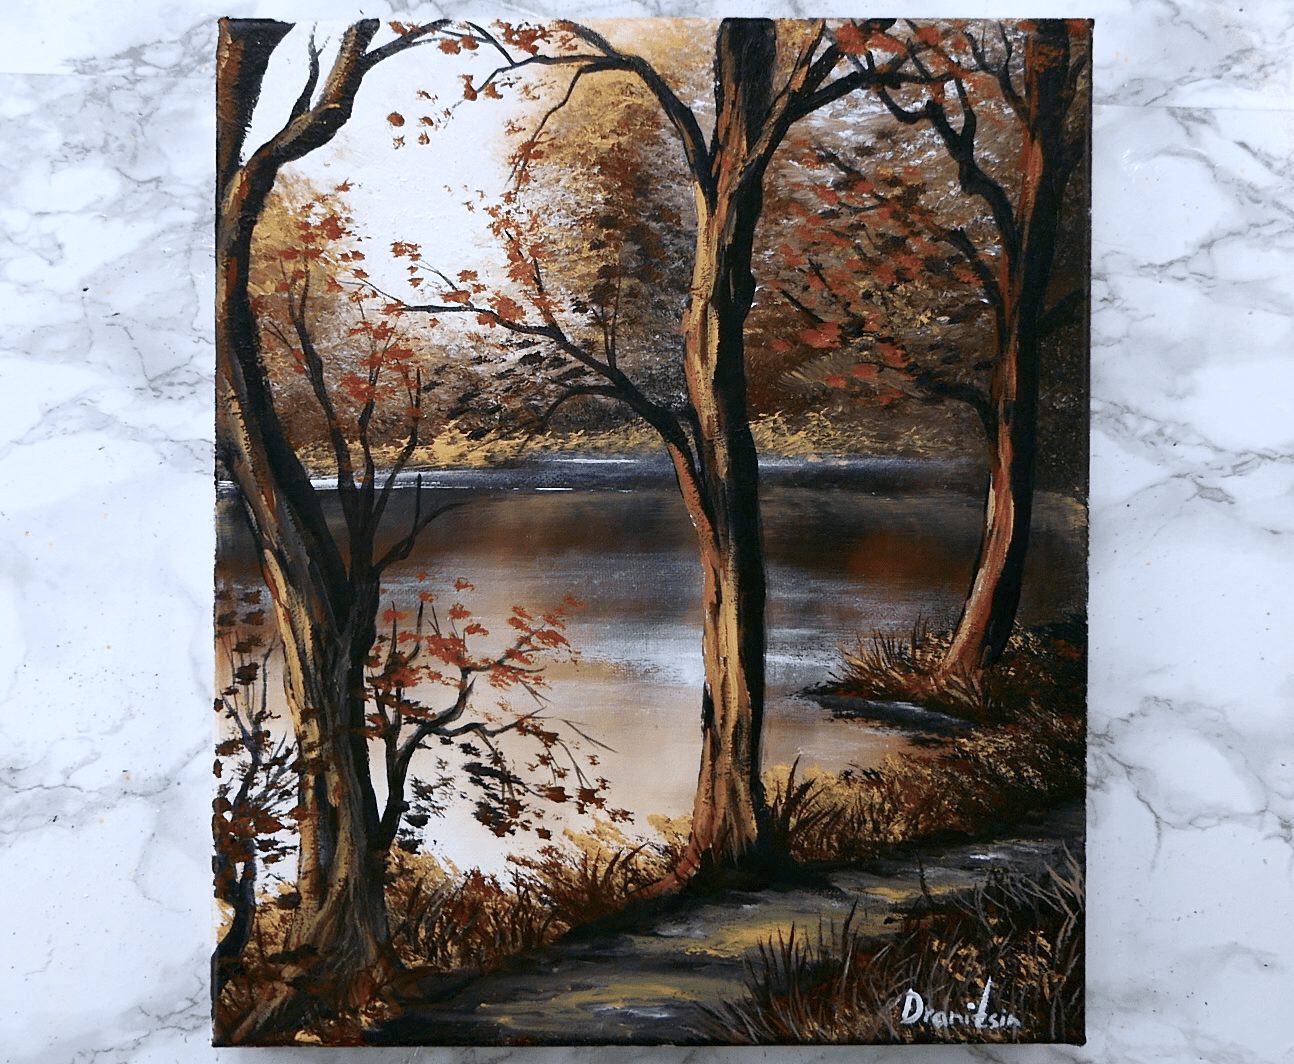
ART VIDEO STEP BY STEP VIDEO DEMONSTRATIONS AND ORIGINAL ART GALLERY BY URARTSTUDIO:
Welcome to the captivating world of URARTSTUDIO! Immerse yourself in the exquisite artistry and creativity with our step-by-step video demonstrations and exclusive original art gallery. Prepare to be spellbound as true mastery unfolds before your very eyes. Witness the artistic process come alive as our videos take you by the hand, guiding you through each brushstroke and technique. Discover the secret behind captivating compositions and the intricate details that make art truly mesmerizing. Our gallery proudly showcases a curated collection of unique and breathtaking artwork, where every piece tells a story and evokes powerful emotions. Journey with us and let your imagination take flight as URARTSTUDIO invites you to unravel the magic of art like never before.