Hello, everyone! I’m absolutely thrilled to welcome you to this enchanting painting journey. Today, we’re going to immerse ourselves in the creation of a captivating and mysterious seascape scene. The beauty of this artwork lies in its simplicity, making it perfect for beginners and seasoned painters alike. So, grab your brushes and let’s embark on this creative adventure together!
Materials Needed
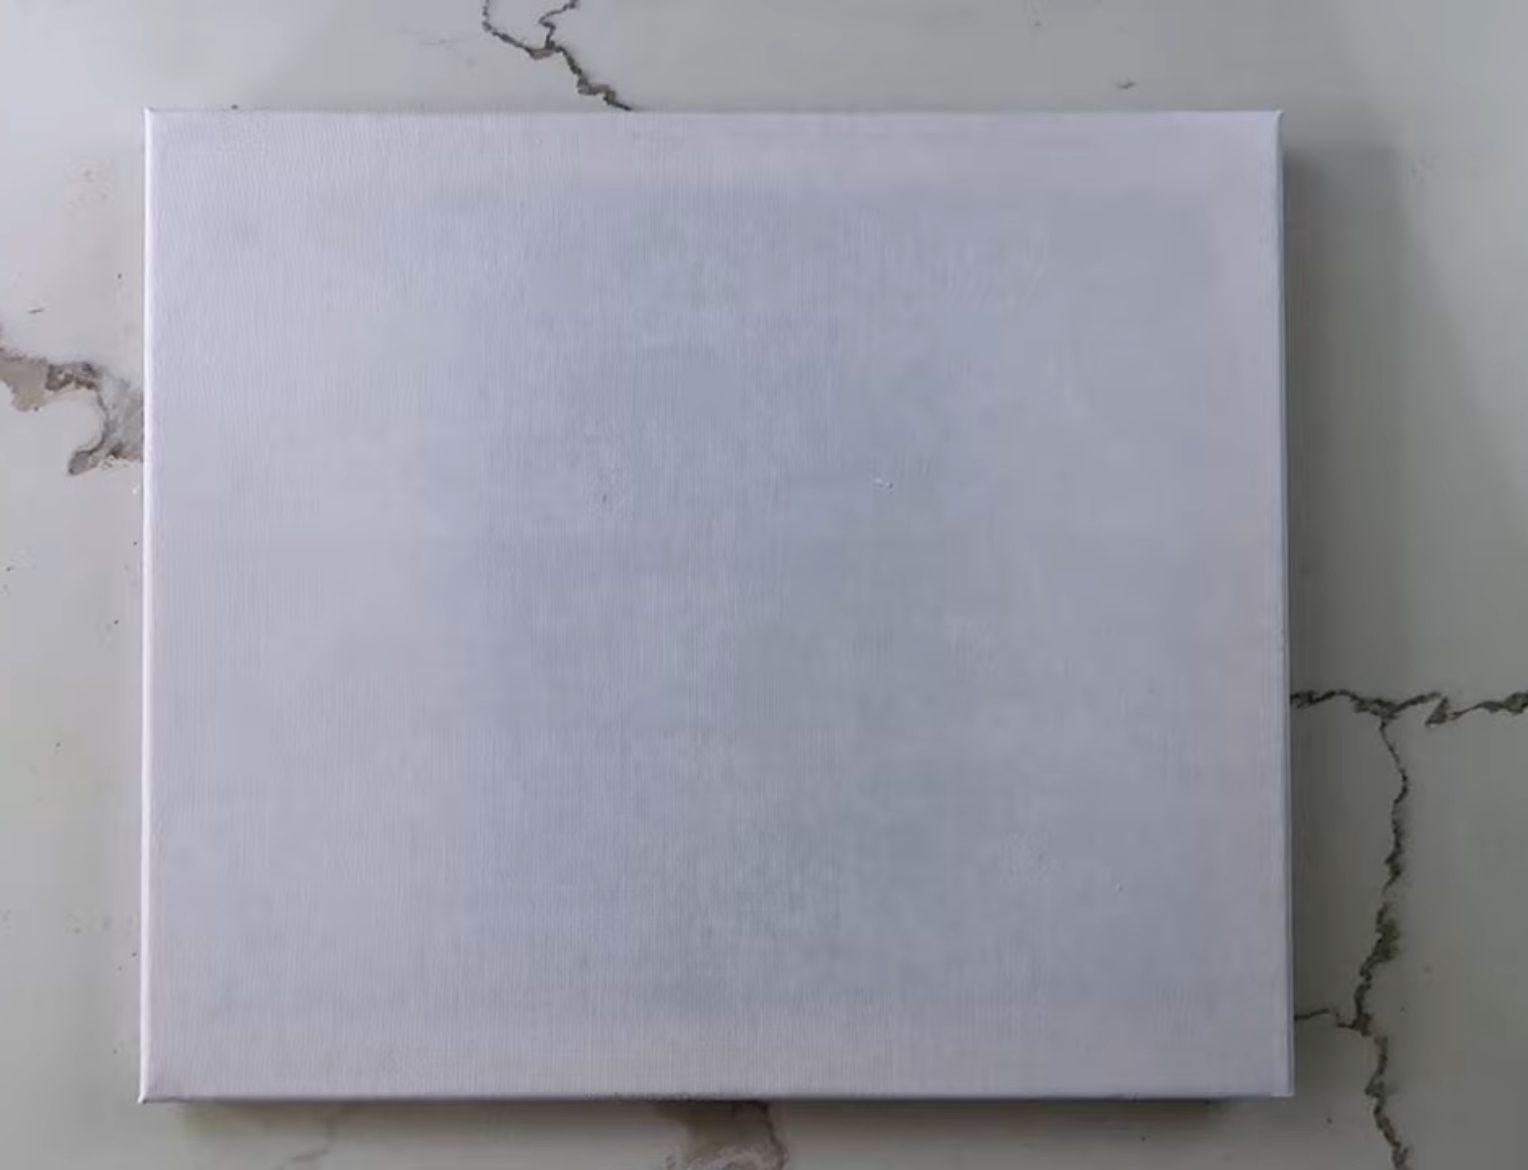
Before we dive into our painting, let’s gather our materials. We’ll be painting on a 12 x 14-inch canvas, but feel free to use whatever size you have on hand. Remember, it’s all about expressing yourself and letting your creativity flow!
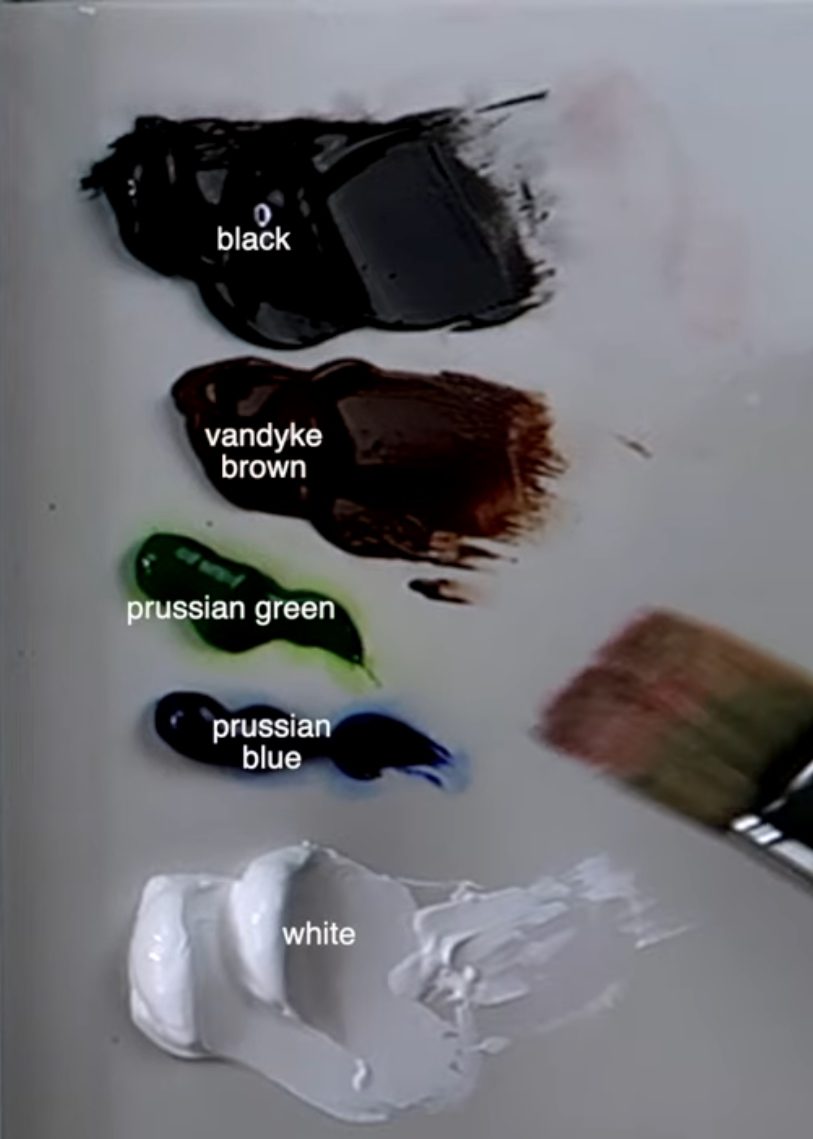
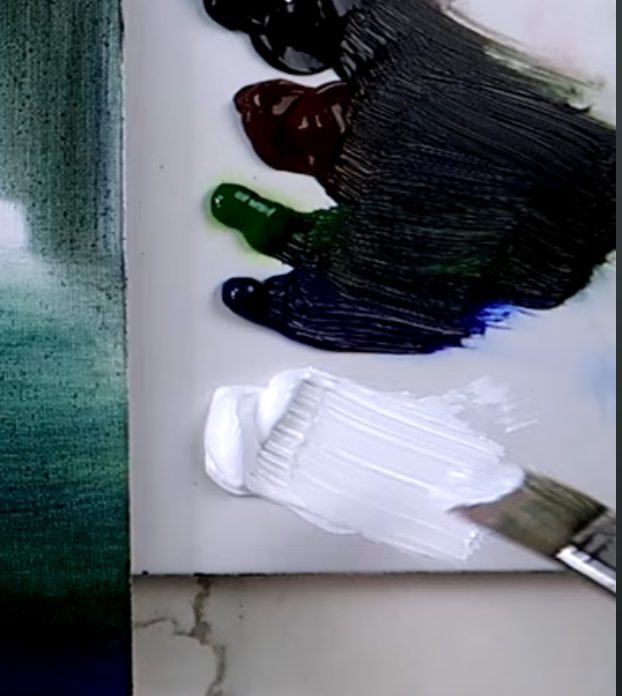
Our color palette for today will include:
- Black
- White
- Prussian Blue
- Prussian Green
- Van Dyke Brown
These colors will beautifully capture the essence of our night ocean scene, evoking a sense of mystery and depth.
Here’s a comprehensive list of tools and materials you’ll need to create your Mysterious Seascape painting:
Tools and Materials Needed
Painting Supplies
- Canvas
- 12 x 14 inches (or any preferred size)
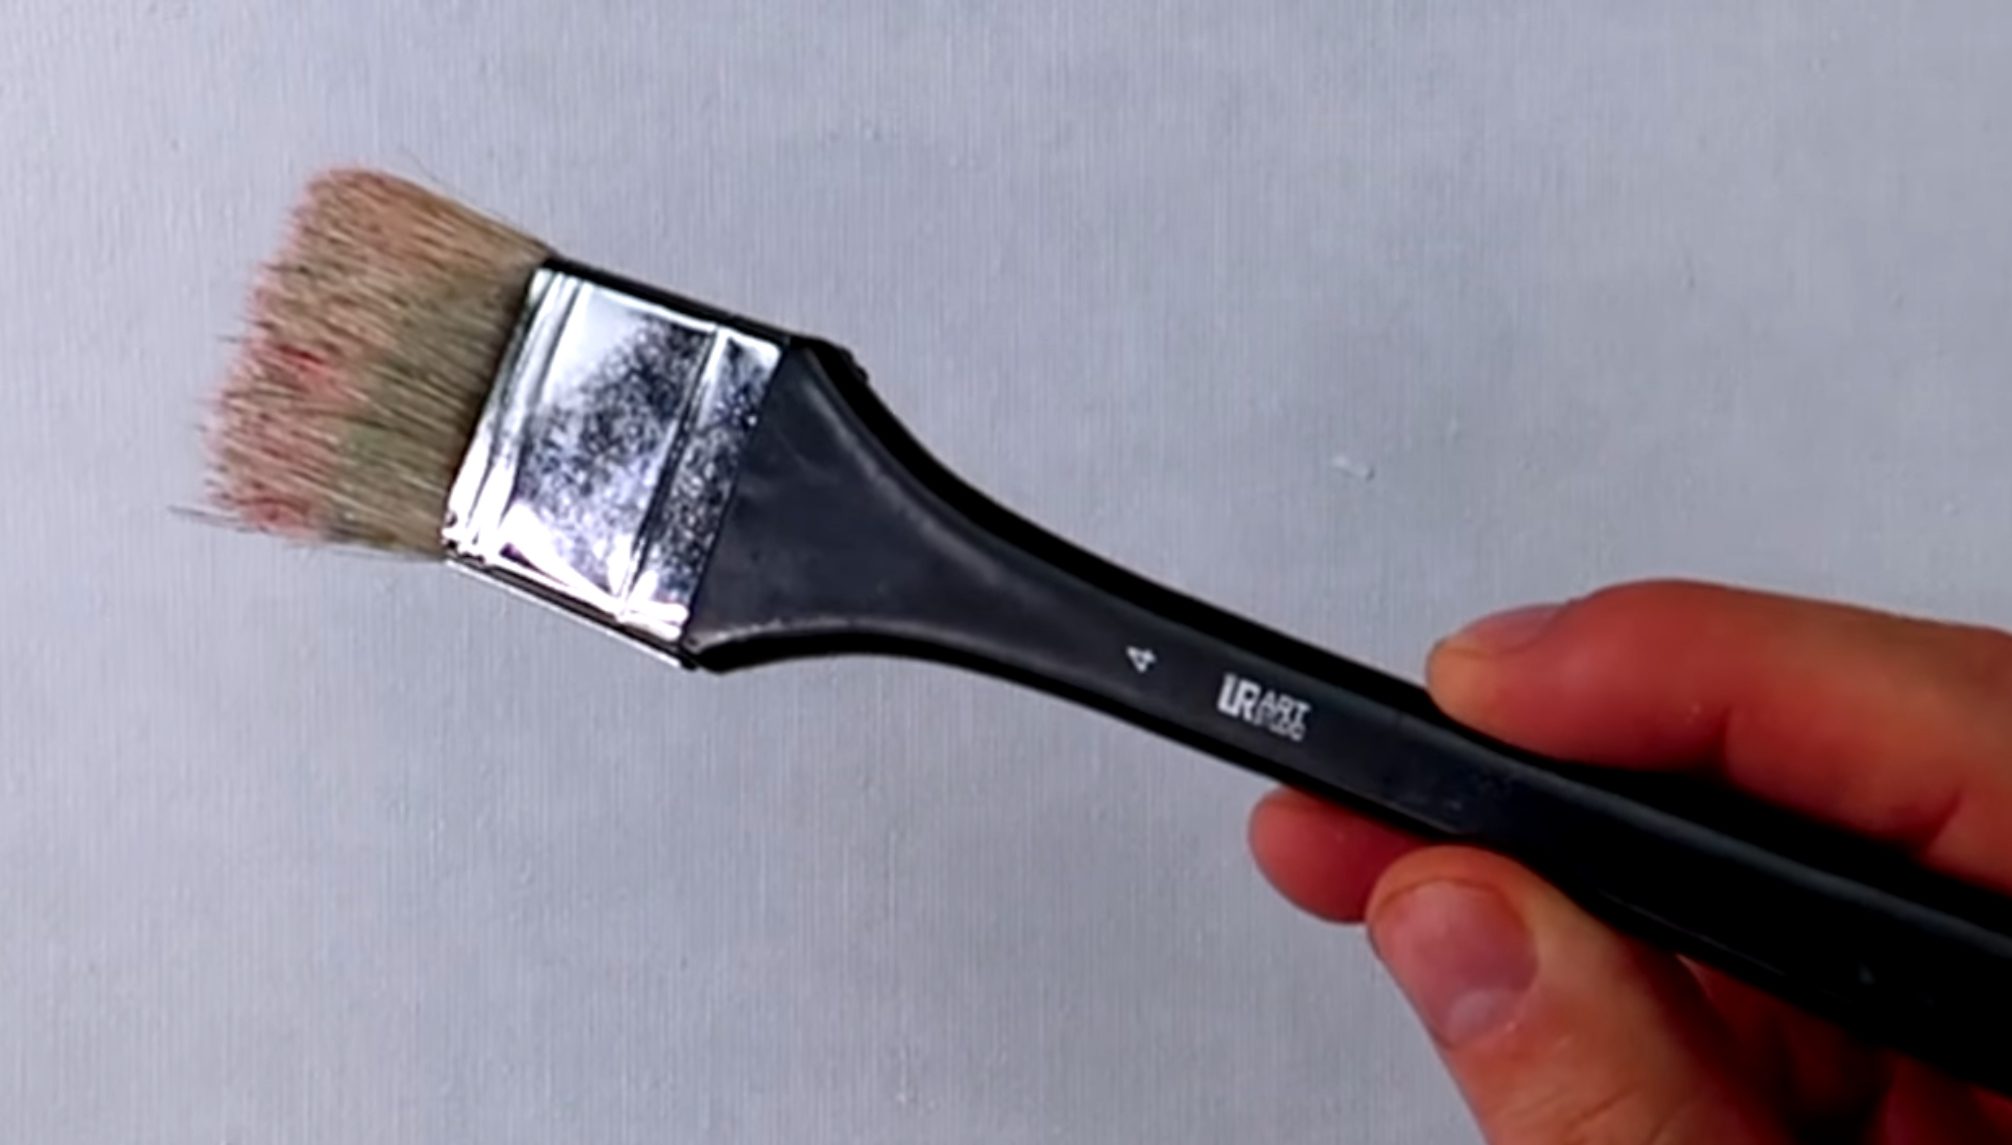
- Brushes
- Flat oval brush (large)
- Pointed oval brush (large)
- Filbert brush (multiple sizes small and large)
- Round brush (small)
- Detail brush (for fine details)
- Number four square brush (for the background and blending)
- Palette Knife
- For creating clean edges on the sailboat silhouette.
- Ultra-soft Blending Brush
- To remove brush marks and achieve soft blends.
- Clean Paper Towels
- For wiping brushes between colors.
- Circular Object
- Such as masking tape or a round stencil for painting the moon.
Paints
- Acrylic Paints
- Black
- White
- Prussian Blue
- Prussian Green
- Van Dyke Brown
Miscellaneous Supplies
- Easel (Optional)
- To hold your canvas while painting.
- Palette
- For mixing your paints. You can use a disposable palette or a ceramic plate.
- Water Container
- For rinsing brushes.
- Hairdryer or Heat Gun
- To speed up the drying process between steps (optional).
- Sketching Pencil (Optional)
- For lightly sketching out your design on the canvas before painting.
- Apron or Old Clothes
- To protect your clothing from paint splatters.
This list keeps things simple and focused, ensuring that beginners can comfortably gather what they need to engage in this painting journey. Enjoy creating your artwork!
Canvas Preparation
Before we begin, make sure your canvas is prepped with just the right amount of moisture. A slightly damp canvas will allow your acrylic paints to glide and blend effortlessly, creating beautiful transitions and rich textures. This simple step sets the foundation for your masterpiece.
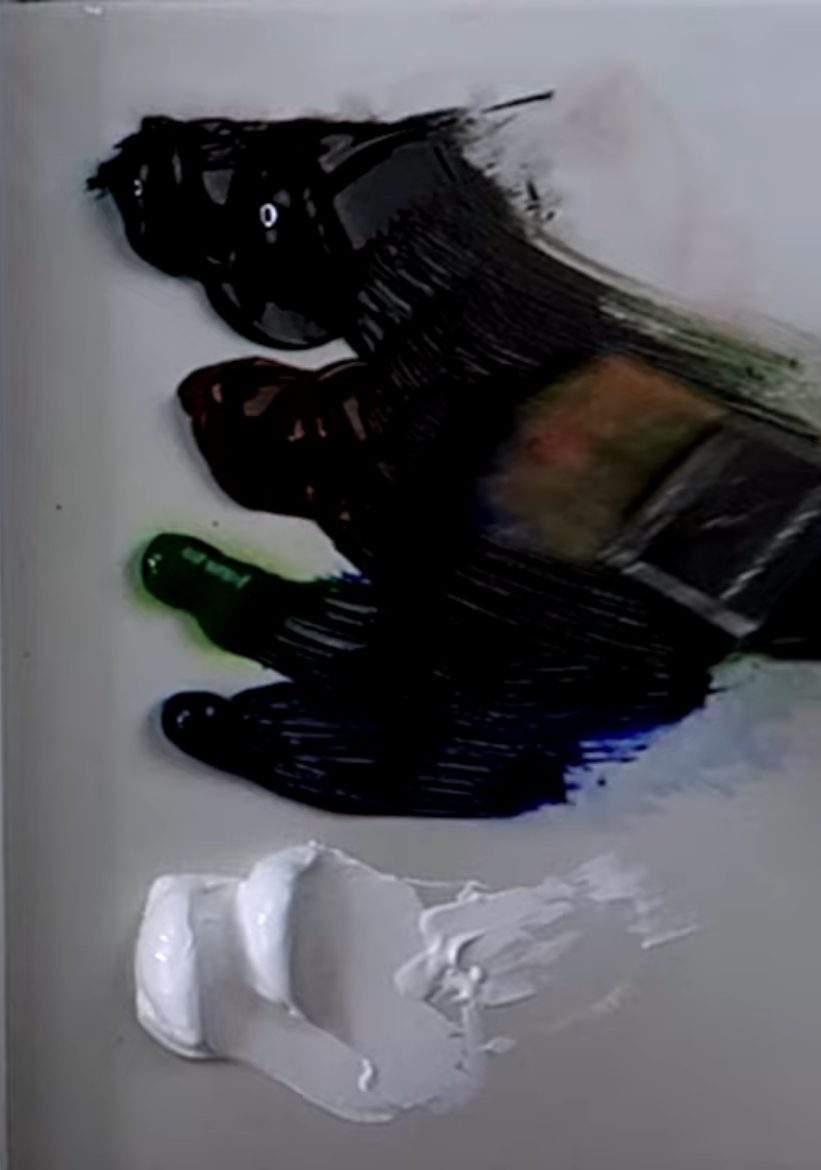
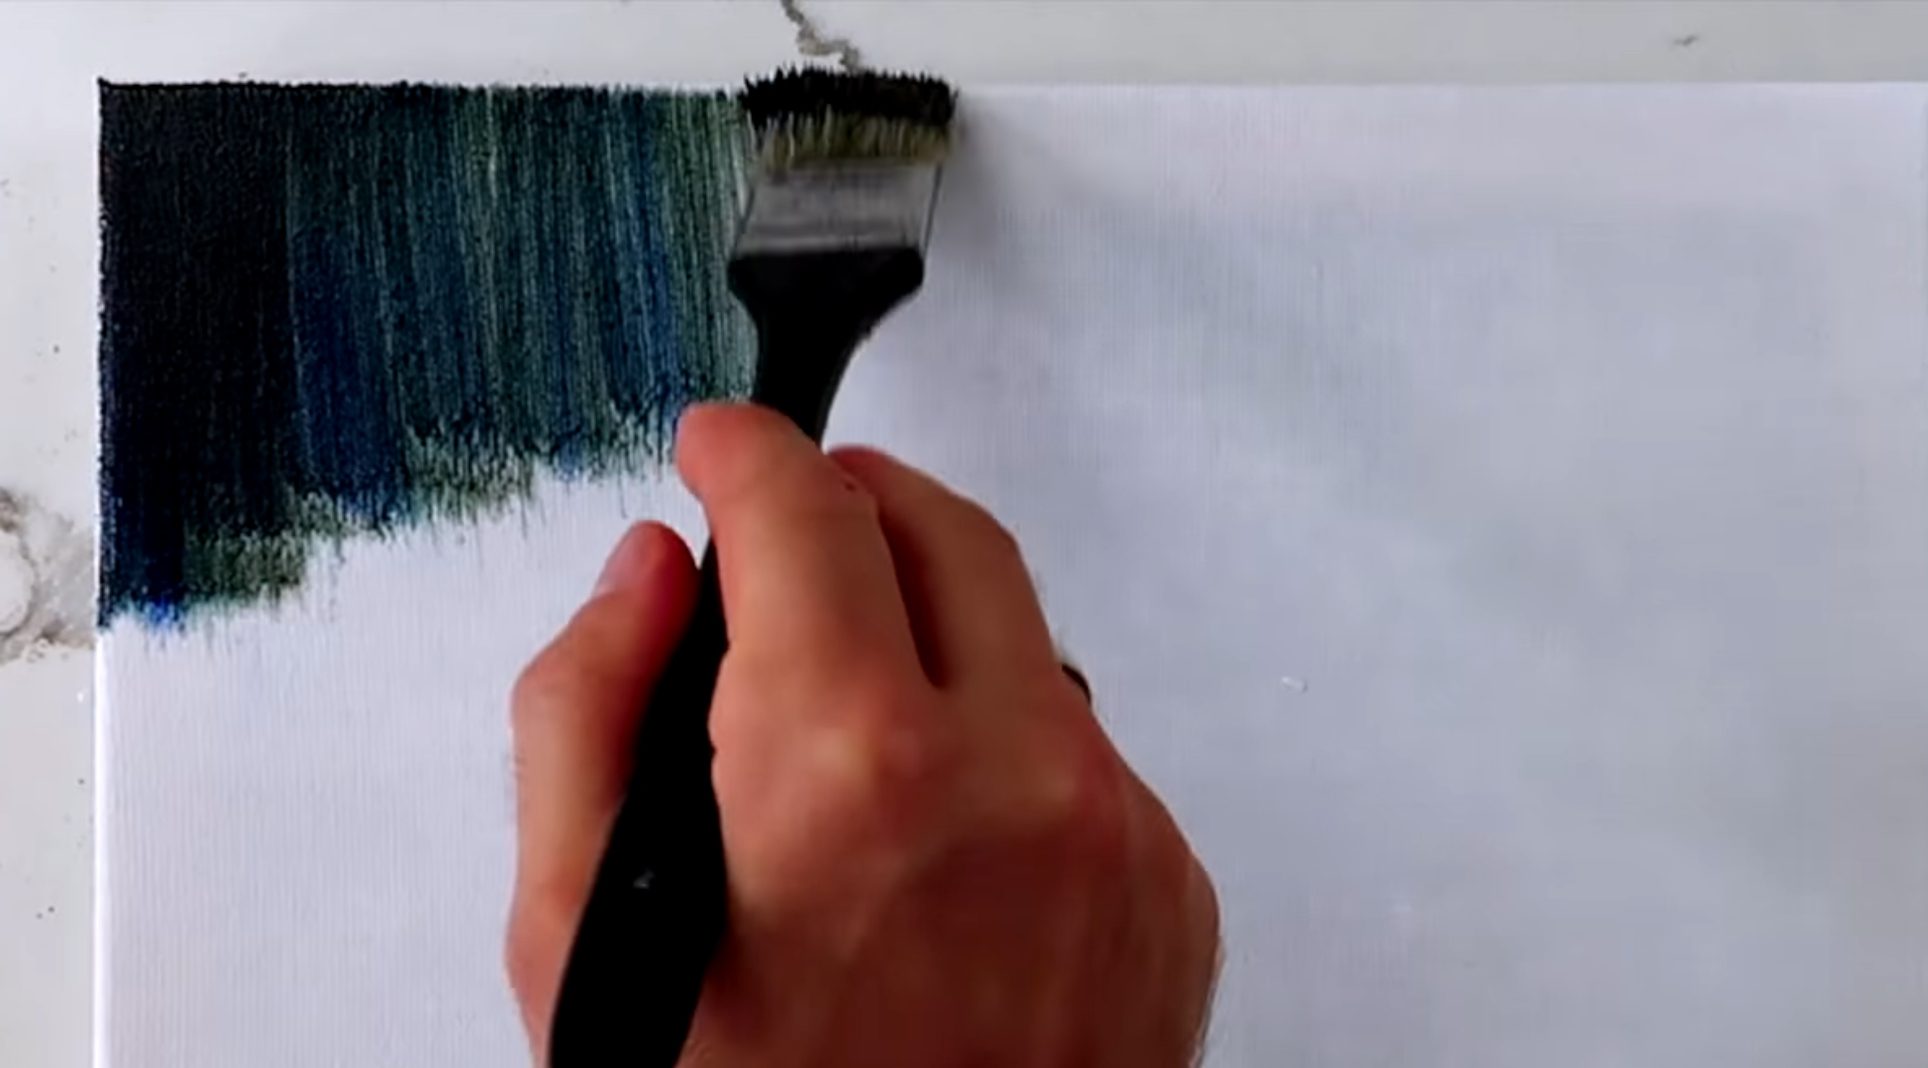
Step 1: Create the Background
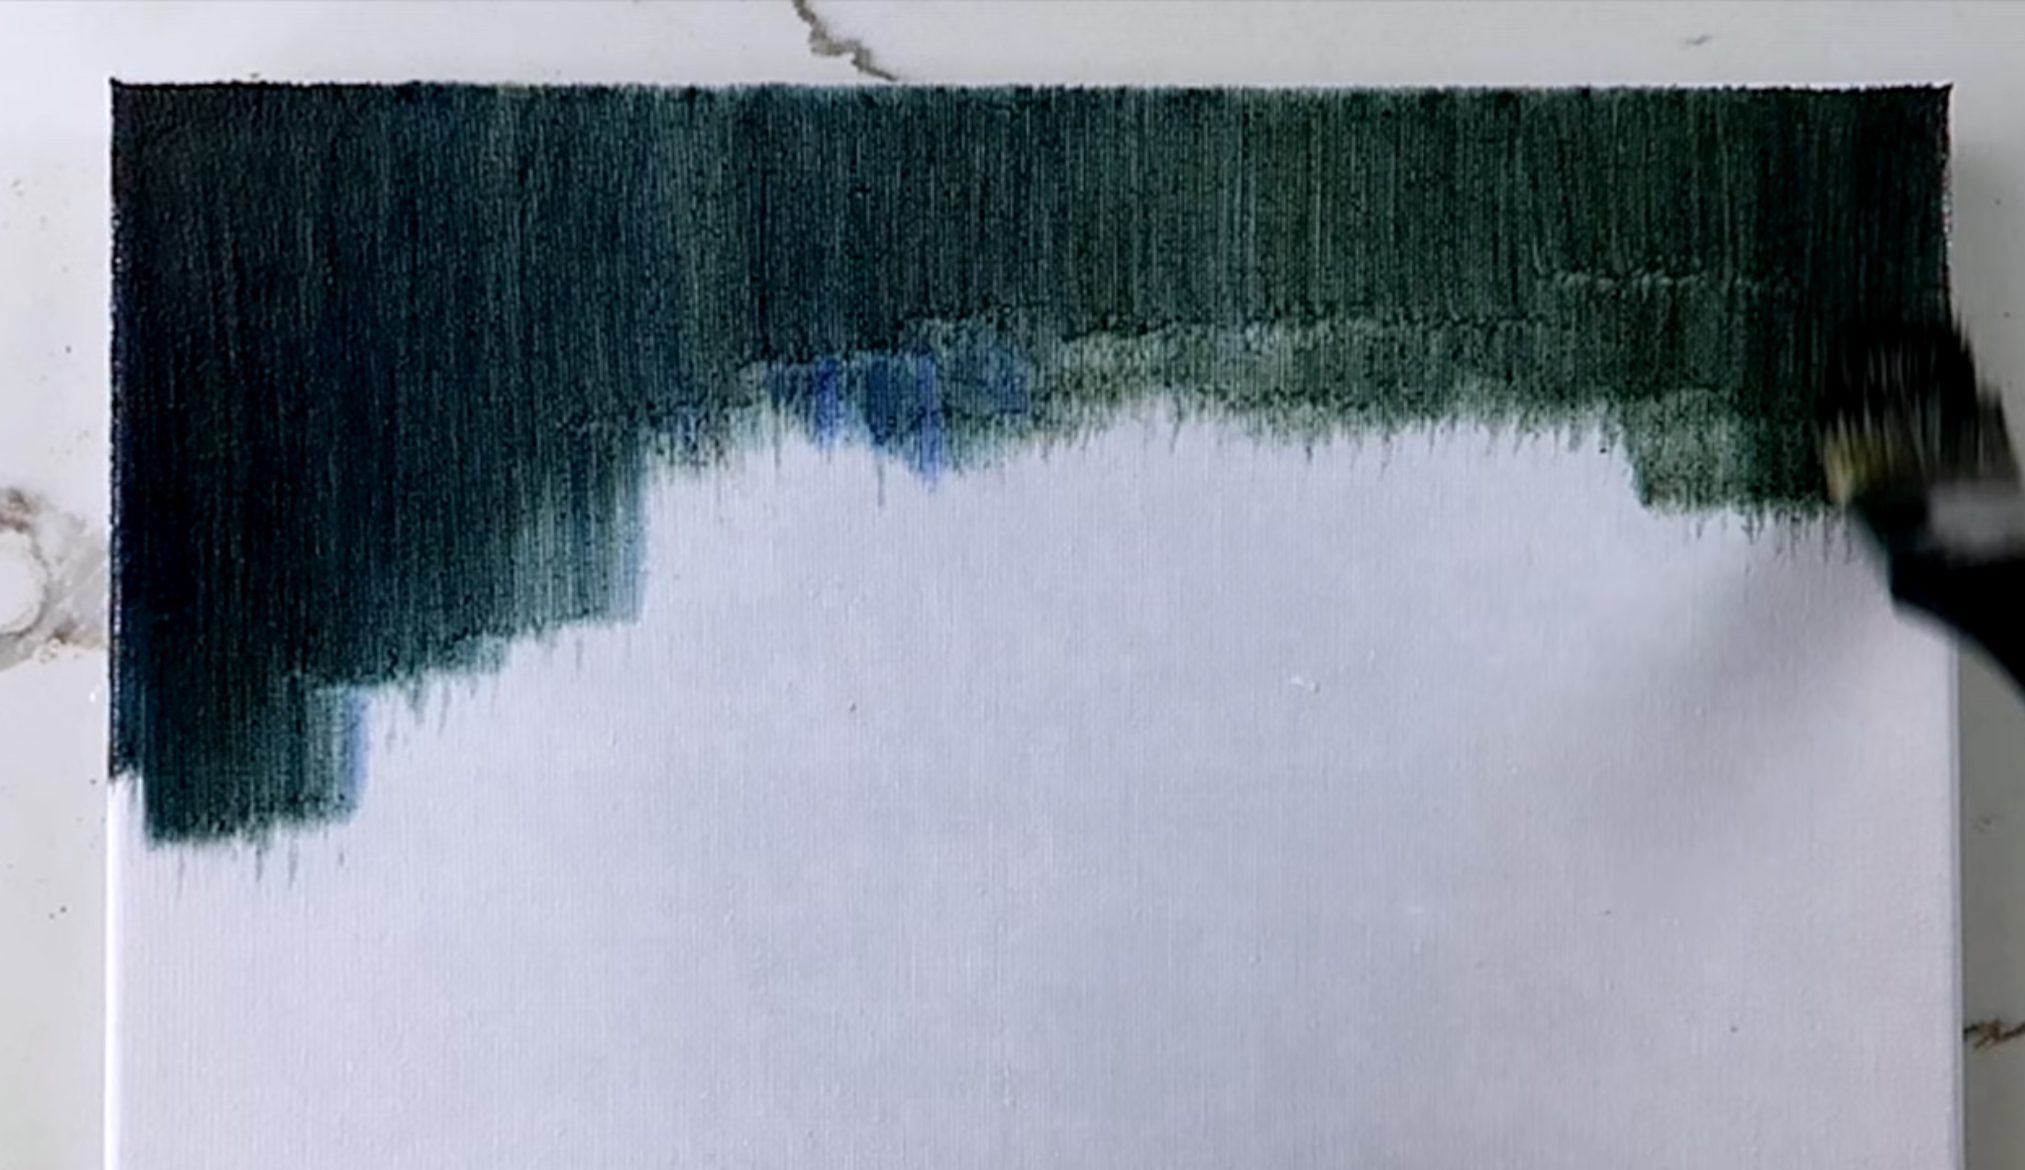
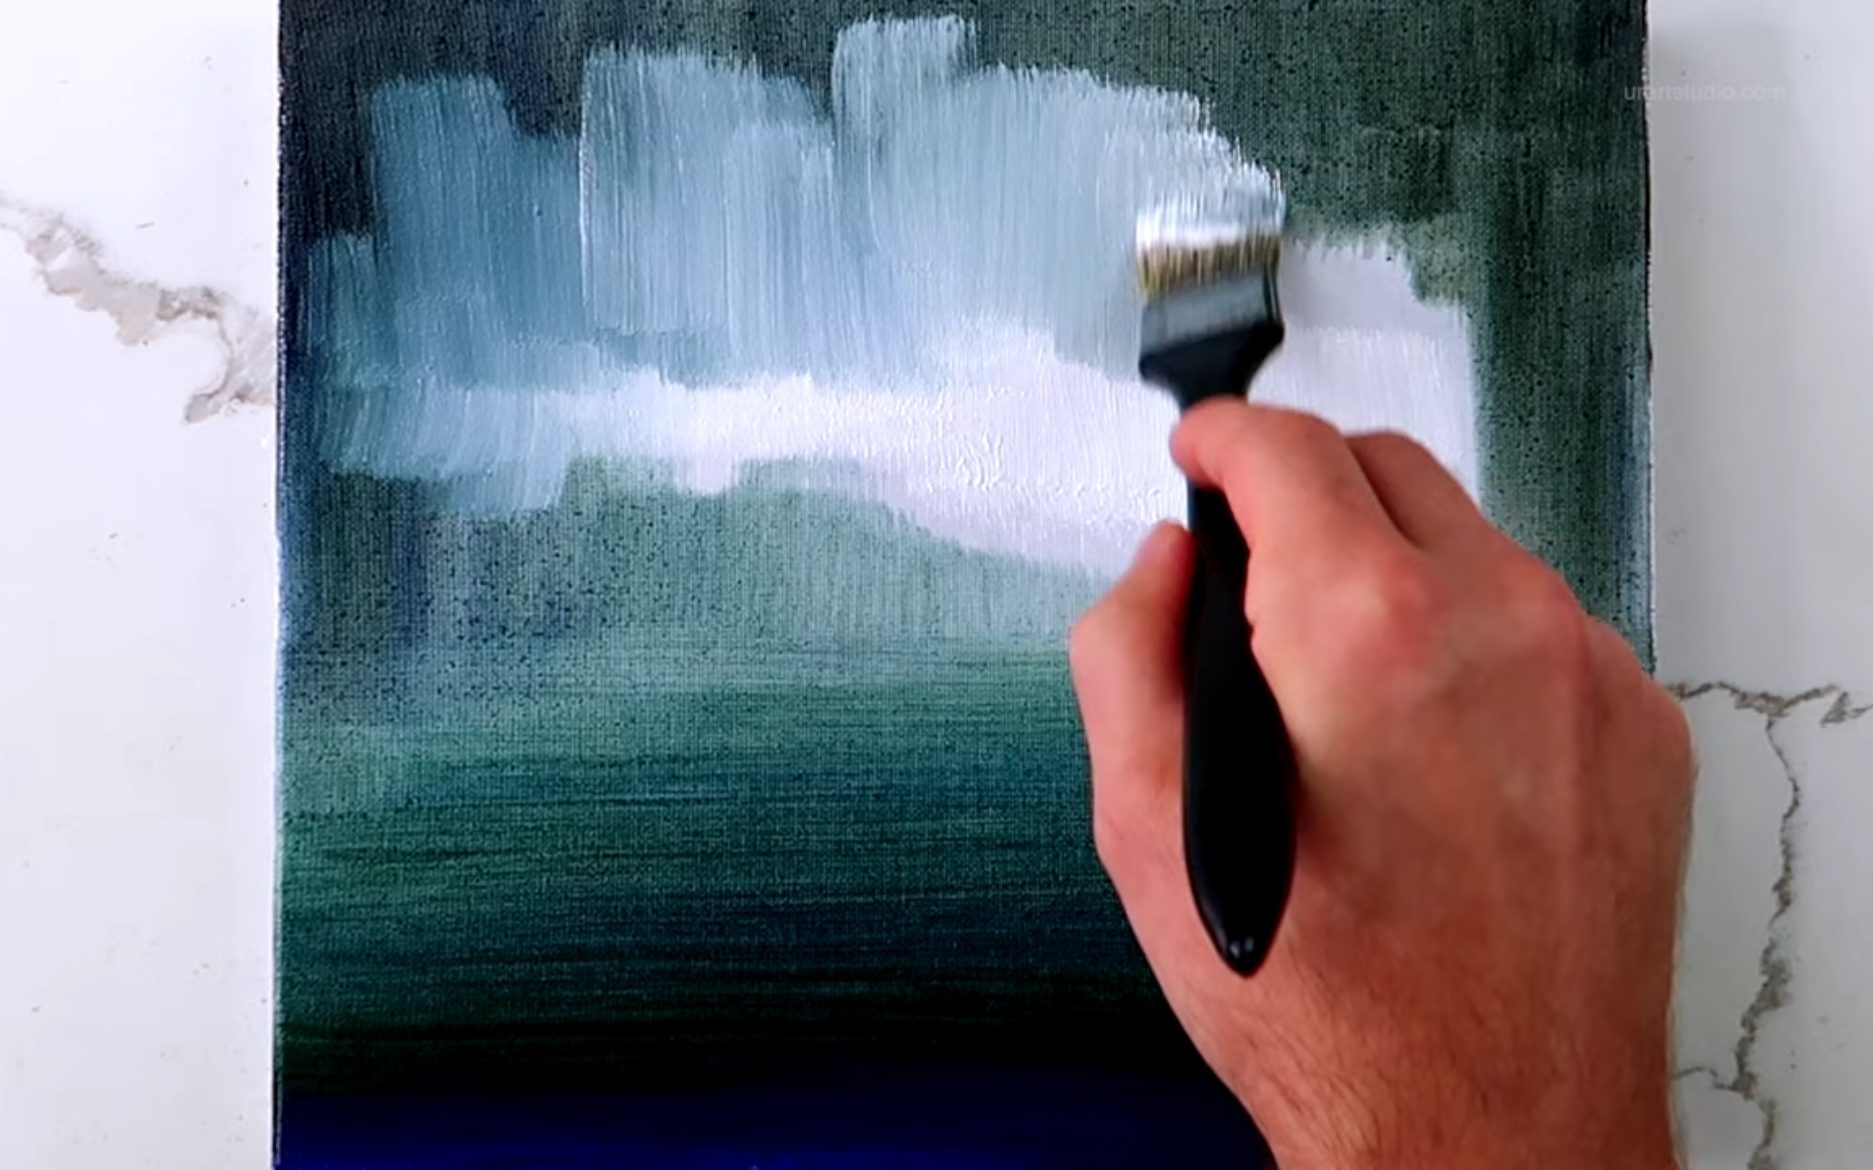
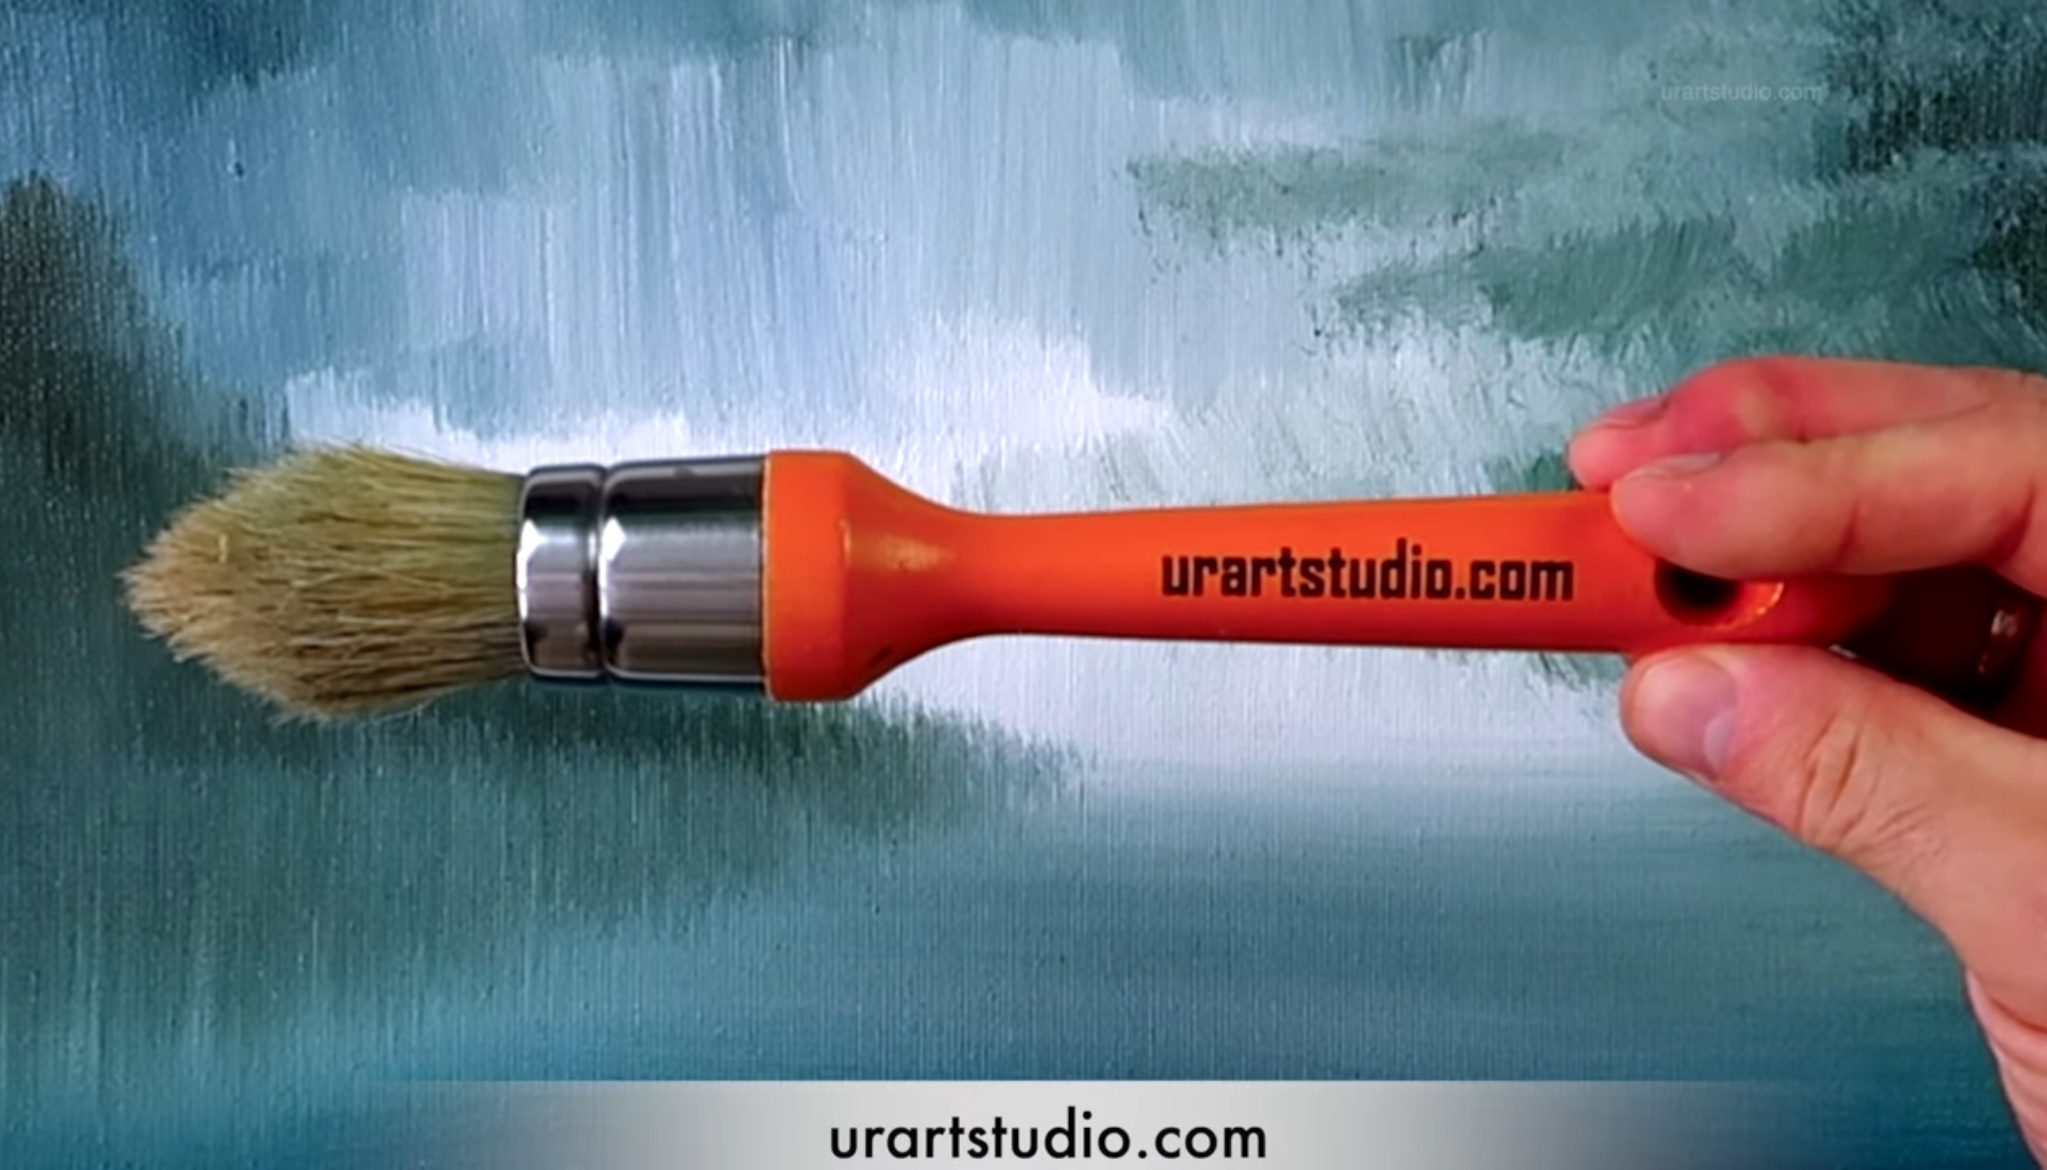
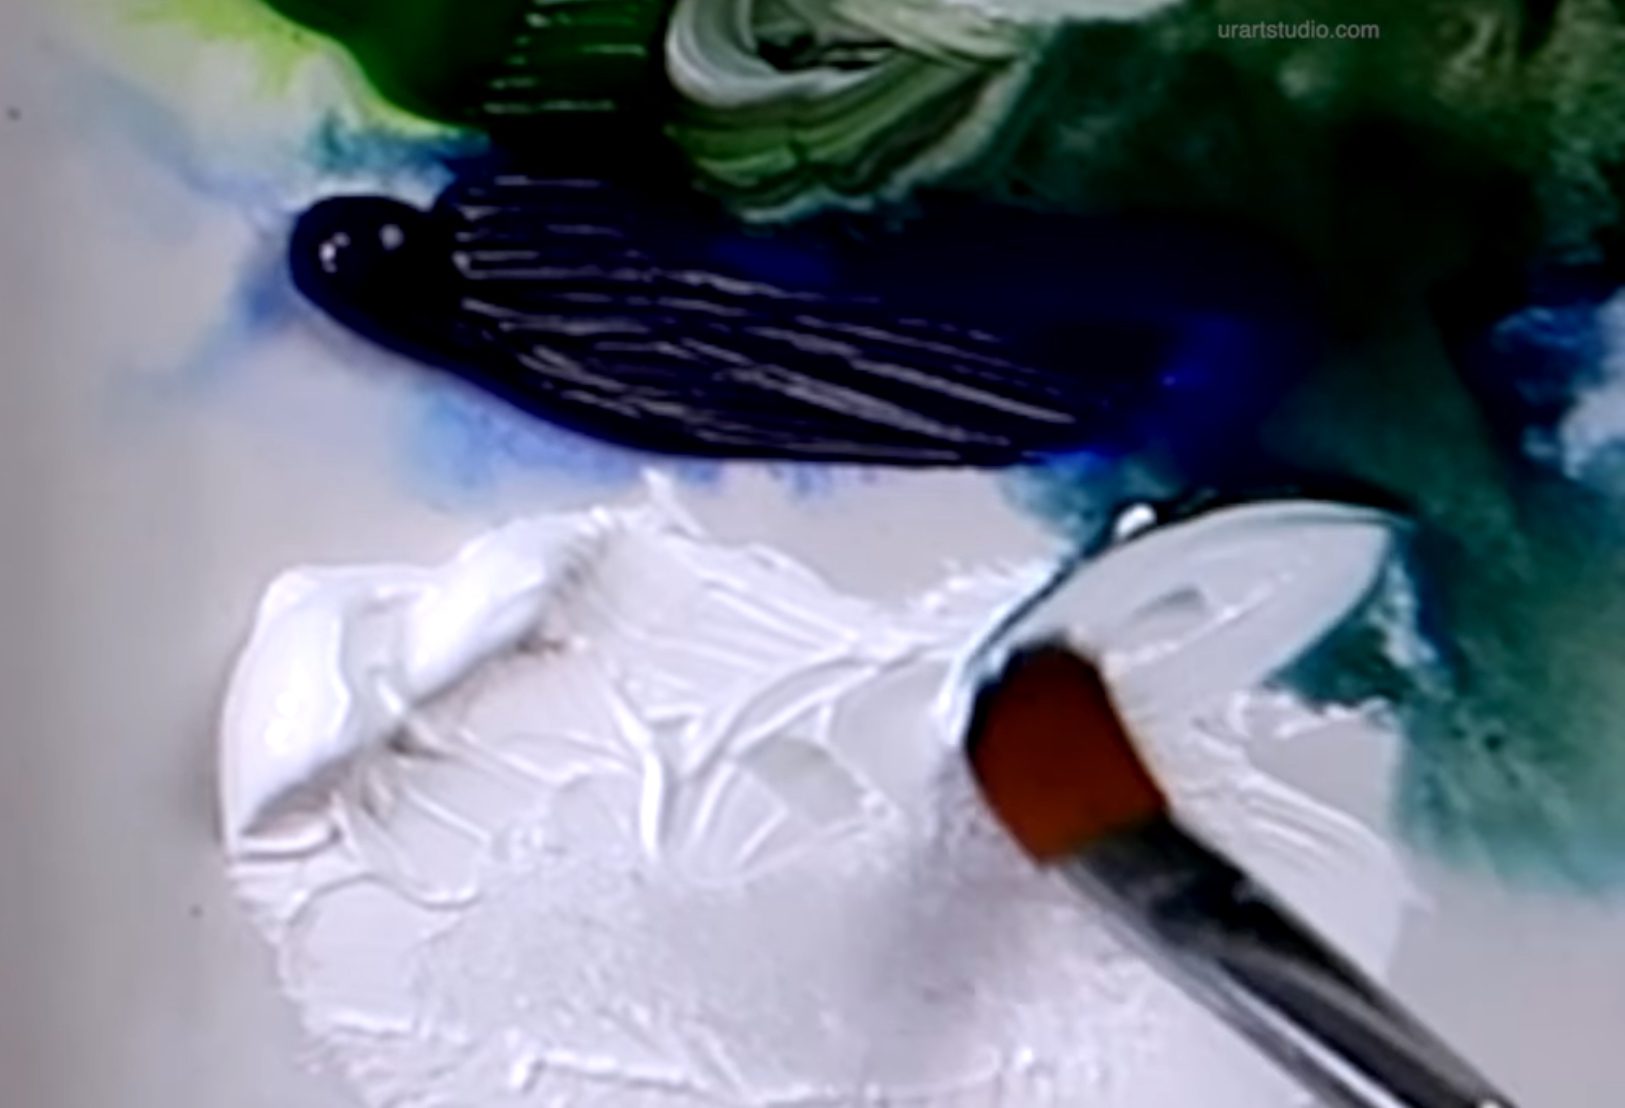
Let’s start with a number four big square brush. Dip into a mix of all the dark colors except for white. Now, with a confident hand, begin adding these captivating colors around the edges of your canvas, leaving a few spots in the middle open for the clouds and the light. Imagine the dark ocean waves and a starry night sky as you paint these shades, creating a stunning backdrop for your seascape.
Once the perimeter is filled, clean your square brush thoroughly. Now, load it with pure white paint and, with gentle strokes, add white to the reserved spots in the middle. This will represent the light in our scene, giving it an ethereal glow that will contrast beautifully against the darkness around it.
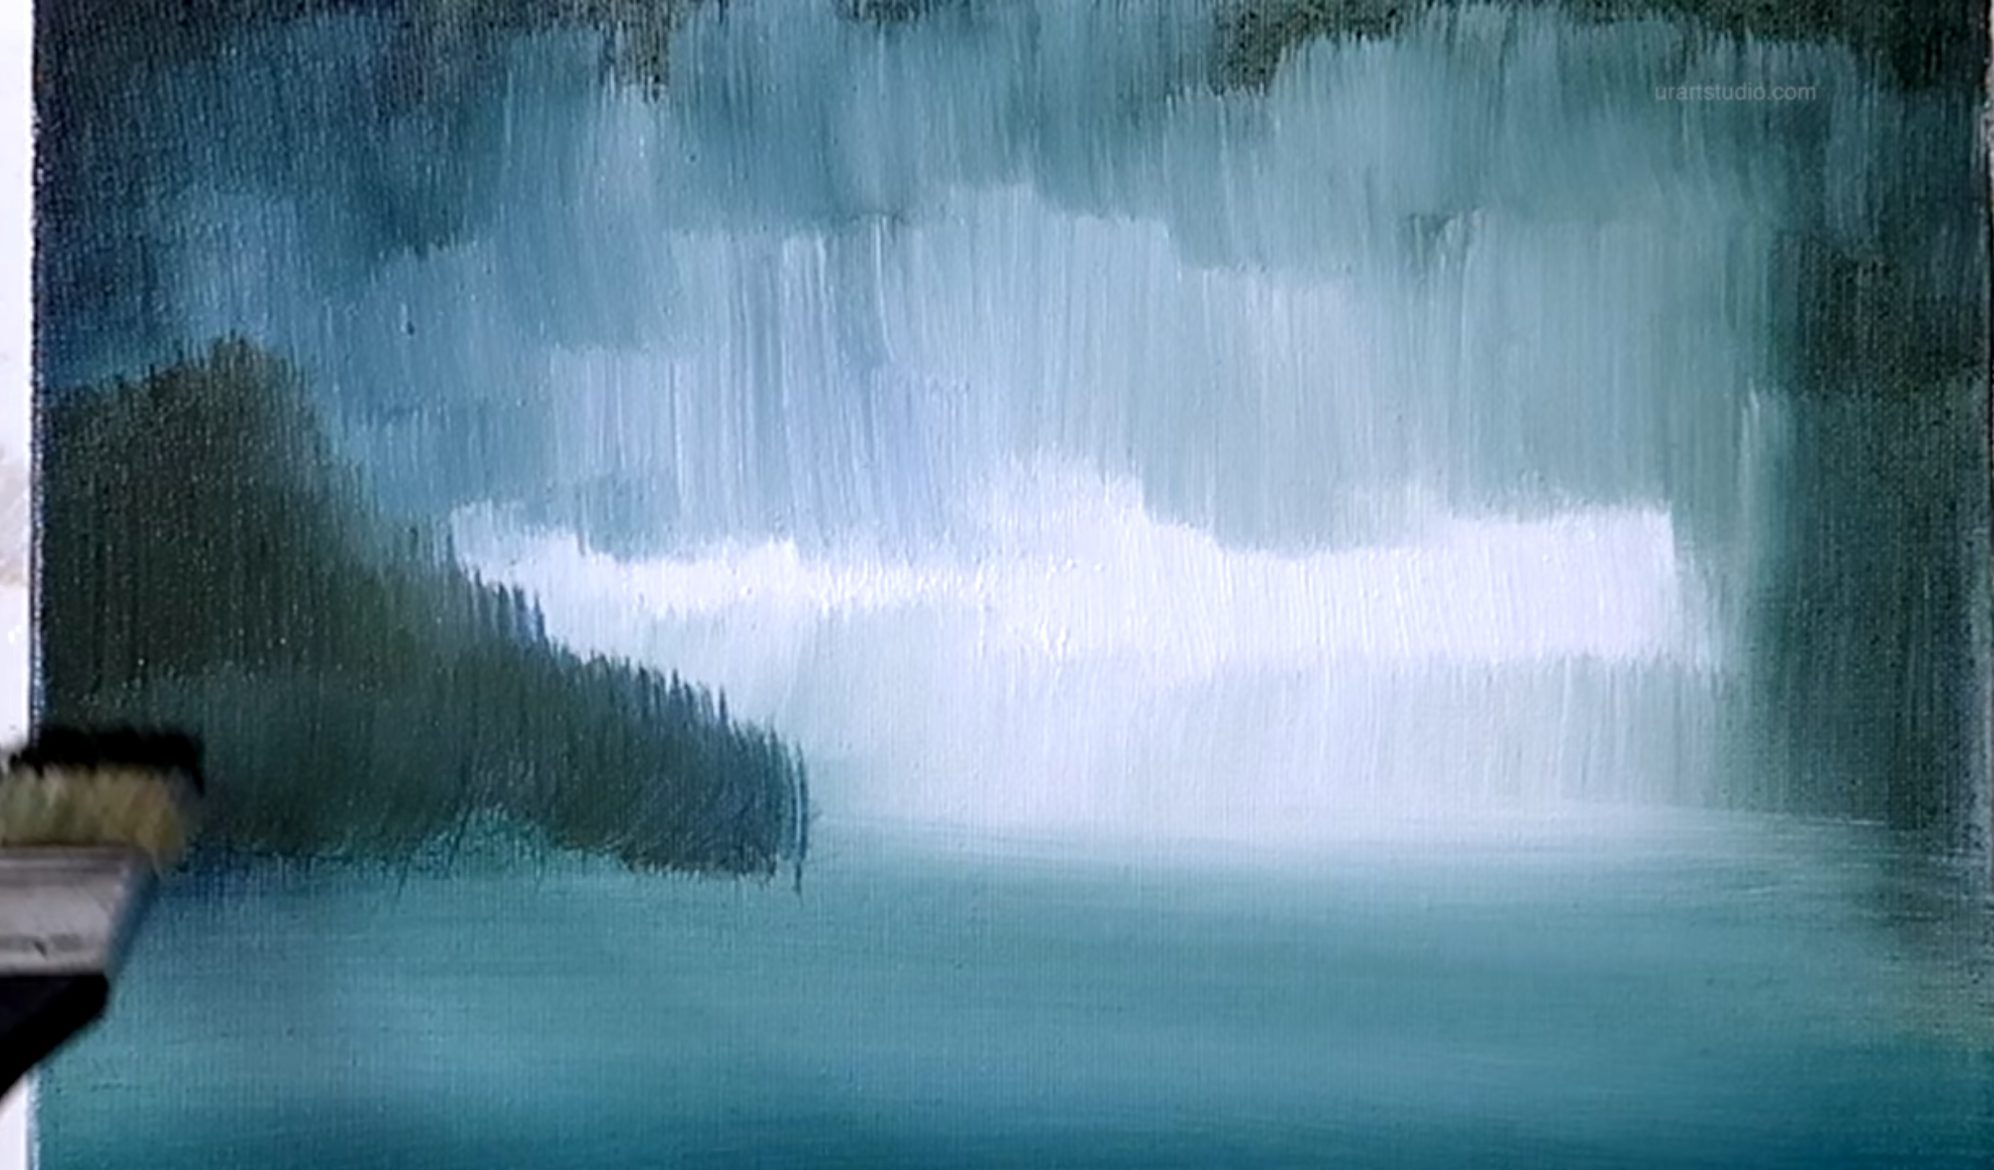
Step 2: Paint the Silhouette of the Mountain
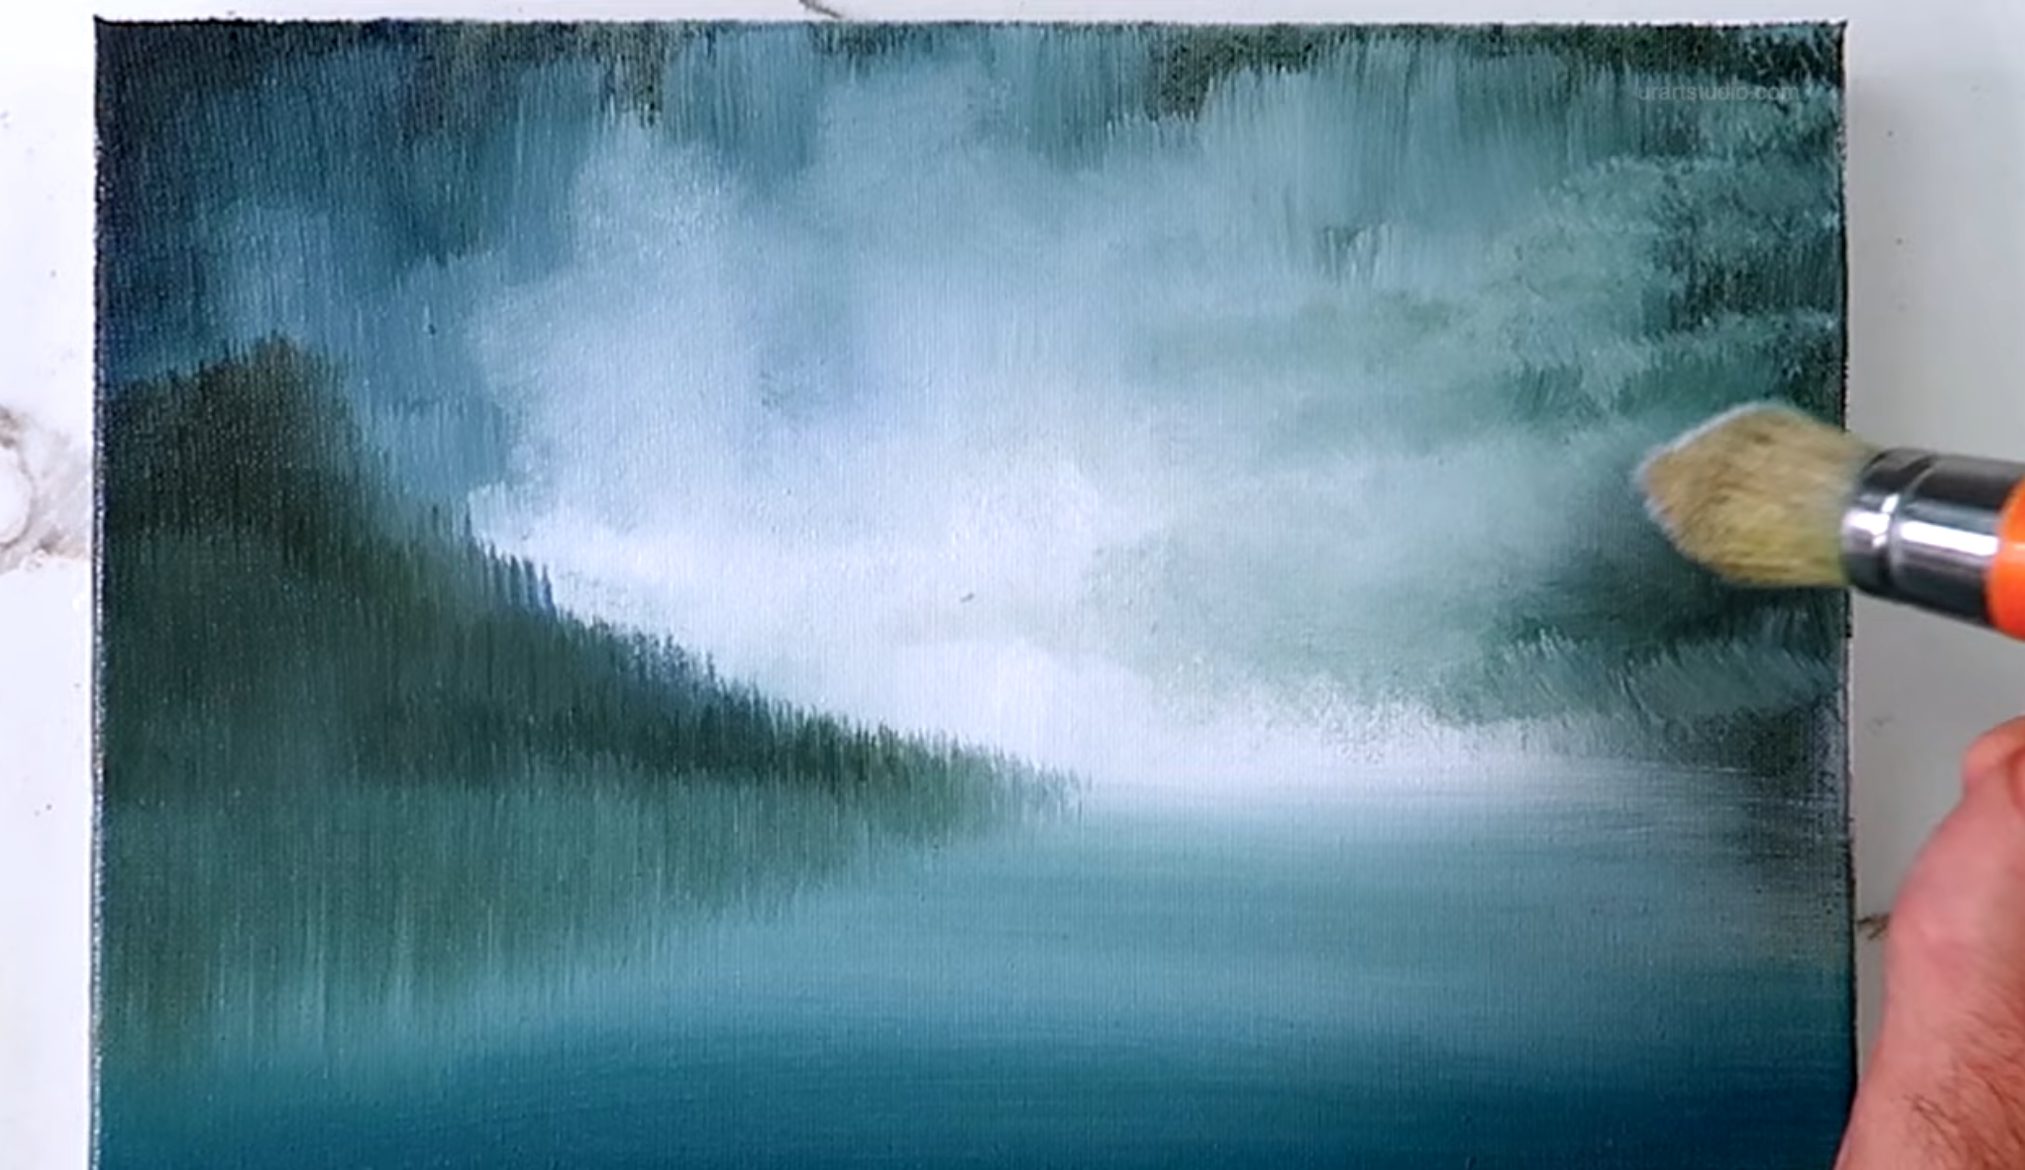
Now, with the dark colors and the same number four square brush, let’s paint the silhouette of a distant mountain. Picture the serene landscape taking shape as you gently blend the mountain outline into the background.
Next, grab a big pointed oval brush and, using a soft tapping motion, blend the colors at the edges of your mountain. This technique will soften the edges and create a sense of atmospheric depth. Remember to wipe your brush on a clean paper towel between strokes to keep your colors vibrant and clean.
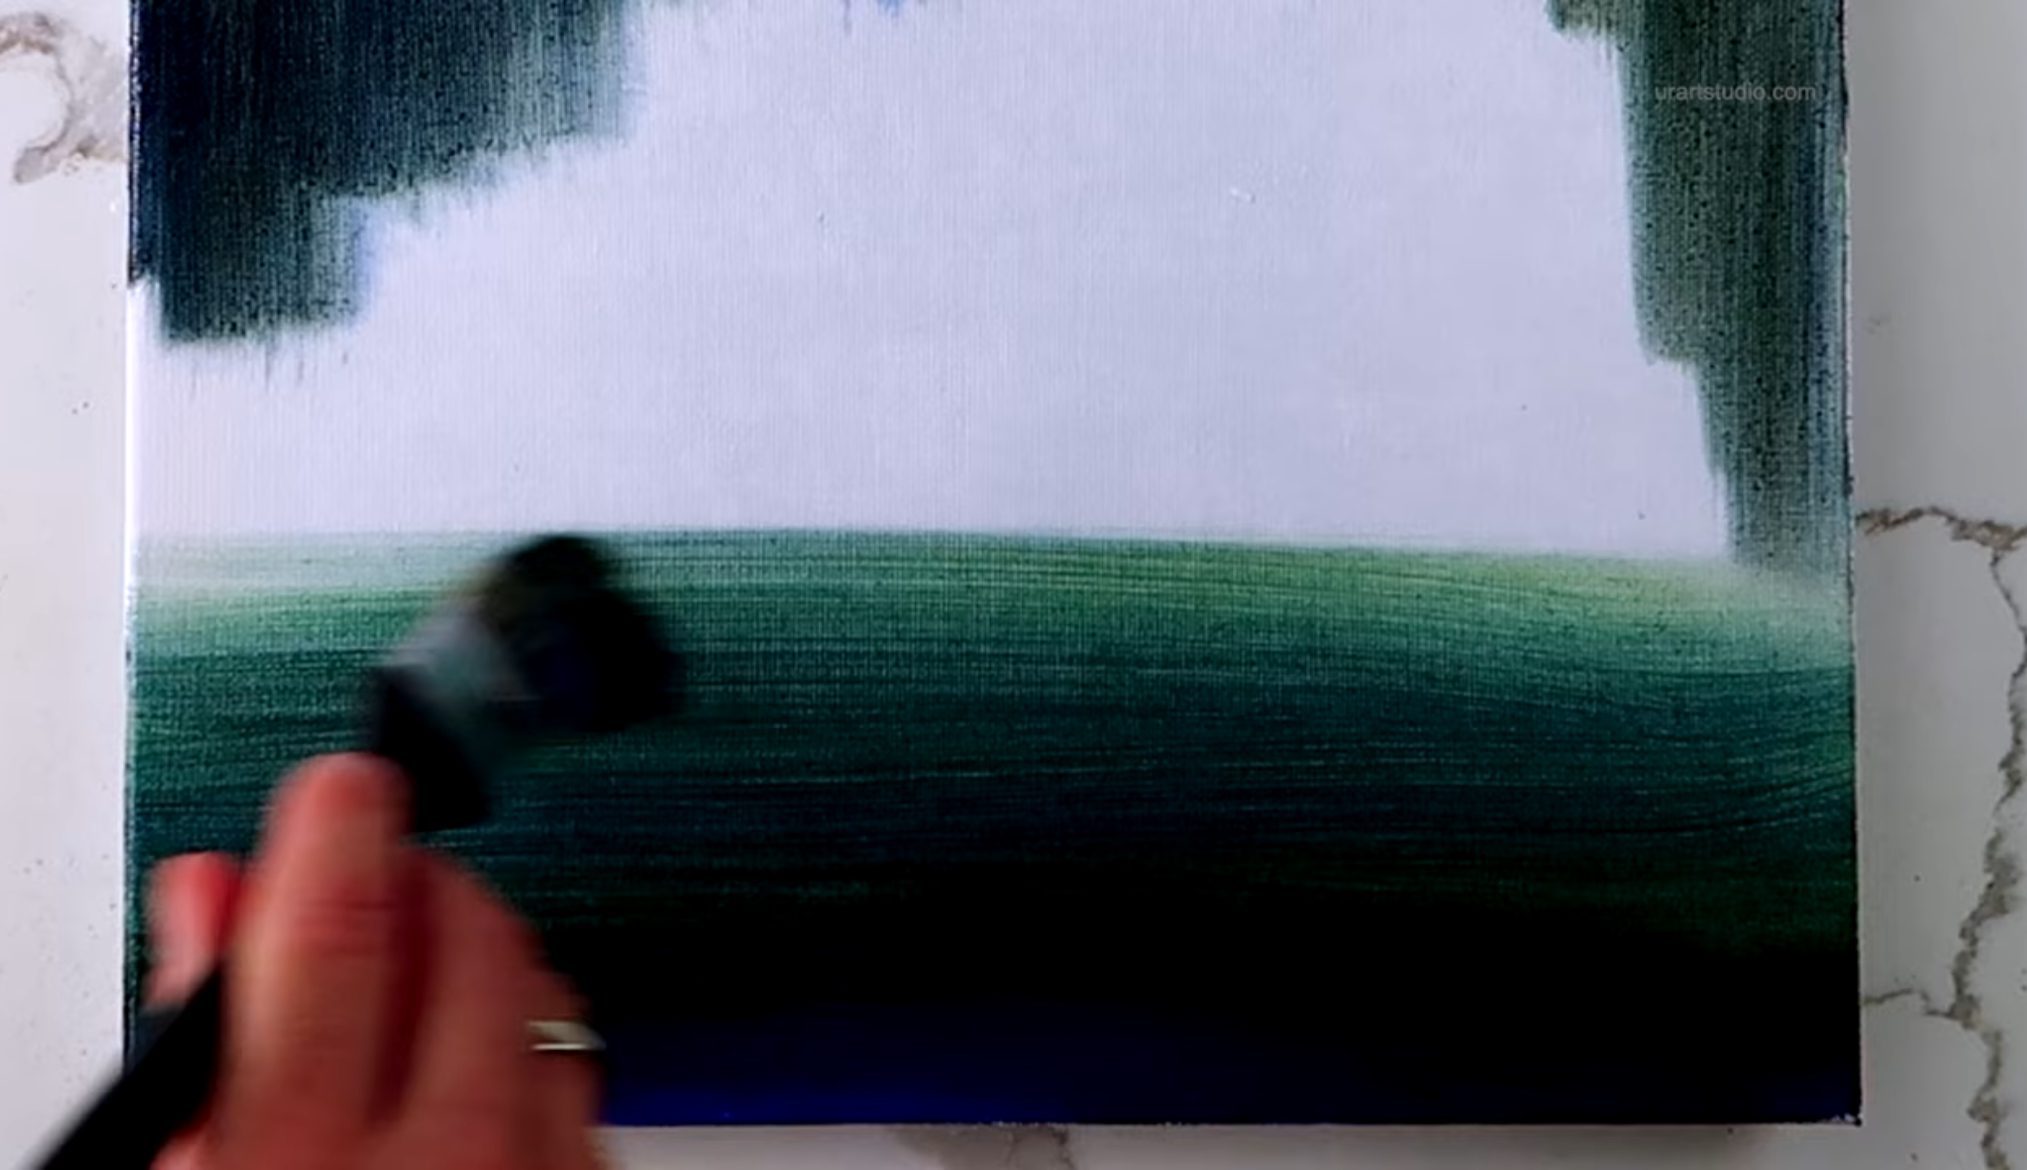
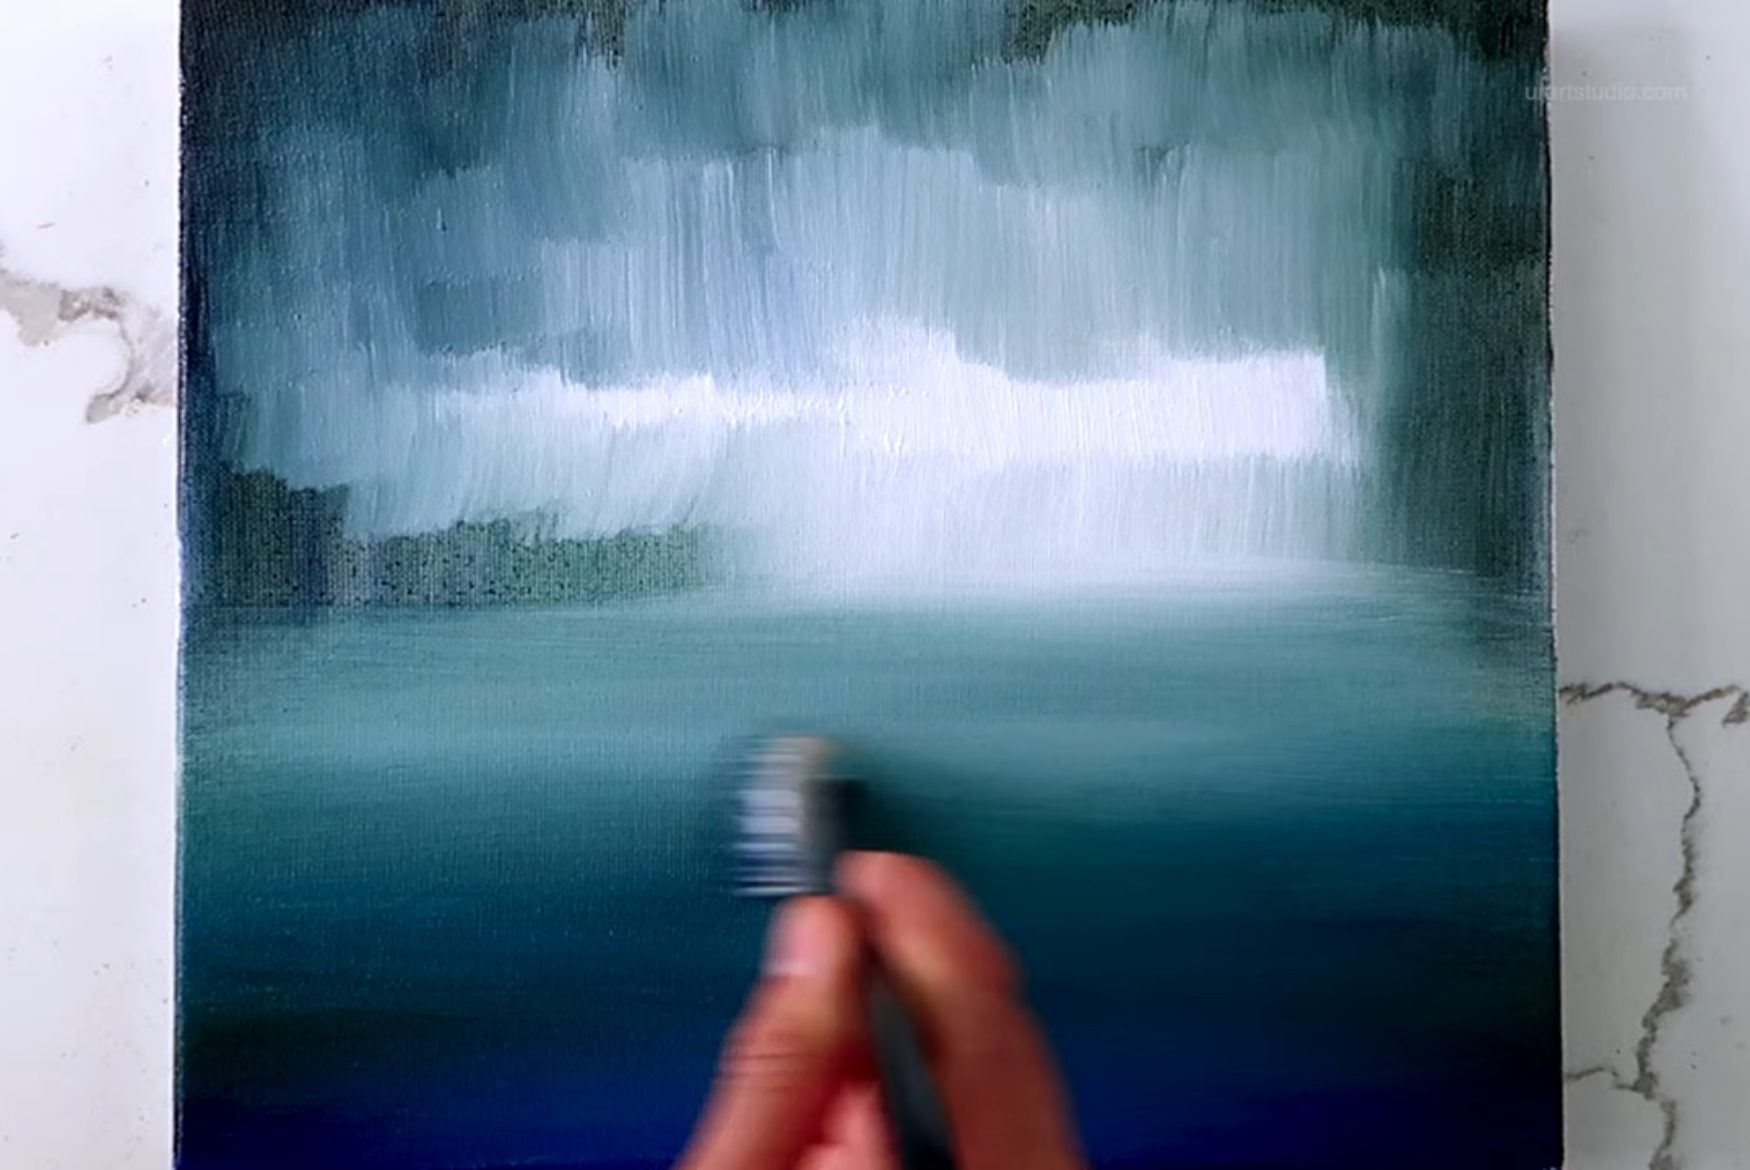
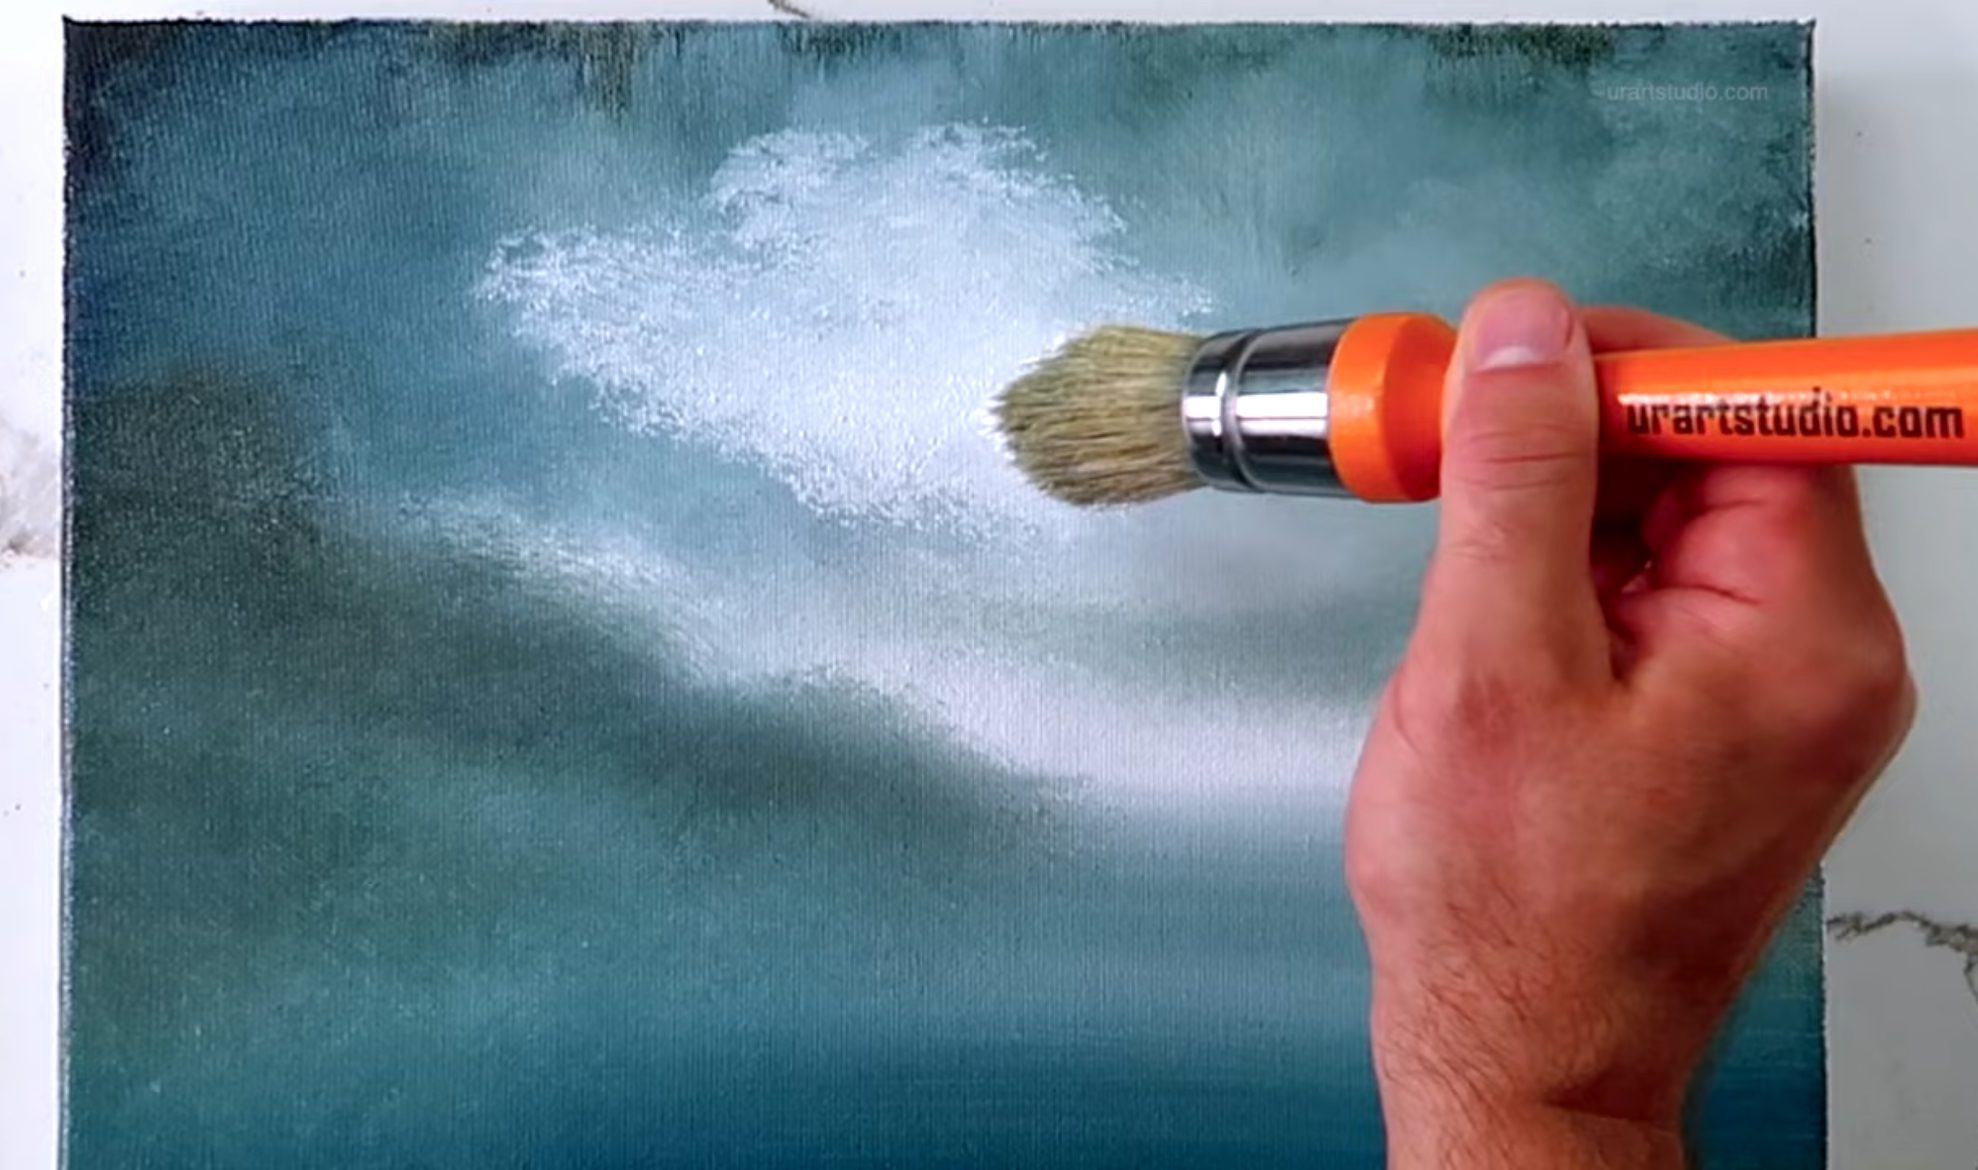
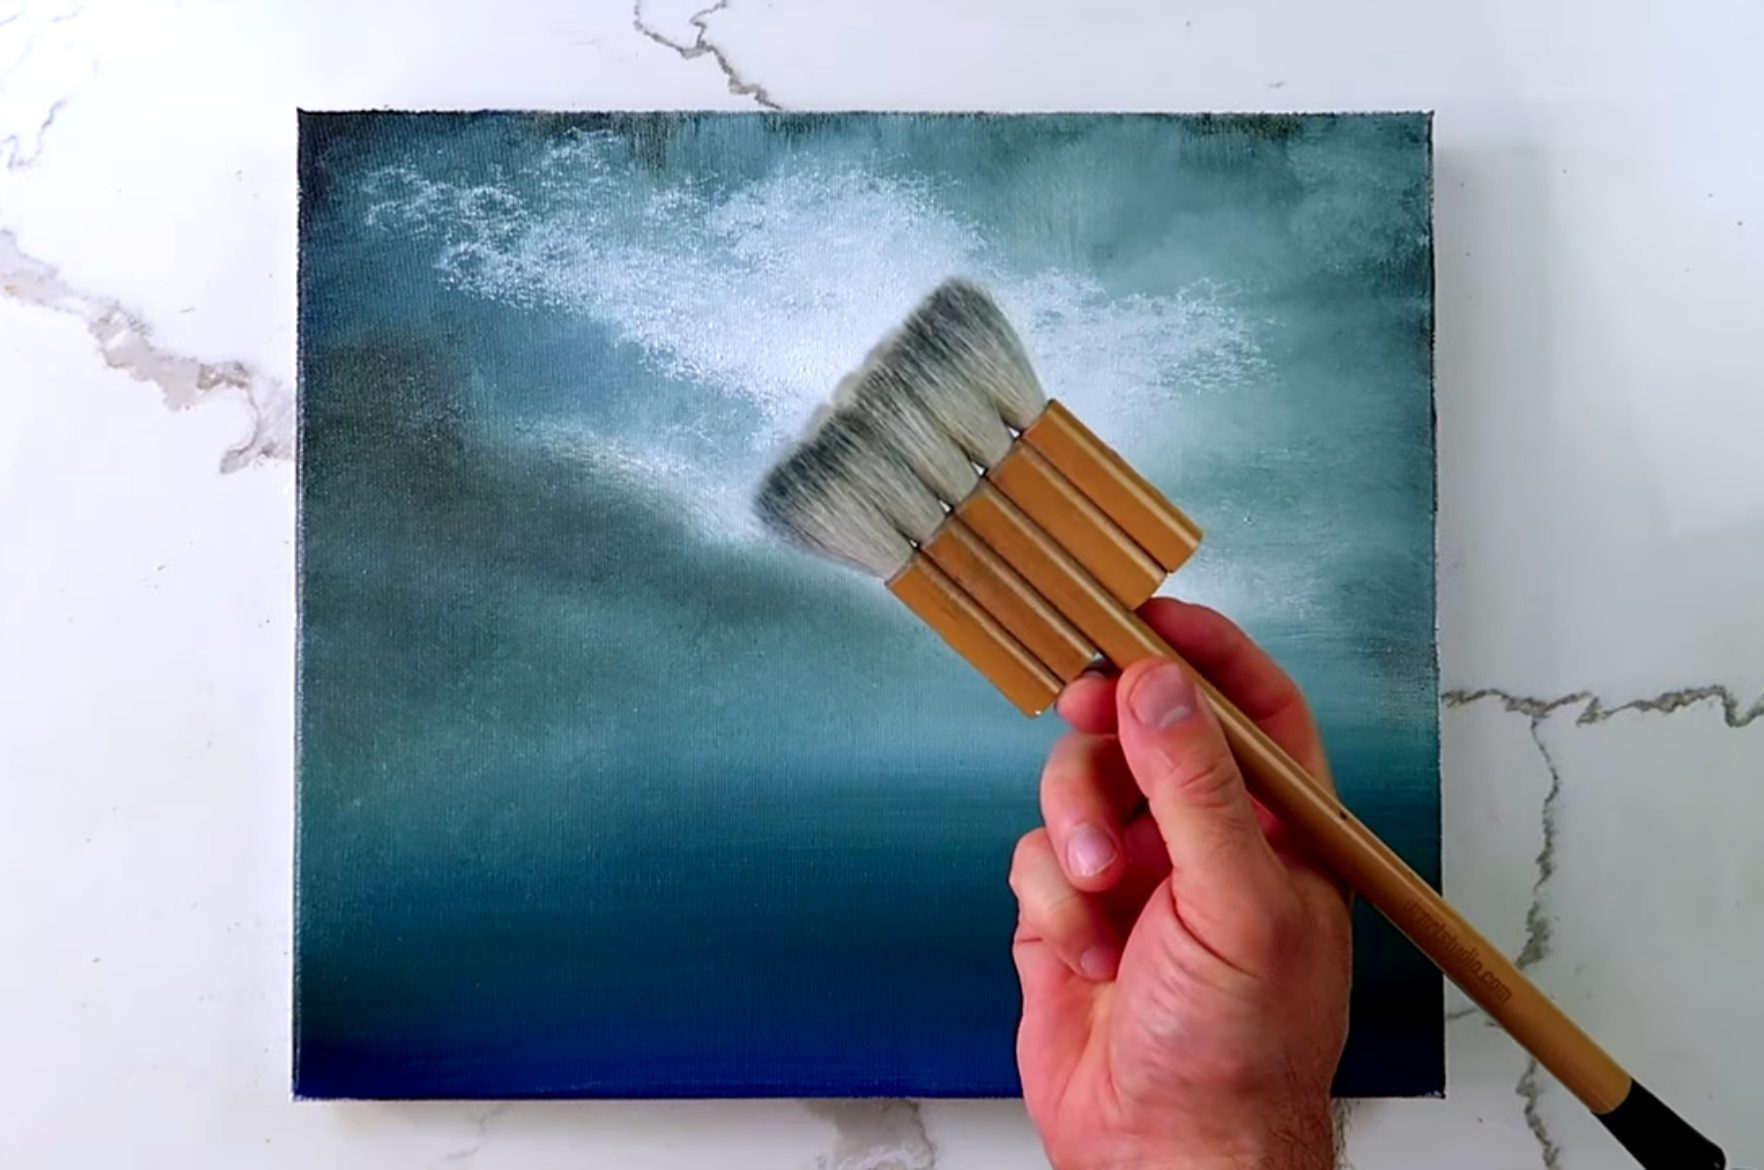
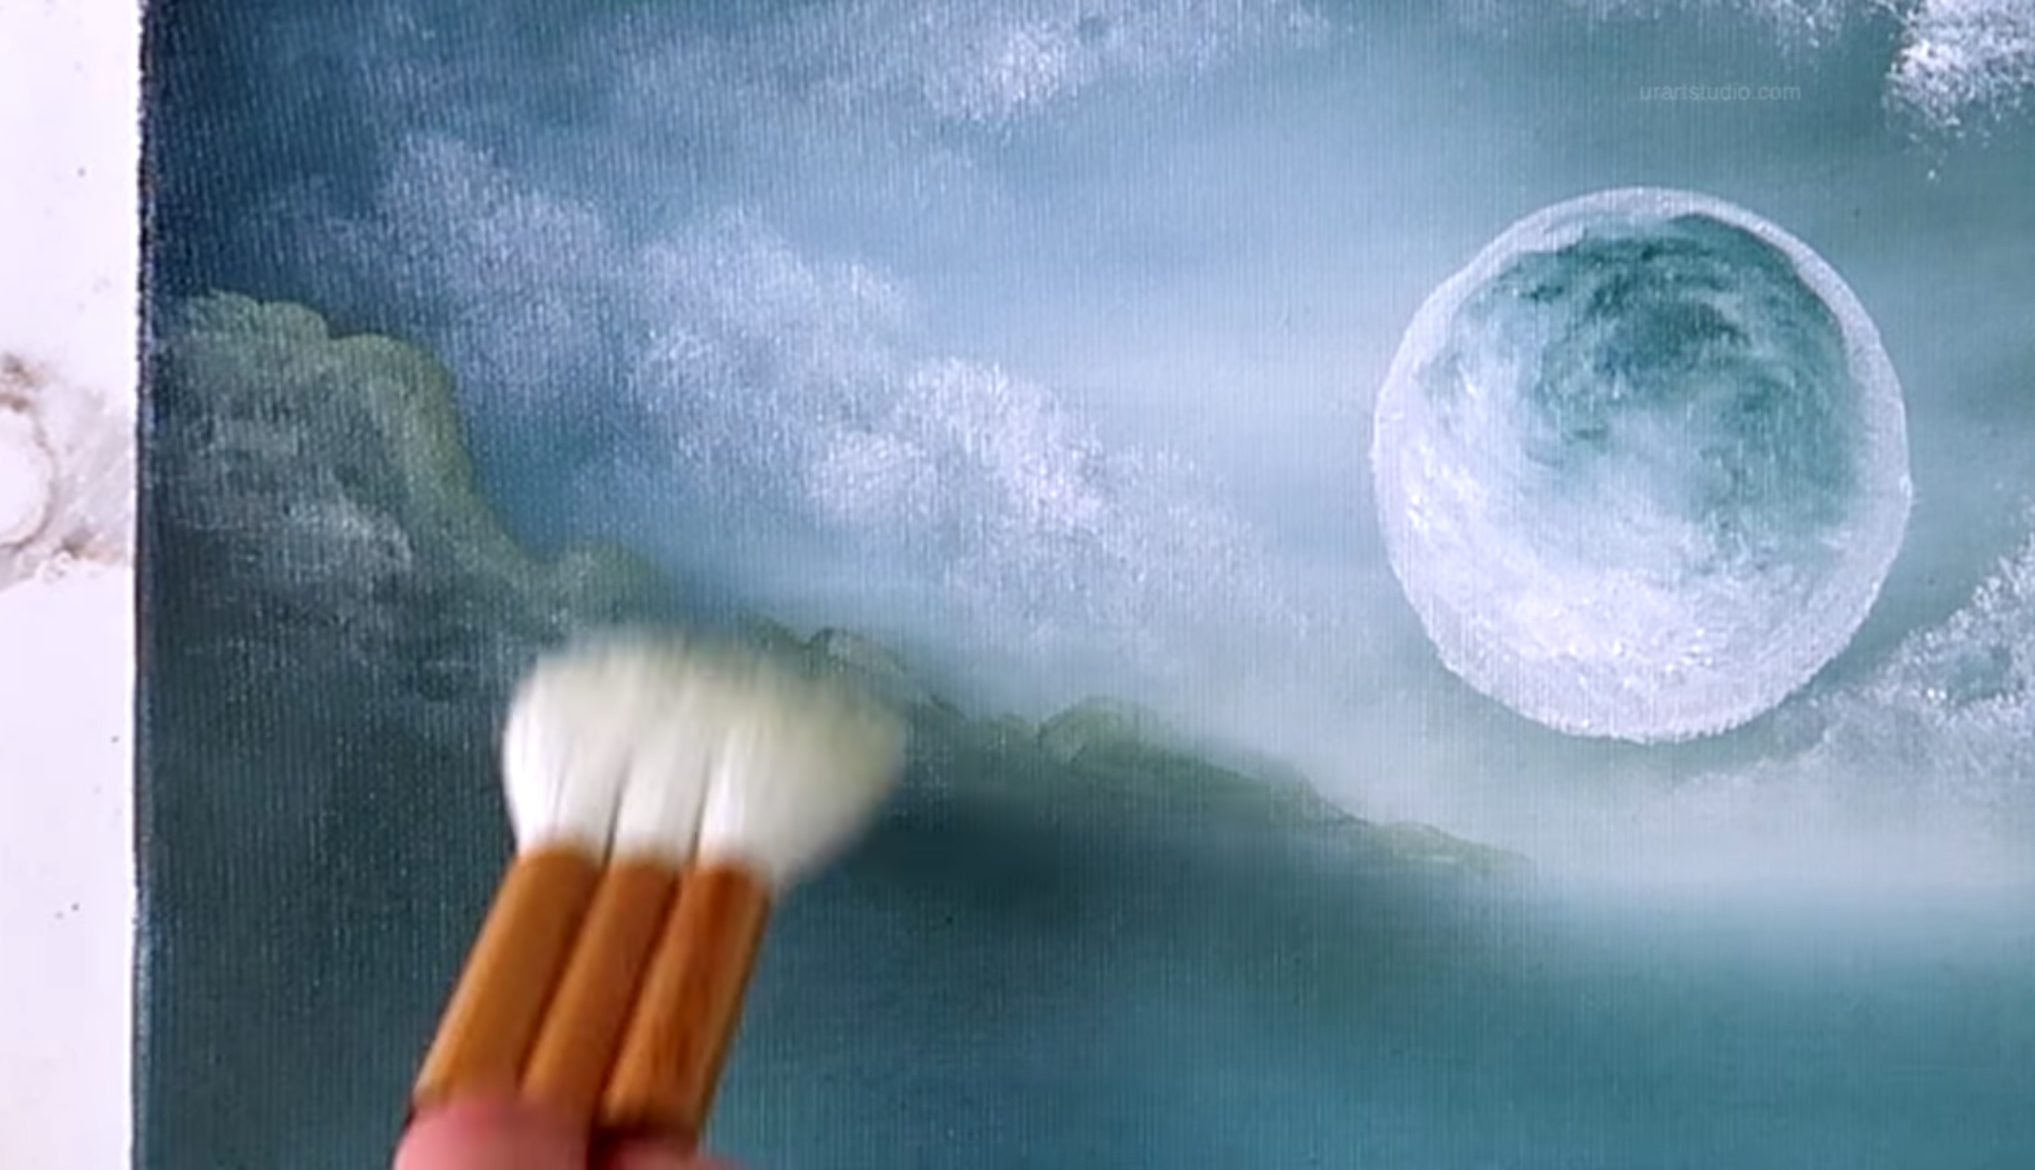
Step 3: Blend the Background
Time to bring out our ultra-soft blending brush! Let’s blend the entire canvas, removing any visible brush marks. This step will give your background a smooth and soft finish, making it look like a beautifully painted scene. Feel free to apply gentle pressure, and move the brush in both vertical and horizontal motions for an even blend.
If you’d like to speed up the process, you can use a hairdryer or heat gun—just be careful to not damage your artwork!
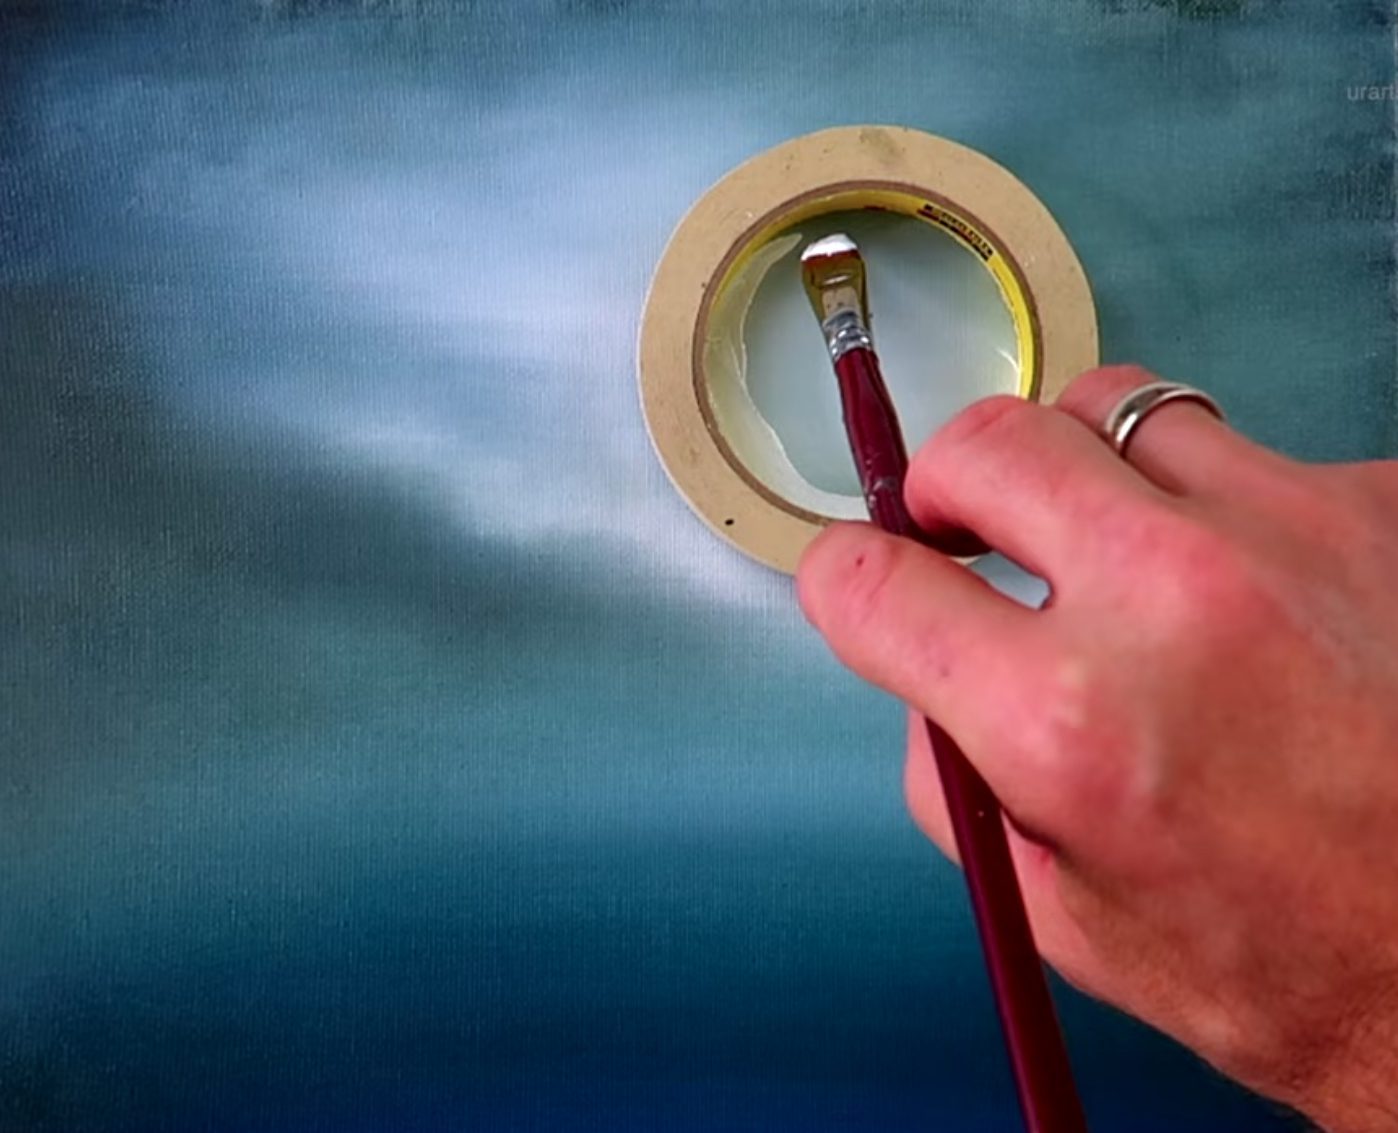
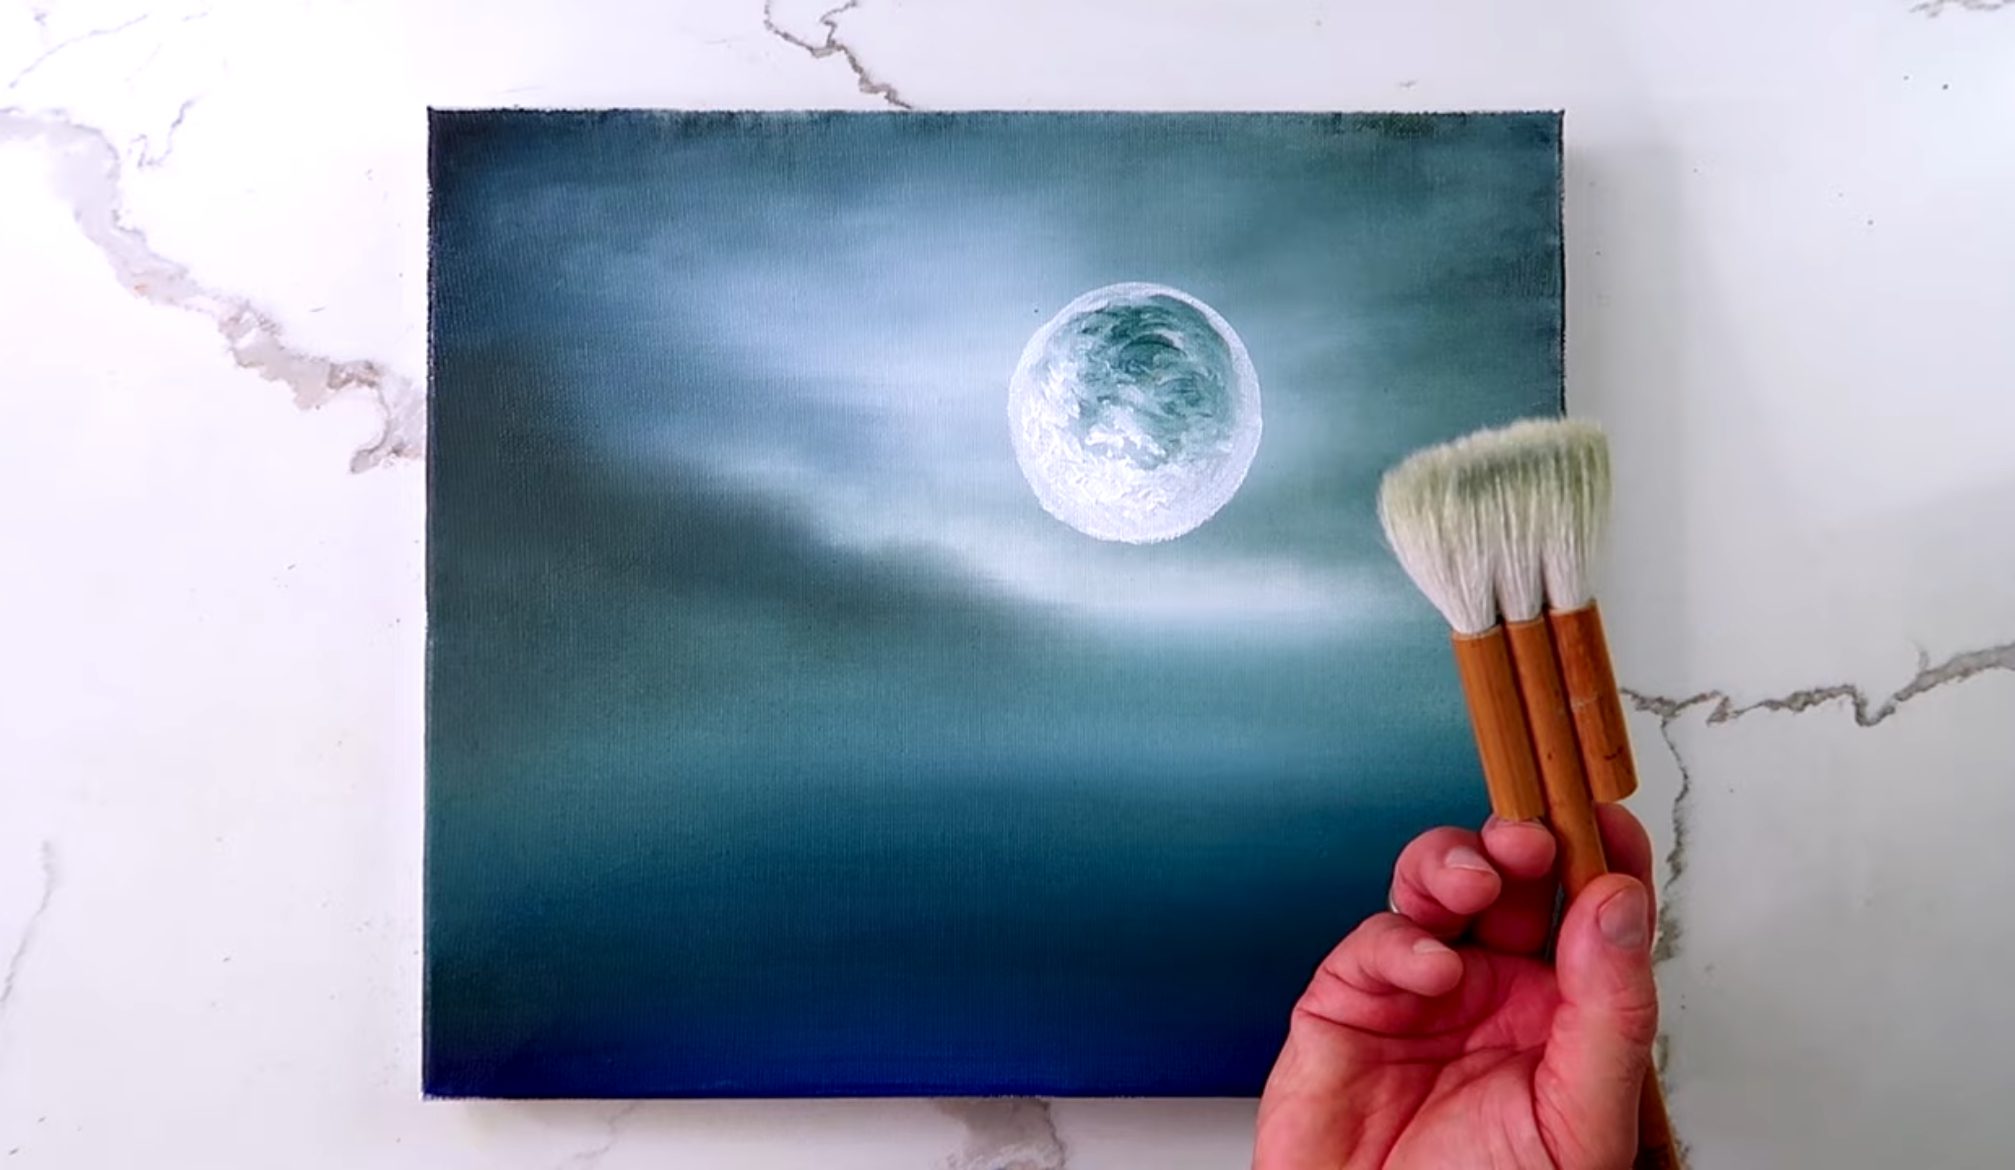
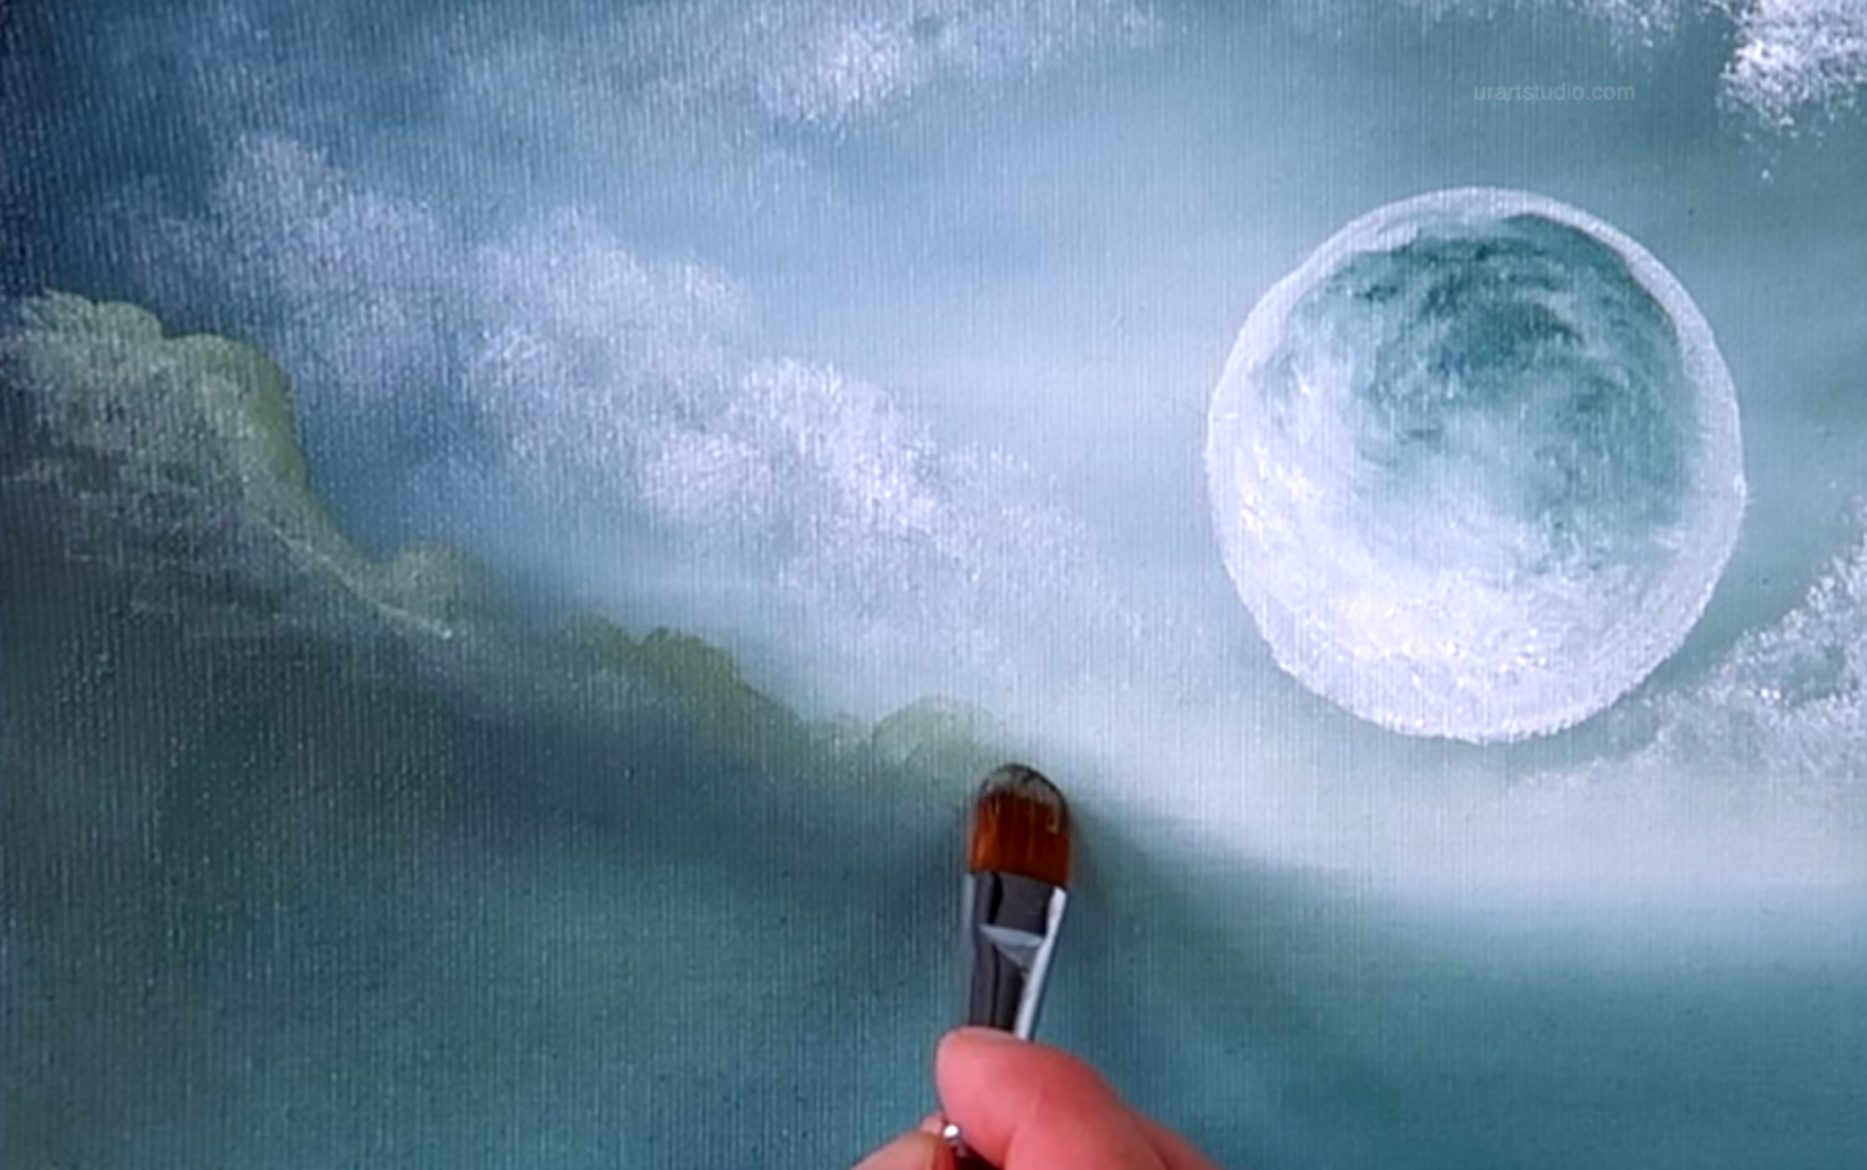
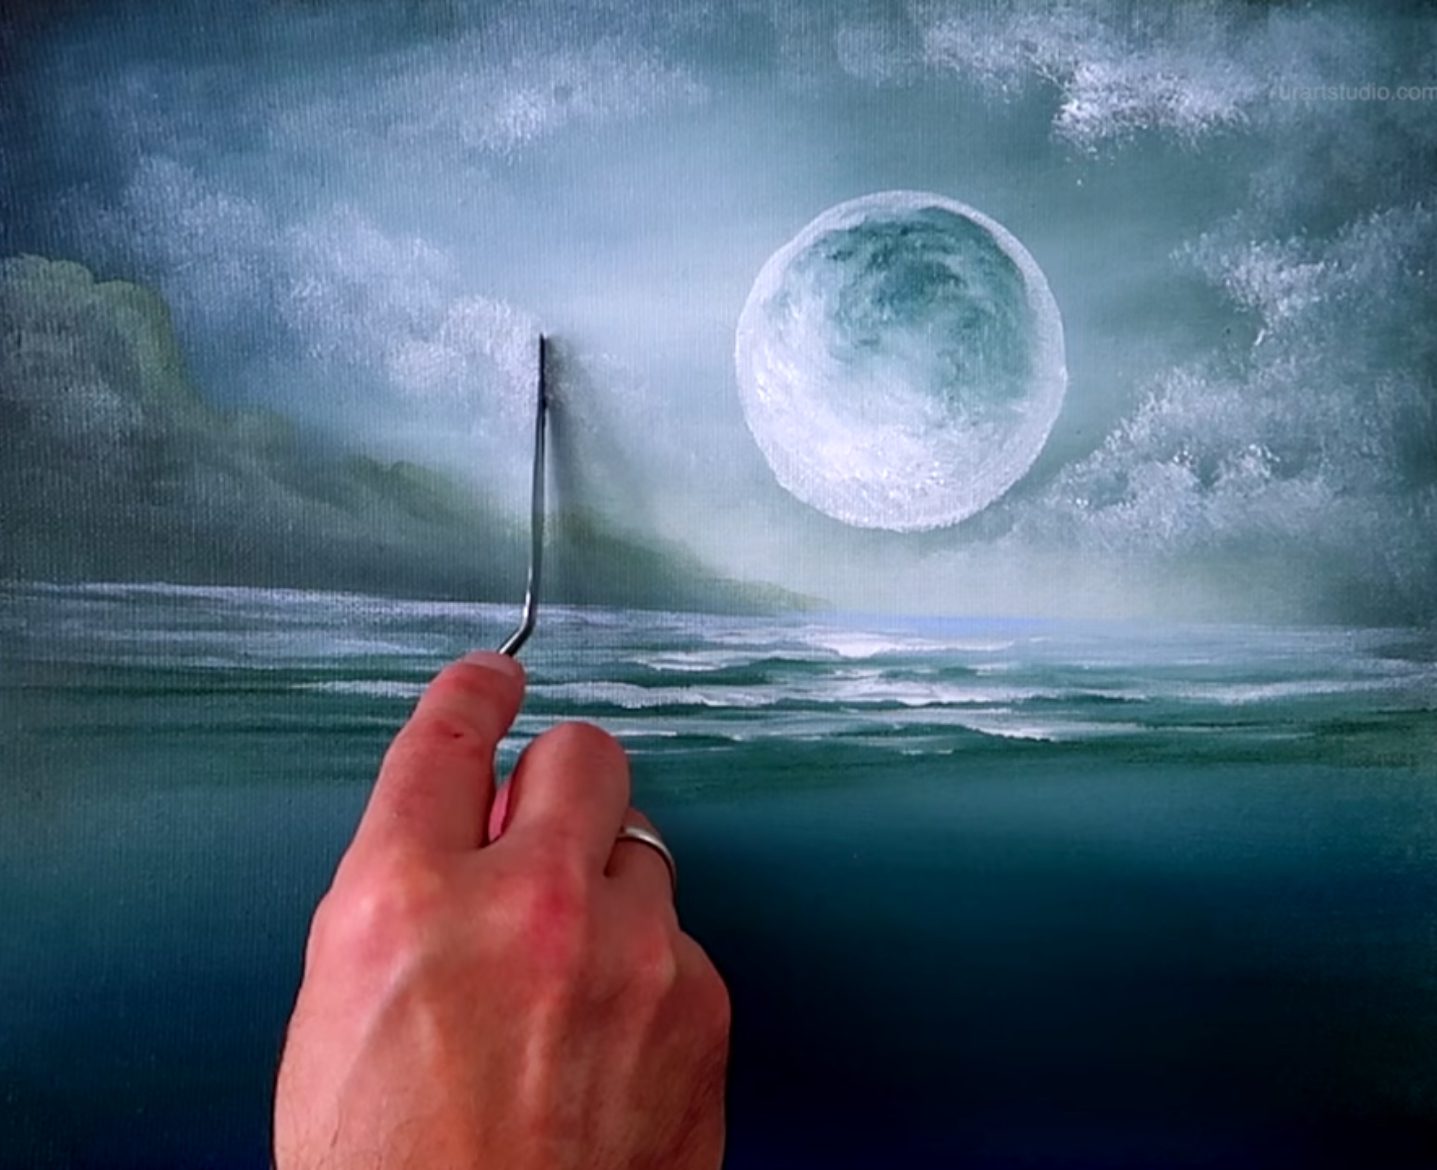
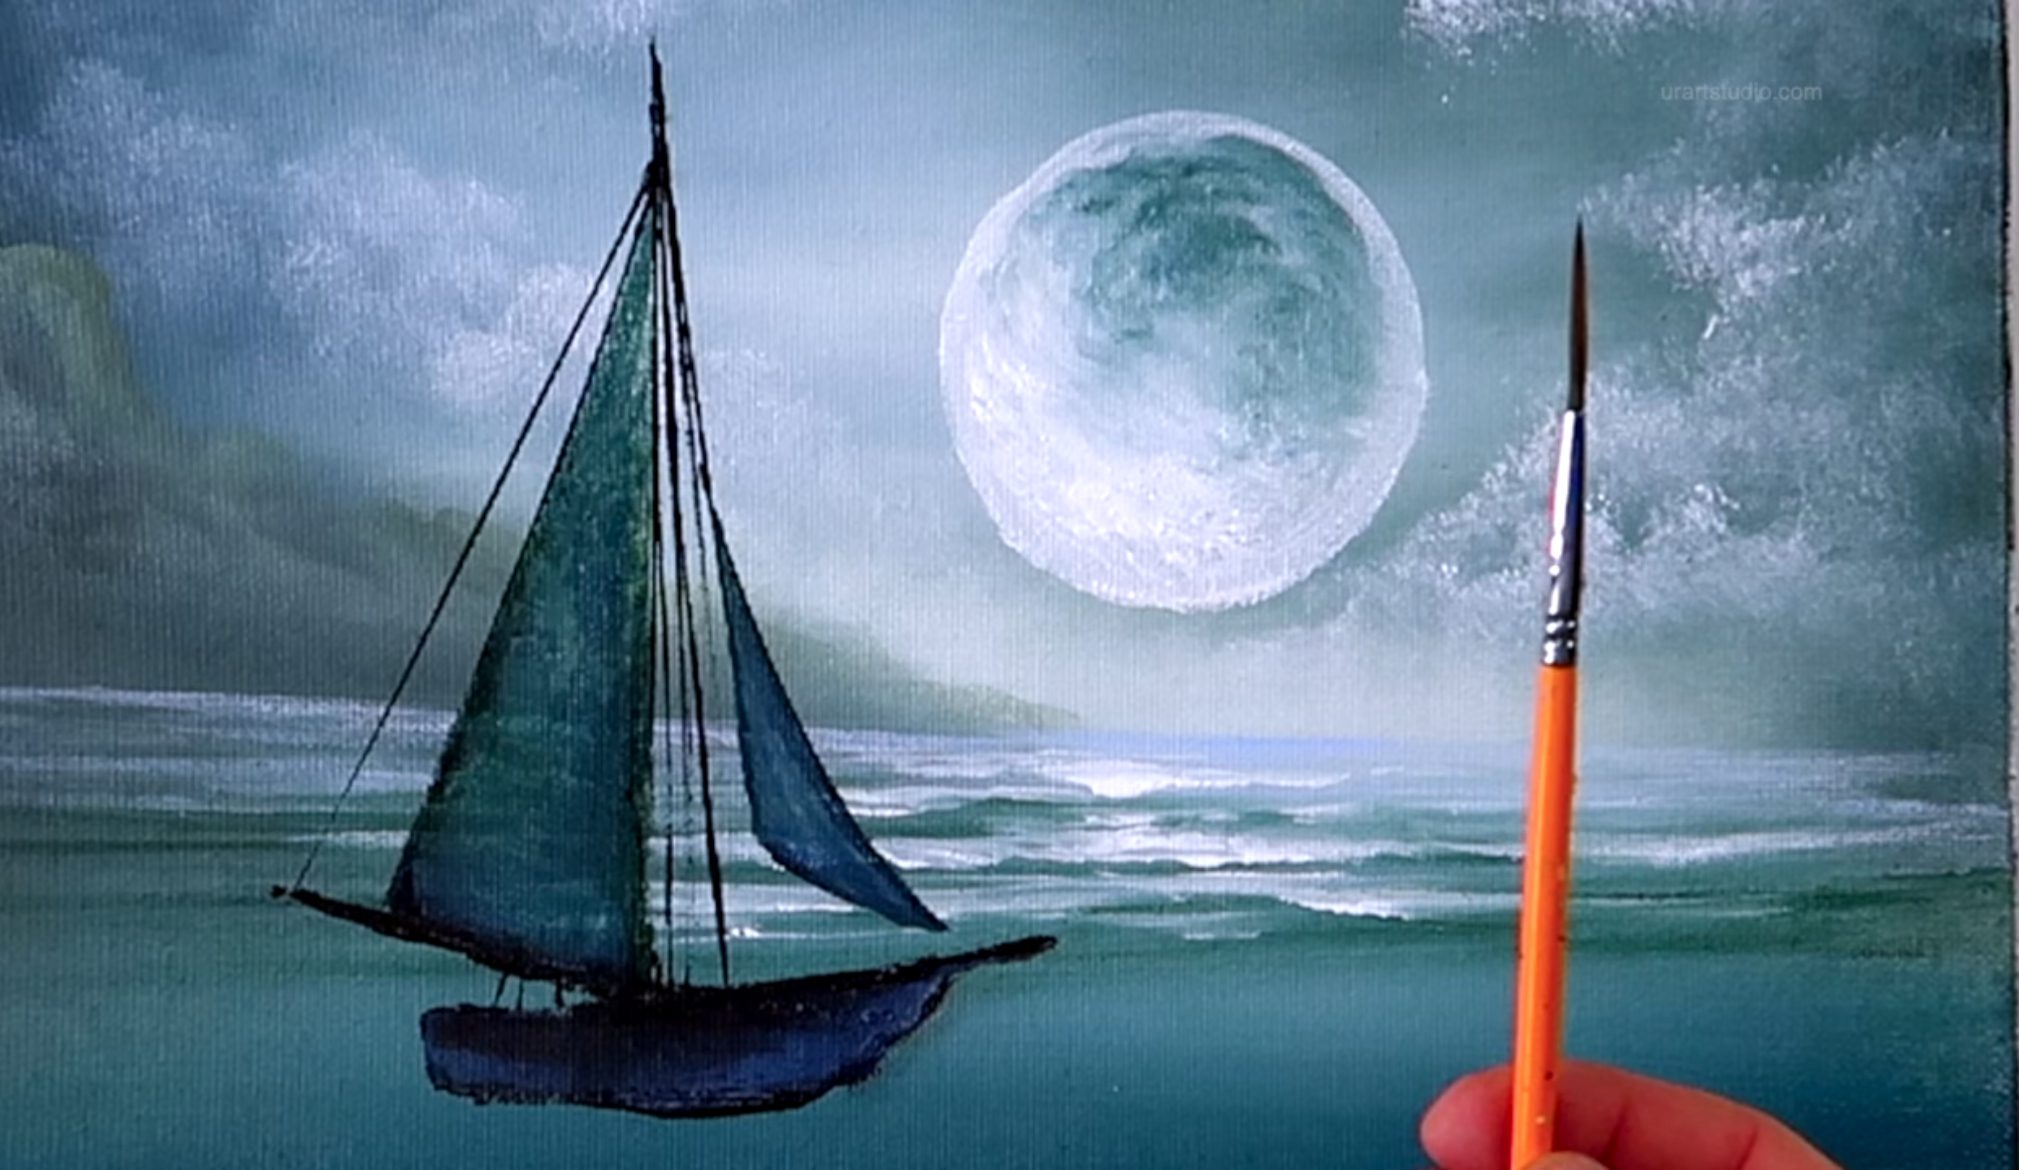
Step 4: Add the Moon
Now for a fun part! Using a circular object like masking tape, let’s define the moon’s silhouette in the sky. With your filbert brush and white paint, gently outline the moon in the reserved area.
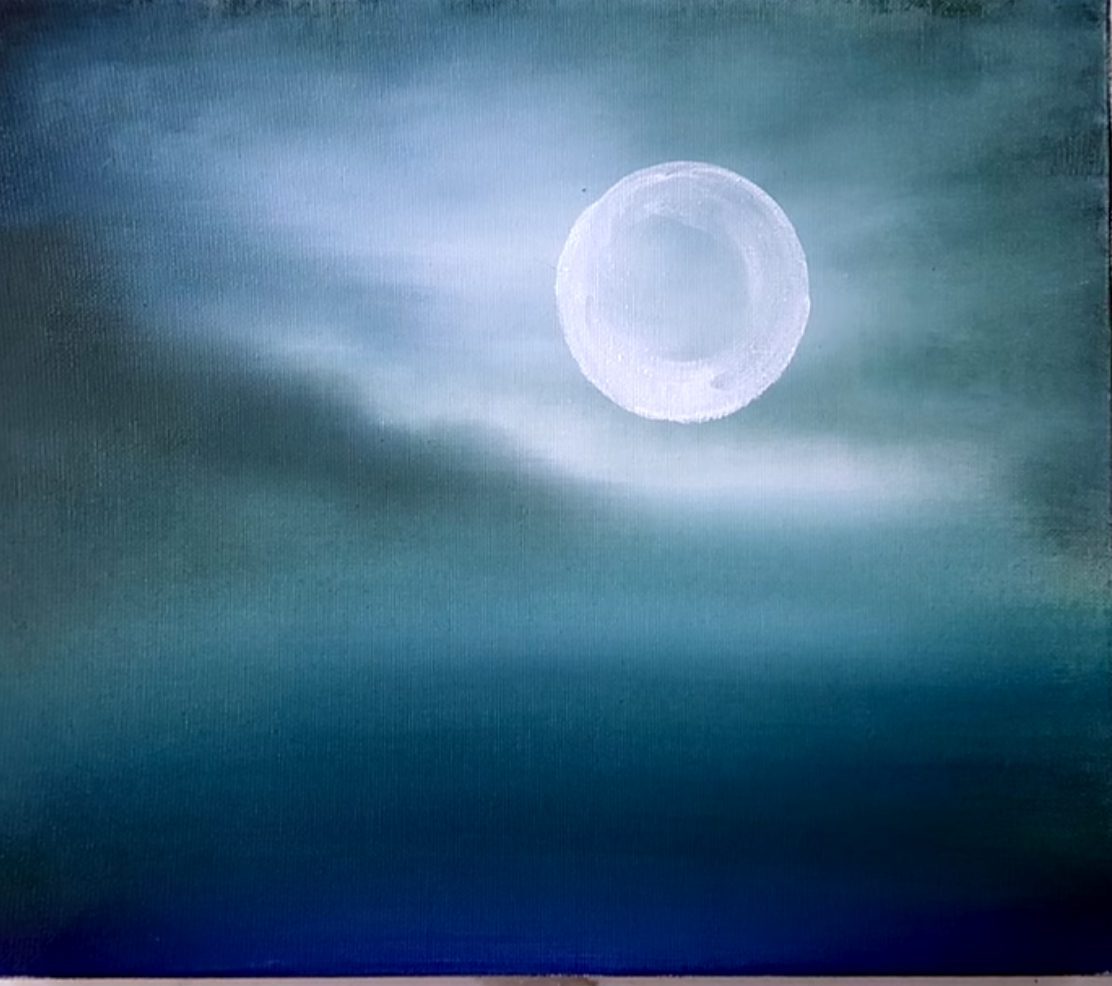
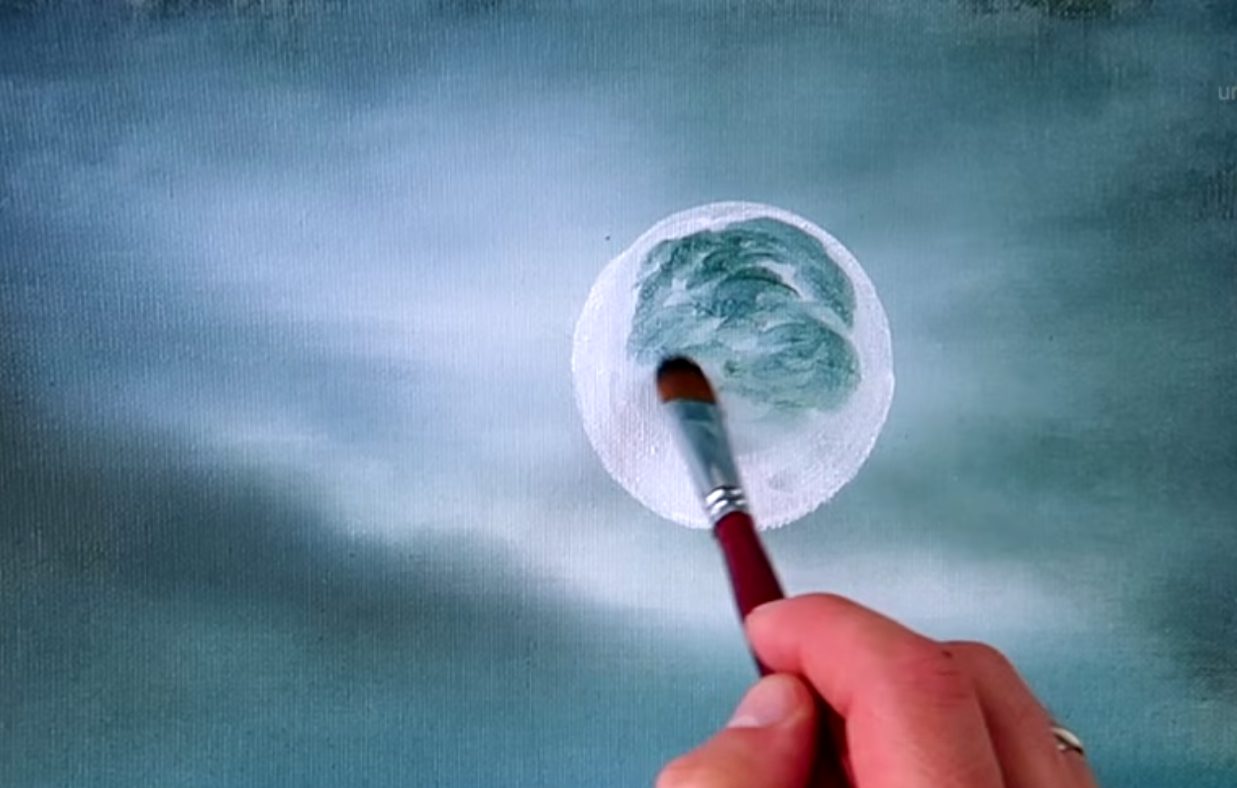
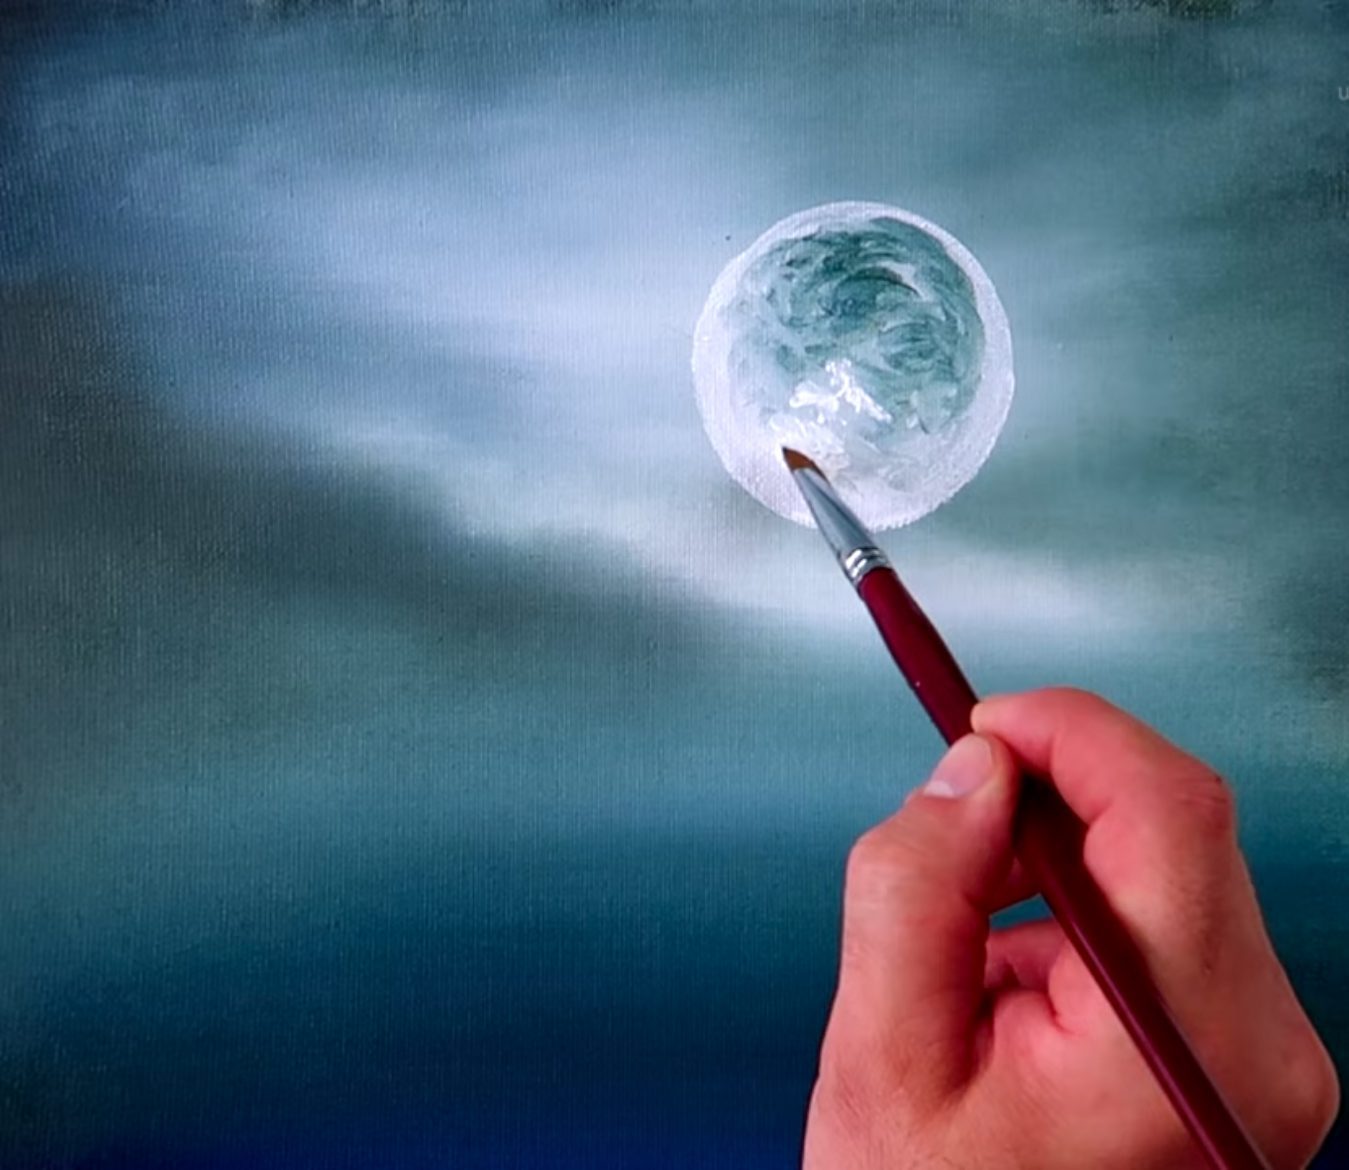
After we have the moon’s outline, fill in the inside with dark silhouettes of crags and mountains, creating depth and interest. Then use your ultra-soft blending brush to softly blend the white and dark areas together, ensuring a smooth transition that mimics the natural look of the moon.
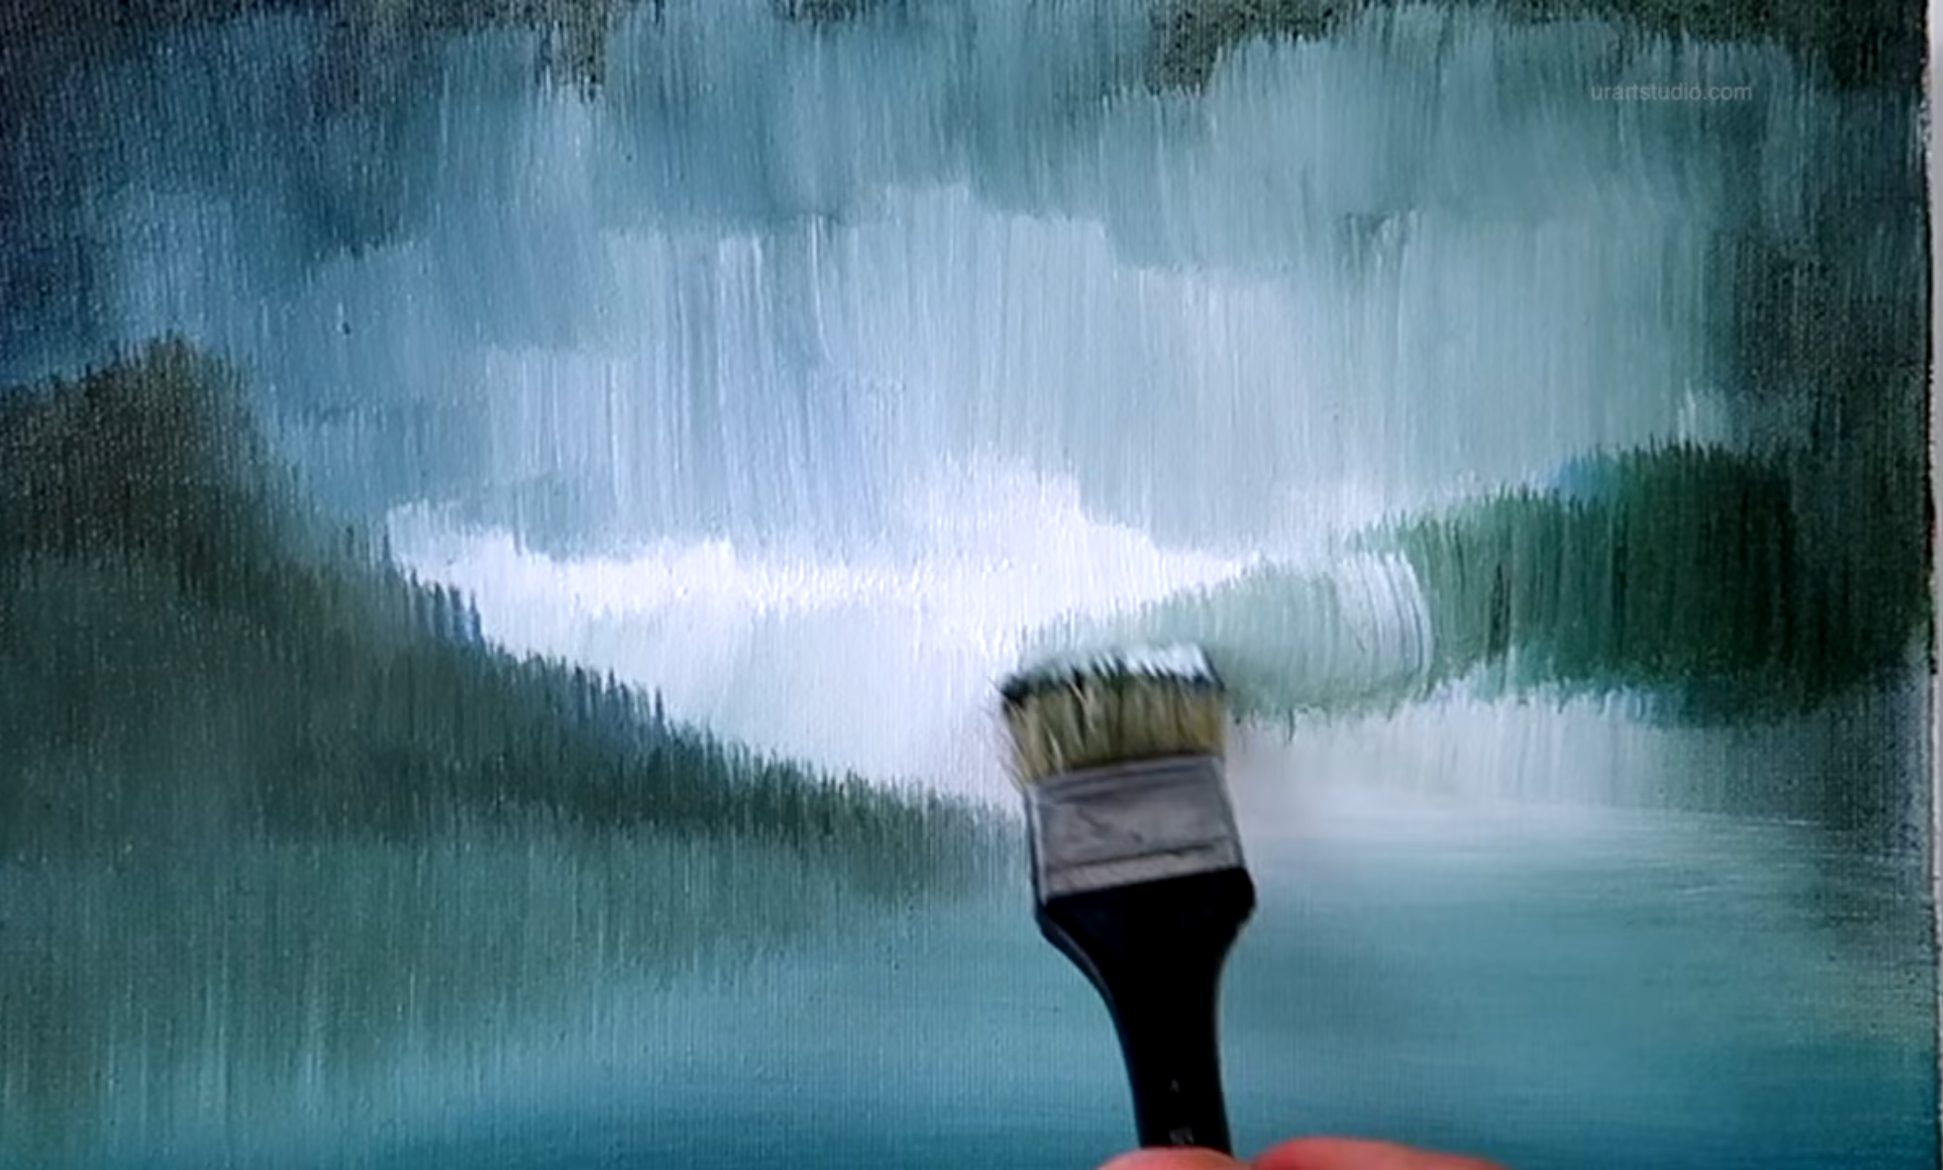
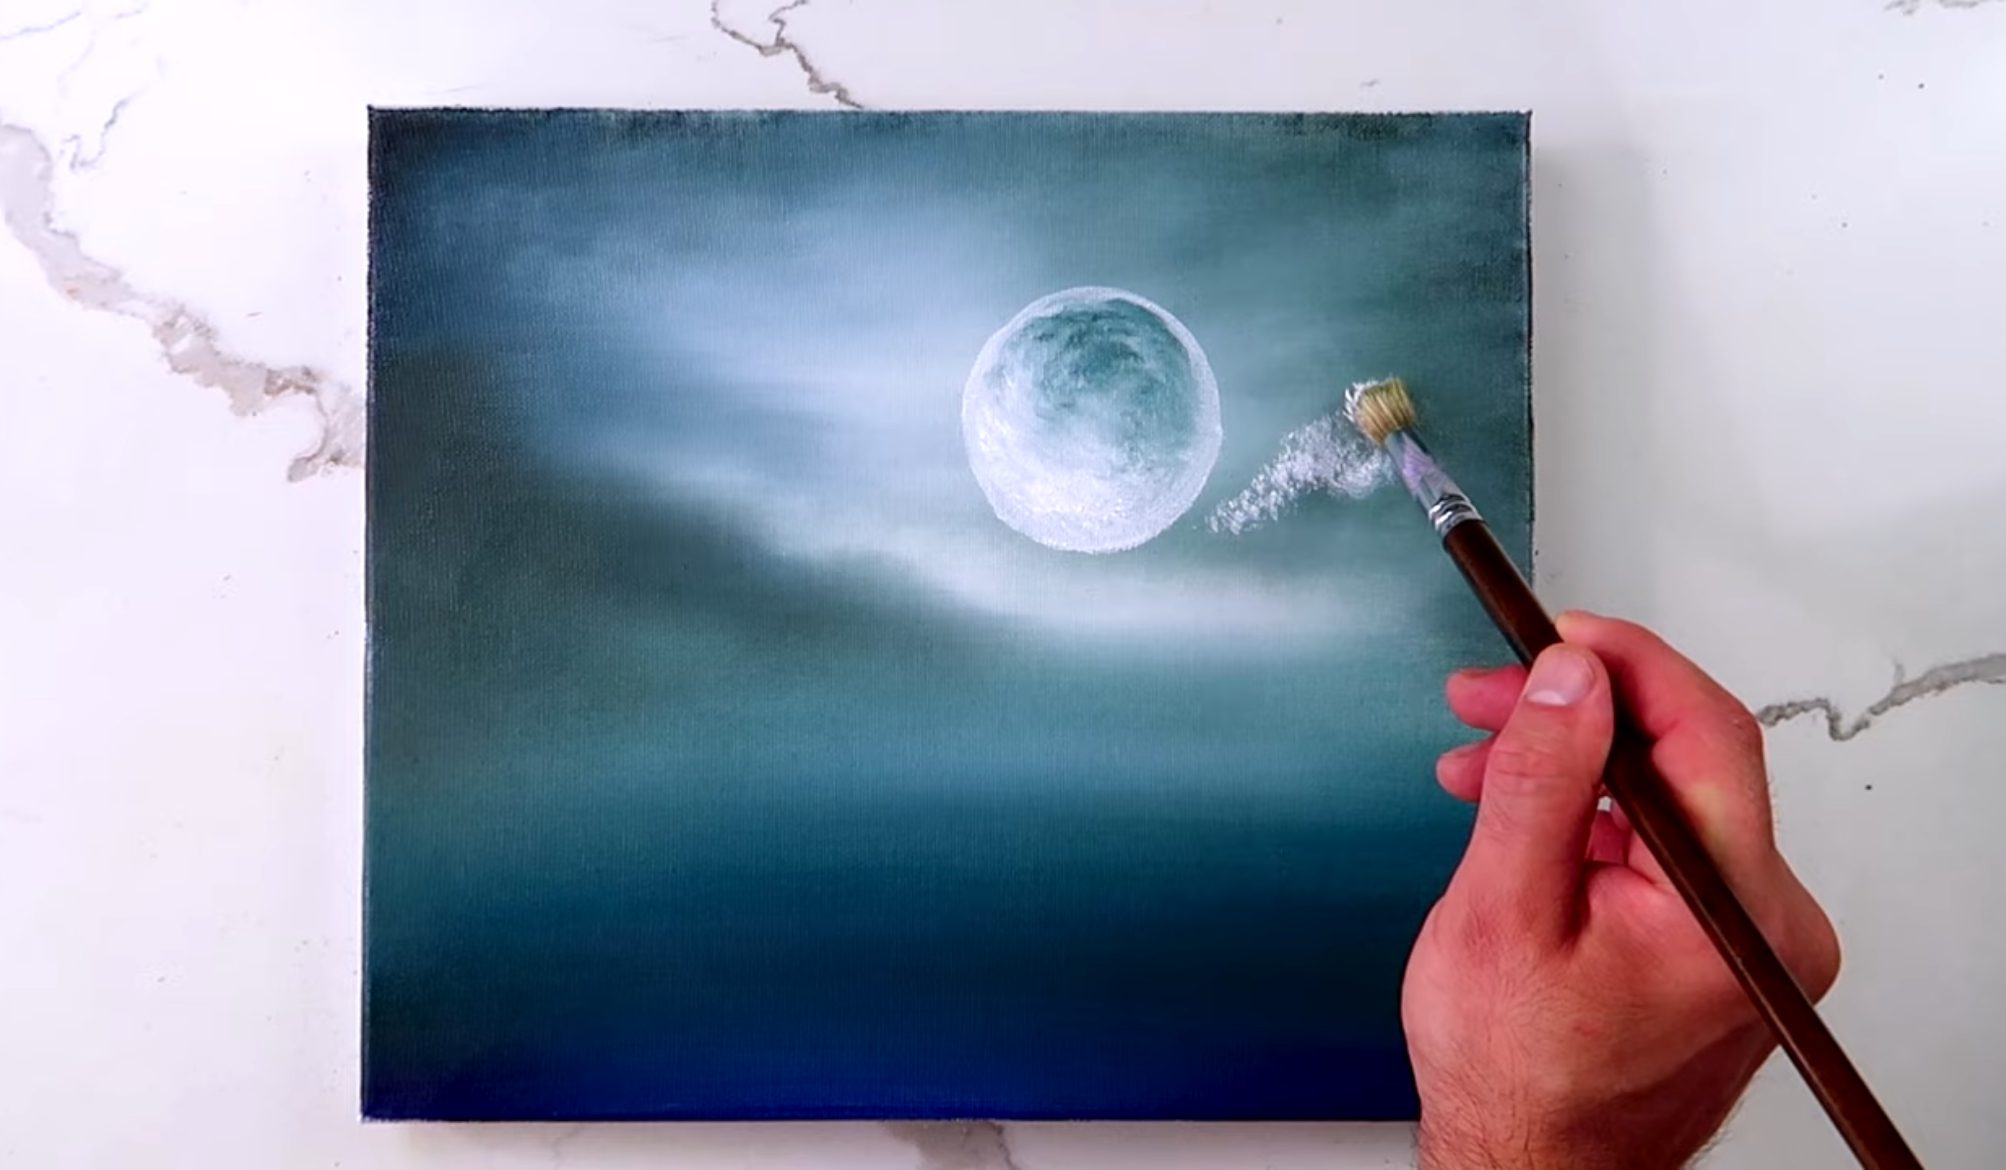
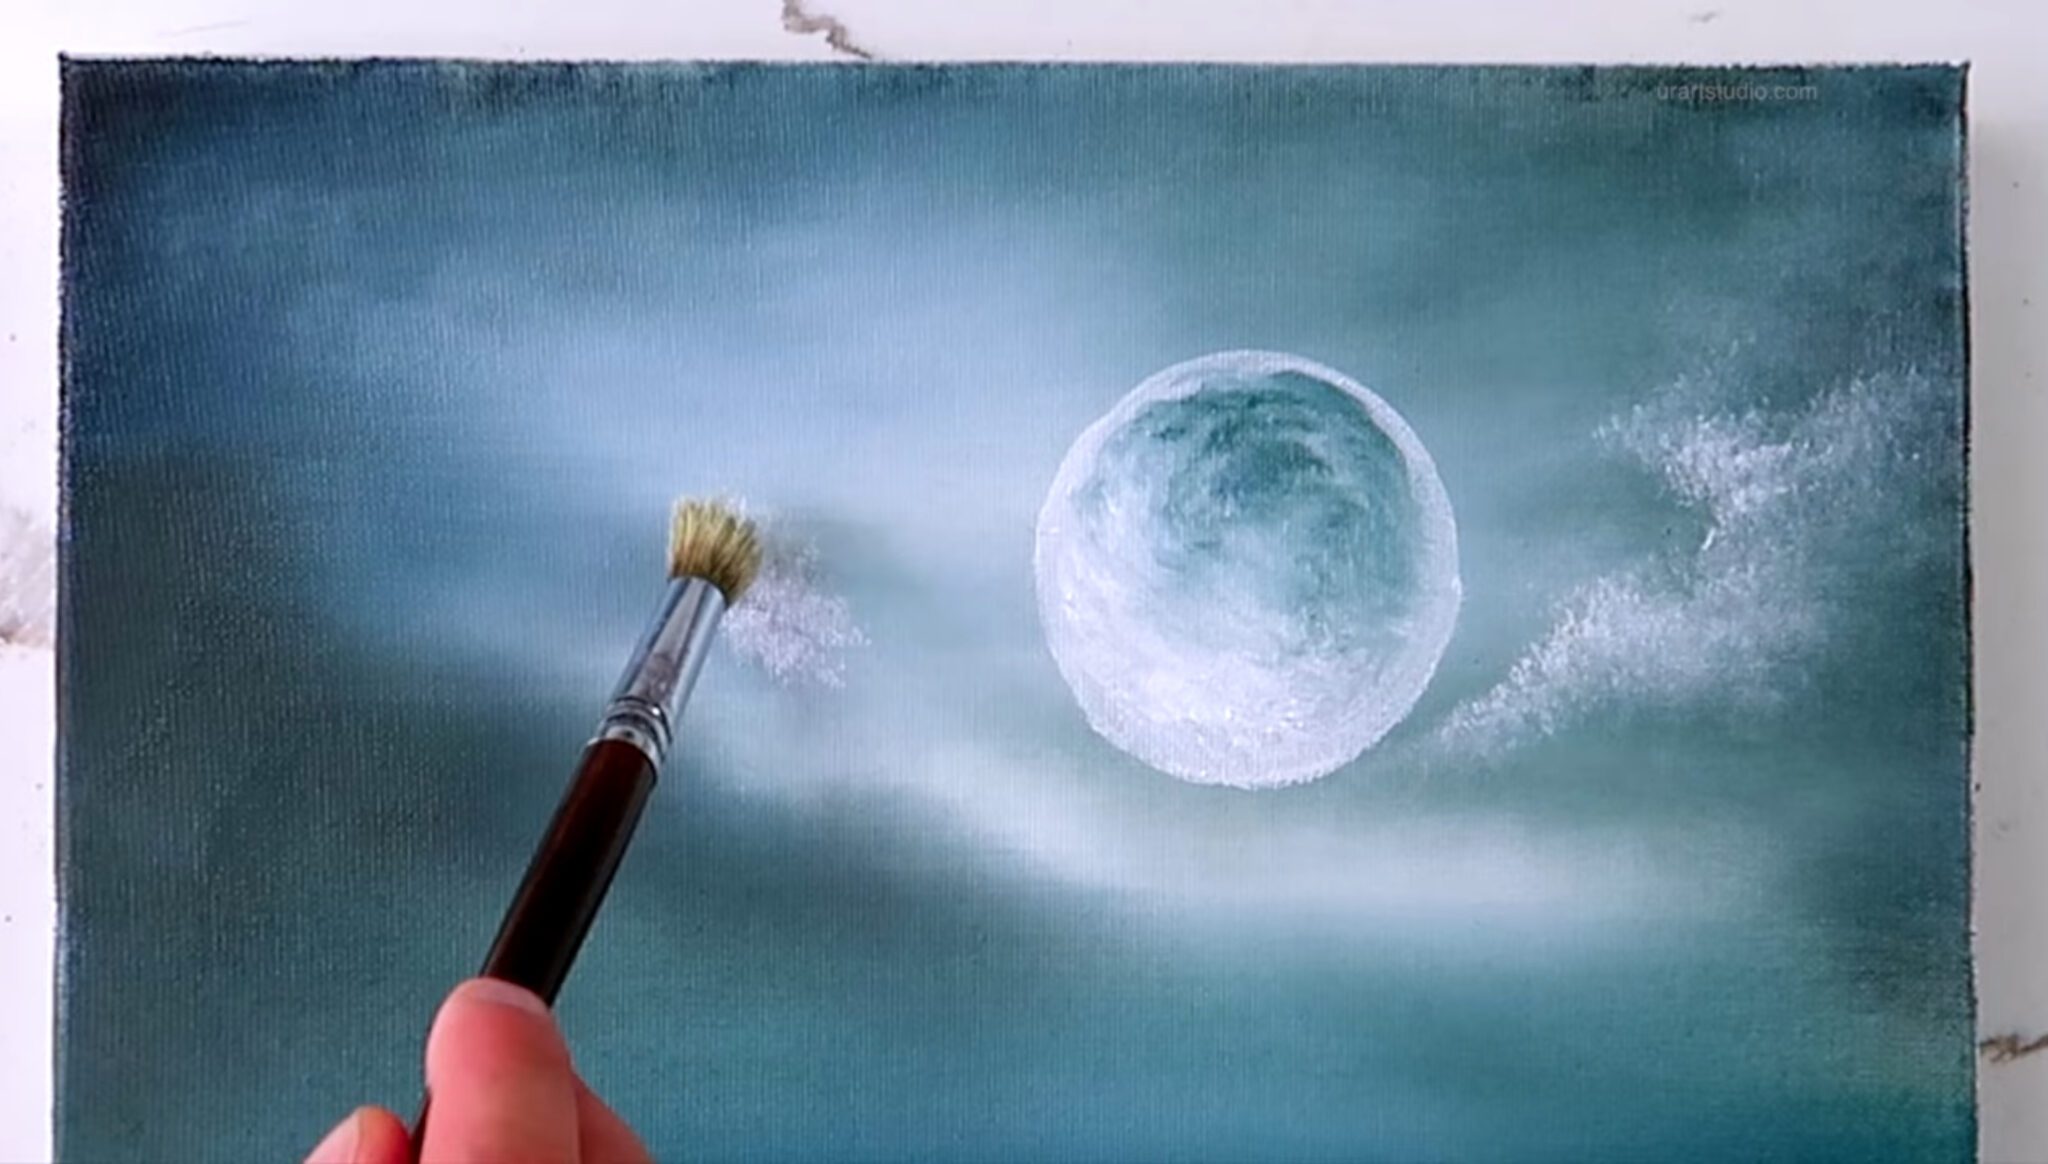
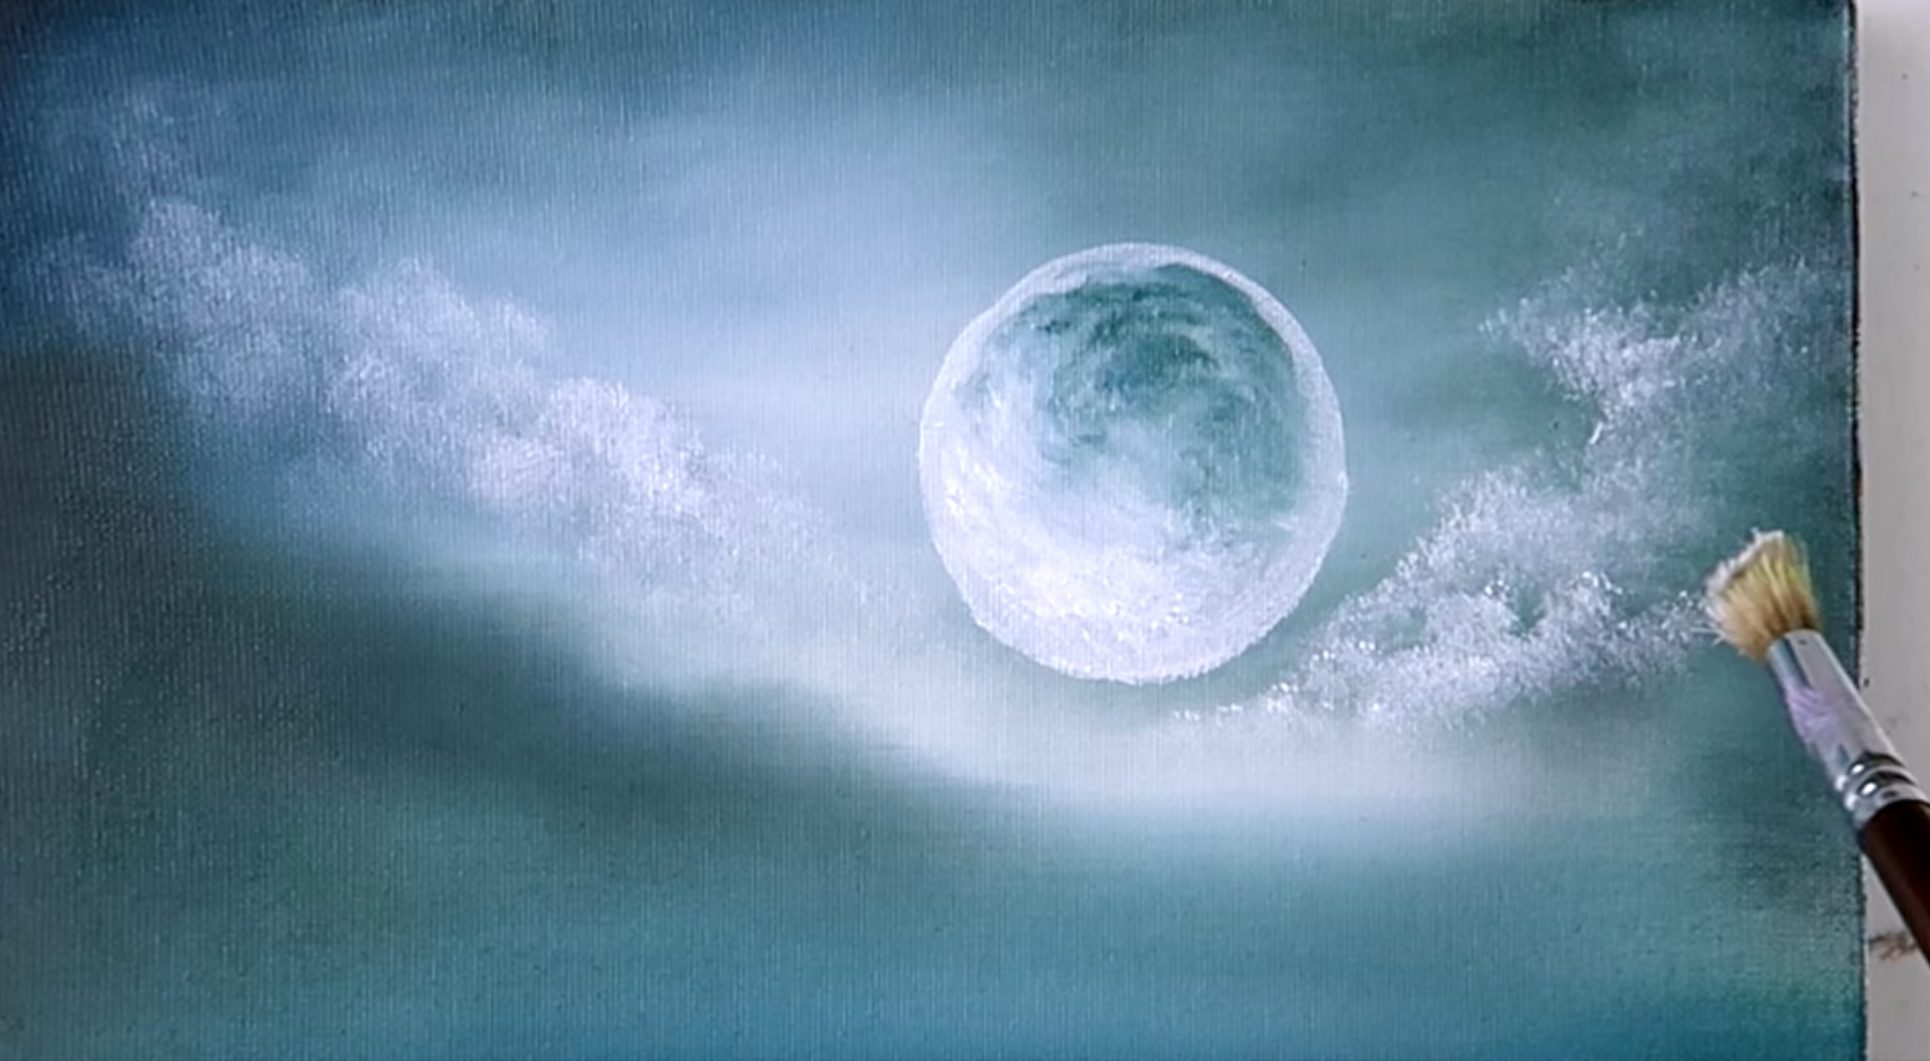
Step 5: Highlight the Clouds
Using your round brush, let’s add some highlights to the clouds with white paint. Imagine how the moonlight would gently kiss the edges of the clouds, illuminating them against the night sky.
Next, take your filbert brush again and mix white with dark green to create more details on our distant mountain. This will add texture and dimension to your seascape, making it more lifelike.
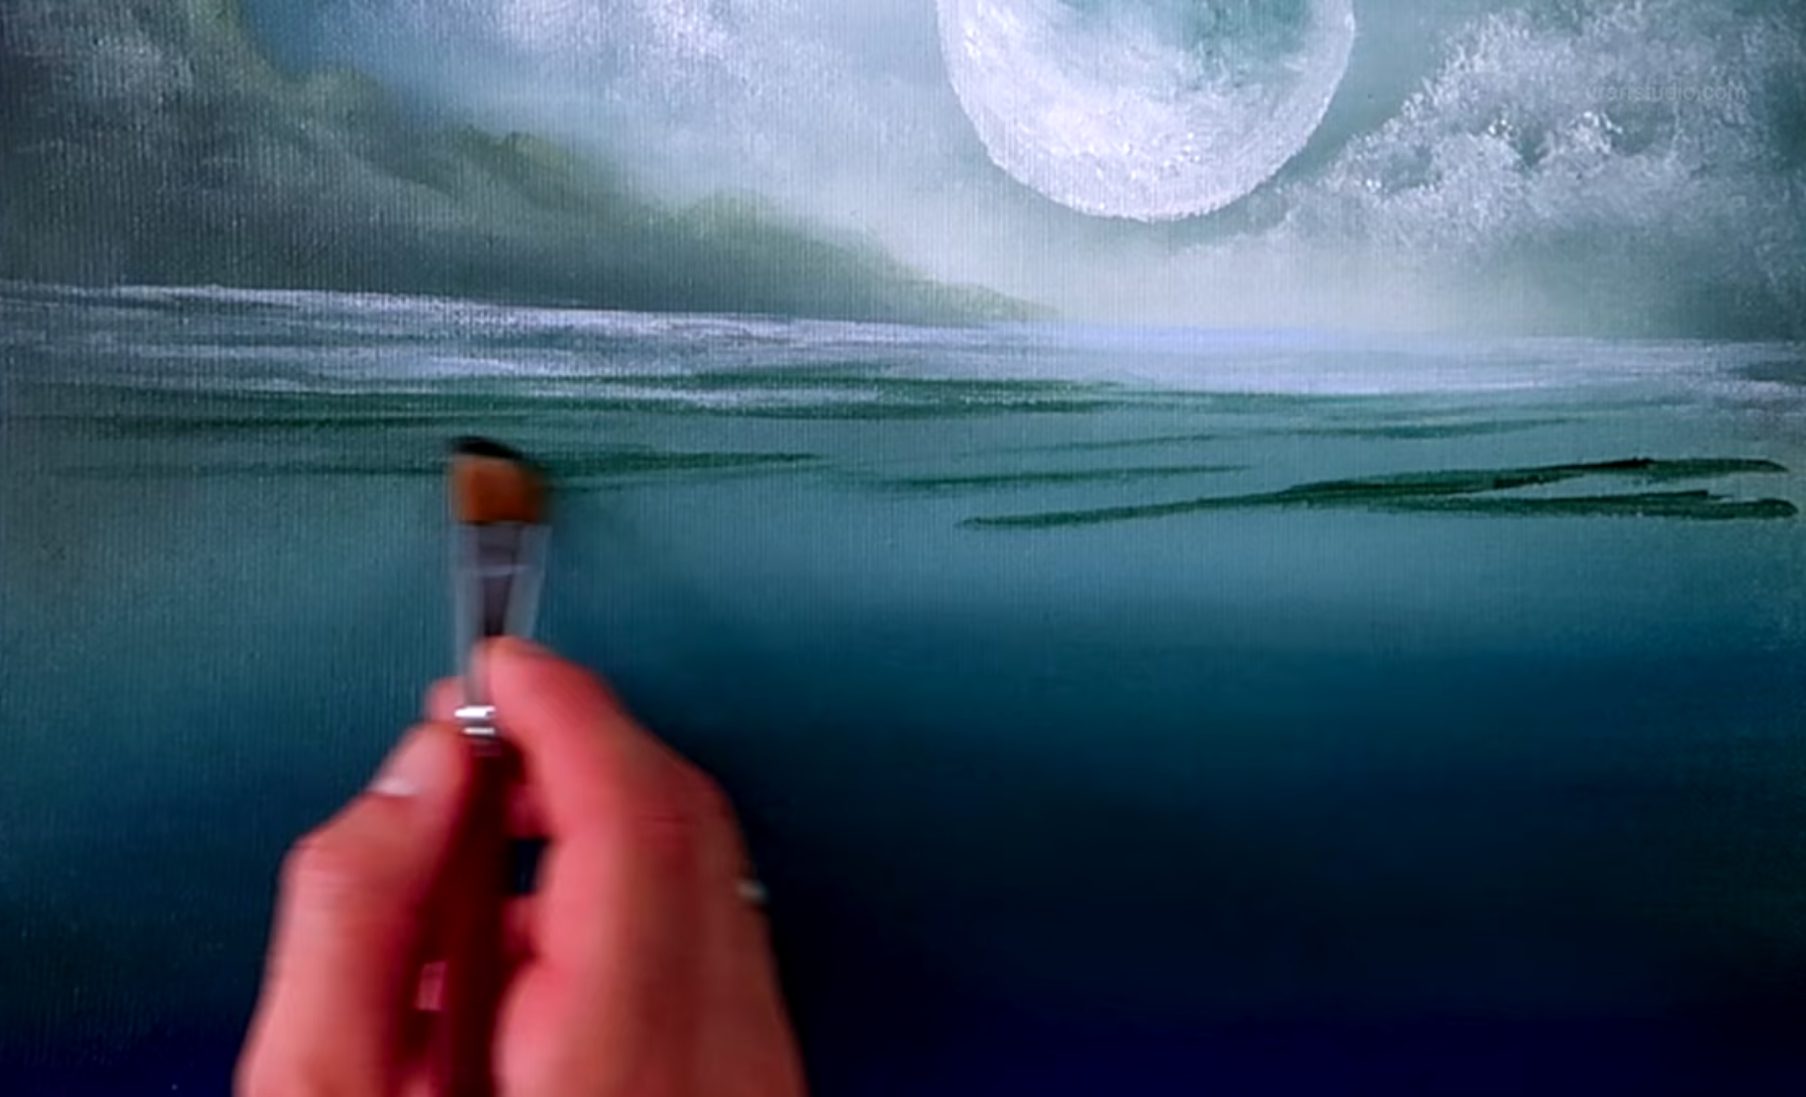
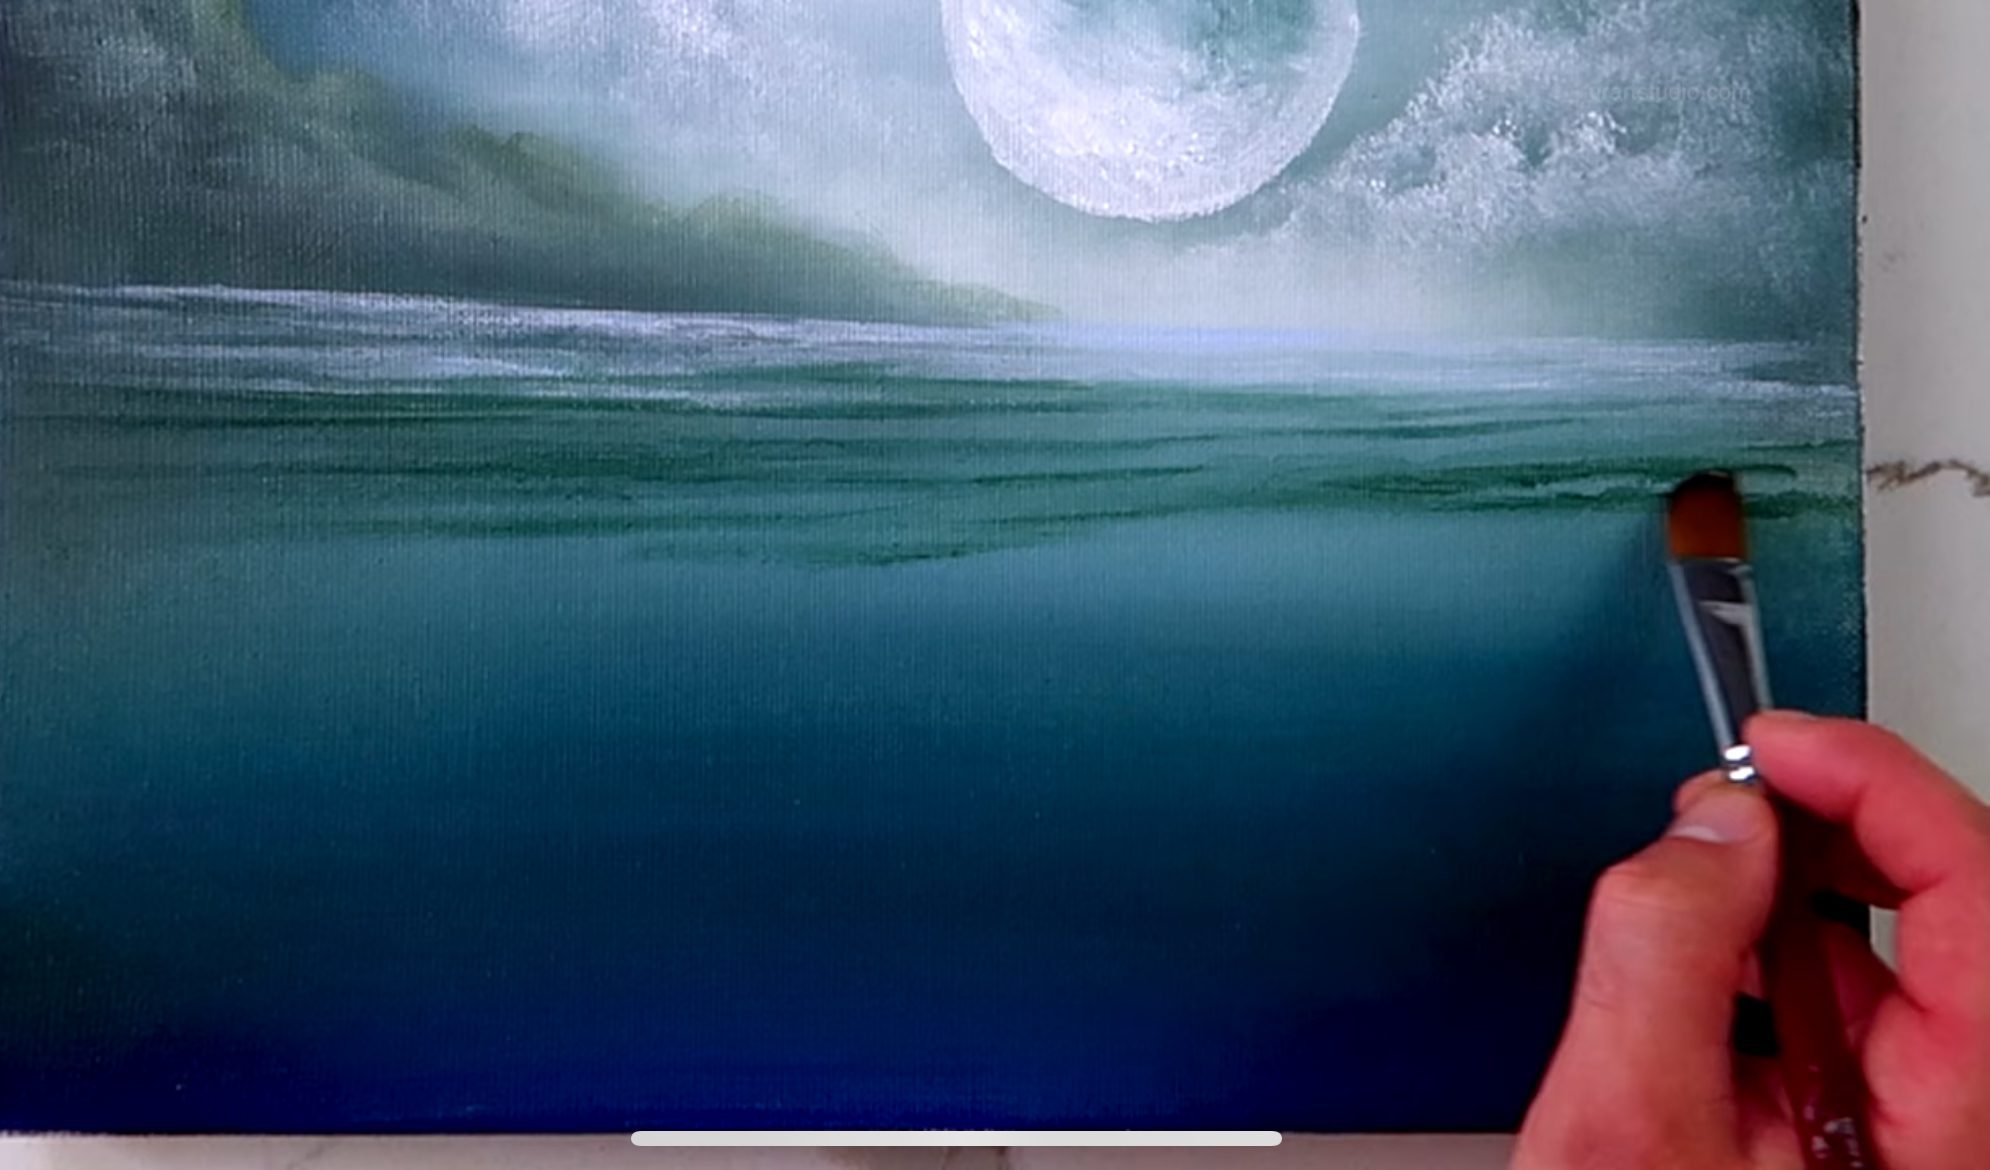
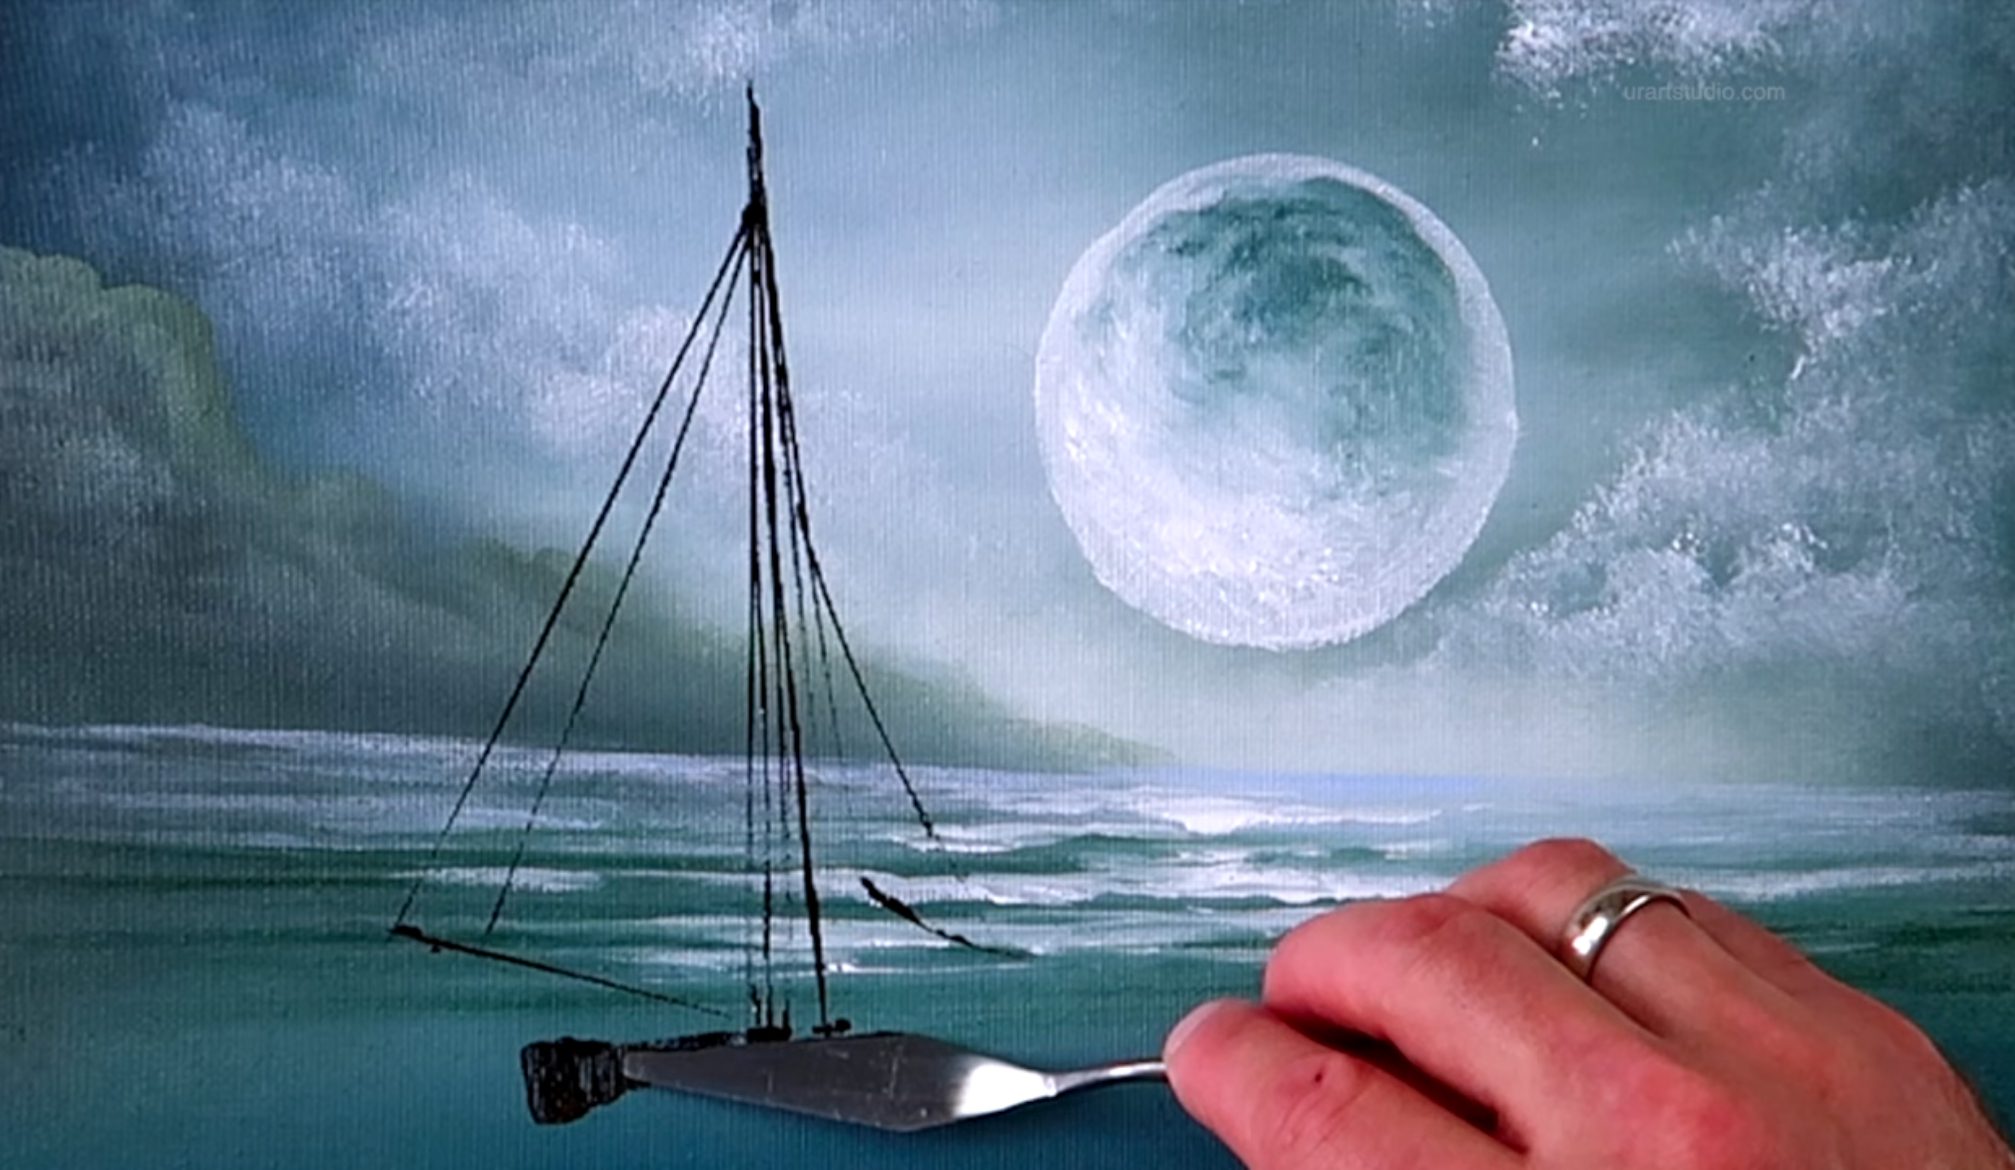
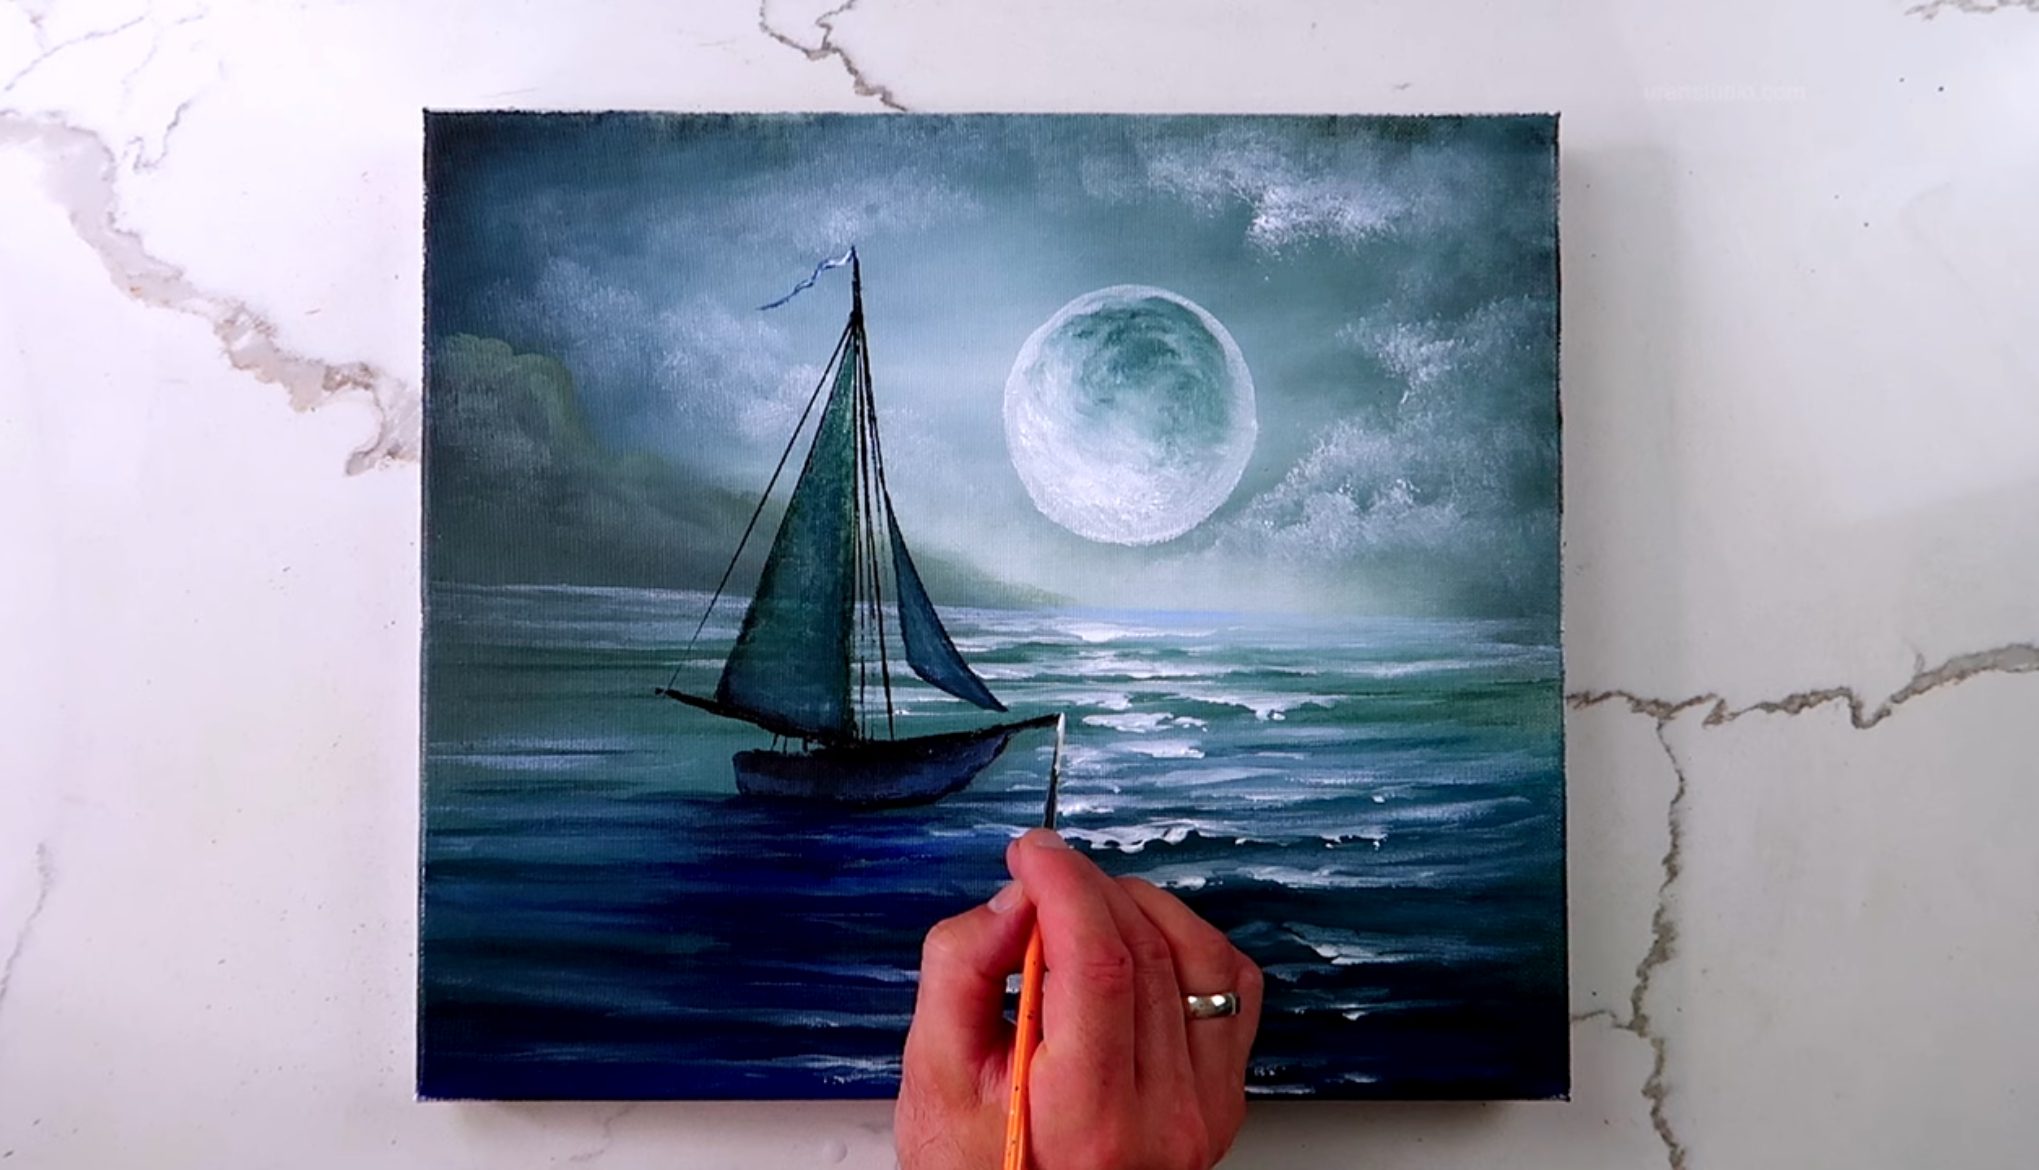
Step 6: Paint the Ocean Waves
Now, grab a smaller filbert brush, load it with white mixed with Prussian blue, and start painting the ocean waves below our distant mountain. As you create the waves, think about how they would reflect the beautiful moonlight above, gently rolling across the canvas.
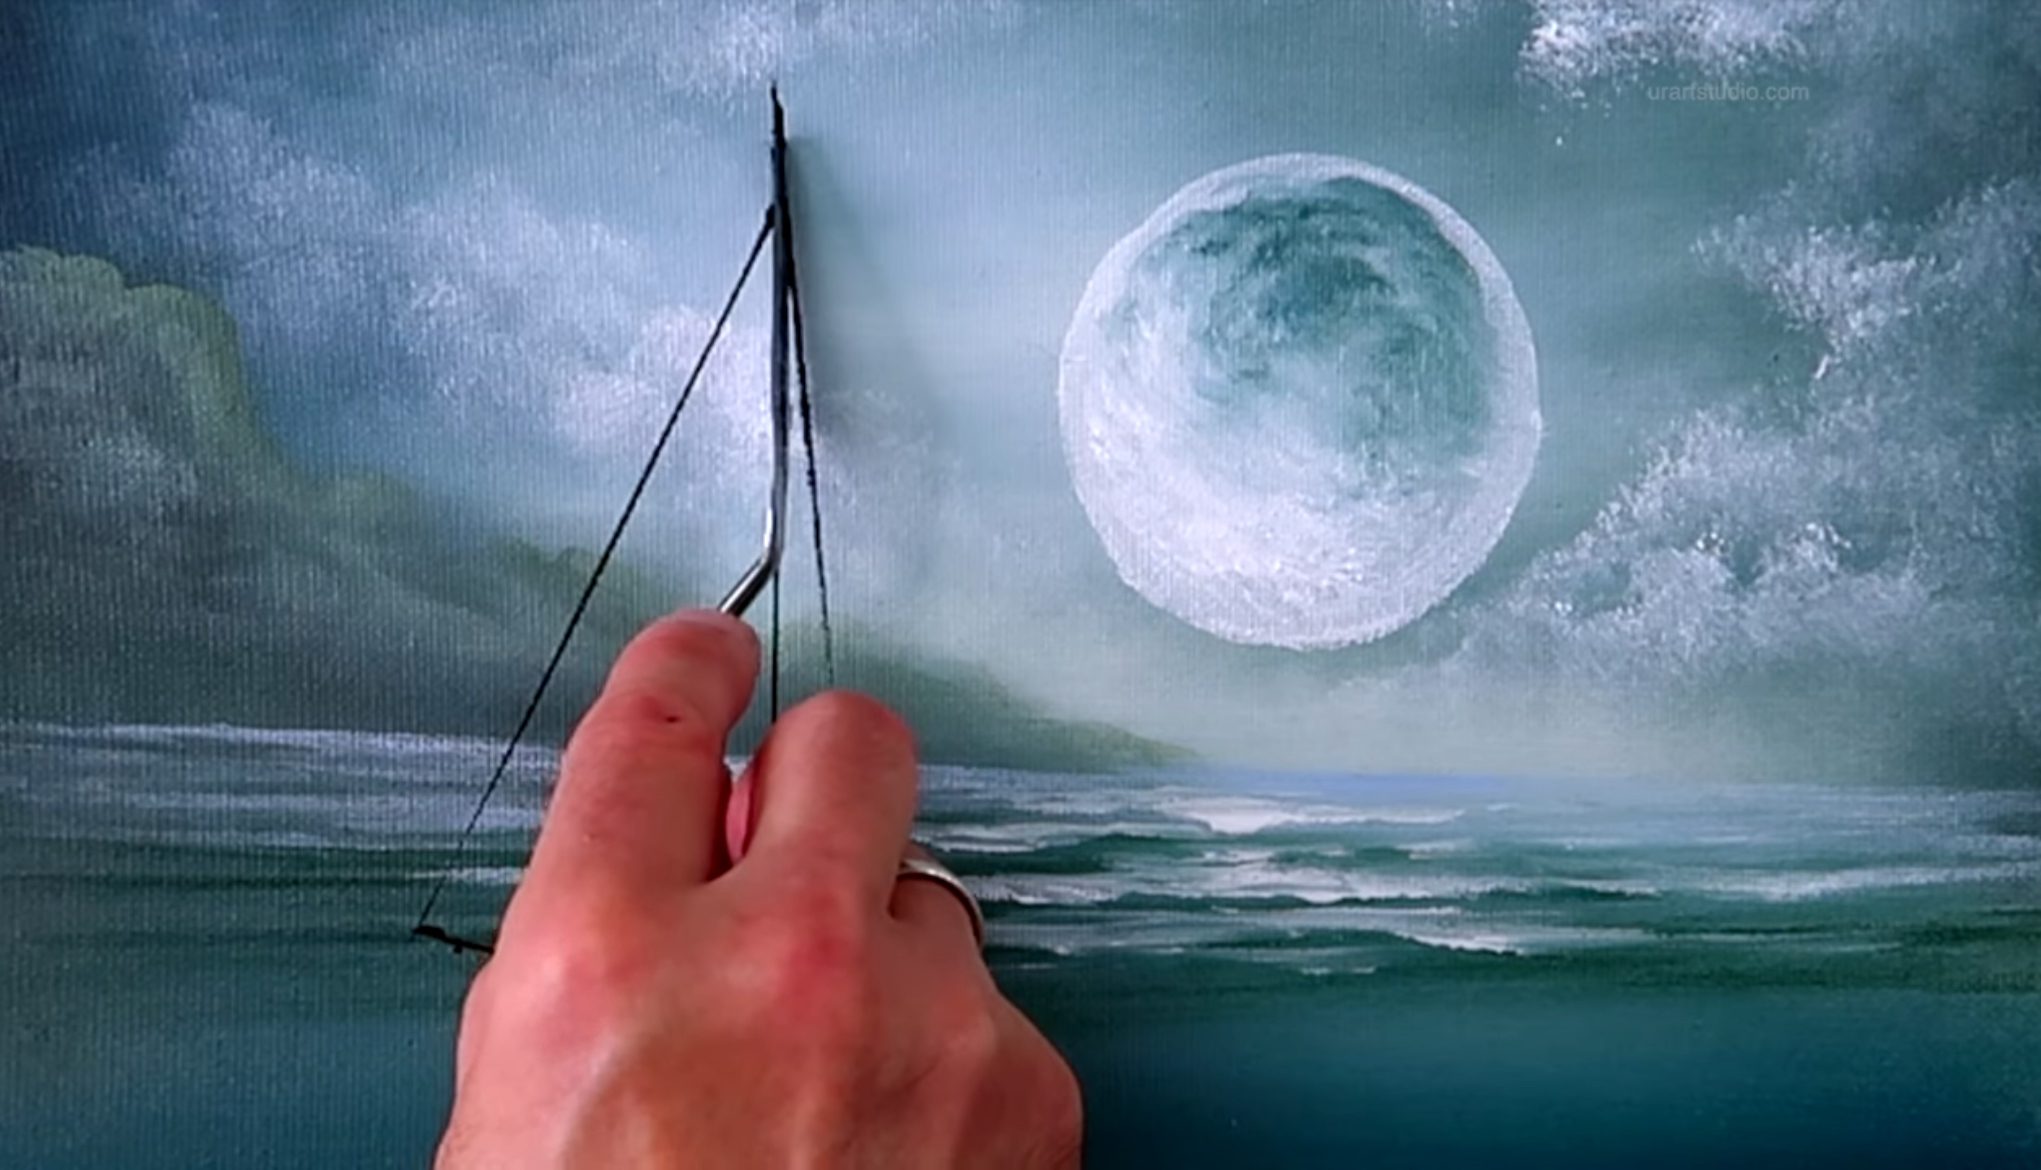
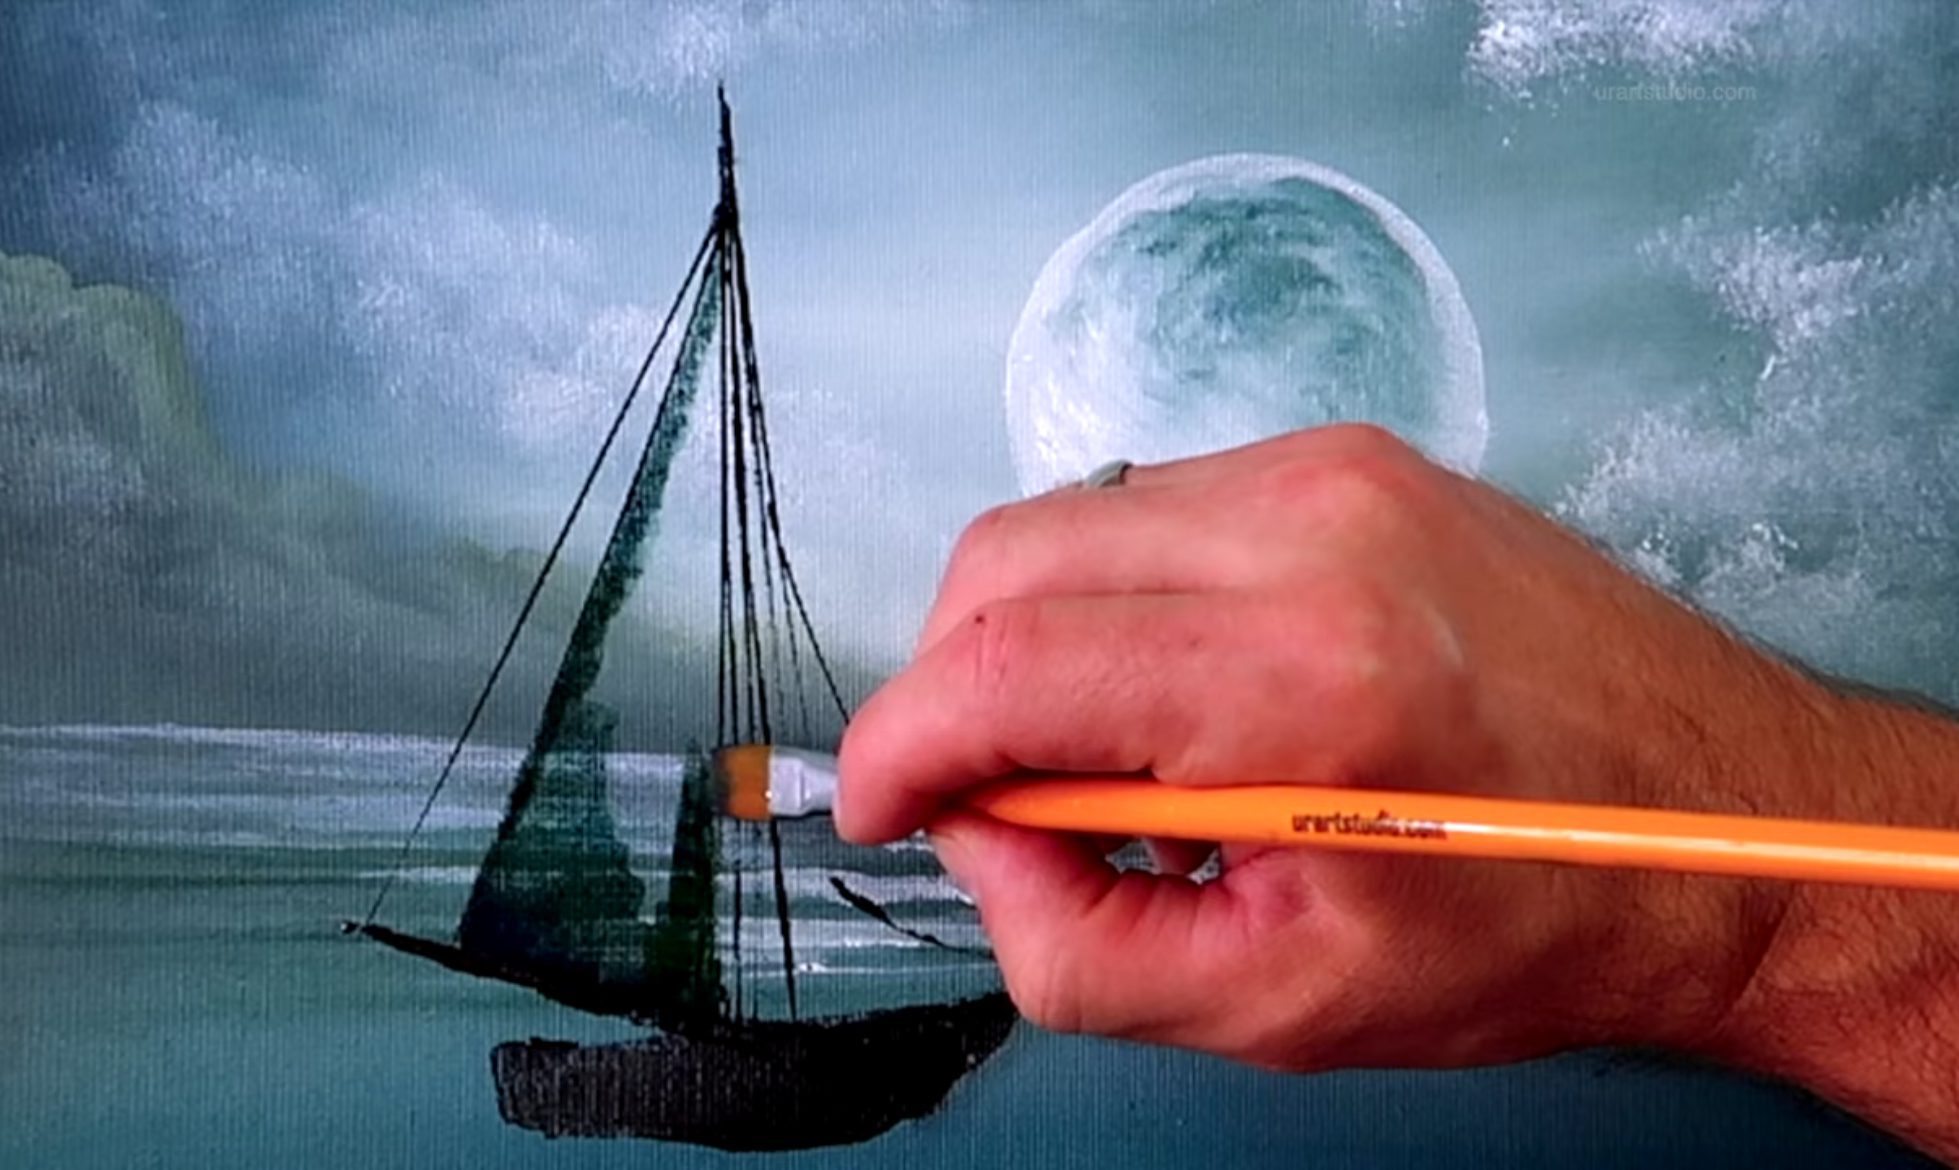
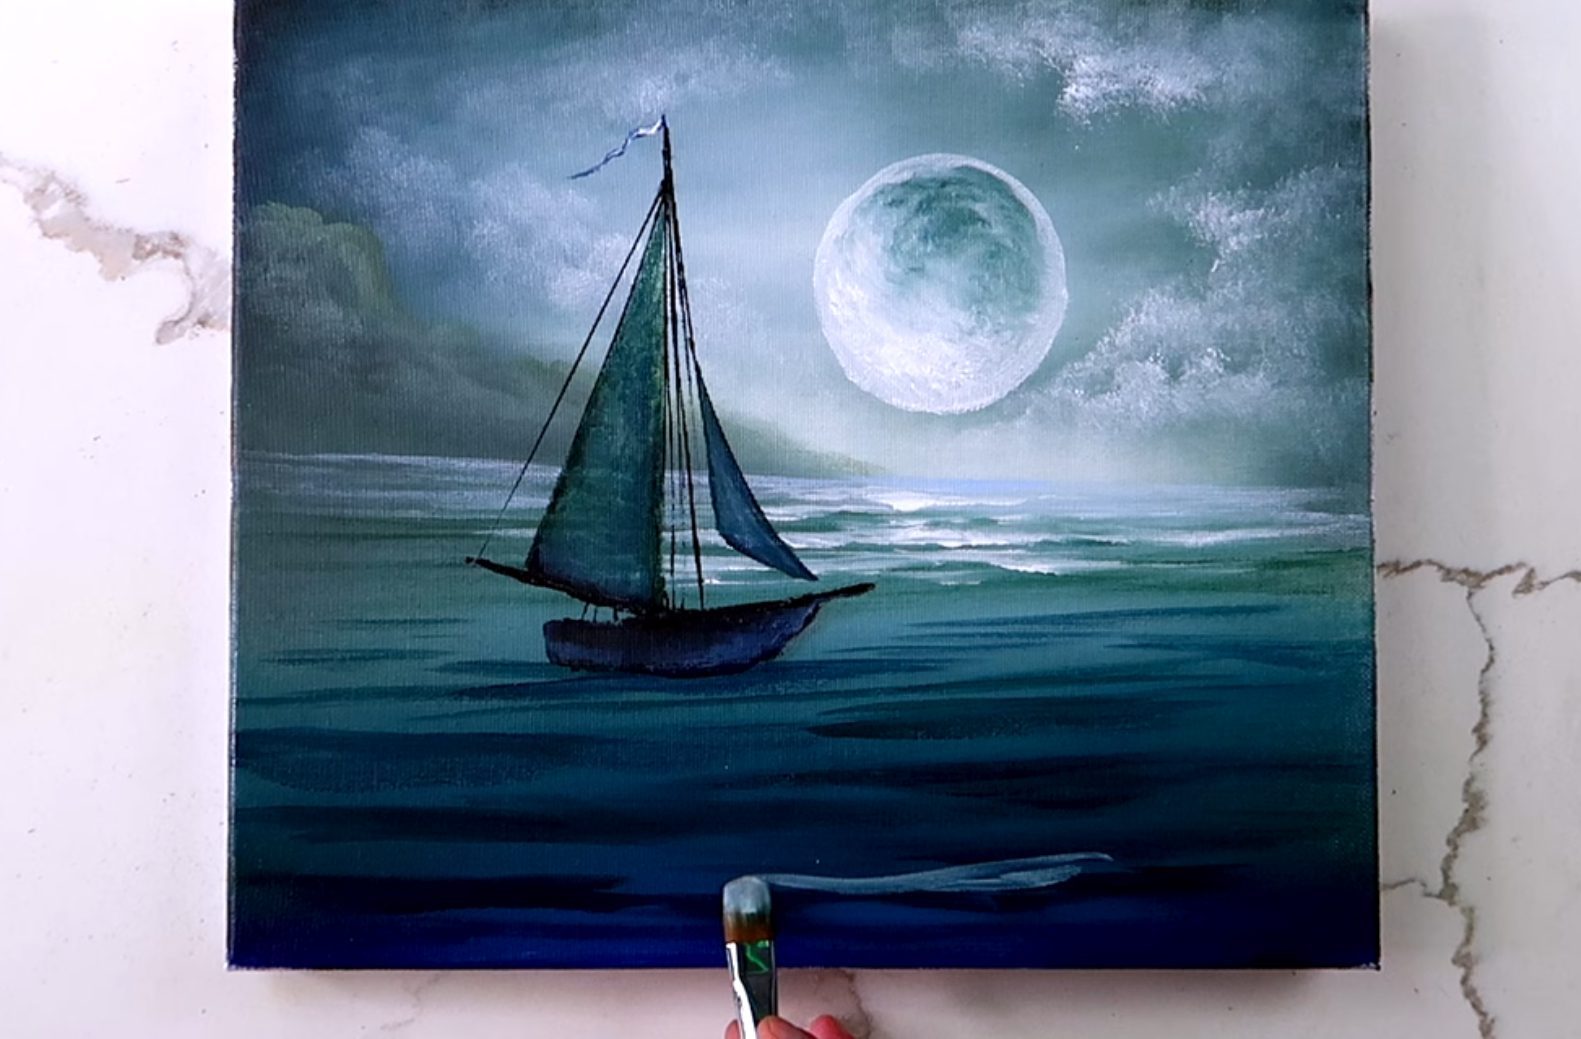
Next, take a palette knife and load the sharp edge with dark paint. With this, we’ll create the silhouette of a sailboat. Using a palette knife will help us maintain sharp, clean edges, giving our sailboat a polished look. Once outlined, fill in the dark shape using a small square brush.
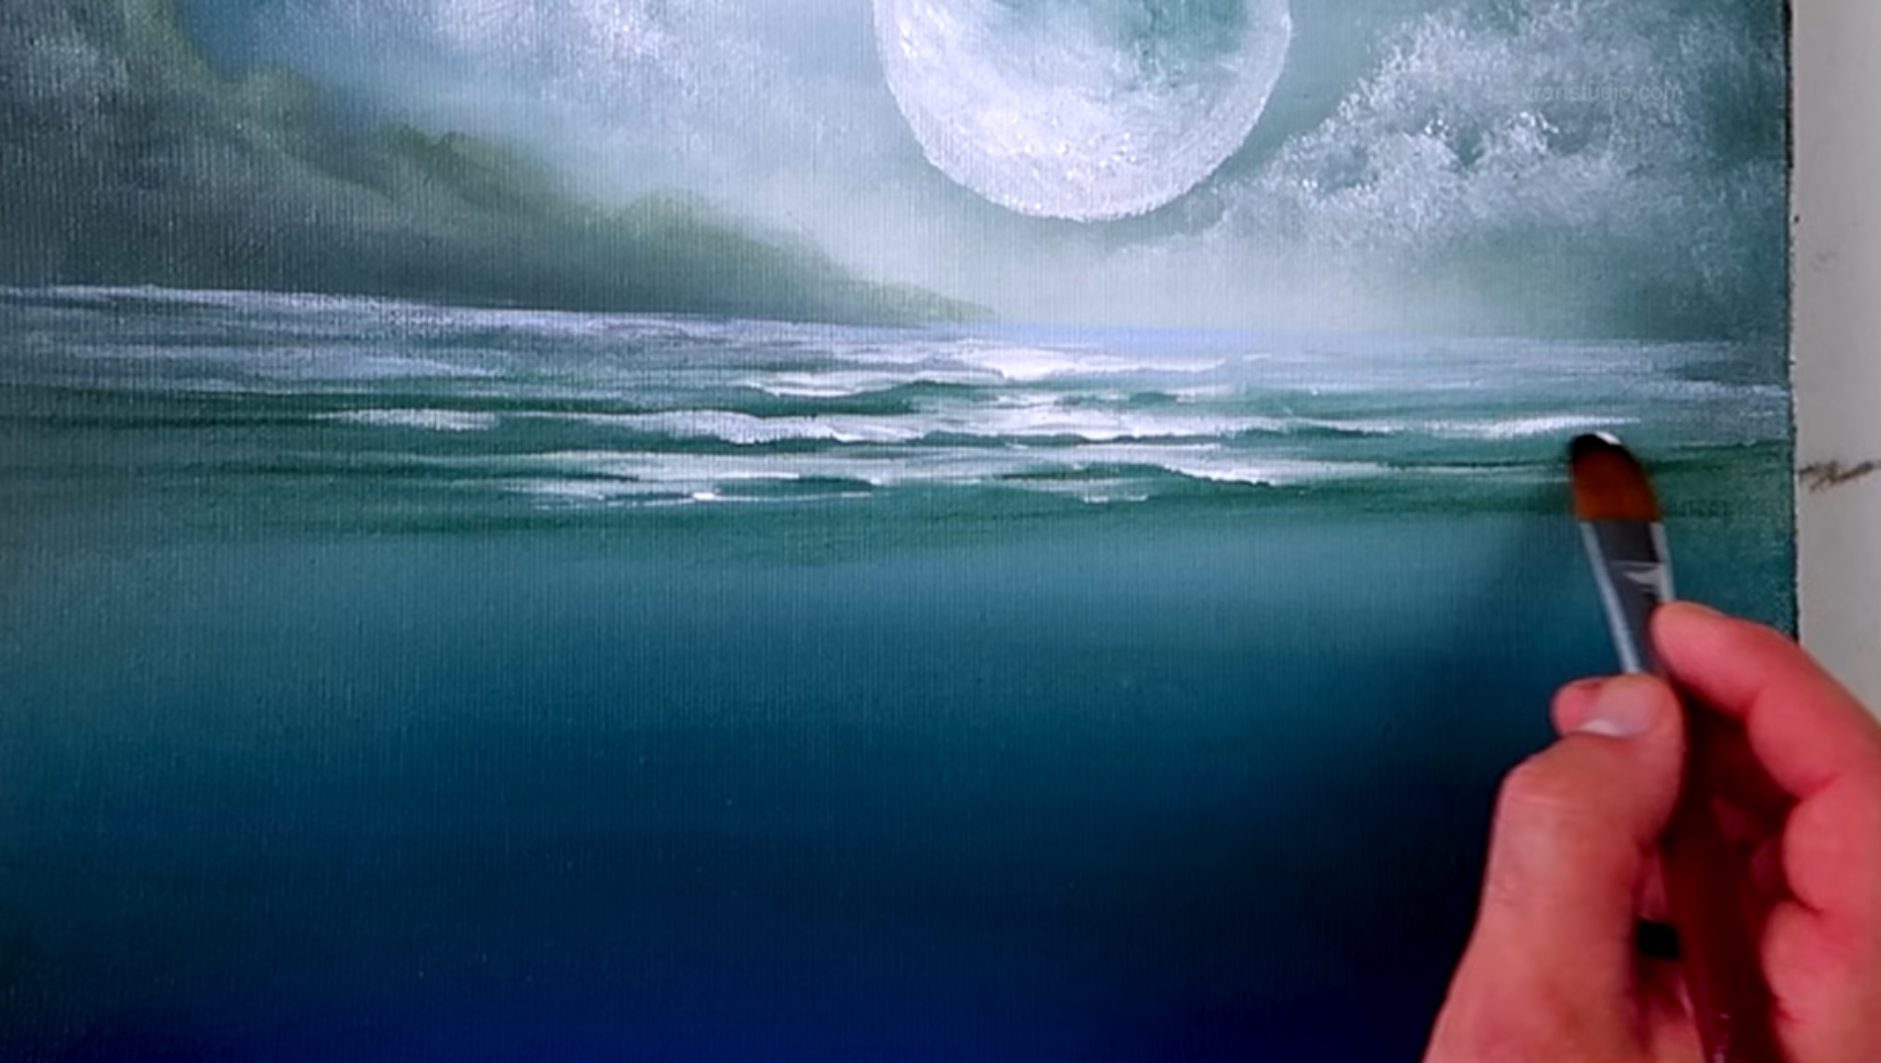
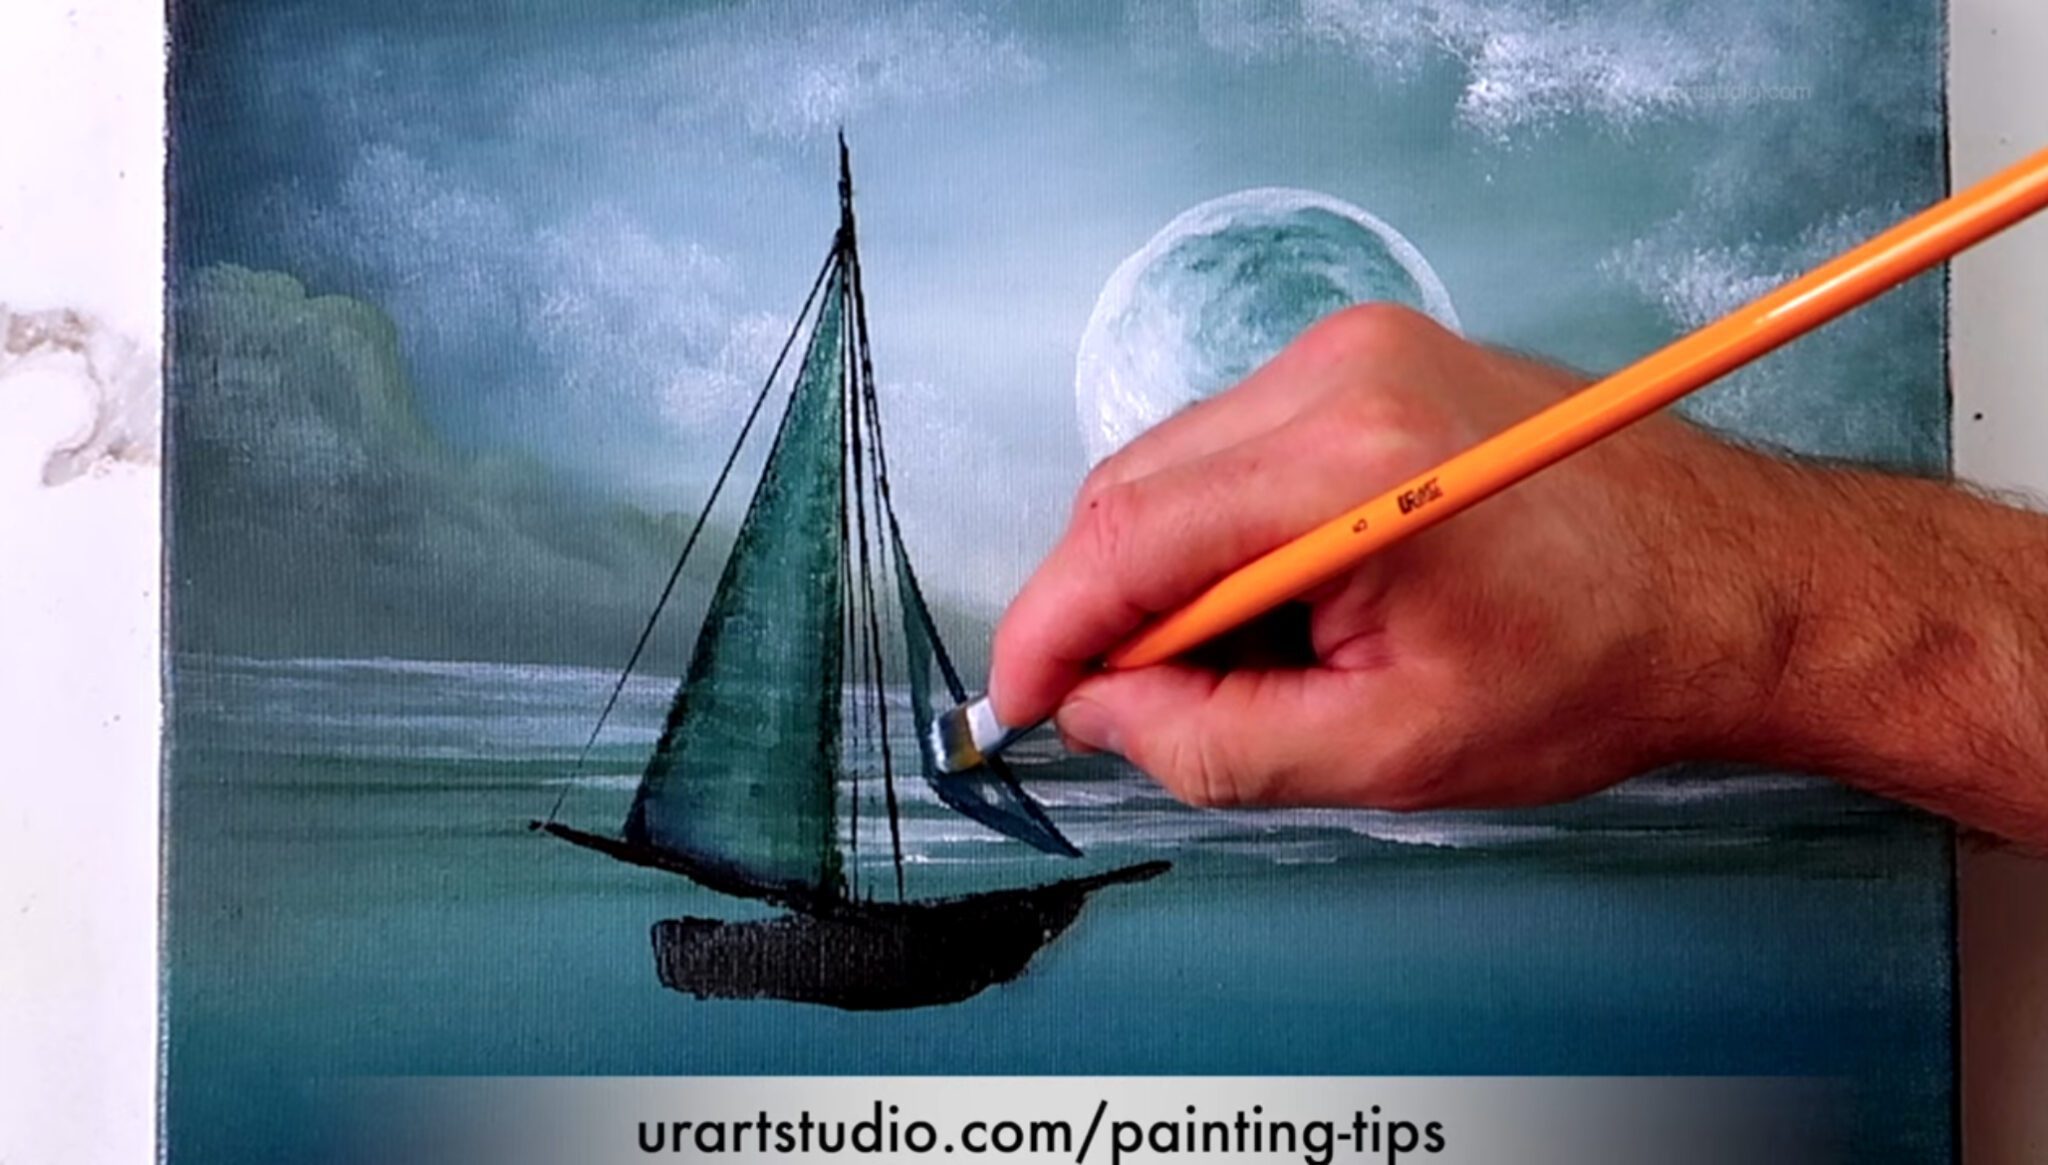
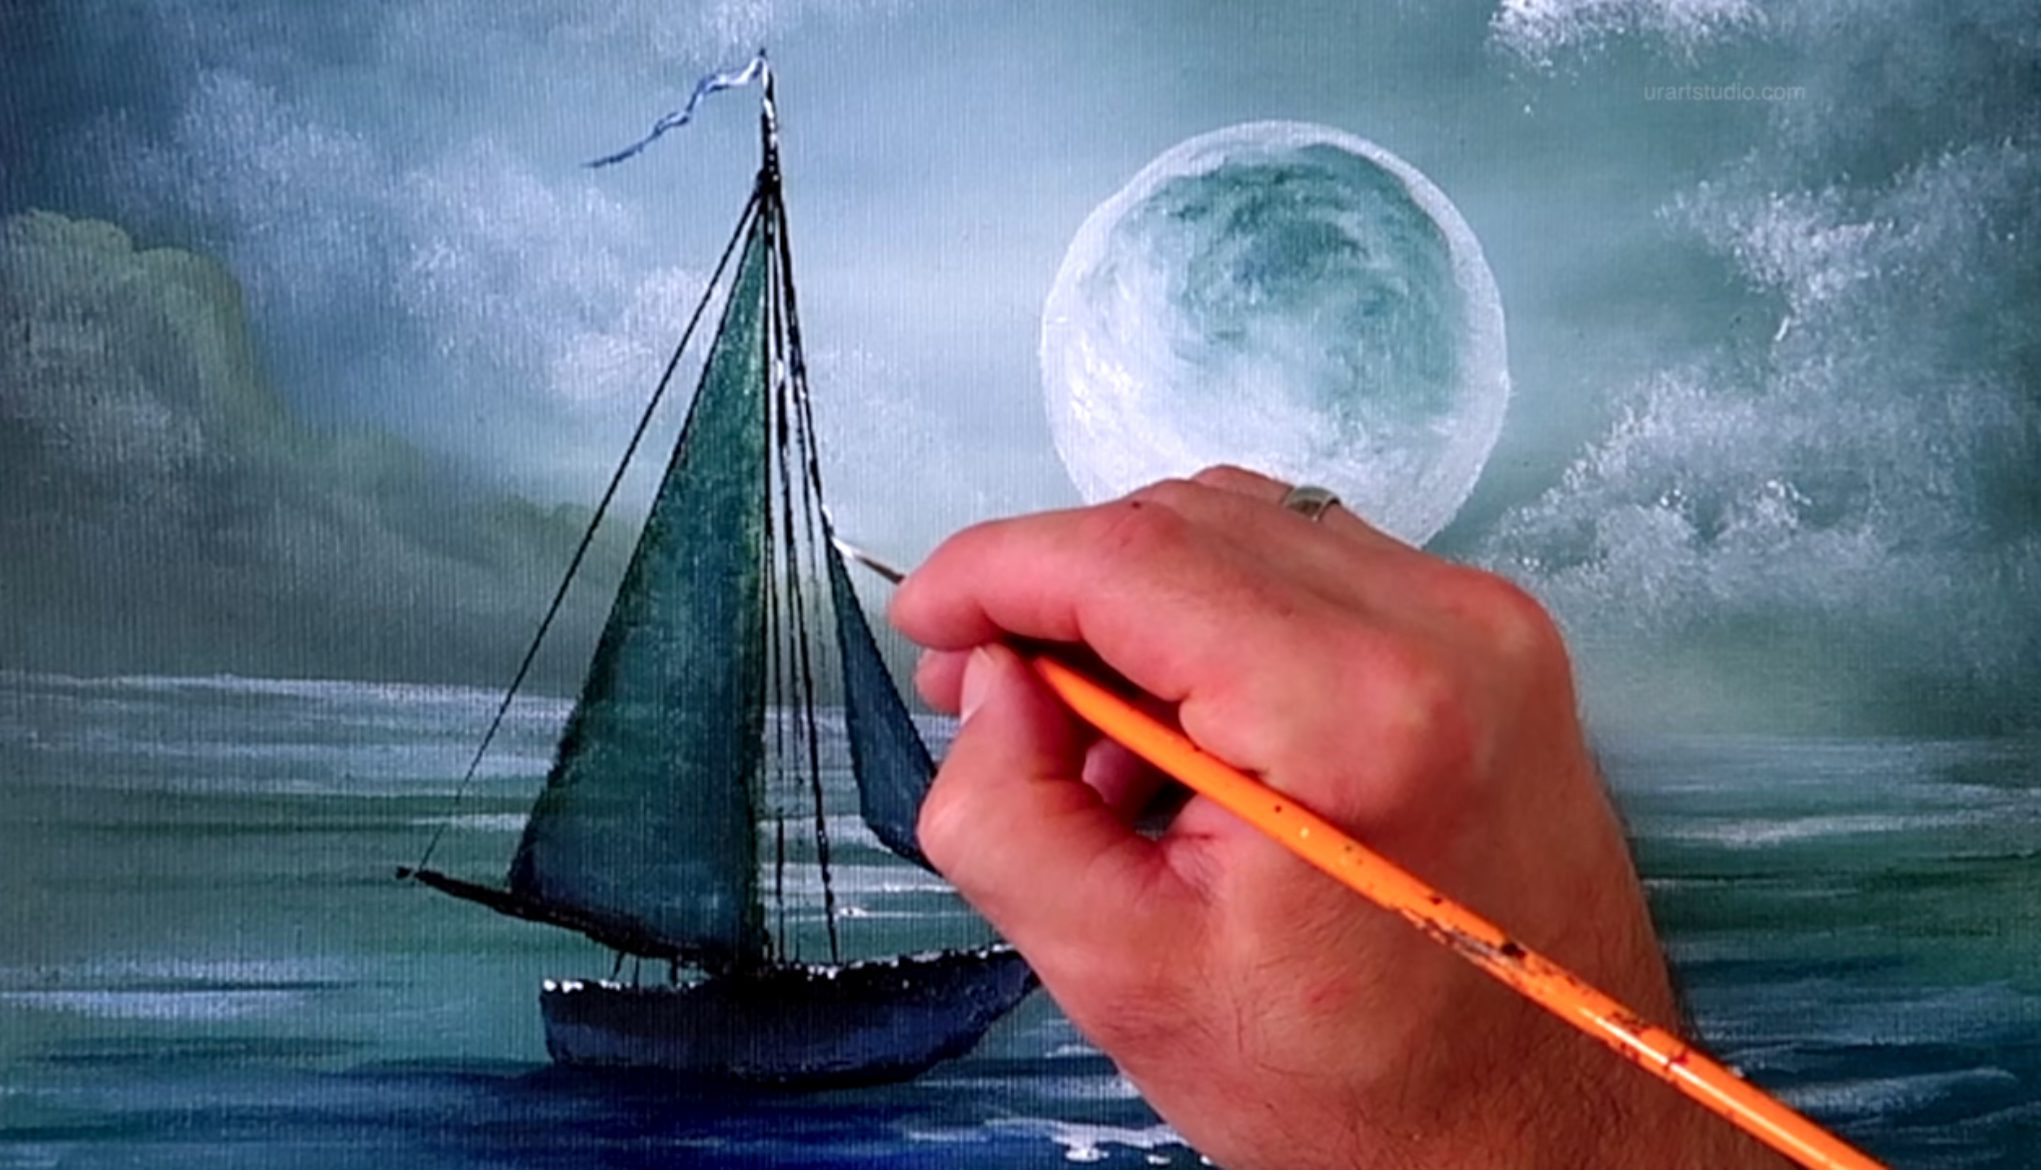
Step 7: Add Details to the Boat and Water
Using your filbert brush and dark colors, let’s add waves below the boat and create a shadow for it. After cleaning your brush, add light highlights to the ocean waves in a similar fashion.
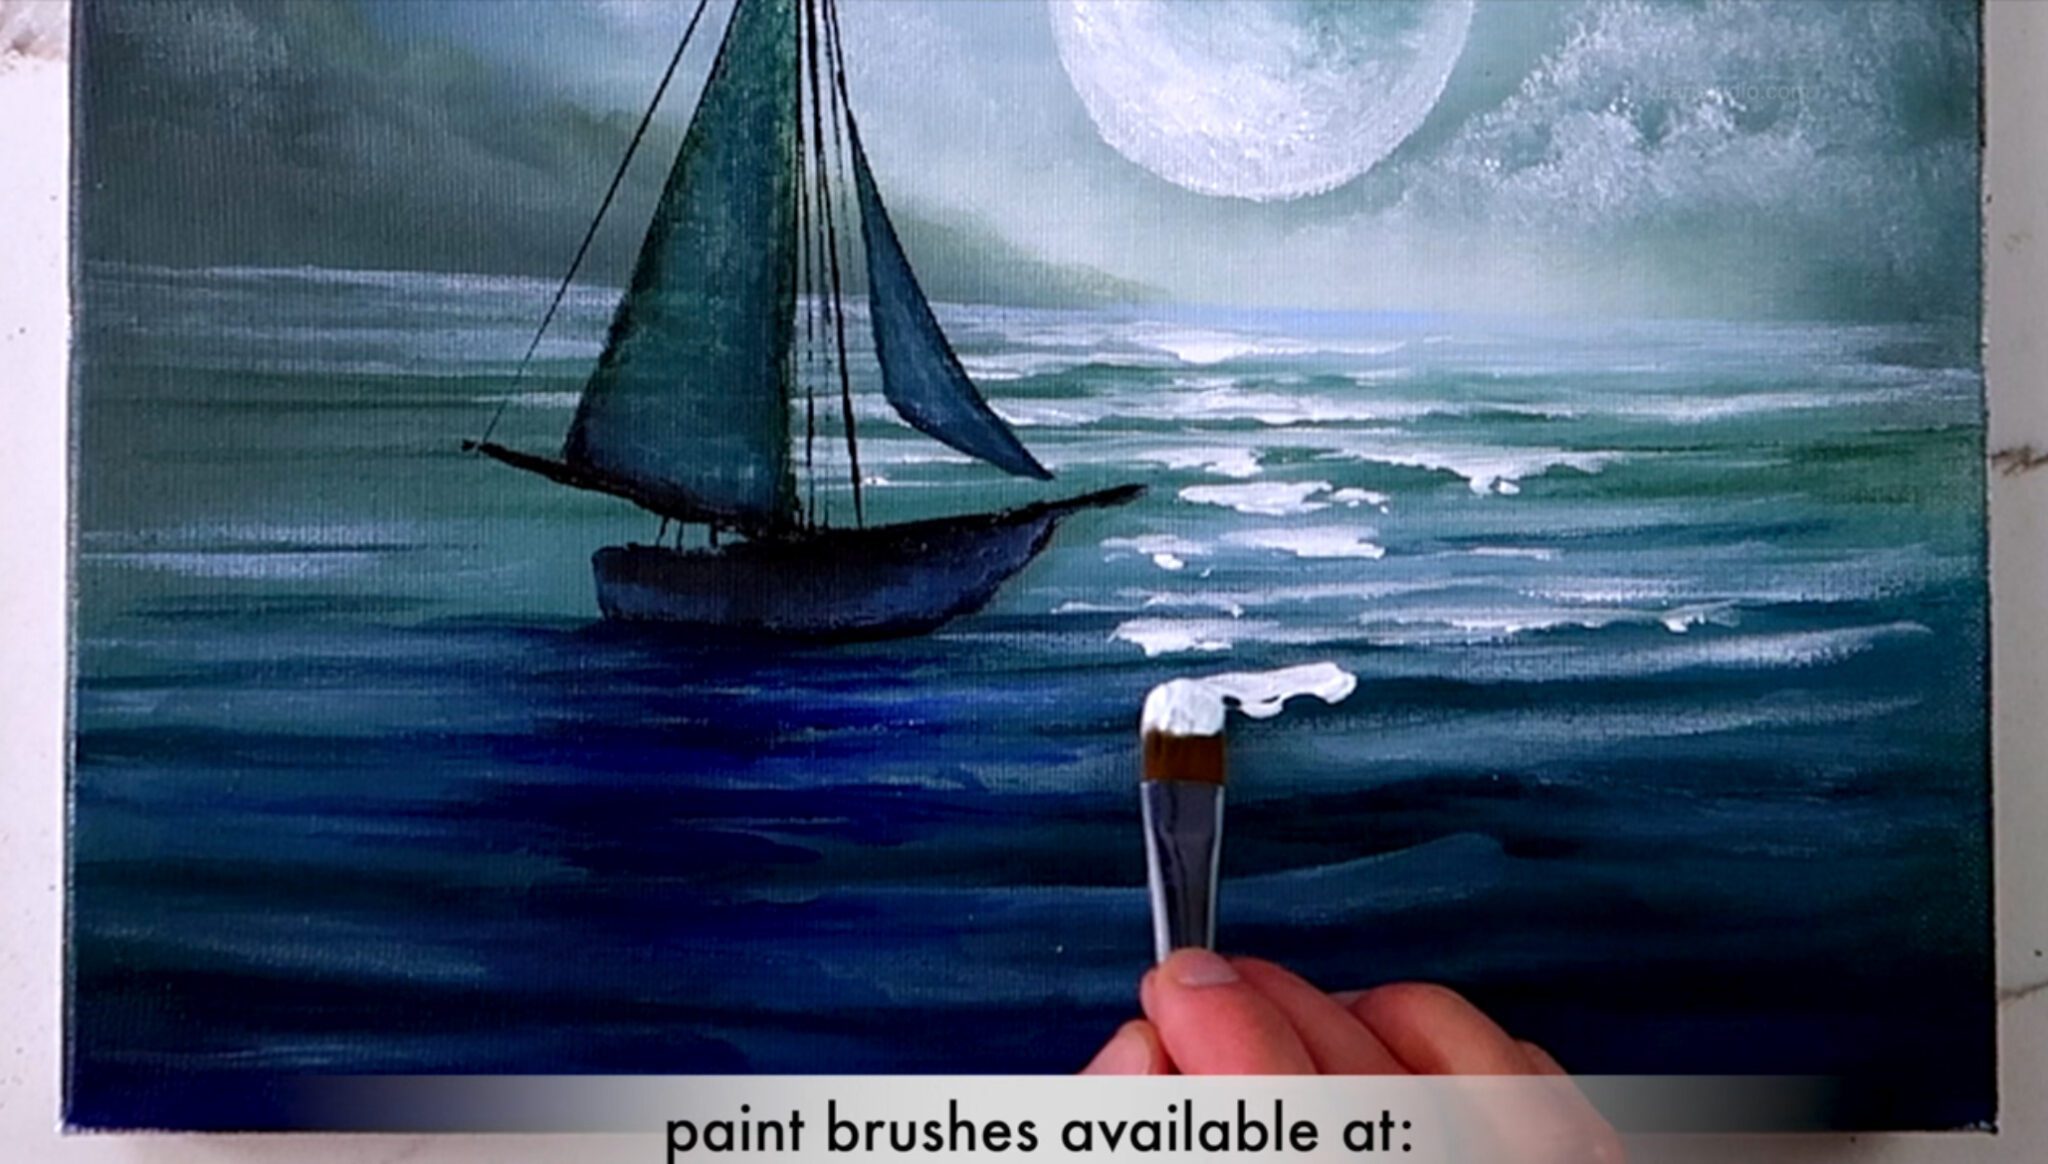
Next, we’ll create a bright light reflected on the ocean waves right below the moon using your filbert brush and pure white paint. This touch will add a magical glow to your painting, making it come alive.
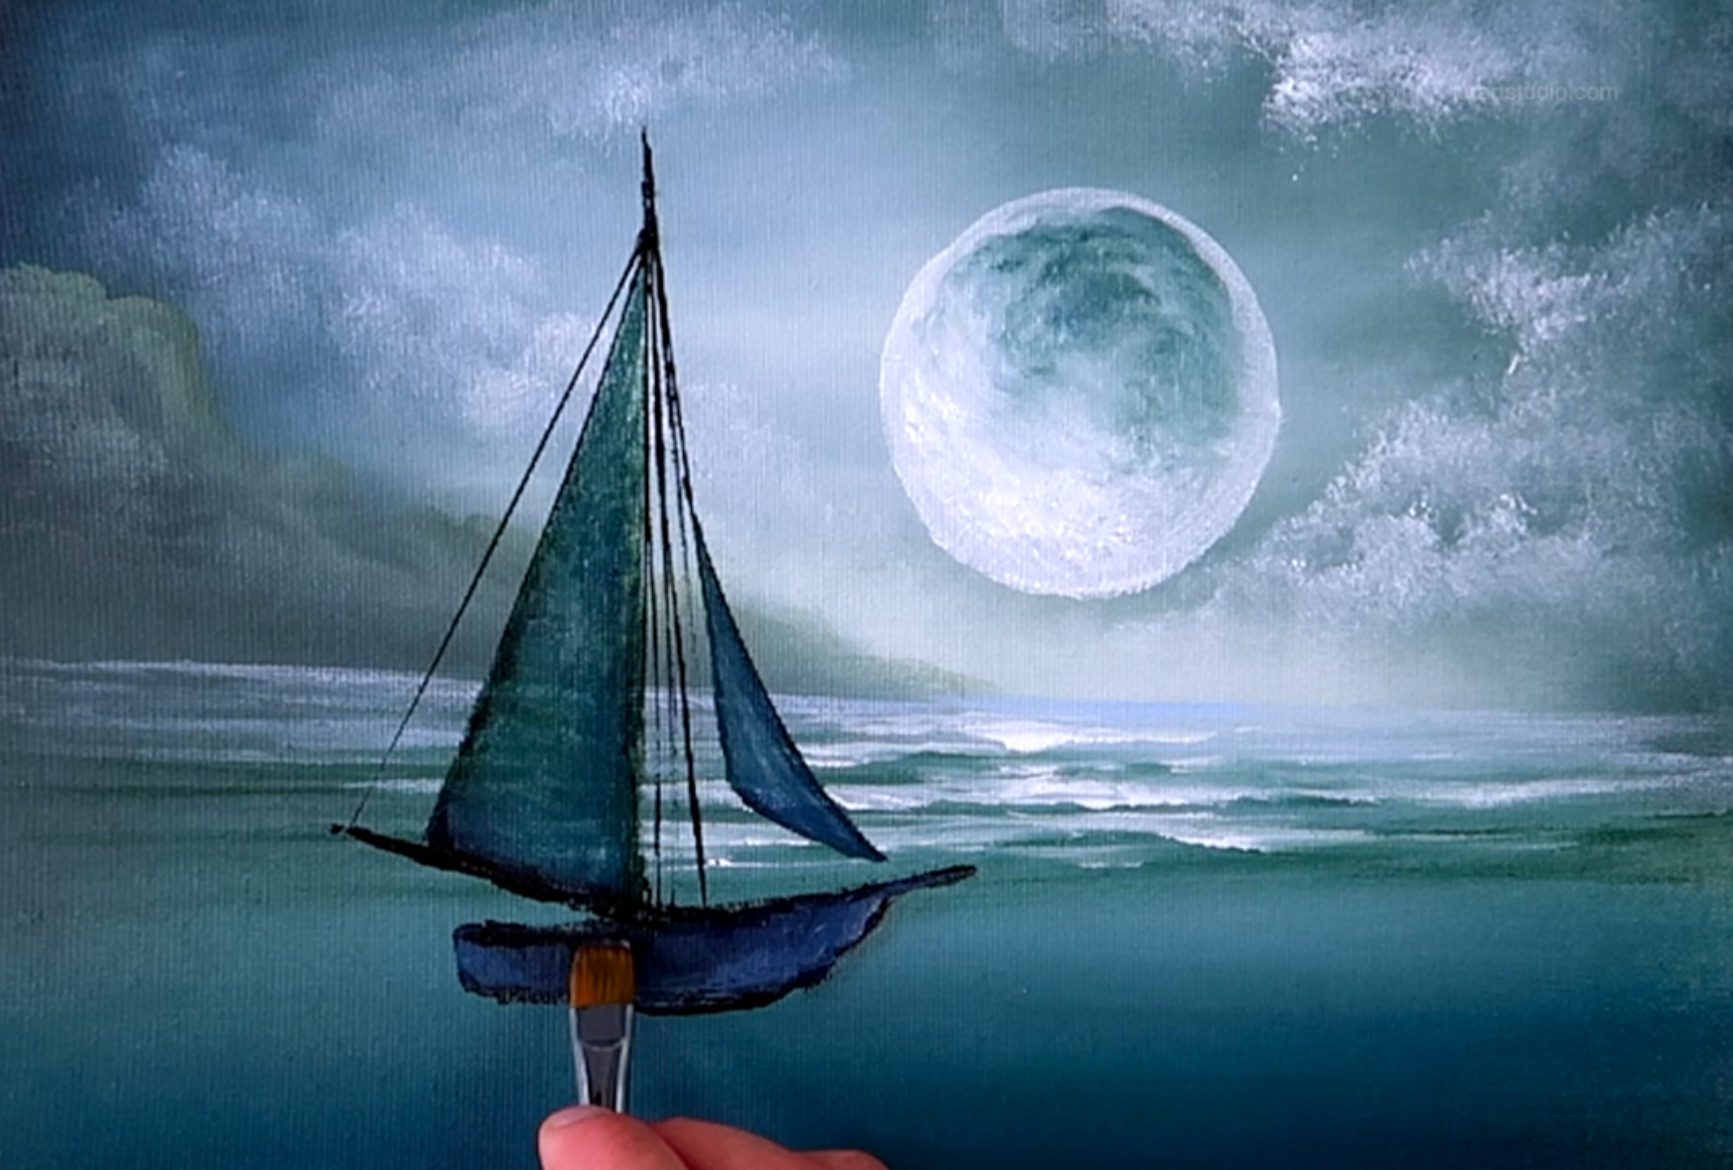
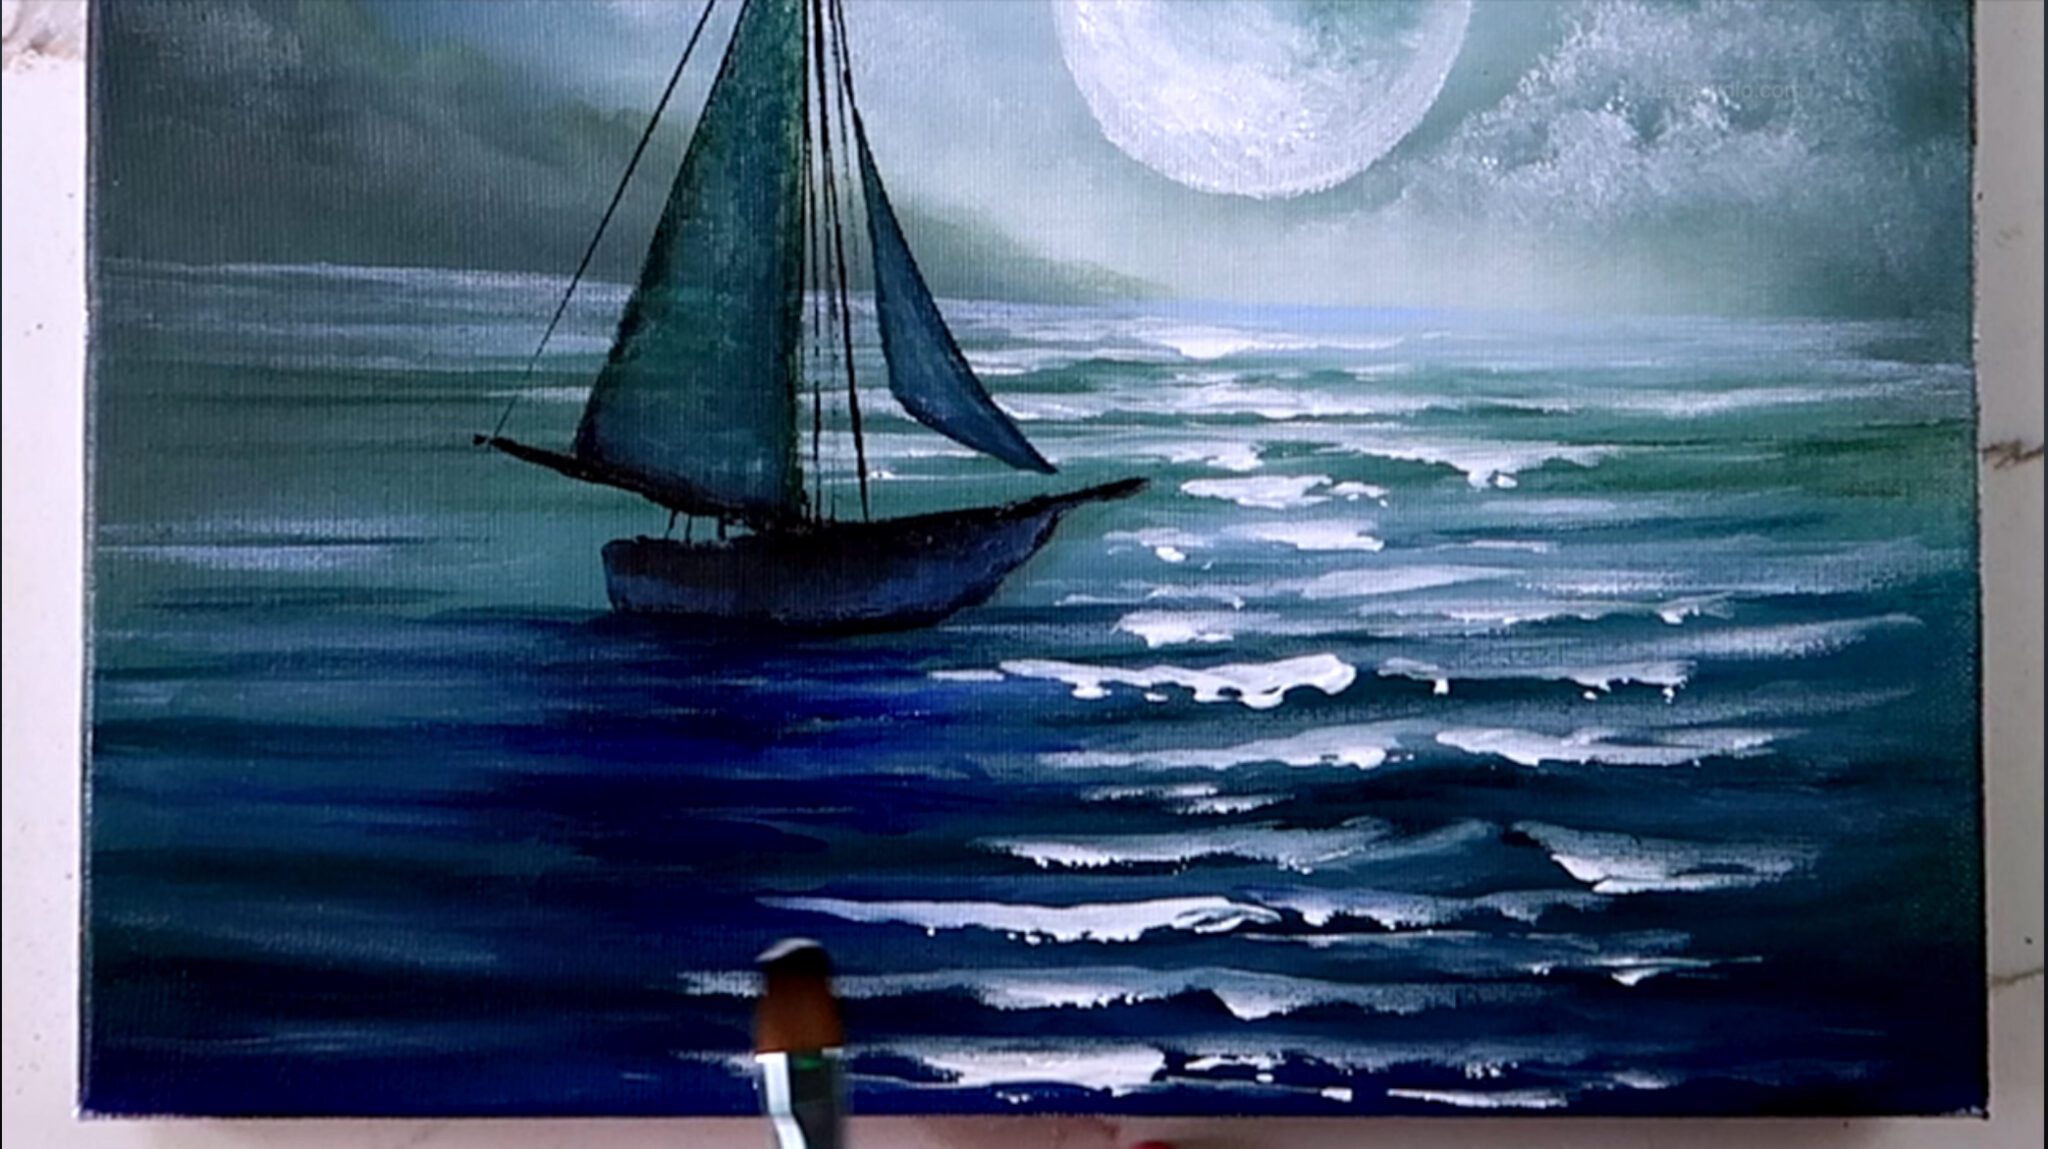
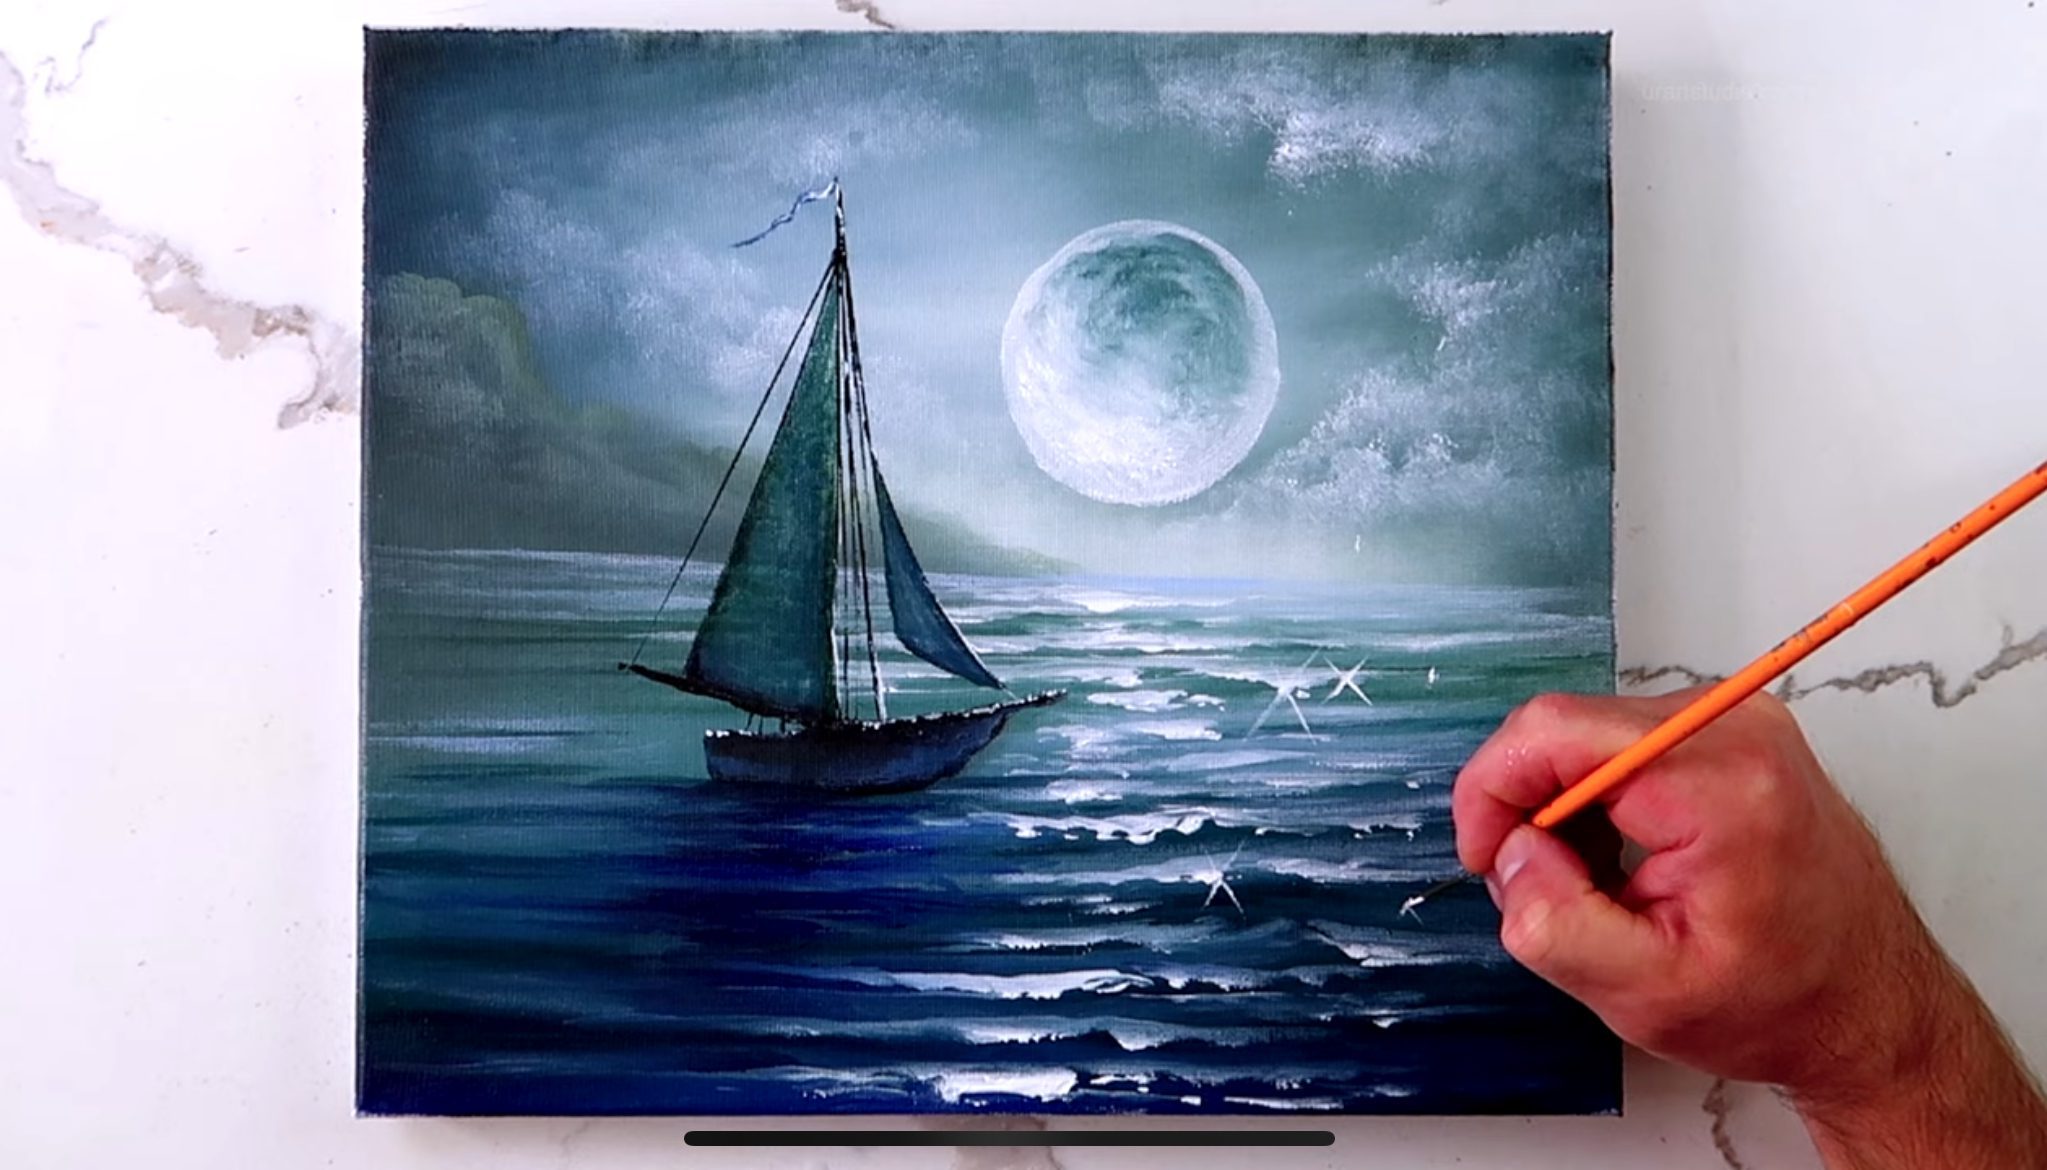
Step 8: Final Touches
To finish, use a detail brush to create a few glittering spots on the ocean waves below the moon. These little highlights will enhance the overall beauty and intrigue of your seascape.
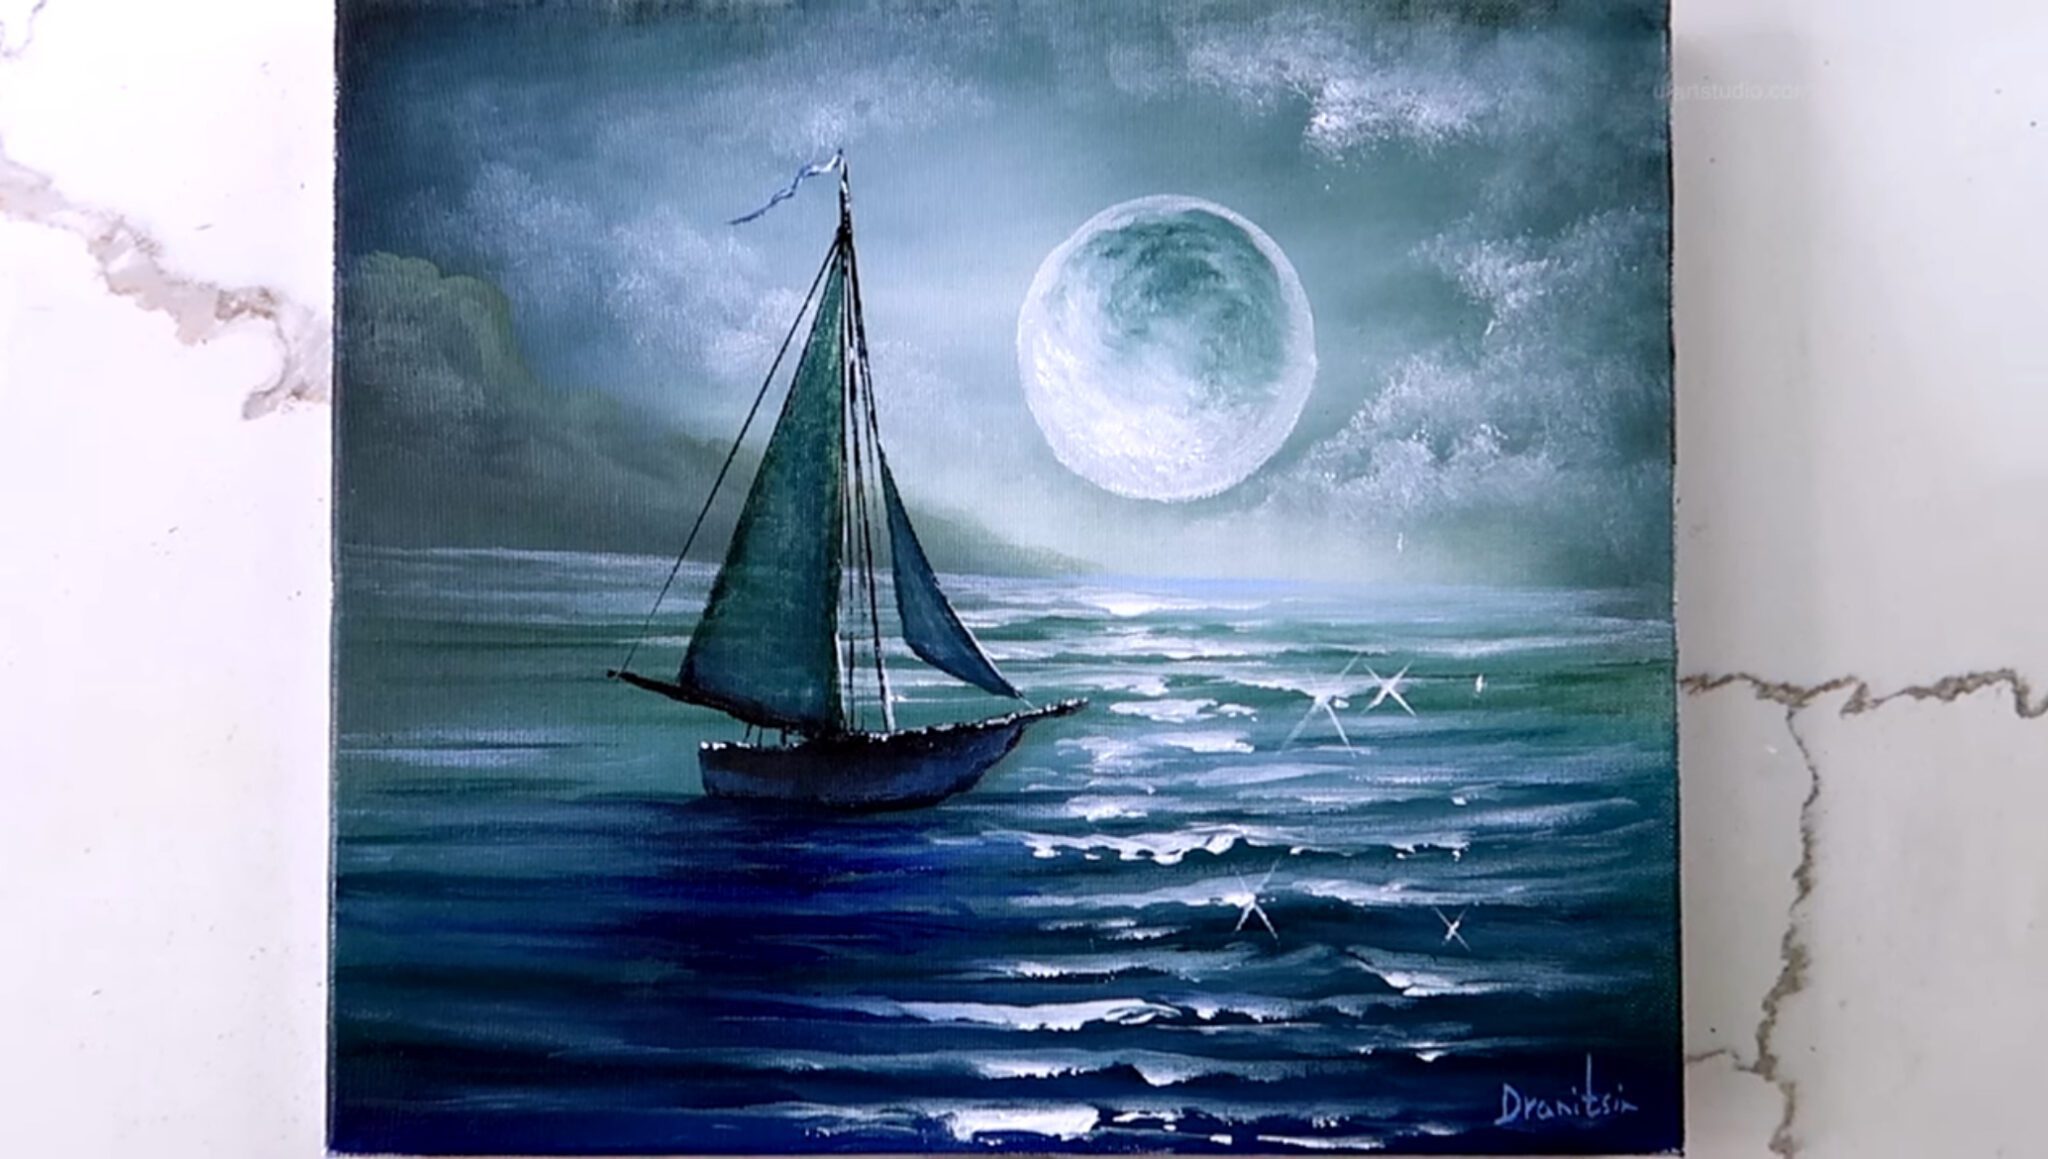
Conclusion
And just like that, our painting is complete! Take a moment to step back and admire your masterpiece. You’ve skillfully captured the essence of a mysterious seascape, showcasing your creativity and talent.
As you sign your painting, let a sense of accomplishment wash over you. You’ve transformed a blank canvas into a beautiful work of art, and I hope this step-by-step guide has inspired you to keep exploring the world of painting.
Until next time, happy painting, and keep letting your creativity shine!
Voyage to the Moon – https://youtu.be/vW7GYdBGun4
COLORS: black, white, prussian blue, prussian green, vandyke brown
Embark on a mesmerizing artistic voyage with the step-by-step acrylic painting demo of “Voyage to the Moon – Sailboat on the Ocean | Big Full Moon.” Dive into a world where the moon’s glow dances upon the tranquil ocean, guiding a lone sailboat under its celestial spell. Join the journey of creation as each brushstroke reveals the magic of this nocturnal scene. Find inspiration and unleash your inner artist as you witness the transformation of a blank canvas into a breathtaking masterpiece. Let the allure of the moonlight and the vast expanse of the ocean ignite your passion for painting. Explore the beauty of the night sky and the serenity of the sea in this captivating painting tutorial. Experience the joy of creating art and let your imagination set sail on the canvas. Dive into the depths of creativity and sail towards the moon with each stroke of the brush. Join the artistic adventure and discover the magic of painting under the moon’s enchanting light.
BRUSHES – https://urartstudio.com/product-category/brushes/
PAINTING TIPS – https://urartstudio.com/painting-tips/
VIRTUAL GALLERY – https://urartstudio.com/painting-display-in-virtual-room/
MEMBERSHIP – https://www.youtube.com/channel/UC3hCdJZXe9k52K6FIzUBLeA/join/
SHARE YOUR ART – https://www.facebook.com/groups/shareyourart1/
#acrylicpainting, #moonlightpainting, #sailboatart, #stepbysteppainting, #oceanpainting, #paintingtutorial, #beginnerspainting, #moonlightscene

STEP BY STEP PAINTING INSTRUCTIONS AND NARRATED GUIDES FOR URARTSTUDIO.COM YOUTUBE ART VIDEO DEMONSTRATIONS

ART VIDEO STEP BY STEP VIDEO DEMONSTRATIONS AND ORIGINAL ART GALLERY BY URARTSTUDIO:
Welcome to the captivating world of URARTSTUDIO! Immerse yourself in the exquisite artistry and creativity with our step-by-step video demonstrations and exclusive original art gallery. Prepare to be spellbound as true mastery unfolds before your very eyes. Witness the artistic process come alive as our videos take you by the hand, guiding you through each brushstroke and technique. Discover the secret behind captivating compositions and the intricate details that make art truly mesmerizing. Our gallery proudly showcases a curated collection of unique and breathtaking artwork, where every piece tells a story and evokes powerful emotions. Journey with us and let your imagination take flight as URARTSTUDIO invites you to unravel the magic of art like never before.