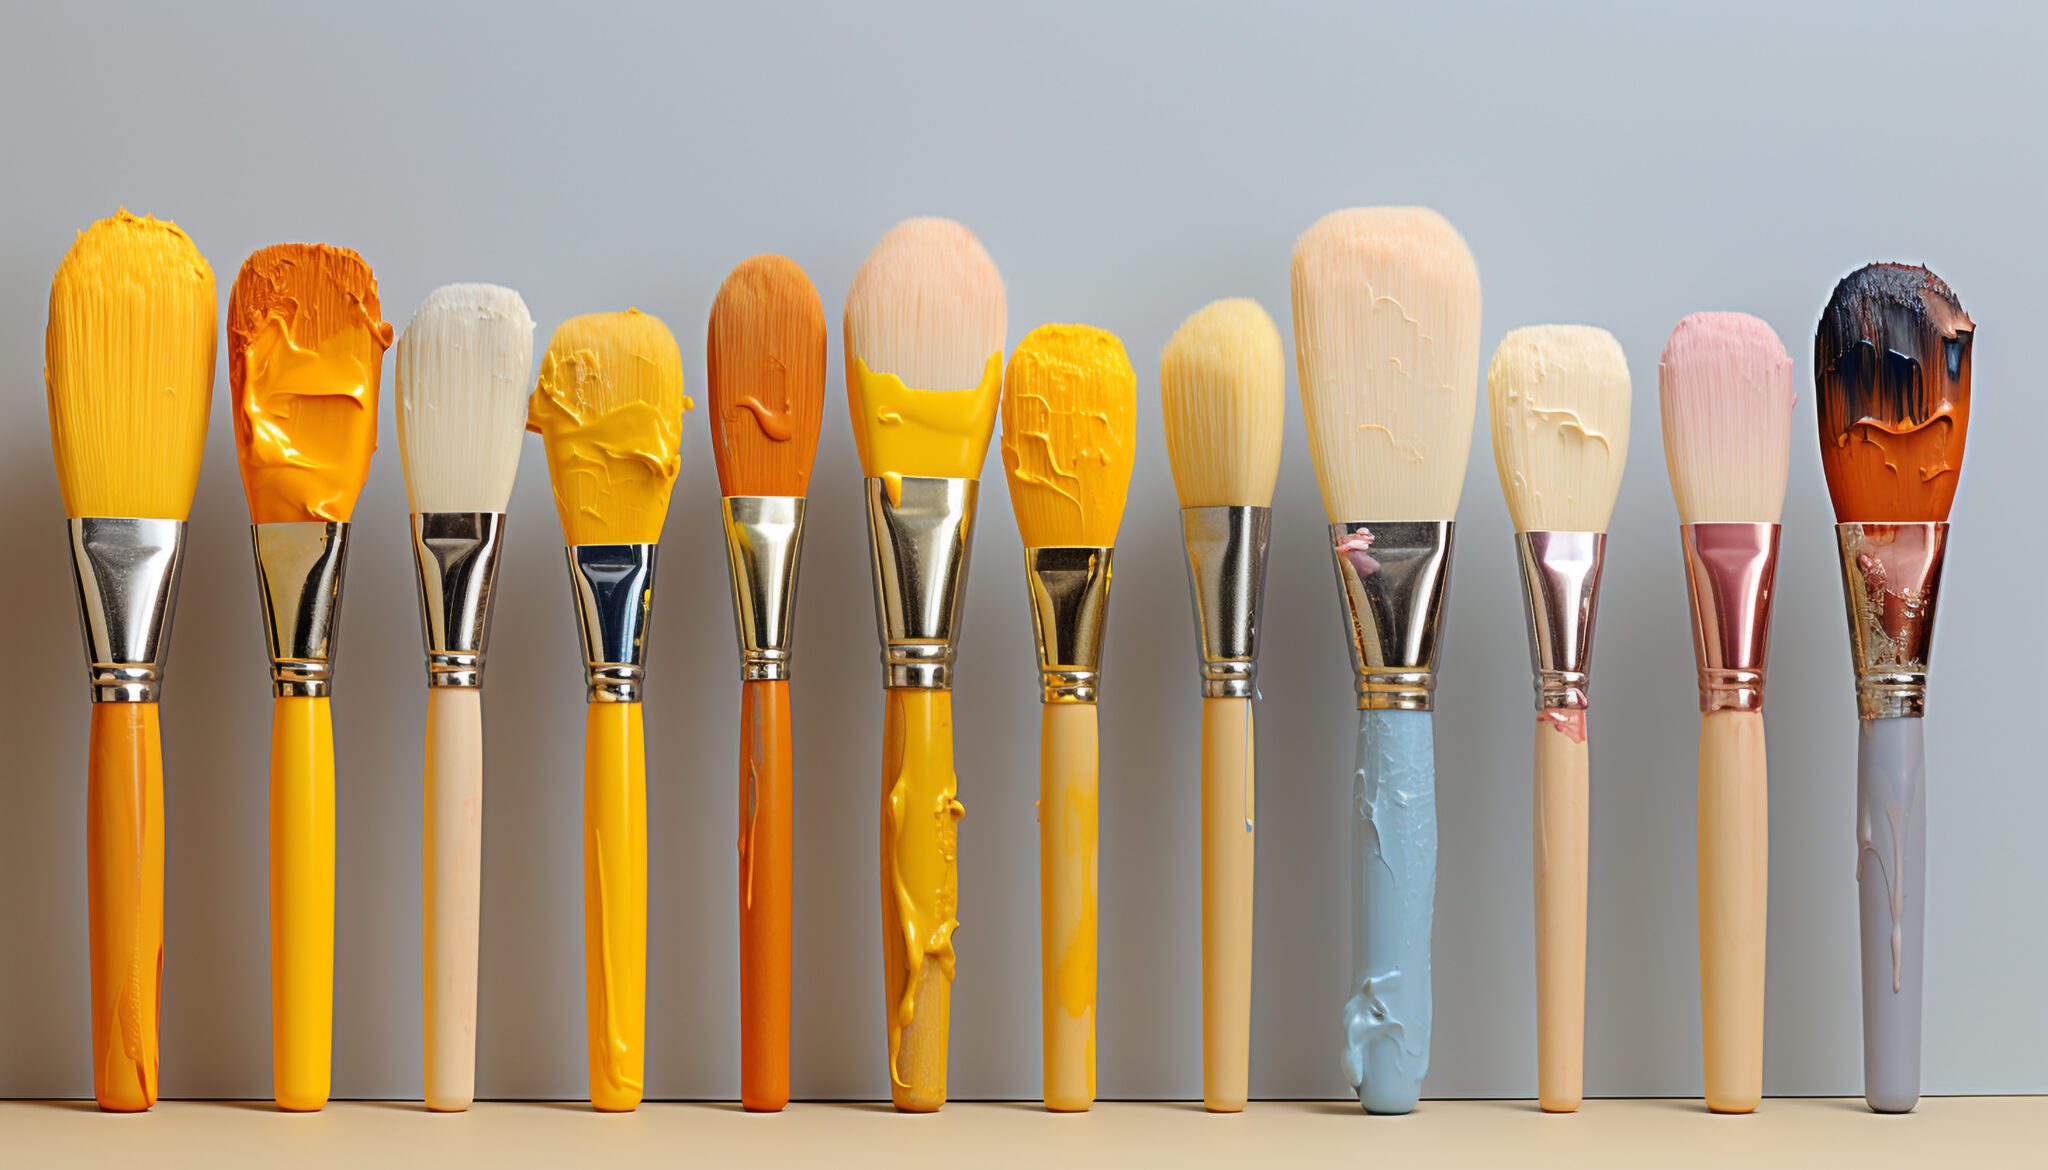
The mop brush is a beloved tool among acrylic painters for its ability to create soft transitions, smooth washes, and gentle blends. With its fluffy bristles and round shape, the mop brush is uniquely designed to apply and manipulate paint in a way that lends a soft, airy quality to artwork. In this guide, we will explore the various techniques and applications of the mop brush to help you master the art of soft transitions in your acrylic painting. Don’t forget to visit urartstudio.com for additional resources, tips, and tutorials that will support your creative journey!
1. Understanding the Mop Brush
The mop brush is characterized by its large, round head made of soft, fluffy bristles that taper to a point. This design allows it to hold a substantial amount of paint or water, making it ideal for creating washes, blending colors, and softening edges. The gentle touch of the mop brush enables artists to achieve subtle gradations of color, making it an essential tool for sky work, portraits, and atmospheric effects.
2. Techniques for Soft Transitions
To effectively use the mop brush for achieving soft transitions in your work, consider these techniques:
a. Creating Washes
Washes are foundational techniques used to build up layers of color smoothly. Here’s how to create them effectively with a mop brush:
- Diluting Paint: For a wash, mix your acrylic paint with water or a medium to achieve a fluid consistency. The paint should be thin enough to flow easily but still retain some pigment.
- Applying the Wash: Load your mop brush with the diluted mixture and apply it to the canvas in swift, sweeping strokes. Use a light touch and move the brush in various directions to achieve an even, transparent layer. Layer multiple washes to build depth.
- Gradients: To create soft gradients, apply your initial wash and allow it to dry. Once dry, load the mop brush with a slightly different color and gently overlap the edges of the first layer, using lighter pressure to blend the two colors seamlessly.
b. Blending Colors
The mop brush is excellent for blending two or more colors together to create smooth transitions:
- Wet-on-Wet Technique: For this technique, work while the paint is still wet. Apply your base color with a different brush, then immediately add your secondary color next to it. Use the mop brush to gently blend the two wet colors together using soft, circular motions.
- Softening Edges: Once your subject is painted, use the mop brush to soften any harsh lines or edges. Lightly drag the brush along the edge of the transition area, allowing the bristles to blend the colors together smoothly.
c. Finishing Touches
The mop brush is also invaluable for adding final details and finishing touches to your painting:
- Add Highlights: Once your main colors are laid down and dry, you can use the mop brush to add subtle highlights to your work. Load the brush with a lighter color and lightly tap it on areas where you want to enhance brightness, such as in clouds or reflective surfaces.
- Glazing: Use the mop brush to apply glazing techniques. Mix a transparent glaze with paint and use the mop brush to gently layer it over dried areas. This can create a luminous effect, enhancing the overall depth of your piece without compromising the underlying details.
3. Tips for Mastering the Mop Brush
Here are some helpful tips to get the most out of your mop brush:
- Clean the Brush Regularly: To maintain the softness of the bristles and prevent the paint from drying within them, clean your mop brush frequently while working. Rinse it gently under running water and reshape it before storing.
- Experiment with Pressure: The amount of pressure you apply with the mop brush significantly affects the outcome. Experiment with varying pressure to see how it alters the application of paint—lighter pressure will yield softer effects, while firmer pressure can provide more distinct strokes.
- Layering is Key: Don’t be afraid to layer different colors with the mop brush. Acrylic paint dries quickly, allowing you to build up translucency and texture without muddying the colors below.
4. Exploring Creative Possibilities
The versatility of the mop brush makes it suitable for various styles and subjects. Here are some ideas to inspire your creativity:
- Landscape Painting: Use the mop brush to create atmospheric skies, soft clouds, and misty landscapes. Its ability to blend colors smoothly makes it perfect for capturing the subtleties of nature.
- Abstract Art: Embrace the fluid nature of your paint by using the mop brush for abstract compositions. Focus on color and movement, experimenting with washes and blends to create captivating pieces.
- Portraits: For portraits, the mop brush’s soft bristles can help achieve smooth skin tones and natural shadowing—perfect for softening transitions between highlights and shadows.
5. Conclusion: Unleashing the Potential of the Mop Brush
Mastering the mop brush can significantly improve your ability to create soft transitions and smooth blends in your acrylic painting. By employing the techniques outlined in this guide, you will be well-equipped to enhance your artwork with a soft, harmonious quality.
Don’t forget to explore our selection of mop brushes and other essential art supplies available at urartstudio.com to support your creative journey!
Be sure to visit our online store at https://urartstudio.com/shop/ for a variety of art supplies and tools. Additionally, check out valuable painting tips at urartstudio.com/painting-tips/ and our step-by-step painting instructions at https://urartstudio.com/step-by-step-painting-instructions/ to further enhance your skills.
Keywords: mop brush, soft transitions, acrylic painting techniques, blending colors, washes, art supplies.
#MopBrush, #SoftTransitions, #AcrylicPaintingTechniques, #BlendingColors, #Washes, #ArtSupplies


Leave a Reply
You must be logged in to post a comment.