

Title: Mastering the Art of Masking Fluid: A Comprehensive Guide to Painting Techniques
Introduction:
Welcome to “Mastering the Art of Masking Fluid,” a comprehensive guide that will take you through step-by-step painting techniques using masking fluid. Masking fluid is a versatile tool that allows artists to preserve areas of their painting and create stunning effects. In this guide, we will provide detailed instructions, helpful tips, and creative ideas to help you make the most of this exciting medium.
Step 1: Gather Your Materials
Before you start, ensure you have all the necessary materials within reach:
- Masking fluid: Choose a high-quality masking fluid that is easy to apply and remove.
- Brushes: Utilize synthetic brushes specifically dedicated to masking fluid to avoid damaging your regular brushes.
- Watercolor paper: Select a heavyweight paper suitable for water-based mediums.
- Palette: Use a palette that is easy to clean and won’t absorb the masking fluid.
- Water containers: Have separate containers for clean water and cleaning the brushes.
- Paper towels: Keep a few handy for blotting excess masking fluid or cleaning brushes.
Step 2: Prepare Your Work Area
Ensure your work area is clean and well-lit. Protect your tabletop with a plastic sheet or newspaper to prevent any accidental spillage. Consider having a color reference or sketch nearby for guidance.
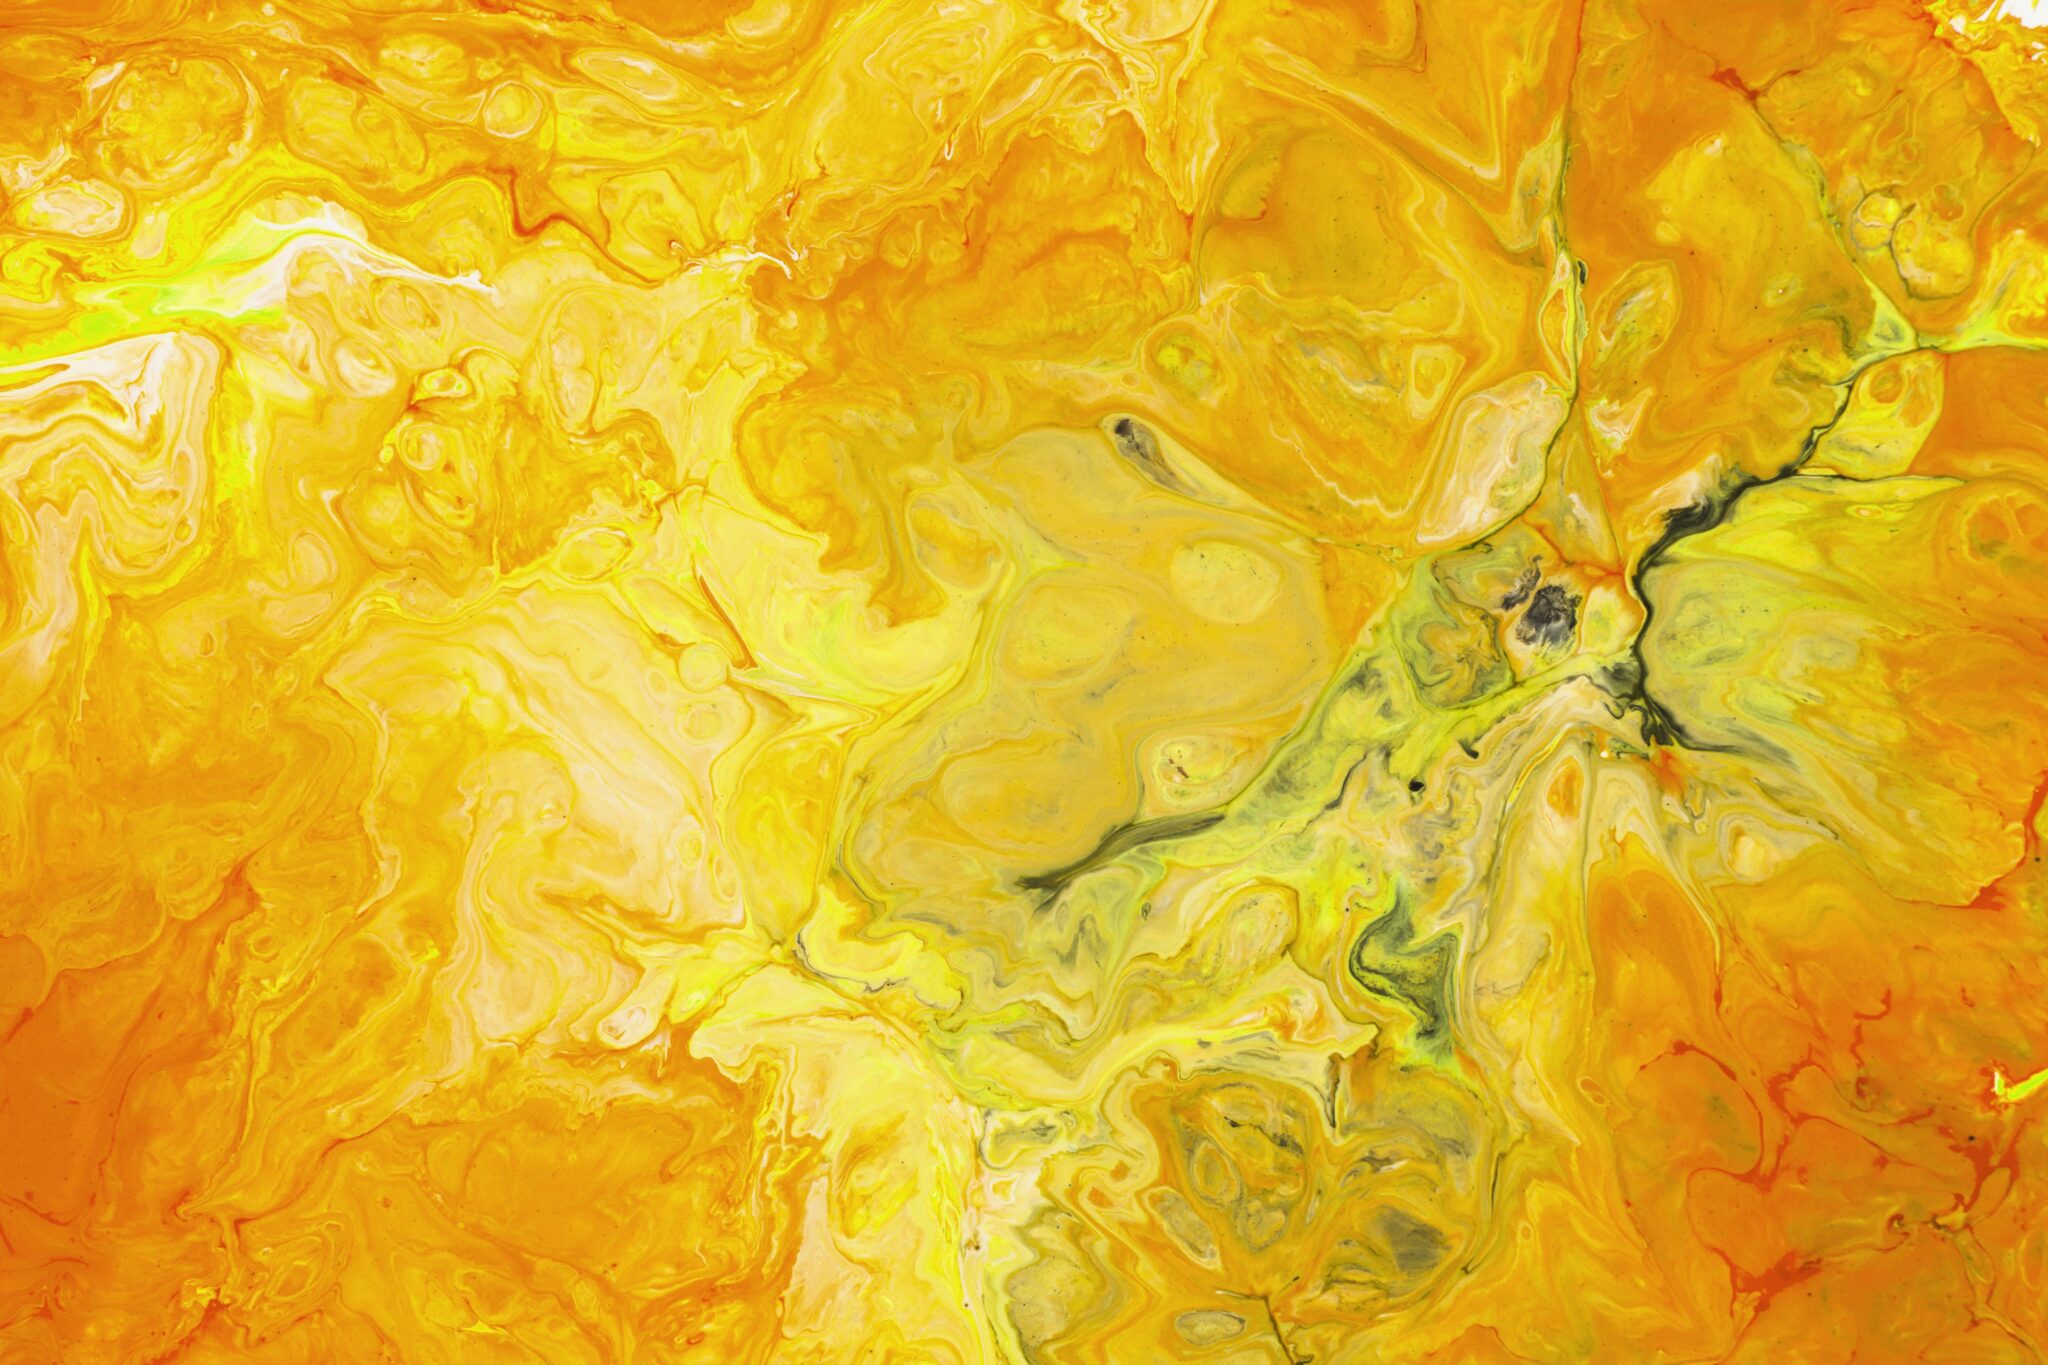
Step 3: Apply the Masking Fluid
Using a clean brush and steady hands, apply the masking fluid to the areas you want to preserve. Apply a layer of fluid that is thick enough to create a seal but not too thick to crack or flake off easily. You can also use different tools like toothpicks or sponges to apply the fluid for varied effects.
Helpful Tip: Avoid applying masking fluid to damp or wet paper to prevent it from seeping into the fibers. Allow the masking fluid to completely dry before continuing.
Step 4: Paint Over the Masking Fluid
Once the masking fluid is dry, you can begin painting over it. Remember to work from light to dark, painting around the masked areas. The masking fluid acts as a barrier, preserving the underlying paper and creating clean, precise edges.
Helpful Tip: Experiment with different techniques and brushstrokes to add depth and texture to your painting. Use varying brush sizes and pressure to create different effects.
Step 5: Let the Painting Dry
Allow your painting to dry completely before proceeding to the next step. This will prevent any unwanted blending or smudging of the colors.
Step 6: Remove the Masking Fluid
Once the paint is dry, gently rub the masking fluid off the paper using your fingers, an eraser, or a soft brush. Begin by taking off any larger pieces, then refine the edges for a clean reveal of the masked areas.
Helpful Tip: If the masking fluid leaves a residue, lightly wash the area with clean water and a soft brush to remove it completely.
Step 7: Finishing Touches and Details
With the masked areas now revealed, you can add fine details, highlights, or additional layers of paint to enhance your painting. Take this opportunity to refine your composition, adjust values, and add any final touches to bring your artwork to life.
Helpful Ideas for Artists:
- Use masking fluid to create intricate patterns or designs in your artwork.
- Experiment with different application techniques, such as splattering or stamping with masking fluid for unique textures.
- Combine multiple layers of masking fluid and colors to create complex compositions or build up textures.
We encourage artists to explore more free resources, tutorials, and inspiration on our website at https://urartstudio.com. Discover new techniques, engage with a creative community, and unleash your artistic potential.
Remember, practicing and experimenting with masking fluid will help you develop your unique style and unlock endless artistic possibilities. Happy painting!
Leave a Reply
You must be logged in to post a comment.