

In the captivating world of acrylic painting, mastering the art of layering can significantly enhance your landscape paintings. Layering not only adds depth and dimension but also creates a rich texture that draws the viewer’s eye. In this post, we will explore the essential techniques for effective layering, helping you unlock the full potential of your acrylic landscapes. Whether you are a beginner or an experienced artist, these tips will guide you in creating stunning, multi-dimensional works of art. Don’t forget to check out the incredible resources available at urartstudio.com, where you can find step-by-step tutorials, a unique selection of unconventional paintbrushes, and a vibrant community of artists.
1. Understanding the Basics of Layering
Layering involves applying multiple coats of paint in a way that each layer interacts with the others. This technique allows you to build complex visual effects, giving your landscape paintings an inviting allure.
The Transparent Nature of Acrylics:
Acrylic paints are inherently versatile, offering both transparency and opacity. This unique quality means that the colors beneath a layer can be seen through the layers above, allowing for an intricate interplay between hues. Start by applying a thin wash of color to establish a base layer. Gradually build up by adding more opaque layers or lighter washes. Each successive layer enhances the depth of color and provides a foundation for more detailed work.
The Importance of Drying Time:
One of the advantages of acrylics is their quick drying time. Understanding this feature is crucial when layering. Allow each layer to dry completely before adding the next—this ensures that the colors maintain their integrity and prevents unintended mixing.
2. Techniques for Effective Layering
There are various techniques you can employ to master the art of layering in acrylic landscape painting:
Glazing:
Glazing is a technique wherein a thin, transparent layer of paint is applied over a dried layer. To create a glaze, mix a small amount of color with a glazing medium or water. This technique softens the color beneath, creating a luminous effect that gives the painting a sense of depth. Use this approach to depict the subtle variations in sky or water, transforming your landscapes into mesmerizing vistas.
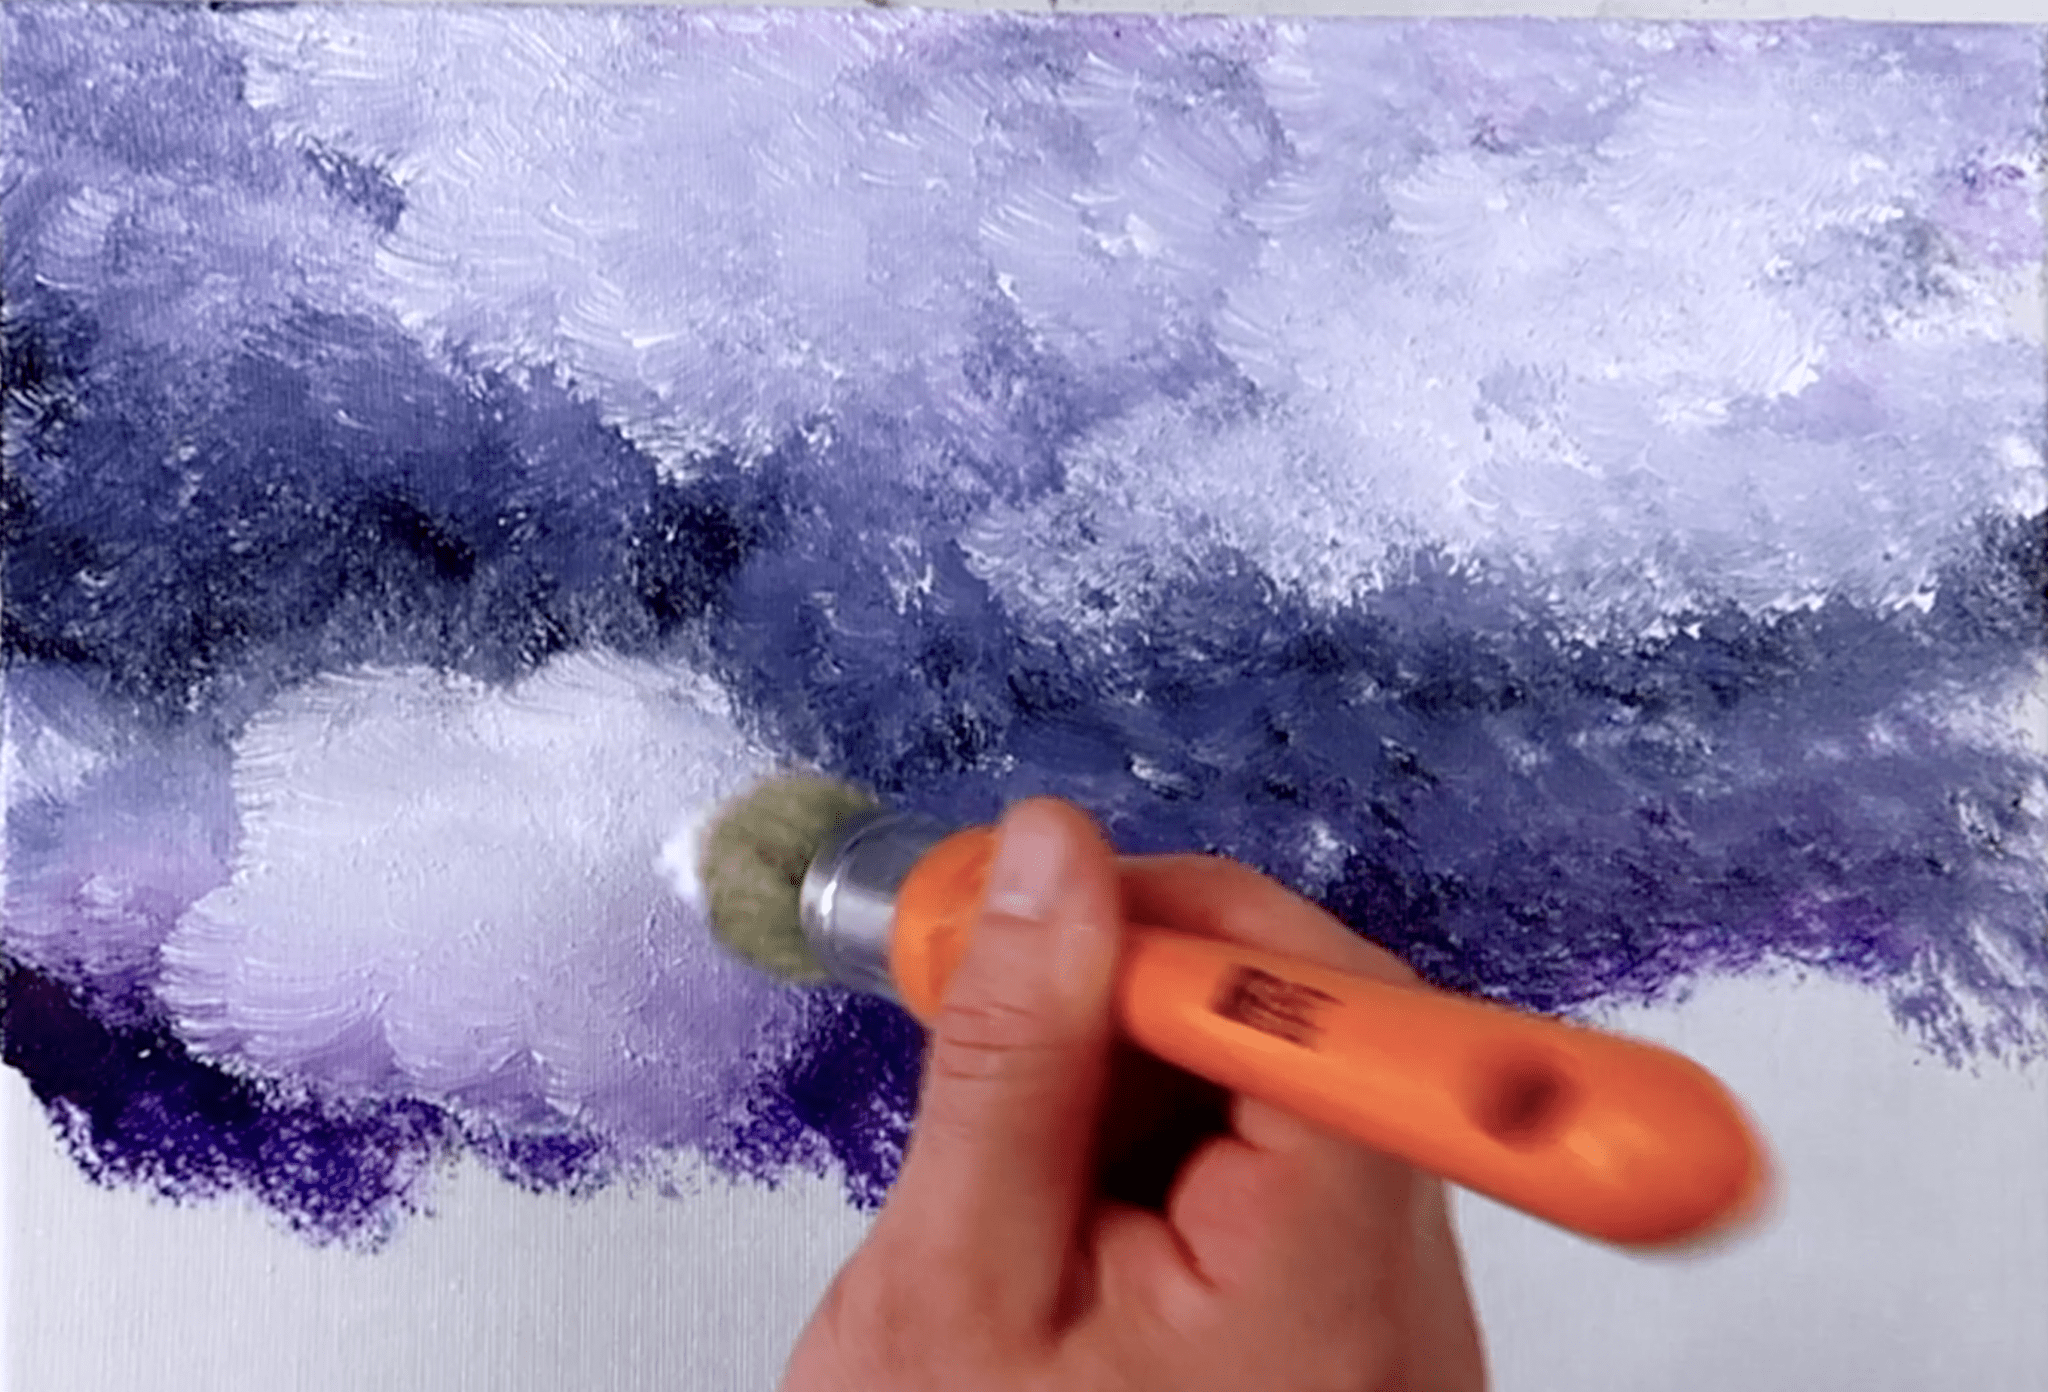
Scumbling:
Scumbling involves using a dry brush to lightly apply a layer of paint over a dry base layer. This technique not only adds texture but also creates a soft, diffused effect. It’s perfect for capturing the appearance of clouds or textured surfaces like grass and earth.
Wet-in-Wet Technique:
In this method, fresh paint is applied onto wet paint, allowing for beautiful blending and interaction of colors. This technique is excellent for creating soft transitions in sky or water areas. Utilize it to infuse your landscapes with dynamic color shifts and transitions that emulate nature’s capricious character.
3. Building Depth and Dimension
When layering, your goal is to create depth within your landscape. Here are some strategies to effectively achieve this:
Foreground, Middle Ground, and Background:
Think about the composition of your landscape in three dimensions. The foreground should be rich and detailed, capturing the viewer’s attention. Use darker tones and more intricate details to ensure that these elements stand out. The middle ground can be a blend of subtle details with lighter tones, while the background should appear softer and more muted, often utilizing glazes to achieve a misty effect that suggests distance.
Utilizing Light and Shadow:
To truly bring your landscapes to life, pay close attention to how light and shadow interact across different layers. By layering lighter colors to create highlights and using darker shades for shadows, you can create a sense of realism and atmosphere in your work. For example, depict the way sunlight touches the edges of trees or how shadows stretch across a field, enhancing the three-dimensional qualities of the landscape.
4. Practical Steps to Start Layering
Now that you have an understanding of layering techniques and concepts, here’s a step-by-step guide to get you started on your next acrylic landscape masterpiece:
Step 1: Prepare Your Canvas
Start with a well-primed canvas. If you’re using a raw canvas, apply a layer of gesso and allow it to dry completely. This coating will help the paint adhere better.
Step 2: Create a Base Layer
Choose a color to represent the background or sky. Dilute your acrylic paint with water or medium to create a wash, applying it evenly across your canvas. Allow this base layer to dry completely.
Step 3: Build Up Layers
Add layers of color, starting from the background and working your way to the foreground. Employ glazing and scumbling techniques where necessary, ensuring to let each layer dry before continuing.
Step 4: Refine Details
Once your layers are established, start focusing on adding smaller details, utilizing thin brushes and opaque colors to create highlights and shadows.
Step 5: Final Touches
Lastly, step back and observe your painting. Add any final touches, adjusting colors or textures as needed to achieve your desired outcome.
5. Conclusion
Mastering the technique of layering in acrylic painting is key to creating evocative landscapes that resonate with viewers. By understanding the basic principles, employing various techniques, and strategically building depth, you can transform your acrylic artwork into stunning visual narratives. Remember, practice is essential—every stroke will bring you closer to your artistic vision.
As you embark on your creative journey, explore the resources available to you at urartstudio.com. Here, you’ll find a wealth of valuable painting tips, step-by-step tutorials, and a fantastic selection of unconventional paintbrushes designed to inspire your creativity. Dive into our online store at https://urartstudio.com/shop/ for all your art supply needs and enhance your skills with our tips at https://urartstudio.com/painting-tips/ as well as our detailed instructions at https://urartstudio.com/step-by-step-painting-instructions/.
Start layering your way to breathtaking landscapes today!
Keywords: layering in acrylics, acrylic landscape painting, glazing techniques, scumbling technique, depth in painting, acrylic painting tips
#LayeringInAcrylics, #AcrylicLandscapePainting, #GlazingTechniques, #ScumblingTechnique, #DepthInPainting, #AcrylicPaintingTips
Leave a Reply
You must be logged in to post a comment.