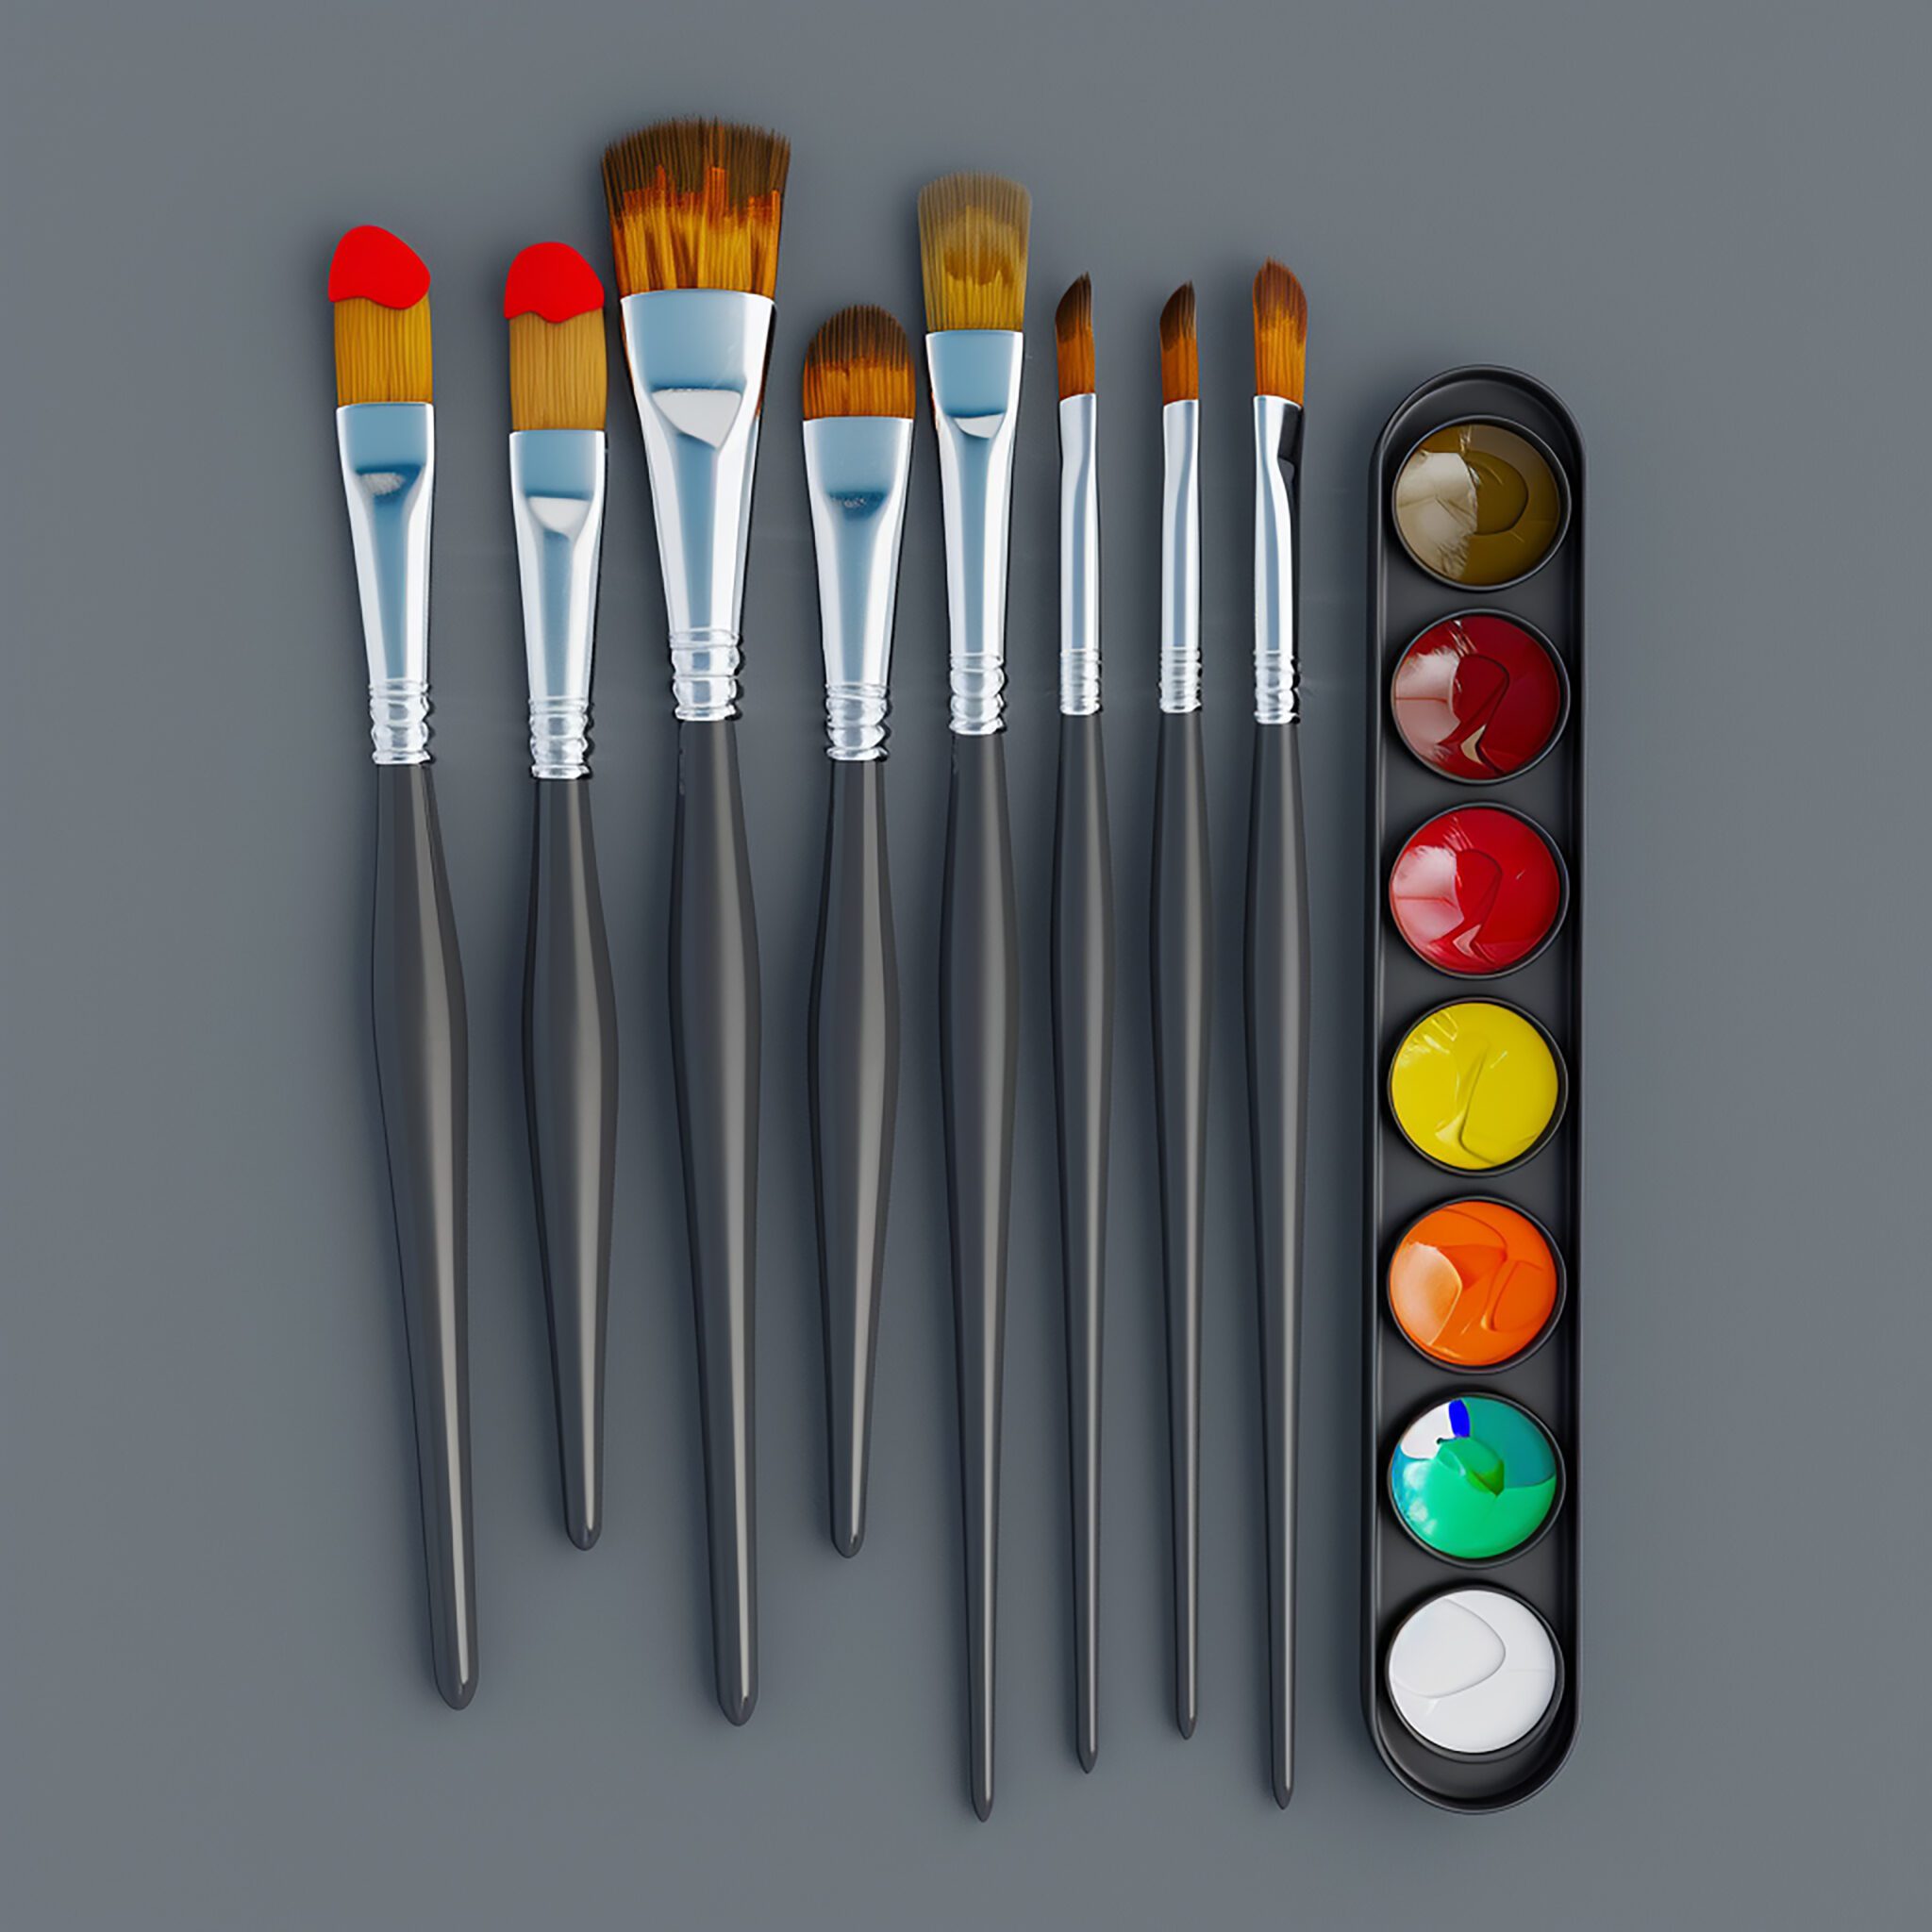
The bright brush is a powerful tool for any acrylic artist, known for its ability to create defined edges and vibrant colors. With its short, stiff bristles and flat head, the bright brush excels in both applying bold strokes and achieving intricate details. In this guide, we will explore various techniques to maximize the potential of the bright brush, helping you enhance your artwork with striking color and precision. Don’t forget to visit urartstudio.com for additional resources and tutorials that will help you develop your painting skills!
1. Understanding the Bright Brush
The bright brush is characterized by its rectangular shape and shorter bristles compared to traditional flat brushes. This design allows for more control and precision, making it ideal for various painting techniques. Its stiff bristles effectively hold paint, allowing for vibrant application and the ability to create sharp, defined edges.
2. Techniques for Defined Edges
One of the primary advantages of the bright brush is its capability to create crisp, clean lines and shapes. Here are some techniques to master this aspect:
a. Edging
- Loading the Brush: Dip the bright brush into your chosen color, ensuring the bristles are fully loaded without excess paint. Drag it across your palette to remove any excess, which helps to maintain control.
- Applying Firm Pressures: Hold the brush at a slight angle and apply even pressure as you move it along the edges of your shapes. This technique easily applies paint to the canvas while keeping the lines sharp and defined.
- Using the Edge: For precise lines, use just the edge of the bristles to draw along the contours or borders of your subject. This method is particularly useful for outlining shapes, such as the edges of leaves or the silhouette of objects.
b. Block Painting
- Large Areas with Detail: When painting larger sections, use the bright brush in a block painting style. Apply solid color using the side of the brush for broader sections while using the edge for details and contours. This technique facilitates layer application while maintaining defined shapes.
- Layering Colors: After applying a base color, allow it to dry fully before using the bright brush to layer additional colors. This builds depth and richness in your painting while maintaining sharp edges.
3. Creating Vibrant Colors
The bright brush is excellent for applying bold, vibrant colors due to its capacity to hold paint well. Here’s how to make the most of this feature:
a. Bold Strokes
- Quick, Confident Strokes: Use quick, confident strokes to apply paint to the canvas. The stiffness of the bristles allows for immediate contact with the surface, creating thick, opaque applications that enhance vibrancy.
- Mixing Colors: Create stunning color combinations directly on the palette. Experiment with color mixing before application, and then use the bright brush to apply the mixed color to achieve uniformity across your painting.
b. Dry Brushing
- Adding Texture: For added texture and vibrancy, try the dry brushing technique. Remove most of the paint from the brush, so it’s barely loaded, and lightly drag it across the canvas. This method allows you to create vibrant effects while letting the underlying layers show through.
- Highlighting: Use a lighter color on the bright brush to create highlights against darker sections. The precision of the brush helps you achieve glowing effects that bring dimension to your work.
4. Blending and Transitioning
While the bright brush is effective for sharp edges, it can also be used for blending when necessary:
- Softening Edges: To soften the transition between colors, use the bright brush lightly along the edge where two colors meet. You can use a stippling or feathering motion to blend them together while preserving some of the definitions.
- Layering Washes: Apply thin washes of color using the bright brush for smooth, transparent transitions. This technique gives you the option to control the vibrancy and layering effect.
5. Creative Applications
The versatility of the bright brush allows you to explore various styles and techniques:
- Abstract Art: Use bold strokes and vibrant colors to create abstract compositions. The bright brush can help you define shapes within abstraction while ensuring rich color applications.
- Landscape Painting: When painting landscapes, the bright brush can outline elements like trees, mountains, or clouds, providing clear definitions. Simultaneously, you can fill in the shapes with vibrant colors to portray the liveliness of nature.
6. Conclusion
Mastering the bright brush can significantly enhance your painting skills, allowing you to create defined edges and vibrant color applications effortlessly. By employing the techniques outlined in this guide, you’ll be able to create striking, dynamic artworks that captivate viewers and express your unique artistic vision.
Don’t forget to explore our selection of bright brushes and other essential art supplies at urartstudio.com!
Be sure to visit our online store at https://urartstudio.com/shop/ for a variety of art supplies and tools. Additionally, check out valuable painting tips at urartstudio.com/painting-tips/ and our step-by-step painting instructions at https://urartstudio.com/step-by-step-painting-instructions/ to further enhance your skills.
Keywords: bright brush, defined edges, vibrant colors, acrylic painting techniques, block painting, art supplies.
#BrightBrush, #DefinedEdges, #VibrantColors, #AcrylicPainting, #BlockPainting, #ArtSupplies


Leave a Reply
You must be logged in to post a comment.