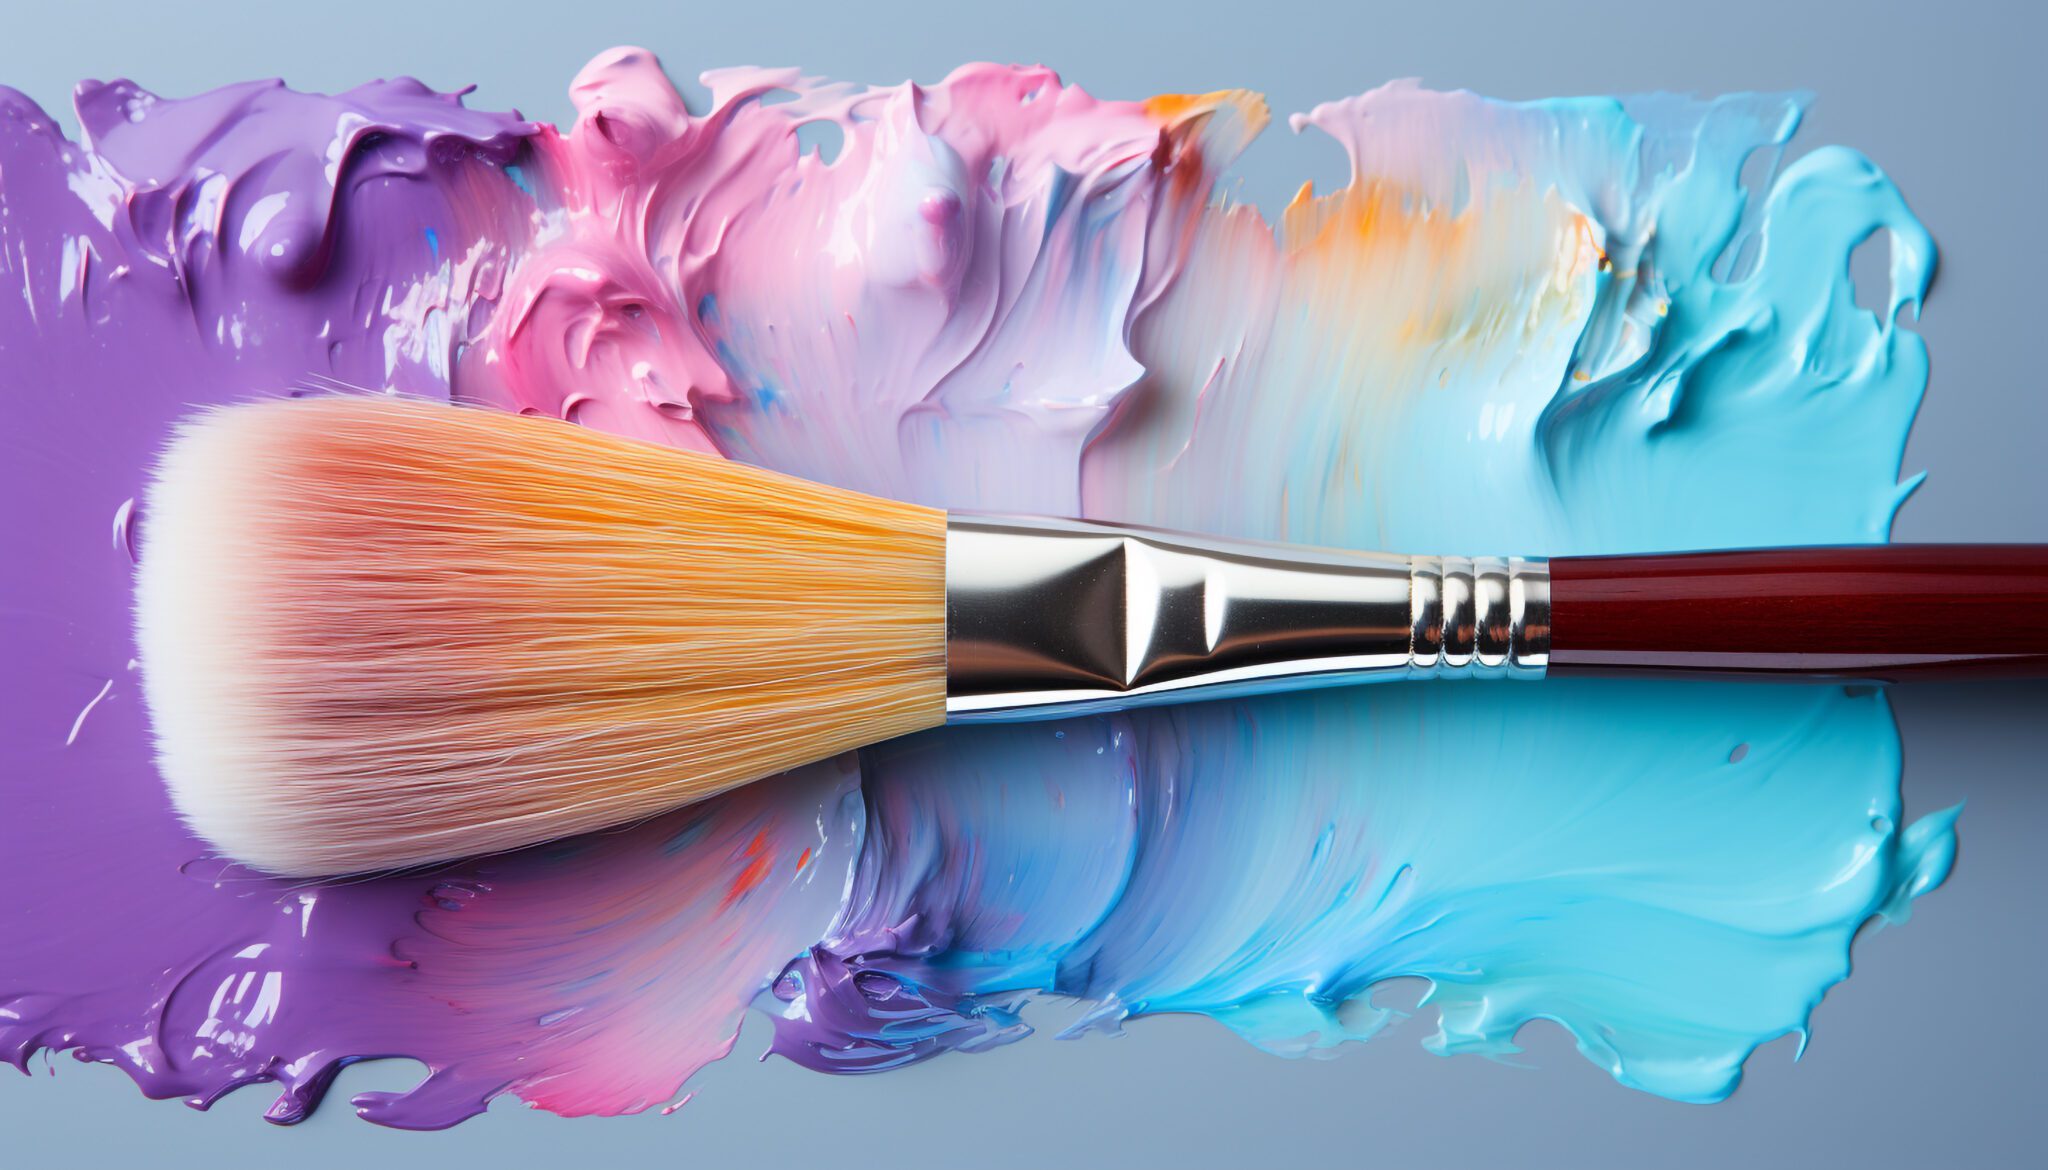
The mop brush is a fantastic tool for artists looking to achieve soft blends, washes, and fluid transitions in their acrylic paintings. Characterized by its large, fluffy bristles, the mop brush is capable of holding a considerable amount of paint or water, making it ideal for broad applications. This guide will explore the characteristics of the mop brush and offer various techniques for blending and washing that leverage its unique qualities.
1. Understanding the Mop Brush
Characteristics:
- Large, Soft Bristles: Mop brushes feature a rounded head made up of natural or synthetic bristles that taper at the tip. This design allows for significant paint and water retention.
- Fluffy Texture: The soft, flexible bristles make it perfect for creating smooth transitions and soft textures without harsh lines or edges.
- Variety of Sizes: Available in different sizes, mop brushes can be chosen based on the desired scale of your painting and the areas you wish to cover.
2. Best Uses for the Mop Brush
The mop brush excels in numerous applications, especially when working with acrylics:
- Blending Colors: Ideal for merging colors smoothly, creating depth, and avoiding harsh edges.
- Washing Backgrounds: Perfect for applying thin layers of color to create background washes and gradients.
- Creating Textures: Can produce soft textures or patterns, such as clouds, mist, or soft landscapes.
- Applying Varnishes or Glazes: Works well for even application of fluid mediums over dry areas.
3. Techniques for Blending with a Mop Brush
Here are some effective techniques to master blending and washing with a mop brush:
a. Preparing Your Paint
- Thinning the Paint: For blending and washes, add water or a medium to your acrylic paint to achieve a more fluid consistency. The paint should be thin enough to flow but still retain a certain level of opacity for coverage.
b. Blending Technique
- Wet-on-Wet Blending: Start by applying a base color to your canvas. While it is still wet, use the mop brush to apply a second color next to or over the first. Gently blend the two colors by using a soft, circular motion, allowing the bristles to mix the paint on the canvas.
- Back-and-Forth Motion: After loading the mop brush with the paint, use a gentle back-and-forth motion to blend colors seamlessly together. This technique can help create gradients without leaving hard lines.
- Feathering: When transitioning between colors, lightly touch the edge of the mop brush into the wet paint, then feather the two together by gently dragging the brush along the meeting point. This softens the transition and creates a smooth gradation.
c. Creating Washes
- Applying a Wash: For a background wash, load the mop brush with thinned paint and apply it to a large area. Use sweeping strokes to spread the color over the surface, allowing it to flow naturally. Depending on how much water you’ve mixed in, the wash can appear transparent or semi-opaque.
- Building Layers: Begin with a light layer of color and allow it to dry. Once dry, you can return with additional washes for depth, using the mop brush to achieve smooth application. Layering allows for rich color without losing the softness.
4. Additional Techniques
- Dry Brush Effect: While the mop brush is typically used wet, you can also use it for a dry brush effect. Remove excess paint by lightly tapping the bristles on a paper towel and then gently drag the brush over dry paint to create a textured appearance. This technique can emulate effects like sand or textured surfaces.
- Creating Atmospheric Effects: Use the mop brush to achieve soft cloud effects or to suggest mist and atmosphere. By lightly dabbling the brush on a wet surface, you can create a soft and diffused look.
- Blending Skin Tones: In portrait painting, the mop brush can be used to create gradual transitions between skin tones. After applying the initial layer of paint with a round brush, switch to the mop brush to soften and blend the tones.
5. Cleaning and Maintenance
To keep your mop brush in optimal condition:
- Immediate Cleaning: Rinse the brush thoroughly in warm, soapy water immediately after use. This prevents paint from drying in the bristles and maintains softness.
- Reshape While Wet: Gently reshape the bristles while they are still wet to preserve their shape. Allow the brush to dry flat or hanging to maintain its integrity.
- Proper Storage: Store your mop brush upright or in a protective case to avoid damage.
6. Conclusion
The mop brush is an incredibly versatile tool that allows artists to blend and wash colors effortlessly, resulting in soft transitions and textured effects. By mastering the techniques outlined in this guide, you can elevate your acrylic painting skills and achieve beautiful, atmospheric results in your artwork.
Explore our selection of mop brushes and other essential art supplies at urartstudio.com to support your creative journey!
Be sure to visit our online store at https://urartstudio.com/shop/ for a variety of art supplies and tools. Additionally, check out valuable painting tips at urartstudio.com/painting-tips/ and our step-by-step painting instructions at https://urartstudio.com/step-by-step-painting-instructions/ to further enhance your skills.
Keywords: mop brush, blending, washing, acrylic painting techniques, art supplies.
#MopBrush #Blending #Washing #AcrylicPainting #ArtSupplies


Leave a Reply
You must be logged in to post a comment.