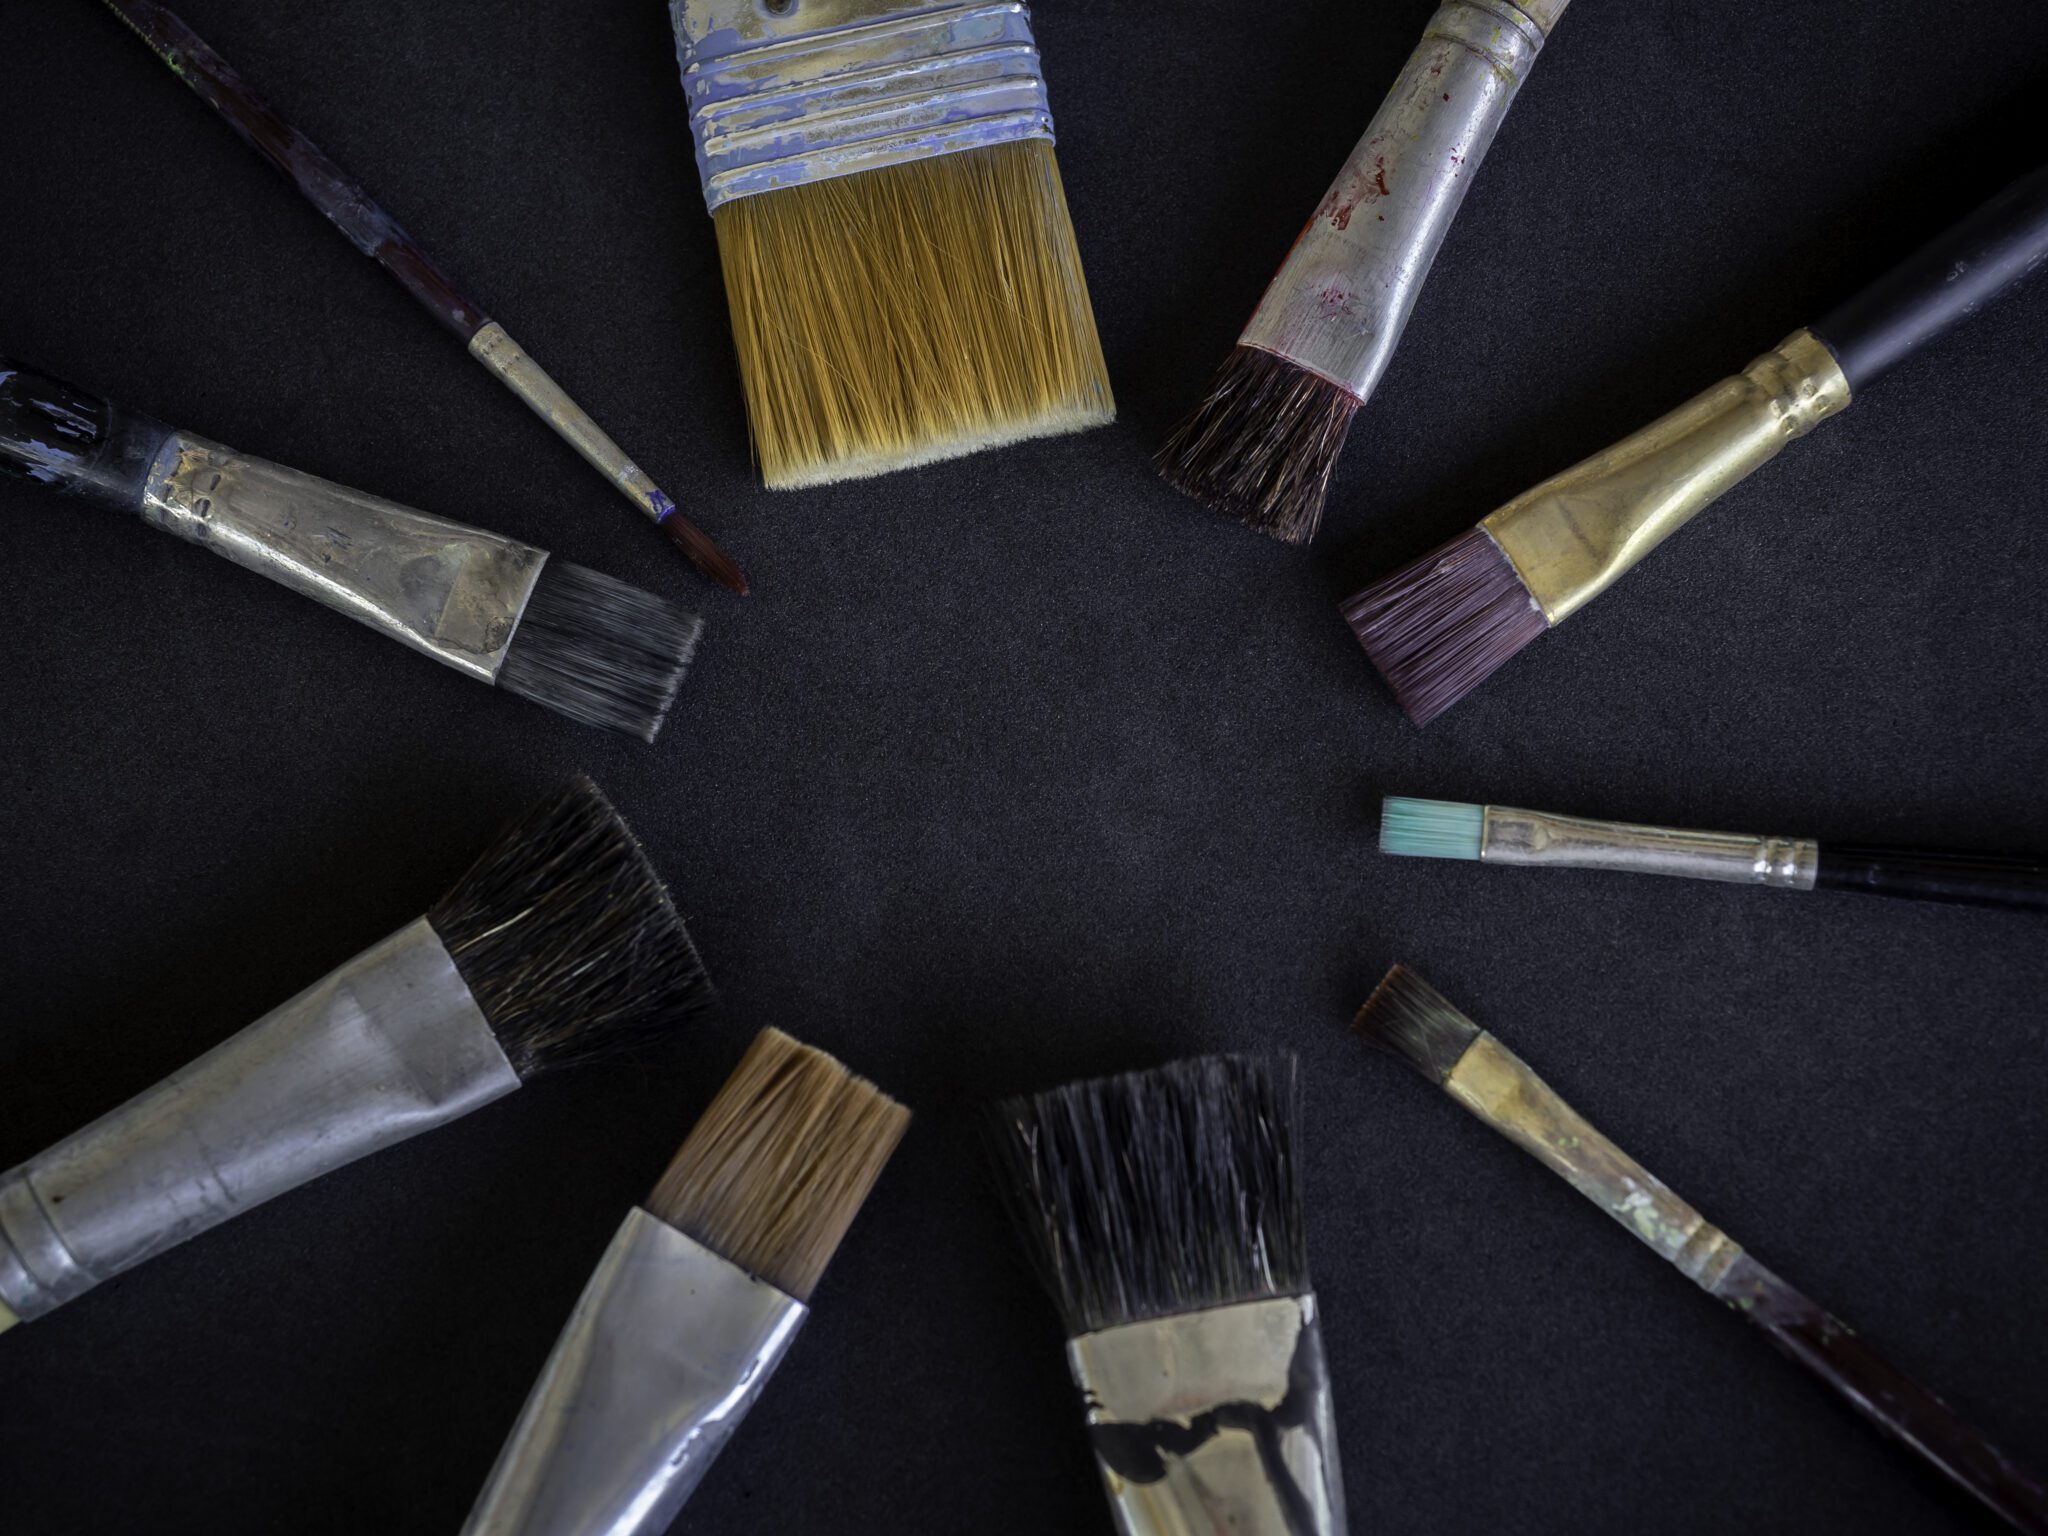
Matching Brush to Landscape for Maximum Creative Impact
When you stand in front of your canvas, ready to capture the grandeur of a misty mountain, the tranquility of a lakeside at dusk, or the drama of a windswept field, your brush is your translator. Each type of landscape scene demands a specific approach—and the right brush can make all the difference. With so many options at your fingertips, how can you confidently select the right brush for each unique scene? This guide will walk you through artistic strategies for choosing brushes to match every landscape element, ensuring that what you envision is what you create.
Mountains, Cliffs & Rocky Terrain: Strong Forms with Crisp Edges
Shape & Texture for Rugged Features
When painting rocky landscapes, such as mountains or cliffs, opt for flat and angle brushes. These brushes deliver sharp edges and broad, chiseled strokes, allowing you to define angular forms and bold contrasts with ease. Use a flat brush for blocking in major shapes or layering rocky textures. For crags, ledges, and diagonal slopes, an angle brush lets you cut precise lines and build realistic shadows.
Technique Tip:
Lightly drag the flat brush to create broken stone textures or use its edge for carving highlights along ridges.
Rolling Hills & Open Fields: Soft Curves and Subtle Blending
Blending Nature’s Gentle Transitions
Filbert brushes are your go-to for rolling hills and grassy expanses. Their rounded edges allow for natural blending and smooth transitions, making them perfect for depicting gentle slopes and harmonious color gradations. If you’re after a sense of distance, alternate between filbert and flat brushes to layer overlapping plains without creating harsh boundaries.
Technique Tip:
Use a filbert brush with loose “sweeping” motions to build up grassy meadows, then add sharper details on top with a small round brush.
Forests, Trees & Foliage: Layered Complexity and Lively Texture
Capturing Nature’s Richness
Fan and round brushes are invaluable for rendering foliage and forest scenes. Fan brushes excel at massing leaves, pine needles, or underbrush with a single tap or flick, creating a natural, random depth. For individual branches, small accents, and tree trunks, a fine round brush is perfect.
Technique Tip:
Dab a fan brush with varying greens, working from the back layer (darker) to the front (lighter), then intersperse fine branches or highlights with a slender round brush.
Water & Reflection: Fluidity and Movement
Brushwork for Tranquility or Turbulence
Reflective water surfaces call for flat and fan brushes. Use a flat brush to horizontally sweep in the broad reflections of sky or shoreline, blurring the transitions to mimic water’s smoothness. For moving water—such as streams or ocean waves—a fan brush loaded with diluted paint can create the illusion of ripples, foam, or splashes.
Technique Tip:
Apply a horizontally dragged flat brush for still waters, while a slightly splayed fan brush tip catches the light for sparkling movement.
Skies, Clouds & Atmospheric Effects: Softness and Drama
Setting the Tone for the Scene
The sky sets the emotional tone of your landscape. Large filbert and mop brushes are best for blending wide gradients in the sky, from sunrise pinks to twilight blues. To add expressive clouds, a feather or round brush with light, circular motions lets you sculpt billowing forms and soft edges.
Technique Tip:
Start with a big, soft brush for sky gradients, then dab or swirl a feather or mop brush in titanium white for luminous, airy clouds.
Foreground Details & Accents: Precision That Pops
The Finishing Flourishes
When it’s time for finishing touches—be it fence posts, wildflowers, reeds, or pebbles—a detail brush (liner or small round) gives you the control needed for crisp, fine lines. It’s these details that bring the eye forward and make your landscape immersive.
Technique Tip:
Load a detail brush with thick, vibrant paint for vivid blossoms or glistening dew, ensuring the smallest elements stand out sharply.
Practical Tips for Brush Selection
- Test several brushes on scrap paper before beginning a new scene to see their unique marks.
- Don’t hesitate to mix brush types within the same painting; often the most dynamic works combine broad, loose areas with intricate details.
- Replace or supplement worn-out brushes—sometimes their aged, split ends are perfect for unique natural textures!
Conclusion: Embrace Versatility and Experimentation
With a thoughtful approach to brush selection, each landscape you paint will benefit from targeted techniques and textures. Whether you’re dreaming up a rugged coast, tranquil lake, or mountain vista, knowing which brush to reach for allows you to express each scene with confidence and flair.
Ready to find your perfect brushes?
Explore the curated brush sets and expert supplies at URARTSTUDIO Shop. For more inspiration and hands-on advice, check out our painting tips and step-by-step painting instructions. Unlock the full potential of every landscape with the right brush in hand!
Keywords: brush selection, acrylic landscape painting, painting techniques, art supplies, URARTSTUDIO
#brushselection #acryliclandscapepainting #paintingtechniques #artsupplies #URARTSTUDIO


Leave a Reply
You must be logged in to post a comment.