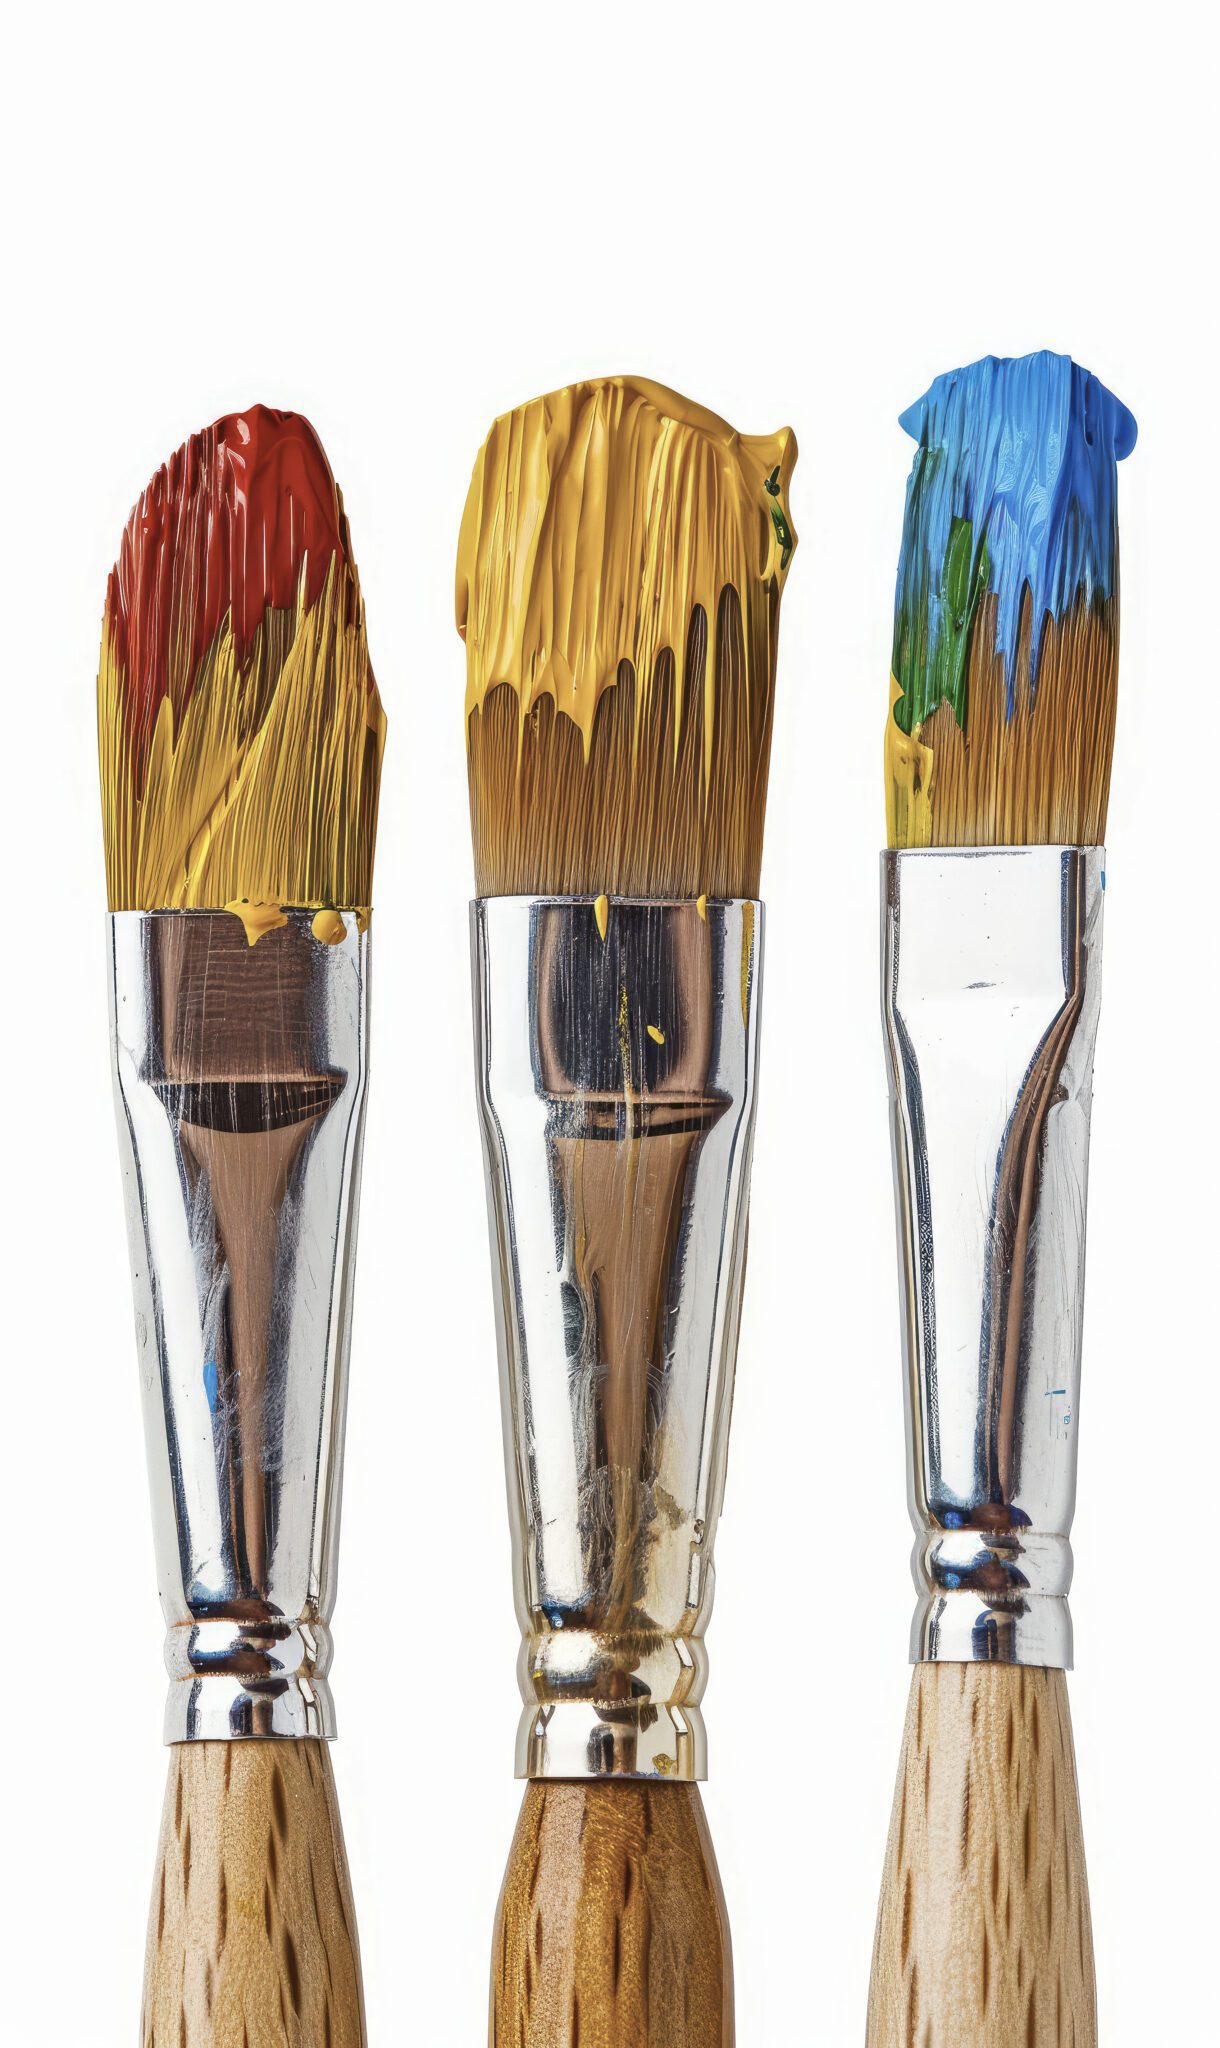
The angular brush, also known as an angled or slanted brush, is a versatile tool that can add a unique flair to your acrylic painting techniques. With its distinctive slanted shape, the angular brush is designed for creating precise lines, blending colors, and achieving various effects that traditional brushes may not easily accomplish. In this guide, we will explore the numerous benefits of the angular brush and provide tips on how to effectively incorporate it into your acrylic painting practice. Don’t forget to check out urartstudio.com for tools, tips, and resources to enhance your artistry!
1. Understanding the Angular Brush
The angular brush features a head that is cut at an angle, typically with stiff bristles that taper to a point. This design allows for different application techniques compared to standard flat or round brushes. Some key features include:
- Versatility: The angular brush is suitable for various applications, from broad strokes to fine details.
- Edge Control: The angled bristles enable you to create sharp lines and edges, making it perfect for outlining shapes or adding accents.
- Efficient Color Mixing: The flat surface can pick up and blend multiple colors effectively, perfect for both layering and glazing techniques.
2. Benefits of Using the Angular Brush
Here are some of the many benefits that the angular brush brings to your acrylic painting process:
a. Precise Lines and Edges
- Sharp Edges: The tapered bristles allow for clean, crisp edges, making the angular brush ideal for outlining and creating geometric shapes in your artwork.
- Controlled Application: By using the edge of the brush, you can navigate tight corners and intricate details with ease.
b. Versatile Techniques
- Blending and Feathering: The unique angle of the brush allows for smooth blending between colors. You can lightly drag the bristles along the edges of contrasting colors to create gradients and soft transitions.
- Creative Strokes: Experimenting with different pressures when using the angular brush allows for a range of strokes—from broad, sweeping lines to delicate textures with just a turn of your wrist.
c. Efficient Coverage
- Filling Shapes: The broad flat edge is excellent for efficiently filling in larger shapes or backgrounds while maintaining control over the edges. This minimizes the risk of paint spilling over onto adjacent areas.
- Layering with Precision: Use the angular brush to layer multiple colors while preserving the clarity and definition of underlying shapes, which can be especially effective in landscape and abstract paintings.
3. Techniques for Using the Angular Brush
To maximize the potential of your angular brush, consider these techniques:
a. Outlining and Detailing
- Outlining Shapes: Use the angled edge to create sharp outlines around objects or shapes in your painting. The ability to press down with the flat side or use the edge gives you greater control over thickness.
- Fine Details: Use the pointed tip for adding intricate details, such as texture in clothing, leaves, or architectural elements.
b. Blending Colors
- Wet-on-Wet Blending: On wet paint, use the angular brush to drag colors together, allowing them to mix while maintaining separation. The angle helps control how colors merge, producing a soft blend.
- Feathering: For softer transitions, lightly drag the brush between two colors, using the angled edge to blend the meeting point without losing definition on either side.
c. Texture Techniques
- Creating Textures: Use various pressure and angle techniques to create textures in your work. Lightly tapping or dragging the brush can mimic textures such as fur, grass, or rough surfaces.
- Dry Brushing: When using the angular brush with a dry paint approach, lightly drag it over dried paint to add textural highlights or details without disturbing the underlying layers.
4. Maintenance and Care
To keep your angular brush in top condition, follow these maintenance tips:
- Regular Cleaning: After each painting session, clean your brush thoroughly with warm, soapy water. Ensure that no paint is left in the bristles, as this can affect the brush’s performance and lifespan.
- Proper Storage: Store your brushes upright or flat without squishing the bristles to maintain their shape. Consider using protective cases or rolls to prevent damage.
5. Conclusion
The angular brush is a powerful tool that can expand your acrylic painting techniques, offering precision, versatility, and efficiency. By exploring its unique features and applying the techniques outlined in this guide, you can greatly enhance your artwork with sharp lines, soft blends, and creative textures.
Be sure to explore our selection of angular brushes and other essential art supplies available at urartstudio.com to support your artistic journey!
Don’t forget to visit our online store at https://urartstudio.com/shop/ for a variety of art supplies and tools. Additionally, check out valuable painting tips at urartstudio.com/painting-tips/ and our step-by-step painting instructions at https://urartstudio.com/step-by-step-painting-instructions/ to further enhance your skills.
Keywords: angular brush, acrylic painting, precision, blending, texture techniques, art supplies.
#AngularBrush, #AcrylicPainting, #Precision, #Blending, #TextureTechniques, #ArtSupplies


Leave a Reply
You must be logged in to post a comment.