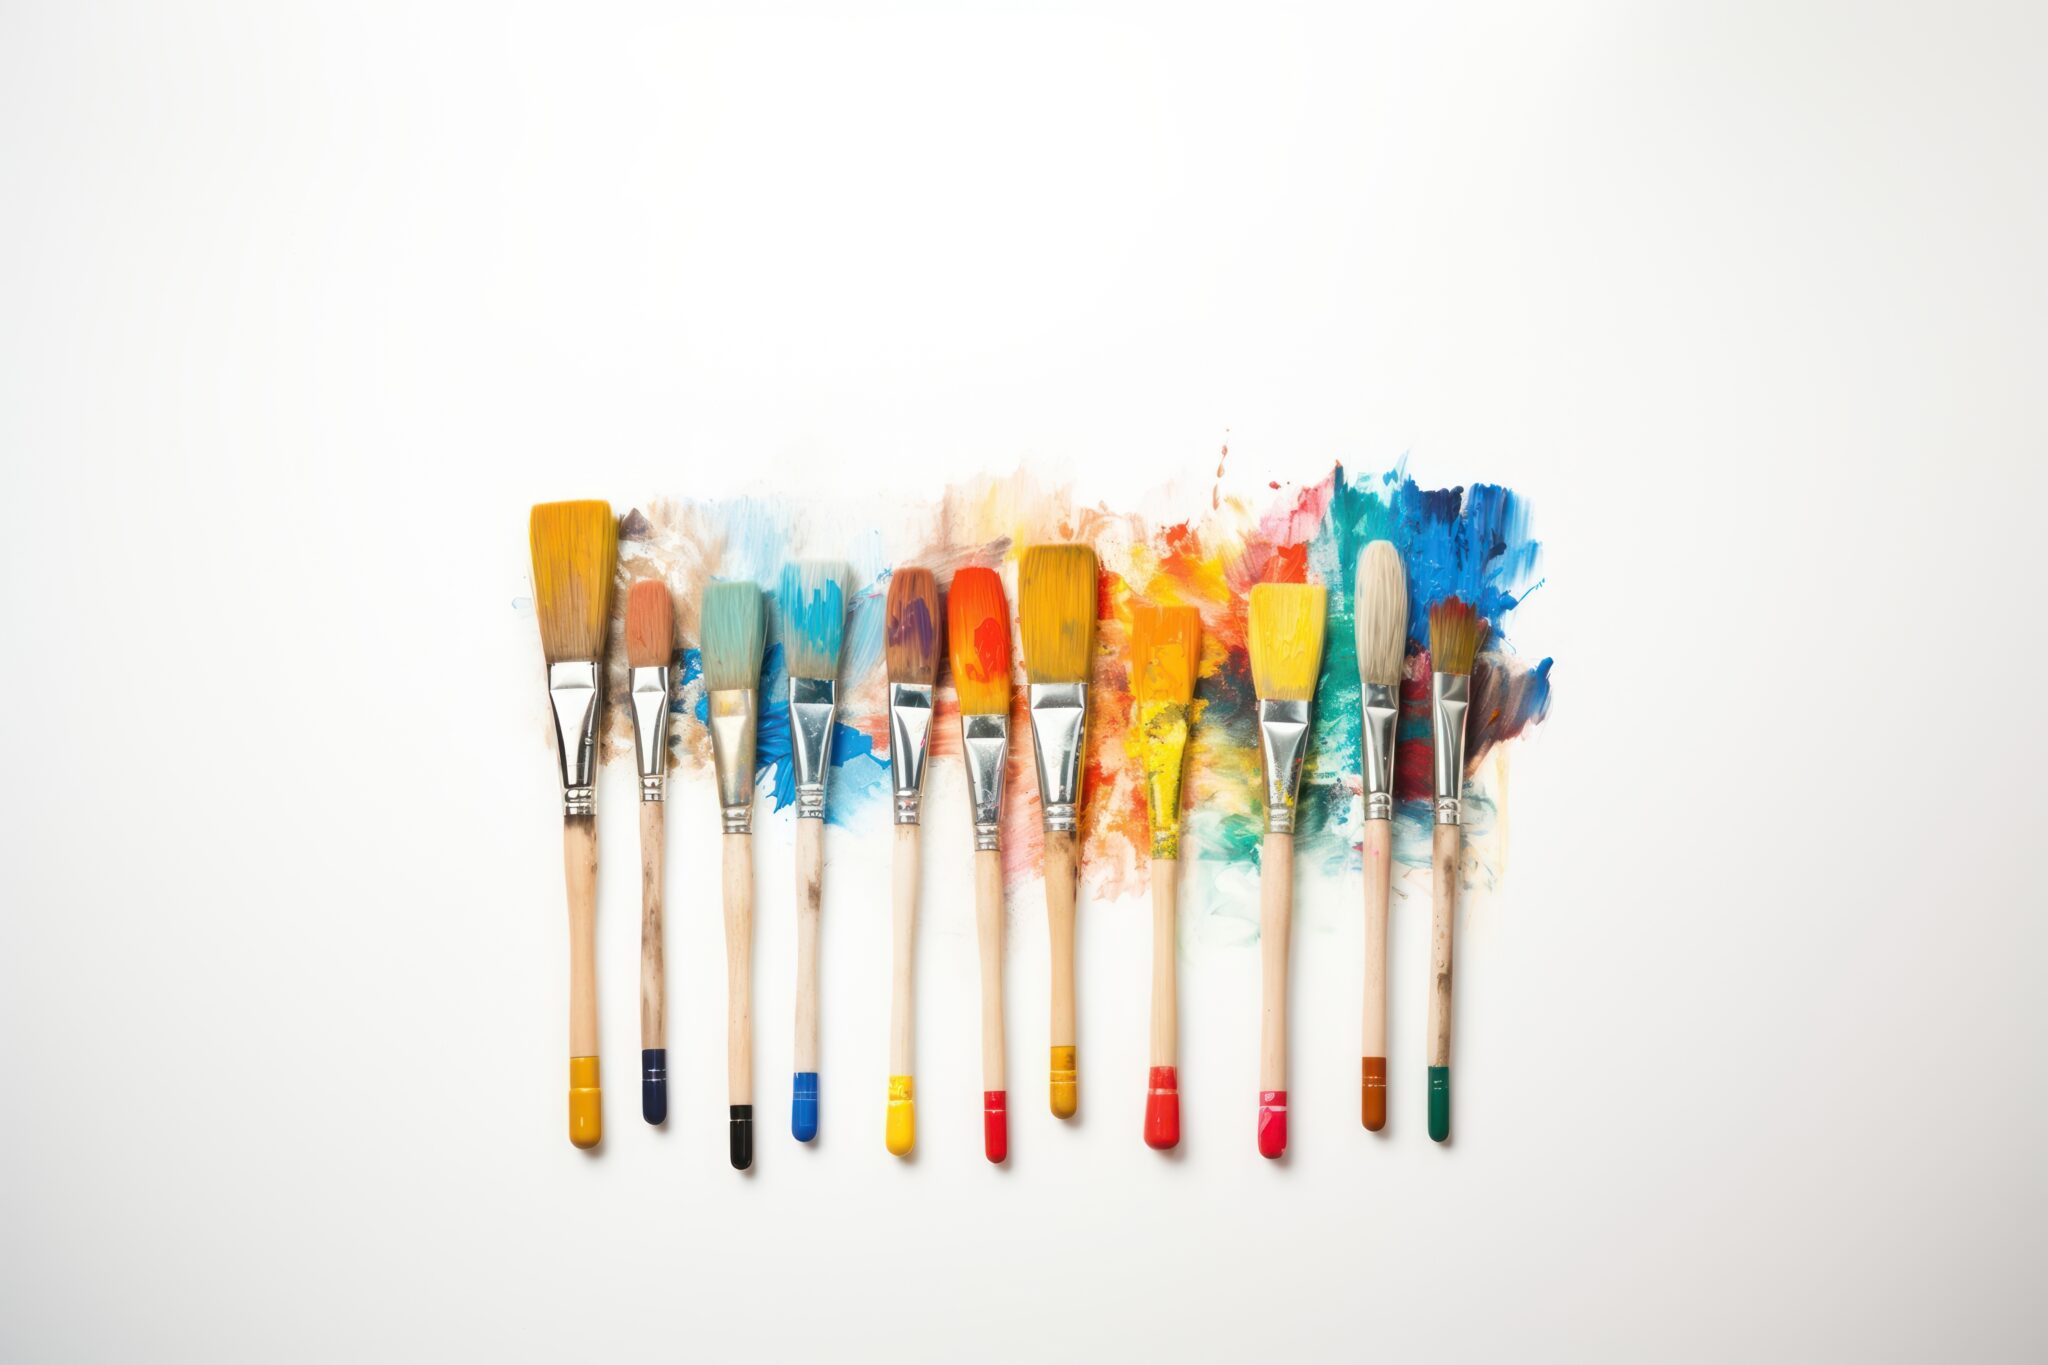
The angular brush, recognized for its unique slanted shape, is a powerful tool in an artist’s arsenal, especially when it comes to creating dynamic and expressive compositions. Its ability to produce varied strokes and control lines makes it ideal for achieving both detail and broad sweeps of color. This guide will delve into the techniques and applications of the angular brush, helping you harness its potential to enhance your artwork creatively.
1. Understanding the Angular Brush
Characteristics:
- Shape: The angular brush has bristles cut at an angle, which allows for versatility in stroke width and direction.
- Control: The angled shape enables artists to create sharp edges and precise lines while maintaining the ability to blend and shape forms smoothly.
- Bristle Types: Available in both natural and synthetic fibers, the bristles can vary in stiffness, allowing for different effects based on the type chosen.
2. Techniques for Using the Angular Brush
A. Creating Dynamic Lines and Shapes
- Sharp Edges:
- Technique: Use the edge of the angular brush to create clean, defined lines. Apply firm pressure to the heel of the brush to draw straight lines, or use it to outline shapes. This is particularly effective for geometric designs or when creating the outlines of elements in a composition.
- Application: In landscape painting, use the angular brush to define tree branches, roof edges, or mountains, providing a crisp edge that contrasts against softer areas.
- Gestural Marks:
- Technique: Holding the brush at different angles allows you to create varied strokes with the same brush. Use a sweeping motion for longer lines or a flicking motion to suggest movement.
- Application: In abstract compositions, gestural strokes can convey energy and movement, creating a dynamic flow throughout the artwork.
B. Blending and Shaping
- Blending Colors:
- Technique: While the angular brush excels at creating defined lines, it is also effective for blending colors. Apply two neighboring colors on the canvas, then use the angular edge to lightly drag the colors together, creating a seamless blend.
- Application: Use this technique to create gradients in skies, oceans, or backgrounds, blending a sunset from orange to purple, for example.
- Modeling Forms:
- Technique: Use the angular brush to build form by layering paint and blending edges. The slanted bristles can help shape the contours of objects instead of relying solely on round brushes.
- Application: In figure painting, the brush can shape the body or facial structure by applying highlights and shadows in controlled strokes, creating the illusion of depth and dimension.
C. Textural Effects
- Creating Texture:
- Technique: The angular shape of the brush can produce various textures based on how it’s applied. Use the flat side to apply thick paint for a textured surface or use the tip to create fine lines and detailing.
- Application: This technique is excellent for painting landscapes where texture can represent grass, bark, or rocky surfaces. The angular brush can create stippled effects reminiscent of foliage or other natural elements.
- Flicking and Dab-Dabbing:
- Technique: Flick the brush when loaded with paint to create short, spontaneous bursts of color. This technique can add life and spontaneity to your composition.
- Application: Use this method for creating the appearance of leaves on trees, flowers in a field, or even droplets of water.
D. Layering Techniques
- Building Complex Layers:
- Technique: The angular brush is ideal for layering colors without losing the original color underneath. Execute a light wash first, allowing it to dry, and then apply other layers using the angular brush to maintain the visibility of previous layers.
- Application: This technique is especially effective in portraying complex landscapes where the depth and richness of color are necessary for realism.
- Creating Depth:
- Technique: To create depth, utilize the brush to apply darker colors to areas that recede in your composition while adding lighter colors to the areas that project forward.
- Application: In a landscape, darker colors can indicate shadowed forest areas, while lighter colors highlight areas struck by sunlight.
3. Cleaning and Maintaining Your Angular Brush
To ensure longevity and performance in your angular brush:
- Prompt Cleaning: Rinse your brush immediately after use in warm, soapy water. If the paint dries in the bristles, it can affect their flexibility.
- Reshape the Bristles: After rinsing, gently reshape the bristles to keep them aligned, ensuring they maintain their angled shape for precise control.
- Proper Storage: Store your brushes upright or in a protective case to prevent bristle damage.
4. Conclusion
The angular brush is a versatile tool that enables artists to create dynamic compositions with sharp lines, smooth blends, and textured applications. By mastering the techniques outlined in this guide, you can effectively harness the angular brush’s potential to enhance your artwork, achieving greater depth, complexity, and expressiveness in your paintings.
Explore our selection of angular brushes and other essential art supplies at urartstudio.com to support your creative journey!
Be sure to visit our online store at https://urartstudio.com/shop/ for a variety of art supplies and tools. Additionally, check out valuable painting tips at urartstudio.com/painting-tips/ and our step-by-step painting instructions at https://urartstudio.com/step-by-step-painting-instructions/ to further enhance your skills.
Keywords: angular brush, dynamic compositions, painting techniques, art supplies.
#AngularBrush #DynamicCompositions #ArtTechniques #PaintingGuide #ArtSupplies


Leave a Reply
You must be logged in to post a comment.