A step-by-step guide to perfecting your oil painting techniques and unleashing your creative potential!
Why Oil Painting Is a Timeless Choice for Artists
Oil painting has captivated artists for centuries, from the revered Renaissance masters to modern visionaries. Its rich textures, vibrant hues, and blendable properties offer unmatched depth and sophistication. Ready to elevate your artistic journey? Let’s dive into the secrets that turn beginners into pros!
1. Invest in Quality Art Supplies for Superior Results
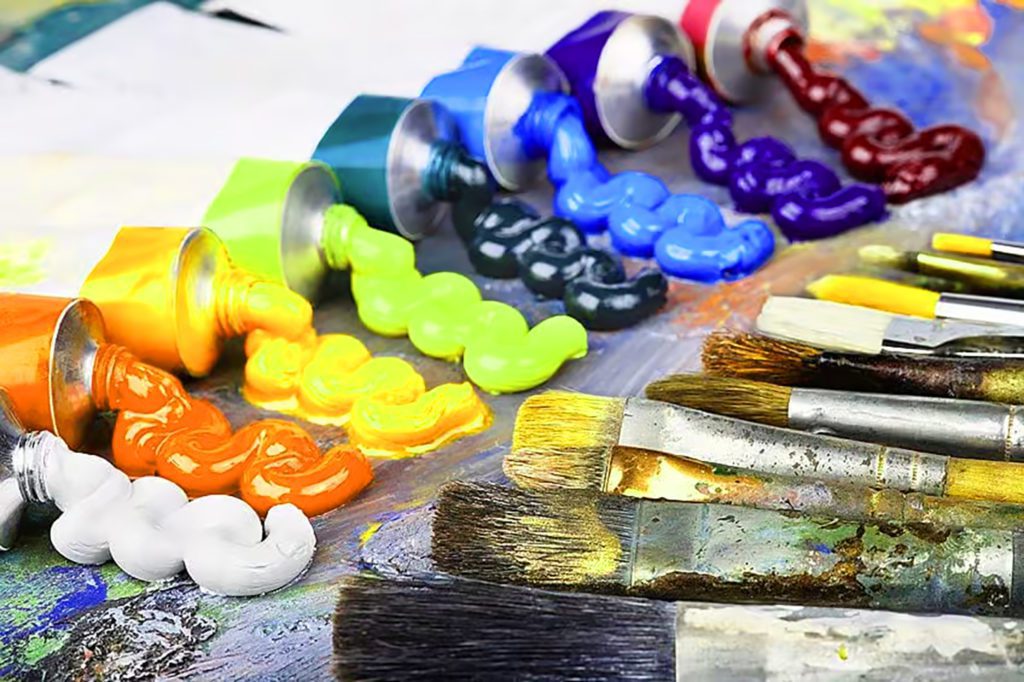
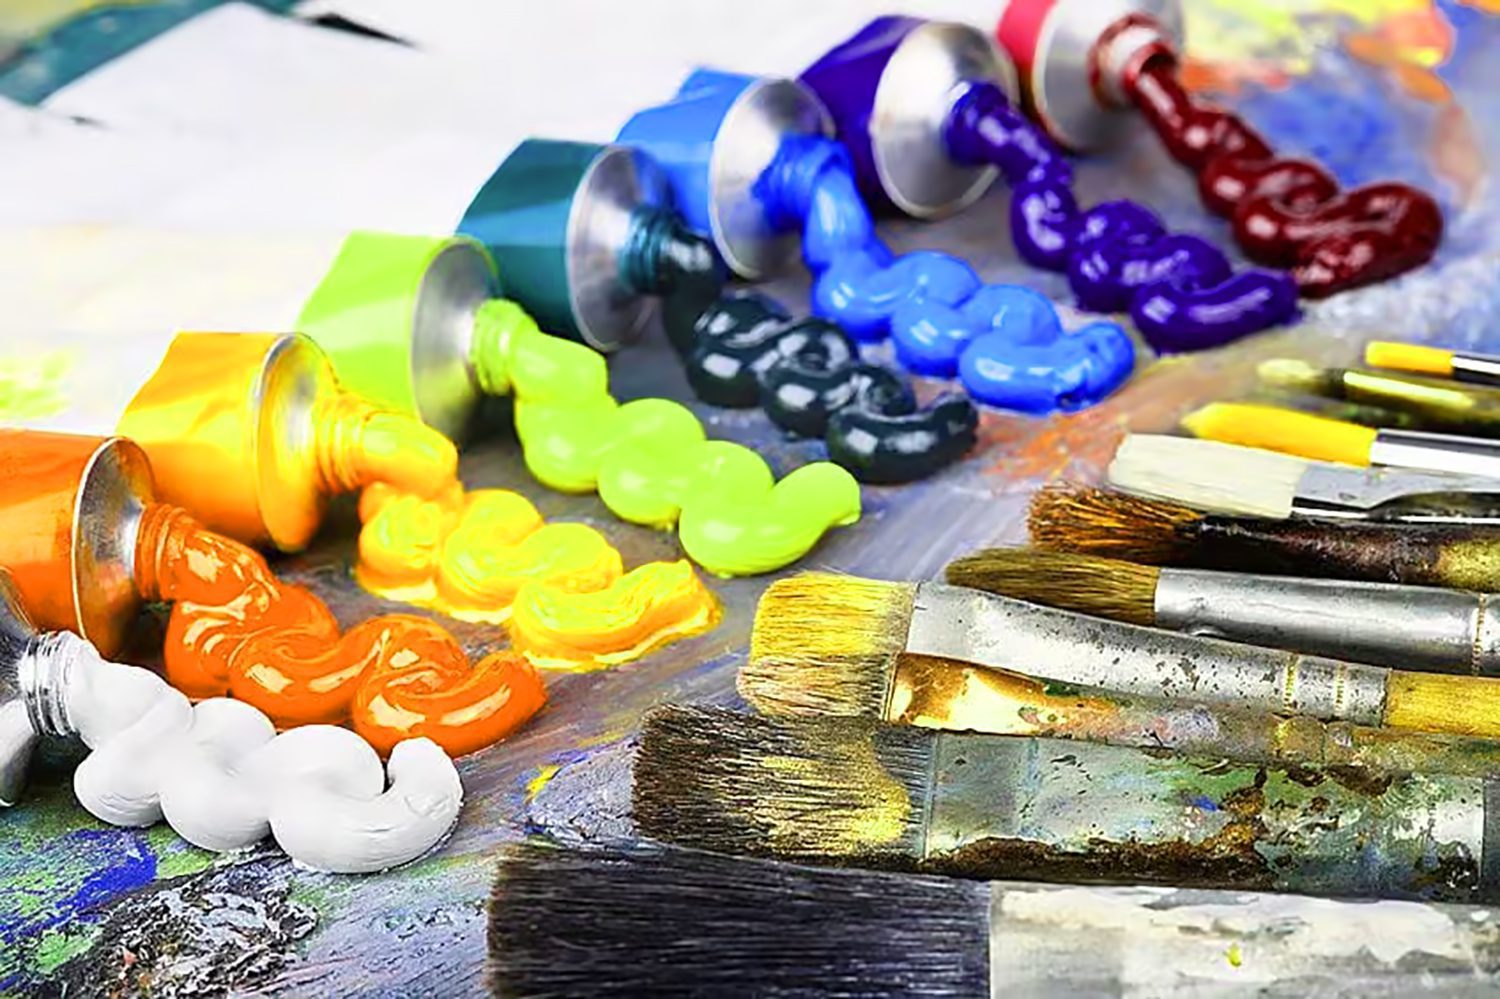
Your tools determine your success. Start by choosing high-quality oil paints, like the ones available here. Adding premium products to your palette ensures your artwork stands out with consistency and brilliance.
- Explore a wide variety of brushes here—from flat brushes for clean, broad strokes to round brushes for intricate detailing.
- Upgrade your easel setup and canvas. Sturdy materials prevent interruptions during your creative process.
Pro Tip: Always keep a good selection of mediums (linseed oil, turpentine, or stand oil) handy to adjust your paint consistency, gloss, and drying time.
2. Prepare Your Surface Like a Pro
The foundation of your artwork begins before the first brushstroke. Properly preparing your canvas for oil painting is essential:
- Prime the canvas: Apply a smooth layer of gesso for better adhesion and color vibrancy.
- Use an underpainting: Sketch out forms and add tonal values using diluted pigment.
Stuck on ideas? Explore stunning inspirations from our Art Gallery and make your next project shine!
3. Master Blending Techniques for Vibrant Textures
Oil paint’s longer drying time is a game-changer for blending. Here’s how to make the most of it:
- Work from dark to light: Laying darker shadows first allows you to create natural highlights later.
- Use a soft-bristle brush to feather edges for seamless transitions.
- Opt for a palette knife for thick textures and dynamic strokes. This technique shines in landscape art where rugged textures bring terrains alive.
Feeling stuck? Check out these Step-by-Step Painting Instructions for detailed guidance.
4. Layering: Patience Is Key to Realism
Unlike acrylic paintings, where layers dry faster, working with oils allows time for precision. Here’s how to build realistic layers:
- Fat over lean: Use thinner layers (more solvent, less oil) first, gradually increasing oil content as you layer.
- Add vibrancy by glazing: Use transparent pigments over dry sections for depth and natural luminosity.
Need more painting tips? Check out this blog for insights into achieving dimension and depth.
5. Embrace the Power of Light and Shadow (Chiaroscuro)
Play with bold light and shadow contrasts to add drama to your work. A well-lit landscape painting or portrait captures the viewer’s attention instantly.
- Use highlights sparingly and layer them softly.
- Shadows aren’t just black—experiment with deep greens, purples, or blues for added realism.
Explore bold and powerful examples of chiaroscuro techniques in our daily blog.
6. Clean and Maintain Your Tools for Long-Term Use
Your painting tools are an investment! Proper care can save you from unnecessary expenses.
Brush Maintenance Tips:
- Wipe excess paint using a rag before washing.
- Use odorless mineral spirits or turpentine to clean brushes thoroughly.
- Store brushes upright to maintain their shape.
Replacing brushes? Find top-rated options here to refresh your collection.
7. Practice Patience and Leave Room to Dry
Oil painting is as much about creation as it is about waiting. Unlike acrylic paint, oils require more time to dry. Speed up the process with alkyd-based mediums or embrace the natural timeline to perfect your details.
Once completed, showcase your masterpiece using our Virtual Room Gallery Displays for an elegant presentation!
8. Display Your Finished Masterpiece
You’ve poured your heart into your oil paint creation; now, it’s time to show it off! Frame and display your artwork in your studio, gallery, or home. You can also share it online or explore our Art Gallery collection for more inspiration.
Need Custom Branding Designs?
If you need a professional logo design, T-shirt design, or other creative branding, visit MyEventArtist.com. We bring your visions to life!
Keywords List:
oil painting techniques, fat over lean, acrylic vs oil painting, chiaroscuro effects, blending with oils, painting tools, high-quality art supplies, professional oil painting
Hashtags List:
#OilPaintingTips, #PaintingTechniques, #BlendingWithOils, #Chiaroscuro, #LandscapePainting, #ProfessionalOilPainting, #OilArtistry, #ArtSupplies


Leave a Reply
You must be logged in to post a comment.