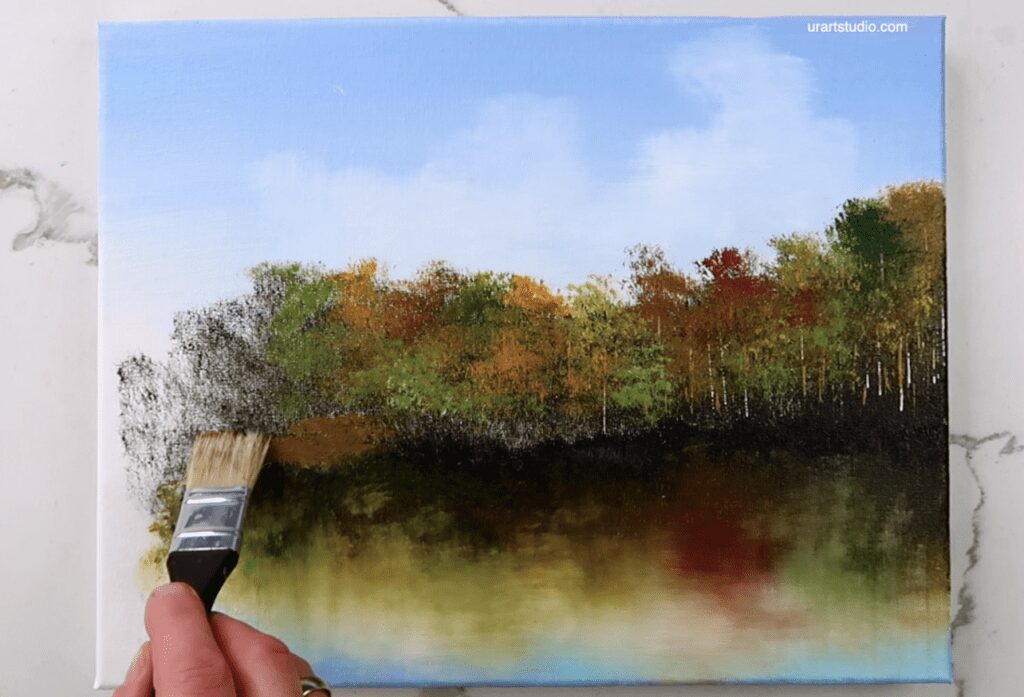
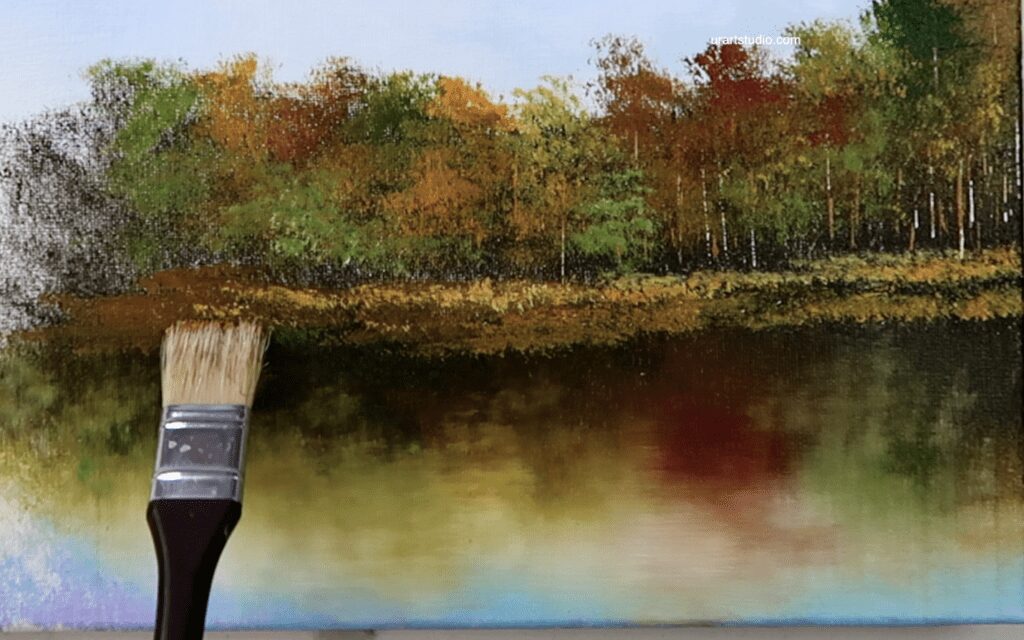
Before commencing with STEP 5, it is advisable to ensure that your painting is thoroughly dried. This concise step aims to establish a distinct separation between the distant trees and their reflections on the water. We will use a large flat brush to apply a dark shadow color to accomplish this. Load the bristles of your brush with ample dark hues and gently tap this color onto the canvas surface horizontally. This particular area should be positioned just below the line of our distant tree formation. To facilitate smoother application, expedite the drying process of this shadow by employing a hairdryer. Subsequently, we will load the same flat brush with highlight colors such as yellows and greens, and with a gentle pressing motion, we will begin to add highlights. These highlights will represent the far-off grassy fields. It is essential to keep in mind that the more you tap the brush without reloading it, the lighter the color will appear. Aim to leave certain areas slightly faded to achieve a subtle variation between brighter and darker tones. By incorporating these highlight tone variances, your painting will gain a sense of depth.
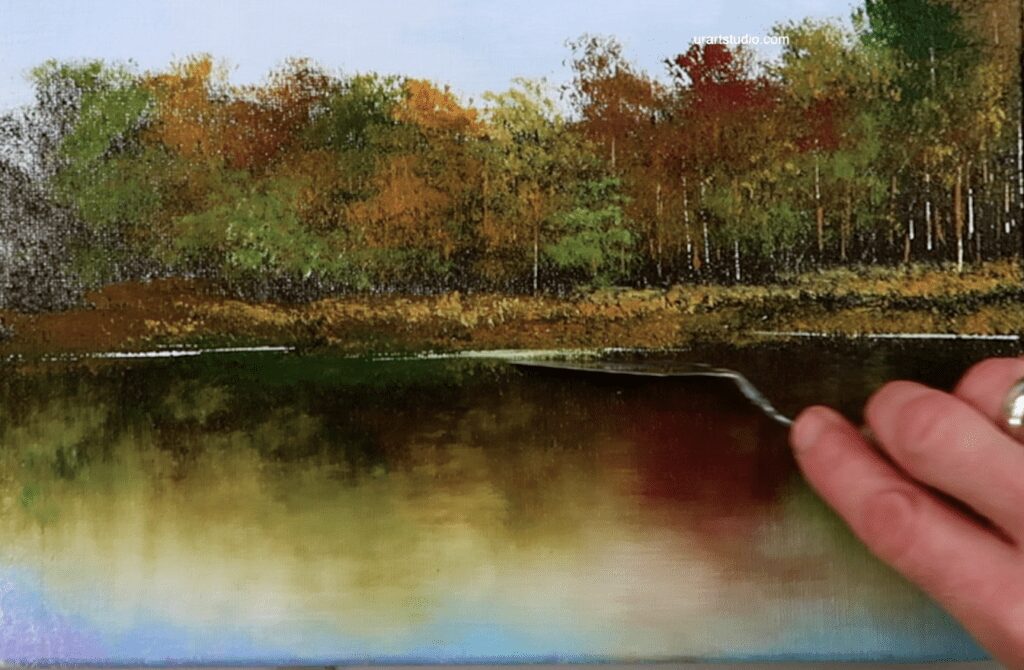
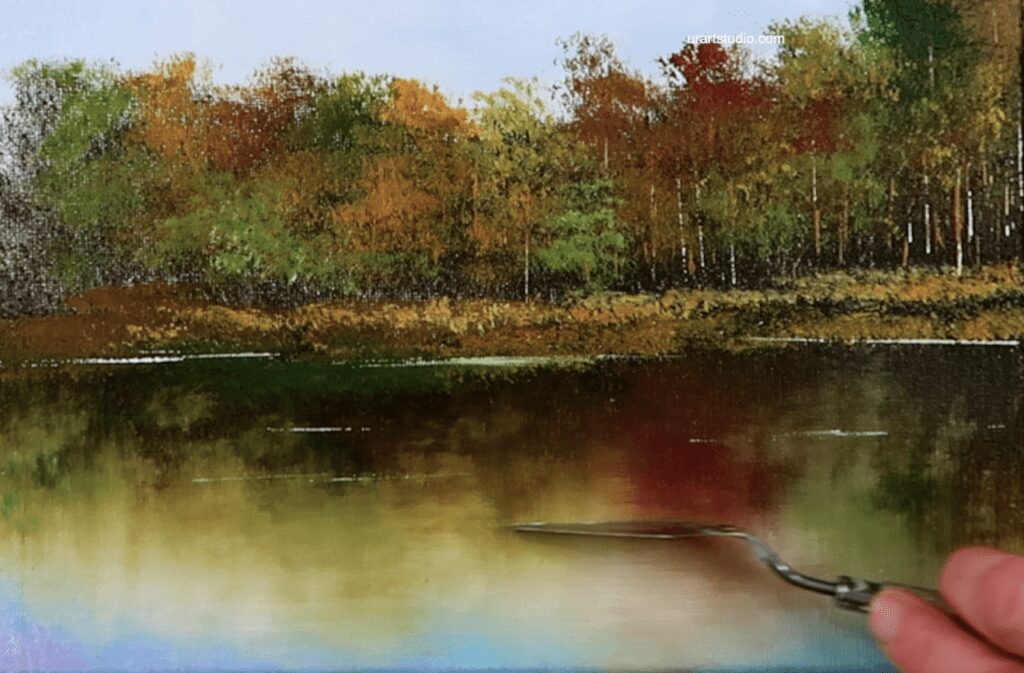
To effectively distinguish land from water, the recommended approach is to utilize a palette knife and employ light colors. For a visual reference, please take a look at the video at the 8-minute mark. To prepare the palette knife, lightly touch the preferred light color with the knife’s edge. Repeat this process several times to ensure an even paint distribution on the blade. With a steady hand and horizontal strokes, delicately apply the paint on the canvas to separate the shoreline from the water’s edge. It is crucial to maintain parallel lines during this step. Avoid overdoing it by adding excessive lines. Only a few well-placed lines are necessary to achieve a calm water effect.


