Shipwreck Island | Acrylic step by step painting techniques
https://youtu.be/-2NbN5H_DpU
BRUSHES – https://urartstudio.com/product-category/brushes/
PAINTING TIPS – https://urartstudio.com/painting-tips/
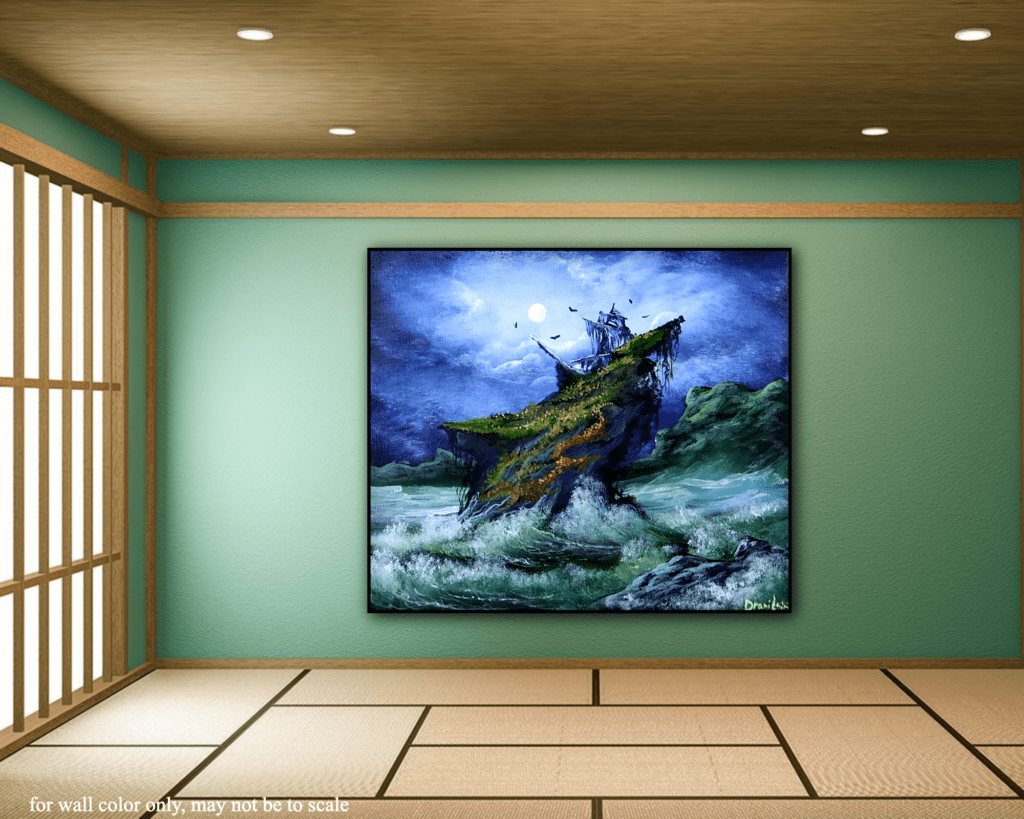
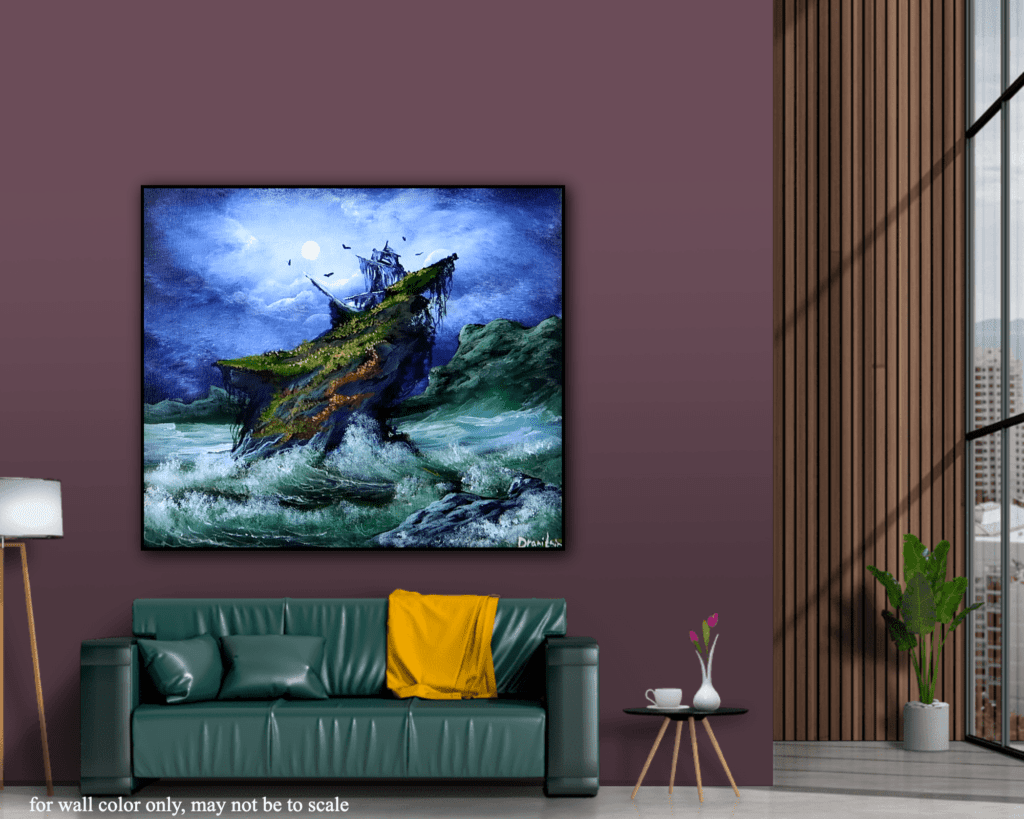
VIRTUAL GALLERY – https://urartstudio.com/painting-display-in-virtual-room/
COLORS: black, white,
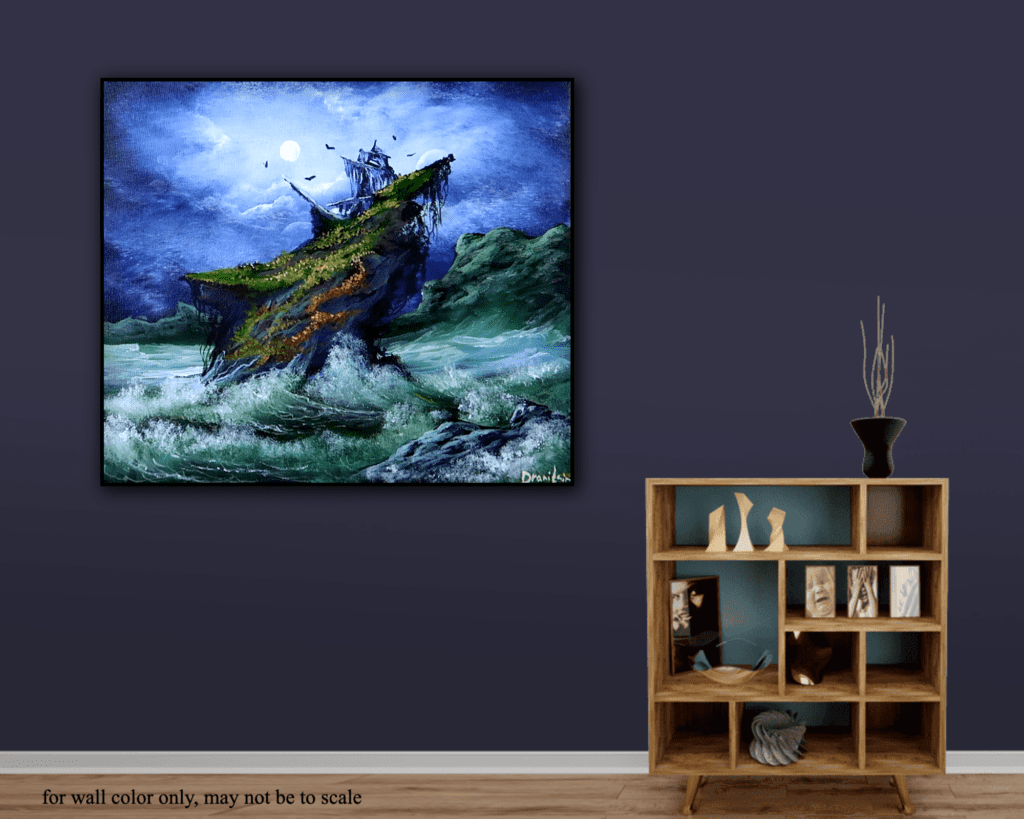
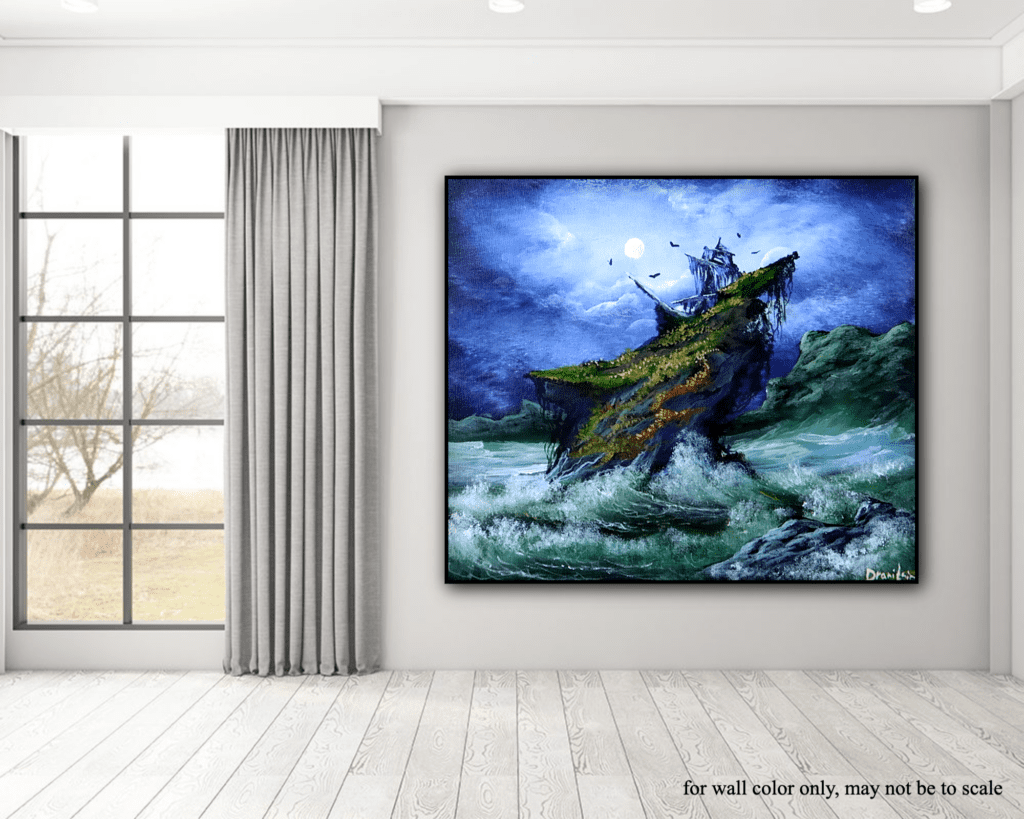
Delve into the enchanting world of acrylic painting with the captivating tutorial “Shipwreck Island”! Learn step-by-step techniques to create a stunning masterpiece featuring a dark blue sky, a shimmering moon, distant hills, powerful ocean waves, and an island amidst the tumultuous waters, complete with the eerie shadow of a bygone shipwreck. Join us on this artistic voyage as we bring this mesmerizing scene to life, brushstroke by brushstroke. Discover the magic of painting and unleash your creativity with this unique tutorial. Don’t miss out—watch now and embark on your own artistic adventure!
MEMBERSHIP – https://www.youtube.com/channel/UC3hCdJZXe9k52K6FIzUBLeA/join/
SHARE YOUR ART – https://www.facebook.com/groups/shareyourart1/
#acrylicarttips, #stepbysteppaint, #islandartwork, #shipwreckscene, #oceanwavesart, #moonlightpaint, #arttutorials101, #paintingdemos
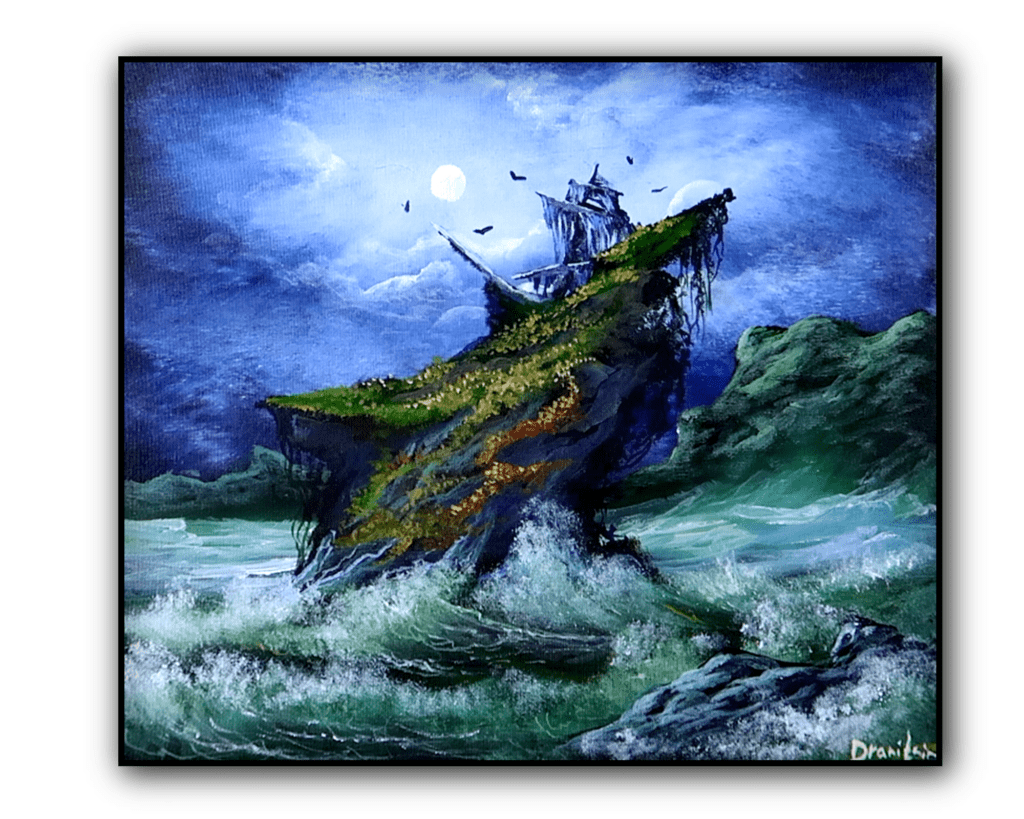
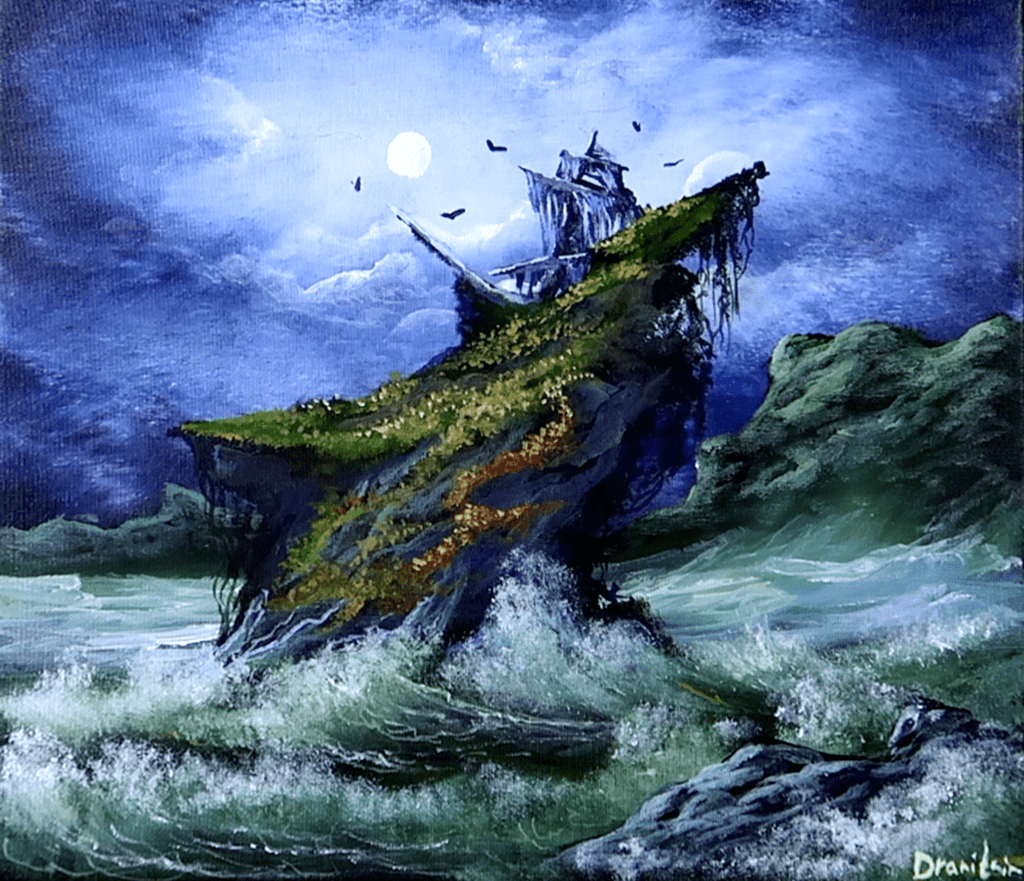
Dive into the Artistry of Landscape Painting with Acrylics and Bring Shipwreck Island to Life!
Rediscover the Thrill of Landscape Painting with Acrylic Paints
Imagine a desolate, mystical island, cloaked in dramatic skies, turbulent oceans, and the remnants of a forgotten shipwreck—woven together with meticulous painting techniques and the vibrant versatility of acrylic paints. If you’re ready to embark on an artistic adventure, this step-by-step guide will show you how to create a breathtaking portrayal of Shipwreck Island.
This isn’t just landscape painting—it’s a journey into storytelling through art. Let’s dive into the details of crafting your very own acrylic masterpiece!
Setting the Stage: What You Need for This Acrylic Painting
Here’s a quick checklist to ensure you’re armed with the best art supplies for this project:
- Acrylic paints: Rich blues, sea greens, stormy greys, sandy browns, and fiery sunset colors. Shop Acrylic Paints
- Brushes: Opt for a mix of flat brushes for broad strokes and round brushes for detailed precision. Explore Brushes Here
- Canvas: Choose a medium-sized canvas (16×20 inches works well) for detailed landscapes.
- Palette knives: Perfect for adding texture to rocks and other rugged elements.
Step 1: Sketching the Scene
Begin by lightly sketching your composition. Visualize the wrecked ship leaning precariously on craggy rocks, the wild ocean stretching to meet the turbulent sky. Don’t forget to carve out space for the distant horizon—this will serve as your painting’s anchor point.
Pro Tip: Use a light pencil or pastel so your sketch doesn’t interfere with the acrylic layers.
Step 2: Blocking in the Base Colors
With broad strokes, start laying down the background using flat brushes. Work from the top of your canvas downward.
- Start with the stormy sky, blending dark greys and blues to create an ominous atmosphere. Brighten areas with streaks of yellow-orange for dramatic contrast.
- For the ocean, layer a mix of teal, deep blue, and frothy white to capture the churning waves.
Using high-quality acrylic paints ensures smooth transitions and vivid colors—check out our collection here.
Step 3: Adding Details to the Shipwreck
Now, it’s time to bring the shipwreck to life.
- Use round brushes to sketch the outline of the broken mast and tattered sails. Then, layer in earthy tones (browns, rusts, and blacks) to give it an aged, weathered look.
- Add texture and dimension to the ship’s wooden planks using a dry-brush technique and palette knives. Learn more painting techniques here.
Step 4: Enhancing the Rocky Shores
The rugged rocks surrounding your shipwreck are vital to the painting’s drama. Use palette knives to add sharp edges and texture:
- Layer greys, blacks, and hints of brown to form the rocky cliffs.
- Add highlights with lighter greys to give the illusion of sunlight breaking through the storm clouds.
Looking for tips on using palette knives? Explore step-by-step painting instructions here.
Step 5: Perfecting the Ocean Waves
The ocean is alive in this scene, so focus on movement and energy:
- Use long strokes and swirling motions to mimic waves crashing against the rocks.
- For the foam, use a dry-brush technique with white acrylic paint to create delicate, frothy textures.
Pairing the right brush types and techniques ensures a realistic, dynamic seascape. Shop premium brushes for flawless execution.
Step 6: Finishing Touches: Sky Drama & Lighting
Finally, bring cohesion and depth to your painting:
- Add streaks of warm light breaking through the stormy clouds to create tension and beauty. Use soft, blended strokes to keep the contrasts natural.
- Create subtle reflections of the ship on the ocean surface for added realism.
Why “Shipwreck Island” Is a Must-Try for Acrylic Landscape Artists
- Atmospheric Drama: This landscape painting pushes the limits of contrast, emotion, and storytelling.
- Versatility in Acrylic Techniques: Dive into layering, dry-brushing, and texture-building using acrylic paints.
- A Story in Every Brushstroke: The intricate details of the wreck and rocky shores allow you to bring a narrative to your art.
Display Your Artwork and Inspire Others!
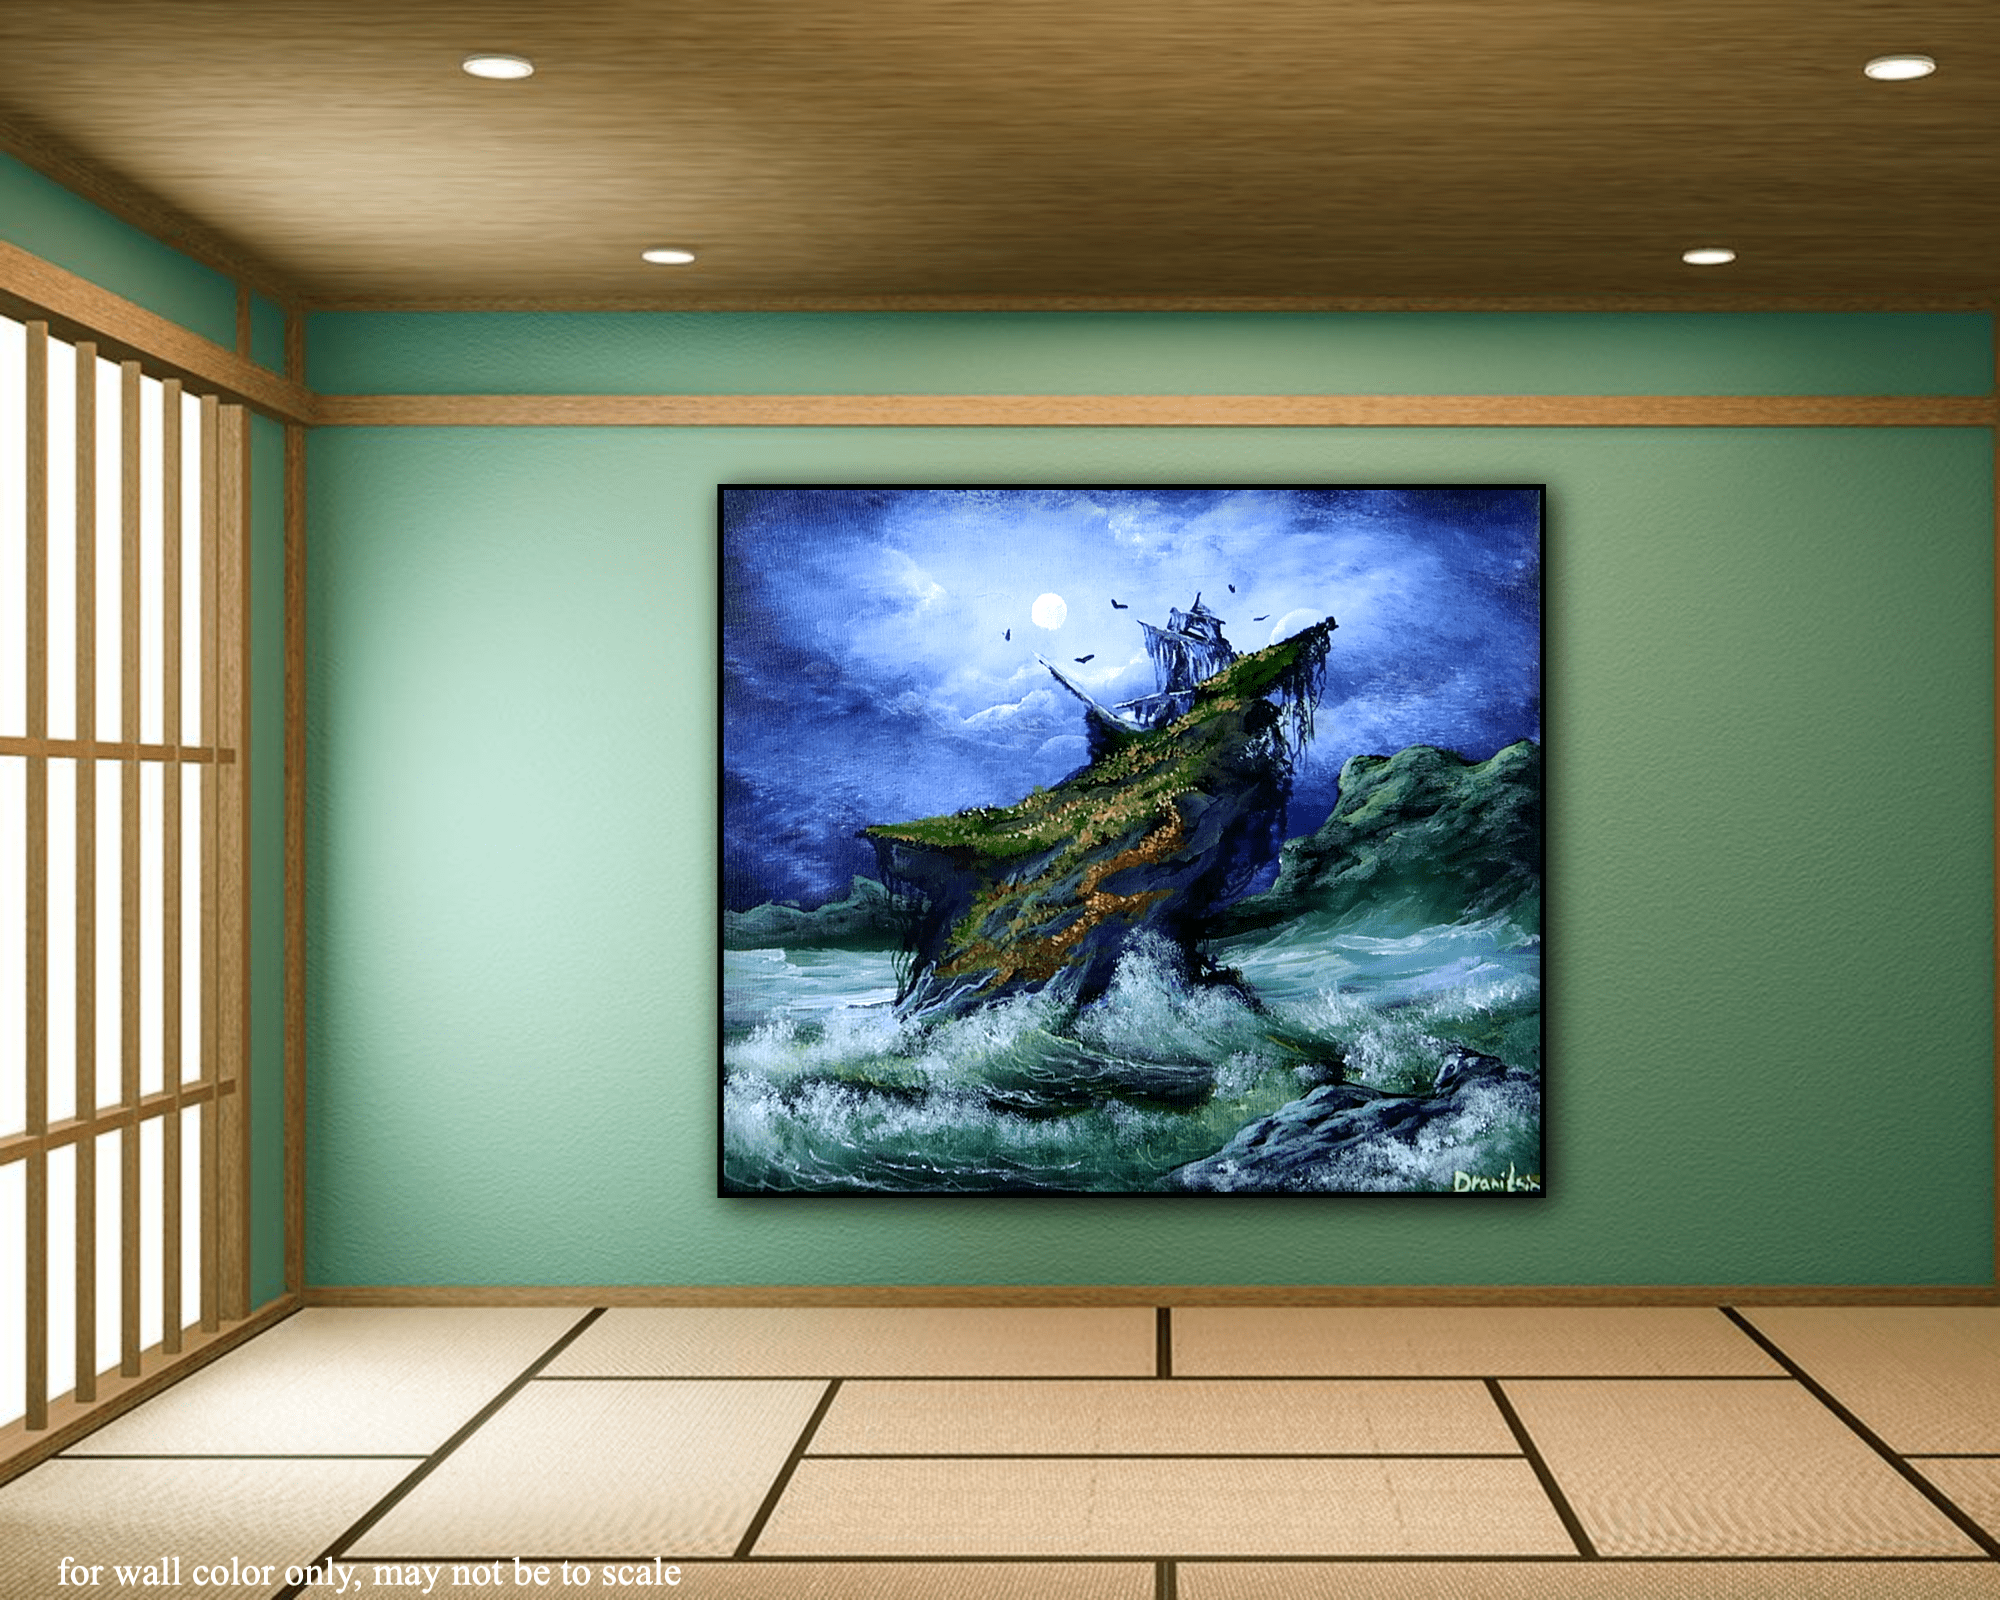
Show off your completed Shipwreck Island masterpiece in style by exploring virtual room gallery displays. It’s the perfect way to give your art the attention it deserves.
Need more painting tips or looking for your next step-by-step painting project? Check out our daily art blog for endless inspiration!
For Professional Logo or T-Shirt Design, Visit: MyEventArtist.com
Keywords
:
Shipwreck painting, acrylic painting, texture techniques, stormy ocean, landscape art, step-by-step painting, art supplies, painting techniques
Hashtags
:
#ShipwreckIsland, #AcrylicPainting, #LandscapeArt, #OceanScenes, #TextureTechniques, #AcrylicTips, #StepByStepPainting, #ArtByUrartstudio


Leave a Reply
You must be logged in to post a comment.