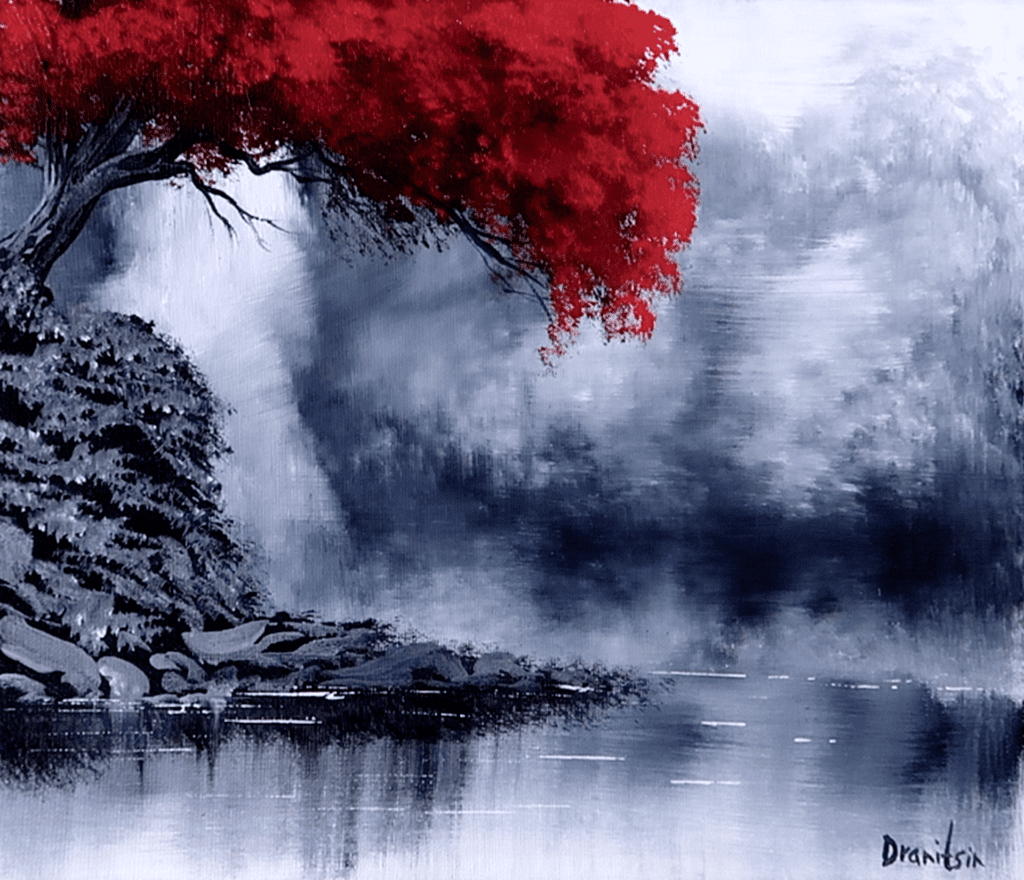
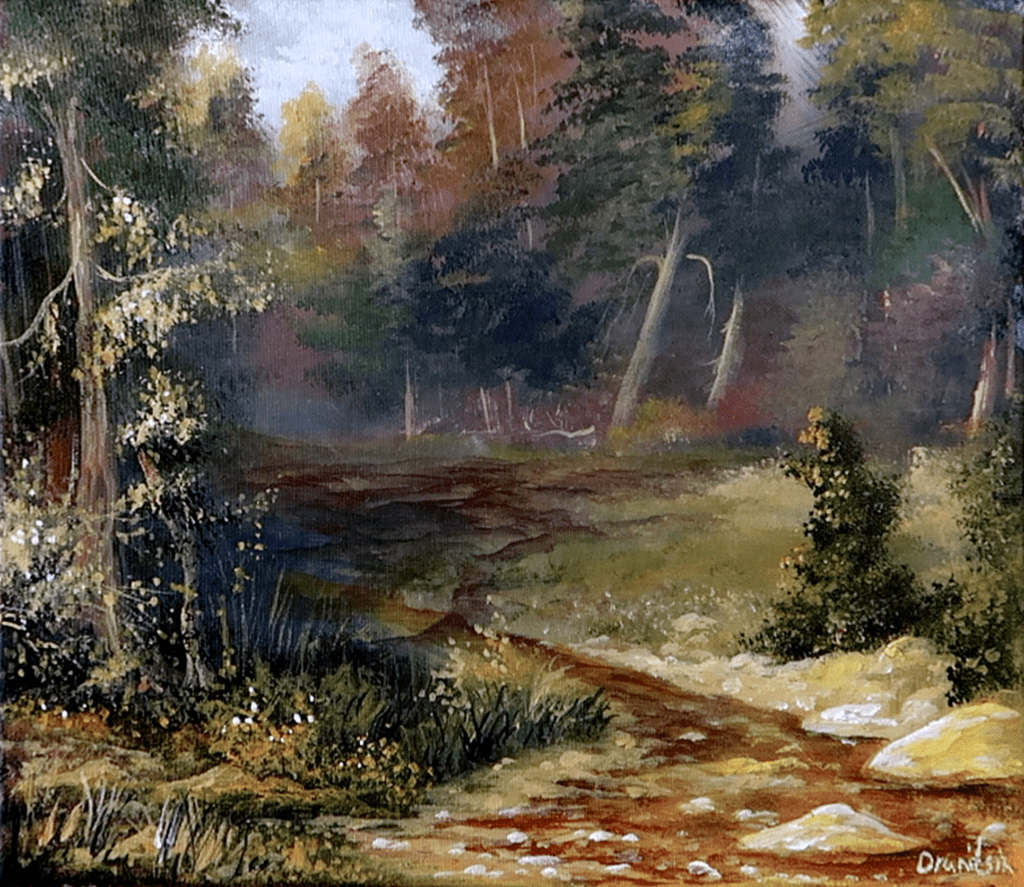
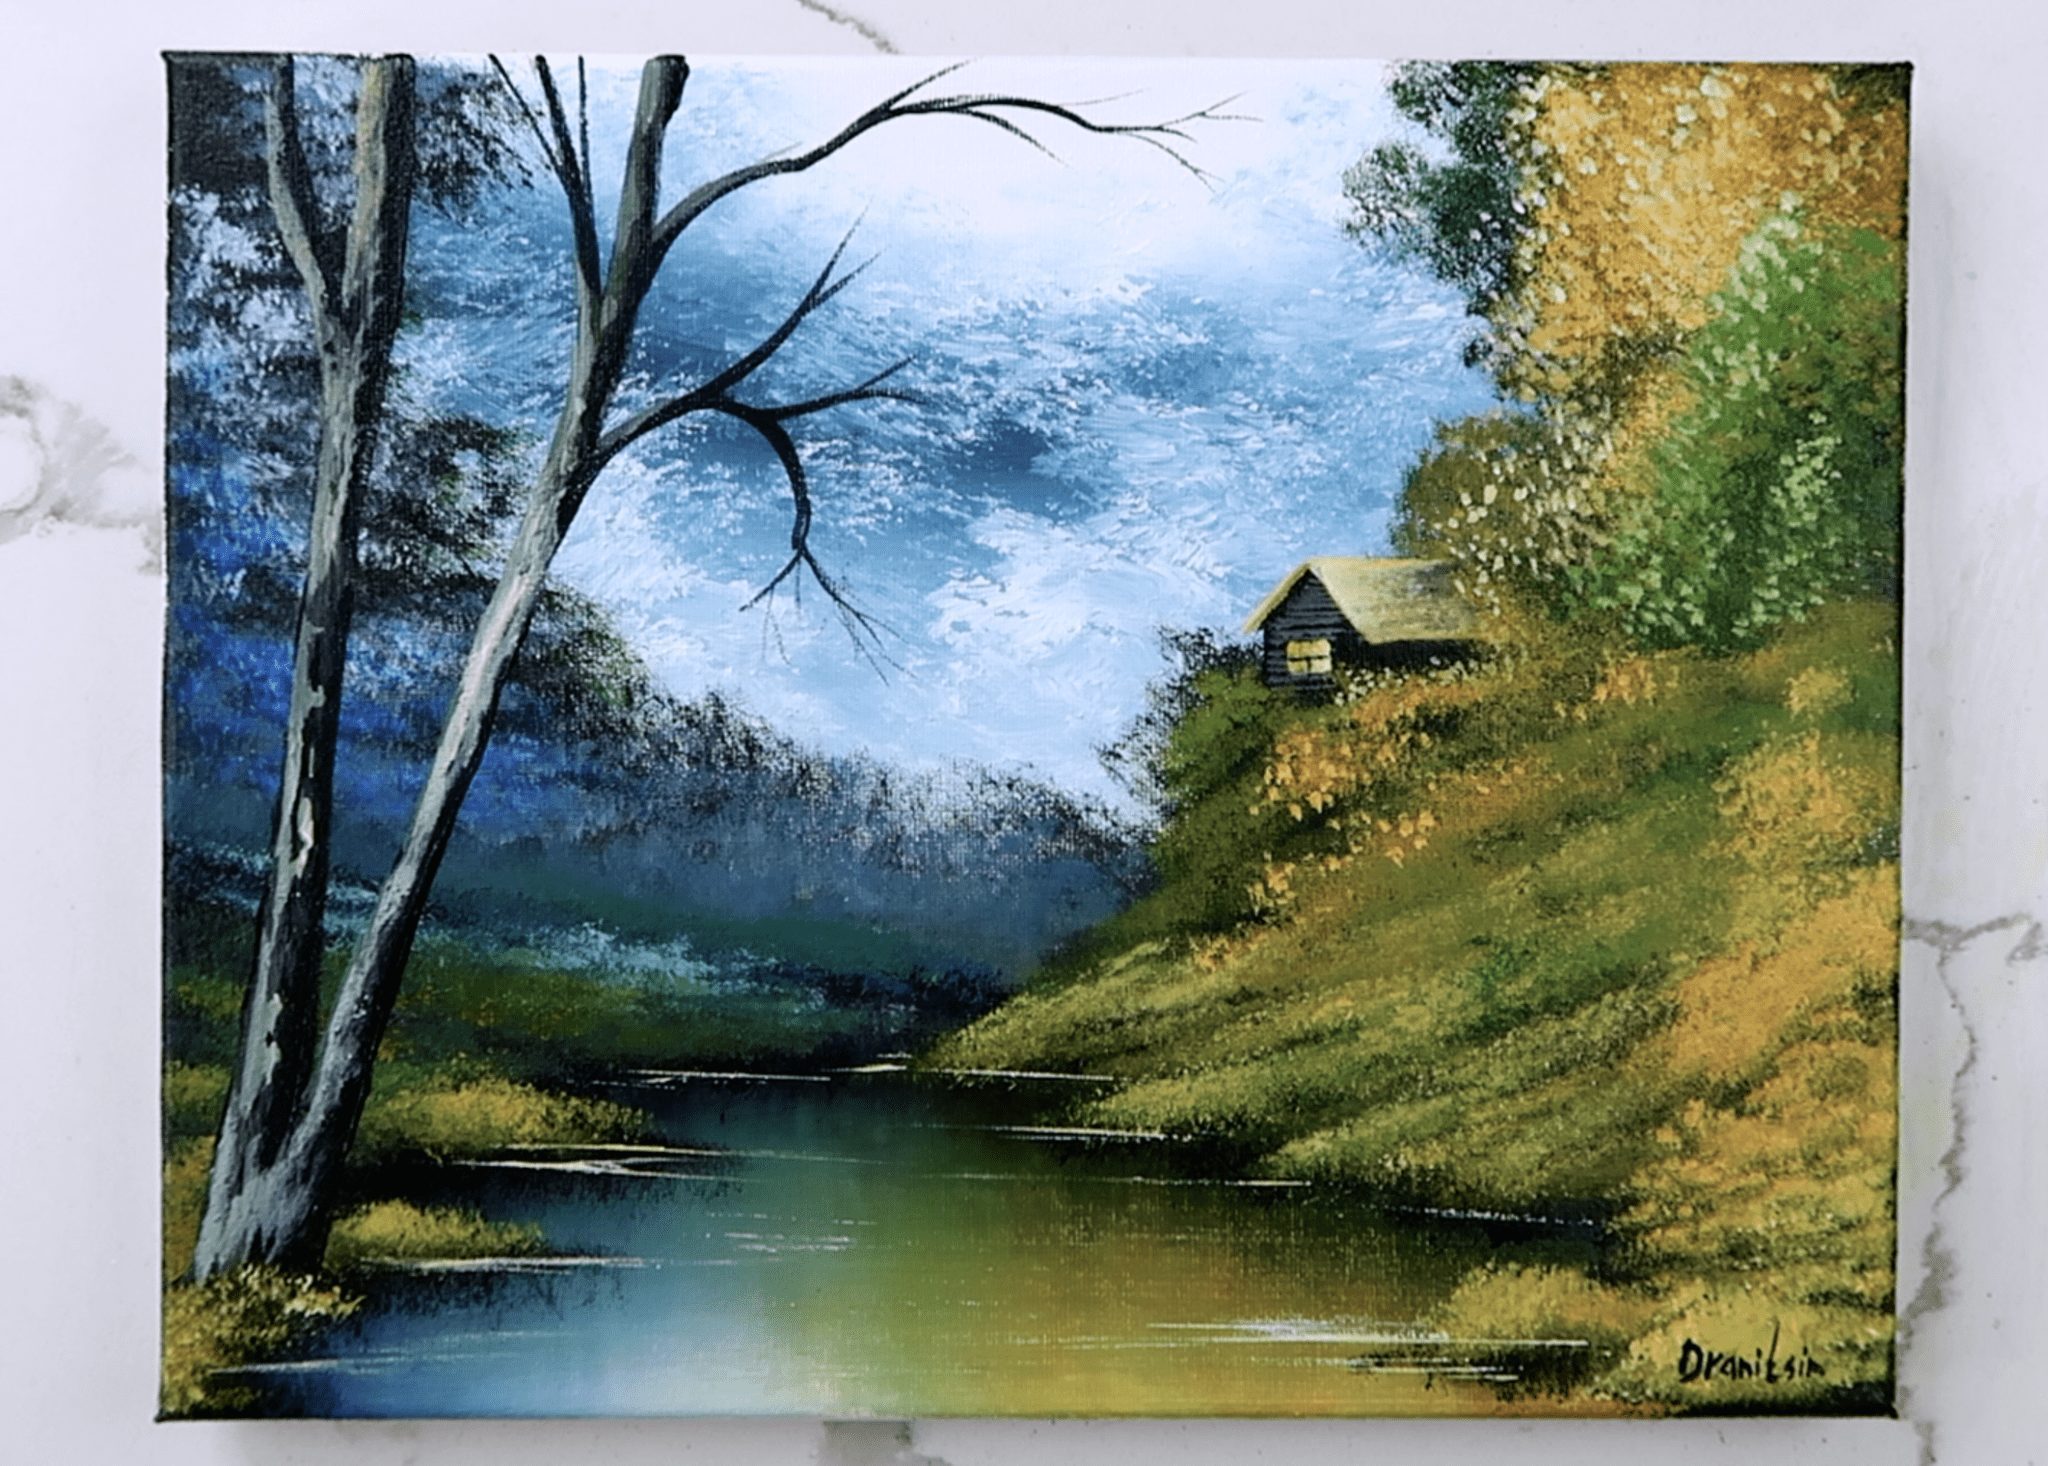
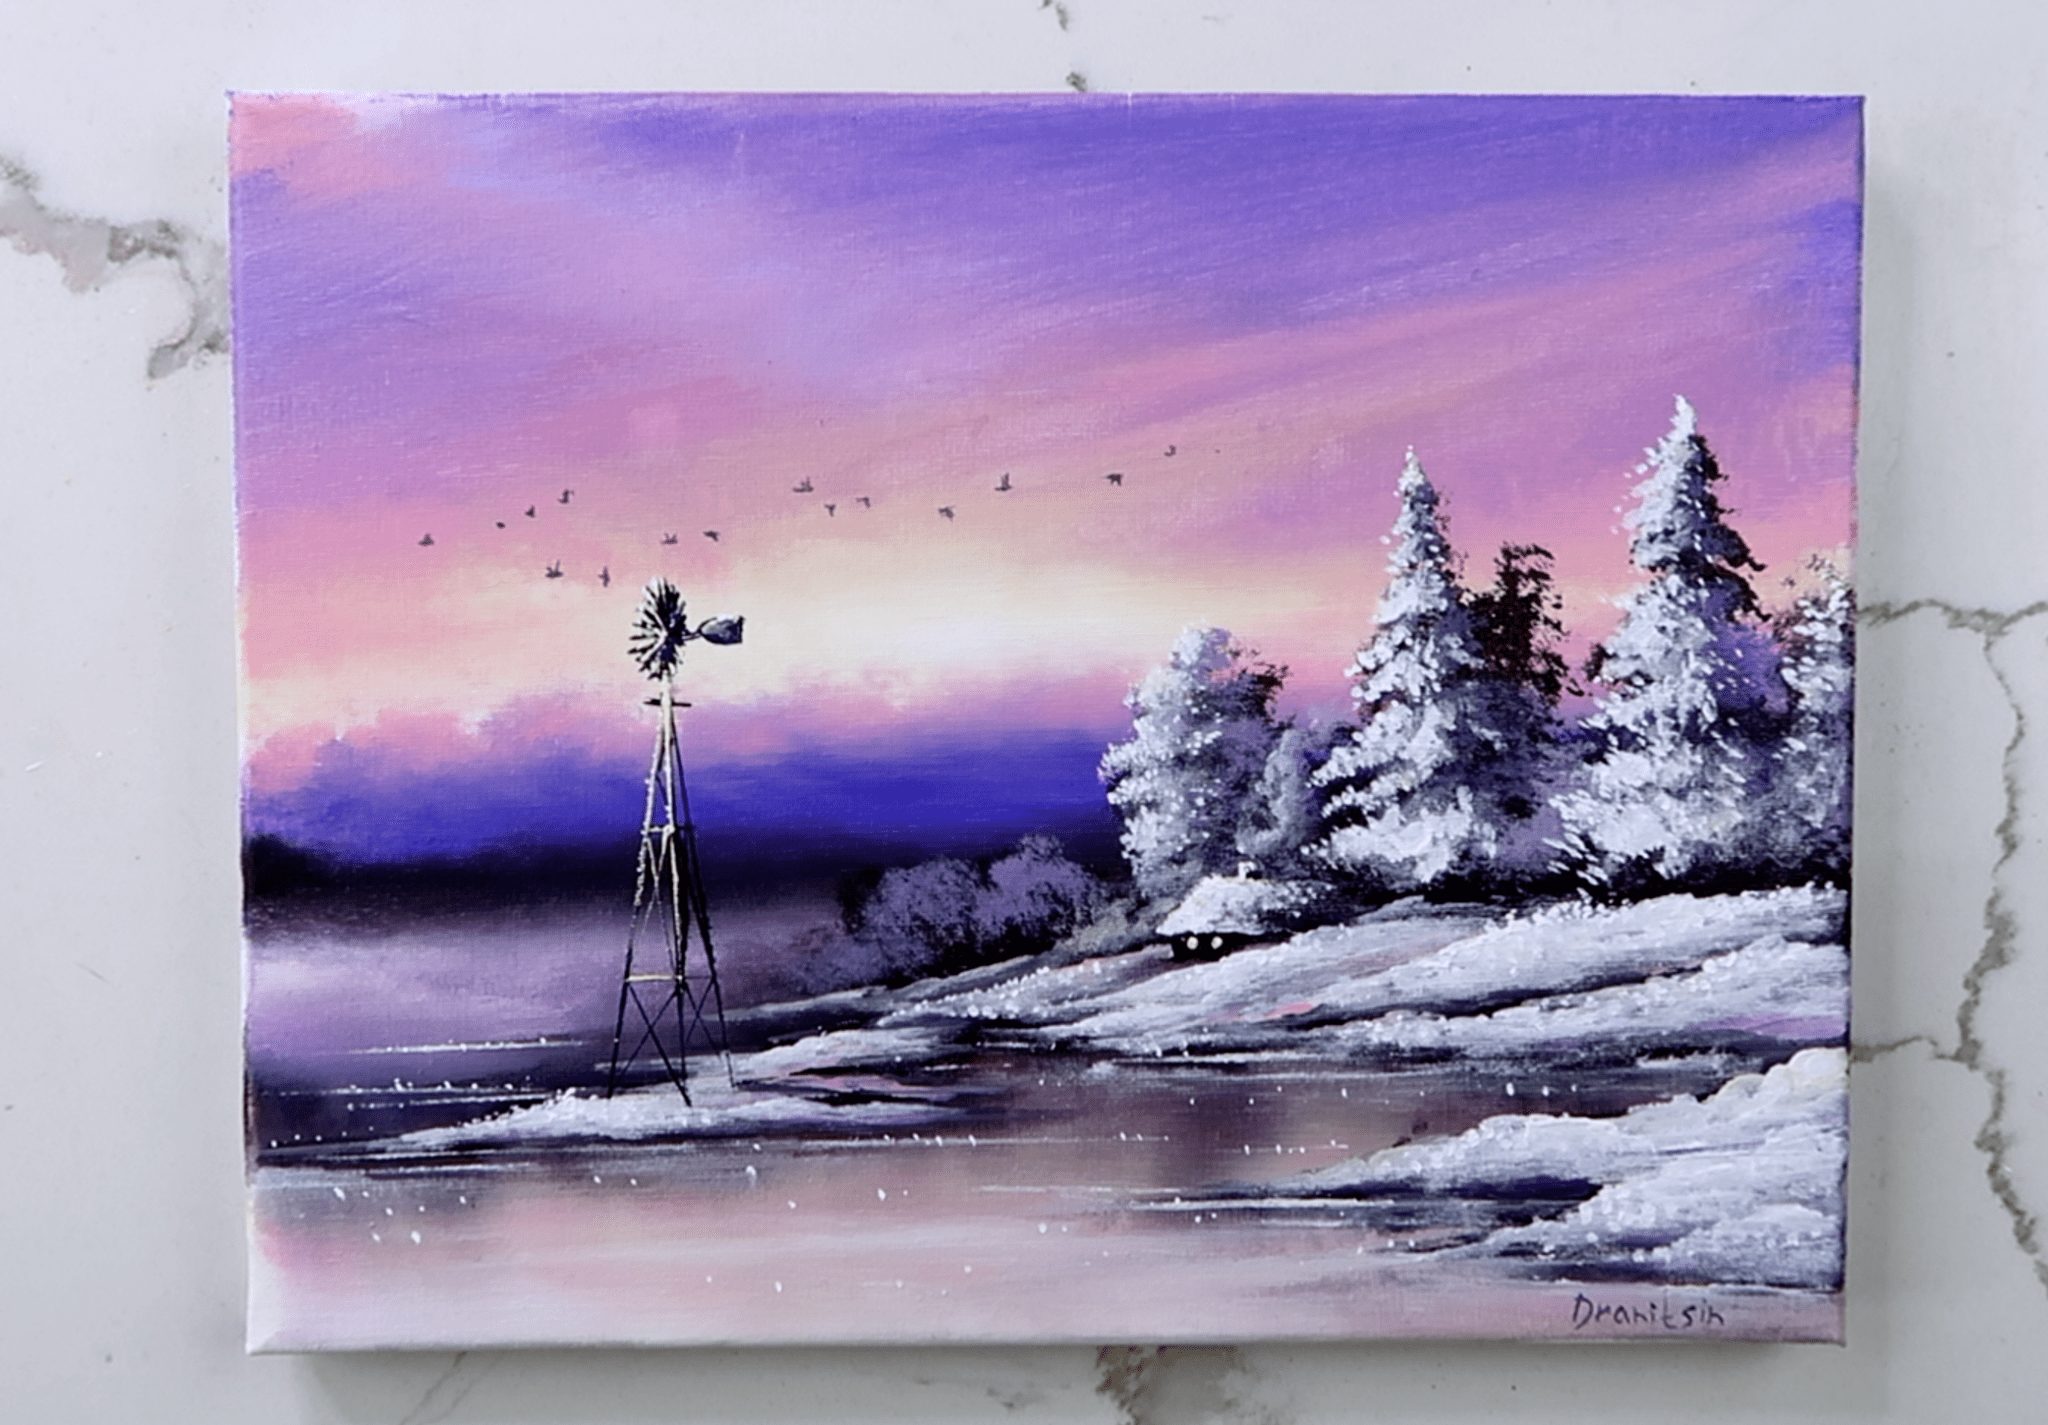
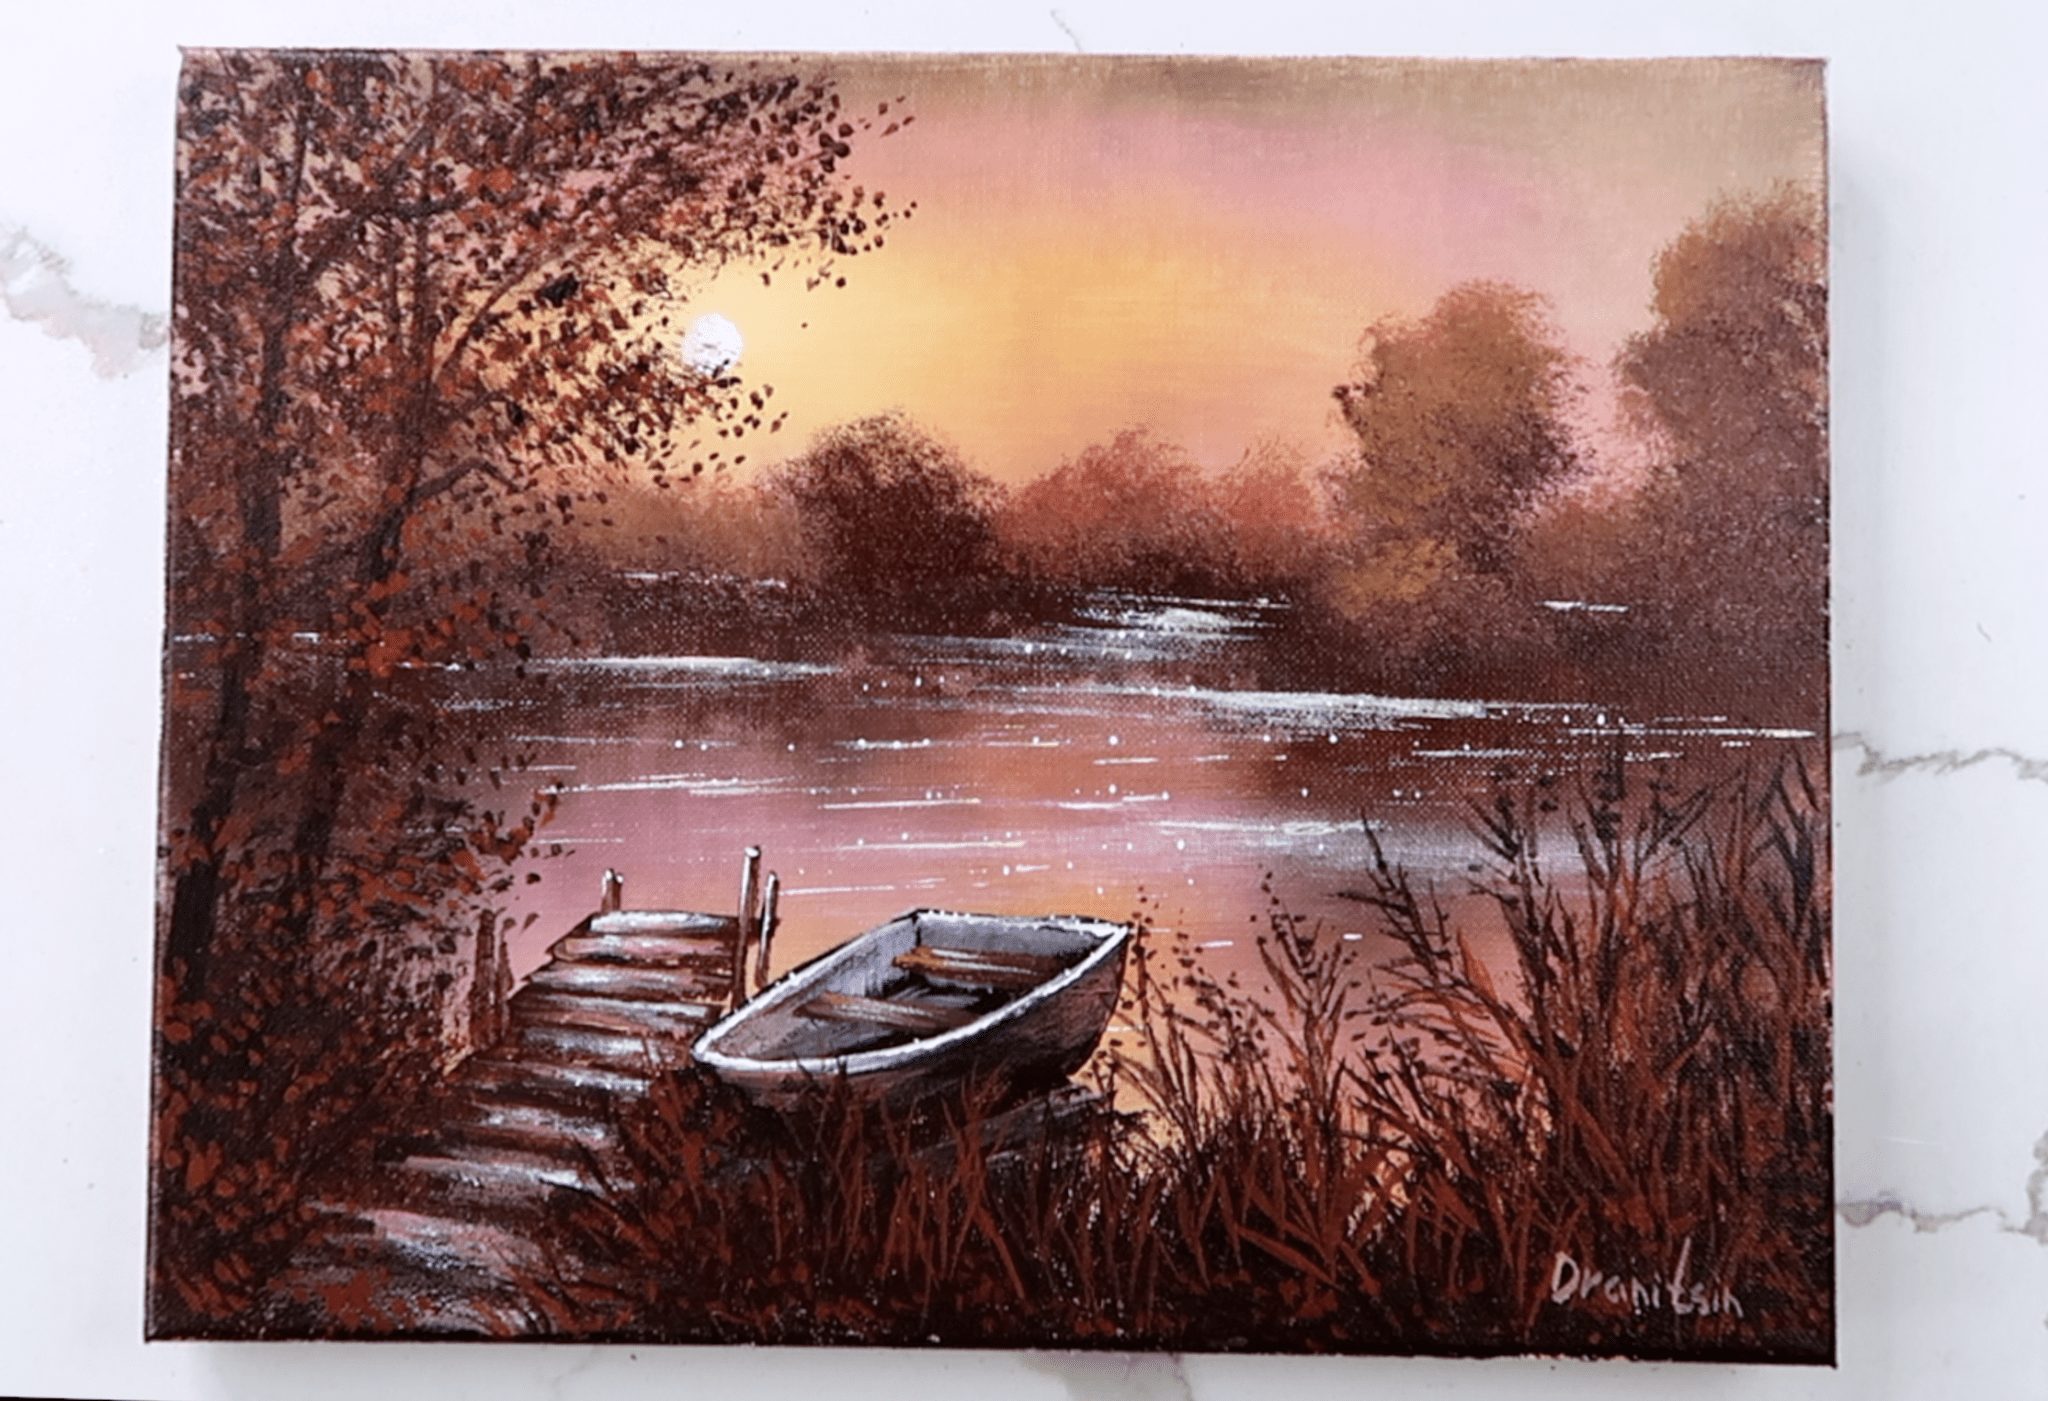
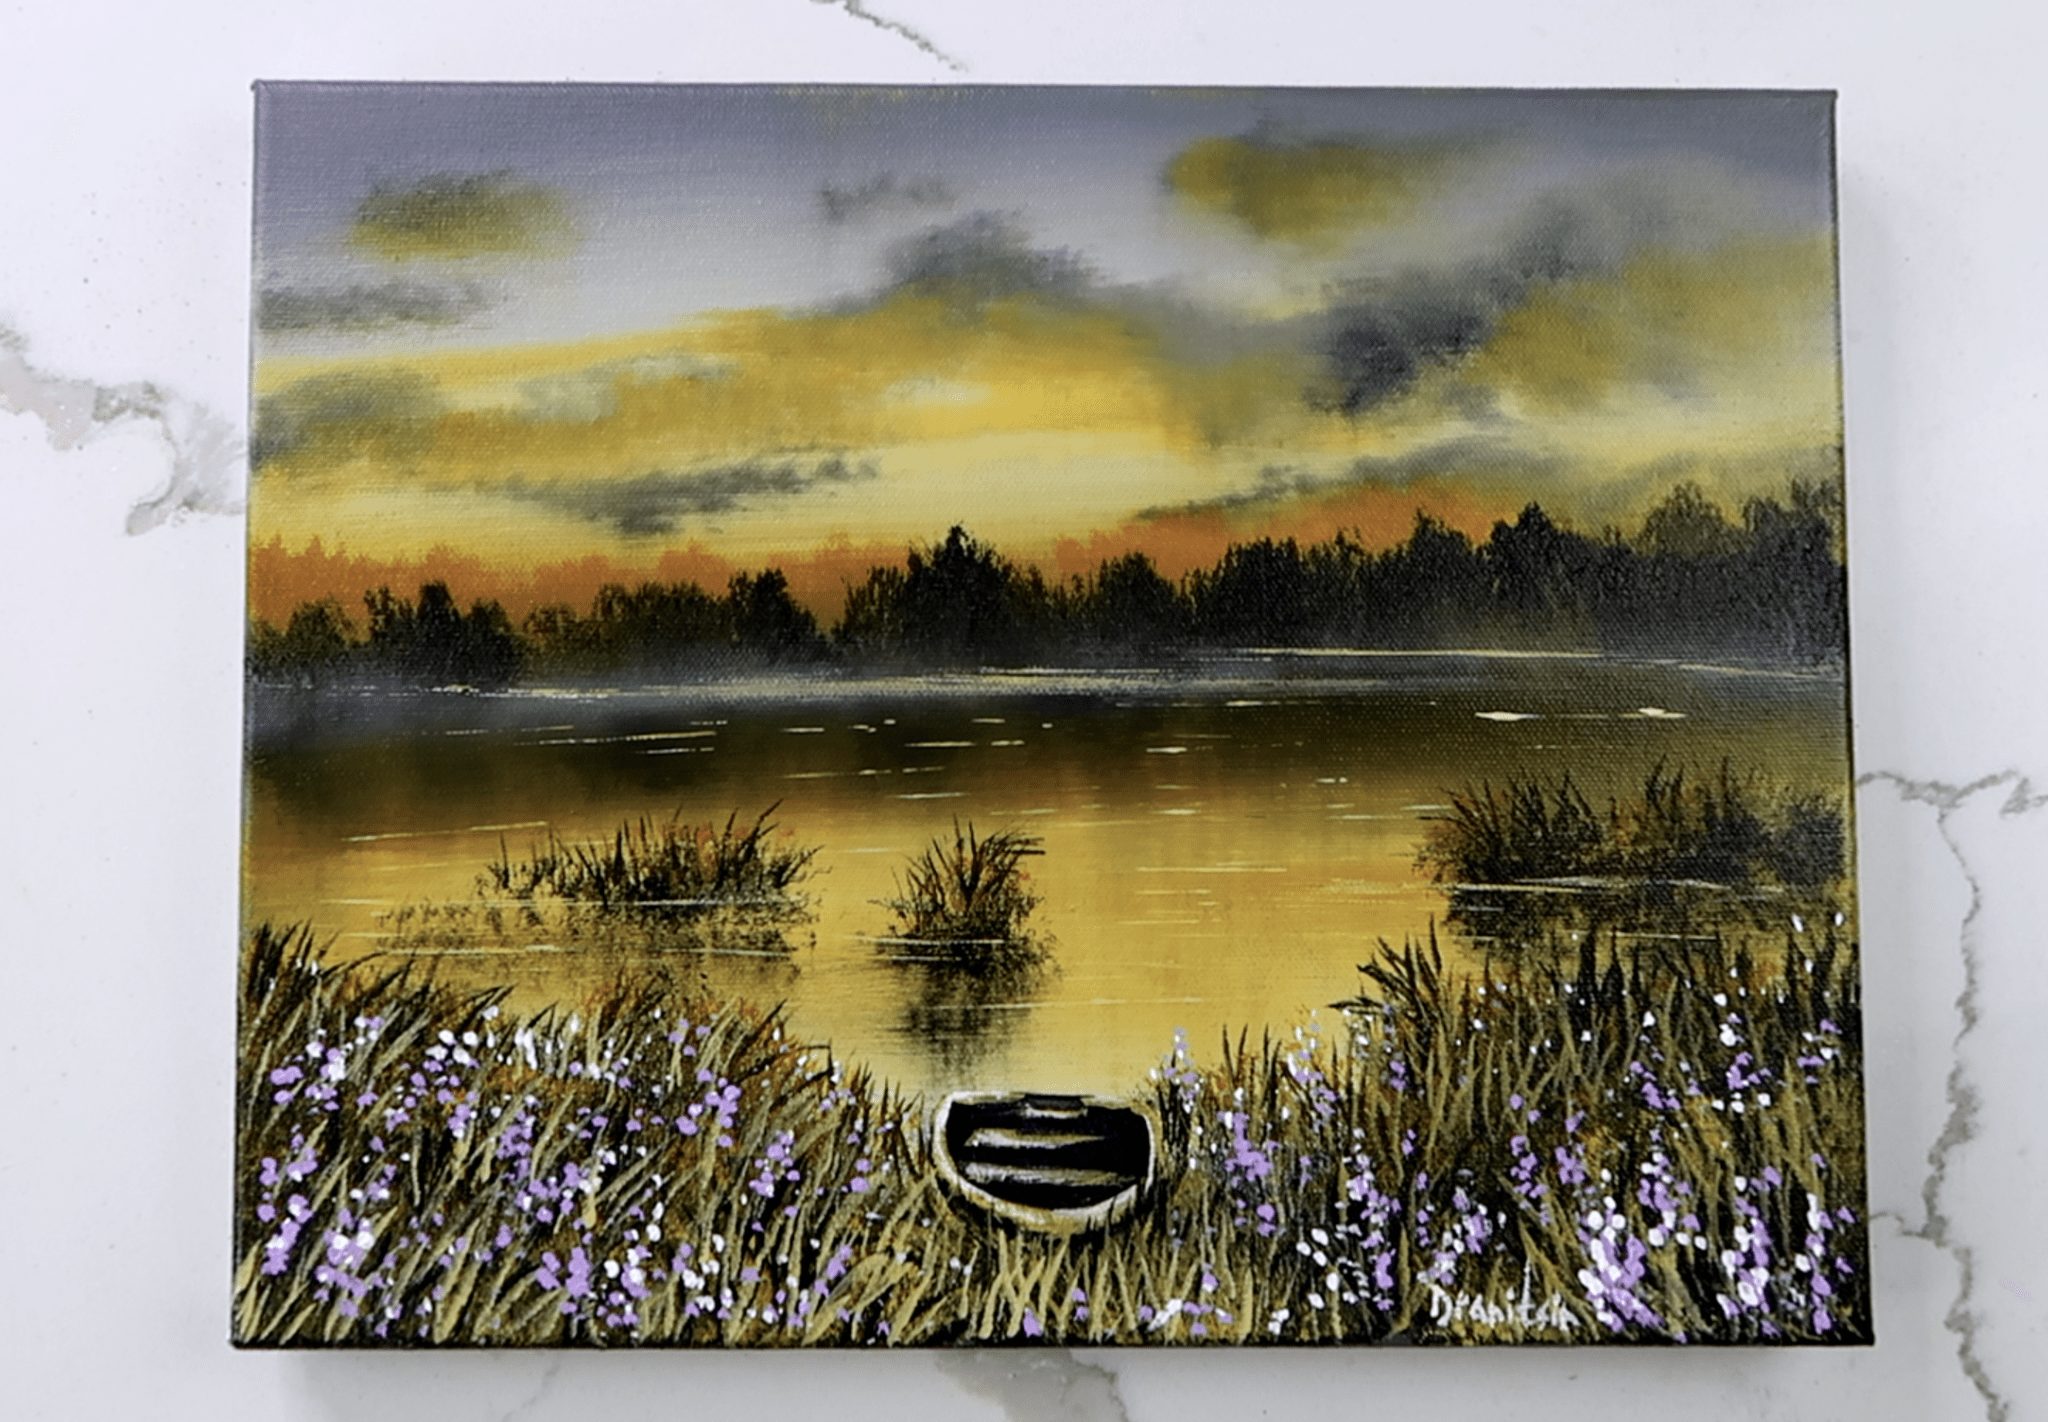
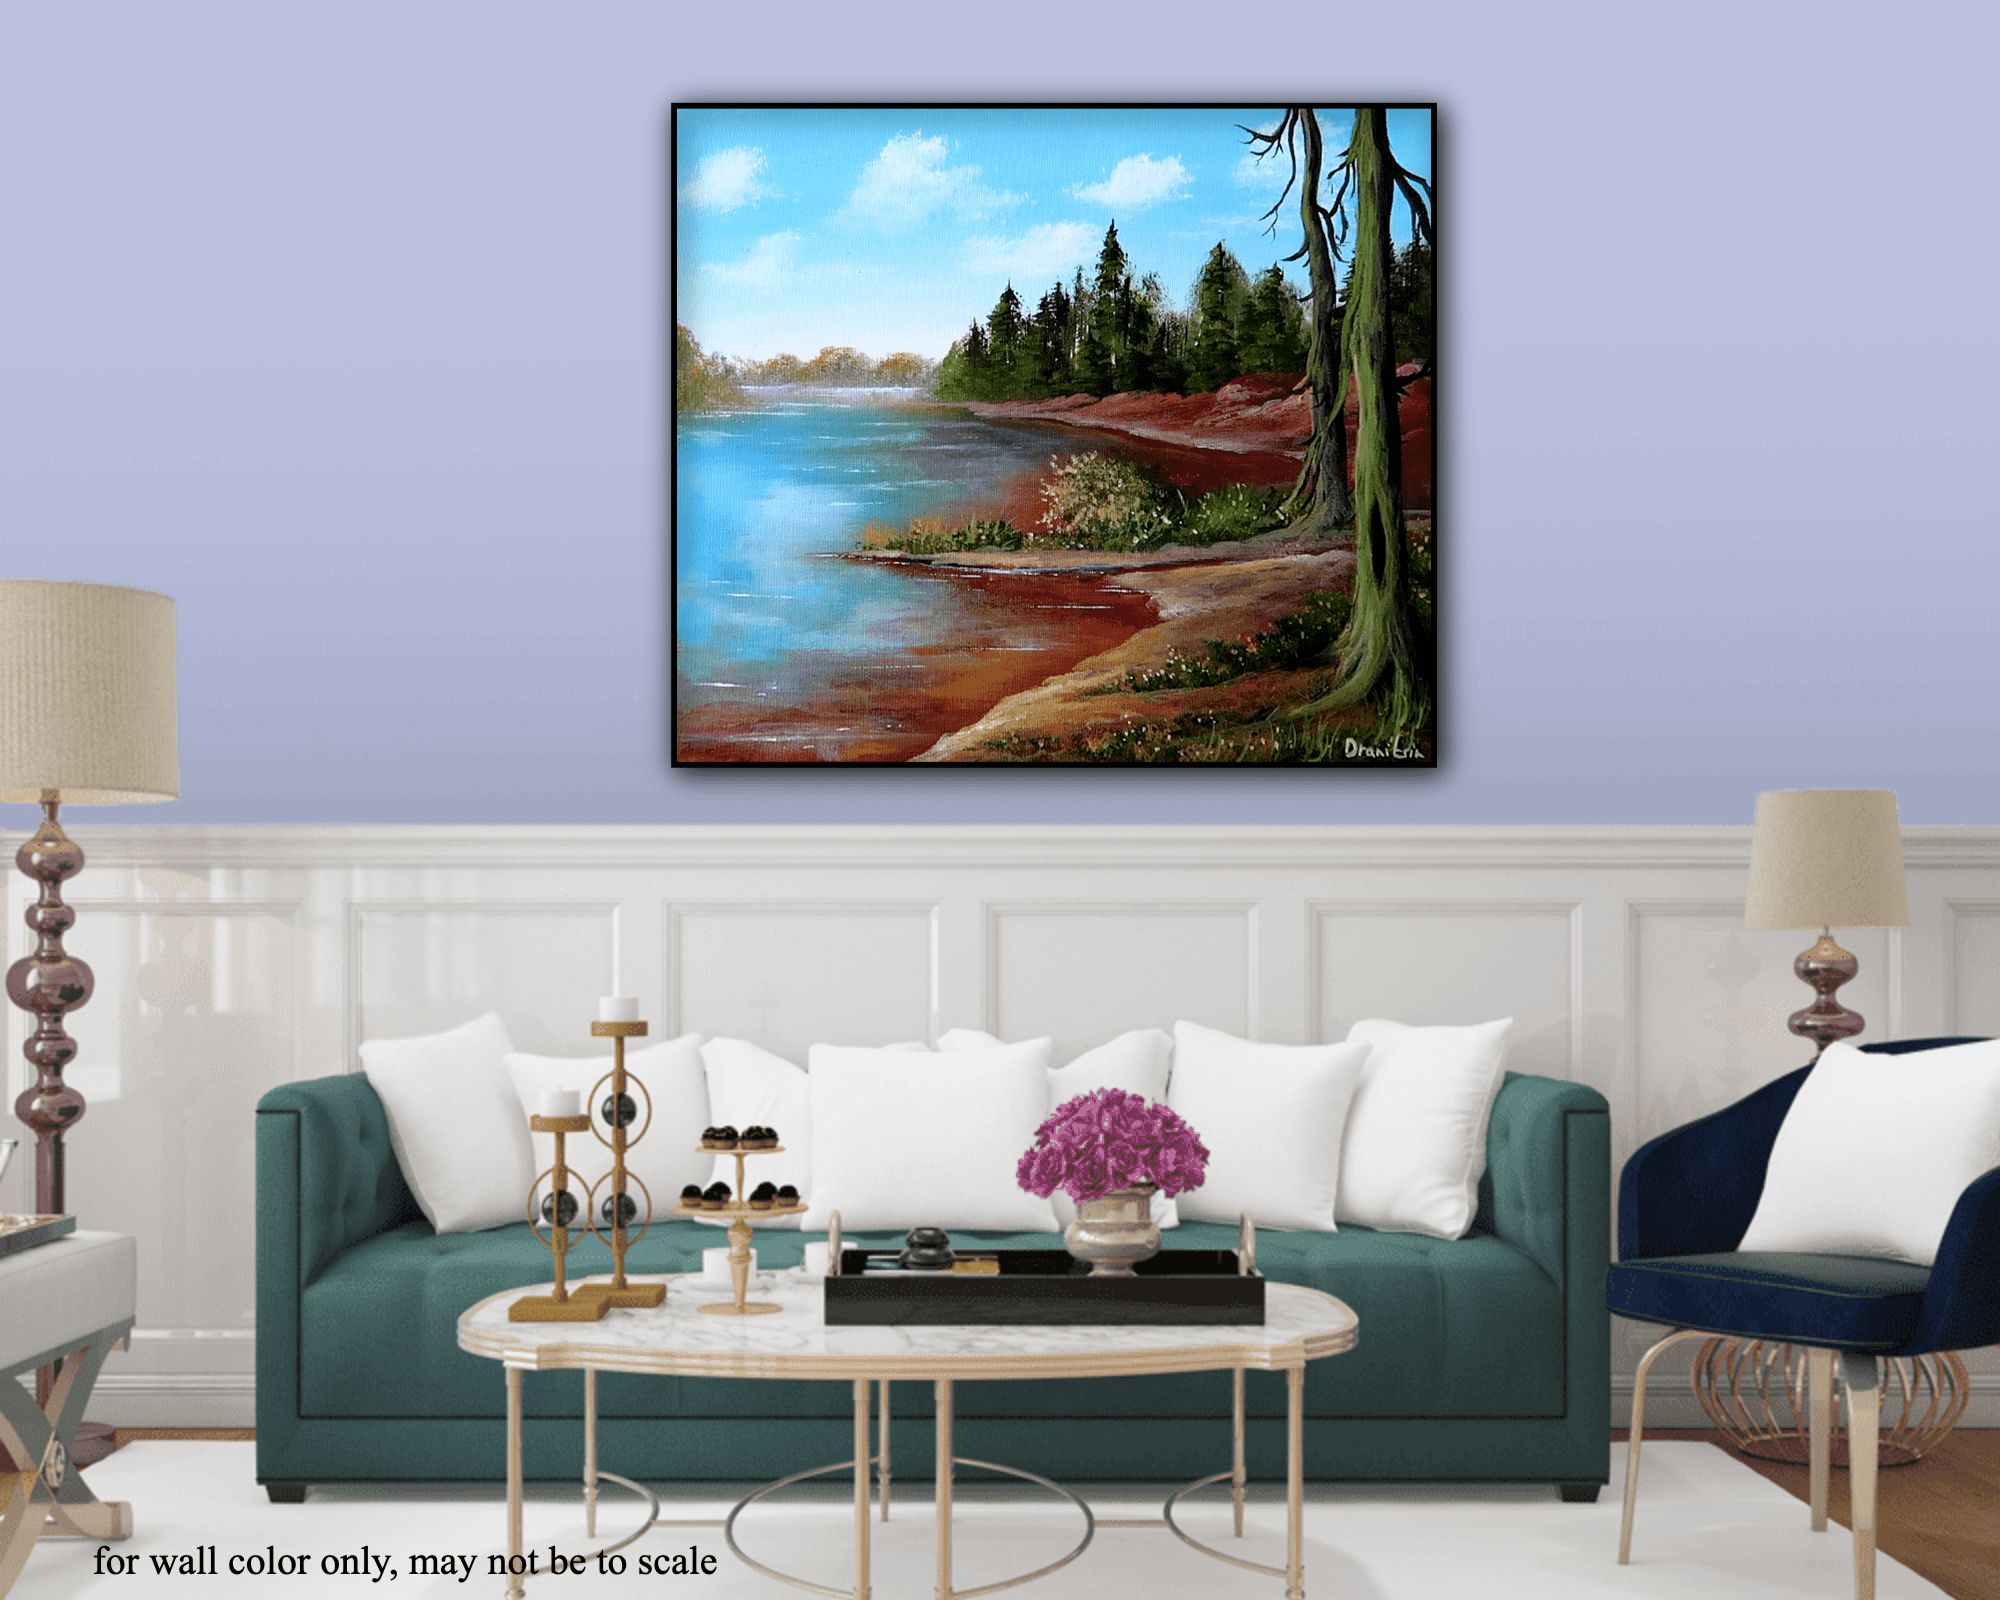
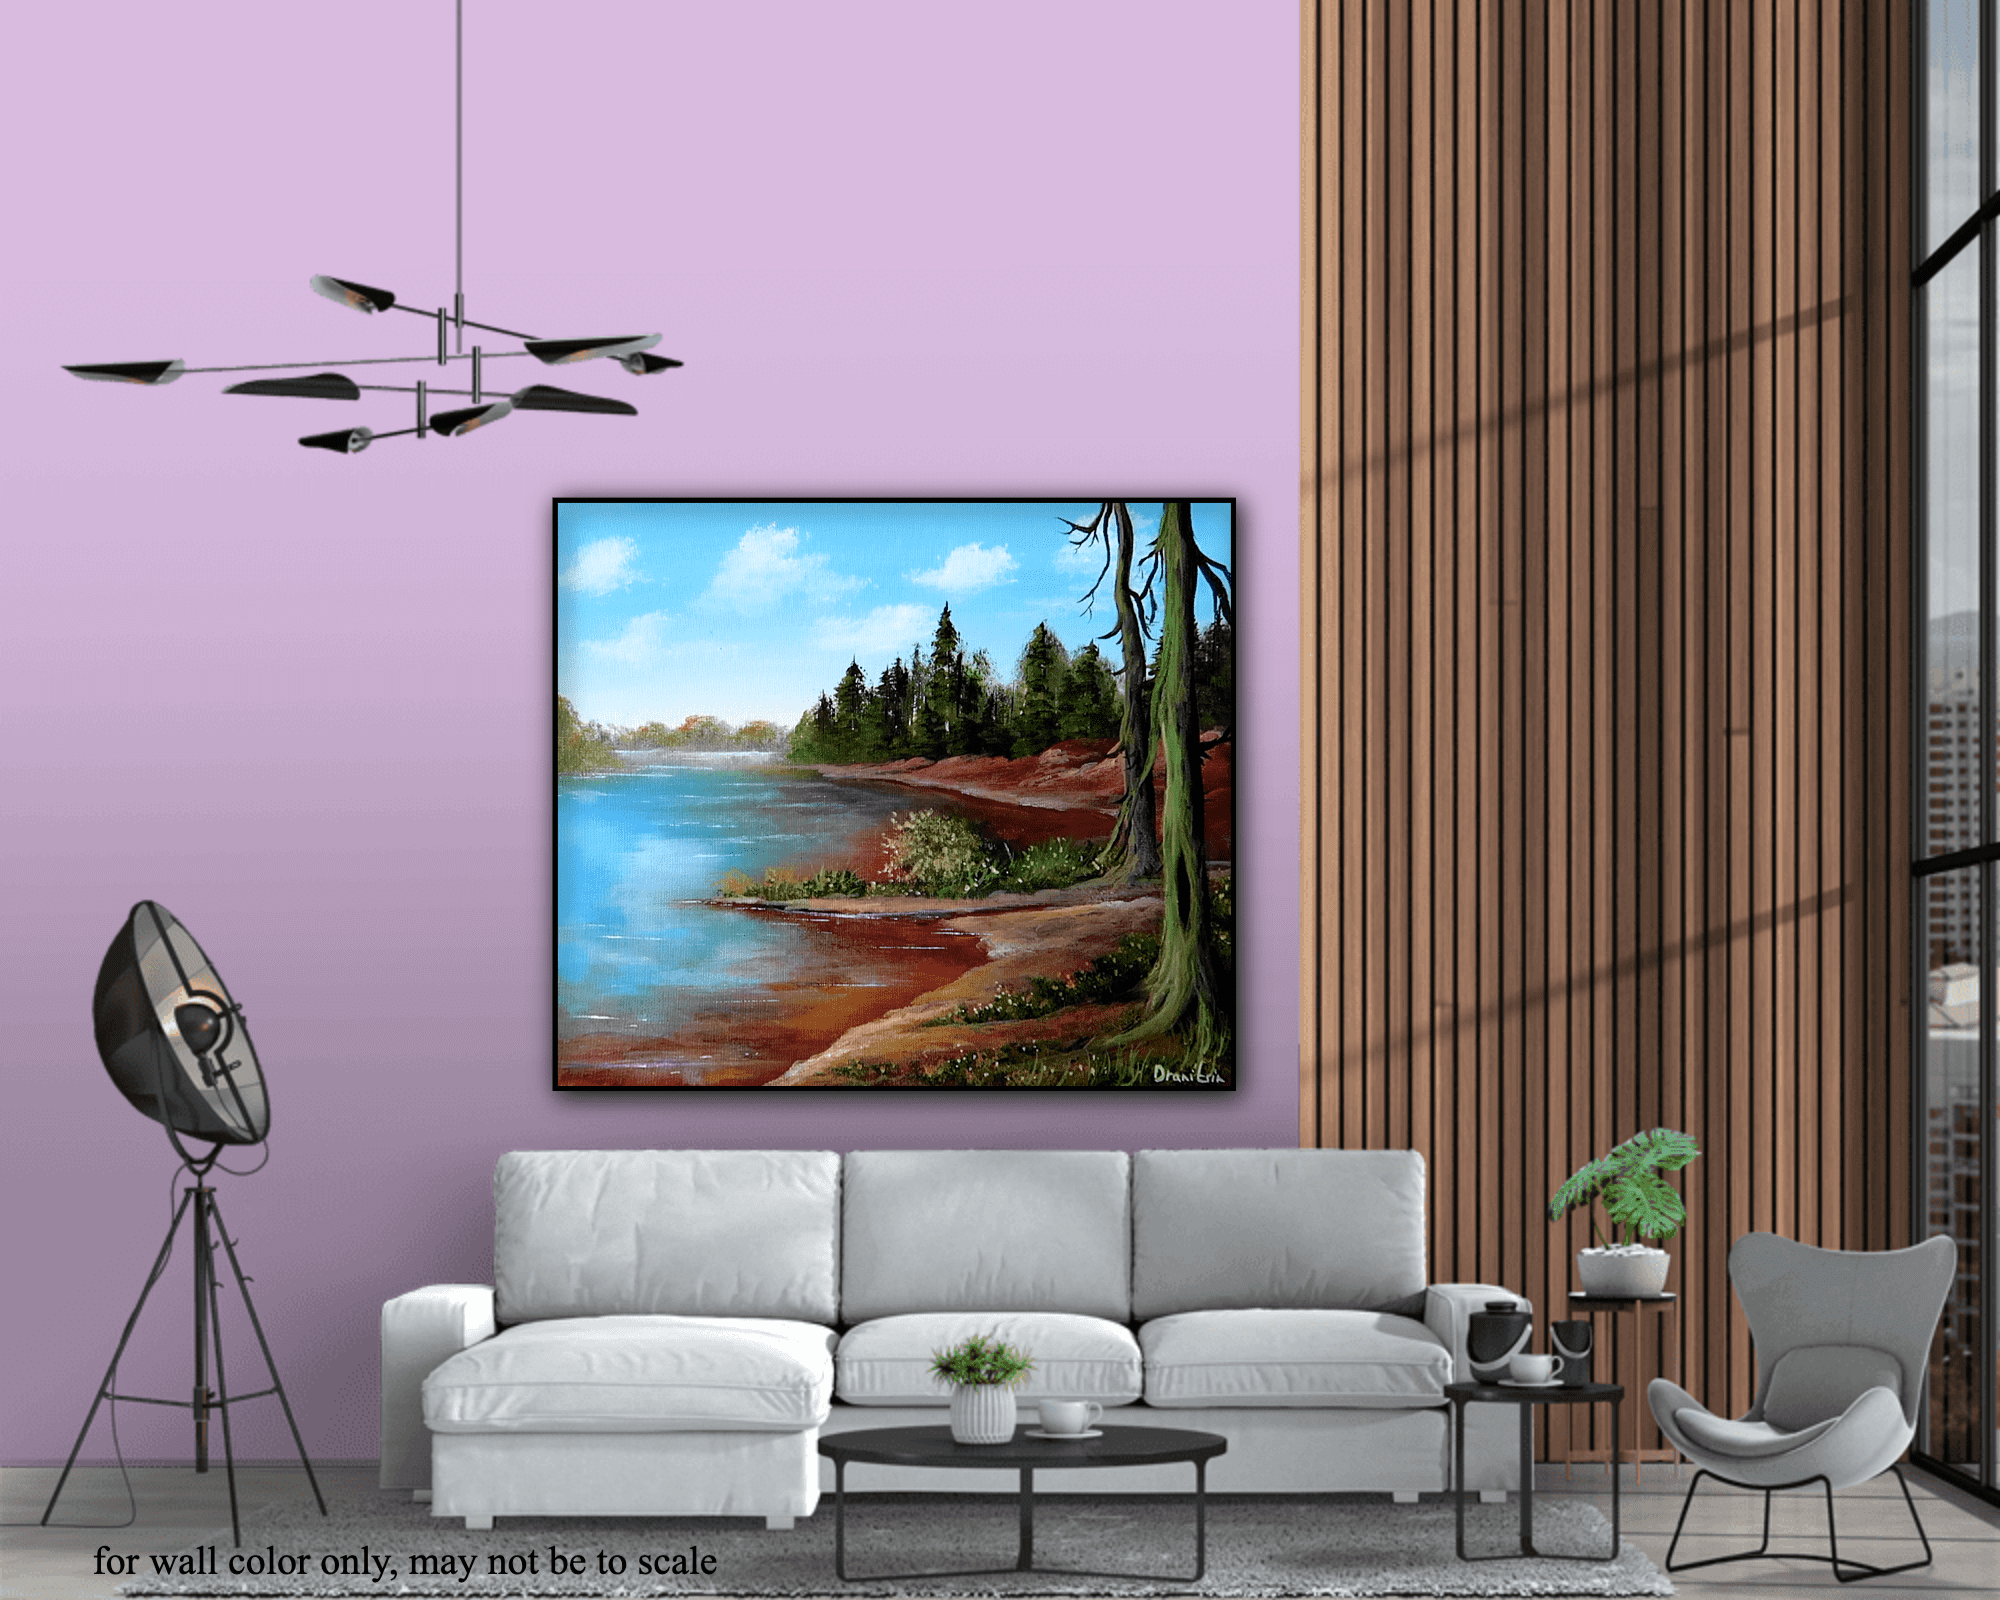
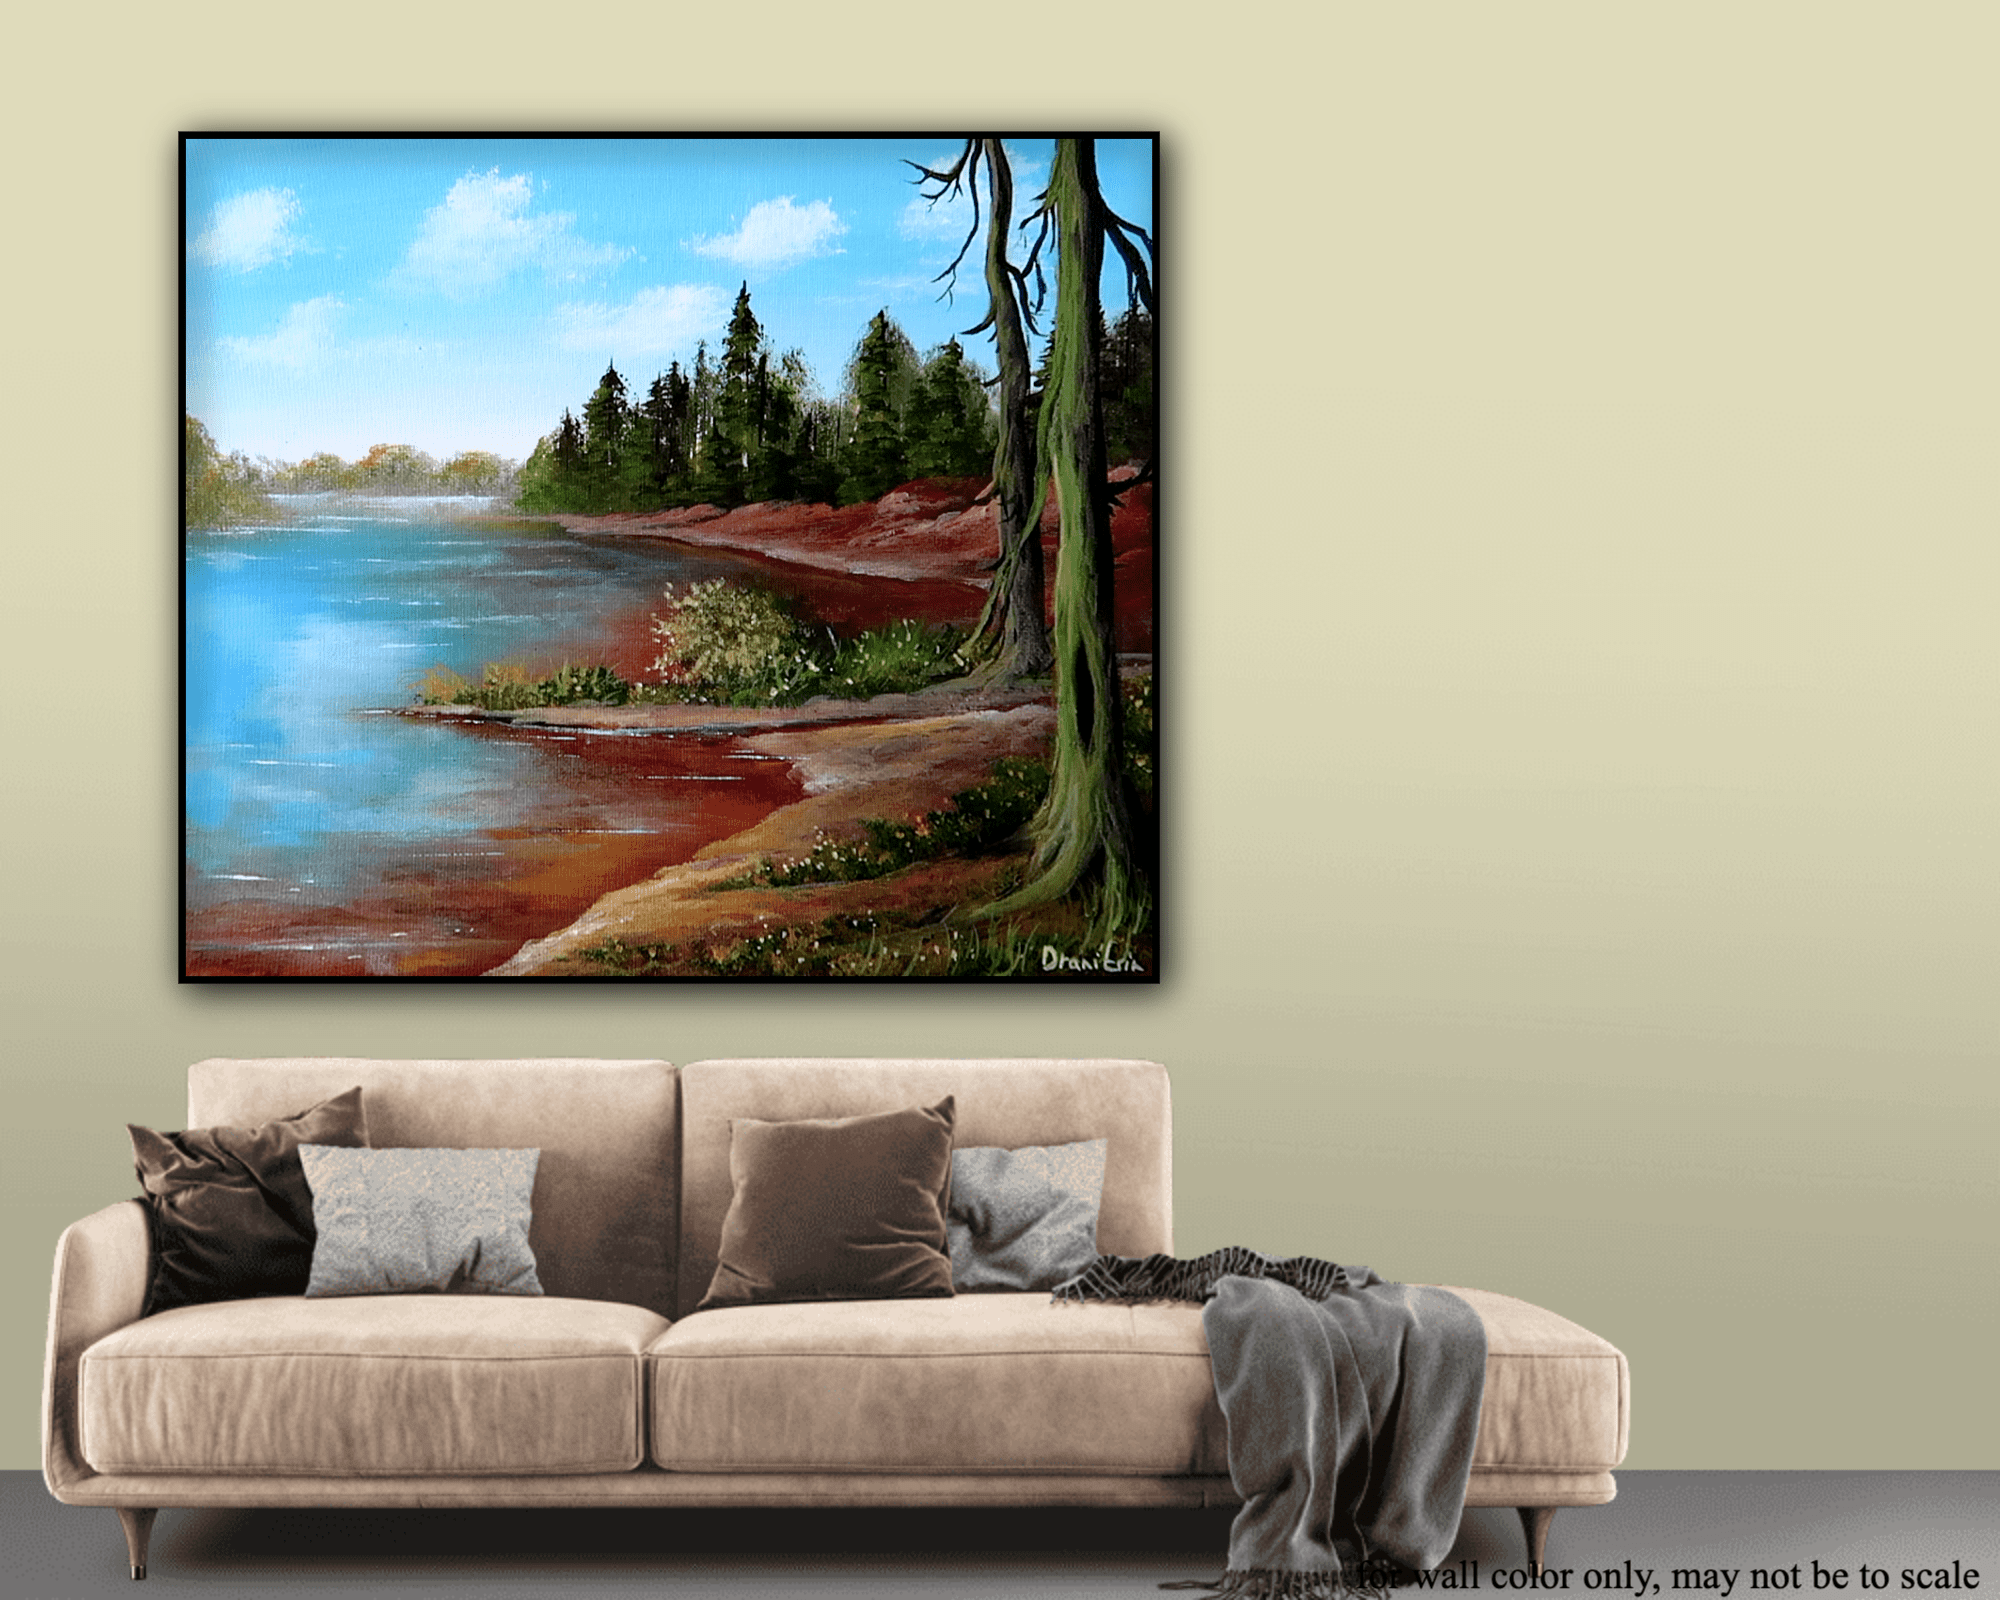
Welcome to Our Painting Adventure!
Hi everyone, and welcome to today’s painting session! I’m thrilled you’re here to join me as we embark on a fun and creative journey to create a cheerful landscape scene. Whether you’re just starting out or have some experience under your belt, I believe you can do this!
Before we dive in, don’t forget to browse our website at https://urartstudio.com for more valuable painting tips and step-by-step video demonstrations. There’s a wealth of resources to help enhance your artistic skills!
Colors You Will Need:
- Sky Blue
- White
- Prussian Green
- Vandyke Brown
- Burnt Sienna
- Yellow Ochre
- Black
Tools You Will Need:
- 12 x 14-inch Canvas (or any size you prefer)
- Oval Brush
- Ultra-Soft Blending Brush
- Big Oval Brush
- Palette Knife
- Filbert Brush
- Small Round Brush
- Small Brush (for details)
- Custom Bristle Brush
- Paper Towels (for cleaning brushes)
- Water Cup (for rinsing brushes)
Step-by-Step Instructions:
1. Preparing Your Canvas
Begin by ensuring your canvas is slightly moist before you start painting. This will allow the acrylic paints to spread more easily and blend beautifully. A lightly sprayed mist of water works perfectly.
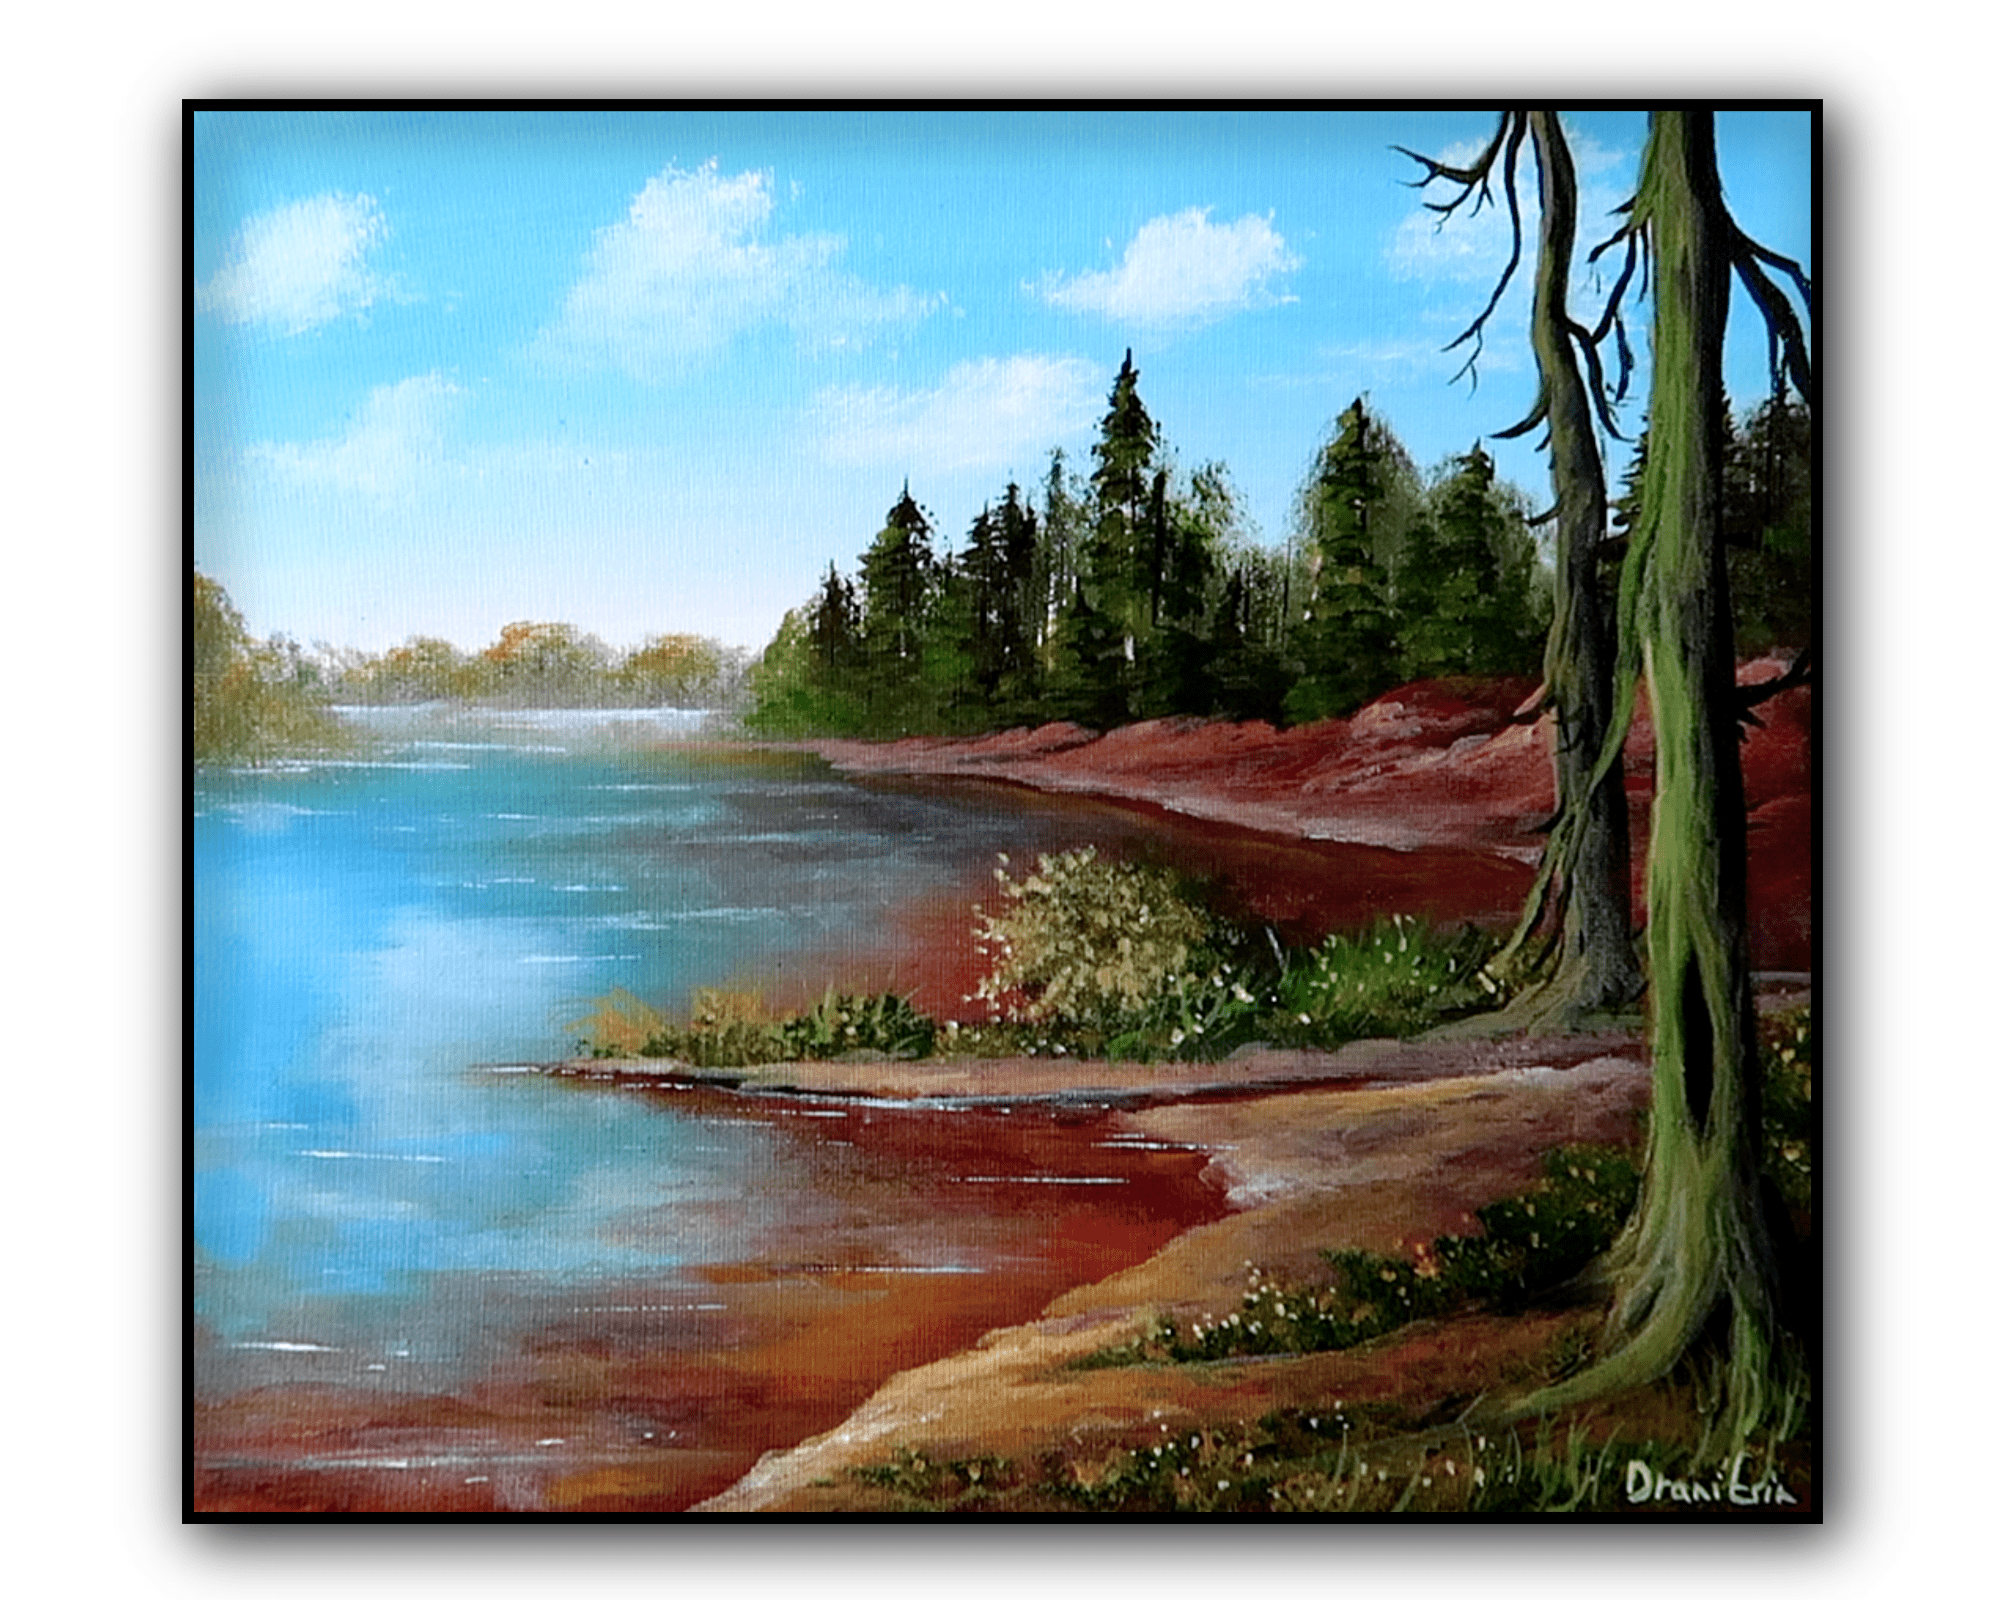
2. Painting the Sky
Let’s bring the sky to life! Take your oval brush and dip it into the sky blue paint. Begin painting from the top of your canvas, spreading the blue color across in smooth, horizontal strokes. Let the blue gradually fade downwards.
Next, clean your brush thoroughly with water and gently dab it on a paper towel. Now, load your brush with white paint and start painting below the blue. Blend the white gently into the blue as you move downward, creating a soft gradient that mimics a clear, sunny sky.
3. Adding Clouds
Now that the sky looks fantastic, let’s add some fluffy clouds! Clean your brush, and load it with pure white paint. Use this brush to dab in cloud shapes, varying the forms to make them look natural. Imagine how these clouds float peacefully in your beautiful sky!
4. Smoothing the Sky
To give your sky a dreamy finish, grab your ultra-soft blending brush. With gentle strokes, lightly blend the colors together, smoothing out any visible brush marks. This creates a cohesive and peaceful atmosphere in your painting.
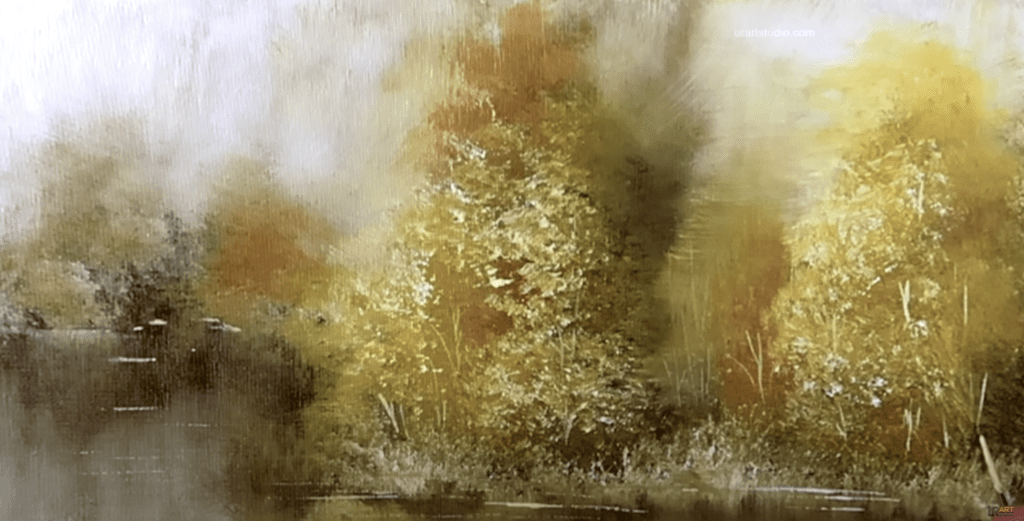
5. Creating the Distant Trees
Next, we’re going to add some distant trees to our scene. Grab your big oval brush and mix together black, burnt sienna, and Prussian green. Using this rich color mixture, paint a line of trees just below the sky, creating a silhouette effect that suggests depth and distance.
6. Painting the Shoreline
Clean your brush and then load it with a combination of burnt sienna and black. With these colors, paint a gentle line where the land meets the water, forming the shoreline. Allow your brush strokes to flow naturally to capture the essence of the land.
7. Adding Color to the Lake
Now, let’s bring life to our lake! Use just the burnt sienna paint and add it to the area you painted for the water. Next, mix light blue and white to create a shimmering reflection of the sky on the water’s surface. Carefully paint this mixture at the top of the lake!
8. Softening the Reflection
To make the reflection look more realistic, take your blending brush and gently smooth out the colors in the lake, blending them slightly to capture the shimmer of the sky on the water.
9. Allowing Your Work to Dry
Once you’re pleased with the look of the lake, let your painting dry for a moment. This step is important to avoid mixing colors unintentionally when you add more details.
10. Creating Water Lines
With your palette knife, take some white paint and create thin lines along the edge where the water meets the shoreline. This gives definition to the land and water. Use your Filbert brush to soften these lines and blend them into the water.
11. Adding Tree Trunks
Next, let’s focus on adding some tree trunks! Use your palette knife with a dark color (black or a mix of dark brown) to create the trunks of the distant trees.
12. Detailing Distant Trees
With a small brush, add some details to those distant trees using dark green and brown. These touches will add texture and dimension to our landscape.
13. Highlighting the Shoreline
Now, mix burnt sienna and white to add highlights on the shoreline. This step creates a sunny glow and defines the edge.
14. Adding Highlights to Distant Trees
Using another mix of green and yellow, add highlights to the tops of the distant trees, suggesting the warm sunlight touching the leaves.
15. Brightening the Foreground Shoreline
Use your small brush to add more highlights to the shoreline in the front. These brighter spots give life to your painting!
16. Creating Grass and Bushes
Grab your round brush and mix dark green paint. Use this mixture to paint in some grassy areas and bushes. Vary your brush strokes to create texture. Then, add in yellow and white highlights to brighten these areas and make them pop!
17. Adding More Tree Trunks
Switch back to your Filbert brush and black paint to add a couple more tree trunks in the foreground. Highlight these trunks with a mix of yellow and green to give them dimension and interest.
18. Final Touches on the Foliage
Now, with your custom bristle brush, mix yellow, white, and green to add fine details to the nearby bushes and grass. This step brings all those little elements together beautifully.
19. Finishing Water Lines
Finally, take your palette knife again and, with some white paint, add in a few more water lines to enhance the lake’s surface. This last touch will provide a lovely final detail.
20. Stepping Back to Admire Your Work
Now, step back and take a moment to admire your beautiful landscape! Look at how everything has come together—the vibrant sky, the distant trees, the shimmering water, and all those lovely little details.
Congratulations!
You did an amazing job! You’ve created a happy landscape that’s uniquely yours. I hope you enjoyed this experience and feel inspired to keep painting and exploring your creativity. Remember, practice makes progress!
Thank you for joining me, and until next time, happy painting!

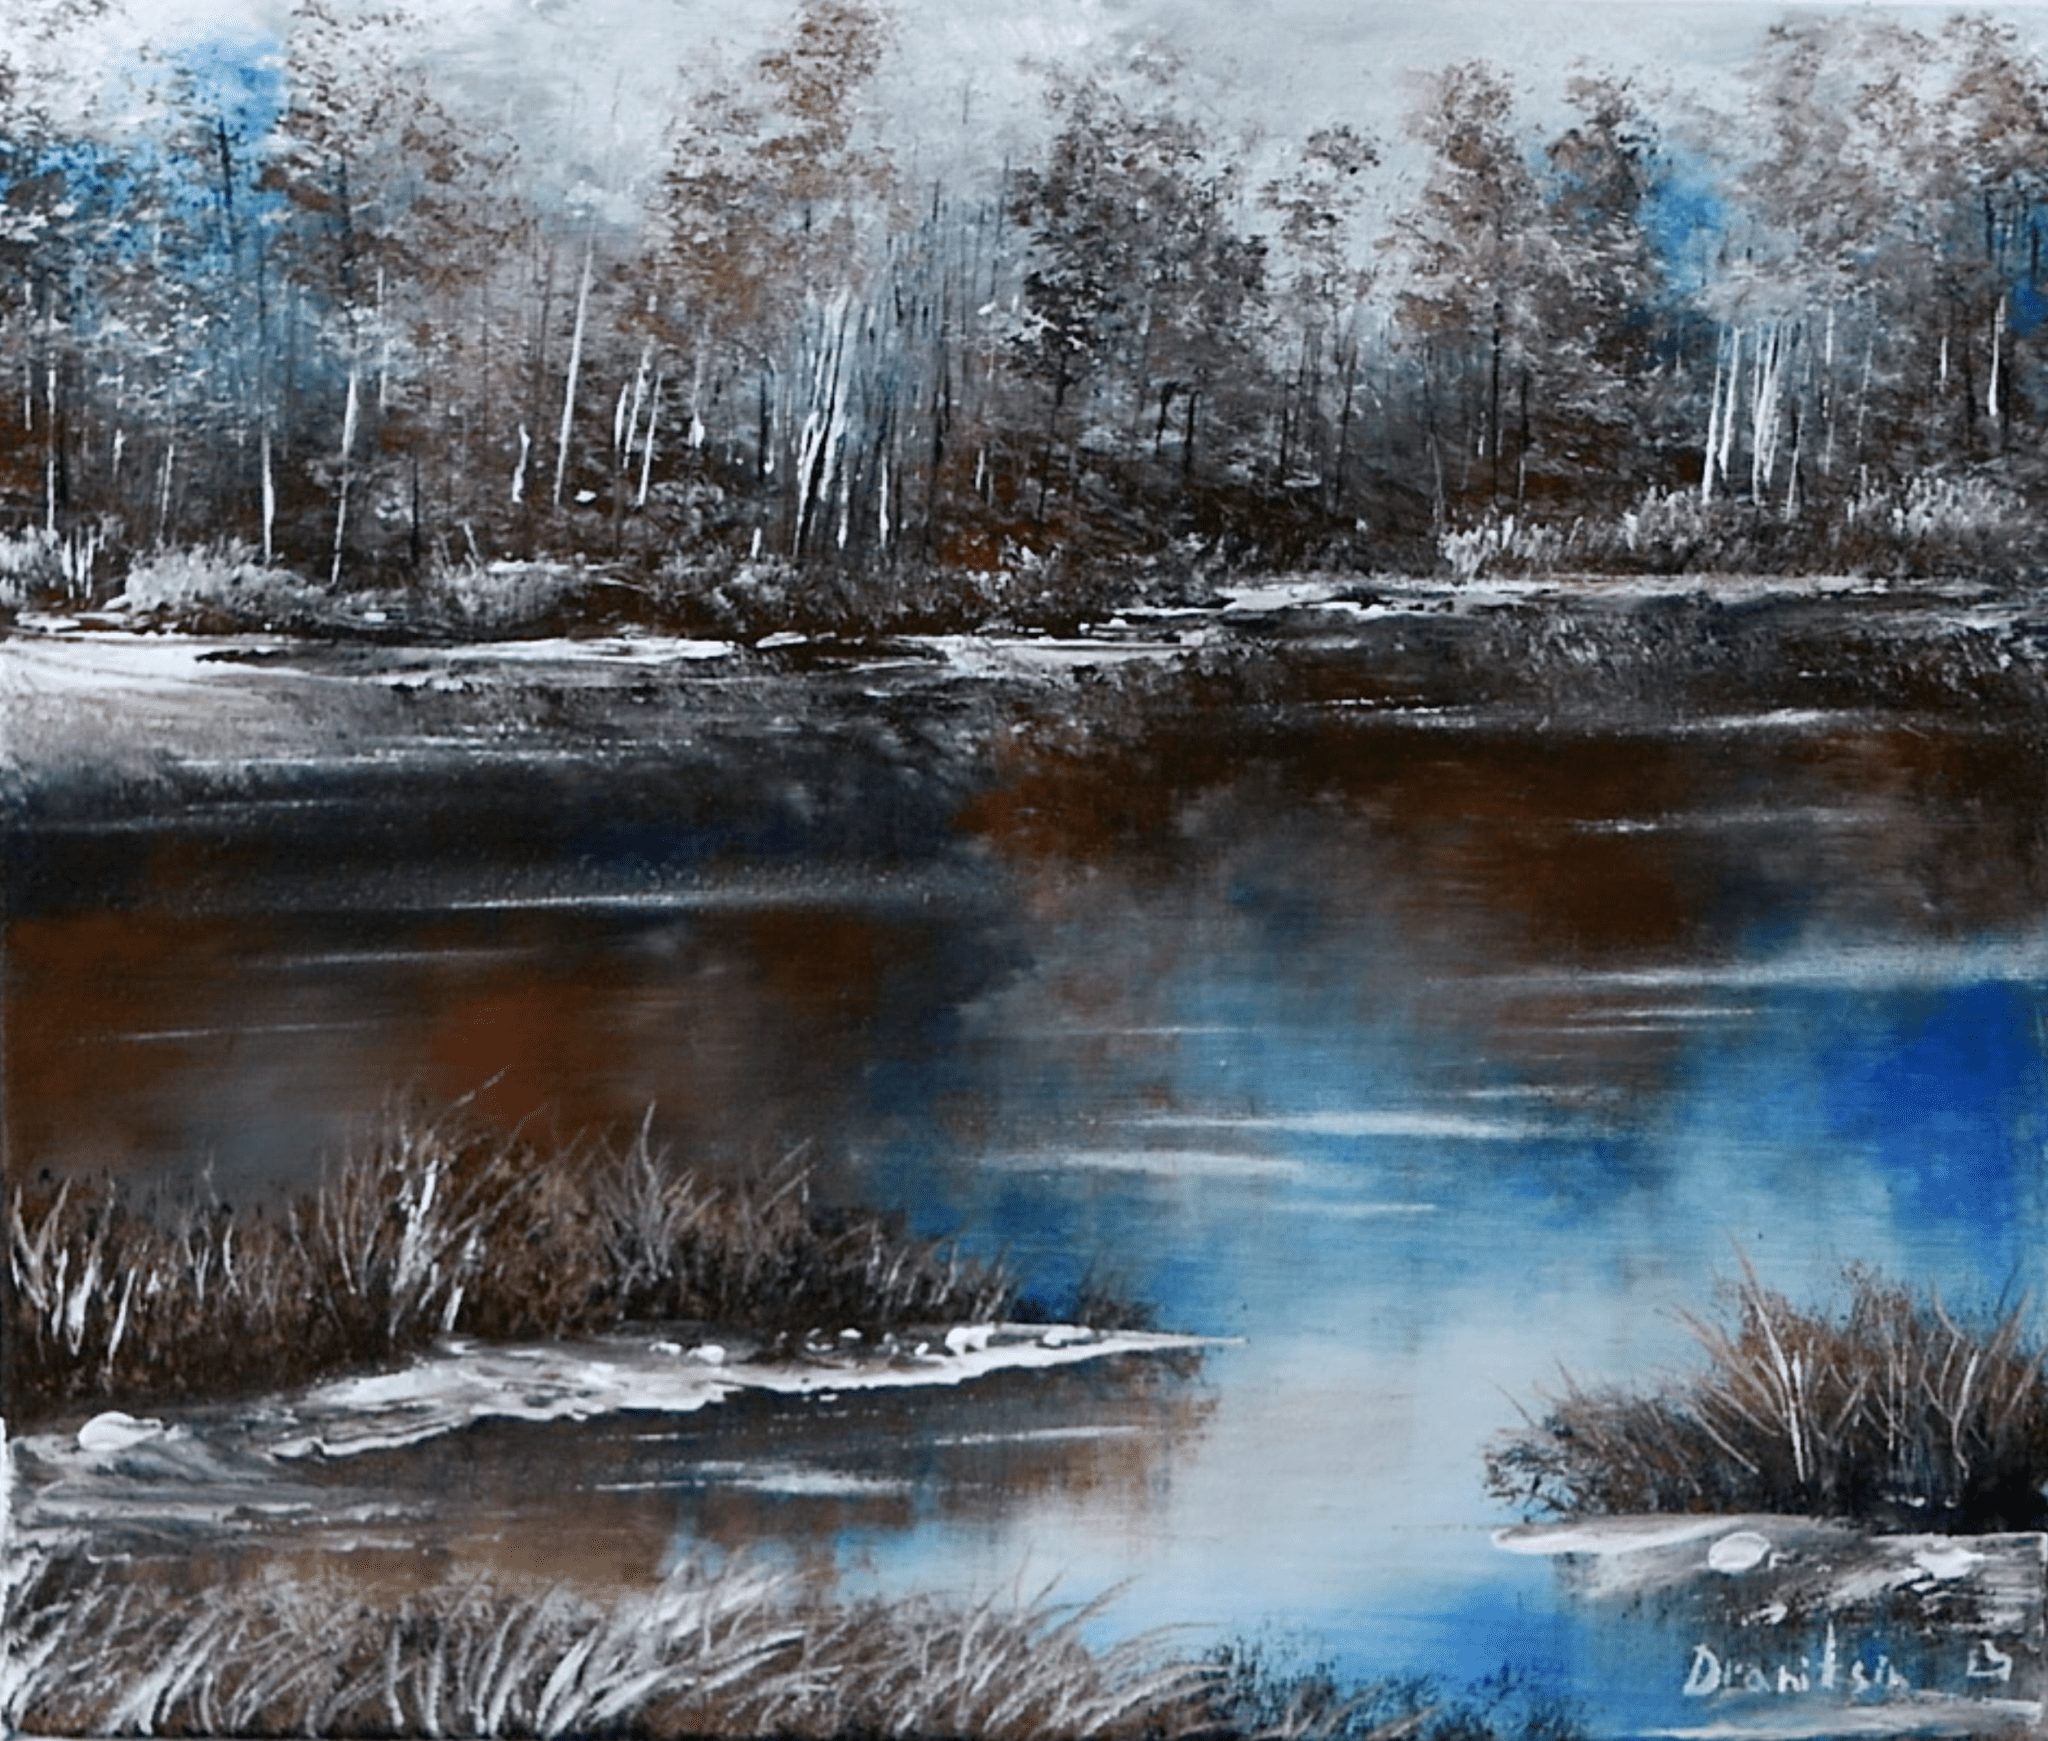
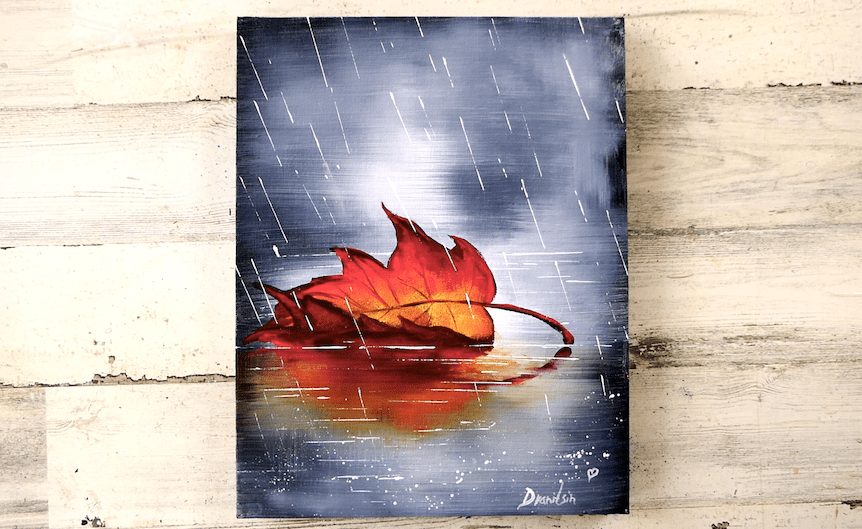
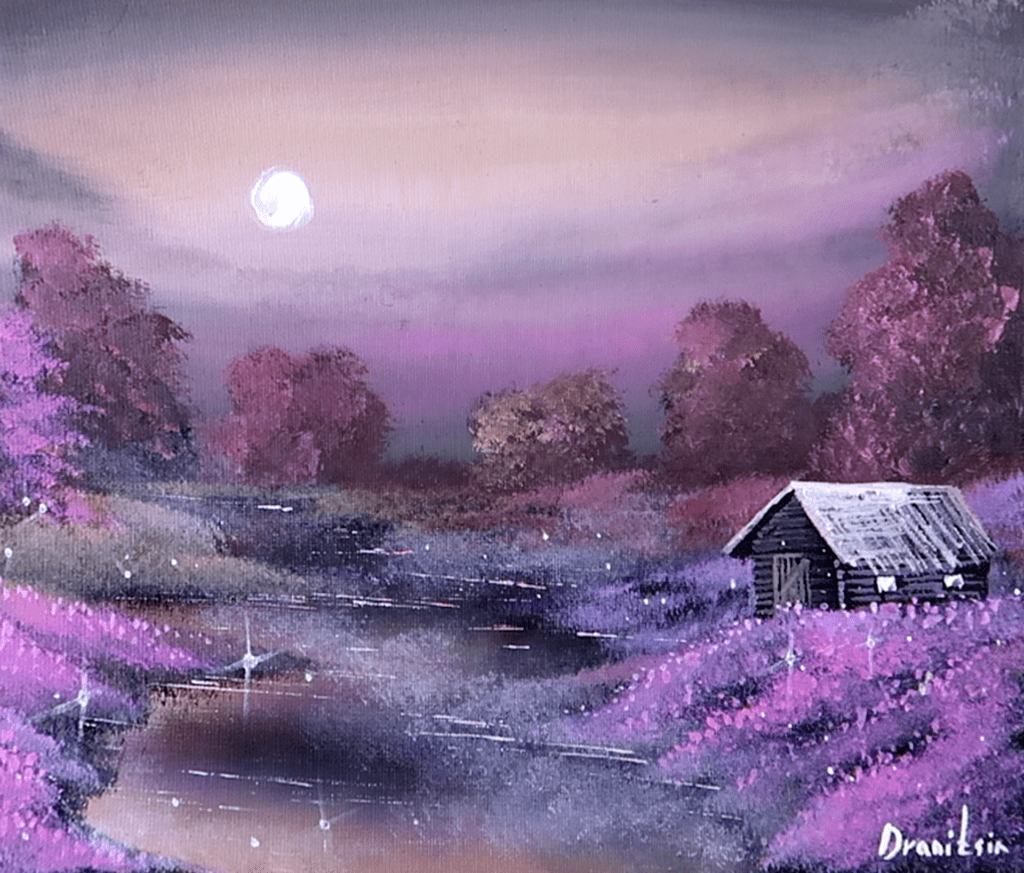
STEP BY STEP PAINTING INSTRUCTIONS AND NARRATED GUIDES FOR URARTSTUDIO.COM YOUTUBE ART VIDEO DEMONSTRATIONS

ART VIDEO STEP BY STEP VIDEO DEMONSTRATIONS AND ORIGINAL ART GALLERY BY URARTSTUDIO:
Welcome to the captivating world of URARTSTUDIO! Immerse yourself in the exquisite artistry and creativity with our step-by-step video demonstrations and exclusive original art gallery. Prepare to be spellbound as true mastery unfolds before your very eyes. Witness the artistic process come alive as our videos take you by the hand, guiding you through each brushstroke and technique. Discover the secret behind captivating compositions and the intricate details that make art truly mesmerizing. Our gallery proudly showcases a curated collection of unique and breathtaking artwork, where every piece tells a story and evokes powerful emotions. Journey with us and let your imagination take flight as URARTSTUDIO invites you to unravel the magic of art like never before.