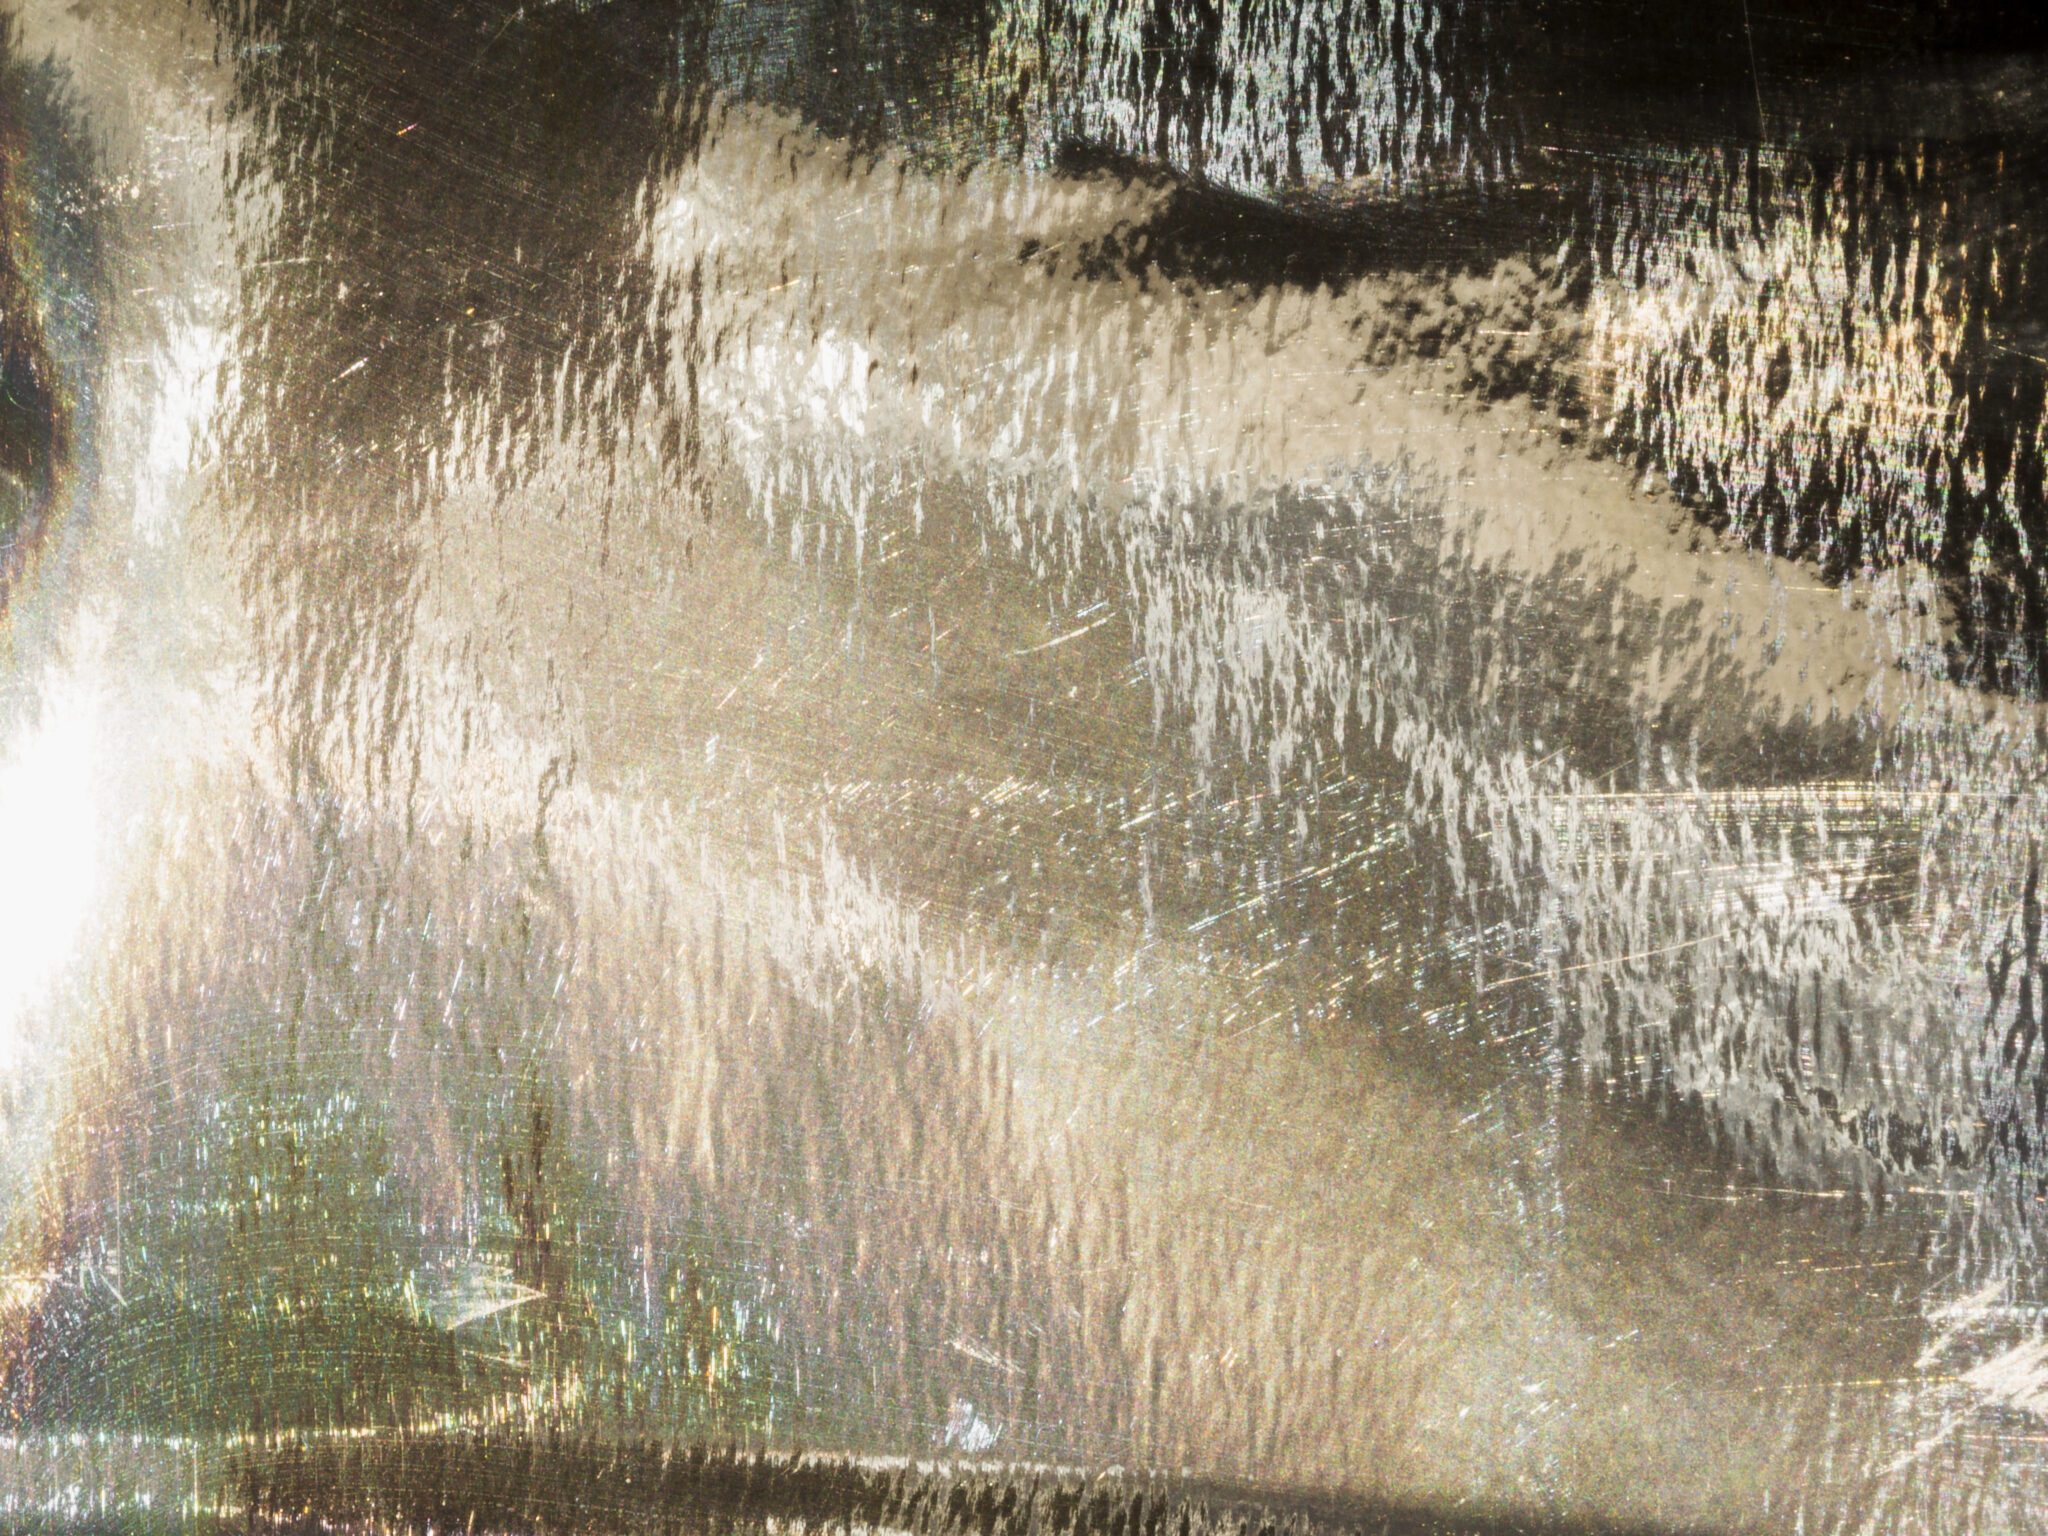
Introduction: Salt Texture Technique for Painting
The Salt Texture Technique is a fascinating and versatile method that can add depth, texture, and visual interest to your paintings. By using ordinary kitchen salt, you can create unique patterns and effects, reminiscent of natural textures such as crystals or rock formations. In this guide, we will walk you through step-by-step techniques and provide helpful tips to enhance your understanding of this captivating painting technique.
Step 1: Preparing Your Materials
Before you start, make sure you have the following materials ready:
- Canvas or painting surface of your choice
- Acrylic or watercolor paints
- Paintbrushes
- Water container
- Salt (regular table salt or rock salt)
- Palette or mixing surface
- Paper towels or rags for any accidental spills or drips
Step 2: Painting the Base Layer
Begin by applying your desired base layer of paint onto the canvas. This layer will serve as the backdrop for the salt texture. Use broad and even brush strokes to cover the entire surface, ensuring that the paint is evenly distributed. Allow the base layer to dry completely before proceeding to the next step.
Step 3: Applying Salt to Wet Paint
Once the base layer is dry, dampen your paintbrush and apply another layer of paint onto the desired section of the canvas. While the paint is still wet, sprinkle a moderate amount of salt evenly over the painted area. You can experiment with different amounts and sizes of salt grains to achieve varied texture effects. Remember to work on one section at a time to ensure the paint remains wet during the salt application process.
Step 4: Allowing the Salt to Work Its Magic
Allow the salt to sit undisturbed on the wet paint for an extended period (approximately 15-30 minutes). During this time, the salt will absorb the moisture from the paint, creating fascinating patterns and textures as the paint dries. Avoid touching the surface or disturbing the salt during this waiting period to achieve the best results.
Step 5: Removing the Salt and Final Touches
After the salt has had sufficient time to work its magic, gently brush off the salt grains from the painting. You can use a dry brush or a soft cloth to do this. Be careful not to scrape or damage the paint surface as you remove the salt. Once you’ve removed all the salt, assess your painting, and make any necessary touch-ups or additional detailing if desired. Allow the painting to dry completely before sealing or framing it.
Helpful Tips and Ideas for Artists:
- Experiment with Different Paint Applications: Explore variations in paint thickness, colors, and brushwork to create diverse textures when using the salt technique.
- Combine Salt Texture with Other Techniques: Consider incorporating salt texture alongside other methods, such as watercolor blooms or acrylic layering, to expand your creative possibilities.
- Treat Salt as an Artistic Tool: Rather than using salt merely to absorb moisture, try strategically placing salt grains to create specific patterns or textures in your artwork.
- Custom Salt Effects: Experiment with various types of salt, such as rock salt or sea salt, to achieve different effects and textures.
- Embrace the Unexpected: The salt texture technique offers an element of unpredictability. Embrace the unique results that may arise and use them to enhance your artistic vision.
Remember, this guide only scratches the surface of the salt texture technique. If you’d like to delve deeper into this technique and explore more painting resources, we encourage you to browse through our website at https://urartstudio.com for additional free resources and tutorials.
Happy painting and creativity!


Leave a Reply
You must be logged in to post a comment.