

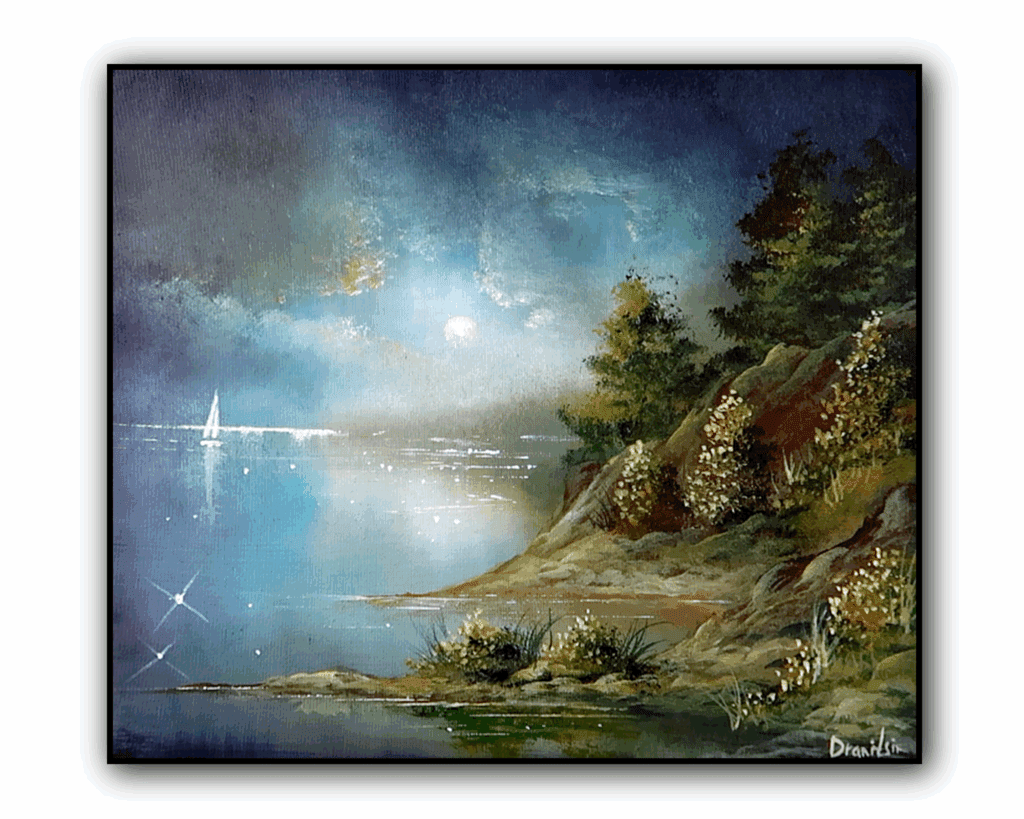
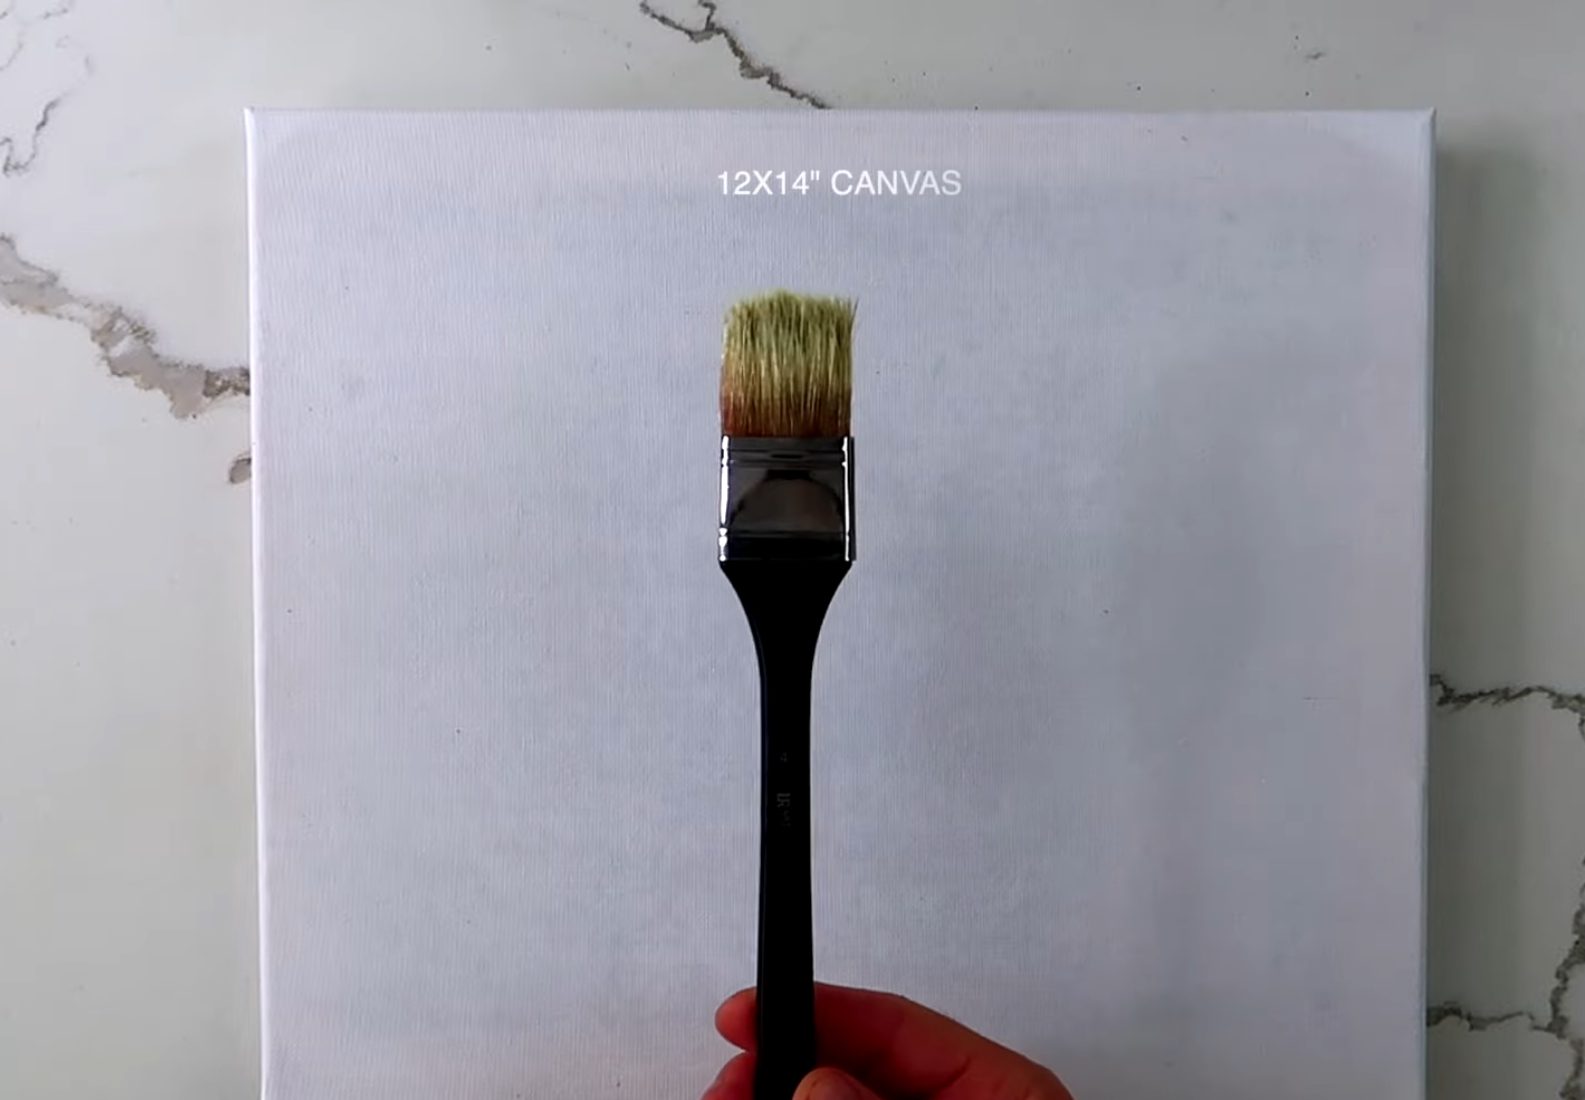
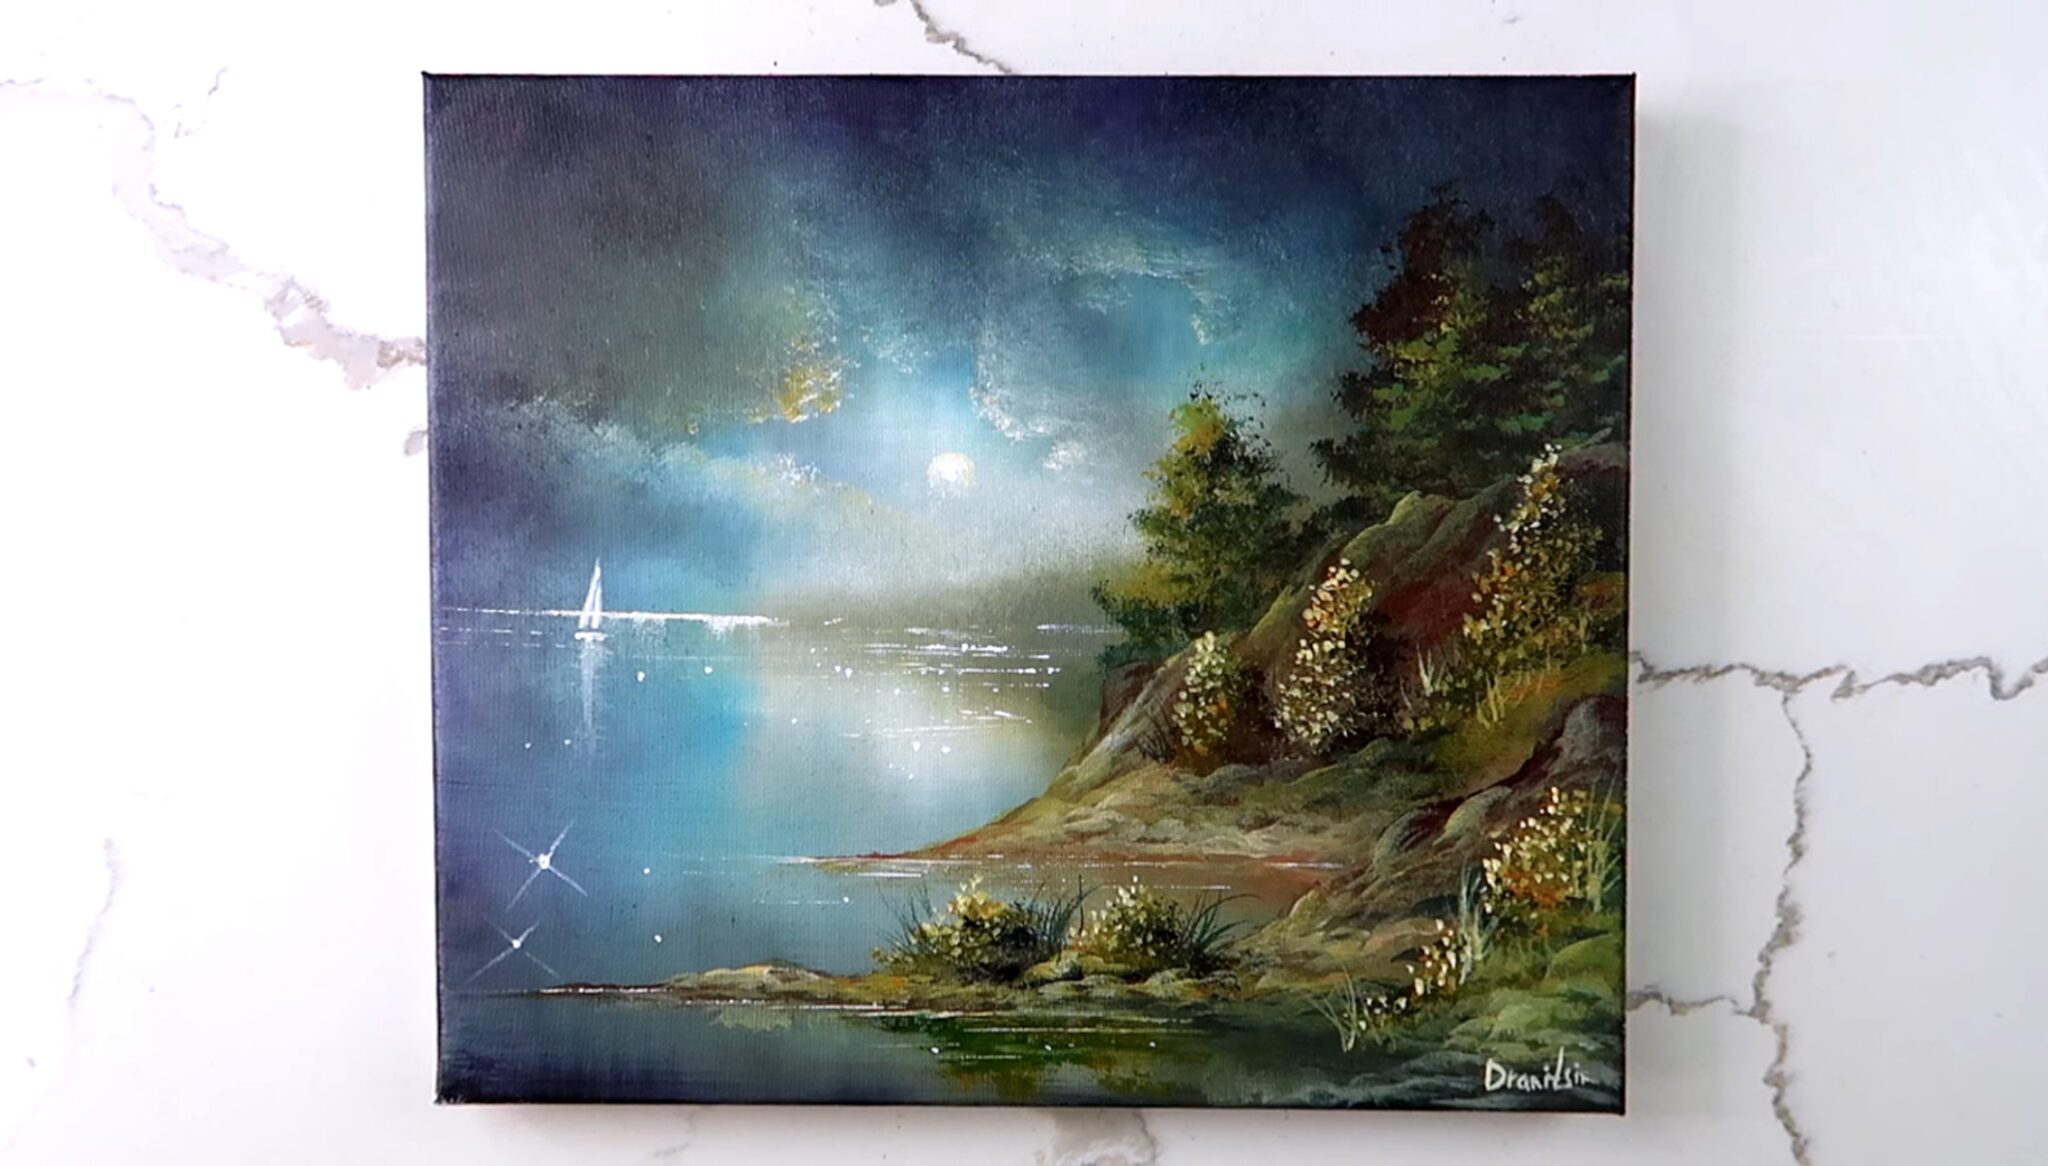
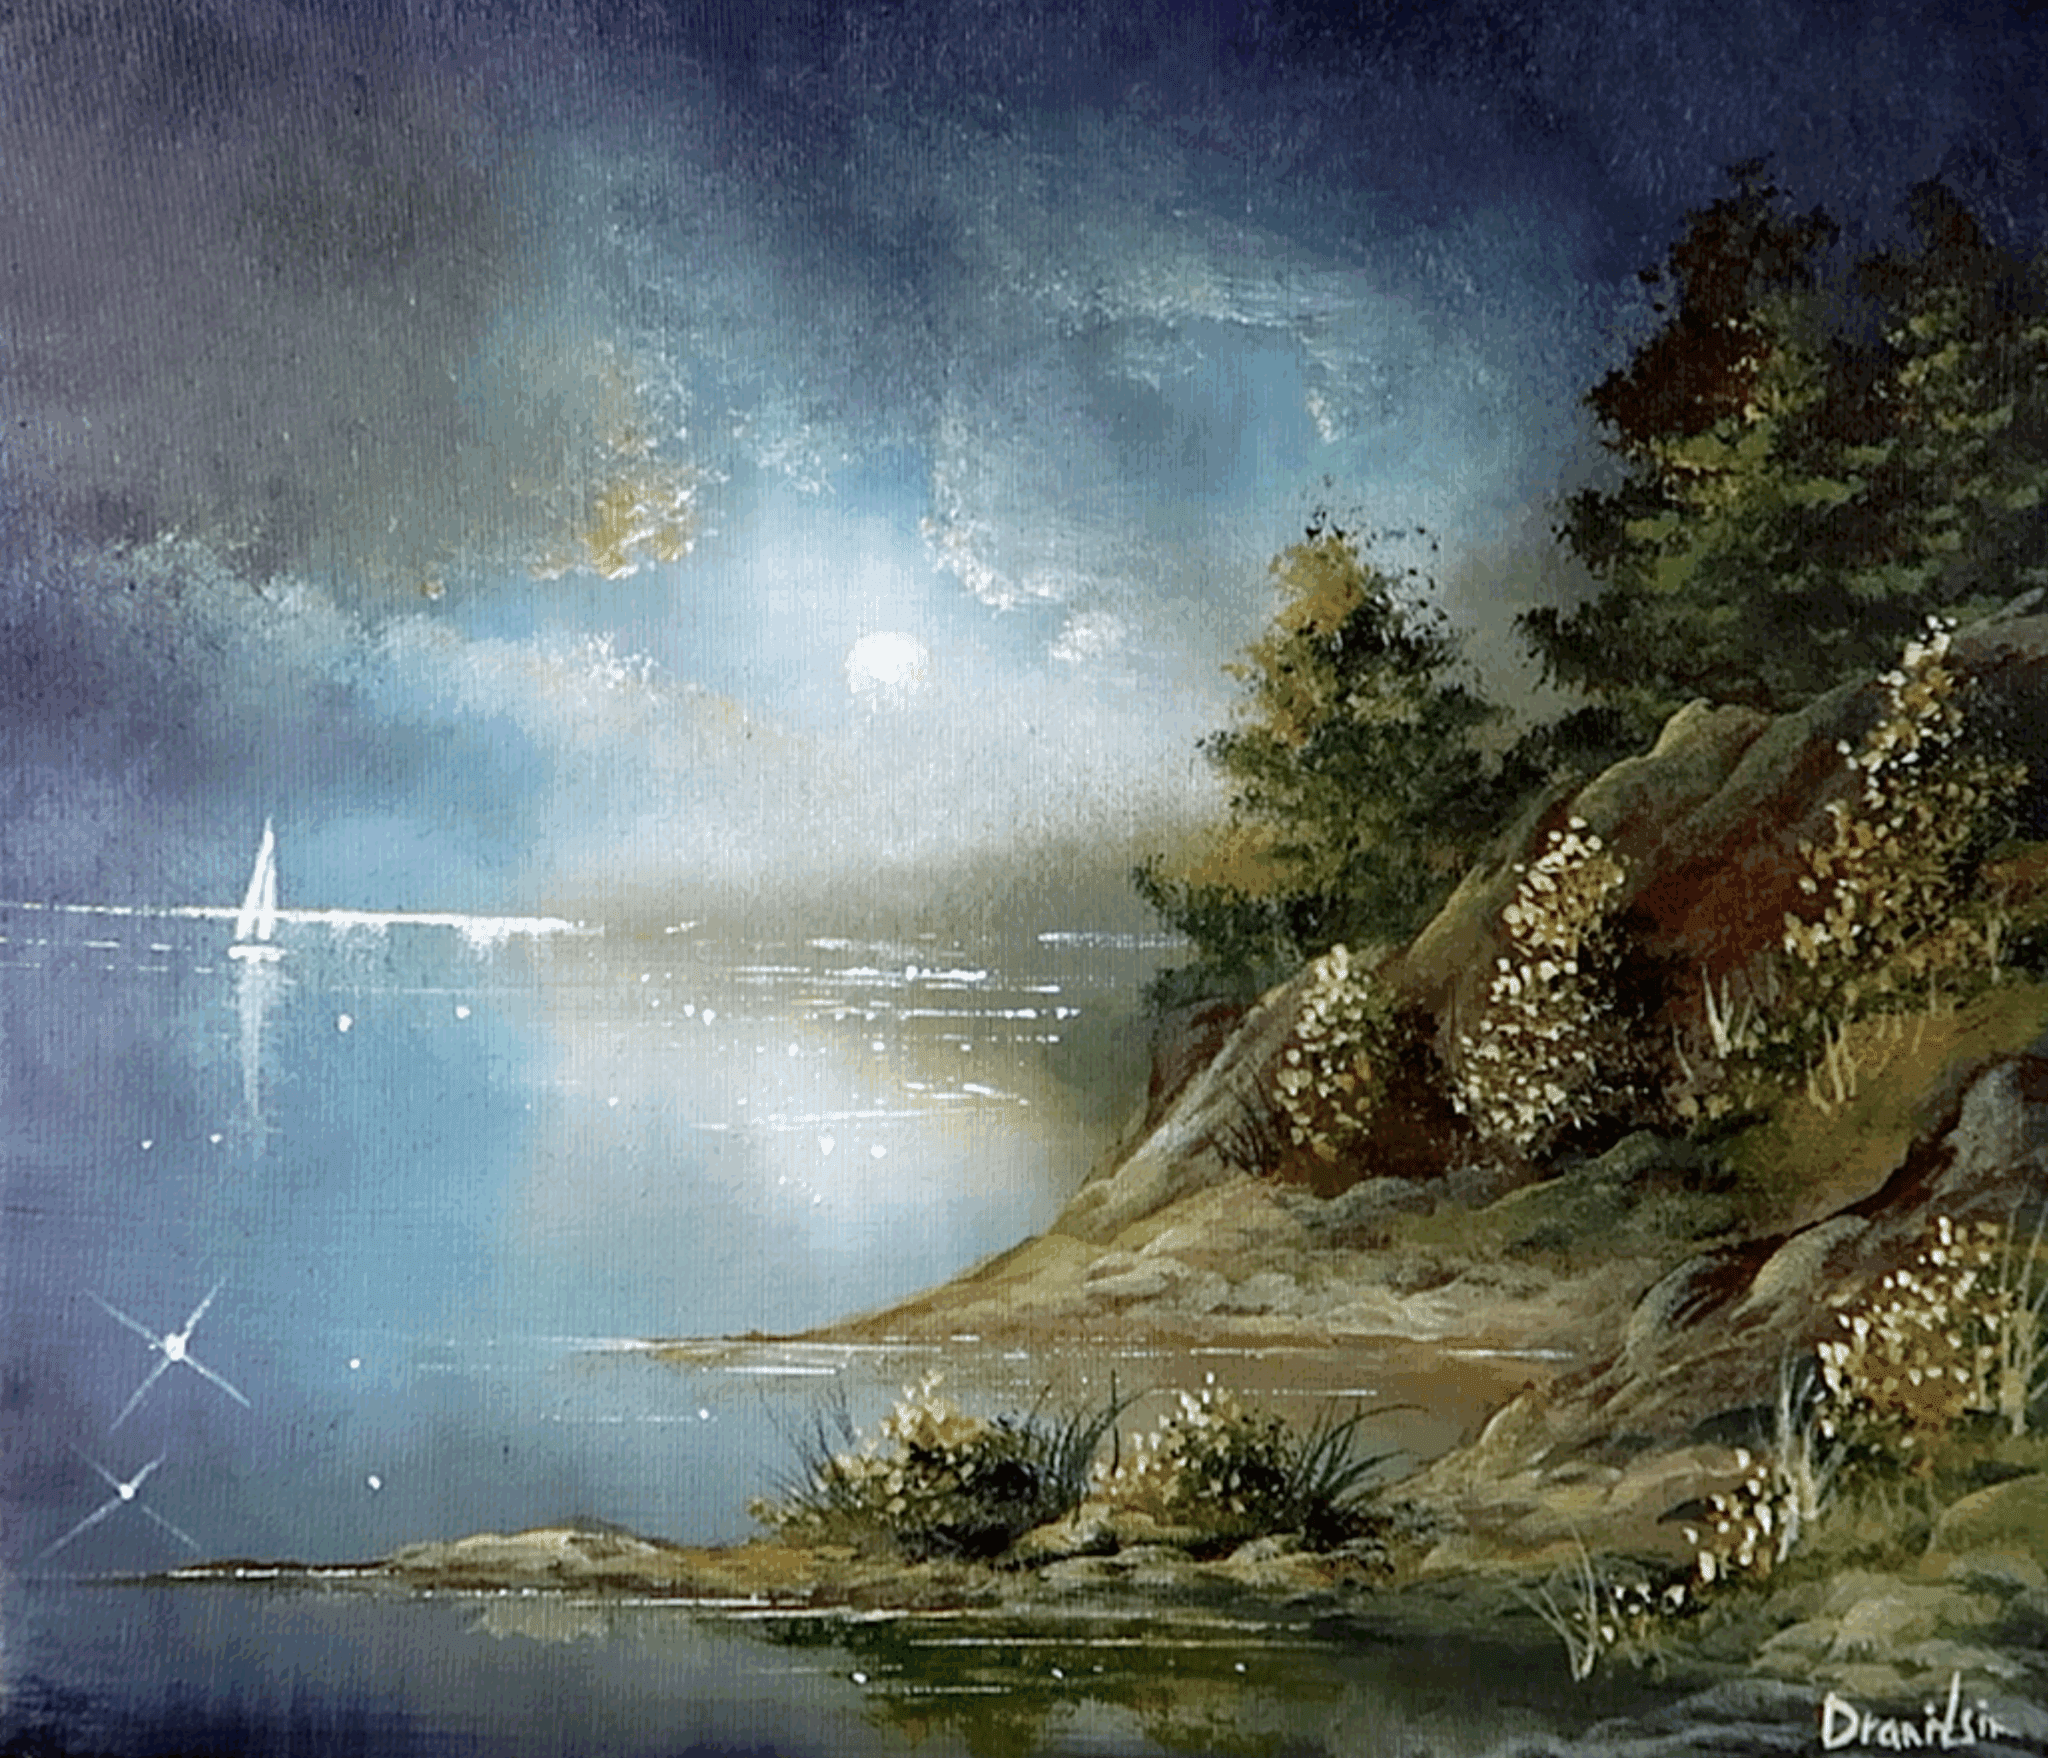
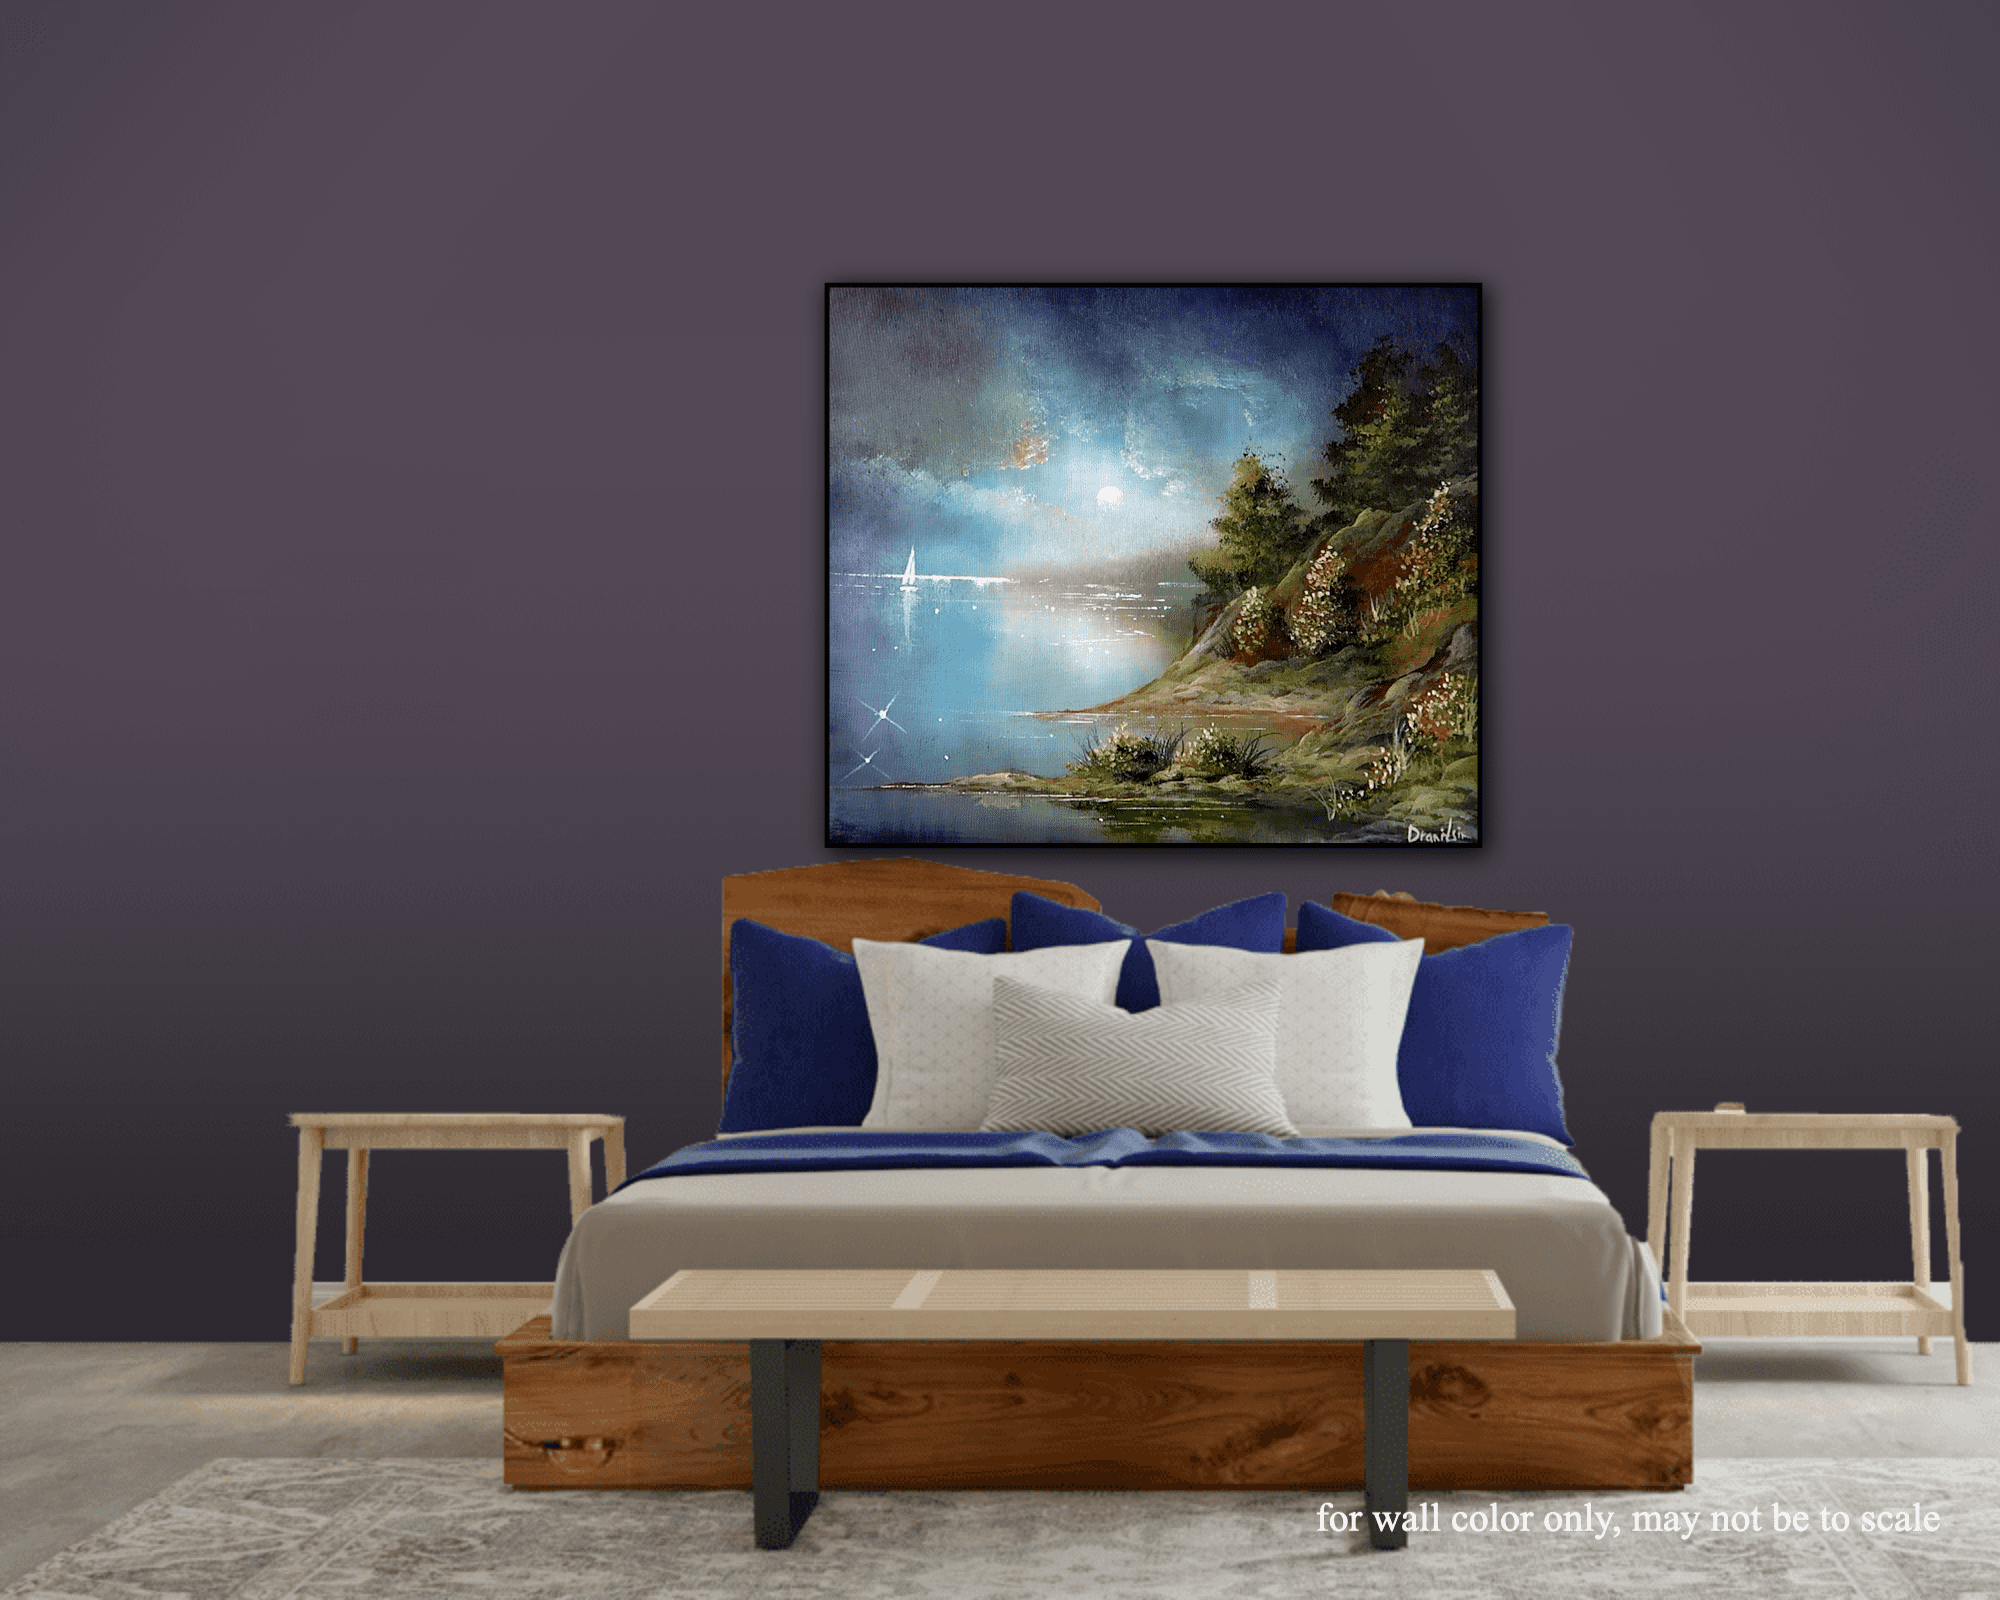
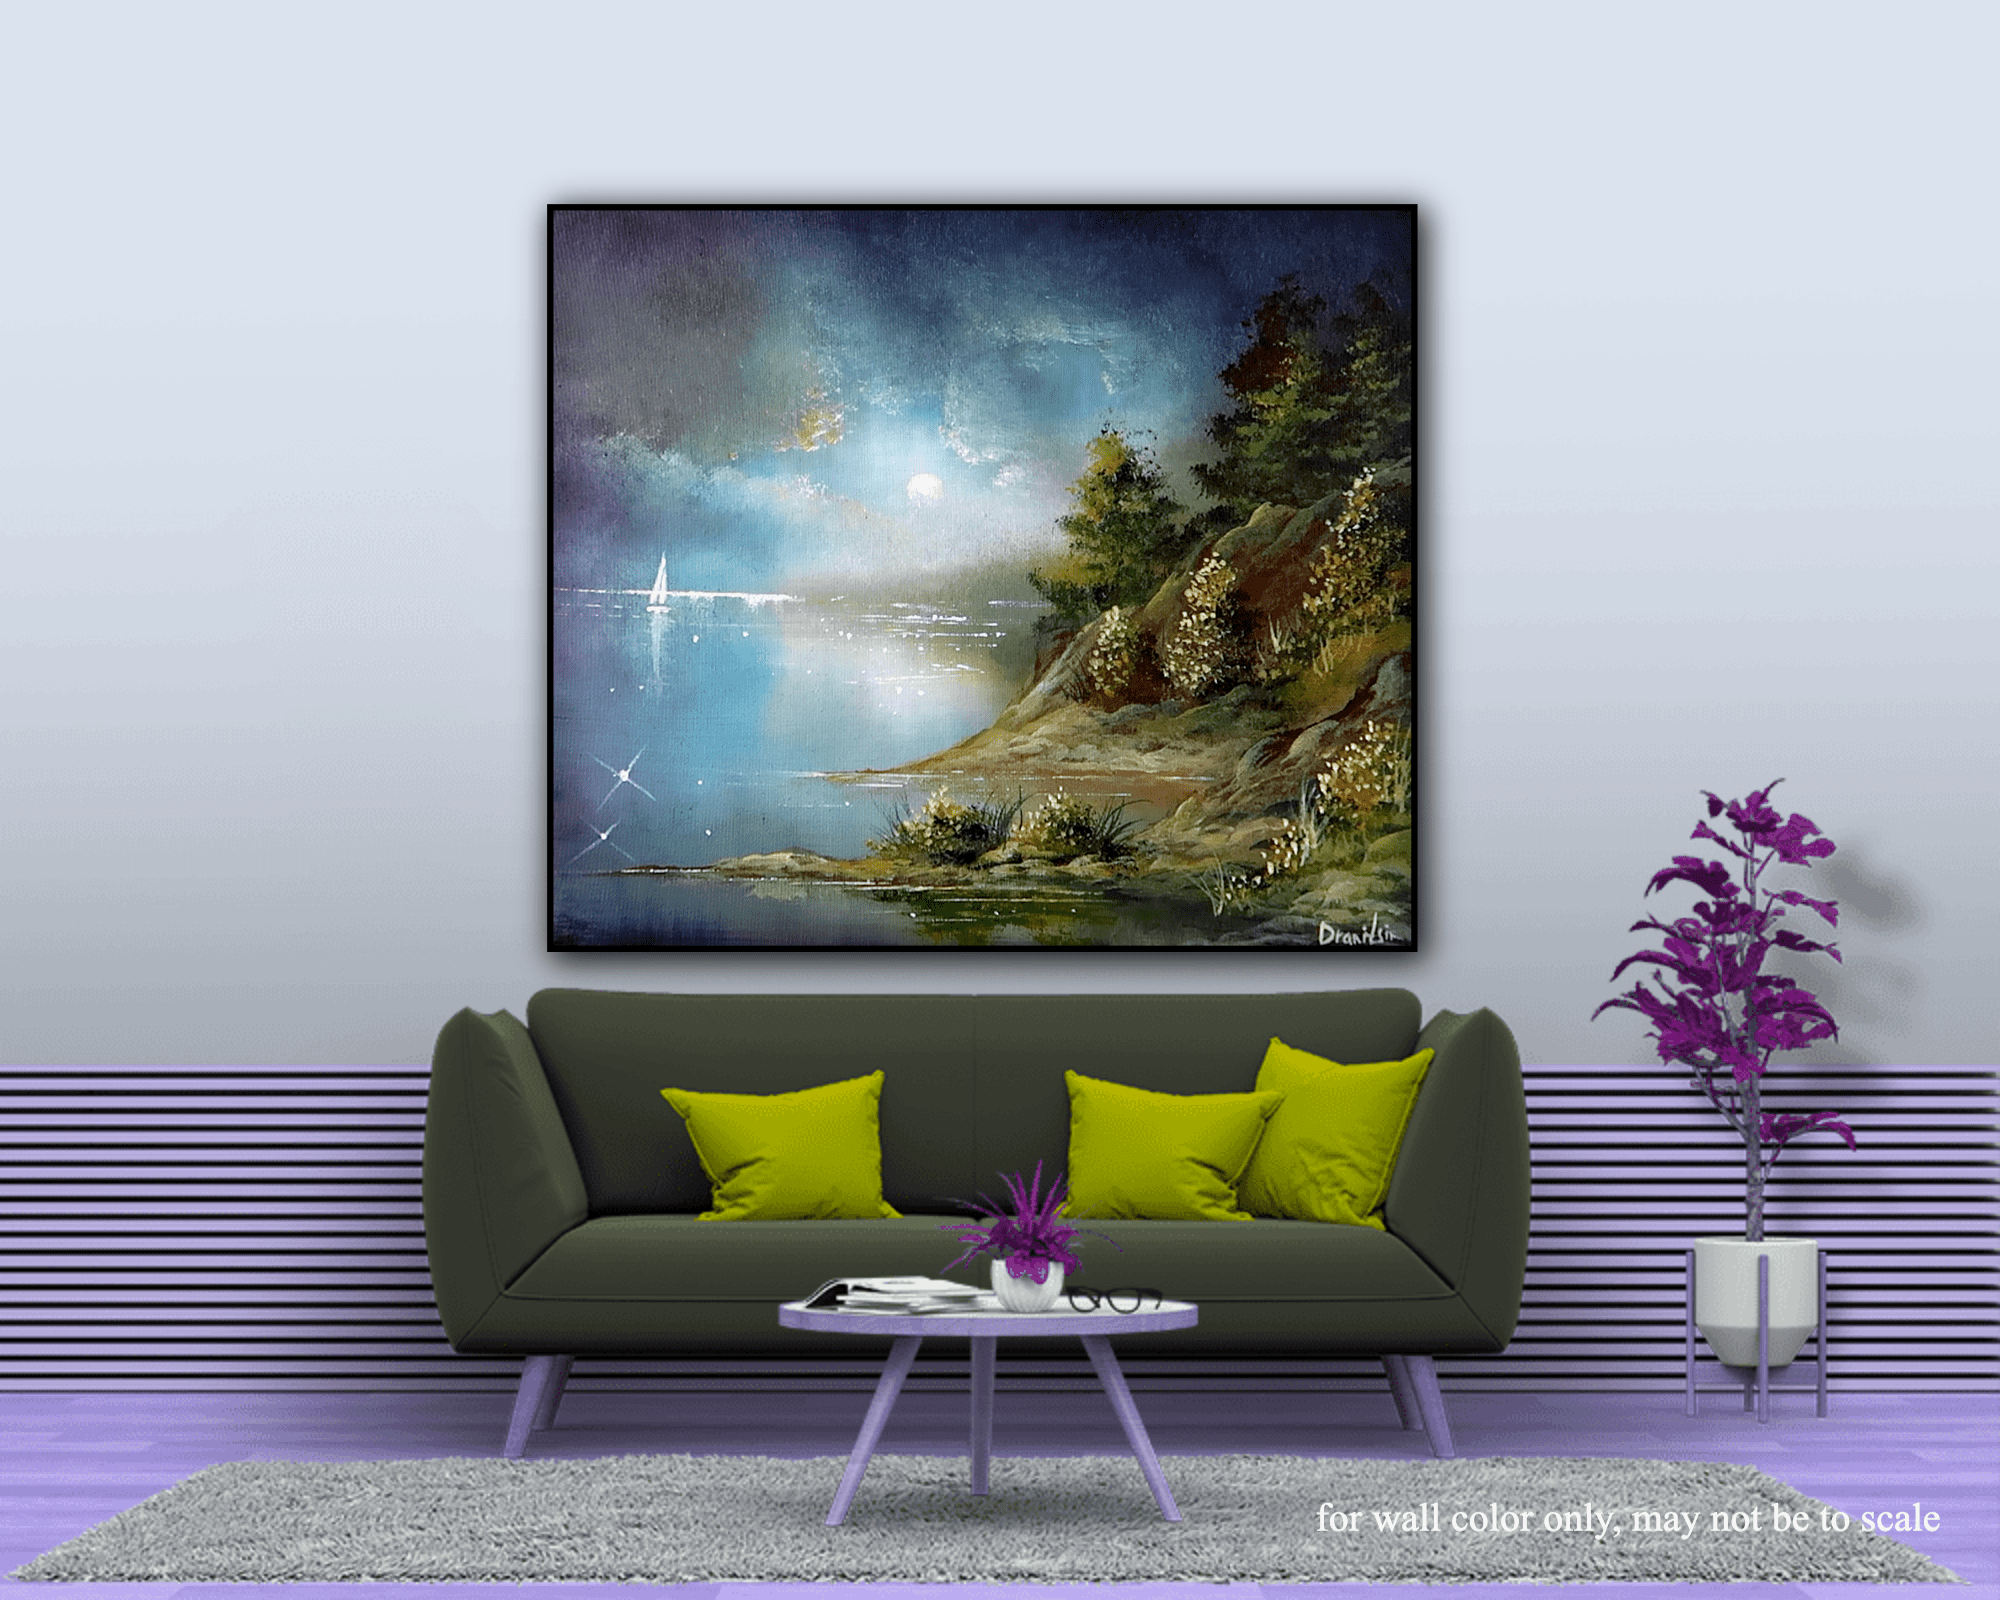
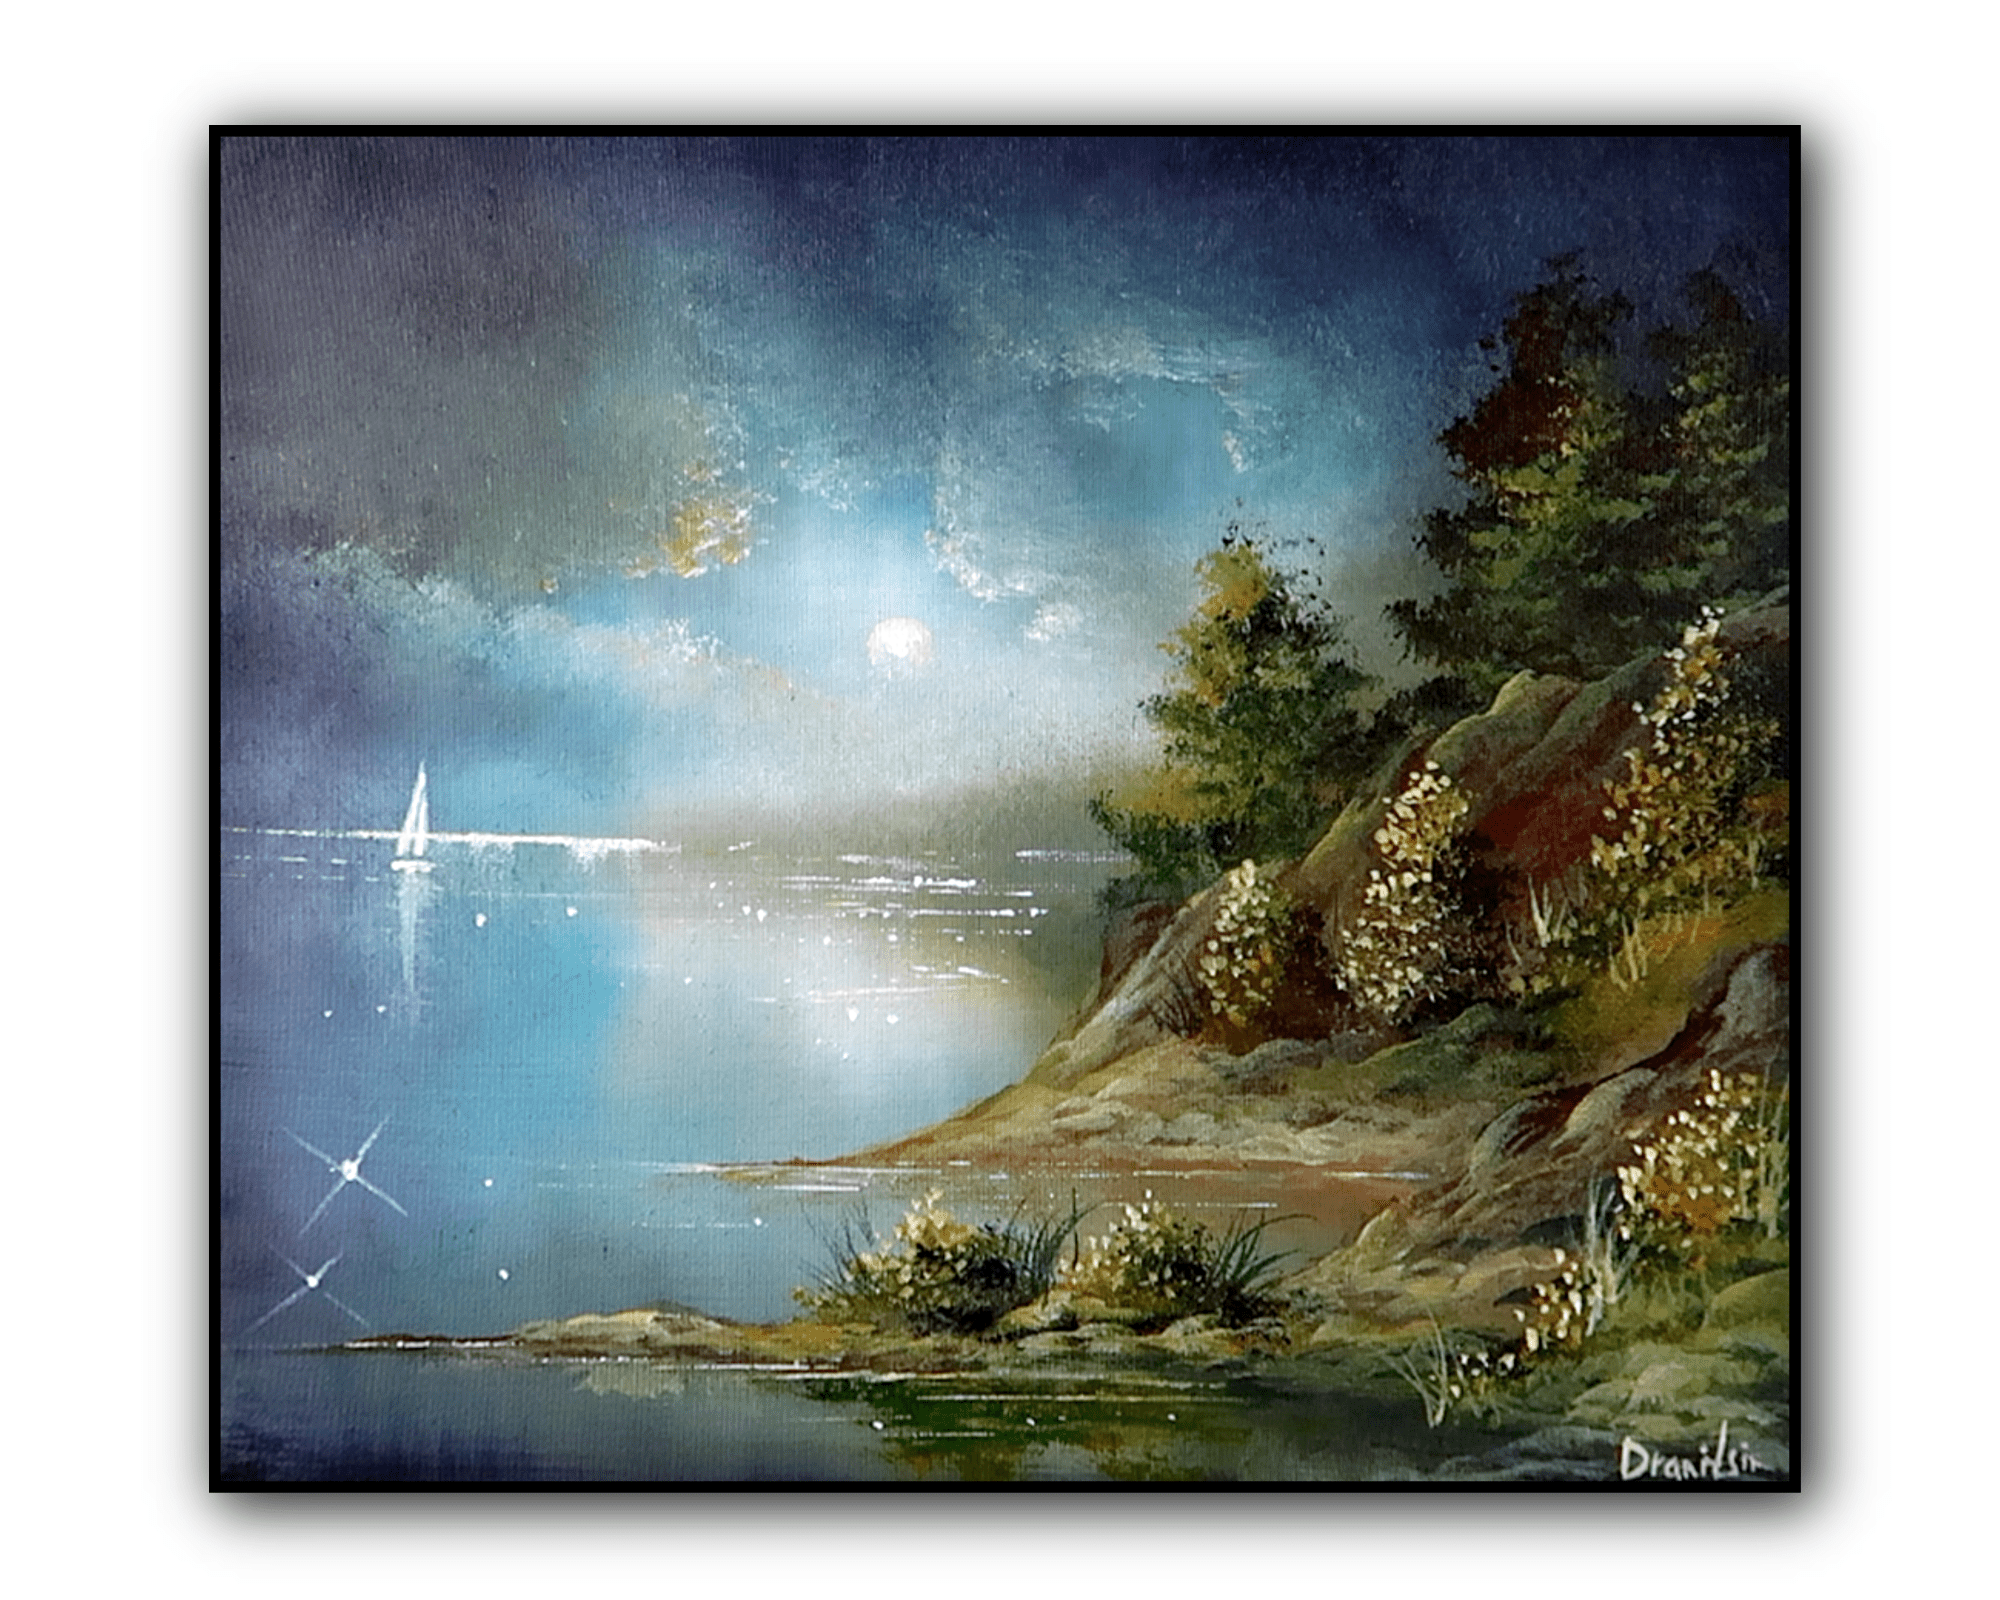
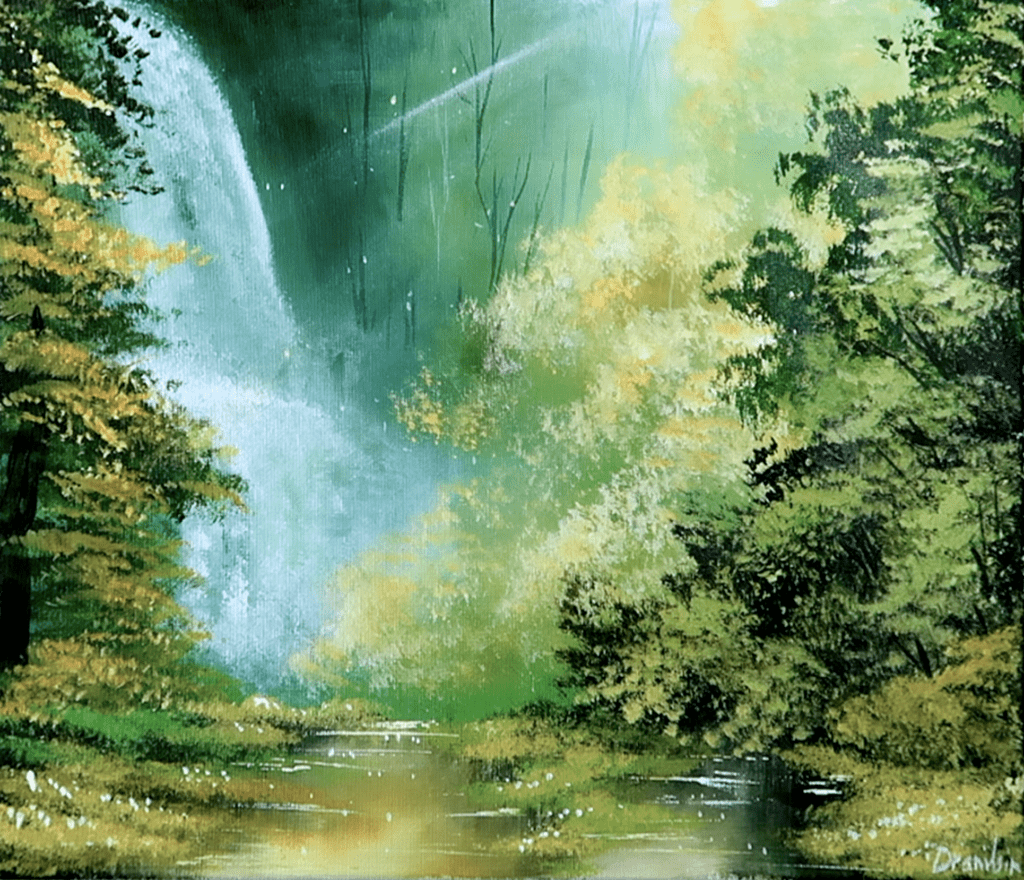
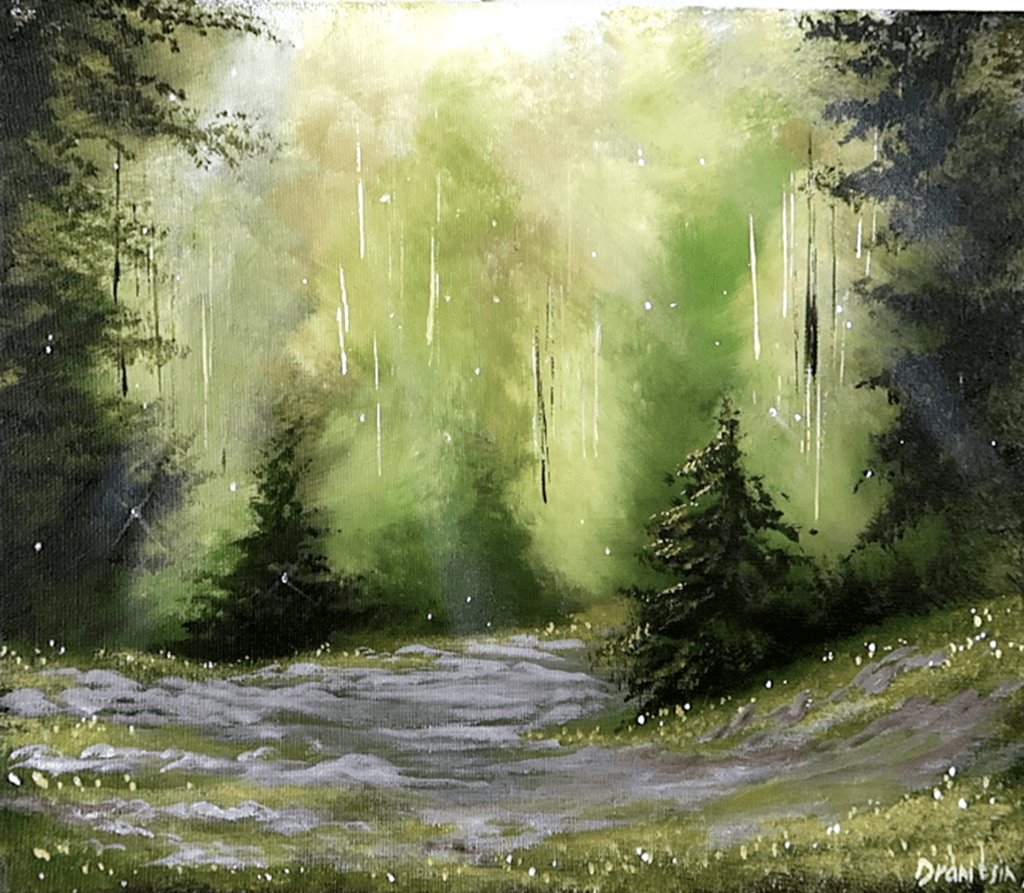
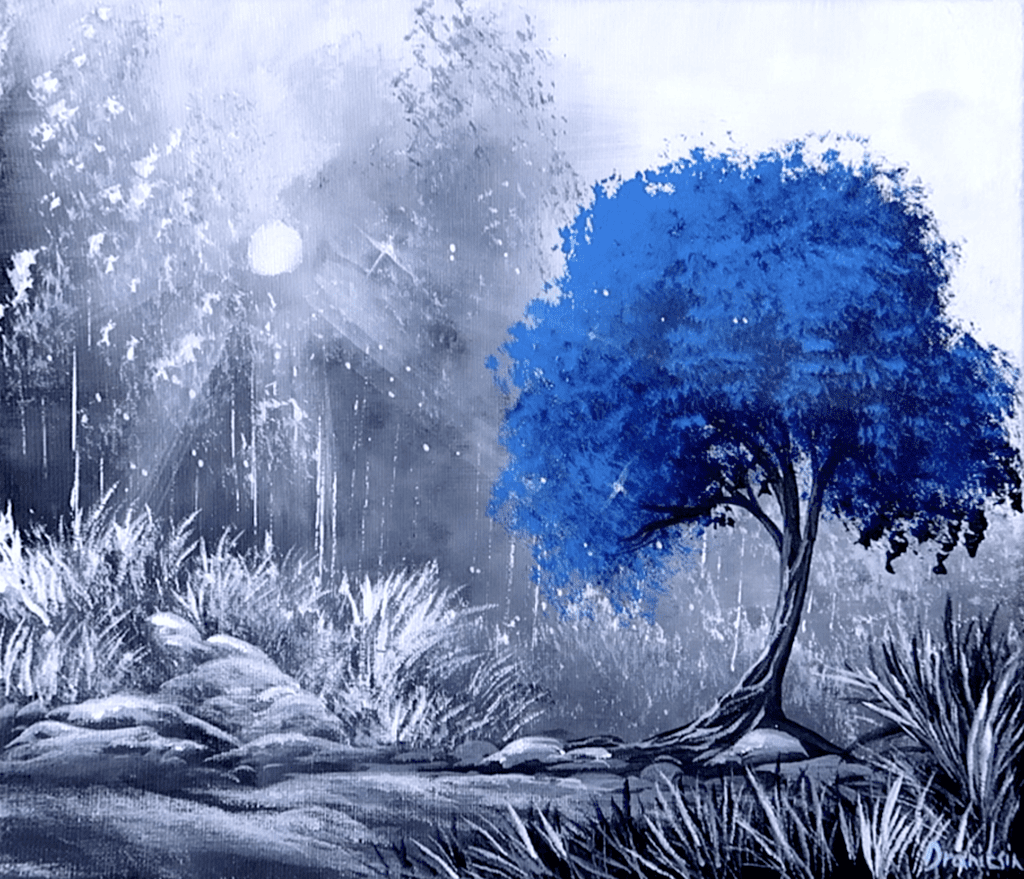
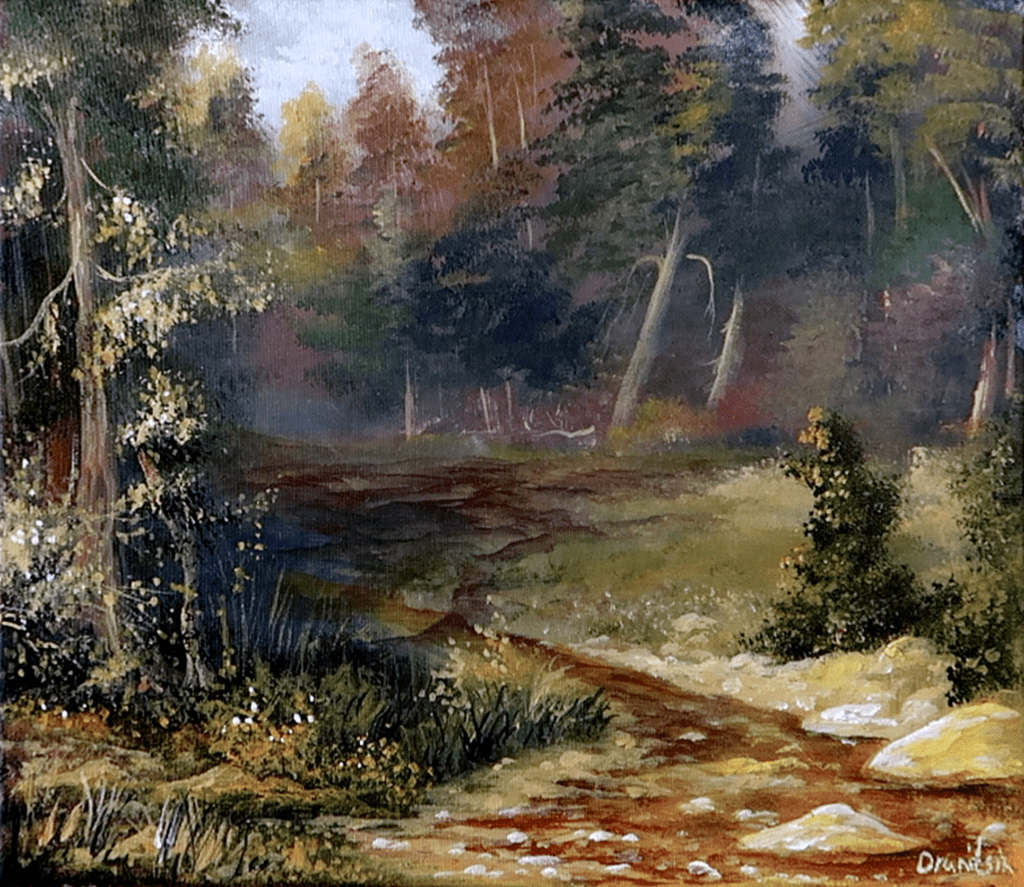
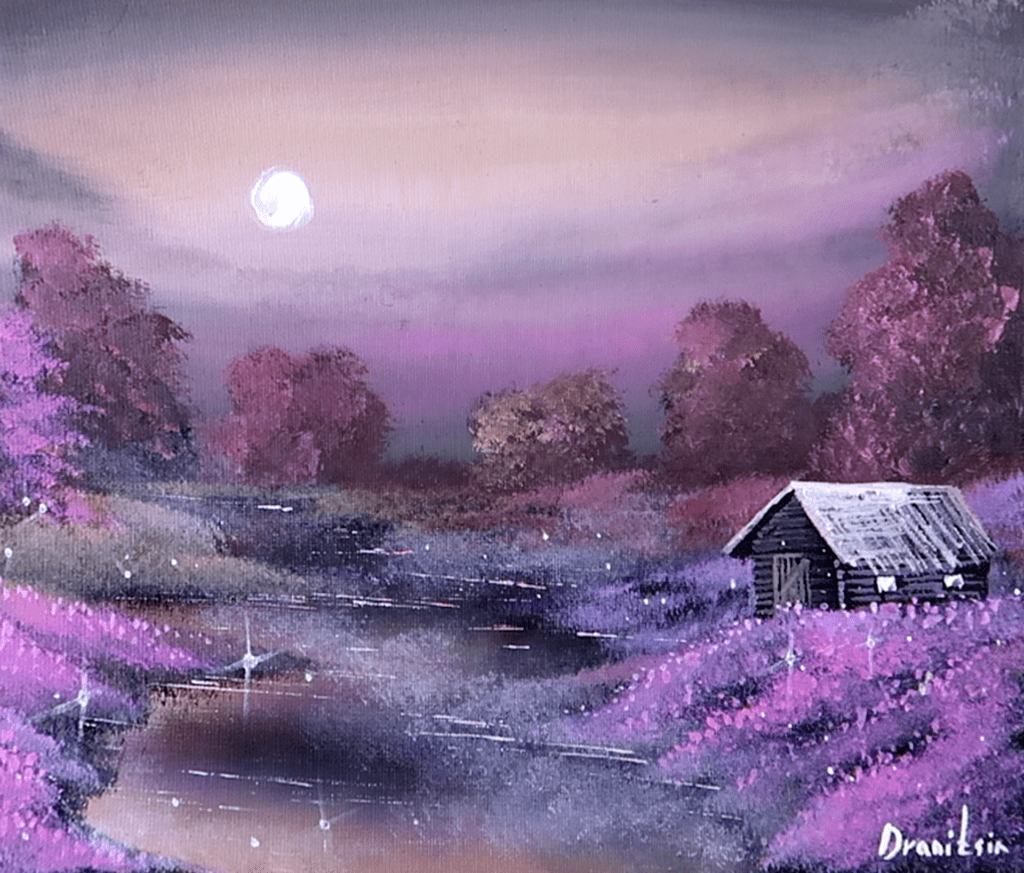
12×14” canvas | Level: Beginner to Intermediate
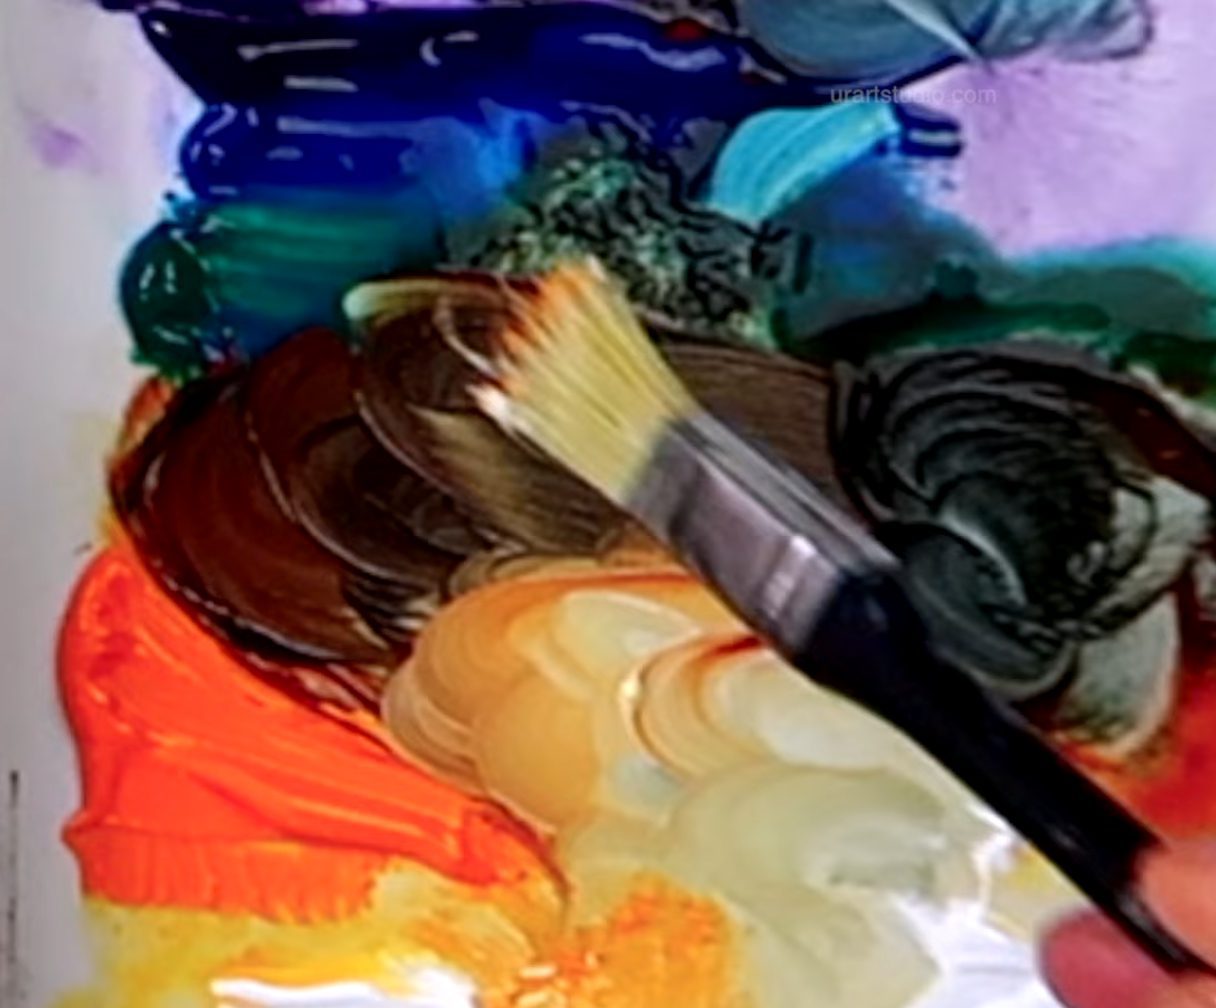
Colors: Black, Violet, Phthalo Blue, Phthalo Green, Burnt Sienna, Indian Yellow, White
Before You Begin
- Prep Your Canvas: Dampen your canvas with clean water using a big soft brush or a mister. This helps acrylics stay workable and makes blending easier.
- Pre-moisten Your Palette: Use a water sprayer or lightly damp paper towel beneath your paint blobs to keep your acrylics from drying too fast.
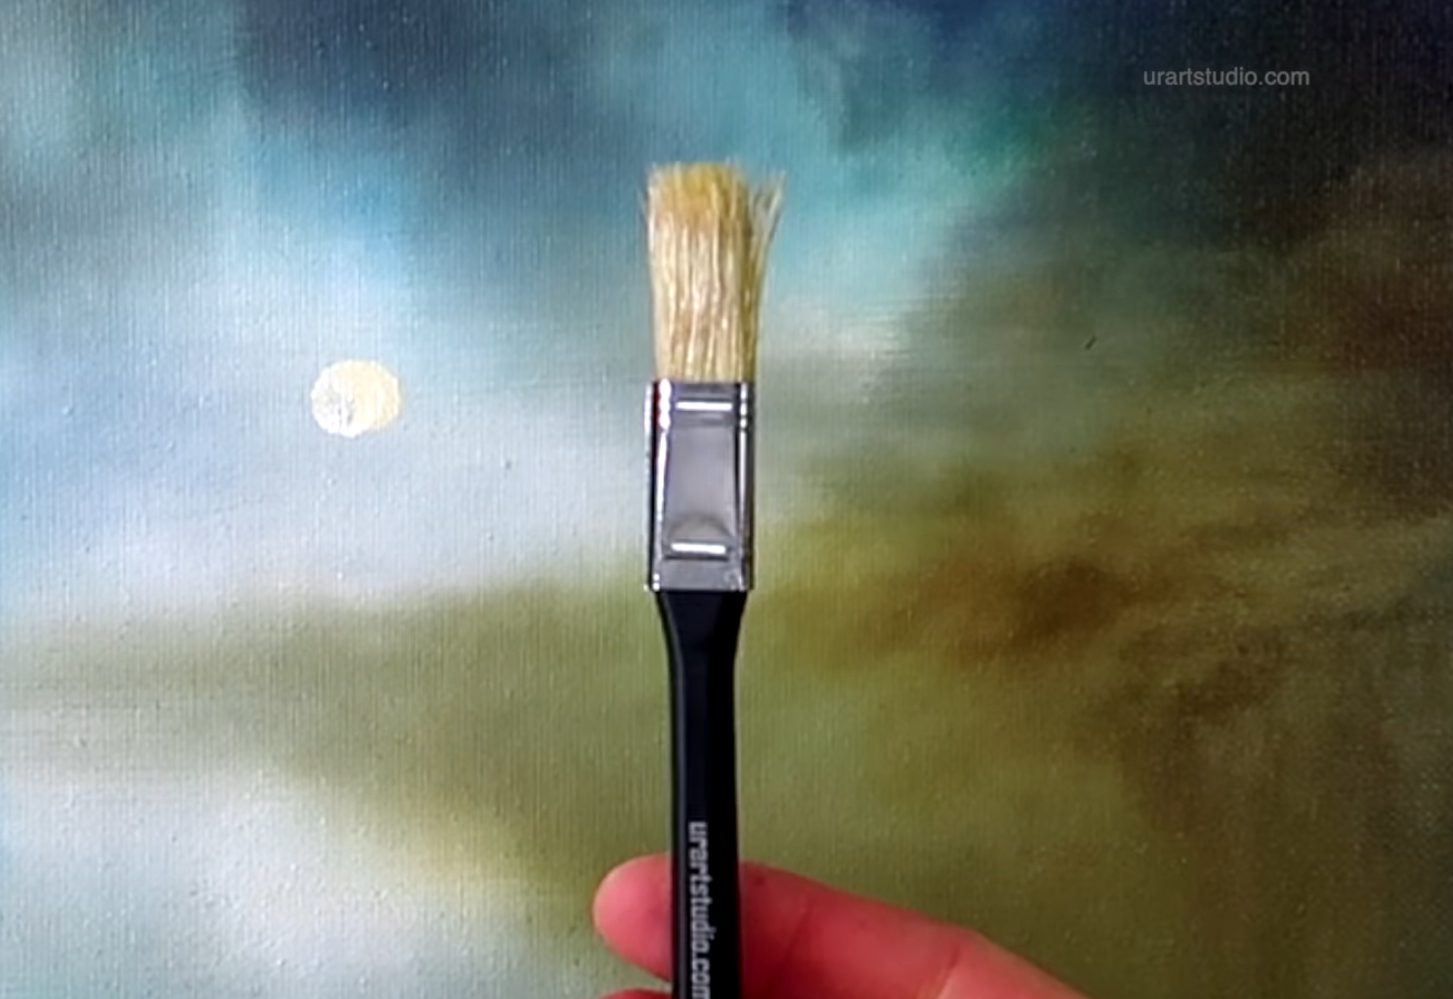
- Keep Tools Ready: Gather a 4” square brush, large oval brush, filbert brush, detailed square and round brushes, ultra-soft blending brush, palette knife, liner brush, and clean towels for wiping.
Essential Painting Tools
- 4” Square Brush – For large area coverage and blending backgrounds.
- Large Oval Brush – Useful for soft blending and creating smooth transitions.
- Filbert Brush – Great for softer edges and blending landforms and highlights.
- Detail Square Brush – For adding precise highlights, details, and cloudwork.
- Round Brush – Perfect for painting tree silhouettes and organic shapes.
- Ultra-Soft Blending Brush – For final blending and smoothing out brush strokes.
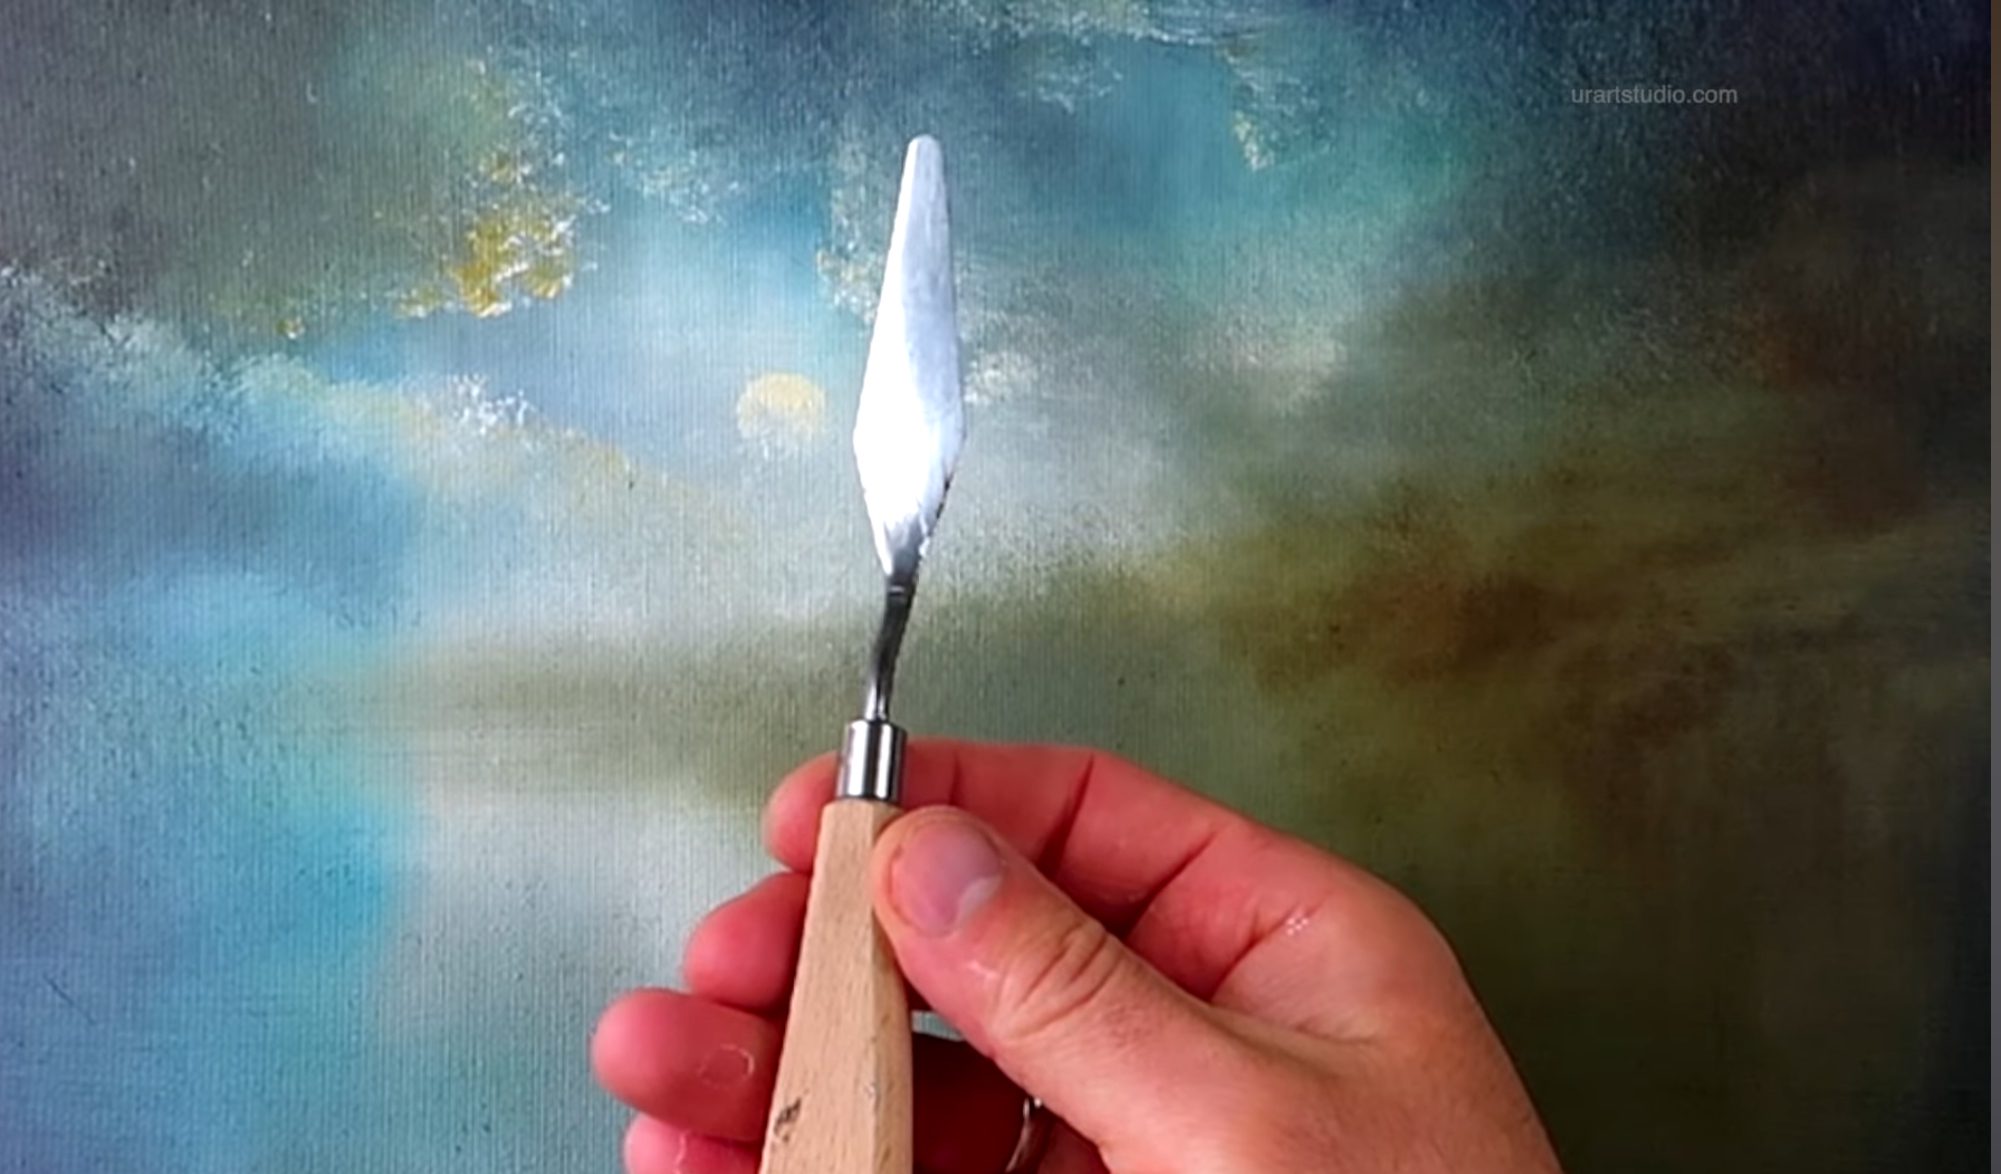
- Palette Knife – Ideal for adding sparkling effects and creating crisp edges, especially in the water.
- Liner Brush – Best for detailing, such as thin grass and finishing sparkles.
- Clean Towels or Paper Towels – For wiping brushes and removing excess moisture or paint during blending.
Be sure to also have a water container for rinsing brushes and a palette for mixing your paints. Happy Painting!

- Miscellaneous:
- Palette (for mixing paints).
- Water container (for rinsing brushes).
- Paper towels (for wiping excess paint).
- Hairdryer or heat gun (optional, for speeding up drying).
Step-by-Step Instructions:
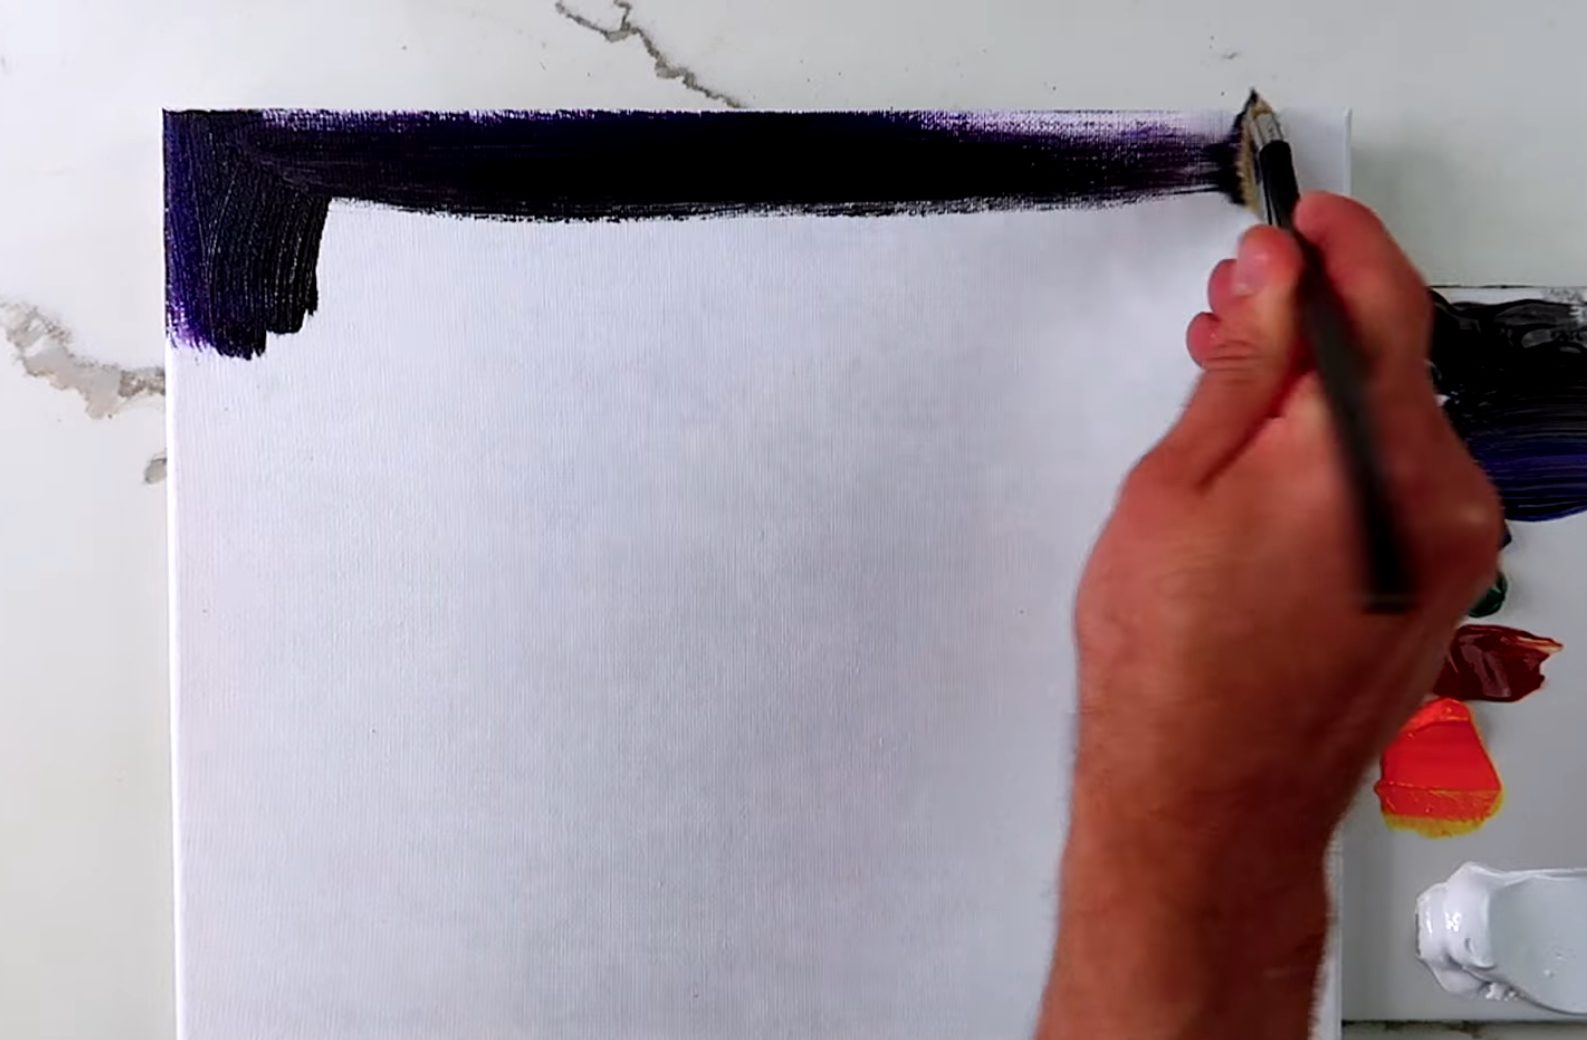
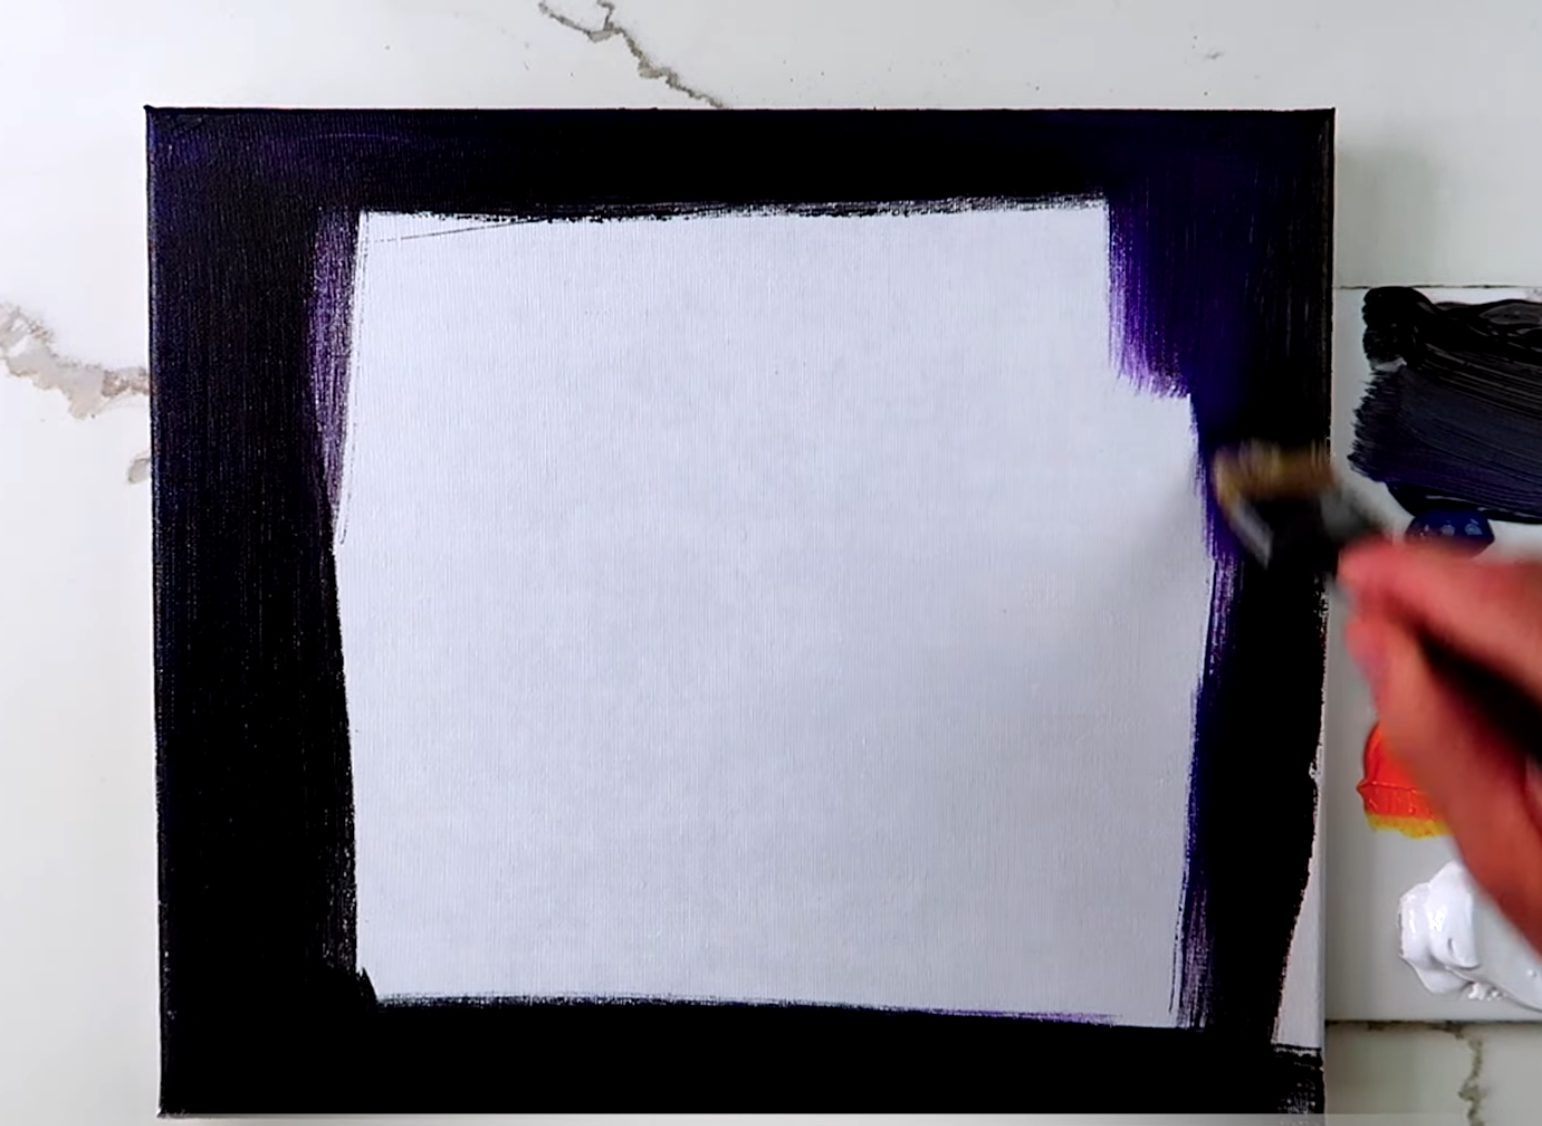
Step 1: Build the Night Sky Base
Tools: 4” Square Brush
Colors: Black, Violet, Phthalo Blue, Phthalo Green
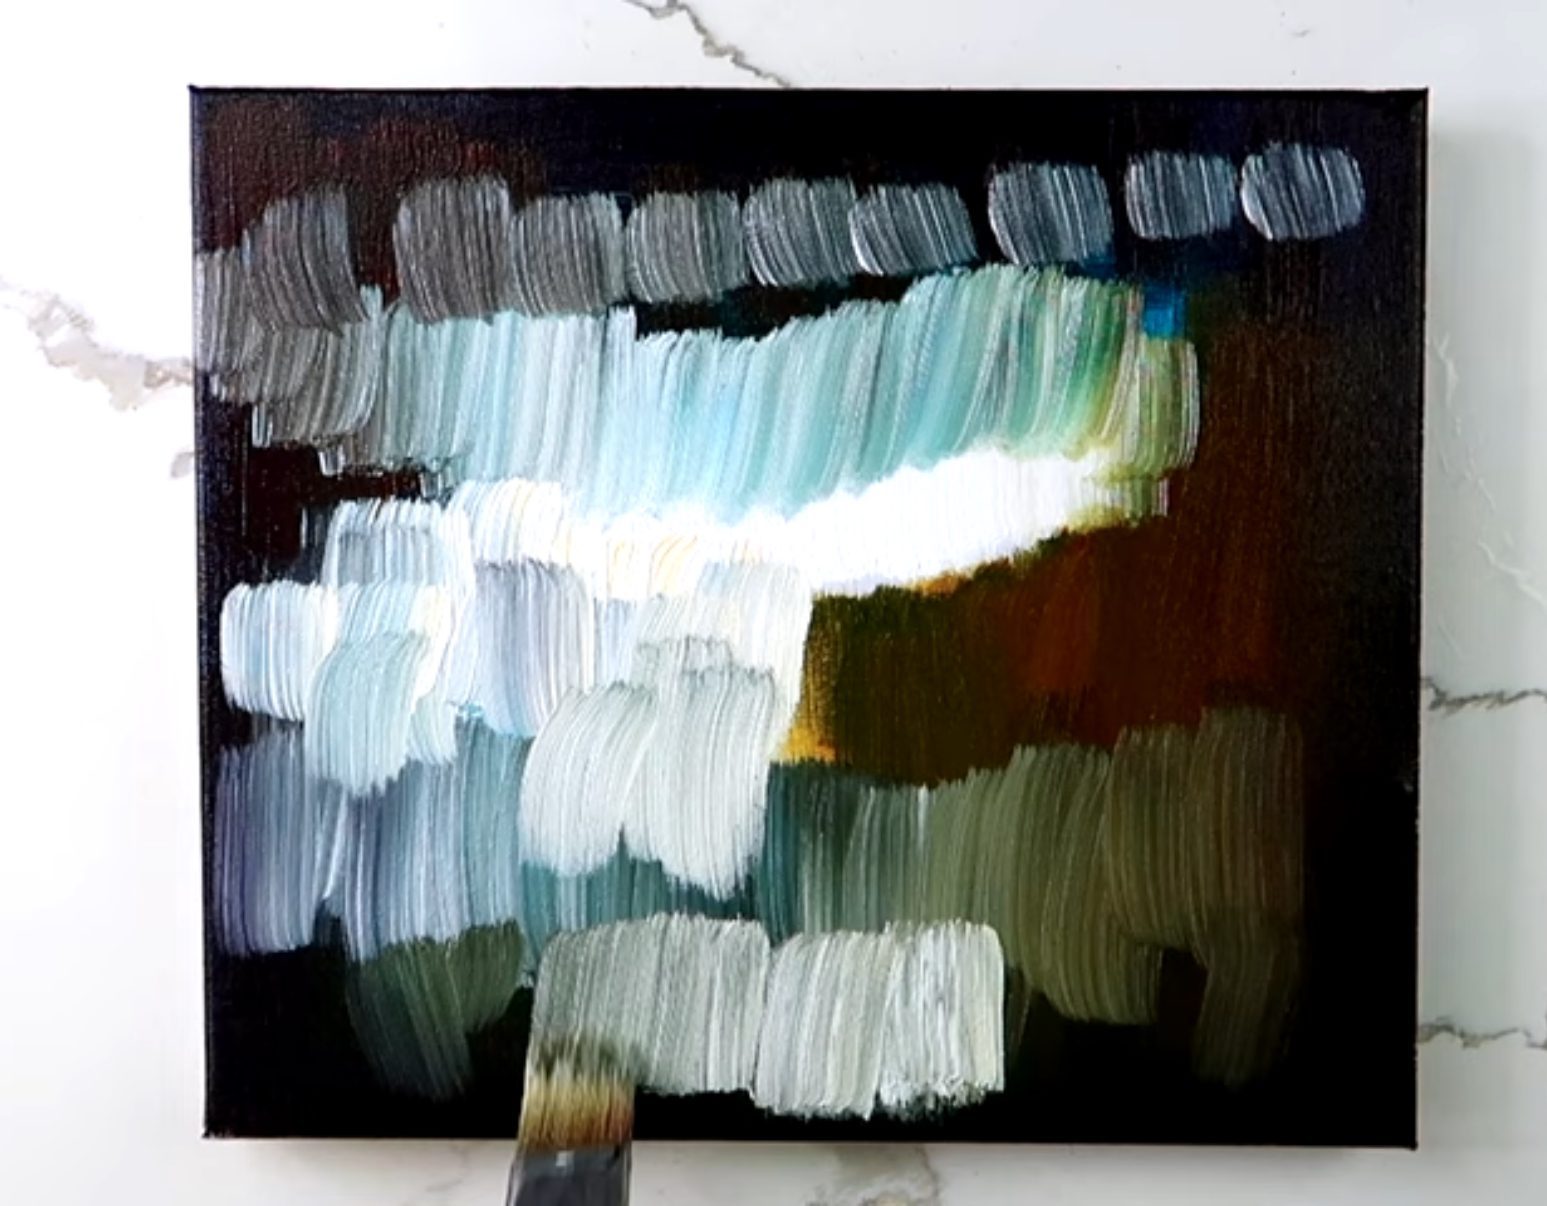
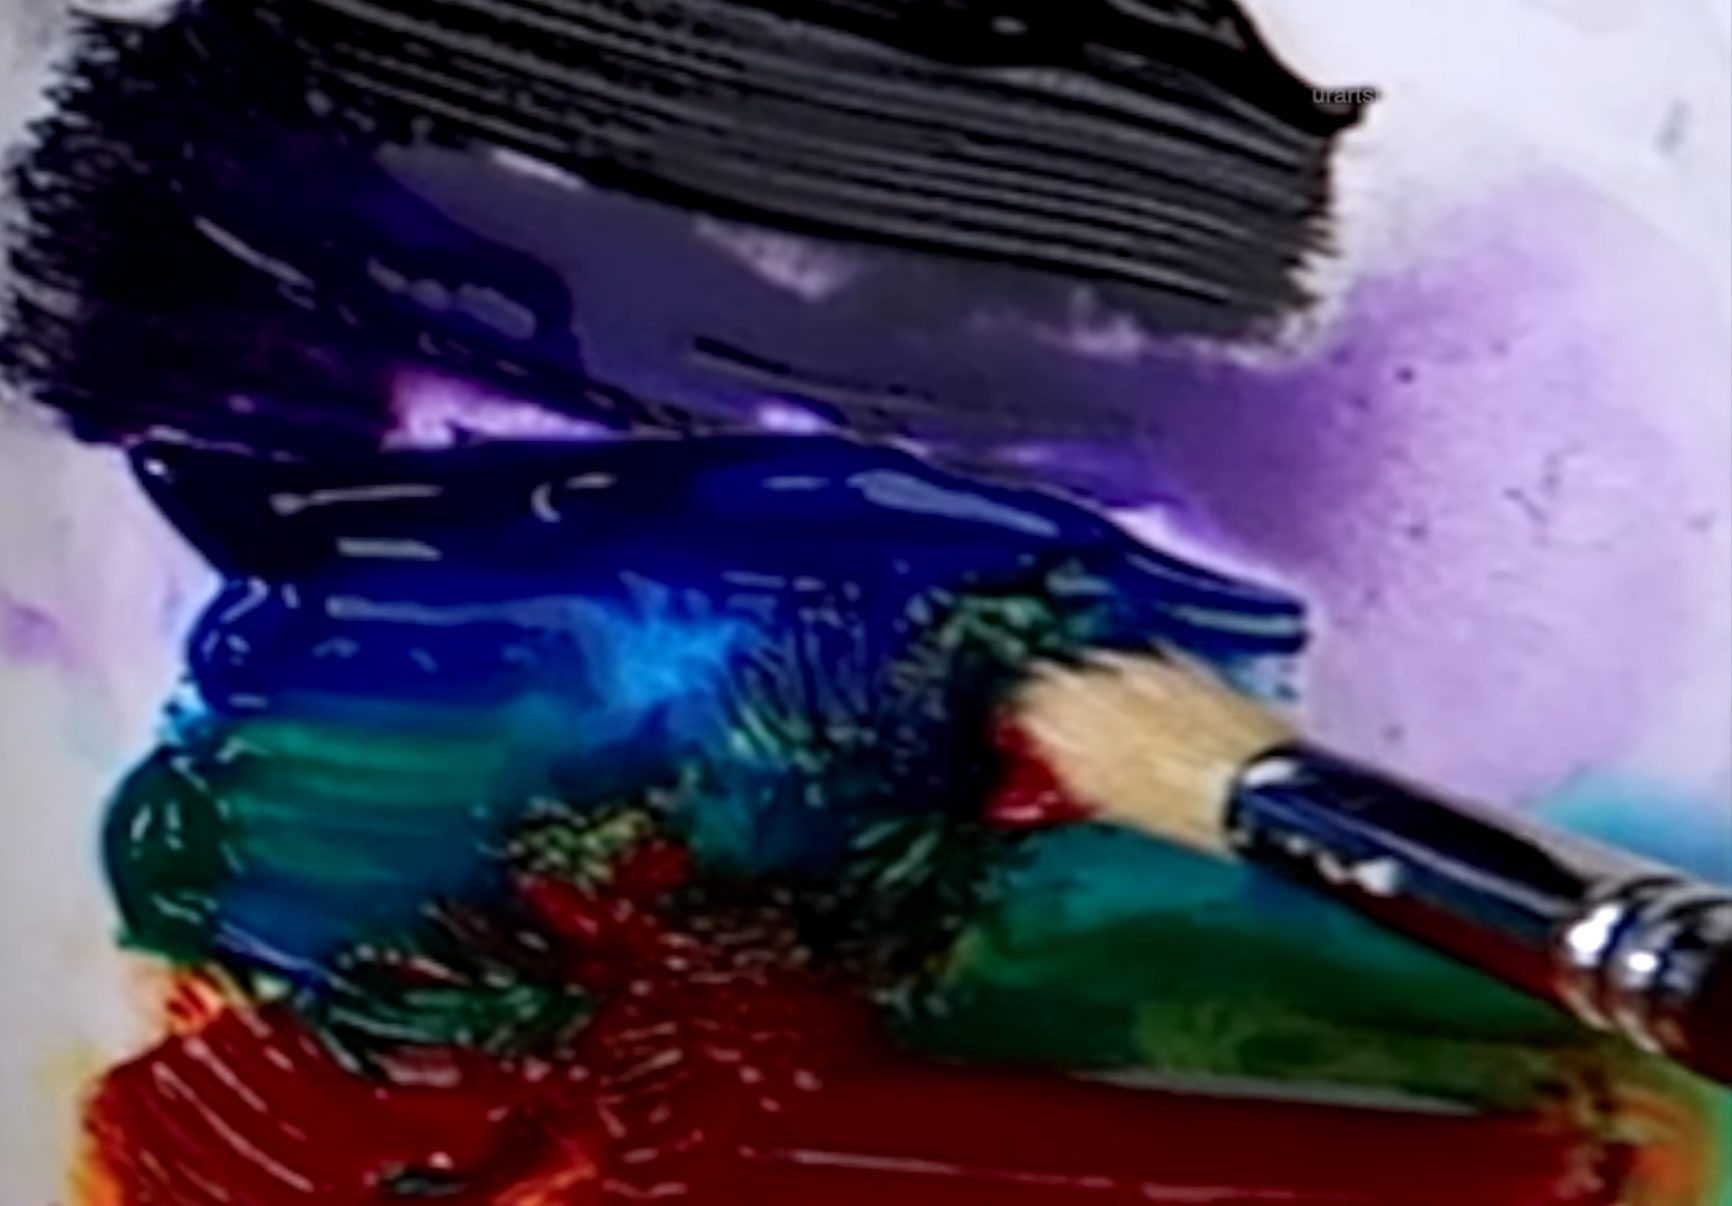
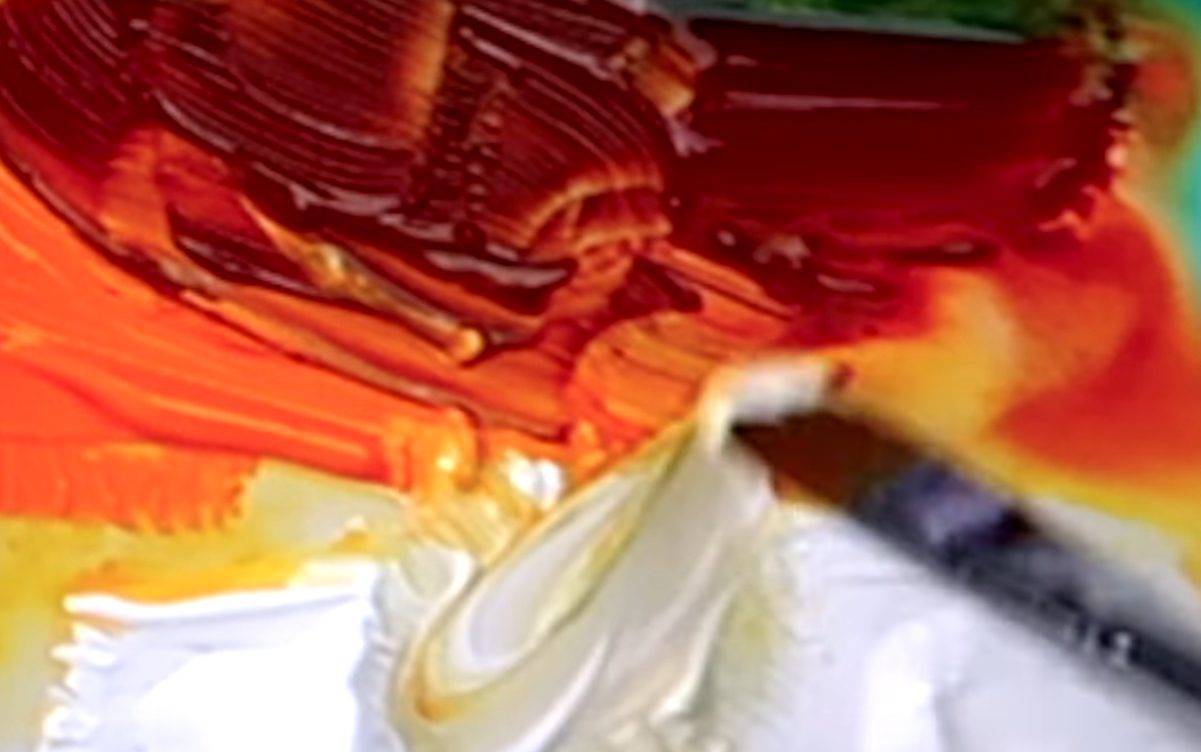
- Mix Black + Violet: Load your number 4 big square brush and gently sweep color around the entire perimeter of the canvas with broad strokes. Don’t worry about neatness—this is your dramatic night border!
- Add Phthalo Blue + Green: Wipe your brush, dip in these colors, and brush between the dark edges and the canvas center. Blend gently; let these vibrant hues show hints of color beneath the moonlight.
Motivation Tip: Let go of perfection! These big sweeps are the foundation. Your magic starts here.


Step 2: Land & Touches of Warmth
Tools: Clean 4” Square Brush
Colors: Burnt Sienna, Indian Yellow
- With a clean brush, sweep burnt sienna and Indian yellow in the spots where the land will go—typically the lower right for the foreground and a little in the left upper sky for atmospheric warmth.
- These small touches create contrast and warmth, setting your landscape apart.


Step 3: Create the Moonlit Center
Colors: White
- Wipe your brush well, then load up with soft, pure white. Start at the very center (where you imagine your moon’s glow). Feather white outwards, blending gently with the surrounding wet paint—don’t reach the perimeter; keep the border dark for drama.
- As you blend, your colors should glow from the center, hinting at magical moonlight bursting through clouds.

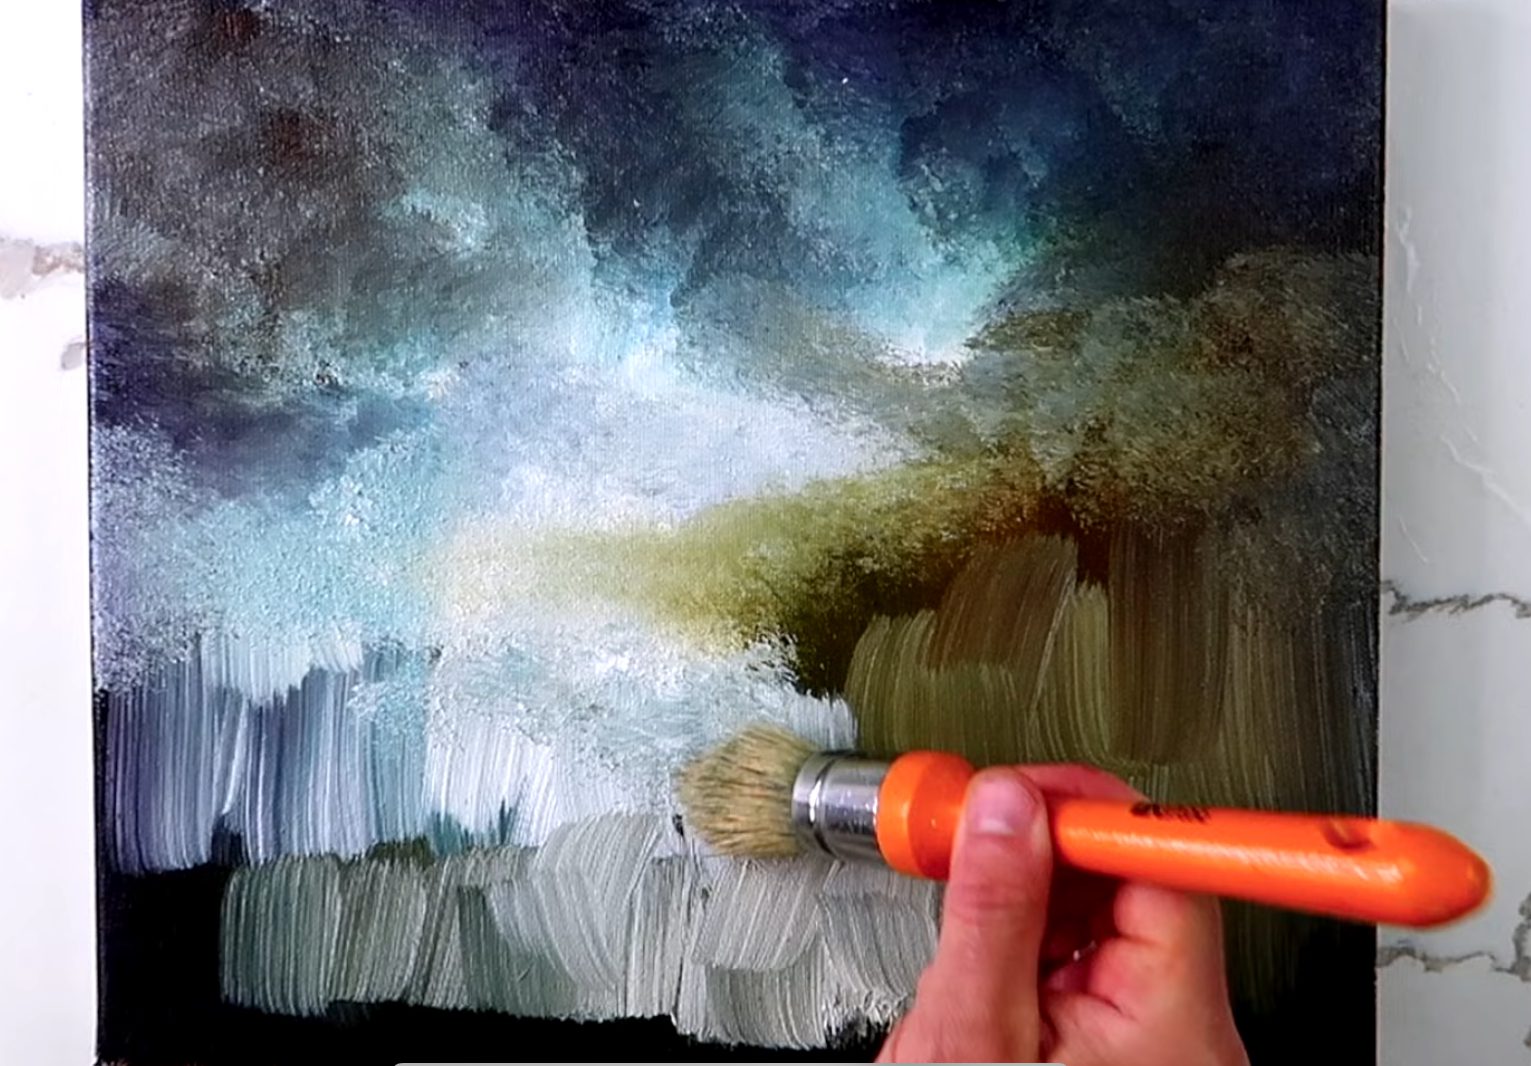
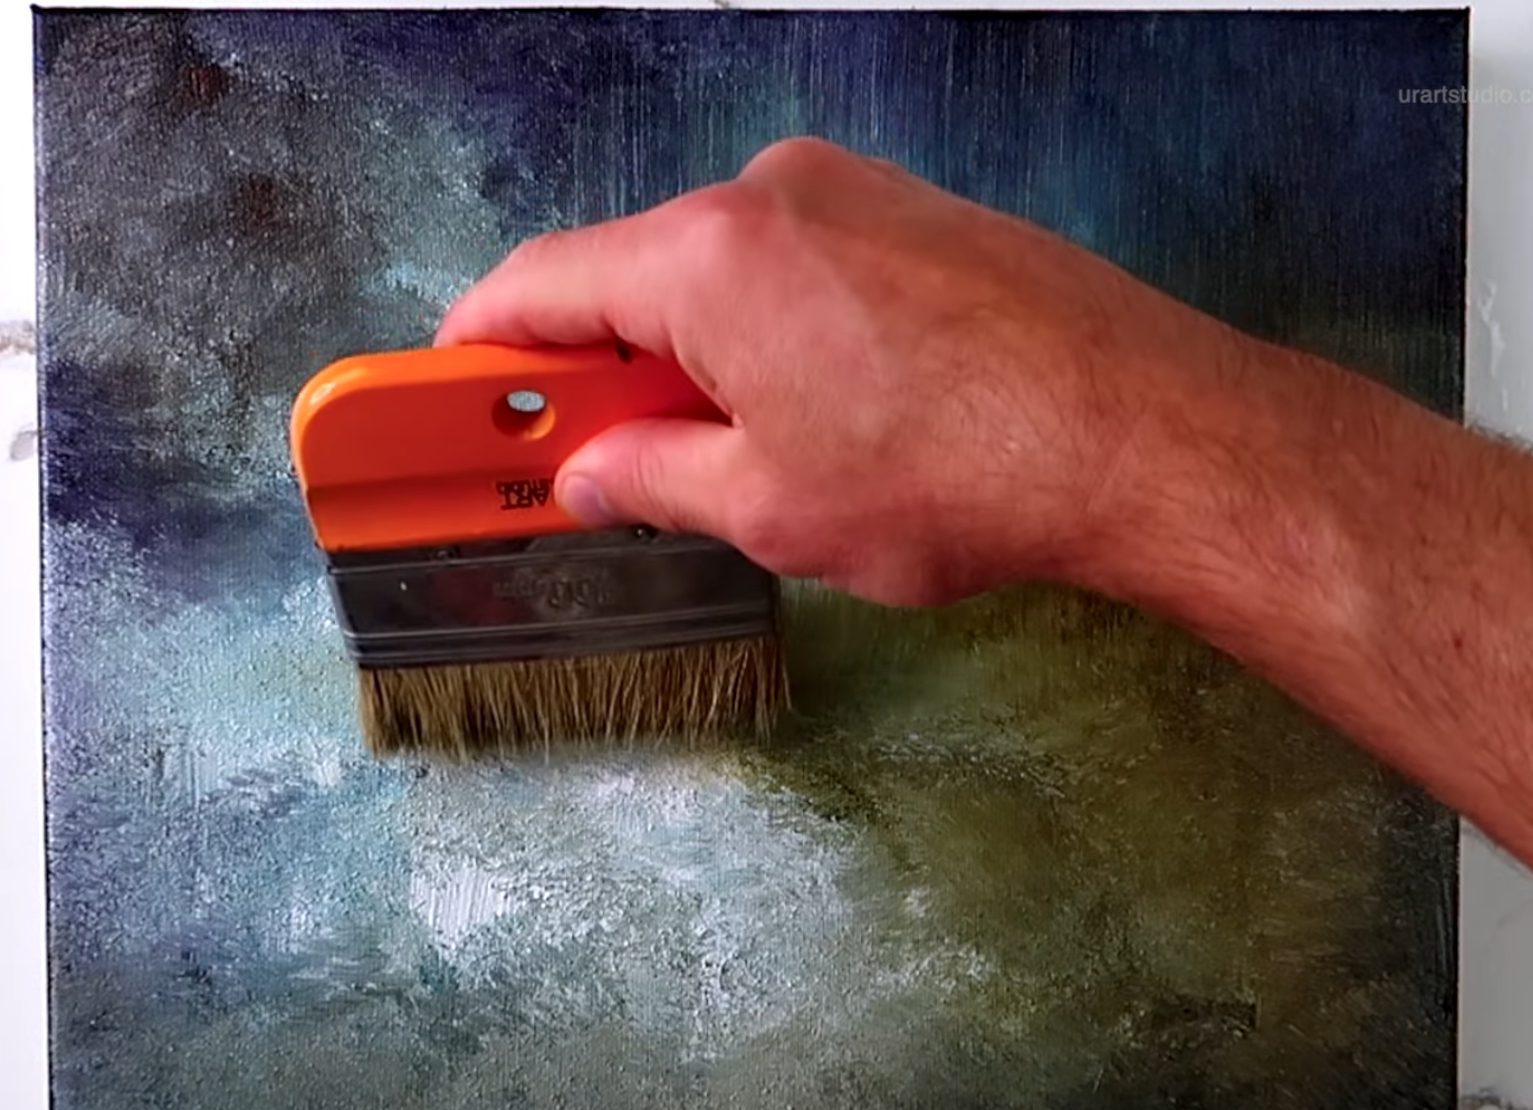
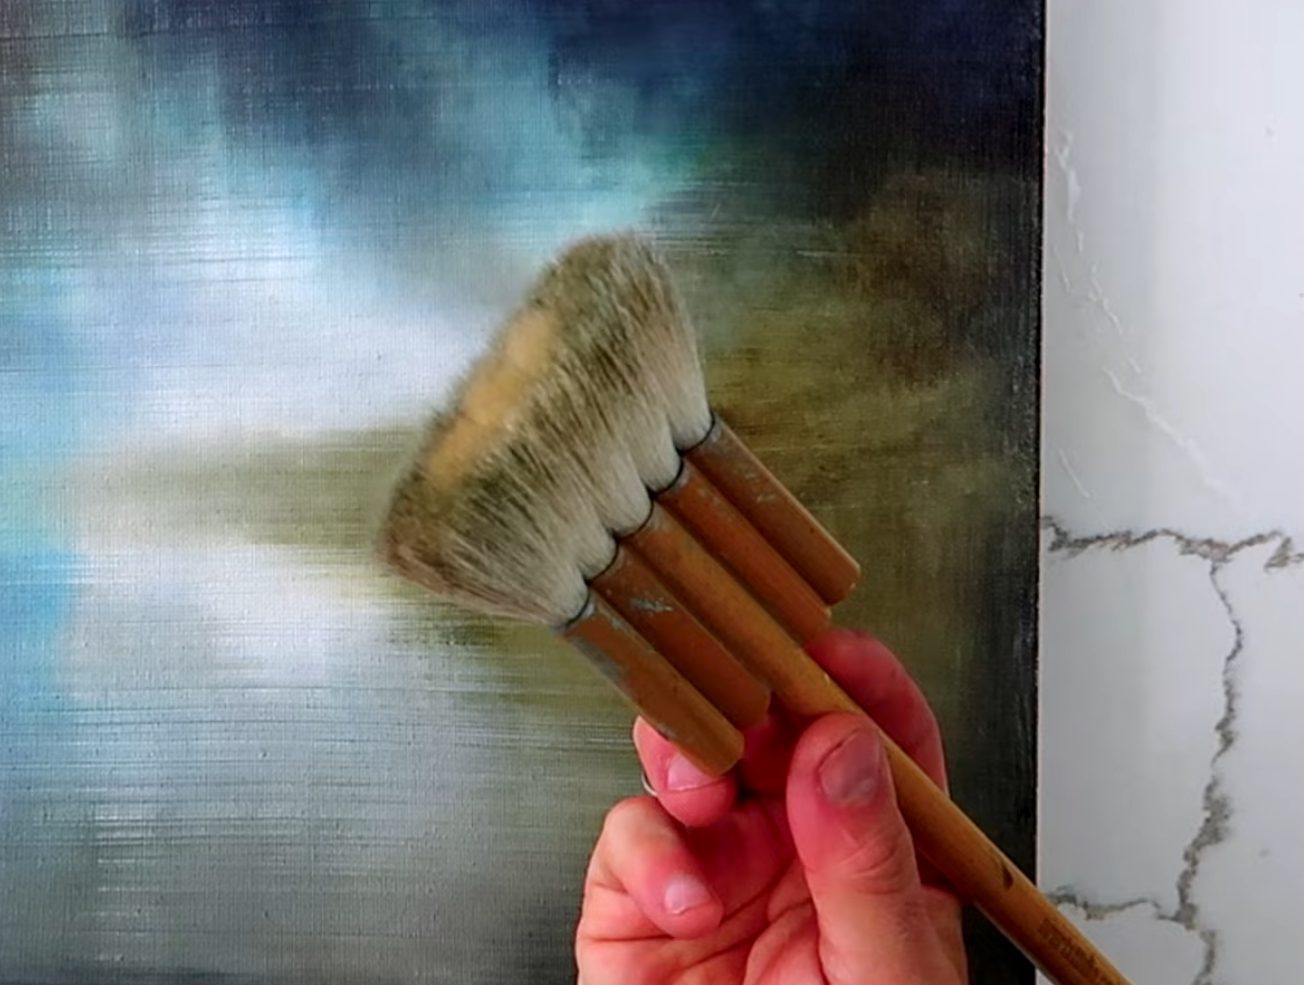
Step 4: Smooth the Skies
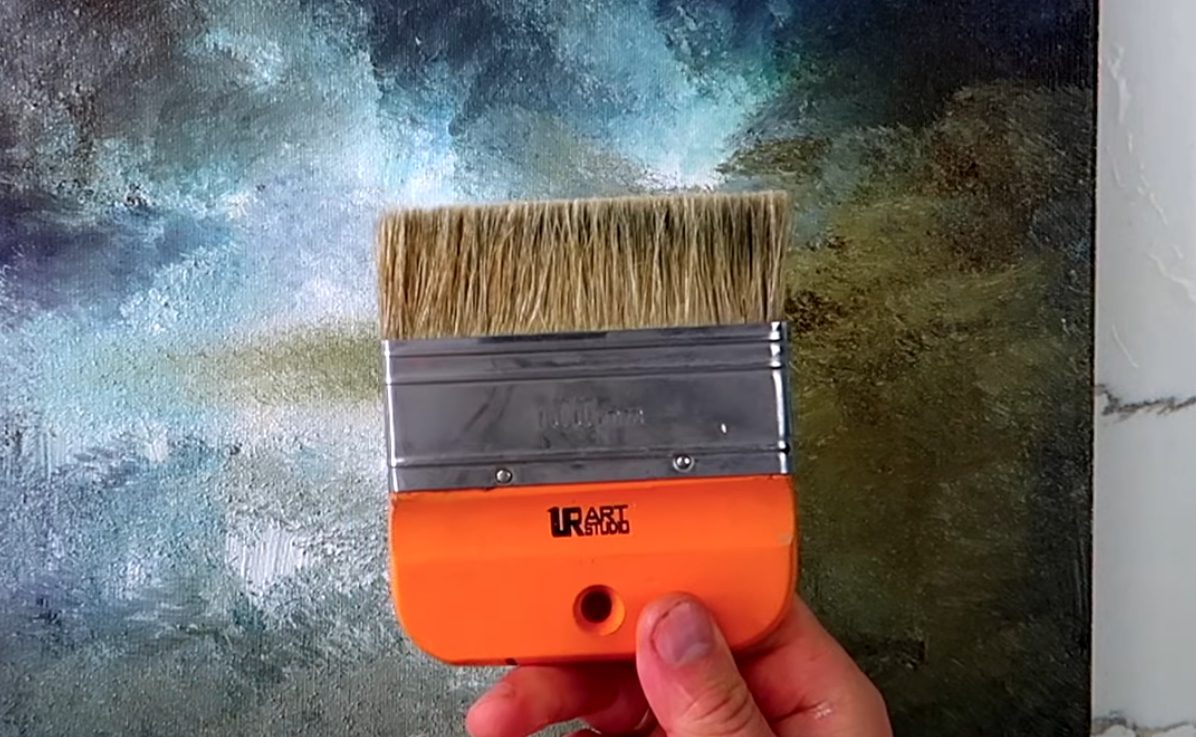
Tools: Large Oval Brush, Dry Towel
- Gently “pounce” or dab across the center, working outward in a counterclockwise motion. This blends and softens color transitions.
- Rinse and wipe your brush often. Keep your strokes light—the softer you blend, the dreamier your sky!


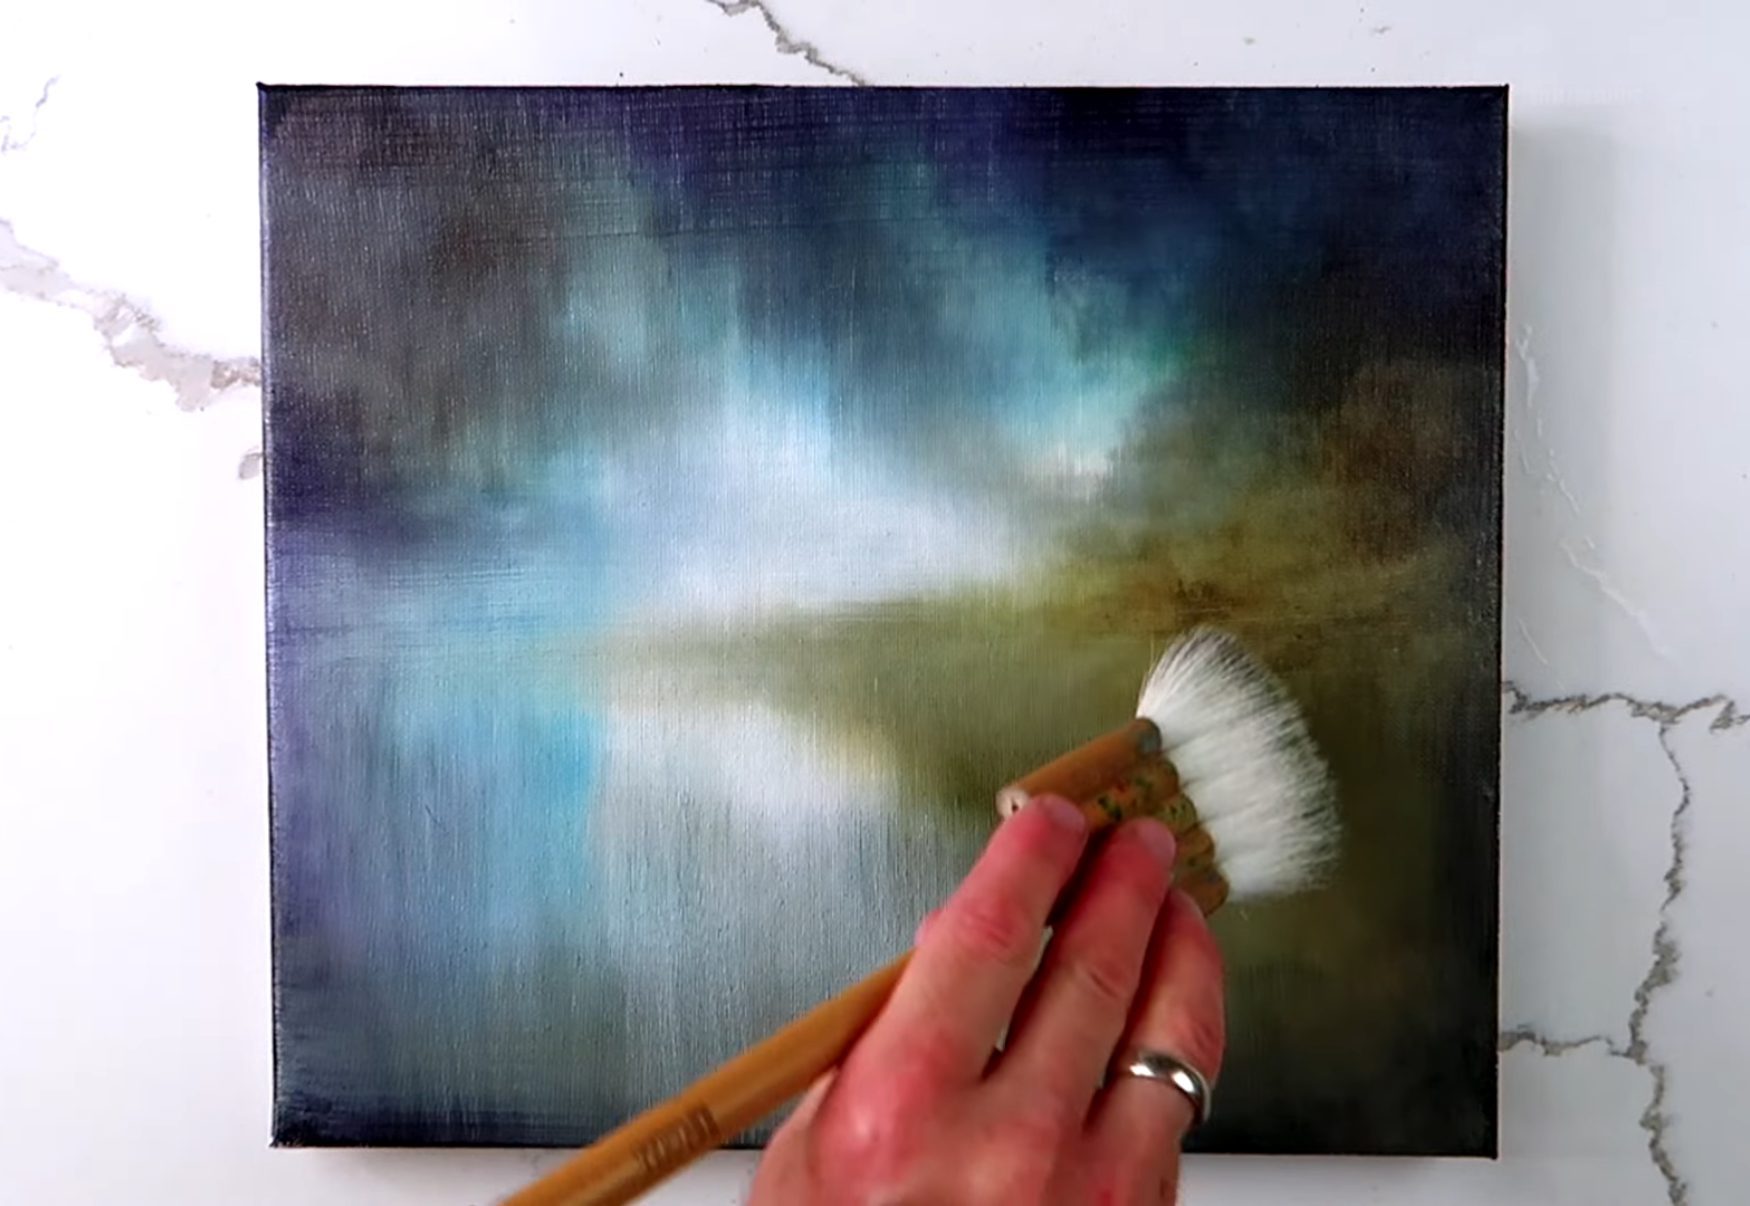
Step 5: Perfect the Blend
Tools: 4” Wide Brush, Ultra-Soft Blending Brush
- Using your wide brush, blend upward from the horizon and then downward, always wiping the brush in-between to keep the blending clean.
- Follow up with your ultra-soft blending brush, gently sweeping over the sky from the moon outwards, erasing visible strokes and creating that velvet-smooth look.

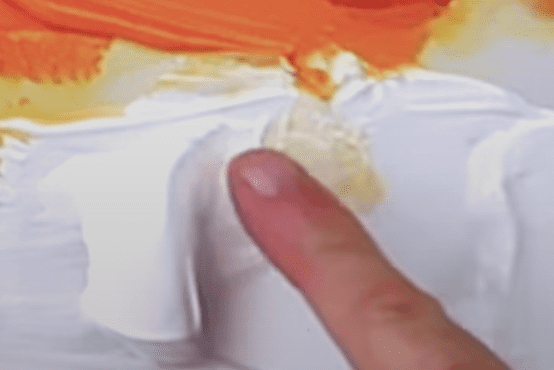
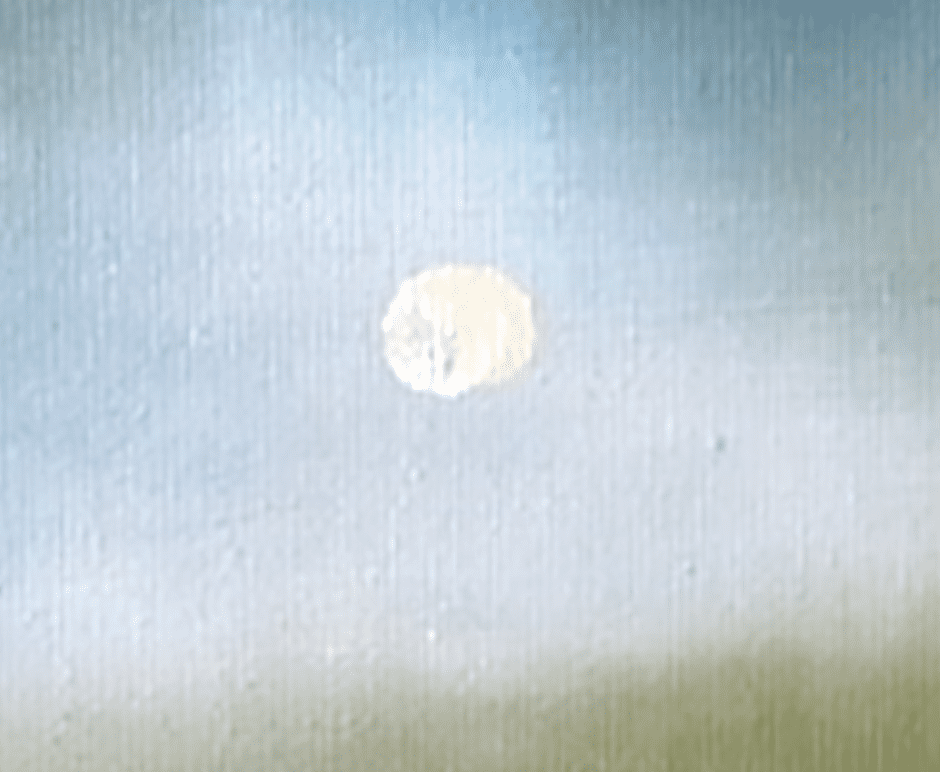
Step 6: Paint the Moon
Tools: Your Pinky Finger
Colors: White, Indian Yellow
- Dip your pinky in white + Indian yellow, then carefully “stamp” or swirl in the spot where your moon should hang just above the horizon.
- Gently blend out the edges—keep the center brightest for a glowing, soft-edged moon.
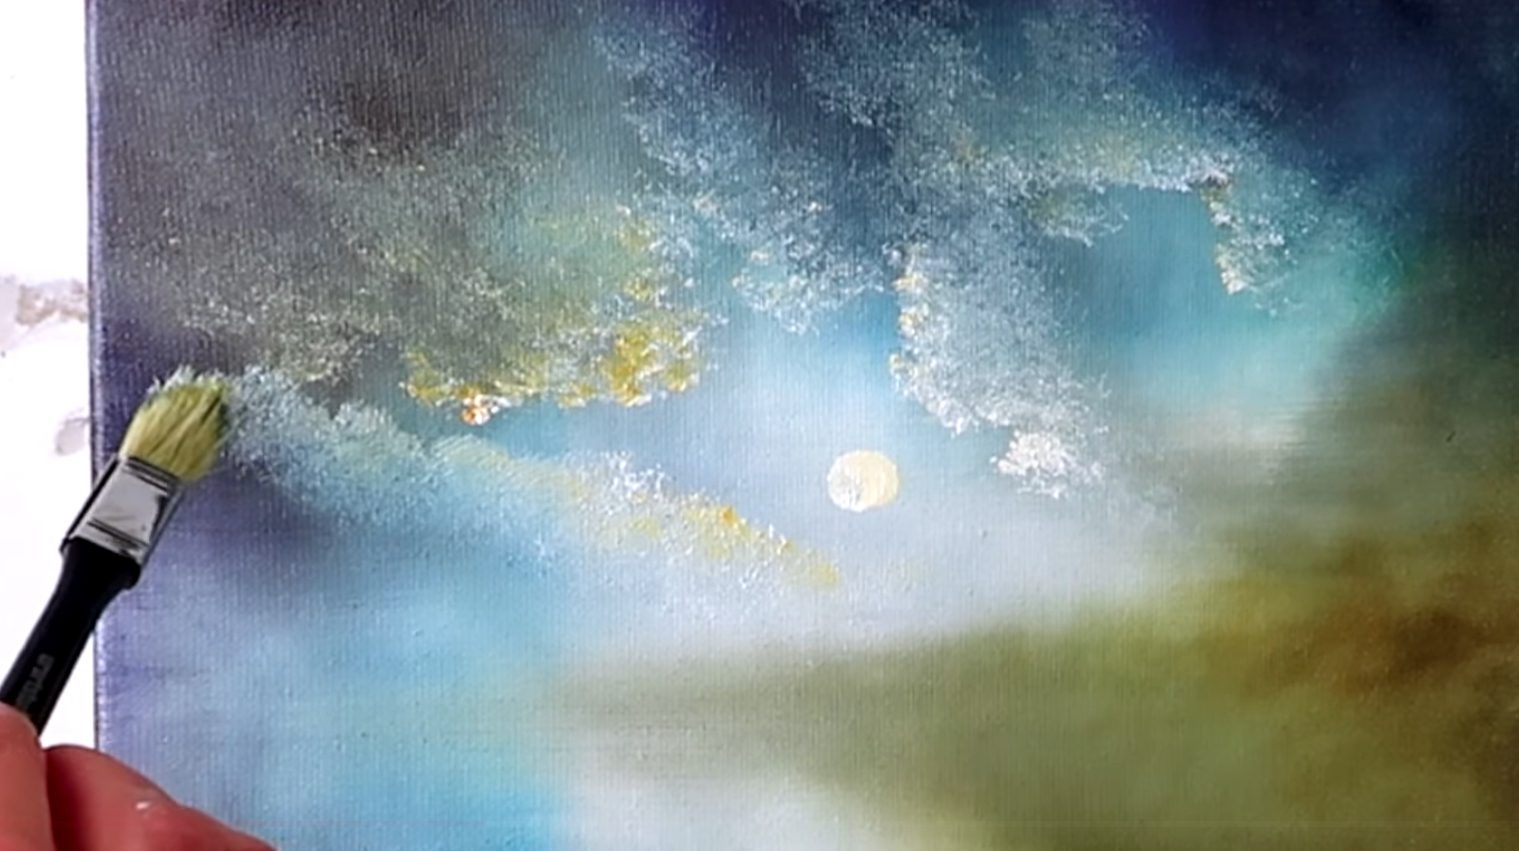
Step 7: Illuminate the Clouds
Tools: #1 Big Square Brush, Small Ultra-Soft Blender
- Mix white + Indian yellow on your small square brush. Highlight the clouds closest to the moon—these catch the most light. Use delicate, curving strokes to outline and gently fill.
- Soften brush marks with your small soft blender, skimming just over the edges.

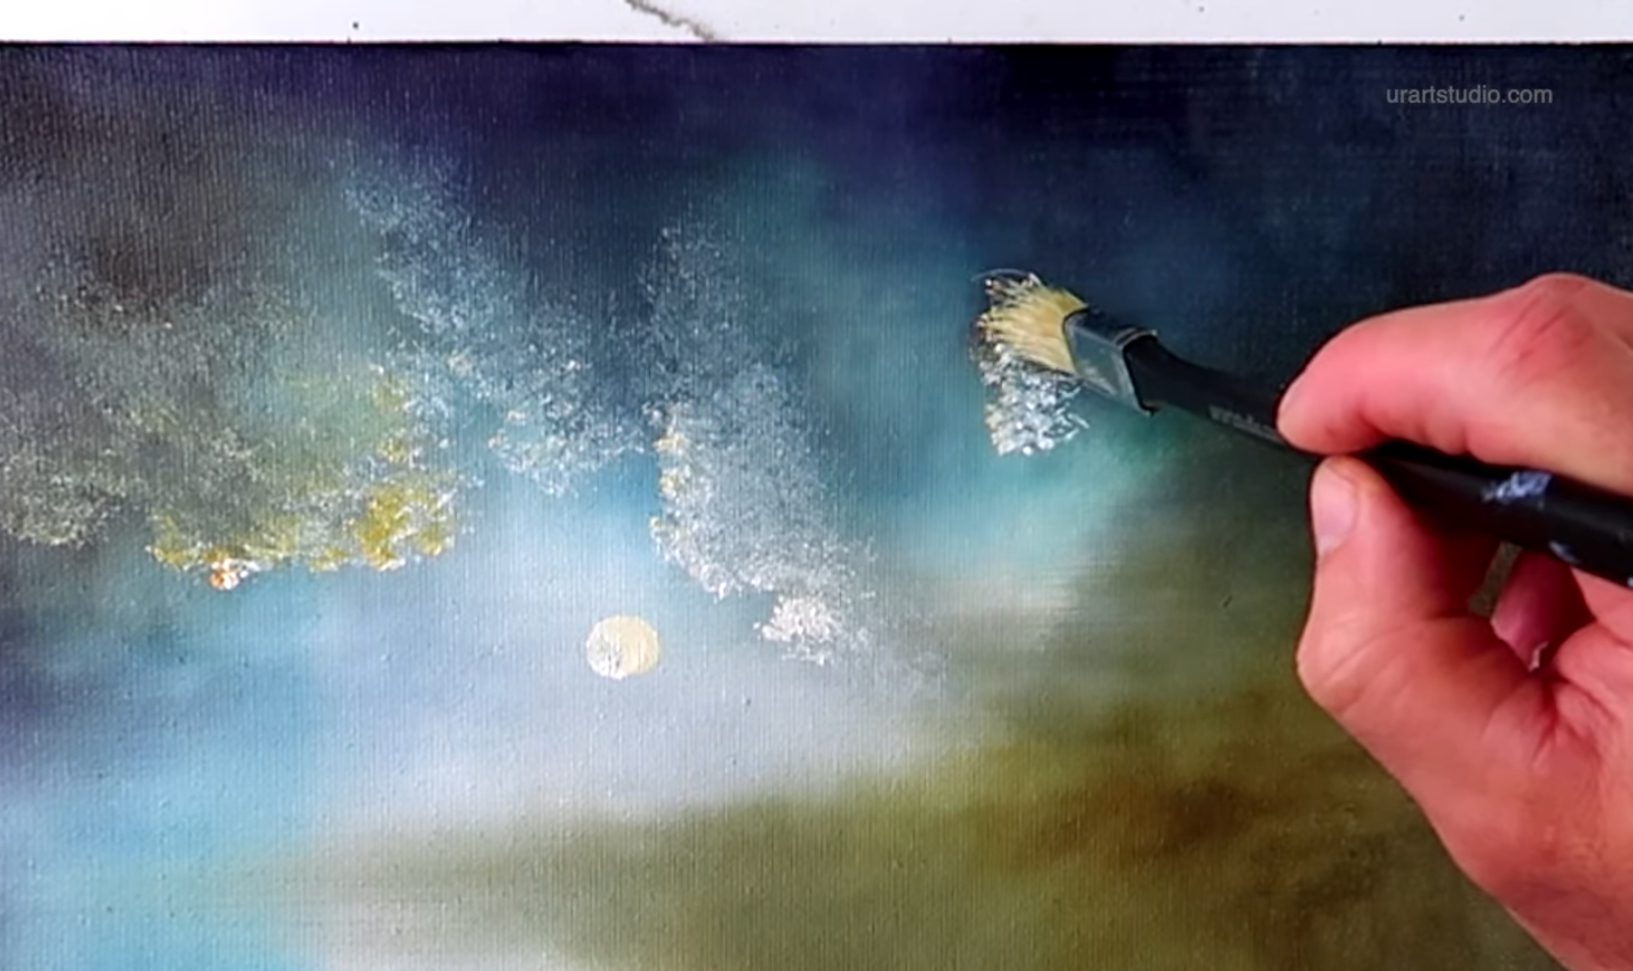

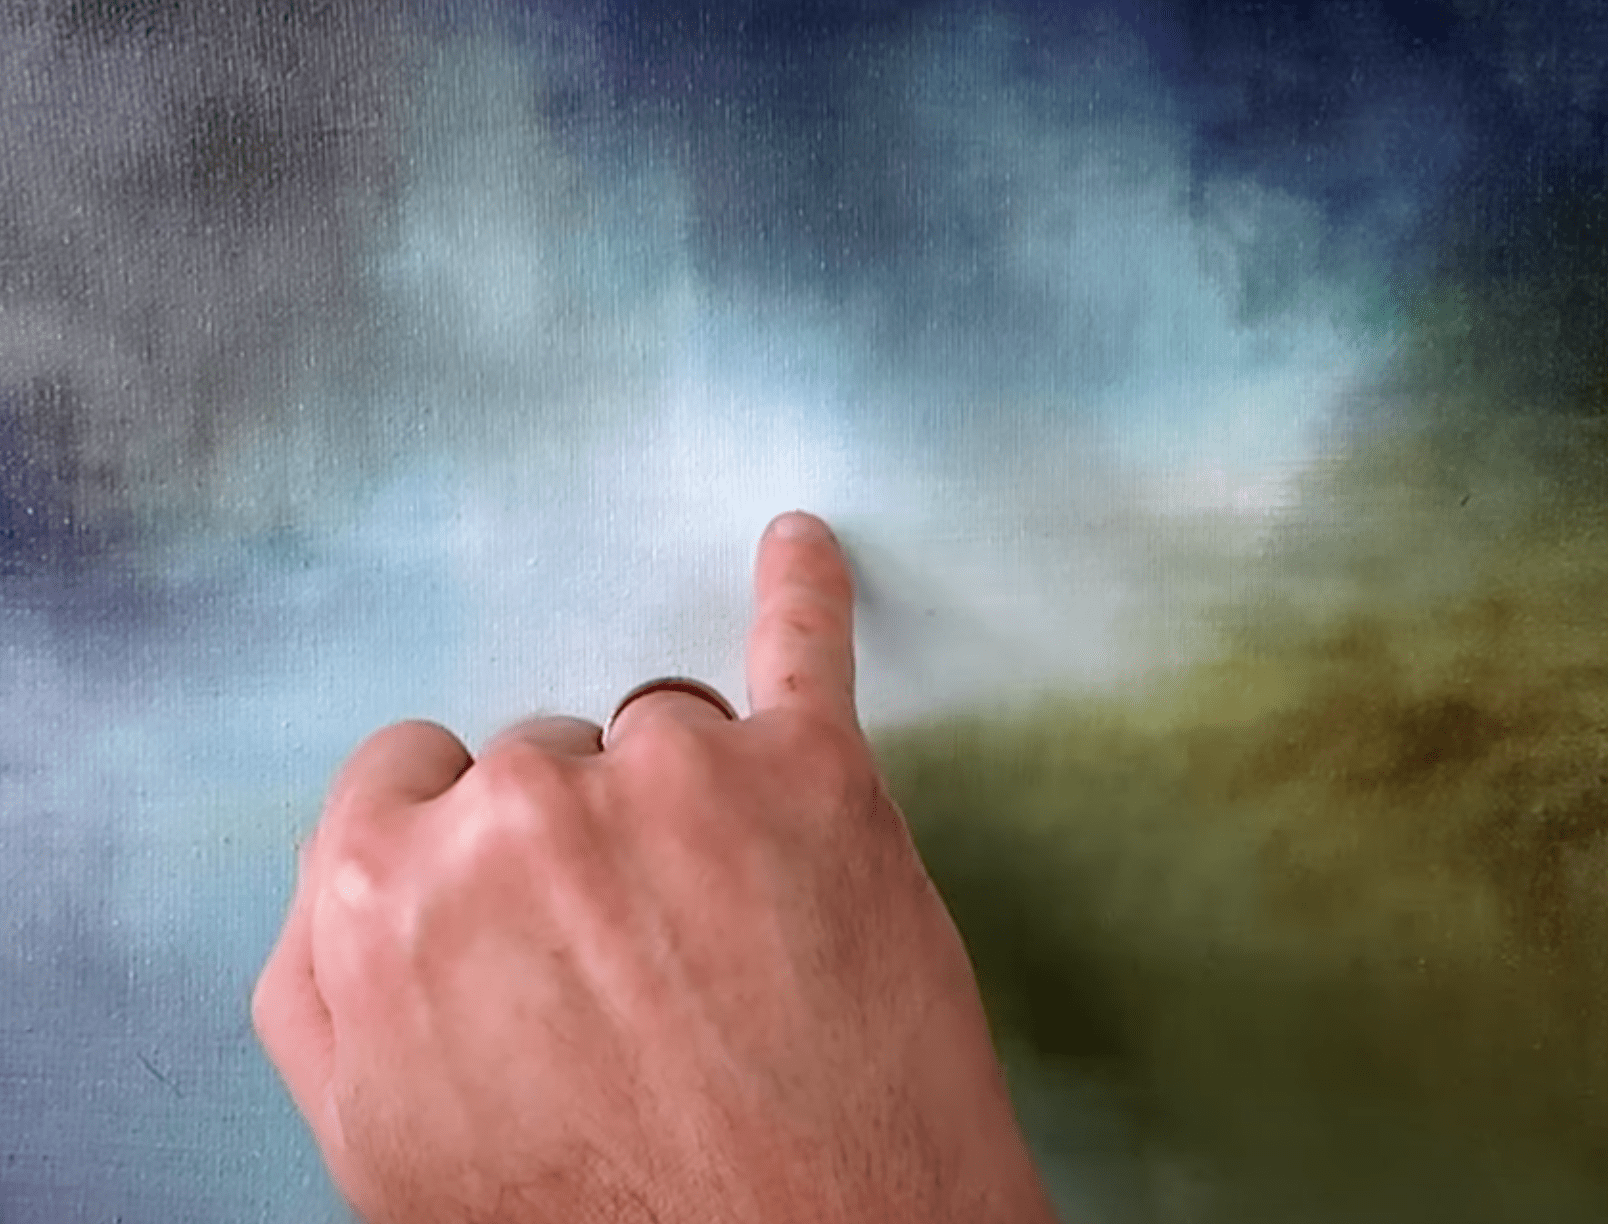
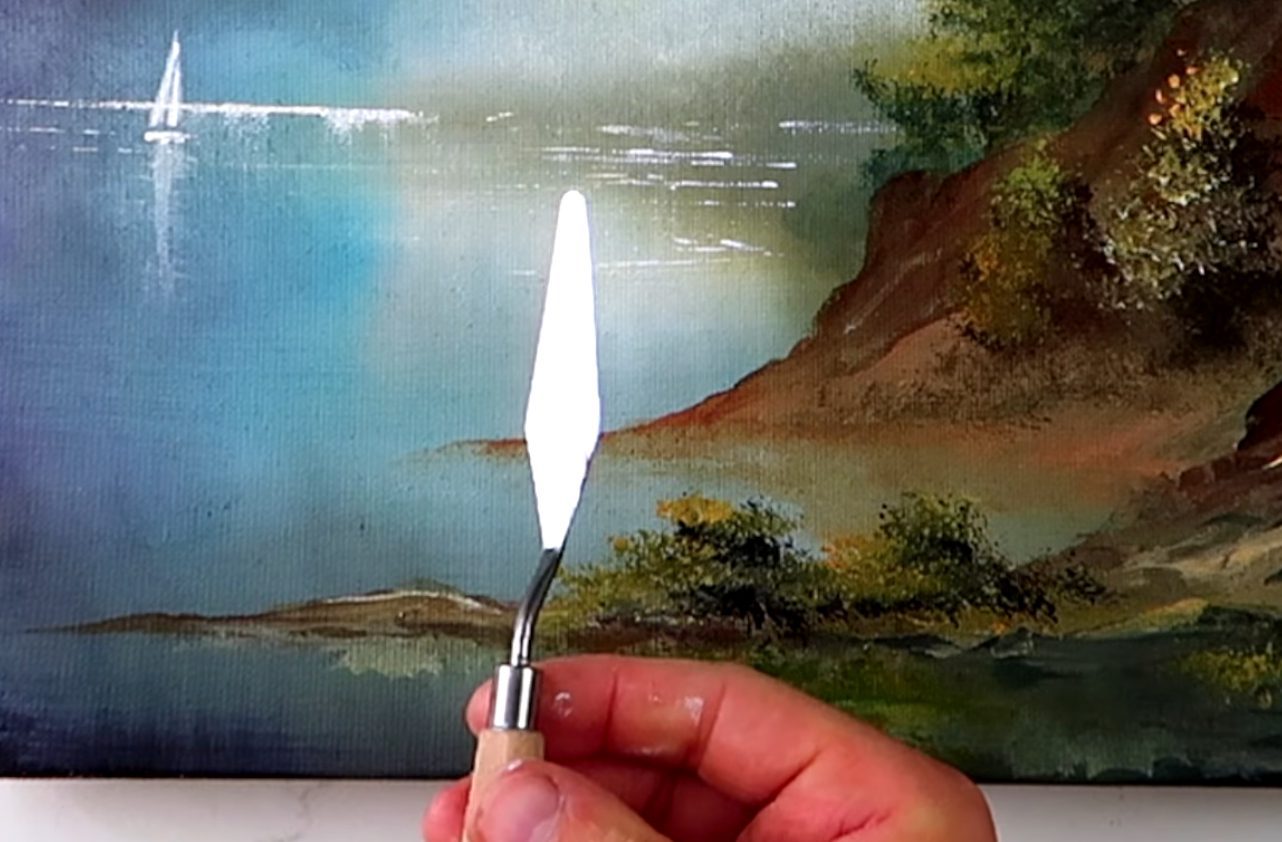
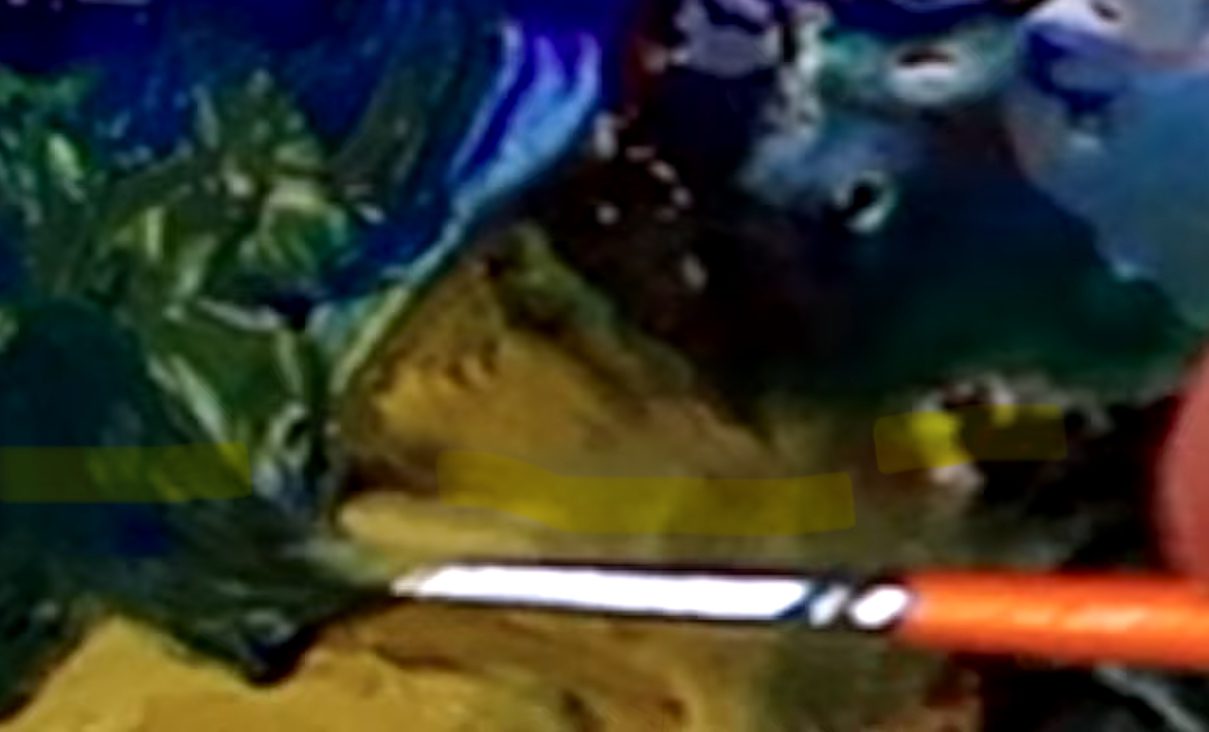
Step 8: Sparkling Lake Horizon
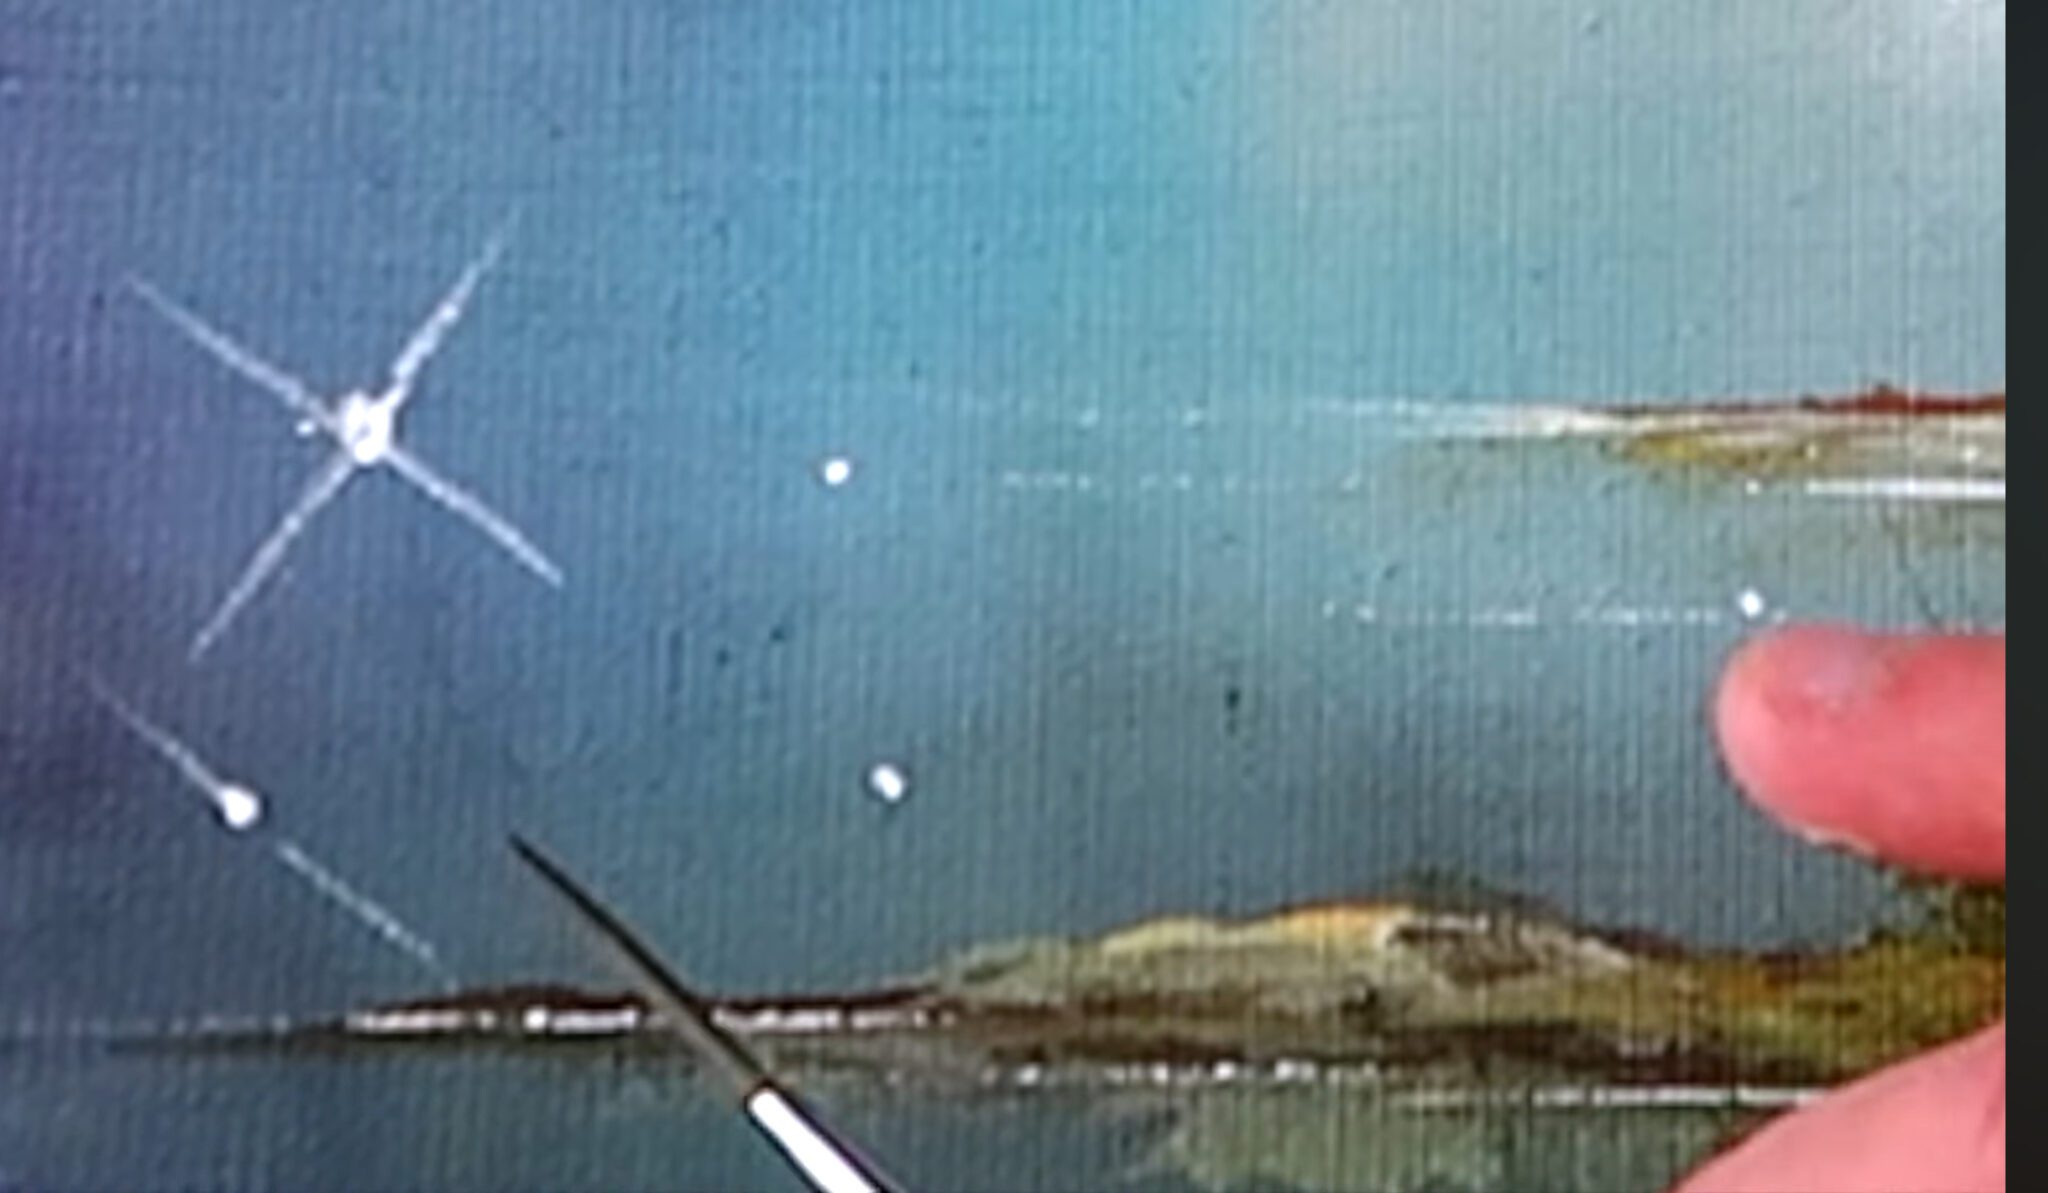
Tools: Palette Knife, Finger
- Using the knife edge, scrape horizontal strokes of white and Indian yellow just under the moon and clouds to create sparkling water.
- Gently smudge with your finger for shimmer and blend.
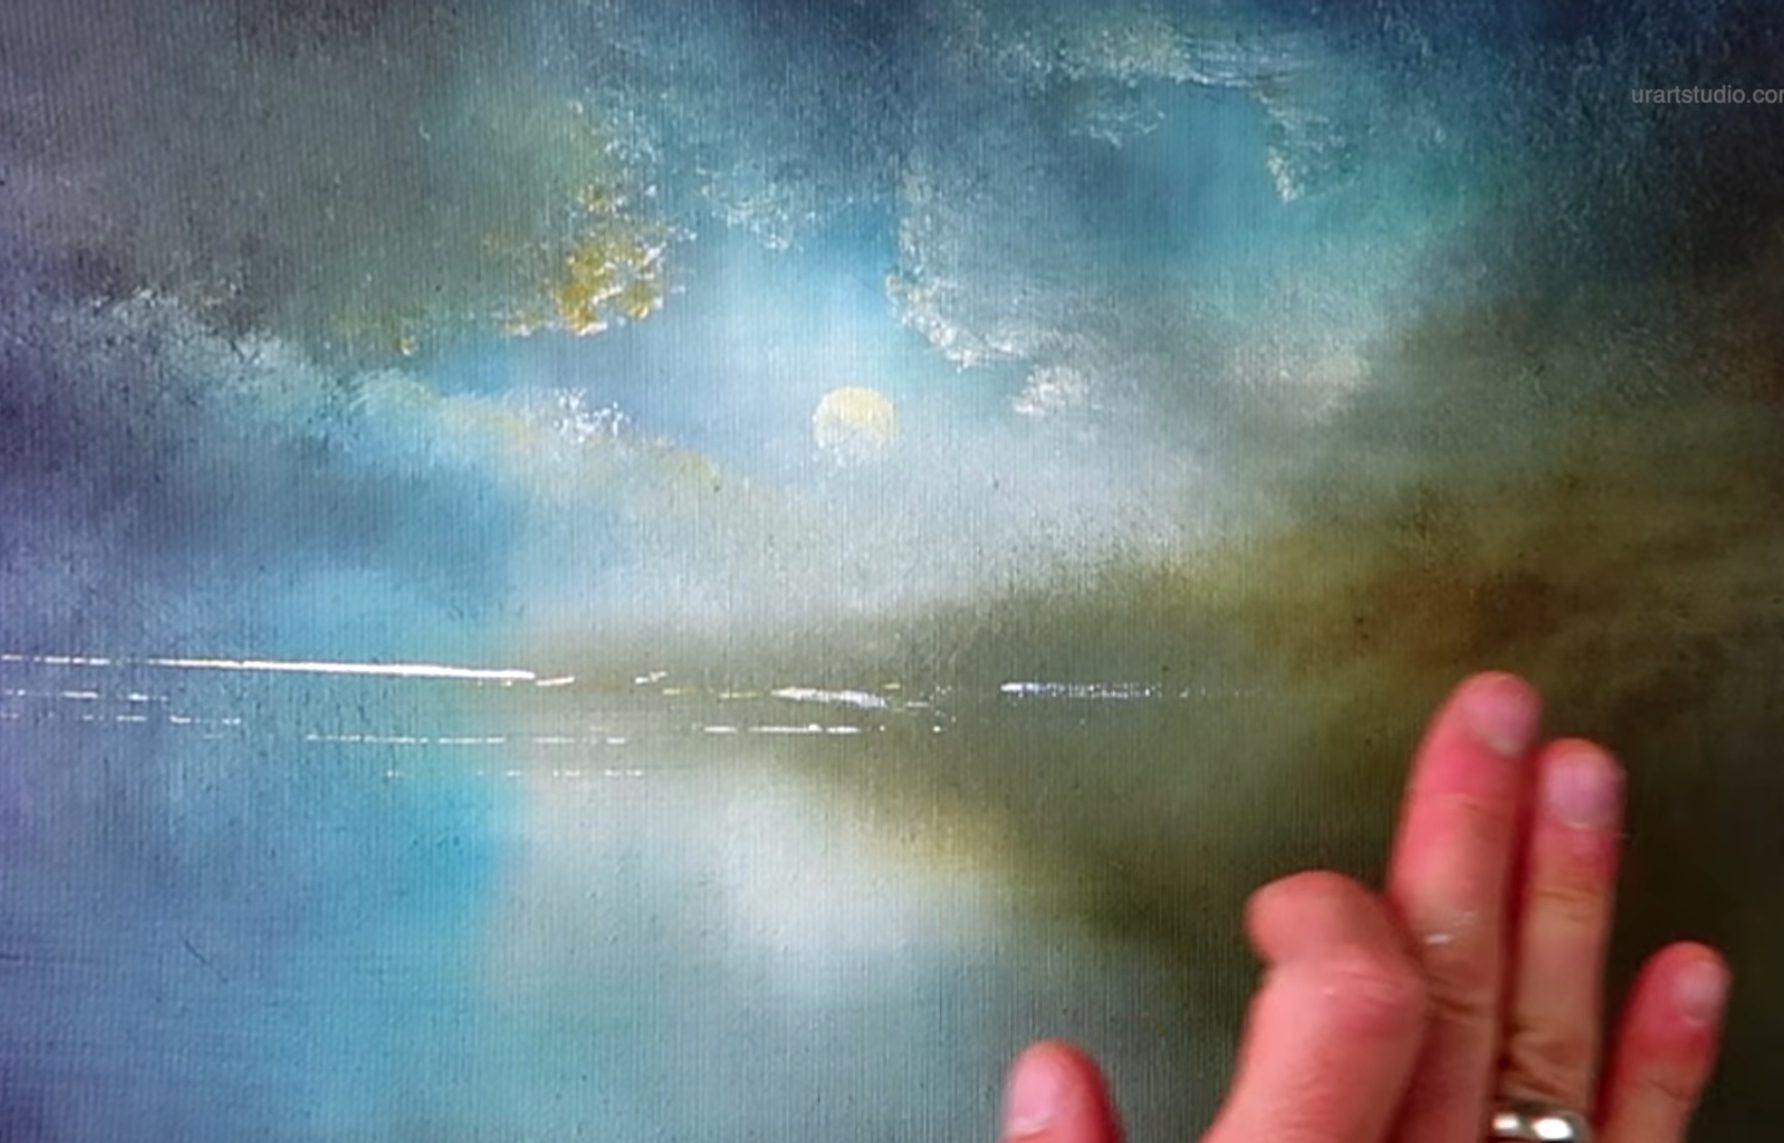

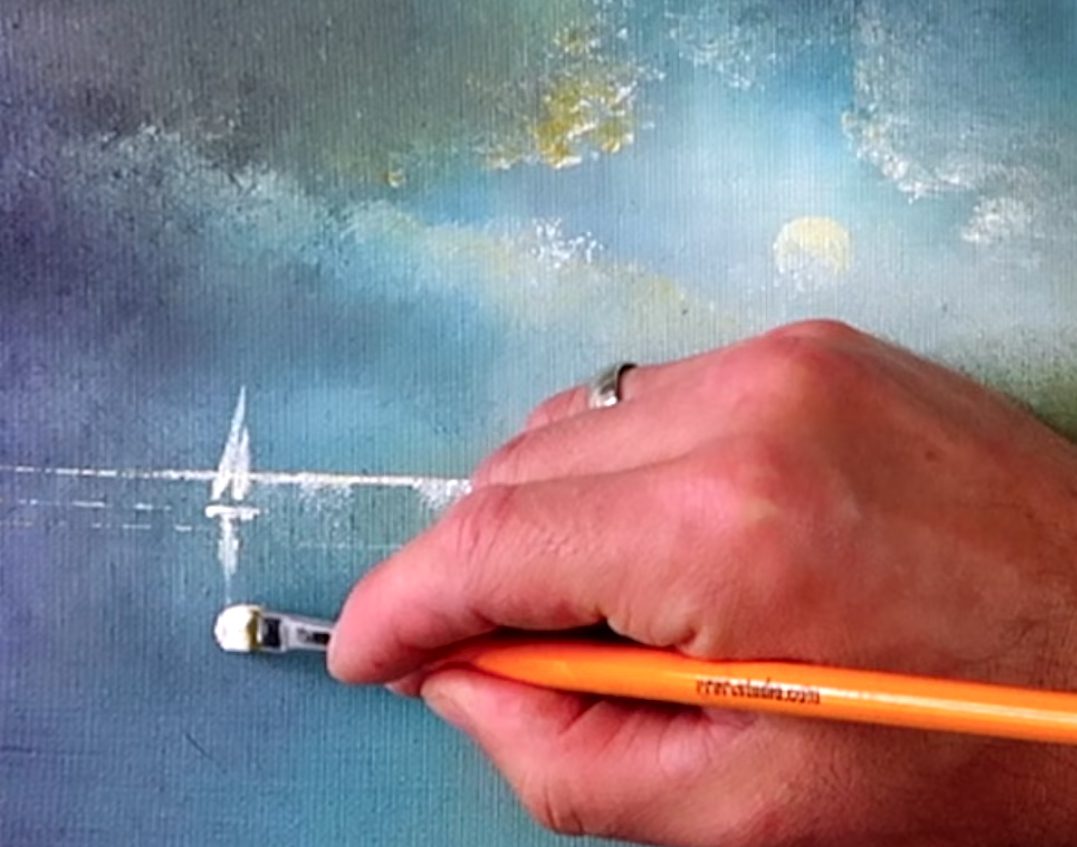
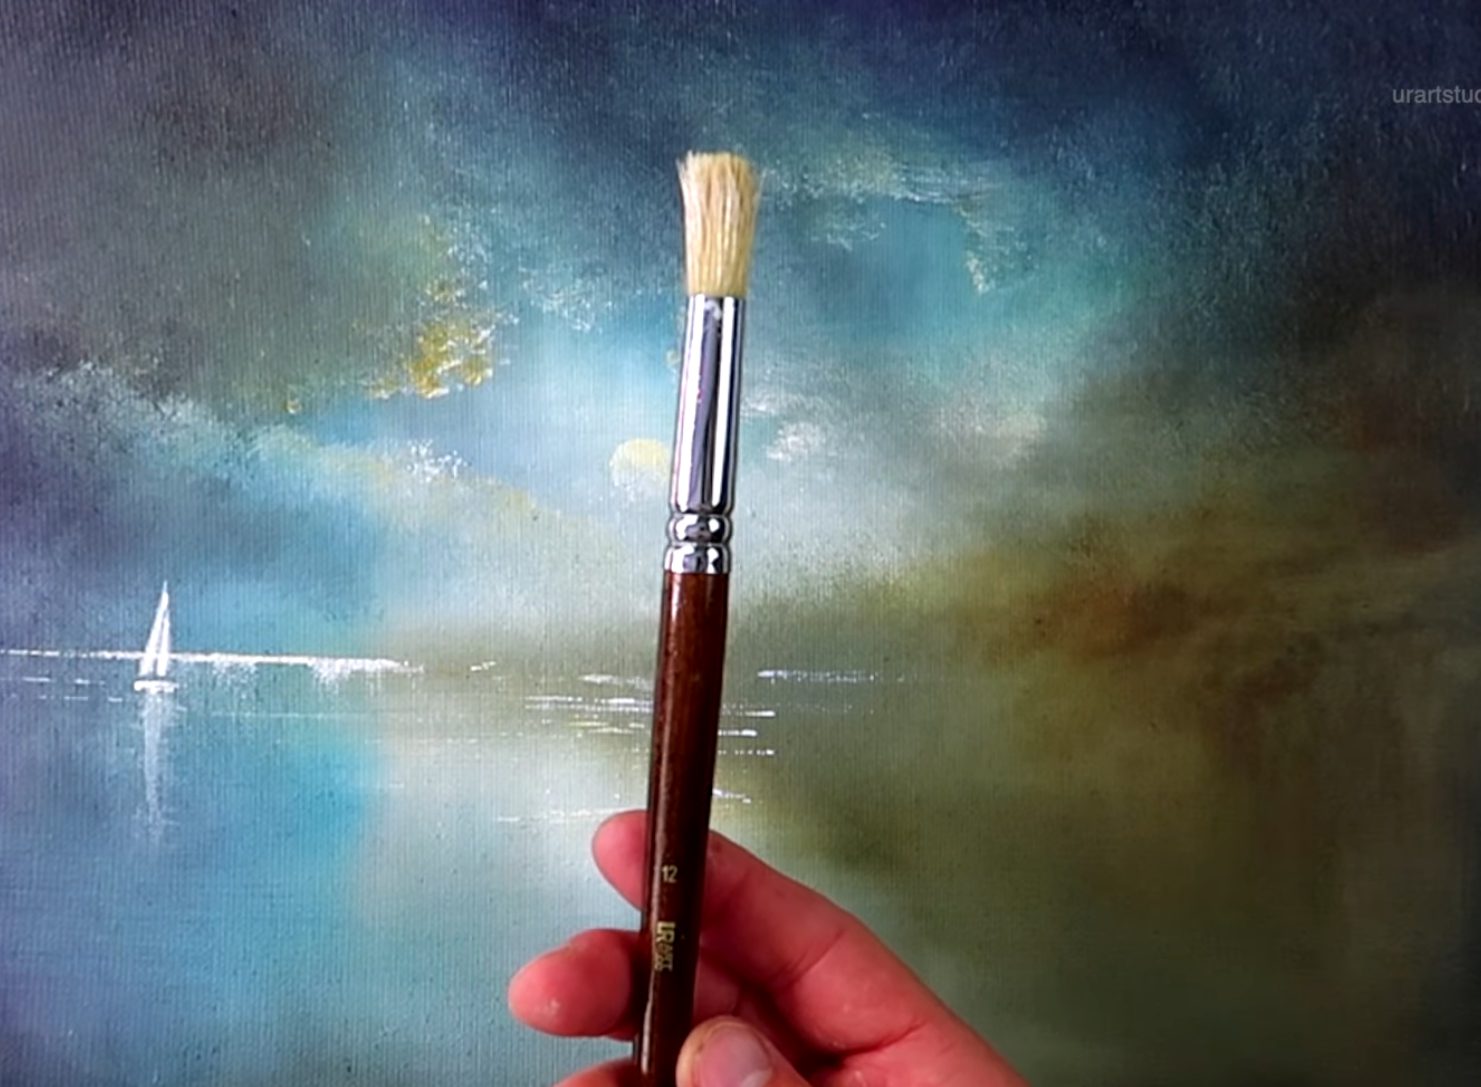
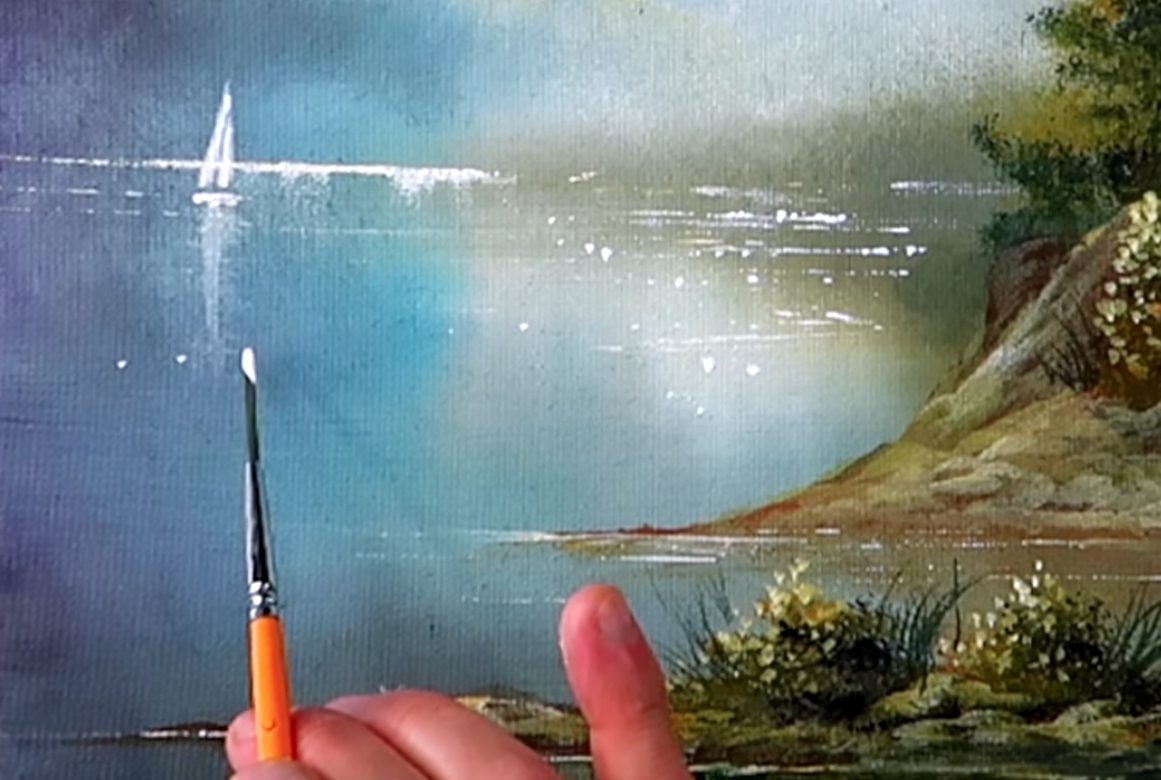
Step 9: Add the Distant Sailboat
Tools: Detail Square Brush
- Use pure white to carefully sketch a tiny triangle (sail) and shape (hull) on the water’s sparkling edge.
- Add its reflection: brush a softened shape directly below the boat, blending gently so it’s just a hint in the water.

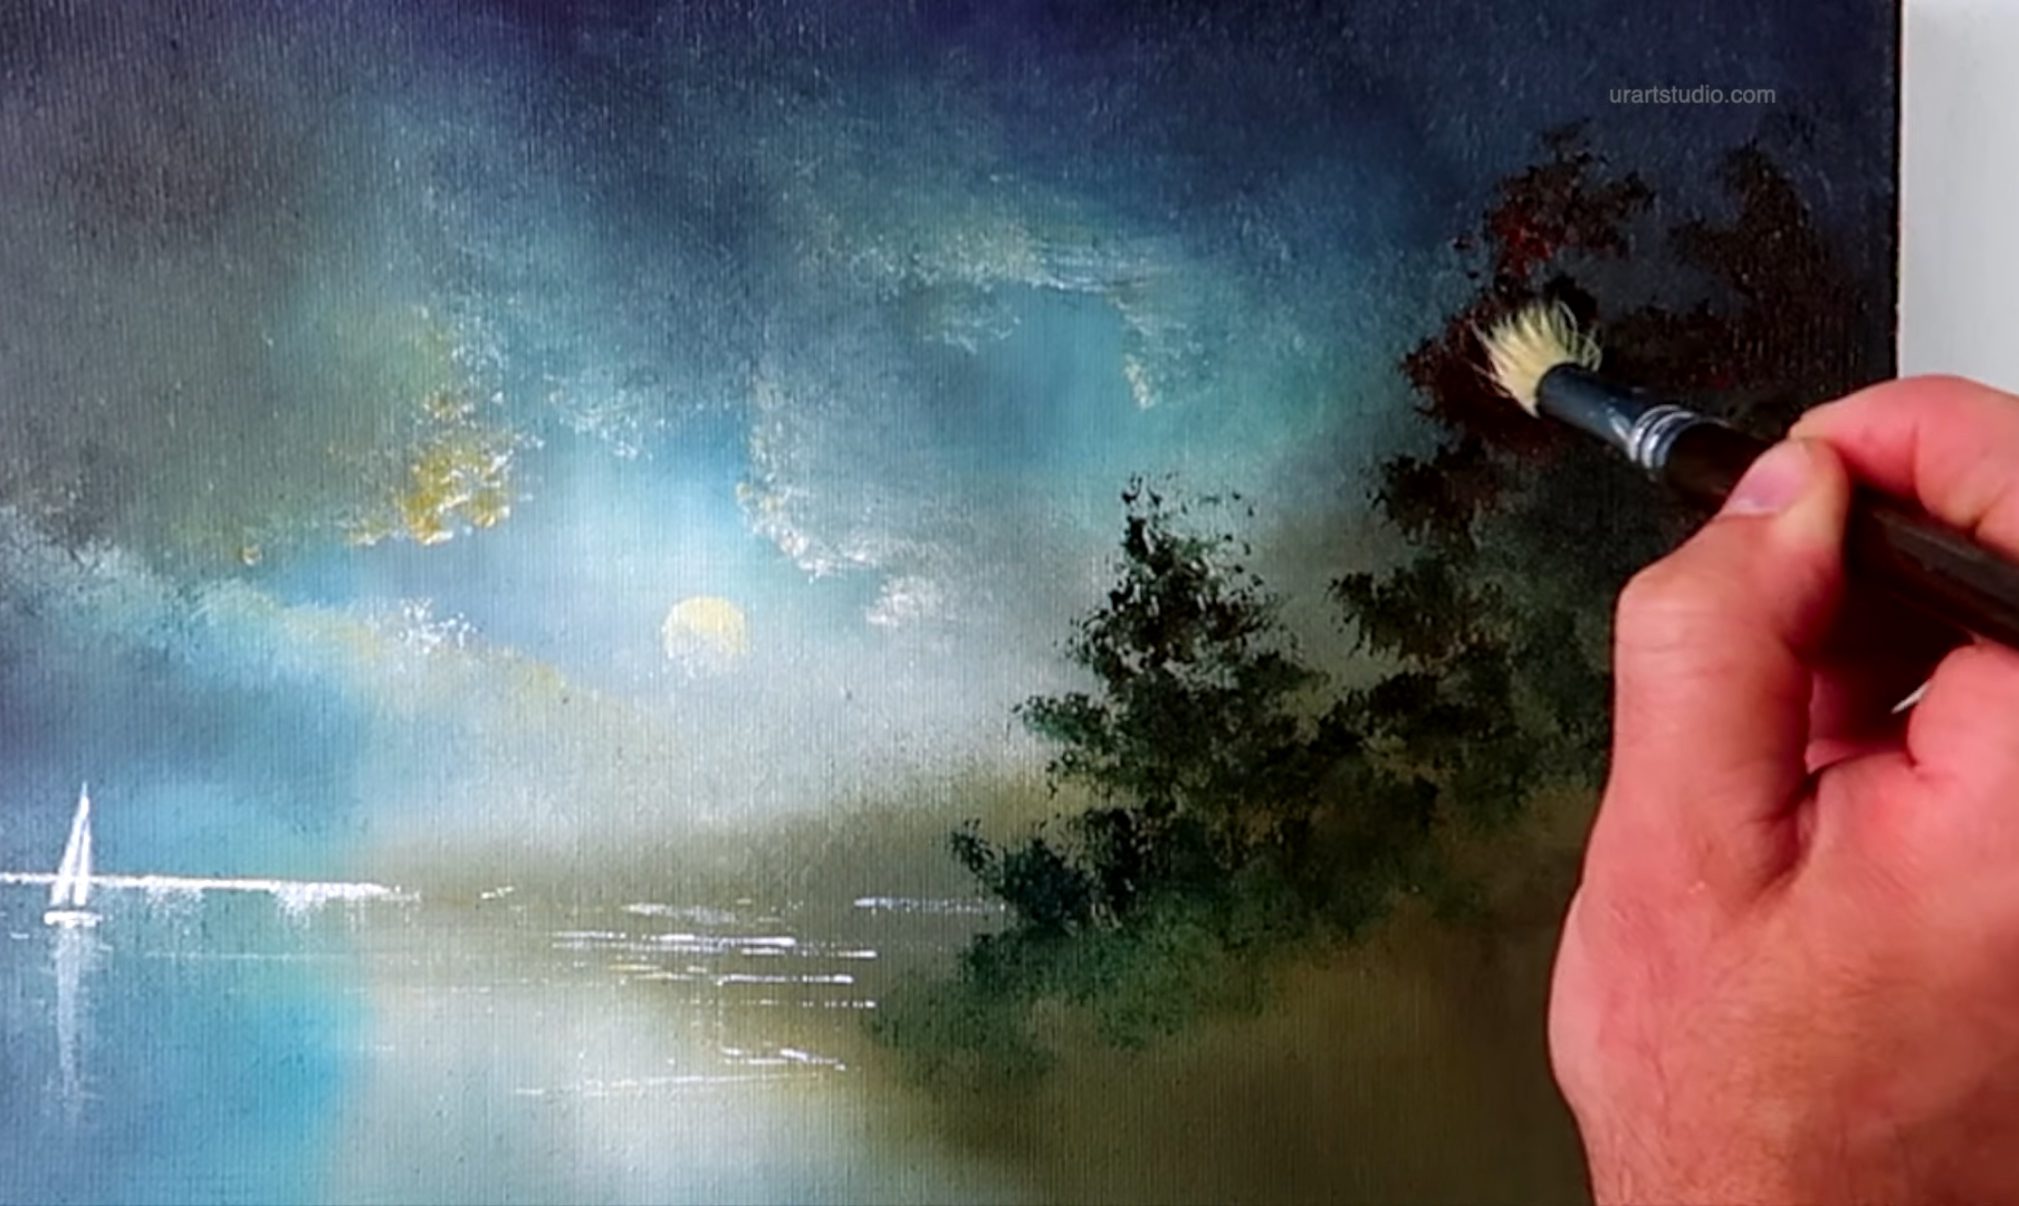
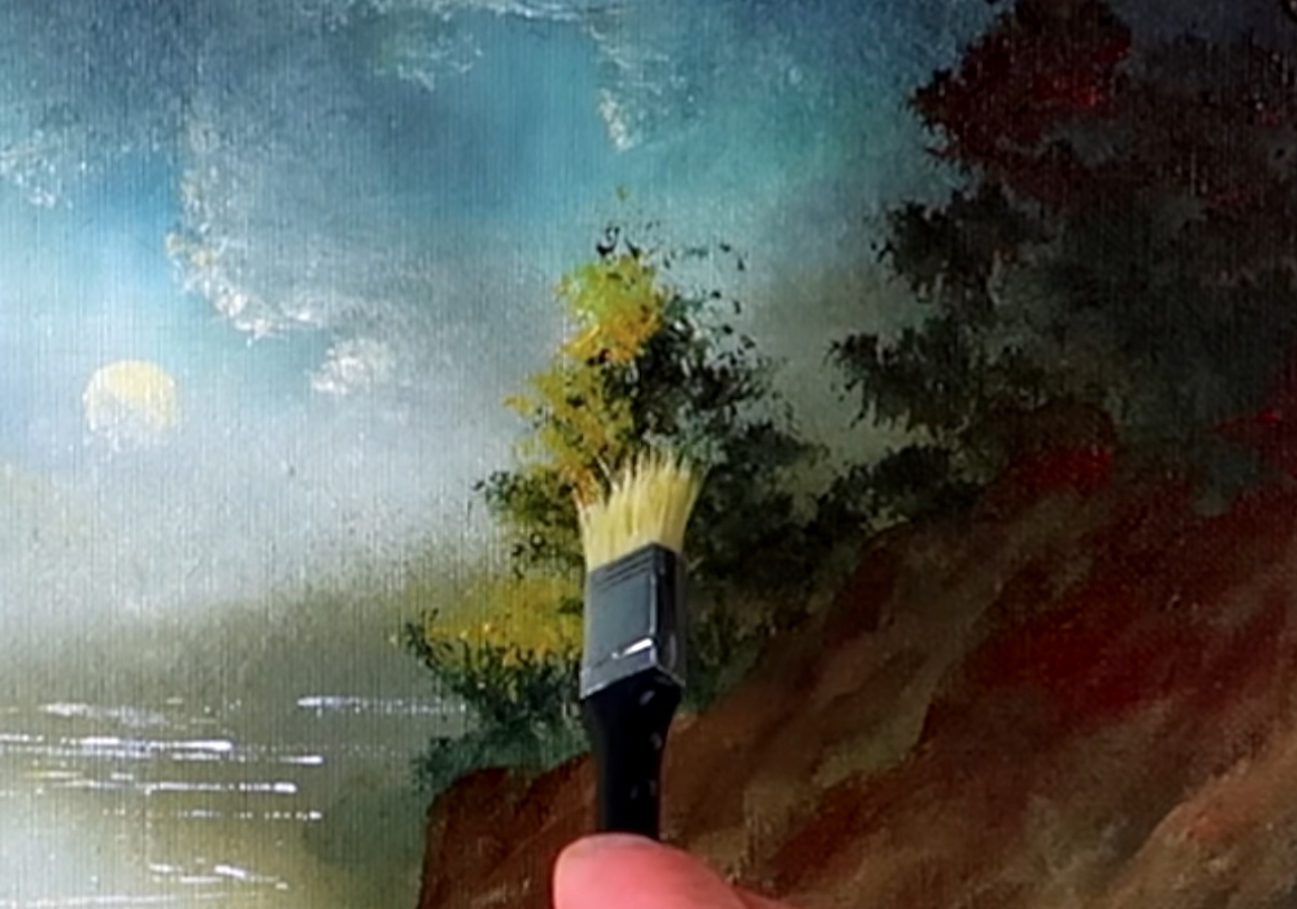
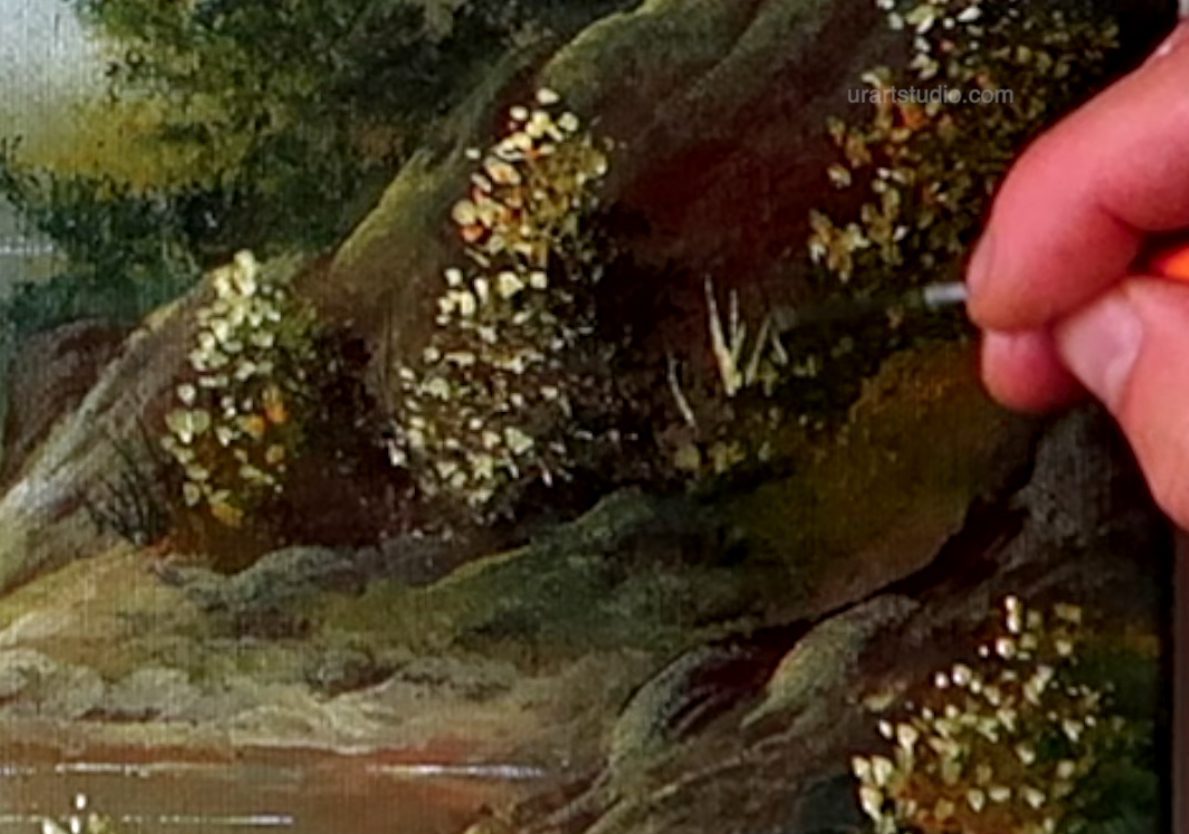
Step 10: Foreground Trees Silhouetted by Moonlight
Tools: Round Brush
Colors: All Dark Hues Mixed
- From the lower right, “flick” or dab upward tree shapes with your round brush loaded with your mixed darks.
- Vary heights for a natural look, letting some trees peek higher—these are your moonlit evergreens!
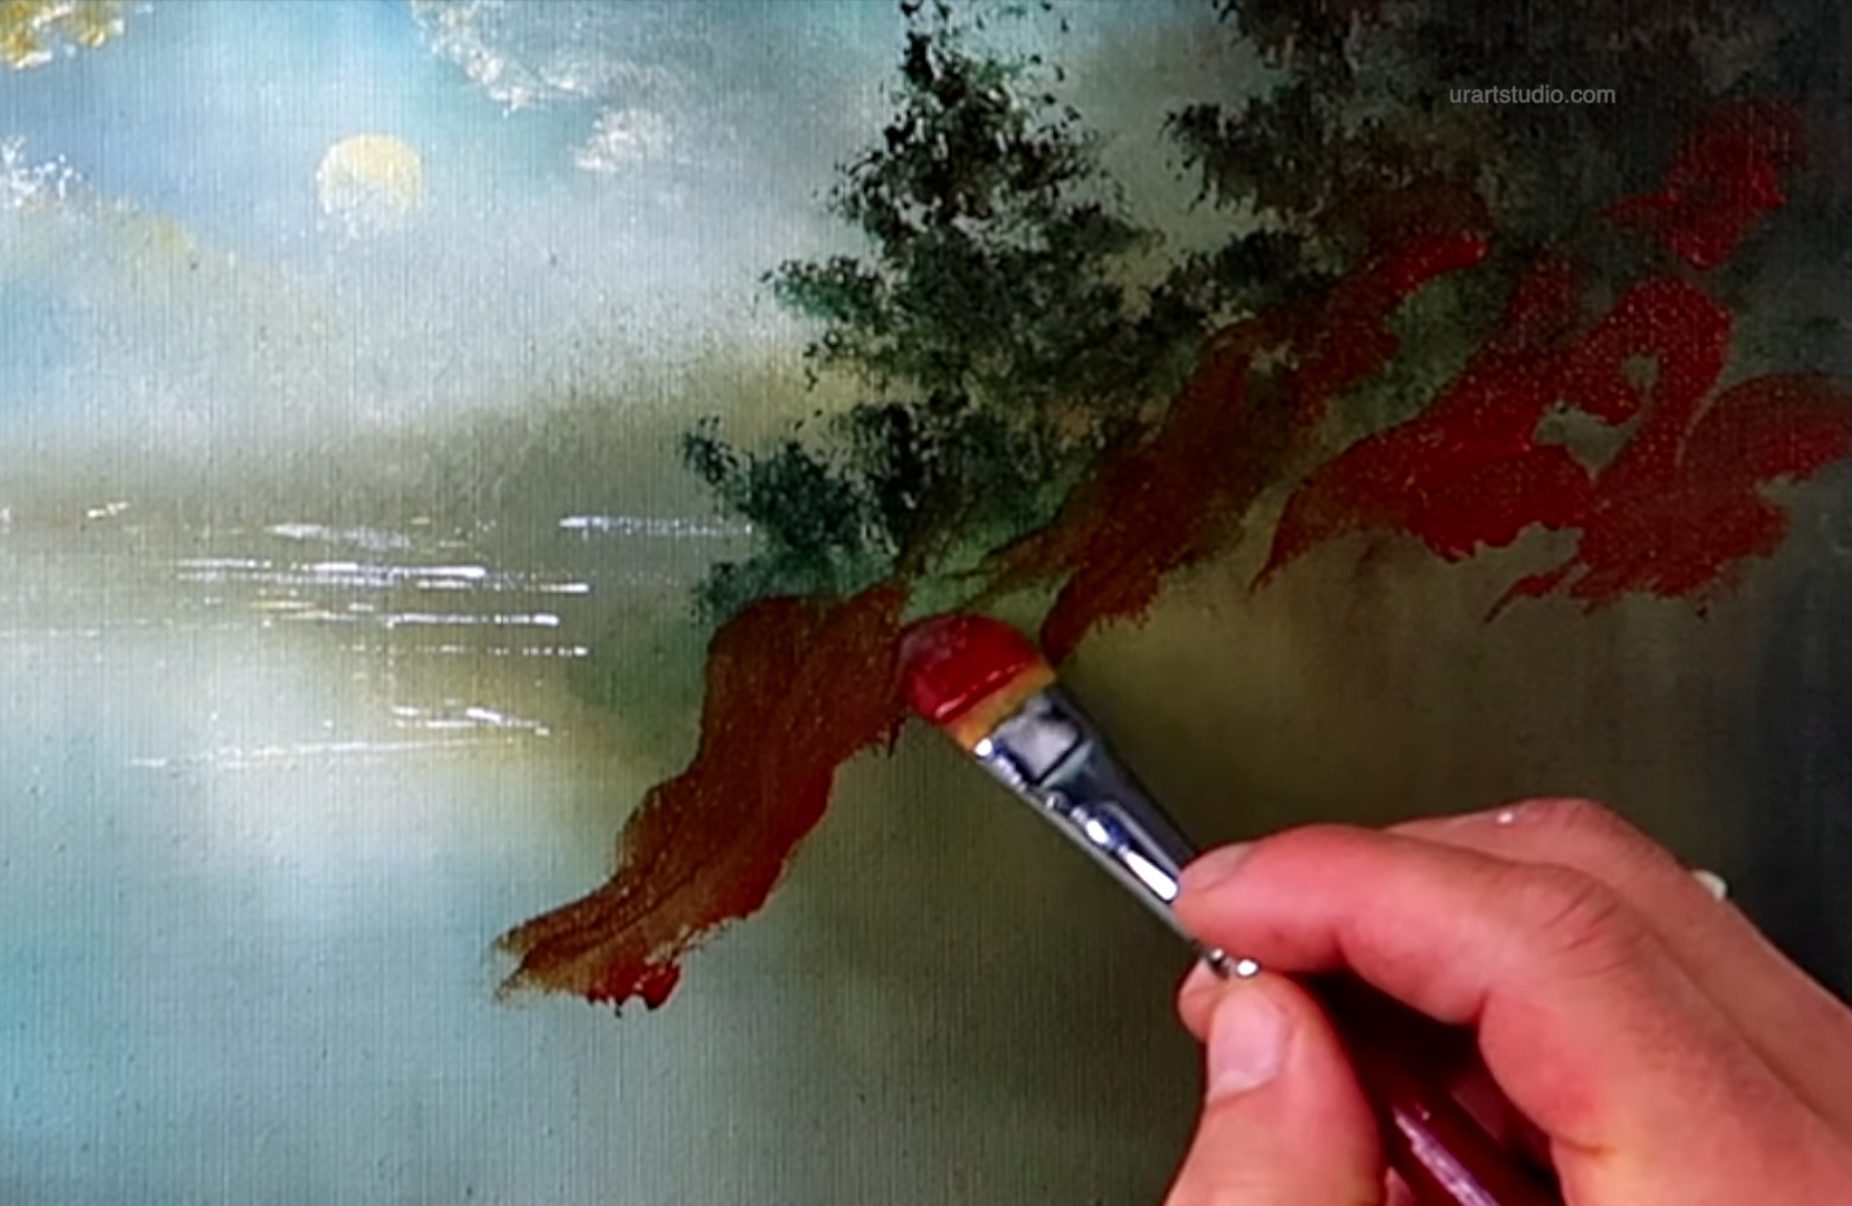
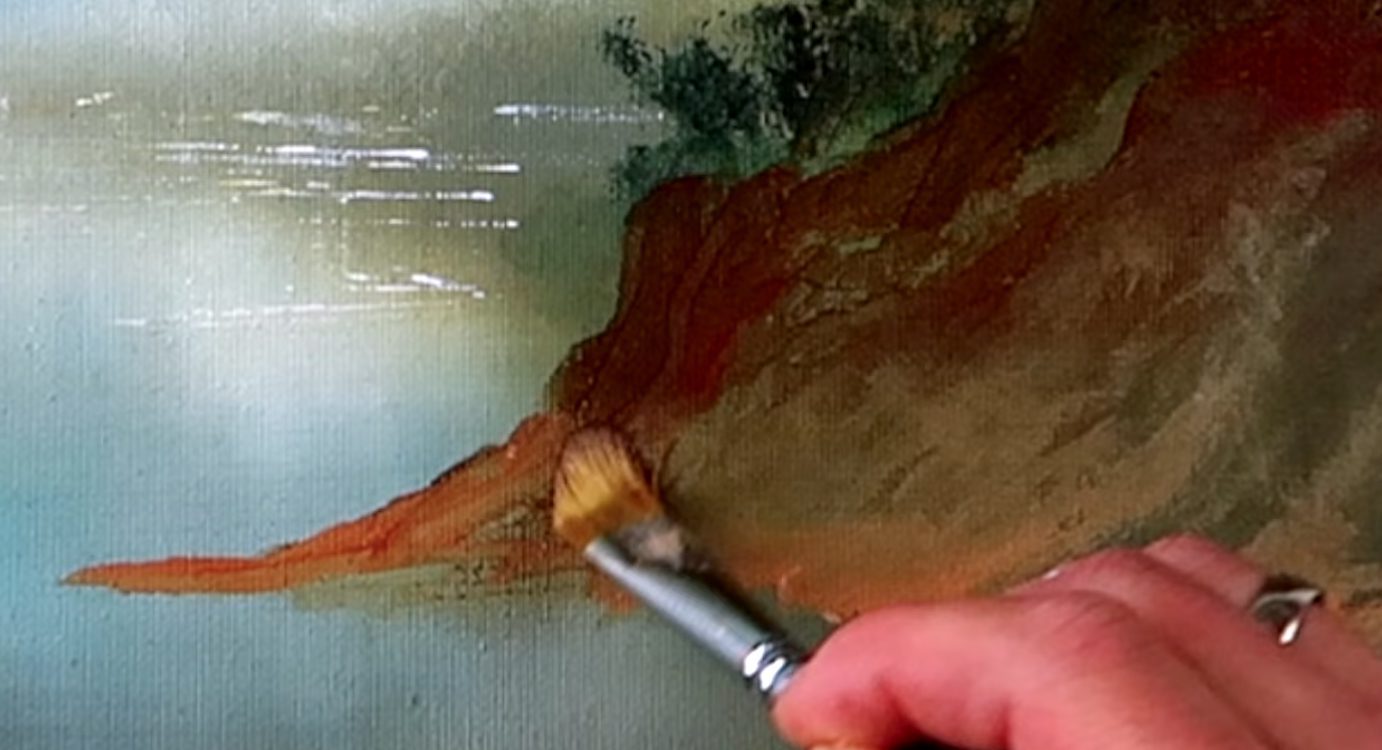
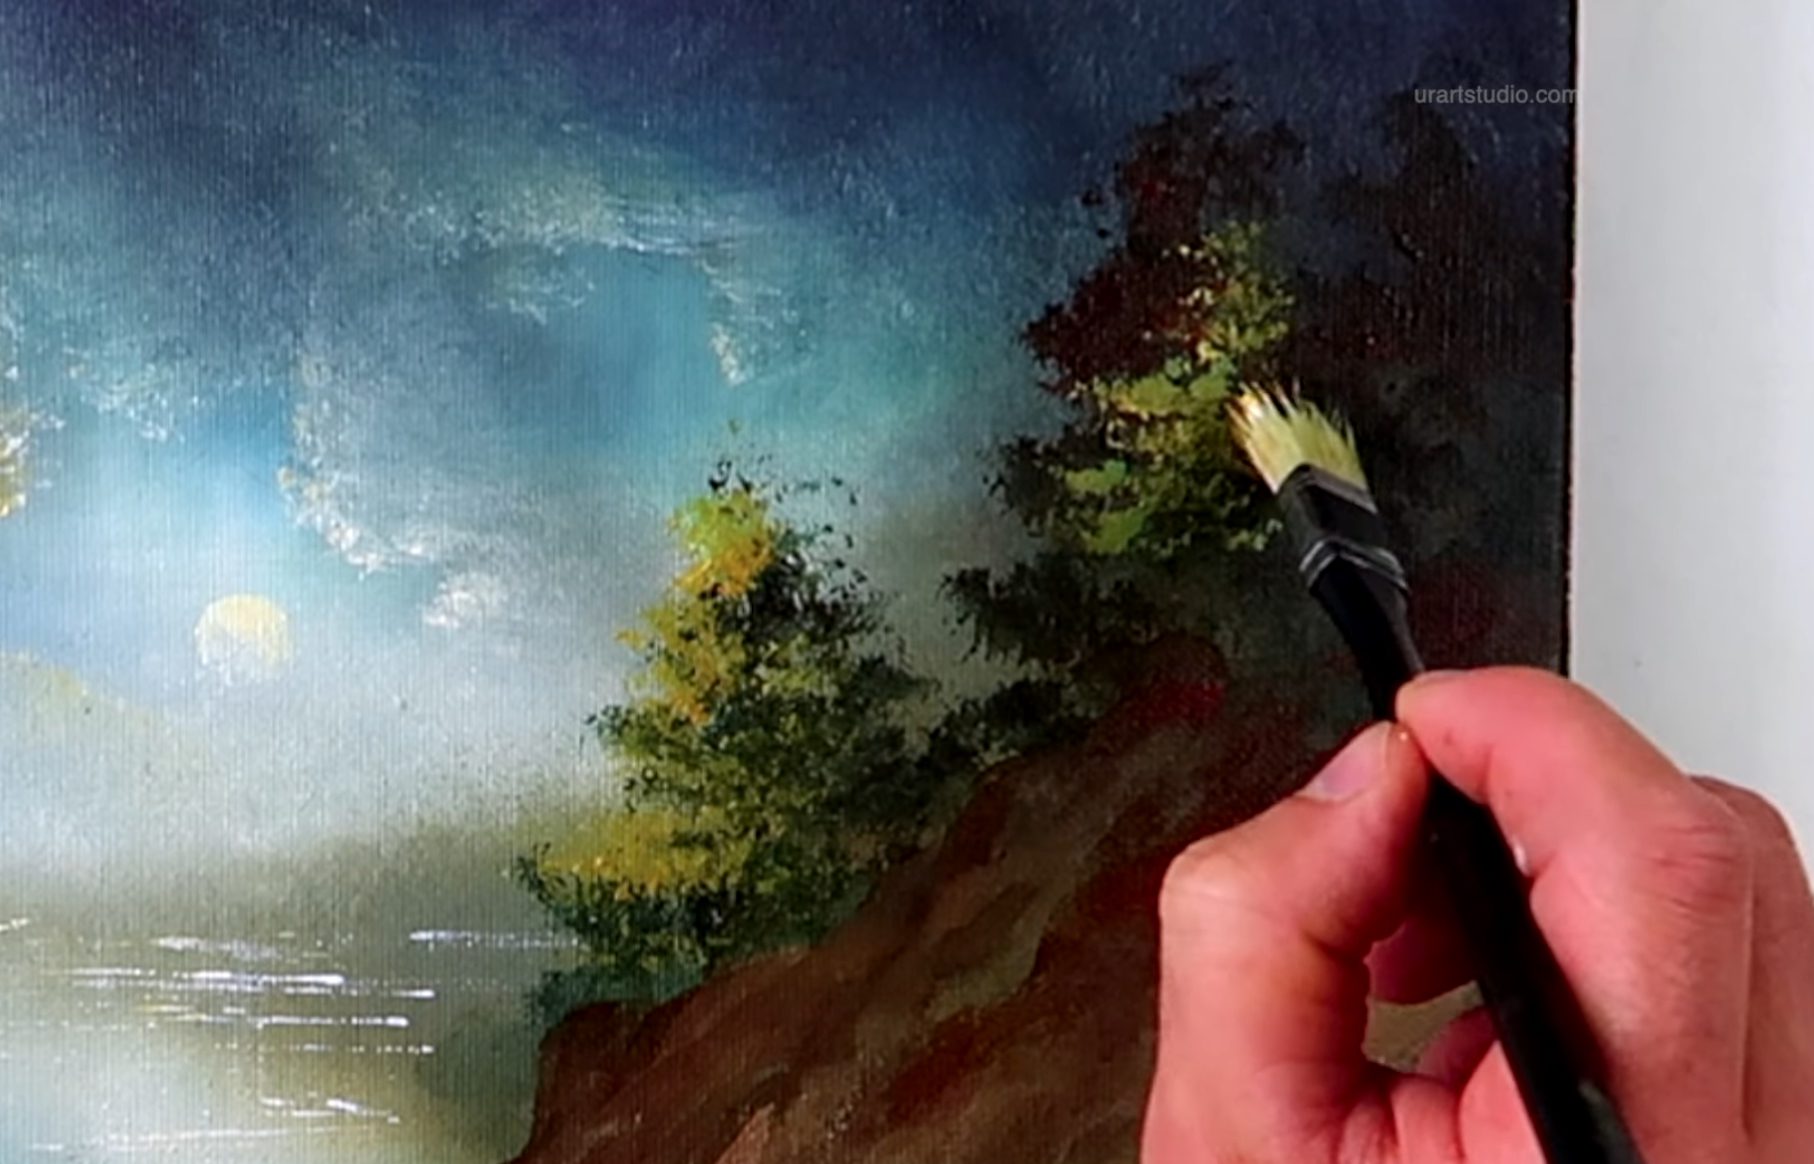
Step 11: Land Details and Color Transitions
Tools: Large Filbert Brush
Colors: Burnt Sienna, Indian Yellow
- Blend land colors below the trees using smooth, sweeping motions. Start sienna first, then work in yellow for light spots.
- Decide where the shoreline ends. Use upward strokes from the bottom to create a gradient from dark (tree line) to light (shoreline), mimicking where the moon’s rays would hit.
Pro Tip: Keep land by the shore lighter. Imagine which side “faces” the moonlight for natural contrast.


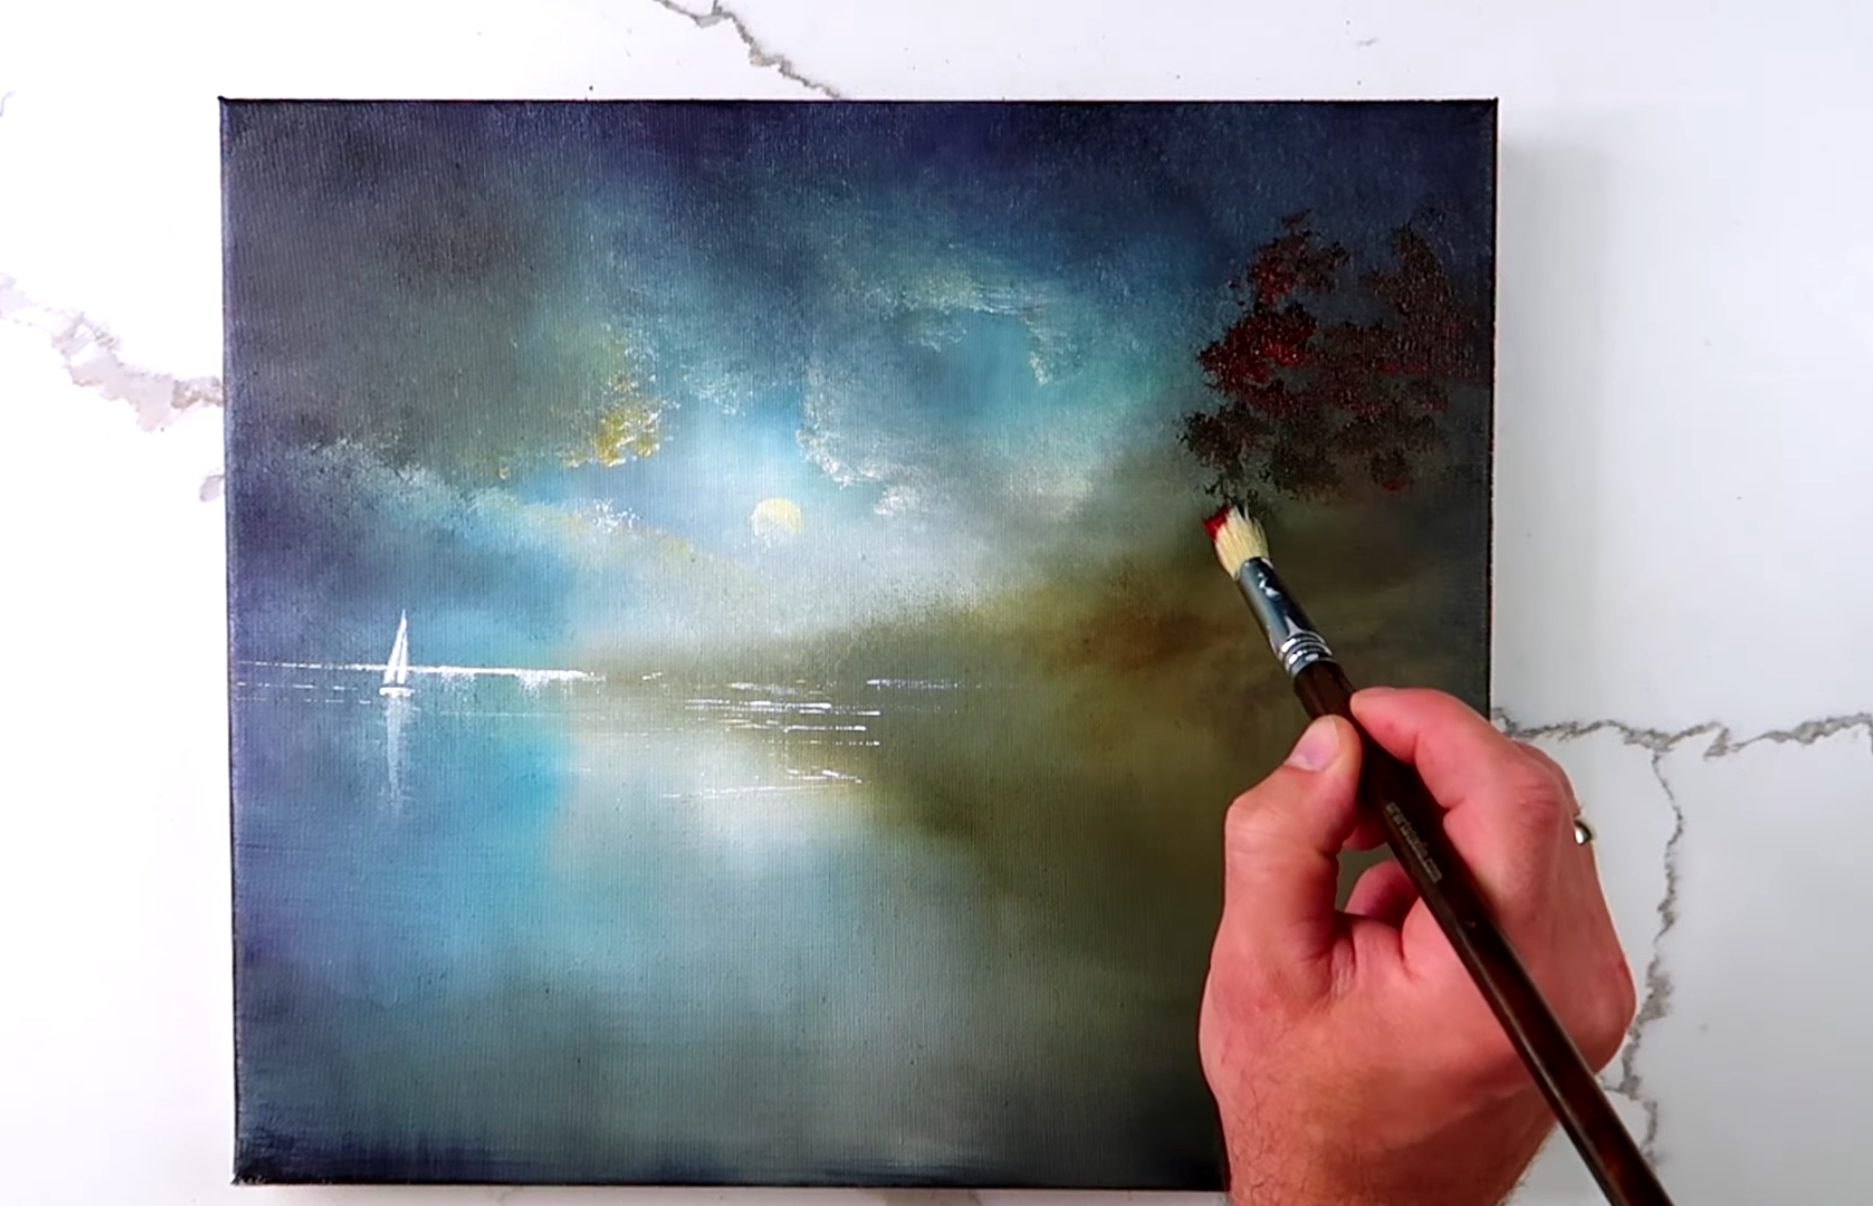
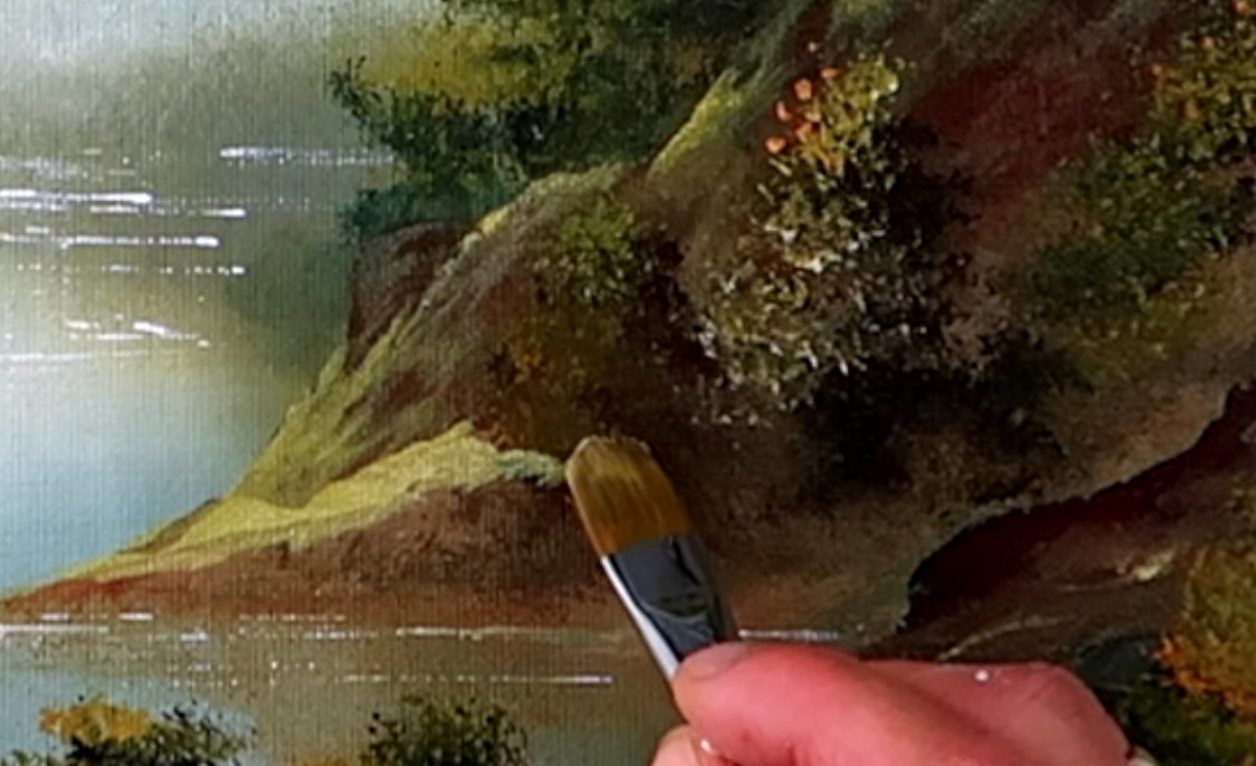
Step 12: Add Highlights to the Trees
Tools: #1 Square Brush
Colors: White, Yellow, Green
- With the tip, dot and drag highlights onto the tree edges that face the moon.
- Feel free to add extra trees or enhance highlights where you want extra moonlit sparkle!
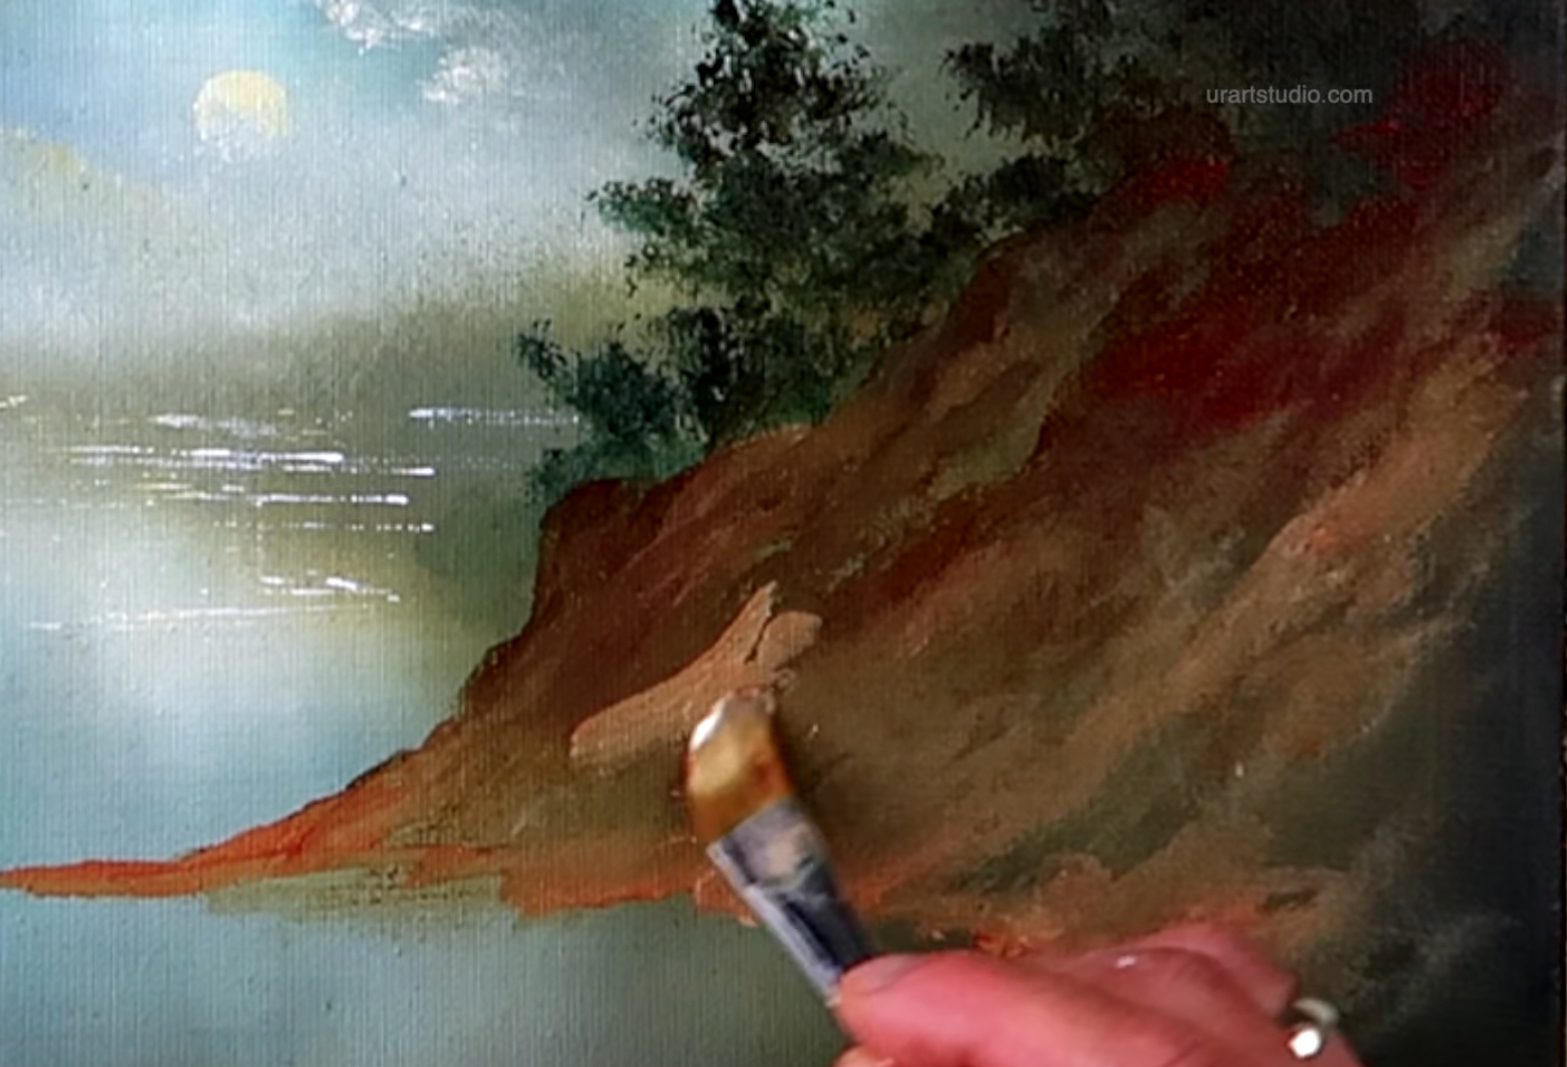
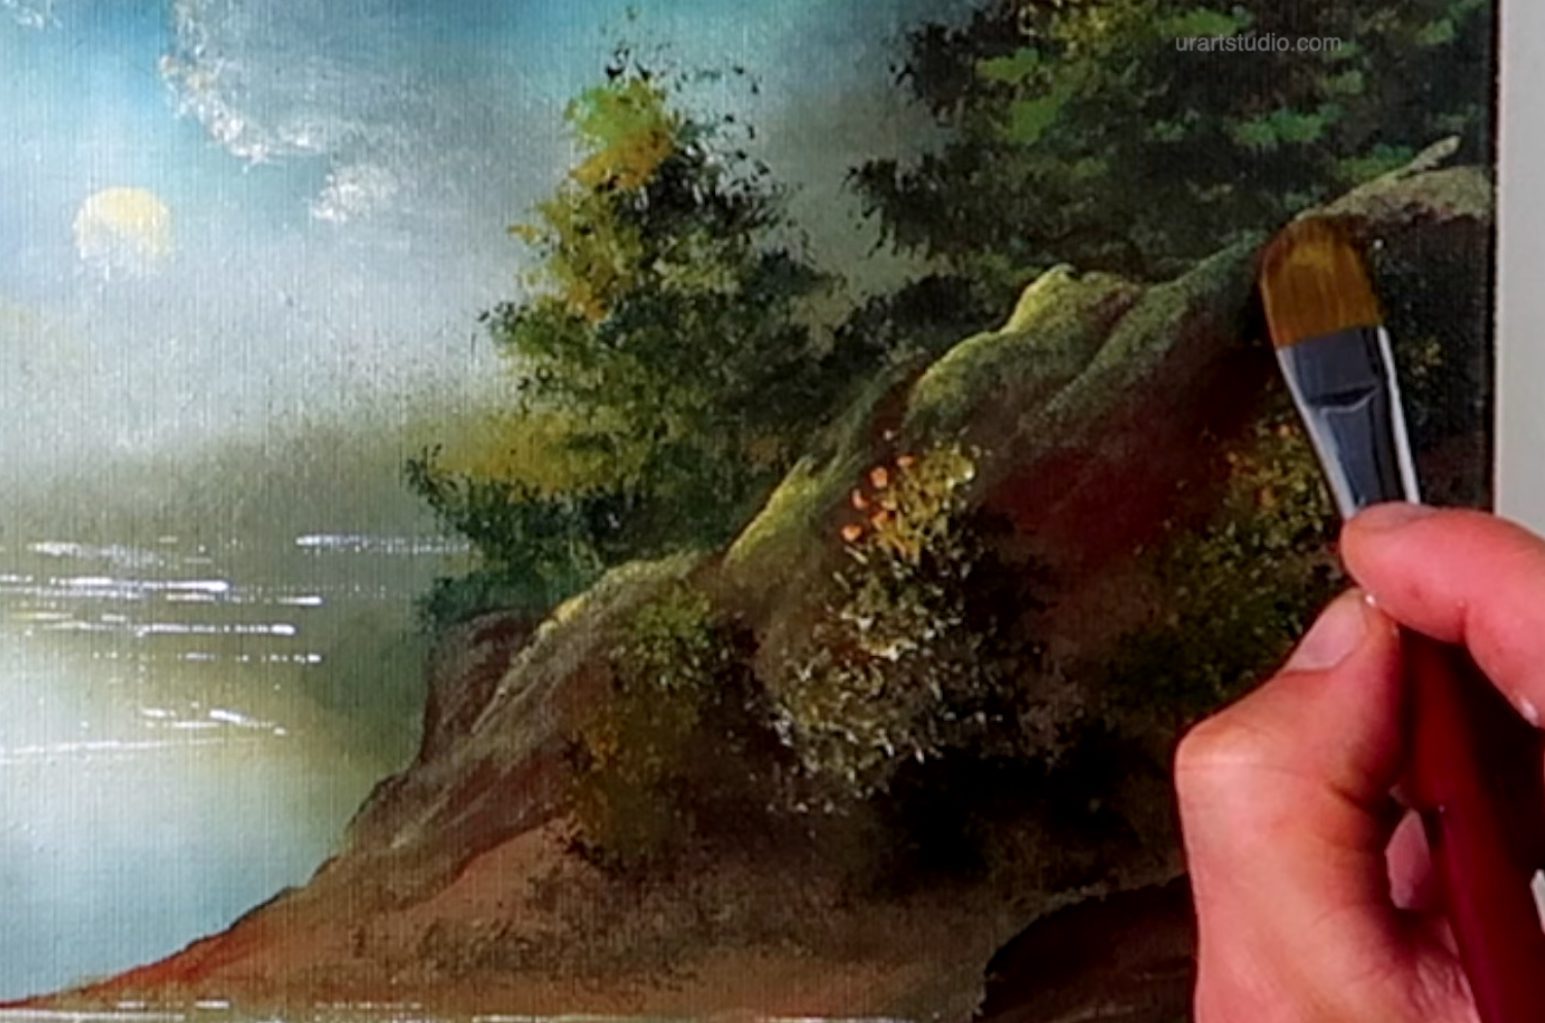
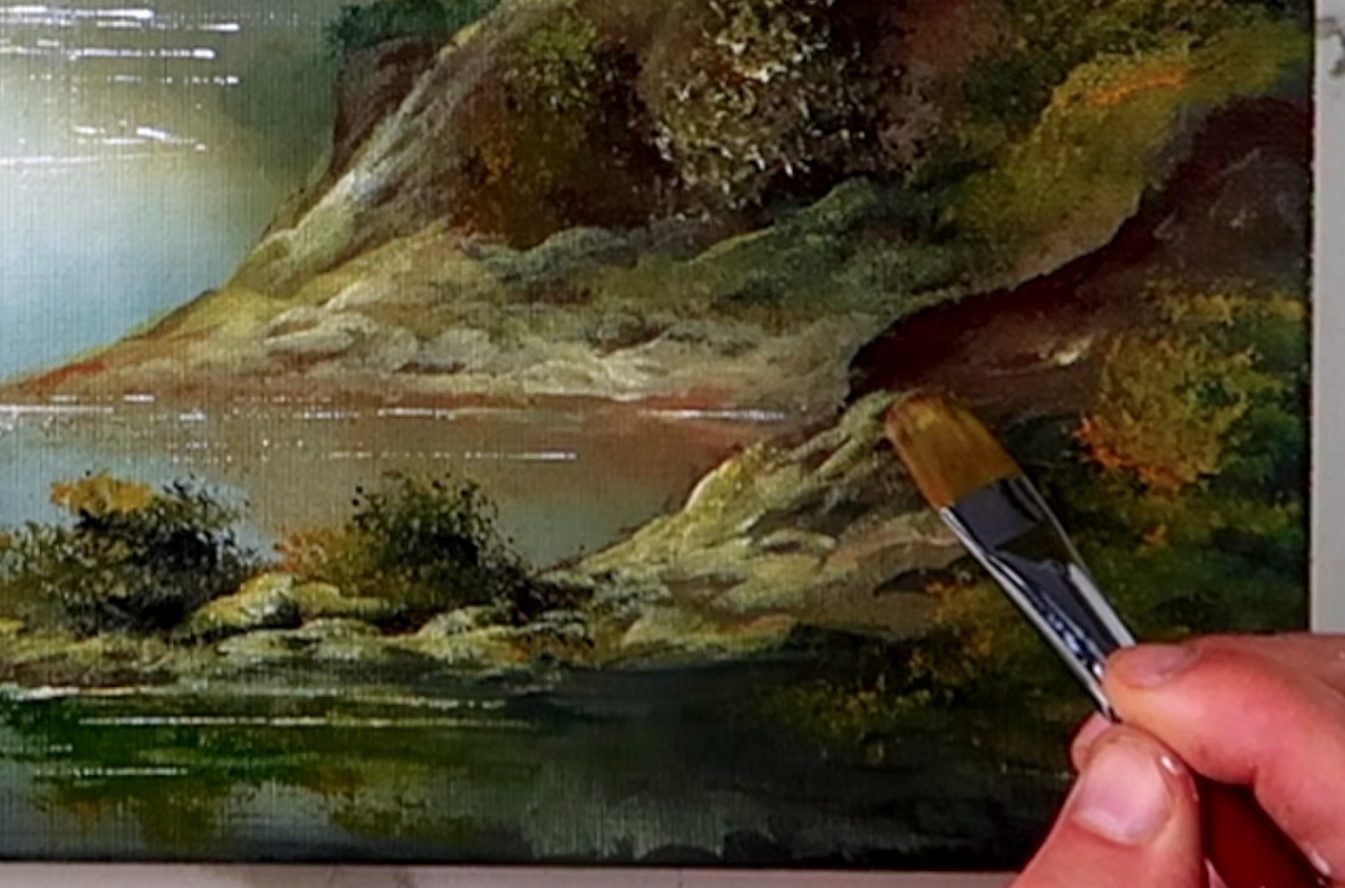
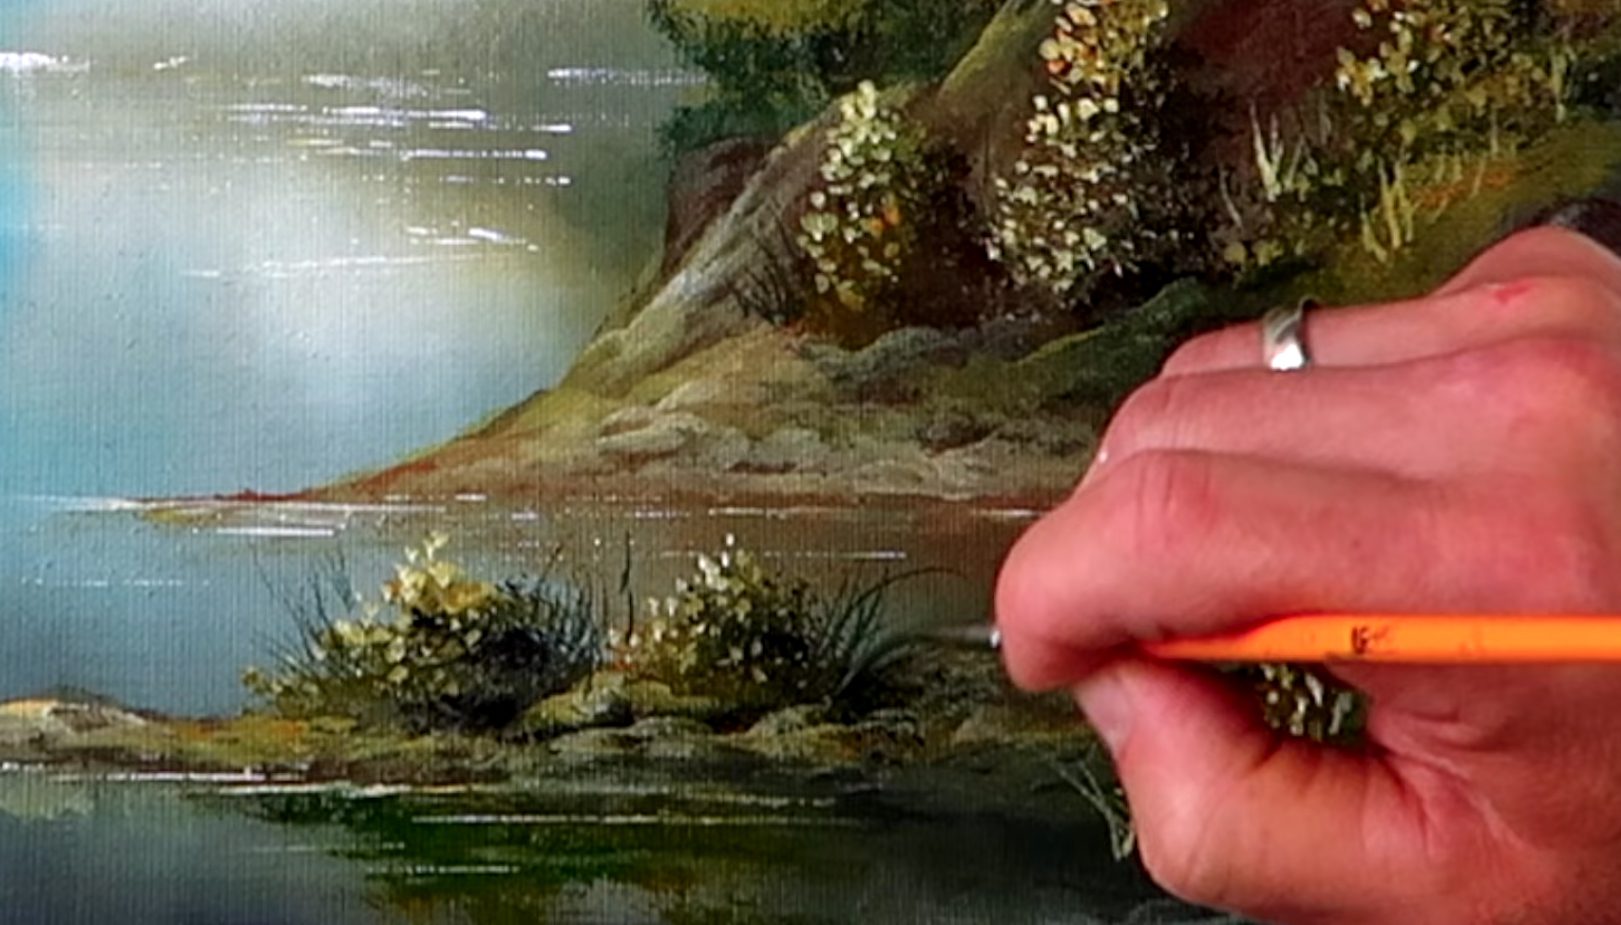
Step 13: Define Shoreline with Sparkle
Tools: Palette Knife, filbert brush
- Scrape soft lines of white and warm yellow just where land meets water. This is where you show off that shimmering, glass-still lake!
- Utilizing filbert brush loaded with yellow and white mixed colors add more light to the shoreline in a few places to highlight areas where moonlight would touch the shoreline.

Step 14: Dry & Detail
- Dry your work with a hair dryer on a low-cool setting (or wait a bit) until the surface is no longer tacky.

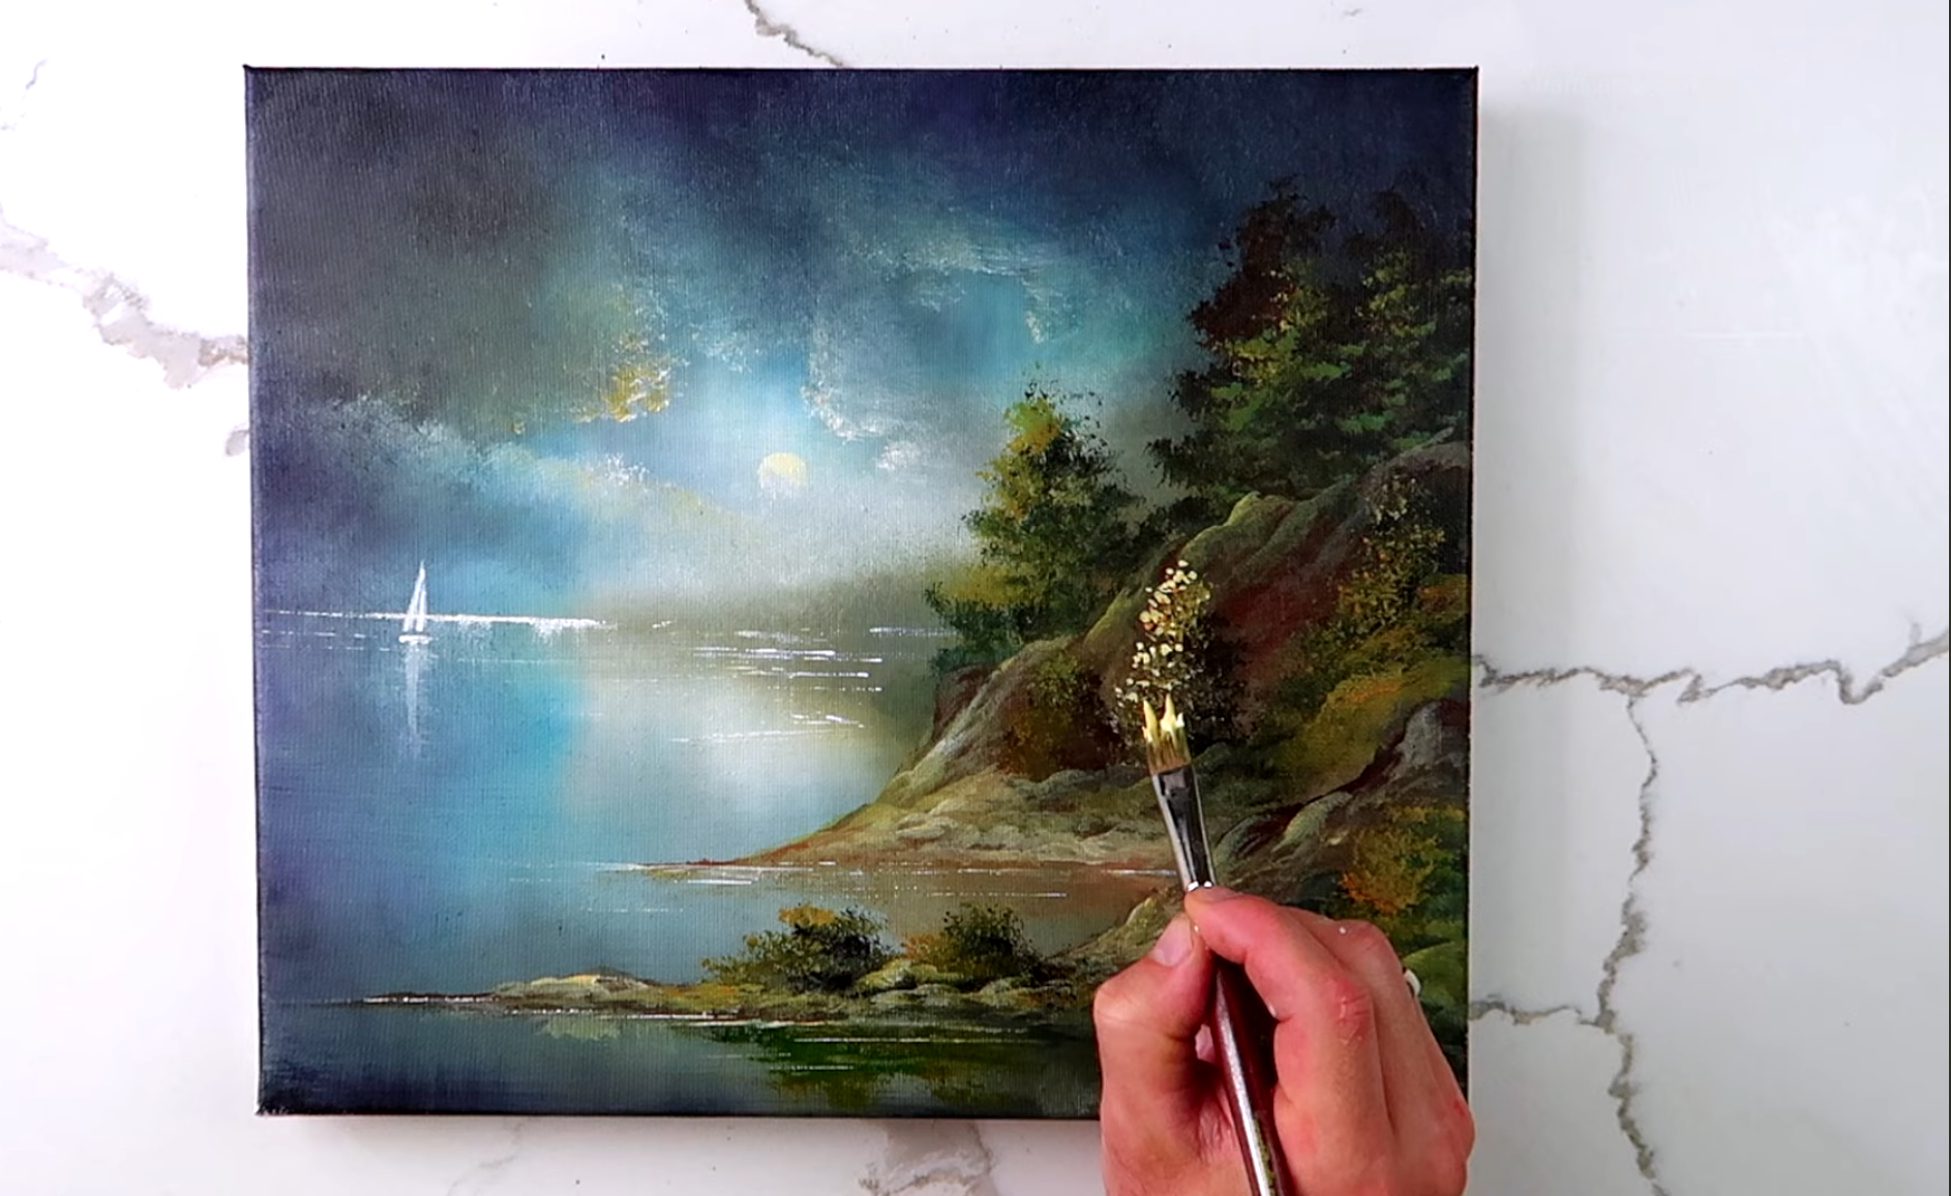
Step 15: Final Moonlit Touches
Tools: Custom Bristle Brush
Colors: Yellow, Brown, White
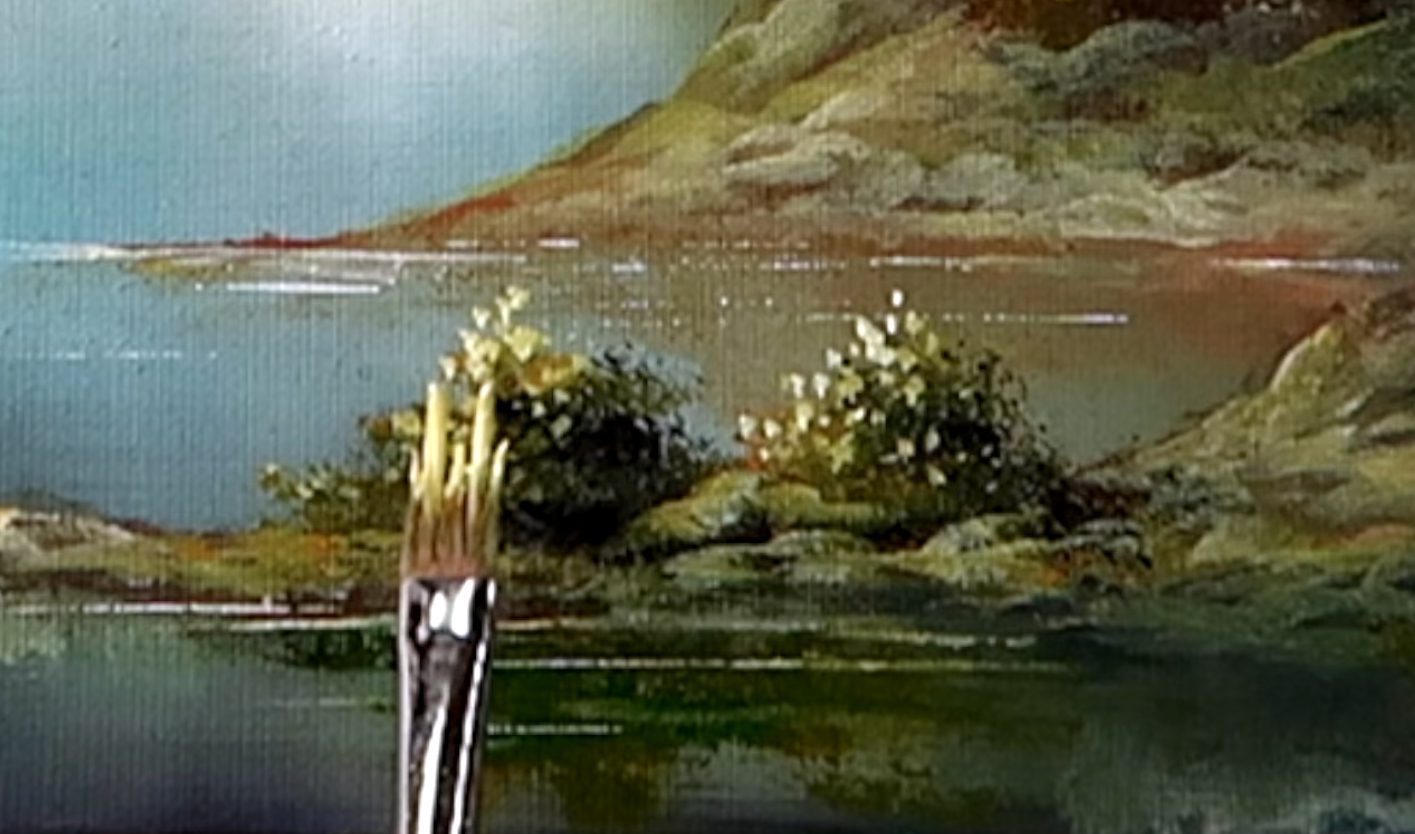
- Add more sparkles and details to pick out shrubs, grass, and glints in the land with short, lively brushstrokes across the forward landform.
- With your custom bristle brush, stipple or dab yellow-white into shrubbery and tree-tops, focusing where the moon’s beams fall the strongest.

Step 16: Paint Delicate Grasses & Water Sparkle
Tools: Liner Brush
Colors: Darks for grassy silhouettes, light for illuminated grass
- Use a liner brush to add a few upward “flicks” beside the land and shrubs.
- Clean your brush and repeat with white paint, dotting the water and shoreline for the final touch of glimmer.
Step 17: Sign and Celebrate!
Step back, admire your peaceful sailing scene, and sign your name with pride. You’ve just painted mysterious blue night, still water, and moonlit magic with your own hands!

Final Inspiration
Art is all about freedom and discovery—if your moon shines a little brighter, your trees are a little taller, or your sailboat floats further from shore, you’ve added your own magic. Every painting will be as unique as each night’s sky!
Share your work with us and explore more guides at UrArtStudio.com.
Share Your Art here: https://www.facebook.com/groups/shareyourart1/
Happy painting!
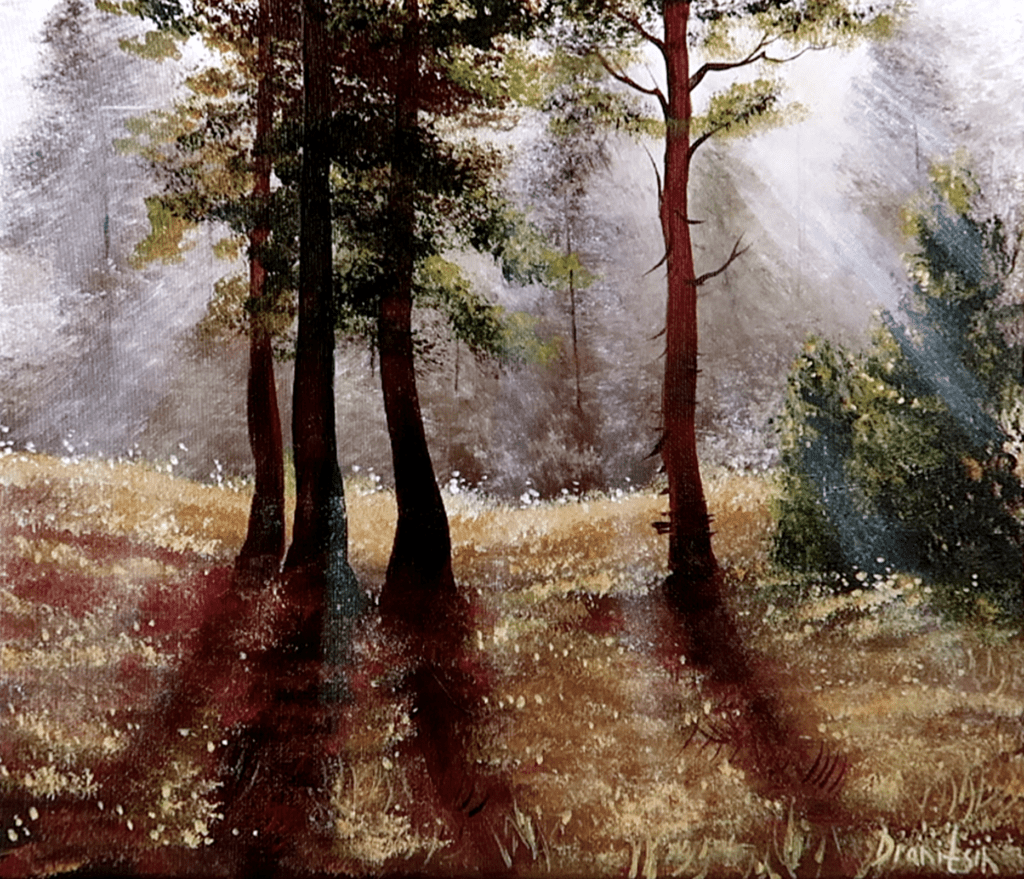
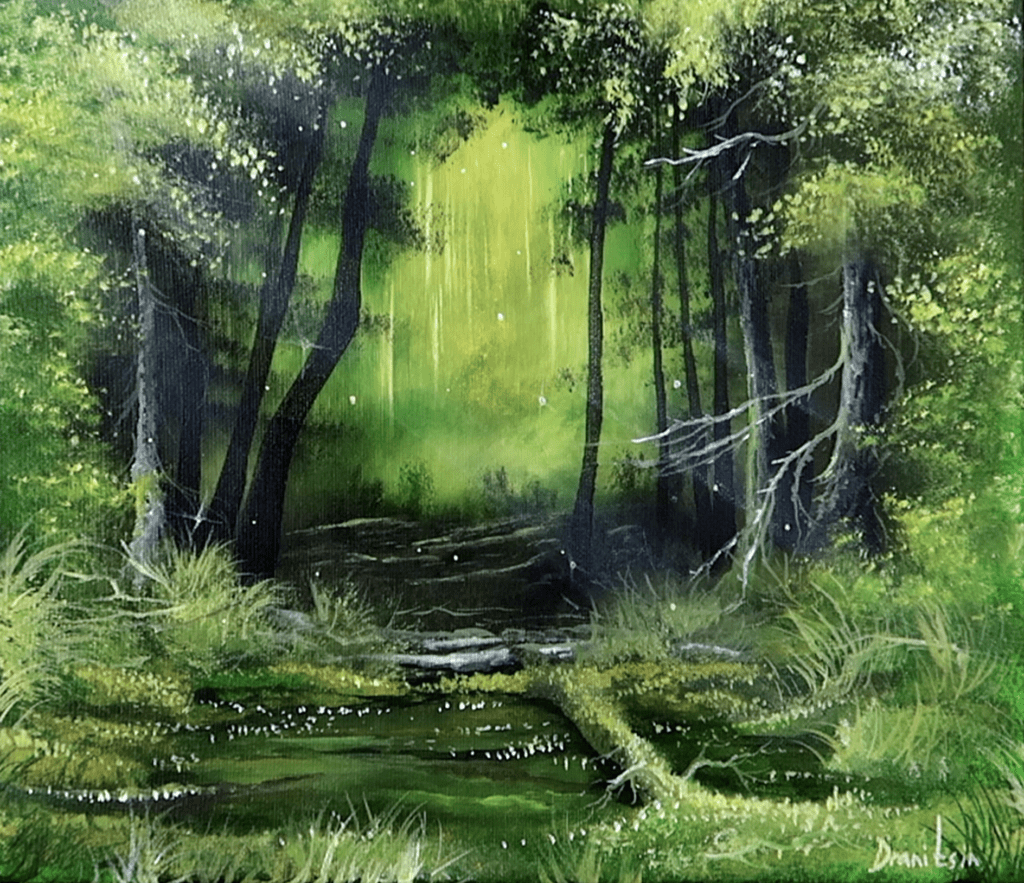
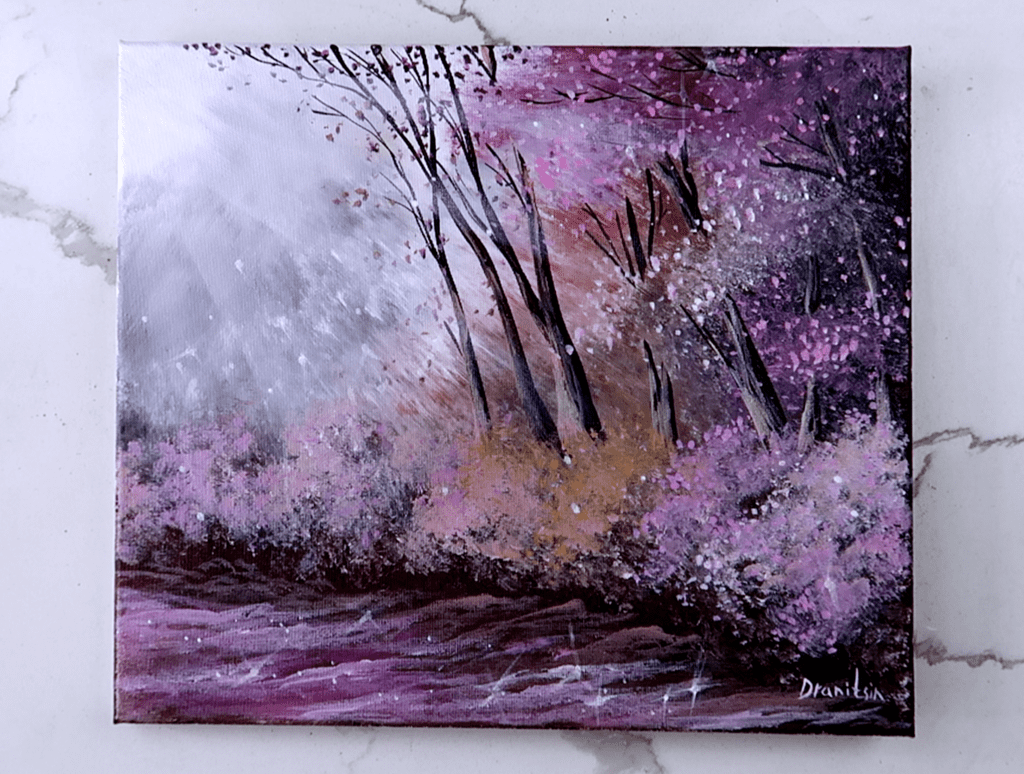
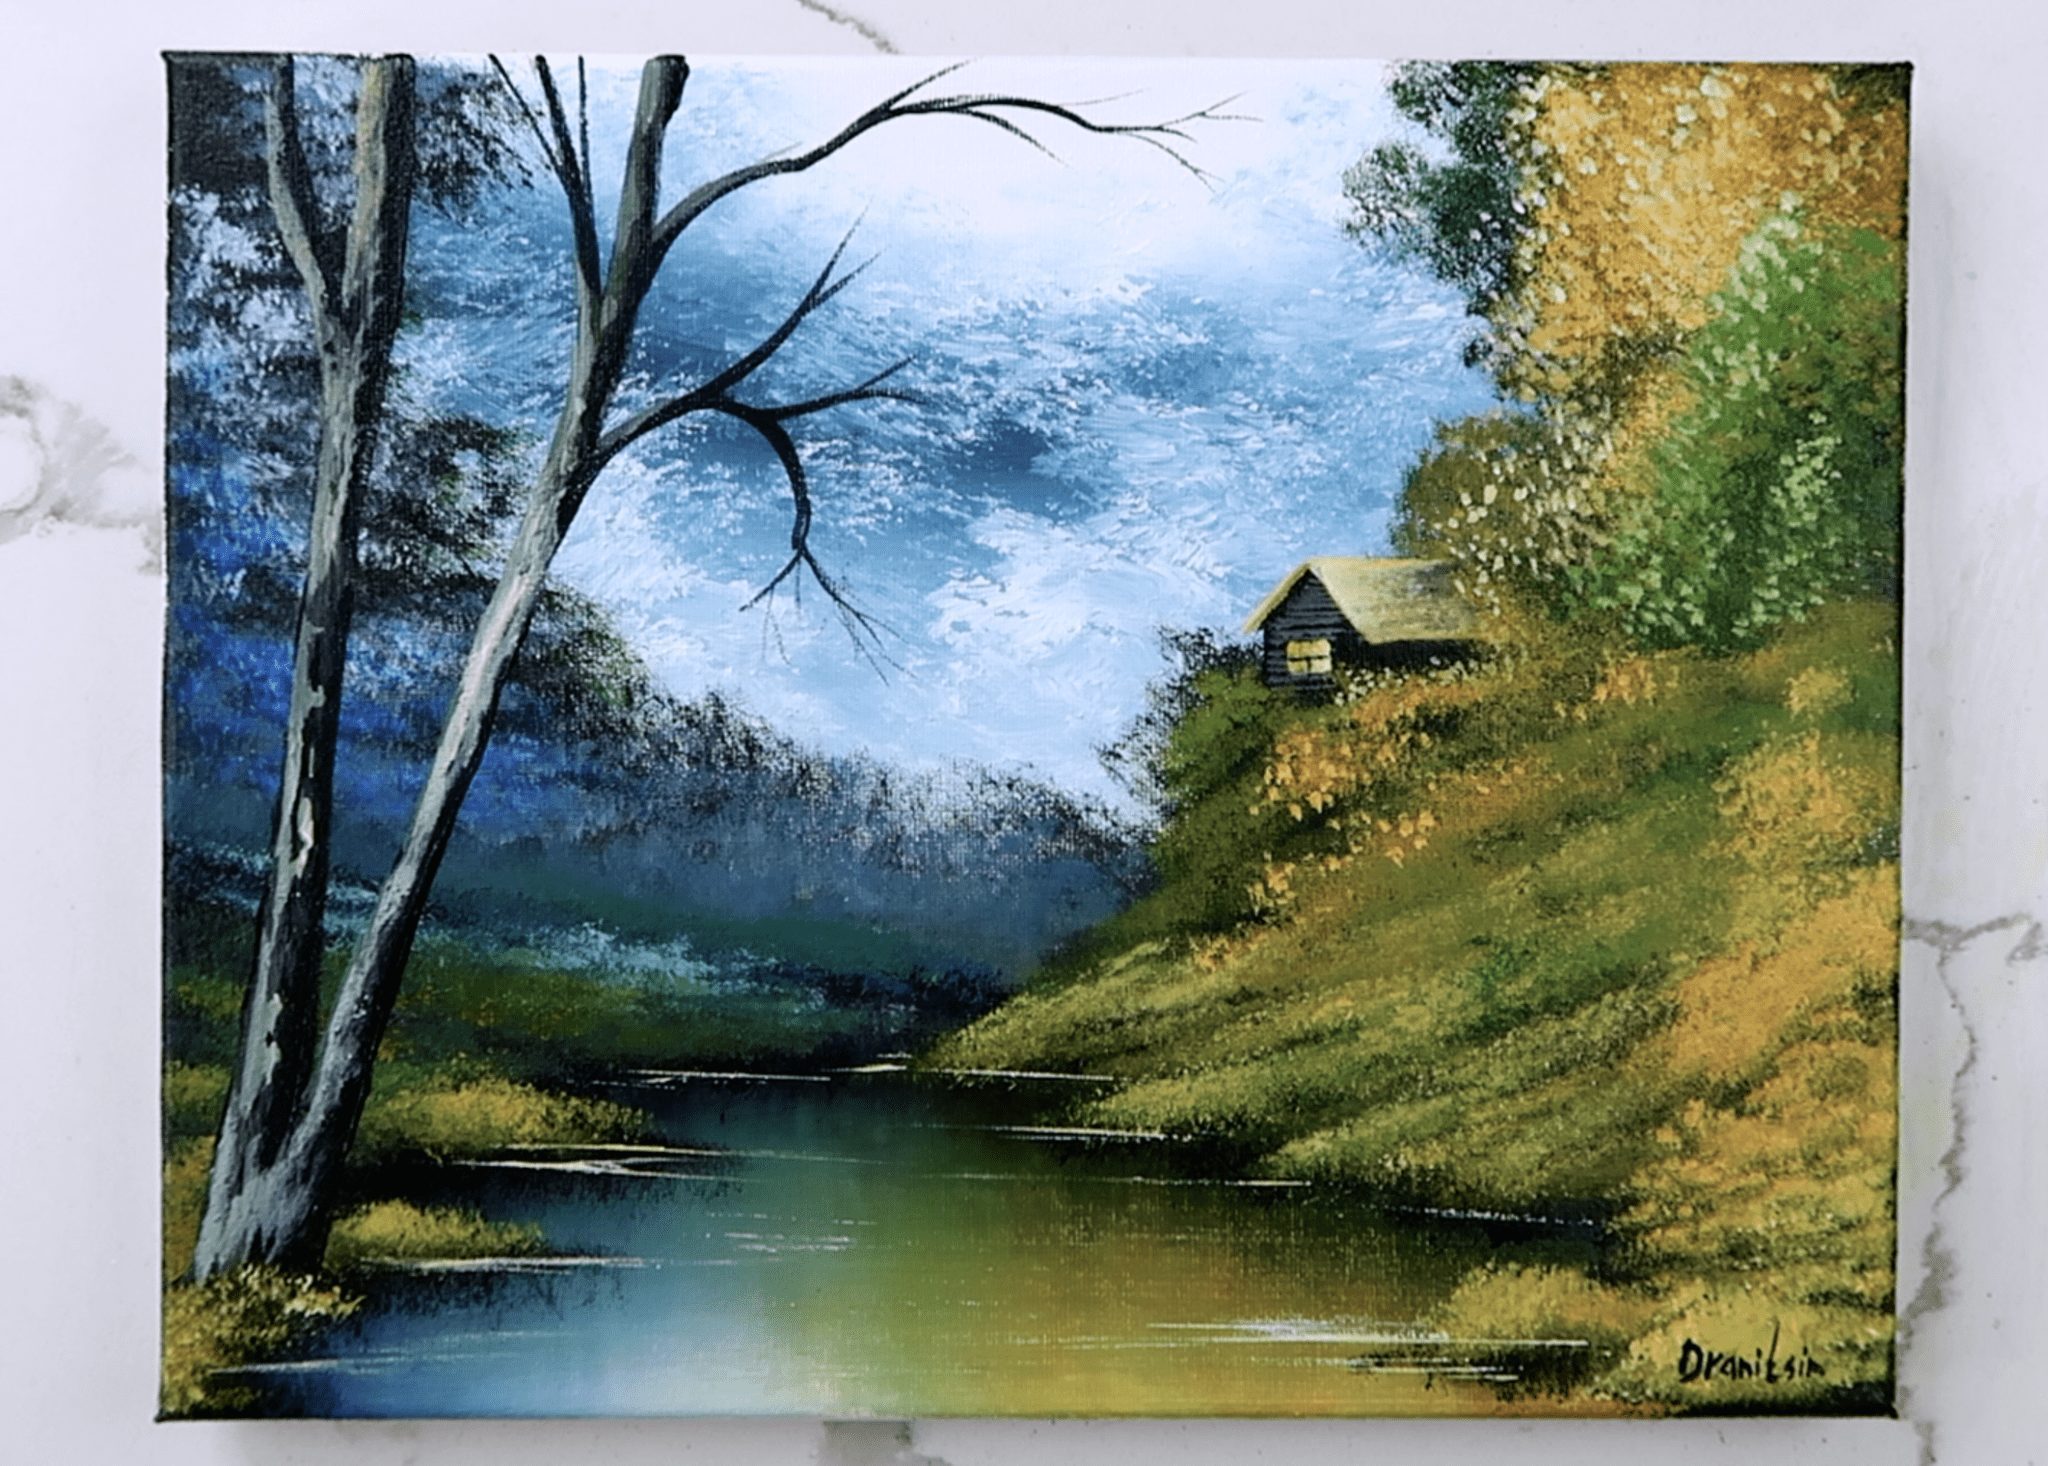
ART VIDEO STEP BY STEP VIDEO DEMONSTRATIONS AND ORIGINAL ART GALLERY BY URARTSTUDIO:
Welcome to the captivating world of URARTSTUDIO! Immerse yourself in the exquisite artistry and creativity with our step-by-step video demonstrations and exclusive original art gallery. Prepare to be spellbound as true mastery unfolds before your very eyes. Witness the artistic process come alive as our videos take you by the hand, guiding you through each brushstroke and technique. Discover the secret behind captivating compositions and the intricate details that make art truly mesmerizing. Our gallery proudly showcases a curated collection of unique and breathtaking artwork, where every piece tells a story and evokes powerful emotions. Journey with us and let your imagination take flight as URARTSTUDIO invites you to unravel the magic of art like never before.


* Paintbrushes: https://urartstudio.com/product-category/bdrushes/