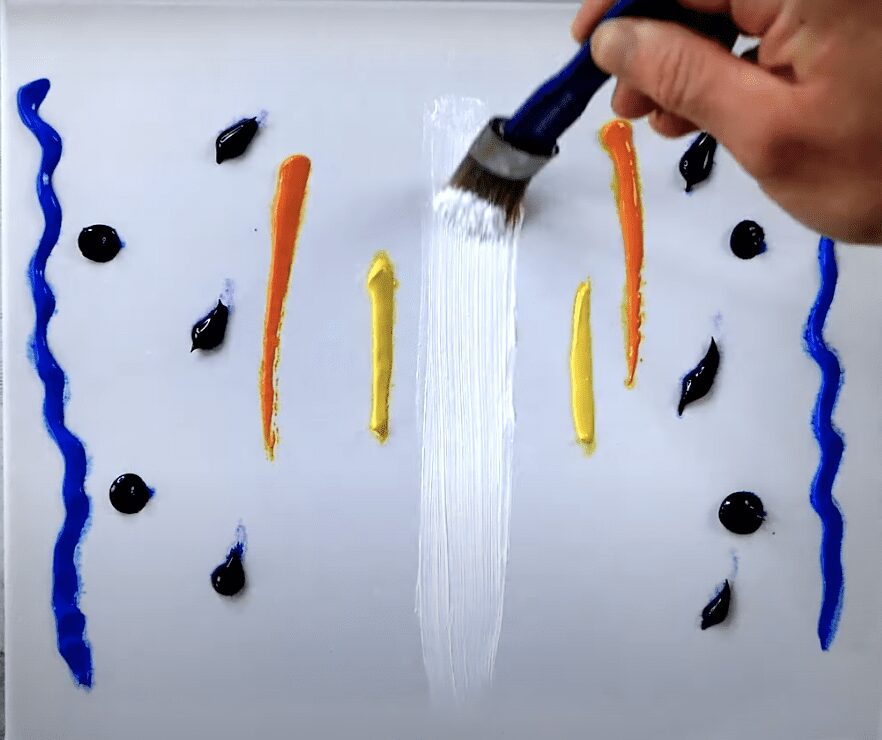
Acrylic painting can be both an exciting and challenging medium to work with, especially regarding blending colors and achieving that perfect finish. One of the critical steps in ensuring a successful painting session is adequately preparing your workspace and supplies. Not only does this streamline your process, but it also enhances your ability to work with the paint effectively. In this blog post, we’ll explore the importance of preparing all your supplies and how to moisten your canvas just before you begin painting. This preparation helps achieve smoother blending and extends your working time with acrylics, allowing for a more enjoyable and productive painting experience.
The Importance of Preparation in Acrylic Painting
1. Setting Up for Success
Preparation is vital in any artistic endeavor. Having your supplies organized will help you stay focused on your creative process rather than wasting time searching for items mid-painting.
- Clarity and Focus: A well-organized workspace reduces distractions, allowing you to immerse yourself in the painting flow.
- Time Efficiency: Preparing your materials ahead of time ensures you can make the most of your painting session without interruptions.
2. Benefits of Moistened Canvas
Moistening your canvas before you start painting can significantly impact your experience and the final result.
- Enhanced Blending: A moistened canvas allows for smoother transitions and better blending between colors, essential when creating depth in landscapes.
- Extended Working Time: Acrylic paint dries quickly; starting with a damp canvas can extend your working time, allowing for more adjustments and details.
Preparing Your Supplies for Acrylic Painting
1. Gather Your Essential Painting Supplies
Before you begin, ensure that you have all the necessary materials at hand. Here’s a checklist of essential supplies for acrylic landscape painting:
- Acrylic Paints: Select your desired color palette, focusing on primary colors, secondary colors, and any specific shades you want to work with.
- Brushes: Include a variety of brush types (flat, round, fan) in different sizes to meet your painting needs.
- Palette: Use a sturdy palette (plastic, wood, or glass) to mix your colors.
- Canvas or Panel: Choose a pre-stretched canvas, canvas boards, or acrylic painting panels.
- Palette Knife: Useful for mixing colors and applying paint.
- Water Container: A container for rinsing brushes and adding water to your paint.
- Paper Towels or Rags: Keep these handy for cleaning brushes and wiping down surfaces.
2. Organize Your Workspace
Take a few moments to set up your workspace for maximum efficiency:
- Dedicate a Space: Make a clean area specifically for painting, away from distractions.
- Arrange Your Supplies: Group similar items together. For example, keep brushes and painting utensils on one side and paints on another for easy access.
- Ensure Good Lighting: Work in a well-lit area or invest in adequate task lighting to avoid strains while painting.
Moistening Your Canvas Before Painting
1. The Technique of Moistened Canvas
Moistening your canvas is a simple but effective technique that prepares the surface for painting.
A. What You’ll Need:
- Water: Use distilled water for a cleaner application, although tap water is generally acceptable as well.
- Spray Bottle: For even application, a fine mist spray bottle works wonders.
- Sponge or Cloth: Alternatively, you can use a damp sponge or a clean cloth to apply moisture.
B. How to Moisten Your Canvas:
- Lightly Spray the Surface: Begin by lightly misting the canvas with water from your spray bottle. Hold the bottle about 10-12 inches away to ensure an even distribution.
- Wipe Gently with a Damp Cloth (optional): If you choose to use a sponge or cloth, dampen it with water and gently wipe the canvas surface to create a uniformly moist feel.
- Allow to Settle: Wait a few moments for the water to absorb before you start painting. The surface should feel slightly tacky but not overly wet.
2. Effects of a Moist Canvas on Acrylic Painting
A. Improved Blending
When your canvas is moistened, the acrylic paint glides more smoothly, allowing for better blending and the ability to create soft edges.
- Technique for Blending: When applying paint to a moistened canvas, colors will merge seamlessly, giving you greater control when creating skies, water, or distant landscapes.
B. Longer Work Time
By dampening the canvas, you effectively delay the drying time of the paint, allowing you to work longer and make adjustments without the risk of hard edges.
- Working in Layers: This technique is especially beneficial when you want to layer colors or create atmospheric effects in your landscapes.
Final Thoughts on Preparation and Moistening
Taking the time to gather your supplies and moisten your canvas can set the stage for a fulfilling and successful acrylic painting experience. With a well-prepared workspace and a damp canvas, you can enjoy longer working times, improved blending, and a more engaging creative process.
At Urart Studio, we strive to support artists of all levels with valuable resources that enhance your painting journey. Explore our extensive collection of step-by-step acrylic painting tutorials, painting tips, and a unique selection of art supplies designed to inspire your creativity. Also, don’t miss our original landscape painting art gallery and our engaging YouTube channel for practical demonstrations and inspiration.
Explore More at Urart Studio!
Ready to enhance your acrylic painting process? Visit our website for a plethora of resources:
- Browse our selection of art supplies and tools at Shop.
- Discover valuable painting tips at Painting Tips.
- Follow our step-by-step painting instructions at Step-by-Step Painting Instructions.
Prepare your canvas and supplies for an exciting painting session today!


Leave a Reply
You must be logged in to post a comment.