Introduction: Sponge Stamping Techniques for Captivating Art
Sponge stamping is a delightful and versatile technique that can add texture, depth, and interest to your paintings. With its ability to create unique patterns and shapes, sponge stamping enables artists to explore new creative avenues. In this guide, we will provide you with a step-by-step approach to sponge stamping, along with useful tips and ideas to enhance your artistic process.
Step 1: Gather Your Materials and Prepare Your Workspace
Before beginning, ensure you have all the necessary materials at hand. This includes a variety of sponges (natural or synthetic), acrylic or watercolor paints, a palette for mixing colors, water containers, and your preferred painting surface, such as canvas or paper. Set up your workspace in a well-ventilated area and cover your surface with a protective layer to prevent any unwanted spills or stains.
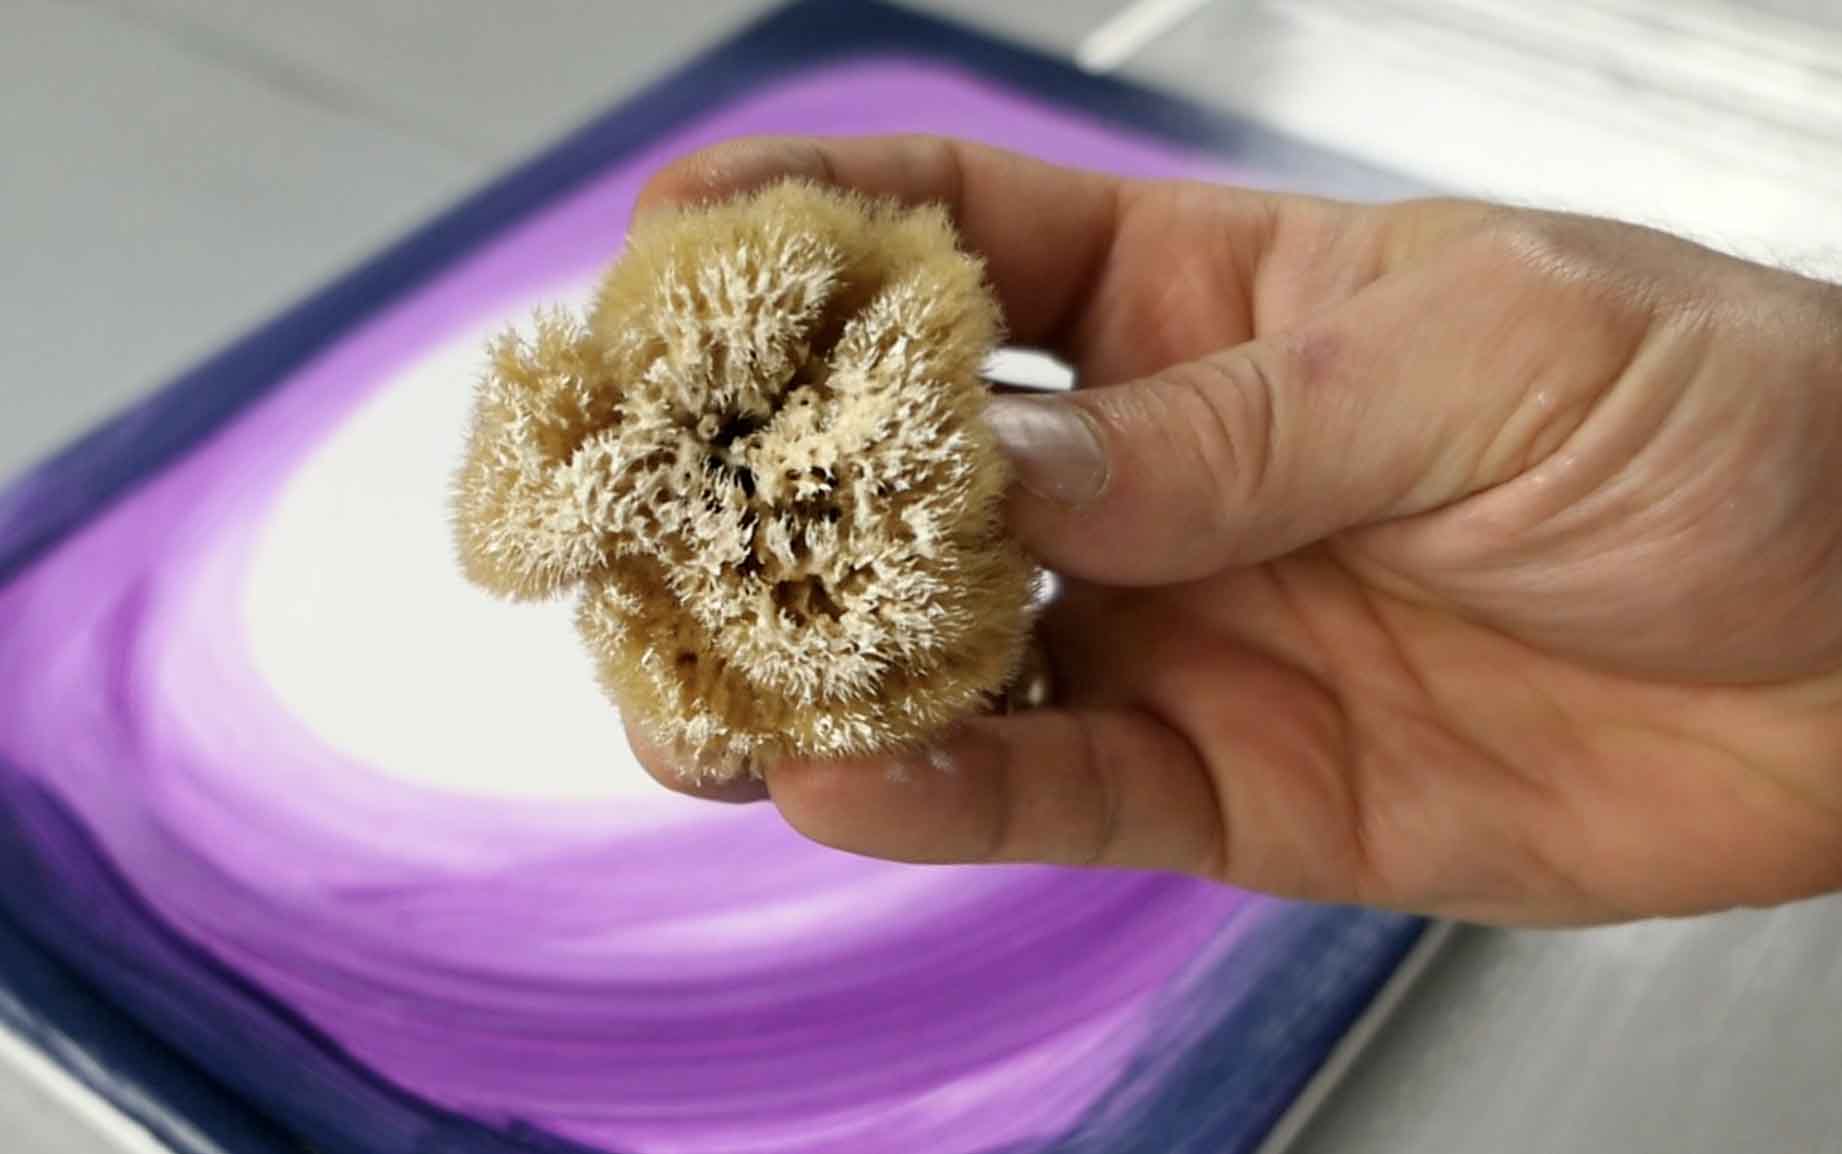
Step 2: Prep Your Sponges and Select Colors
Cut or tear your sponges into varied shapes and sizes, creating an assortment of stamping tools. This will allow you to achieve different effects and patterns. Next, choose the colors you wish to work with, keeping in mind the overall mood and theme of your artwork. Experiment with complementary or contrasting color schemes to add visual interest to your creations.
Step 3: Load the Sponge with Paint
Squeeze a small amount of paint onto your palette and dab the sponge into the color, ensuring it is evenly coated. Avoid oversaturating the sponge, as this may result in a messy application. Instead, it is better to start with a moderate amount of paint and add more as needed during the process.
Step 4: Test and Practice
Before stamping directly onto your artwork, it’s crucial to test the technique on a separate piece of paper or canvas. This allows you to familiarize yourself with the pressure, angle, and placement required for creating desired effects. Take this opportunity to experiment with different sponge shapes and paint combinations to gain a deeper understanding of how they interact.
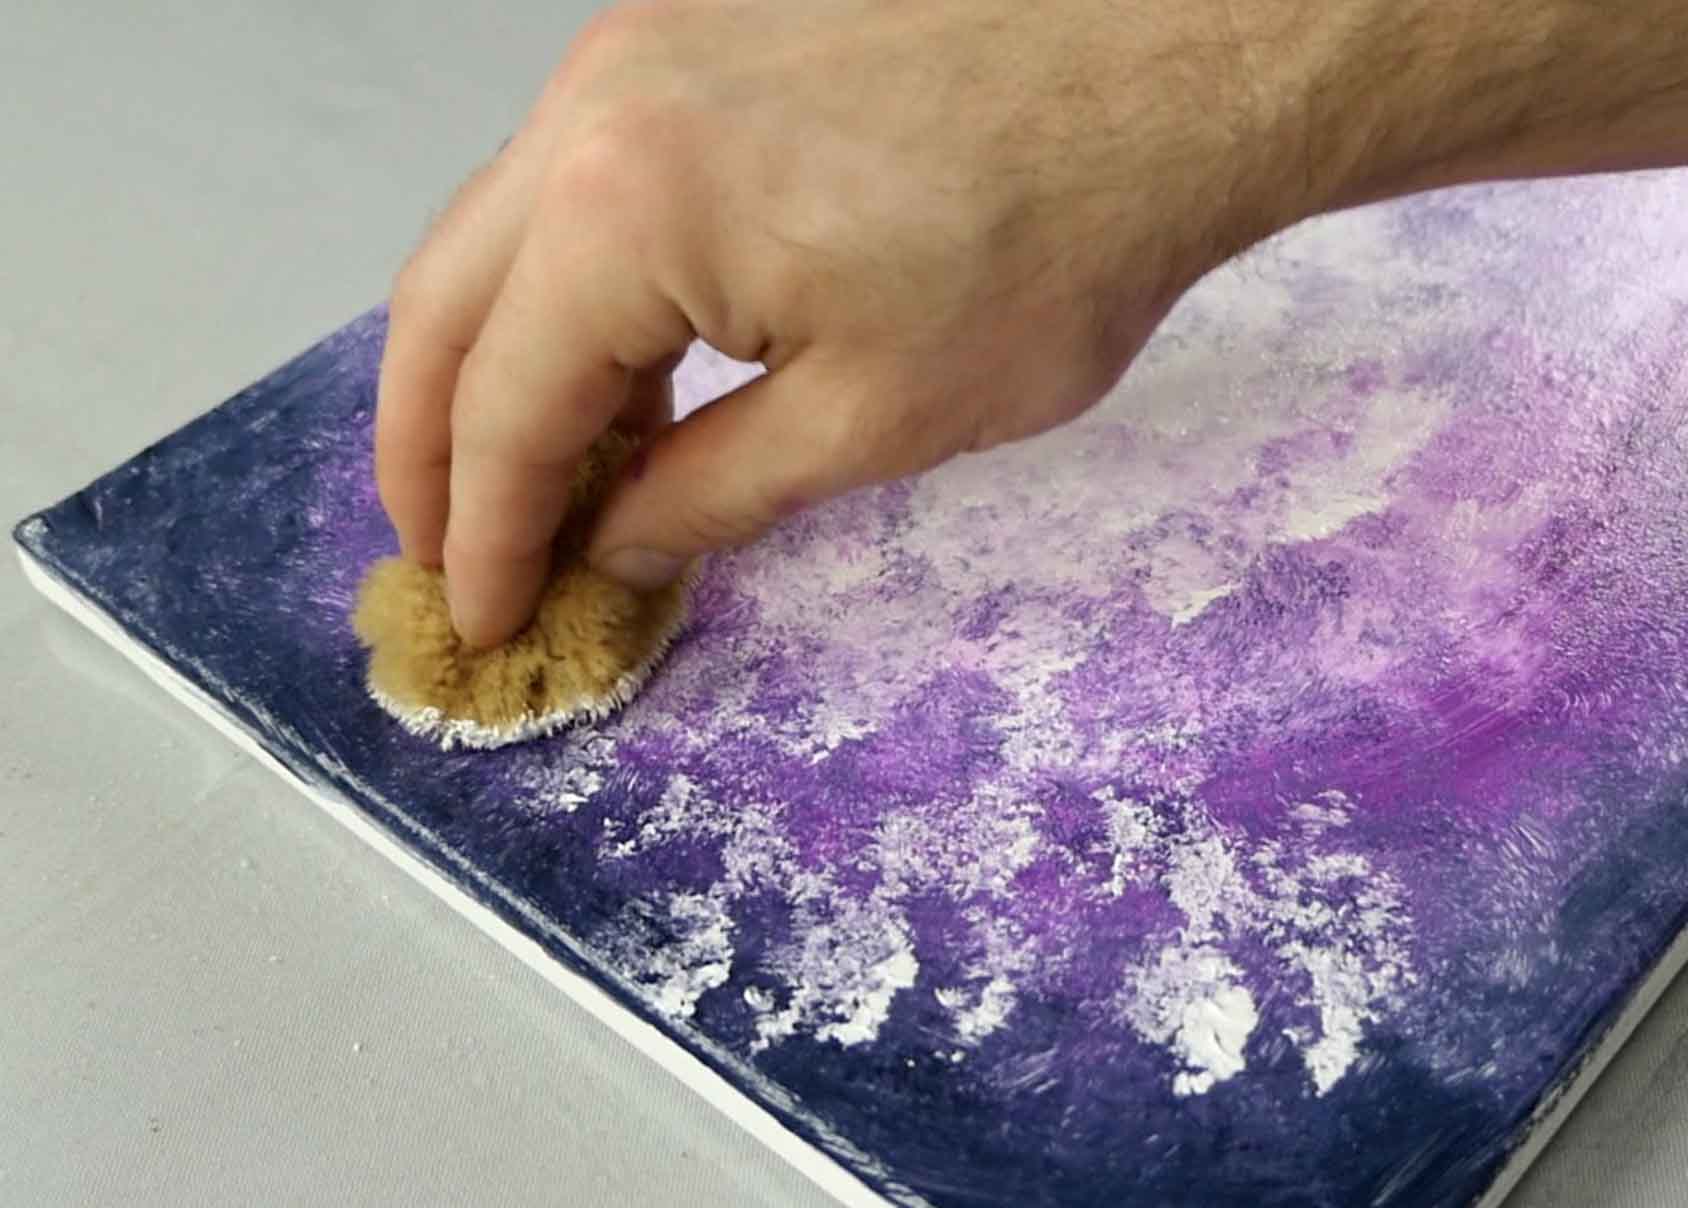
Step 5: Apply the Stamps to Your Artwork
Once you have practiced and feel confident, begin incorporating sponge stamping into your artwork. Use gentle yet firm pressure to transfer the paint from the sponge to the surface, paying attention to the effect you want to achieve. You can overlap stamps, vary the orientation, or combine different sponge shapes to create intricate patterns and textures. Take breaks to assess your progress, making adjustments if necessary.
Helpful Tips for Artists:
- Use a mixture of sponges to achieve a wider range of textures and patterns.
- Vary the pressure and angle of your stamping to create depth and dimension within your artwork.
- Experiment with blending colors together on the sponge to achieve gradient or ombre effects.
- Allow layers of paint to dry before adding additional stamps or details to prevent smudging or blending of colors.
- Clean your sponges carefully between color changes to avoid muddying your palette.
Painting Ideas and Inspiration:
- Create a vibrant abstract piece by using bold, contrasting colors and overlapping sponge stamps.
- Incorporate sponge stamping into a seascape or landscape to simulate the texture of waves or foliage.
- Use delicate, pastel colors and gentle stamping to add an ethereal touch to a portrait or still life.
- Experiment with metallic or iridescent paints for a striking and unique effect.
- Combine sponge stamping with other techniques like brushwork or collage to add even more depth and complexity to your artwork.
Remember, this guide provides a starting point for your exploration of sponge stamping, and the possibilities are endless. For further inspiration, techniques, and resources, we encourage you to browse through our website at https://urartstudio.com, where you can find a wealth of free materials to enhance your artistic journey. Happy sponge stamping!