Title: Pouring Acrylic Paint: A Comprehensive Guide to Techniques and Tips
Introduction:
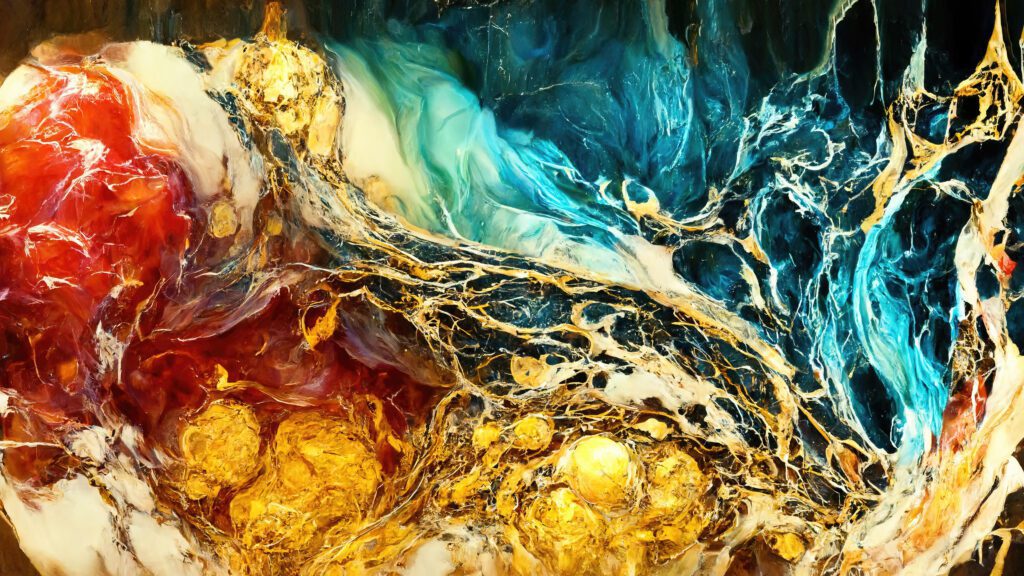
Welcome to our comprehensive guide on pouring acrylic paint! Whether you’re a beginner or an experienced artist, this guide will provide you with valuable tips and step-by-step techniques to create stunning poured acrylic paintings. From selecting materials to mastering various pouring techniques, we’ve got you covered. For more free resources and inspiration, make sure to browse through our website at https://urartstudio.com.
- Materials and Preparation:
Before you begin, ensure you have the following materials:
- Acrylic paints of your choice
- Pouring medium
- Canvas or other suitable painting surface
- Plastic cups for mixing
- Mixing sticks or stirrers
- Drop cloth or protective surface
- Disposable gloves (optional)
Prepare your workspace by laying down a drop cloth or any protective surface. It’s also a good idea to wear gloves to protect your hands from paint and chemicals.
- Mixing the Pouring Medium:
Pouring medium is essential for creating the right consistency and flow of your acrylic paint. Follow these steps to achieve the ideal mixture:
- Use a plastic cup and measure equal amounts of pouring medium and acrylic paint.
- Thoroughly mix them together using a mixing stick or stirrer, ensuring there are no lumps or clumps.
- If necessary, adjust the consistency by adding more pouring medium to thin it out or more paint to thicken it slightly. Aim for a consistency similar to honey or maple syrup.
- Choosing the Pouring Technique:
There are various pouring techniques you can explore to achieve different patterns and effects. Here are a few popular ones:
- Dirty Pour: In this technique, multiple colors are layered in a cup and then poured onto the canvas.
- Flip Cup: Similar to the dirty pour, but the cup is flipped onto the canvas to create a unique blend of colors.
- Swipe: A single color is poured onto the canvas, and then a contrasting color is “swiped” across the paint to create beautiful, flowing patterns.
- Dutch Pour: Colors are poured onto the canvas individually, with each color carefully layered onto the previous one using a pouring cup or squeeze bottle.
- Executing the Pour:
Once you have your paint and pouring medium ready, it’s time to pour onto the canvas. Follow these steps:
- Position your canvas at an angle on your workspace, or elevate it on a rack to allow the paint to flow freely.
- Pour the prepared paint mixture onto the canvas in a controlled manner. Experiment with different angles and speeds to achieve desired effects.
- Tilt the canvas gently in various directions to encourage the paint to flow and spread across the surface.
- If desired, use a blow dryer or heat gun to create interesting cells and textures by manipulating the flow of the paint.
- Drying and Finishing:
After completing your pour, allow your artwork to dry undisturbed in a dust-free area. The drying time will vary based on the thickness of your paint and the ambient conditions. Once fully dried, you can apply a varnish or acrylic sealant to protect your artwork and enhance its longevity.
Helpful Ideas for Artists:
- Experiment with color combinations, layering techniques, and different pouring mediums to achieve unique effects.
- Incorporate other materials like glitter, metallic paints, or pouring mediums with additives for added visual interest.
- Practice on smaller surfaces or canvases before attempting larger-scale artworks.
- Document your pouring process and results to learn from each experience and track your progress as an artist.
- Join online communities or local art groups to connect with fellow pouring enthusiasts and gain valuable feedback.
Remember, practice and experimentation are key to mastering pouring acrylic paint. For more in-depth resources, techniques, and inspiration, we encourage you to explore our website at https://urartstudio.com.
Happy pouring and creating!