Dry Brushing: Unleash Your Creativity with This Versatile Technique
Are you ready to take your painting skills to the next level? If you’re looking for a technique that adds depth, texture, and a touch of magic to your artwork, then dry brushing might be just what you need. In this article, we will explore the captivating world of dry brushing, providing you with step-by-step techniques and valuable tips to enhance your artistic journey. But don’t stop here! For more inspiration and resources, be sure to browse through our website at https://urartstudio.com.
Step-by-Step Techniques for Dry Brushing
Before we delve into the detailed process, let’s understand what dry brushing is. Dry brushing is a technique where a small amount of paint is applied to a dry brush, and then most of it is removed, leaving only a trace amount of paint on the brush. This method allows you to create a variety of effects, including highlighting raised surfaces, adding texture, and blending colors effortlessly.
Step 1: Prepare Your Materials
Gather the necessary materials for dry brushing: acrylic or oil paints, a flat brush with stiff bristles, paper towel or rag, and a palette for mixing colors. Ensure your canvas or painting surface is dry and ready for the application of paint.
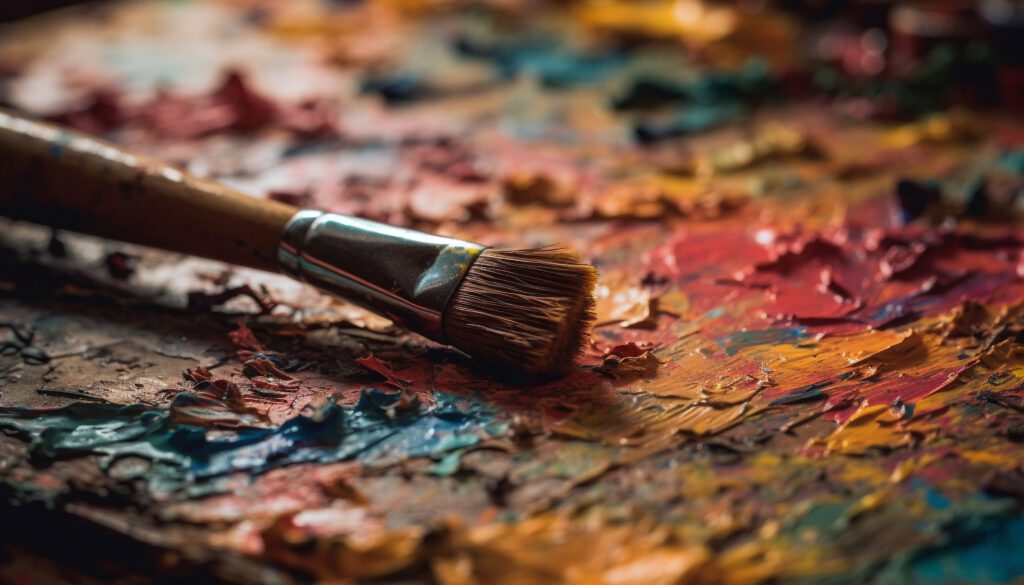
Step 2: Load the Brush
Dip your brush lightly into the paint while applying minimal pressure. It’s crucial not to overload the brush to maintain control over the amount of paint deposited on the surface later. Excess paint can lead to undesirable smudges and loss of detail.
Step 3: Remove Excess Paint
To achieve the desired dry brushing effect, remove most of the paint from the brush. Use a paper towel or rag to gently wipe and blot the brush until the bristles appear almost dry with just a hint of color. The goal is to have a small amount of paint on the brush for subtle, controlled application.
Step 4: Test Strokes
Before applying the dry brush to your artwork, it’s advisable to practice on a separate sheet of paper. Experiment with different stroke techniques, such as horizontal, vertical, or circular motions, to observe the varied results. This exercise will help you understand the level of pressure and control needed to achieve the desired effect.
Step 5: Apply the Dry Brush
Once you feel comfortable with the technique, apply the dry brush to your work. Lightly drag the brush across the raised portions of the surface or any areas you want to enhance. The minimal amount of paint on the brush will create subtle highlights and textures, adding depth and dimension to your artwork.
Helpful Tips for the Dry Brushing Technique
- Start with light and thin layers of paint, gradually building up the desired effect. It’s easier to add more paint later than to remove an excessive amount.
- Vary the pressure applied to the brush for different effects. Light pressure creates gentle highlights, while more pressure can create rougher texture.
- Experiment with different brush sizes and shapes to achieve unique results. Flat brushes work well for broad strokes, while smaller brushes can add intricate details.
- Try mixing colors directly on the brush for added dimension. Dip your brush into two or more colors and let them blend naturally on the bristles.
- Use reference images or observe real-life textures to guide your application of the dry brush. This will help you accurately depict the desired surface or material.
Explore Artistic Possibilities
Dry brushing opens up a world of possibilities for artists. You can use this technique to add texture to landscapes, create lifelike fur or feathers, bring out the intricate details of still life subjects, or even enhance the three-dimensional aspects of portraits. The versatility of dry brushing allows you to convey emotions, capture light, and add depth to your artwork with a touch of creativity and finesse.
To further expand your artistic horizons, remember to browse through the wealth of free resources available on our website at https://urartstudio.com. Discover tutorials, tips, and inspiration to fuel your artistic growth and inspire your next masterpiece.
Unleash your creativity and embark on a dry brushing adventure, where imagination meets technique, and your artwork truly comes to life!