Title: Chalk Pastel Underpainting: A Step-by-Step Guide
Introduction:
The technique of using a chalk pastel underpainting can add depth, texture, and vibrant colors to your artwork. It involves creating a preliminary layer using chalk pastels before applying additional layers with other mediums. In this guide, we will walk you through the step-by-step process of creating a chalk pastel underpainting, offering helpful tips and ideas to enhance your artistic journey.
Step 1: Gather Your Materials
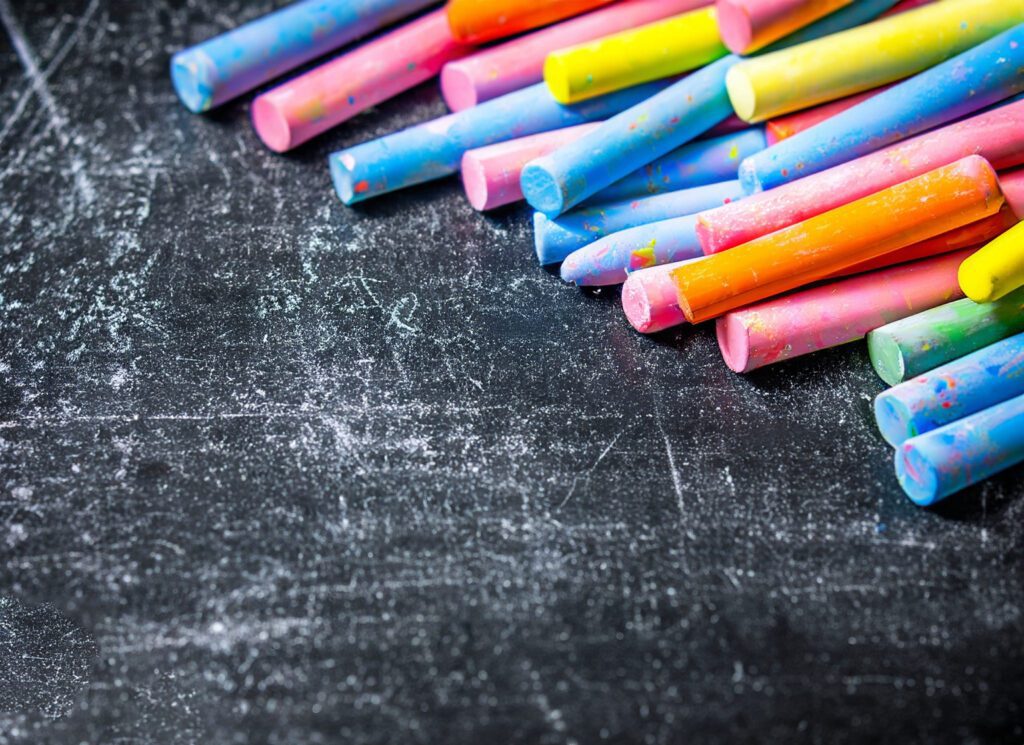
To begin, ensure you have the necessary supplies, including chalk pastels in various colors, paper or canvas, fixative spray (optional), soft brushes or foam brushes, and a reference image.
Step 2: Prepare Your Surface
Prepare your paper or canvas by priming it with a layer of gesso. This helps the chalk pastel adhere better and prevents unwanted smudging. Allow it to dry completely before proceeding.
Step 3: Layout Your Composition
Use light, loose strokes to lightly sketch out your composition with a graphite pencil. This initial sketch will guide your underpainting and subsequent layers. Remember to focus on capturing the basic shapes and proportions.
Step 4: Begin Underpainting
Start by selecting the dominant color of your subject and apply it lightly and broadly with the chalk pastel. Use long, sweeping strokes to fill in larger areas, while using smaller, delicate strokes for finer details.
Step 5: Layering and Blending
Gradually build up your underpainting by adding more colors. Experiment with layering different shades to achieve depth and dimension. Blend the colors together with your fingers, soft brush, or blending tools to create smooth transitions.
Step 6: Refining Details
Once you’re satisfied with the overall underpainting, focus on refining the details of your subject. Use a sharper pastel or a pastel pencil to add finer lines, highlights, and textures. Pay attention to shadows and highlights to create a sense of depth and realism.
Step 7: Fixative (Optional)
To preserve your underpainting before adding additional layers, consider using a fixative spray. Follow the manufacturer’s instructions and apply it in a well-ventilated area. Ensure the fixative is completely dry before proceeding.
Step 8: Building Further Layers
Now that your underpainting is complete, you can apply further layers using other mediums such as acrylics, oils, or colored pencils. This will allow you to add more details, refine colors, and create additional visual interest.
Helpful Tips:
- Experiment with various color combinations to create unique and dynamic underpaintings.
- Use soft brushes, cotton swabs, or blending tools to blend the chalk pastels for smooth transitions.
- Consider starting with a monochromatic underpainting to establish values before introducing colors.
- Use a light touch when applying chalk pastels to avoid smudging or overwhelming the surface.
- Don’t be afraid to make mistakes or experiment. Chalk pastels are forgiving and can be easily corrected or reworked.
Helpful Ideas for Artists:
- Utilize different textures and surfaces for a varied effect, such as rough or sanded paper.
- Try incorporating complementary colors in your underpainting to create visual harmony and contrast.
- Use the underpainting as a foundation for mixed media experimentation, combining chalk pastels with other mediums.
- Explore various subjects and themes, from landscapes and still life to portraiture and abstraction, to develop your artistic skills.
Conclusion:
Creating a chalk pastel underpainting can elevate your artwork by imbuing it with depth and vibrancy. By following these step-by-step techniques and utilizing the provided tips, you can explore the realm of chalk pastels and its potential in bringing your artistic vision to life. For more free resources and to expand your knowledge, browse through our website at https://urartstudio.com. Happy creating!

