BRUSHES – https://urartstudio.com/product-category/brushes/
PAINTING TIPS – https://urartstudio.com/painting-tips/
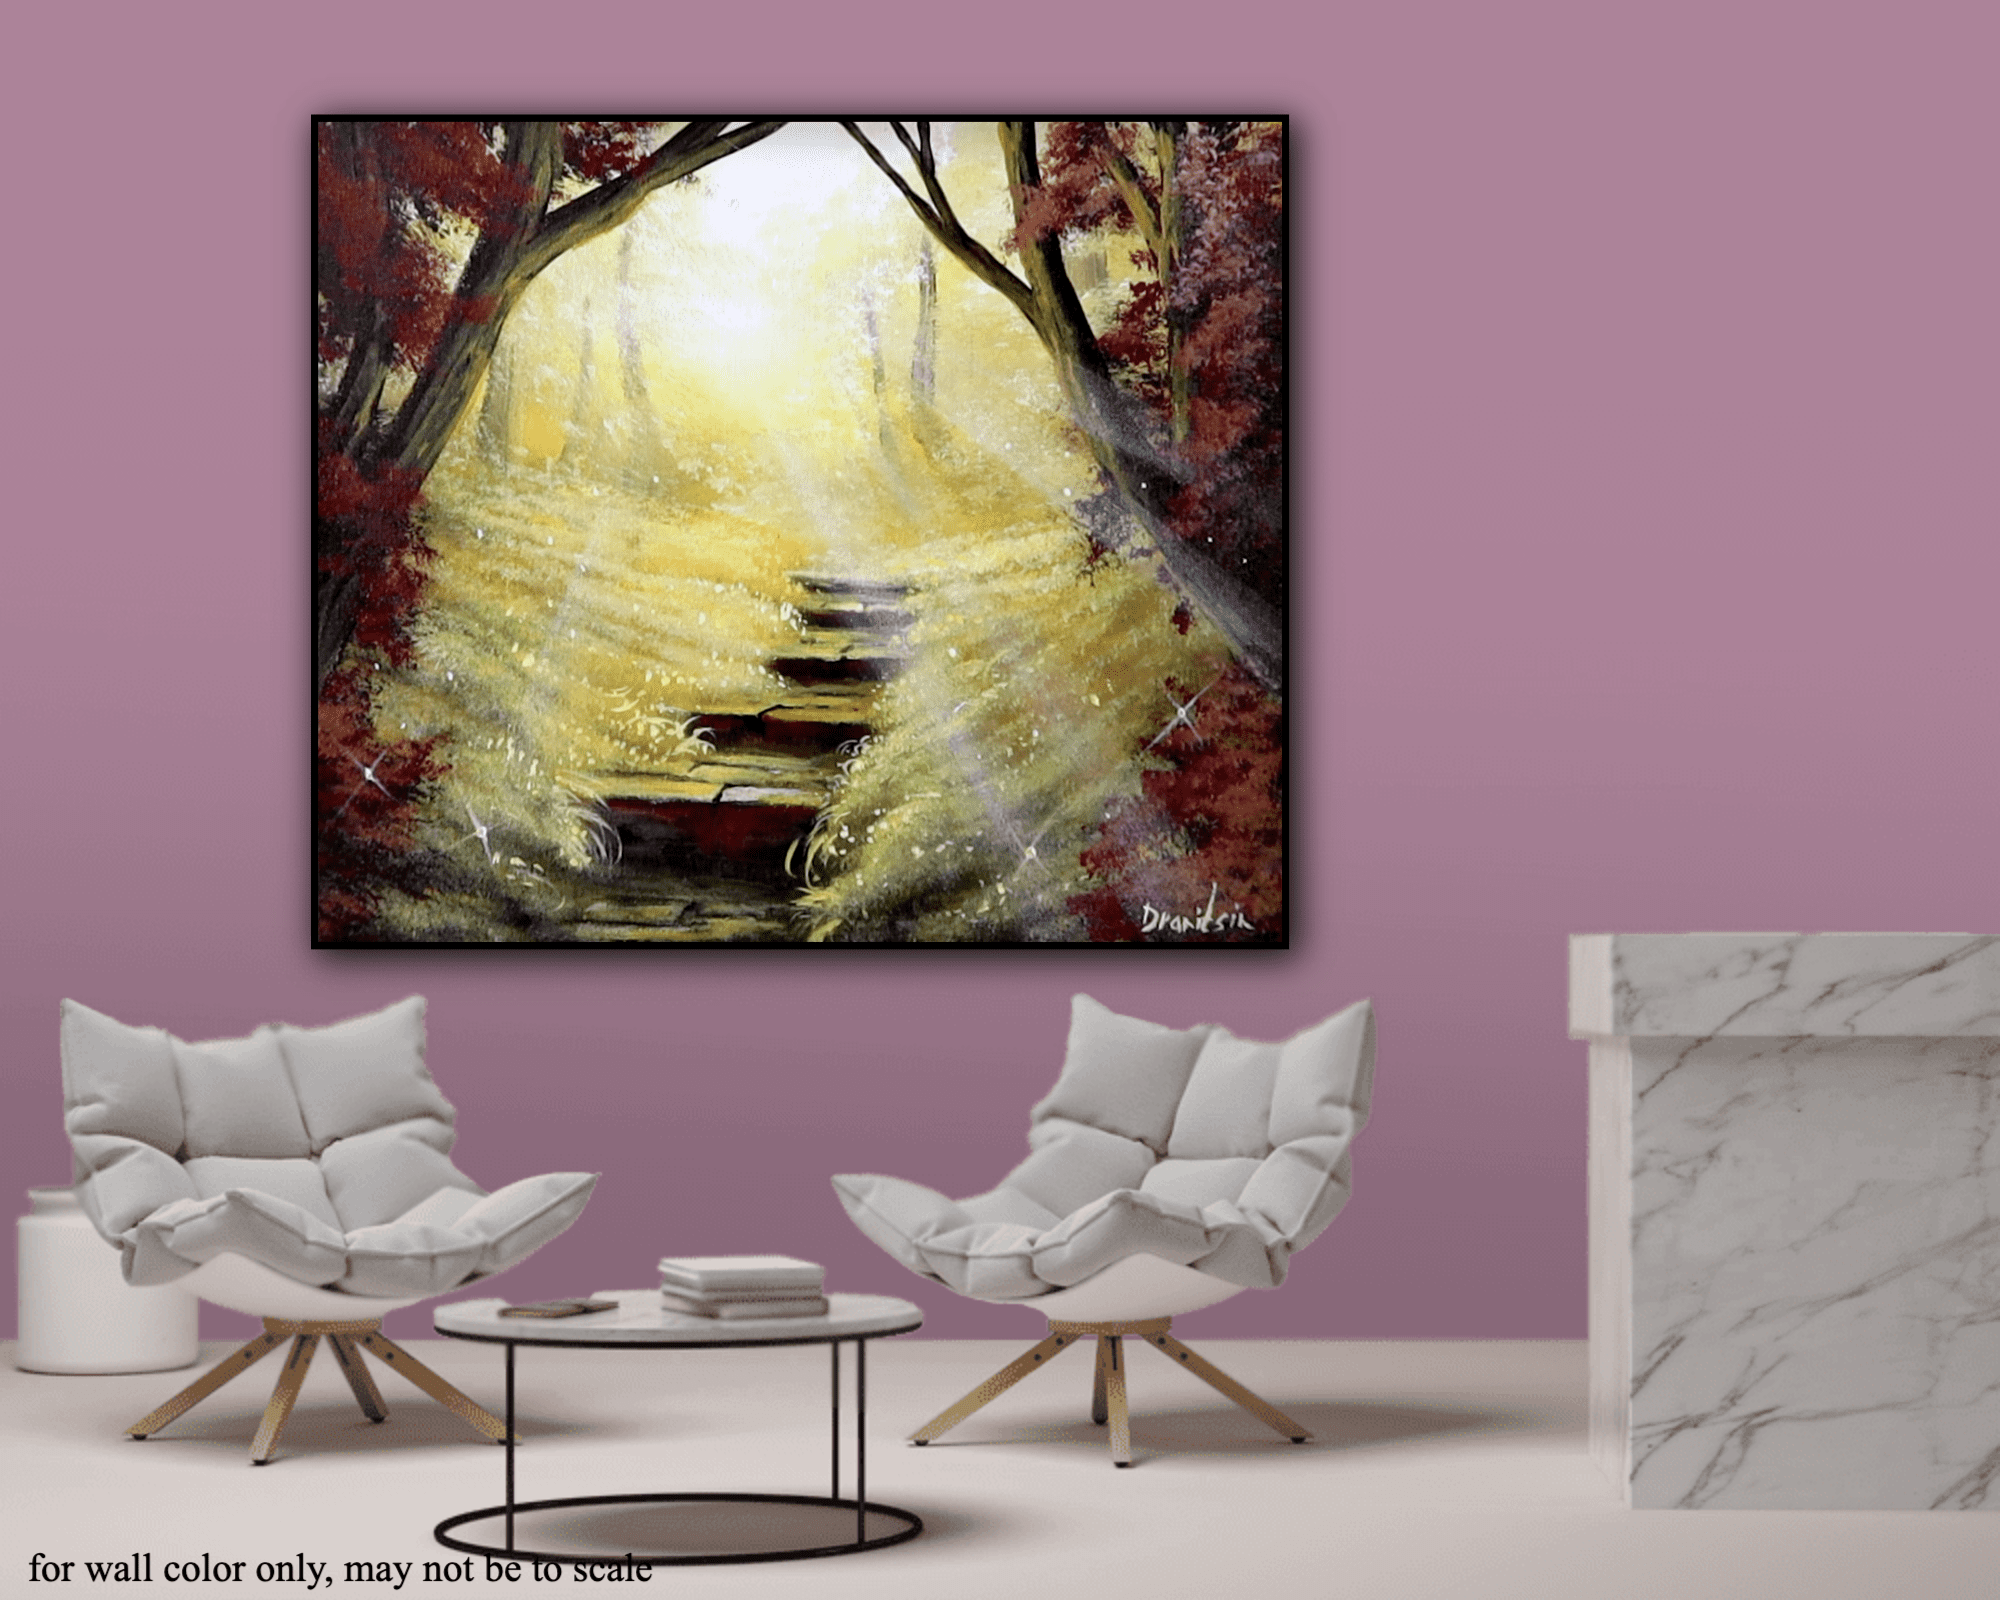
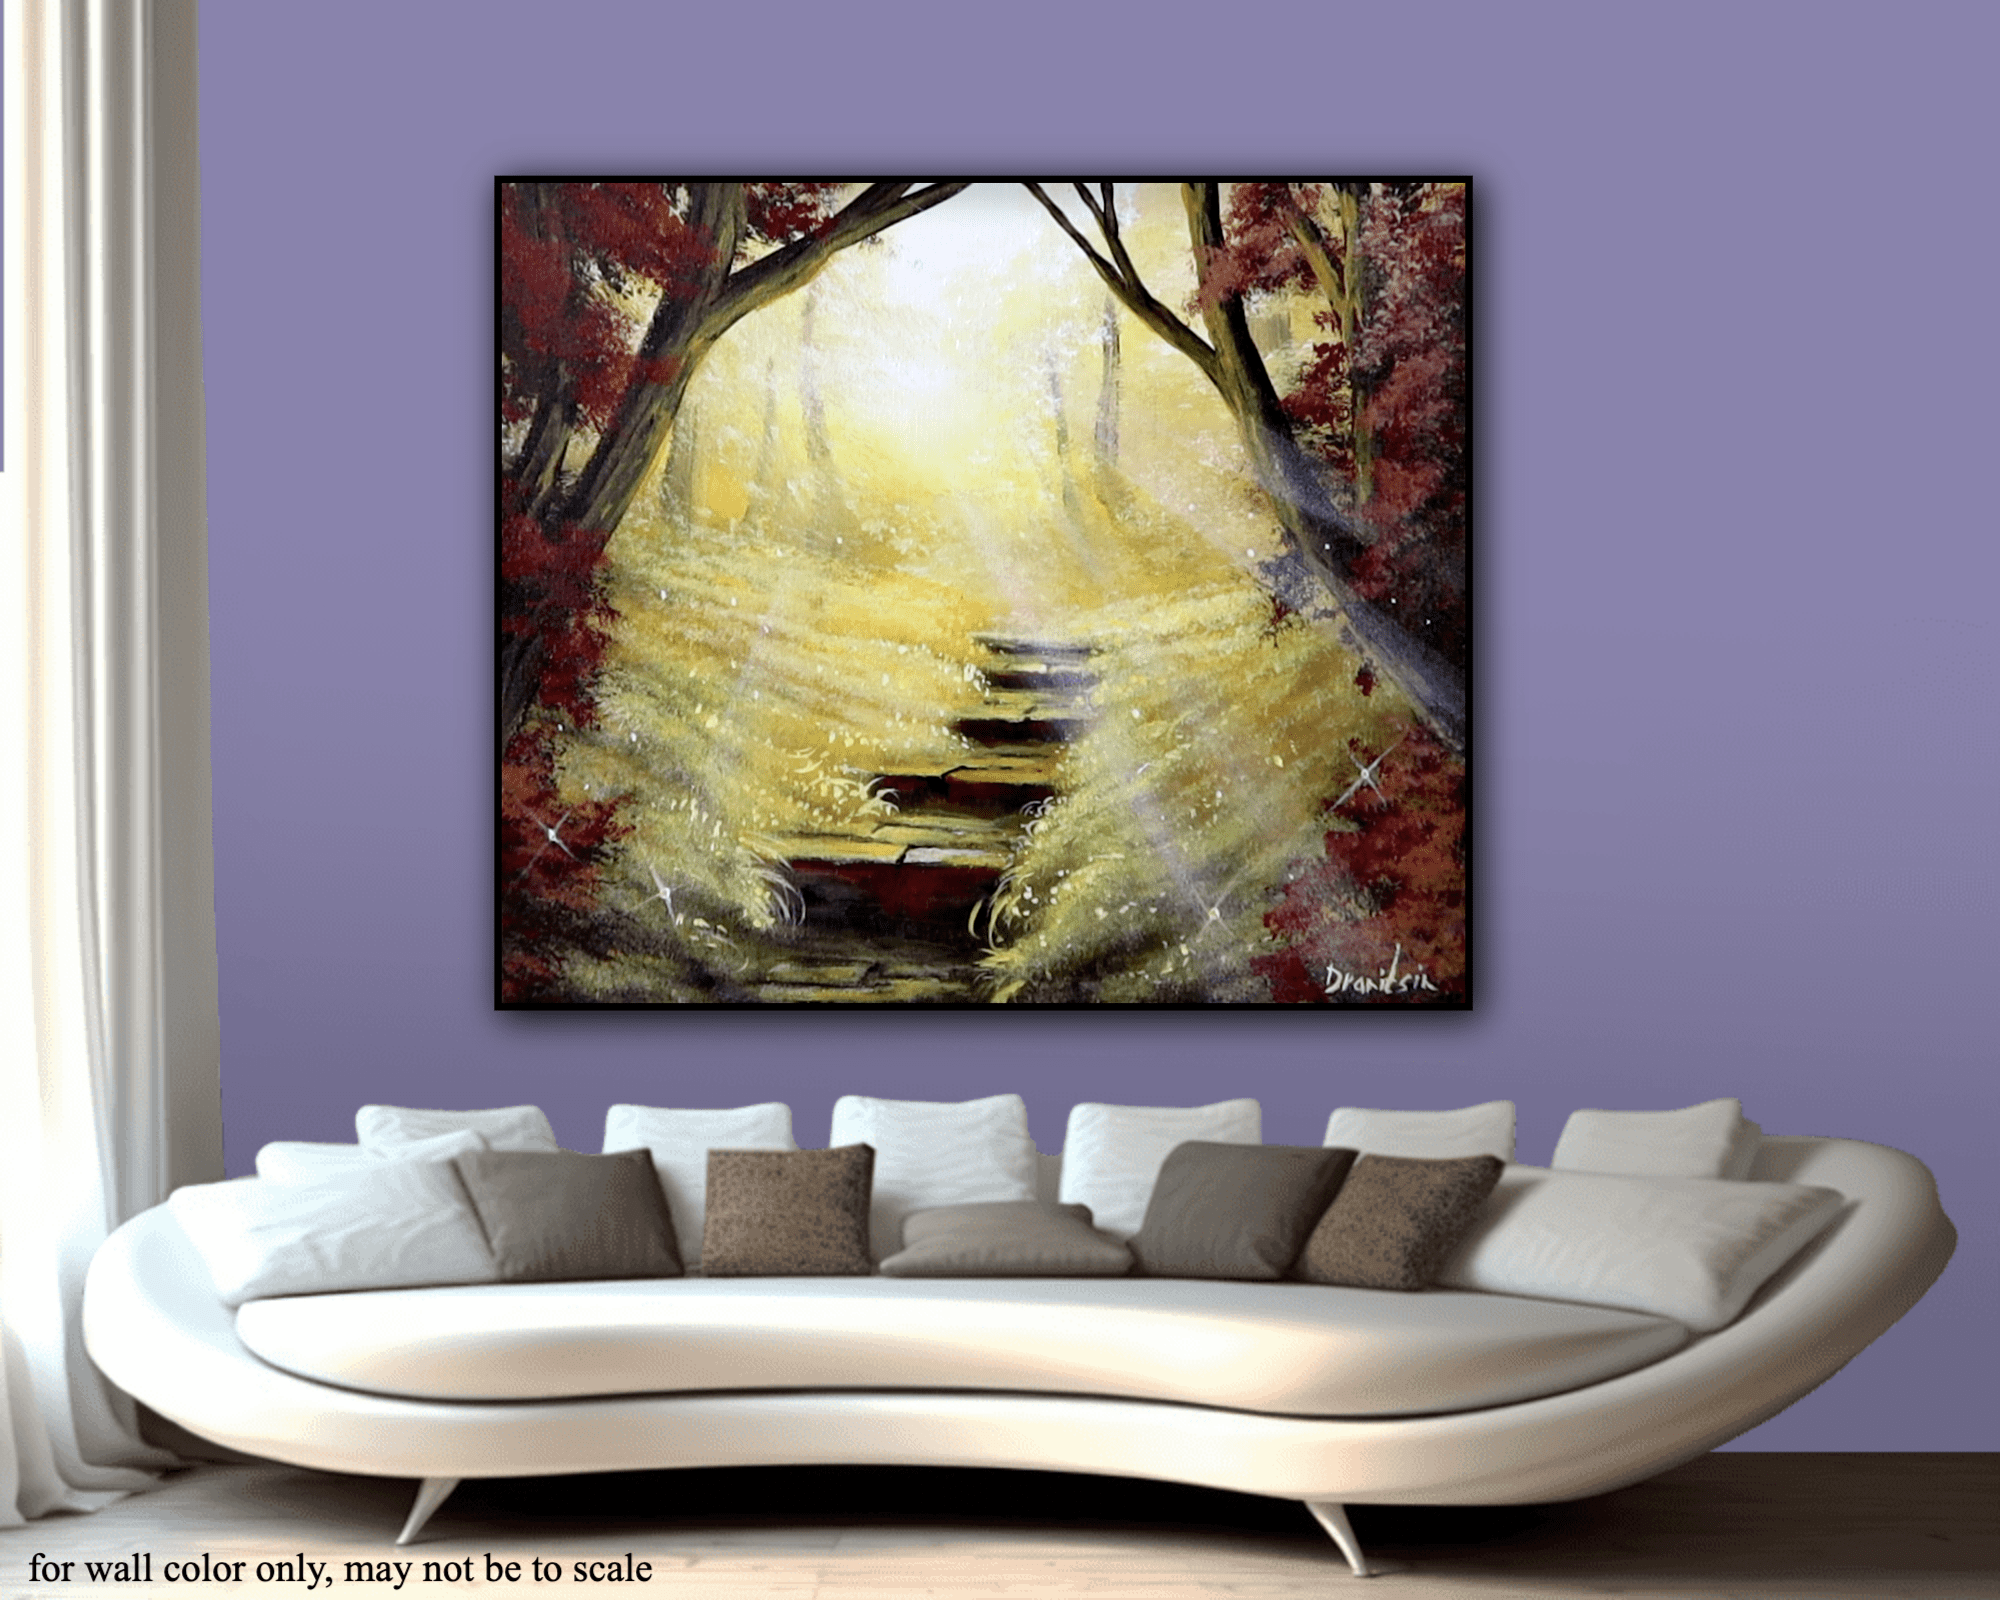
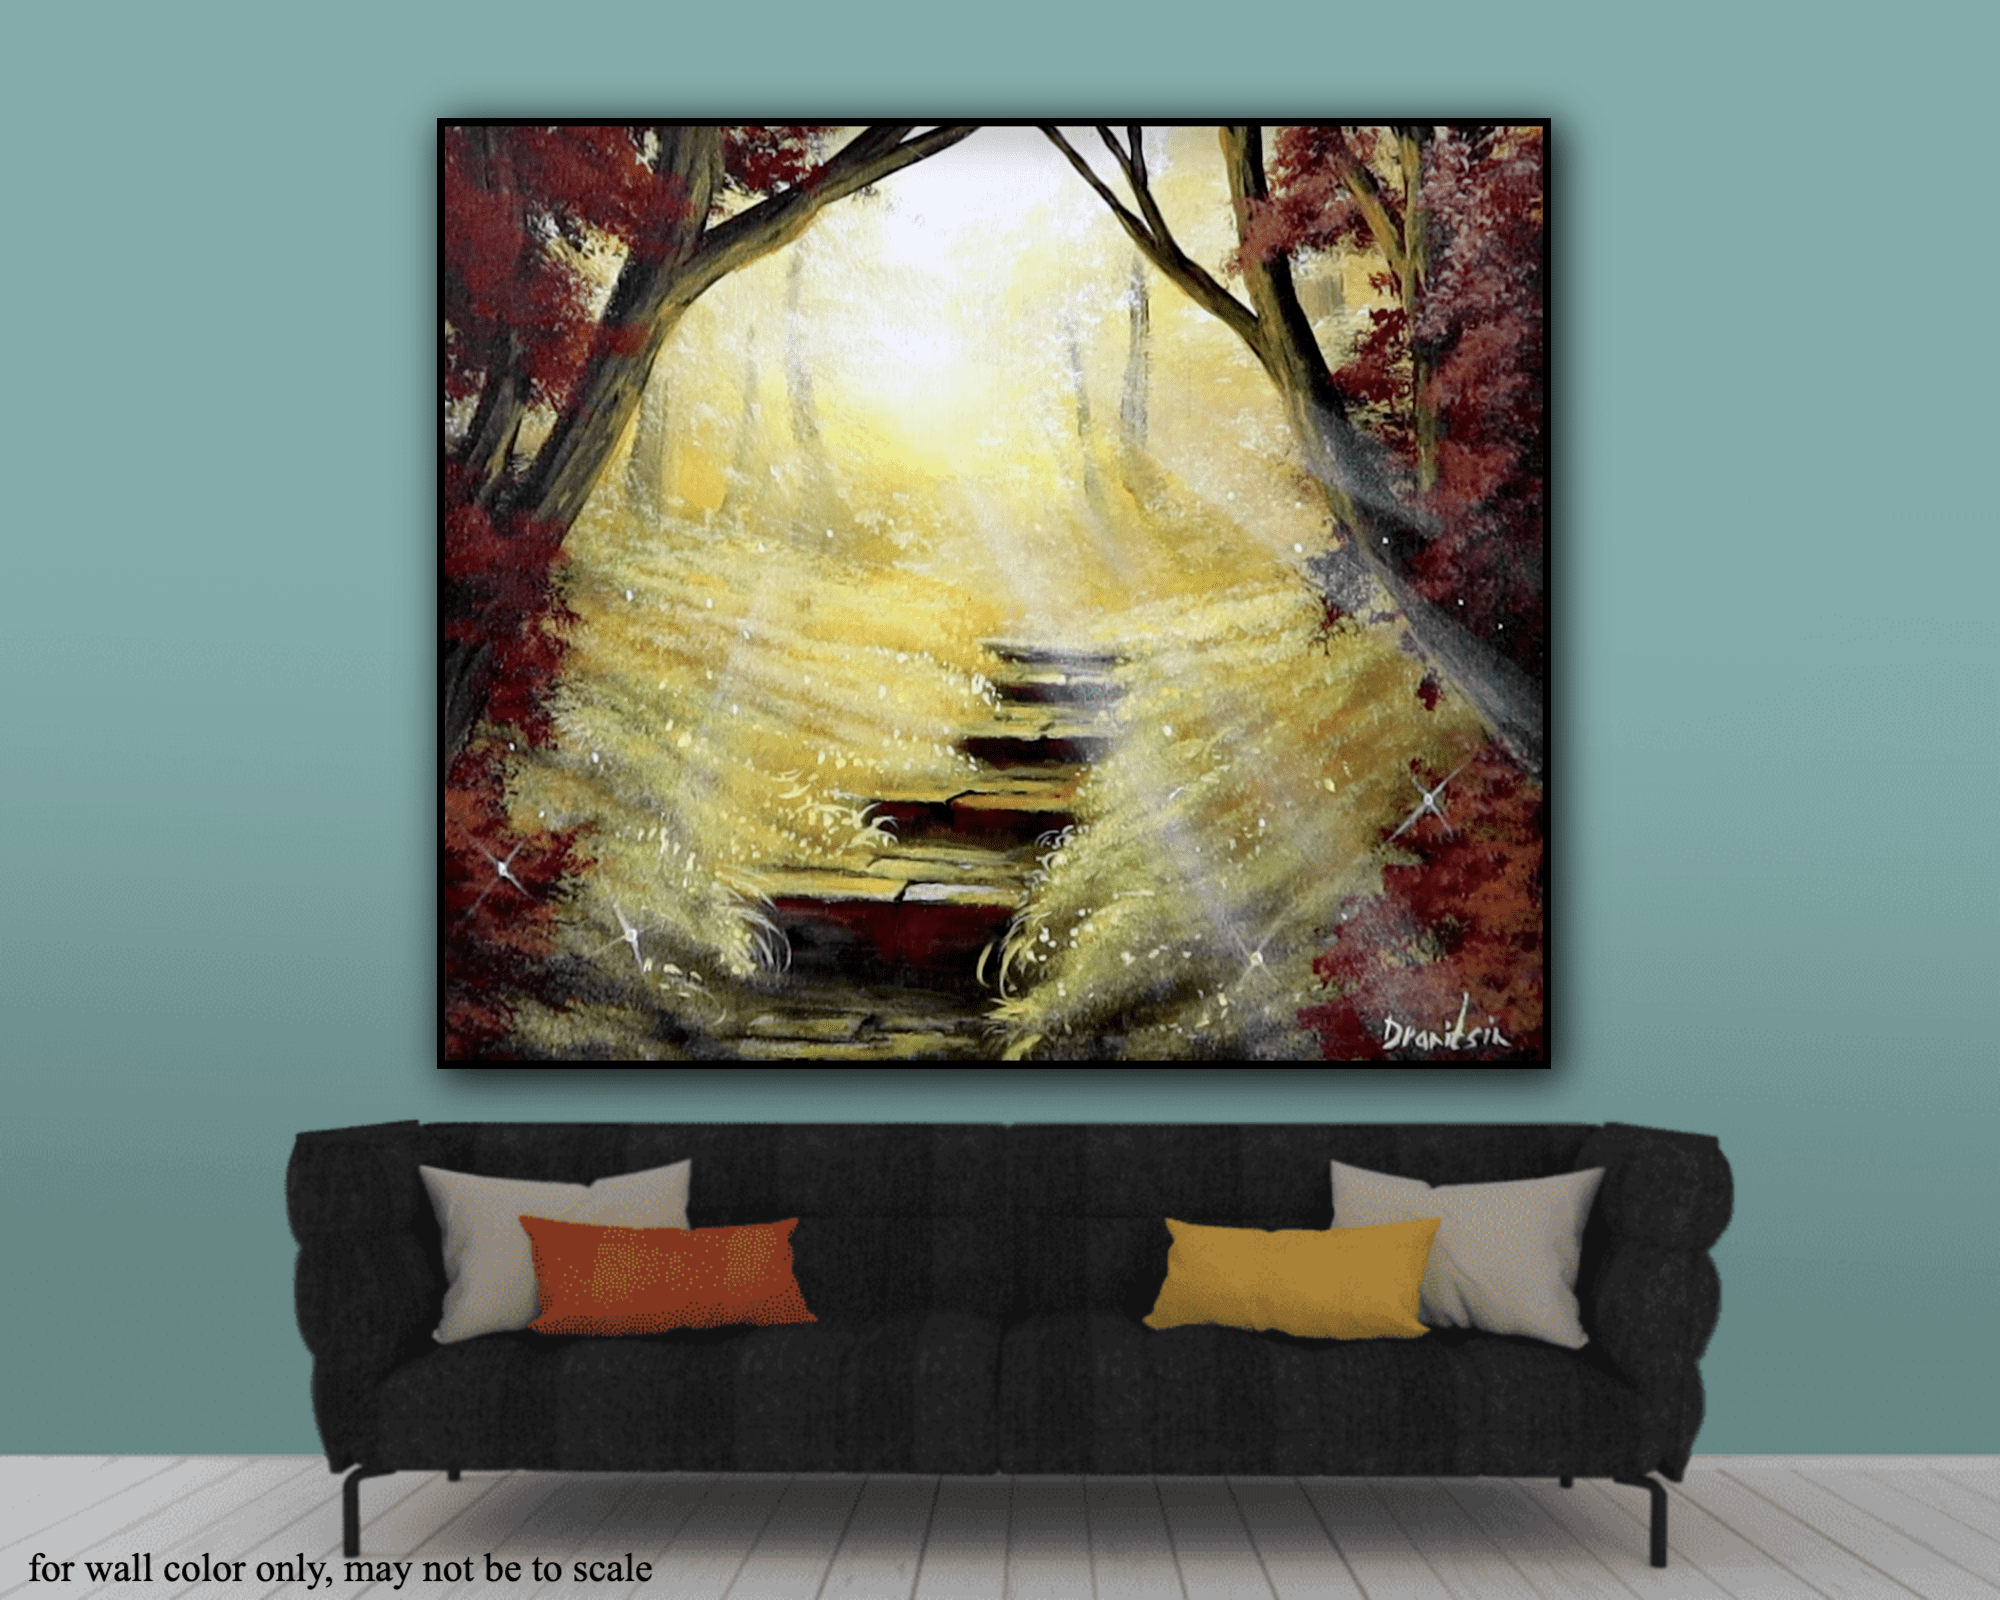
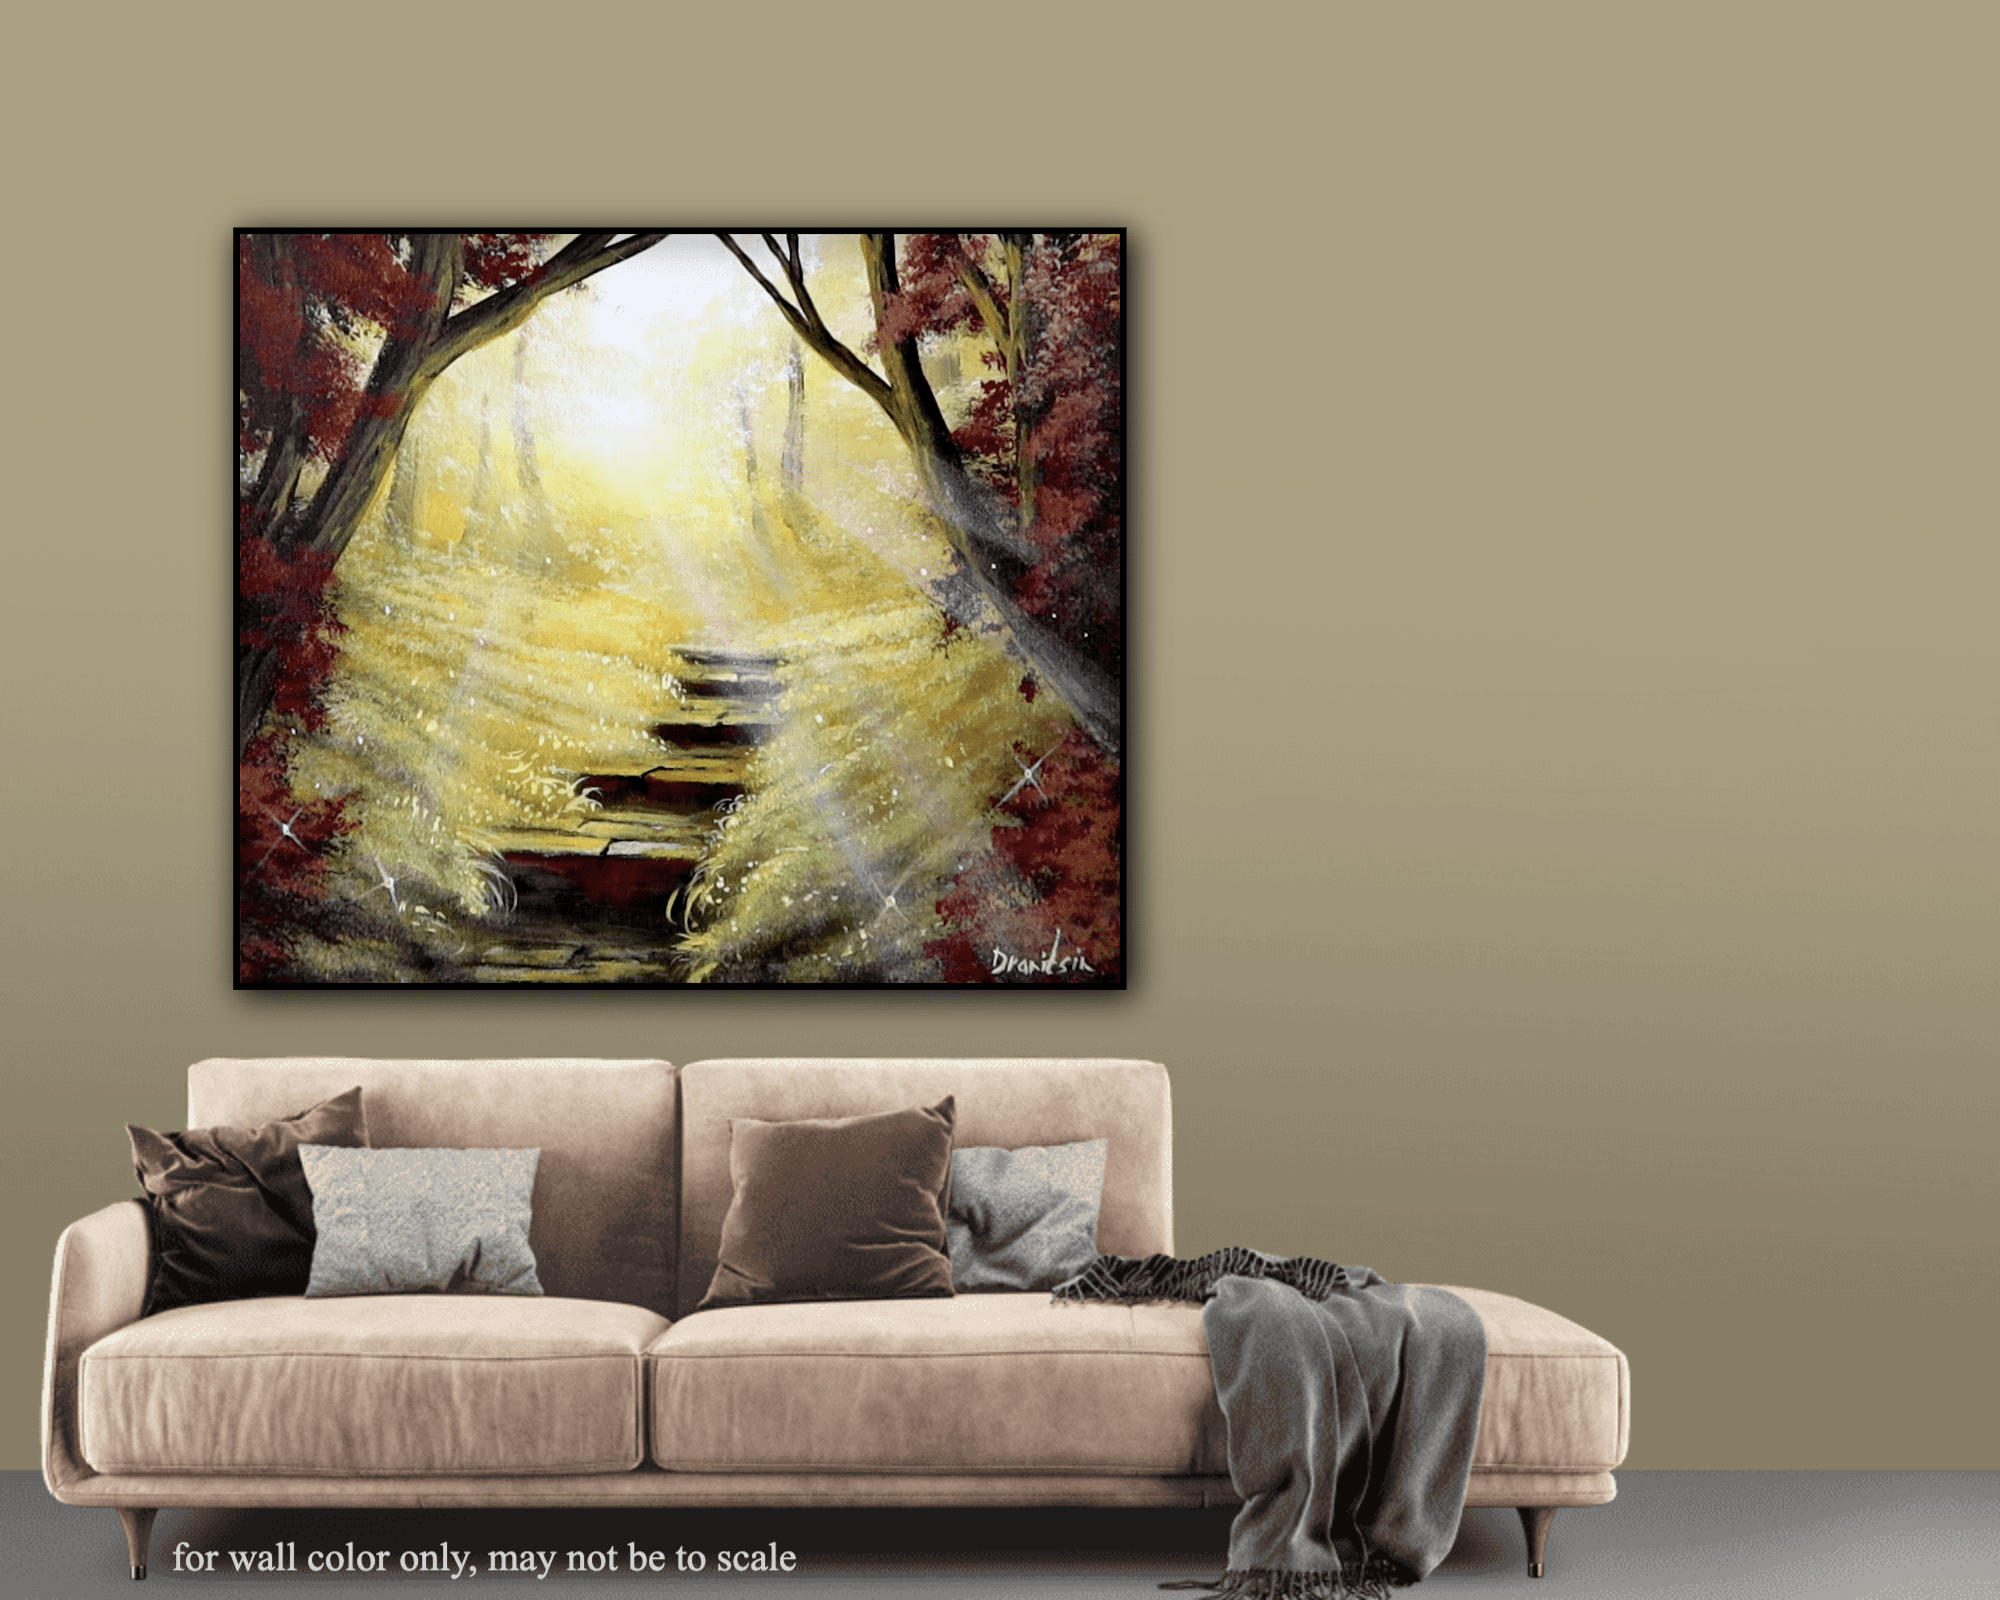
DISPLAY YOUR PAINTING IN A VIRTUAL ROOM – https://urartstudio.com/painting-display-in-virtual-room/
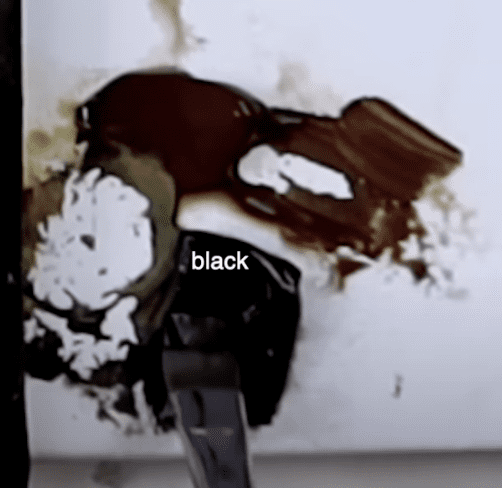
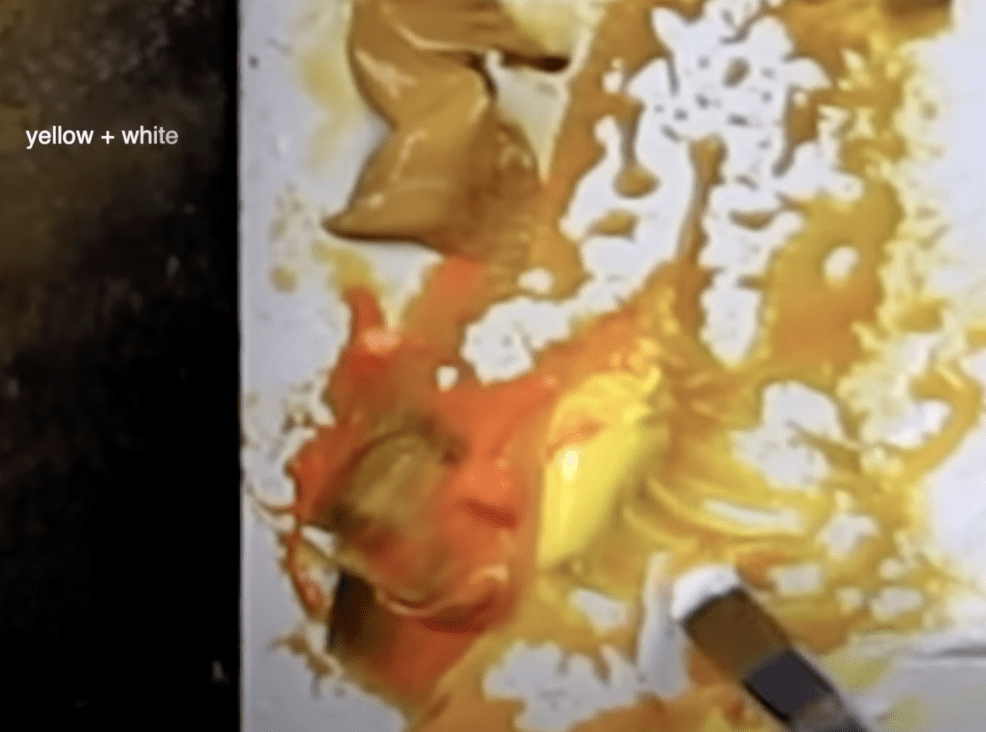
COLORS: white, lemon yellow, indian yellow, yellow ochre, burnt sienna, vandyke brown, black
In this tutorial, various tools were used to create the painting:
1. Number four big square brush
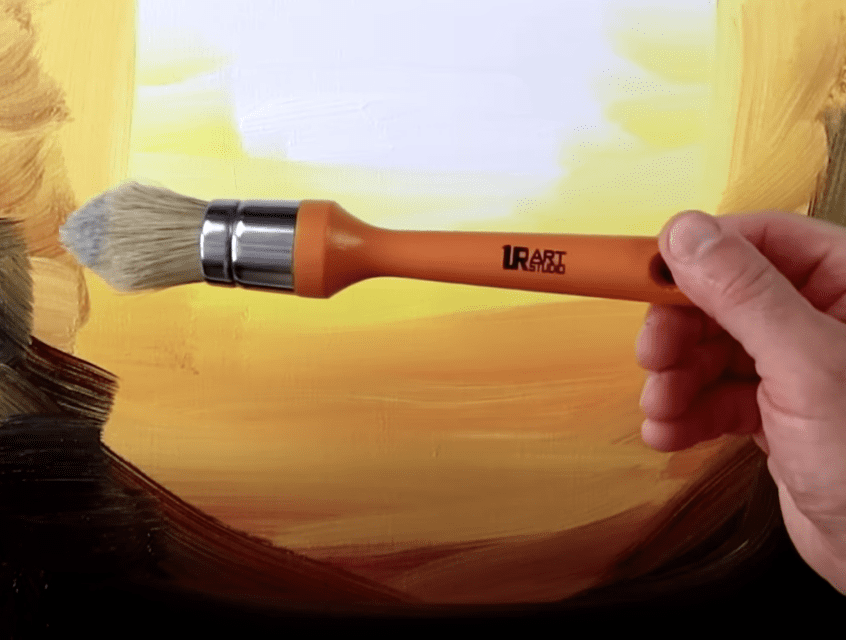
2. Big oval brush
3. Ultrasoft blending brush
4. Small Filbert brush
5. Heat gun or hair dryer
6. Small square brush
7. Number two big square brush
8. Detail brush
9. Small Filbert brush
10. Number 1 big square brush
11. Custom bristle brush
12. Liner brush
These tools were instrumental in bringing each element of the sunlit forest scene to life in the painting process.
Welcome to a journey of creativity!
Step by step instructions:
Hey everyone, let’s embark on a creative journey today!
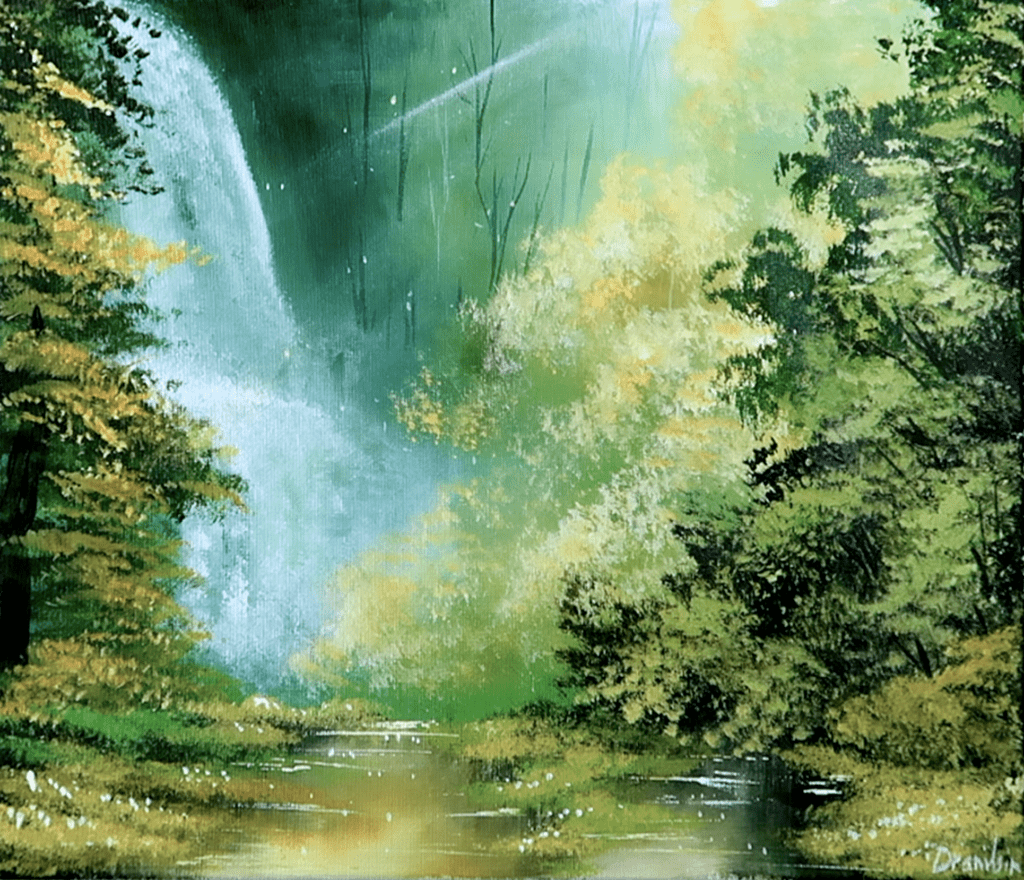
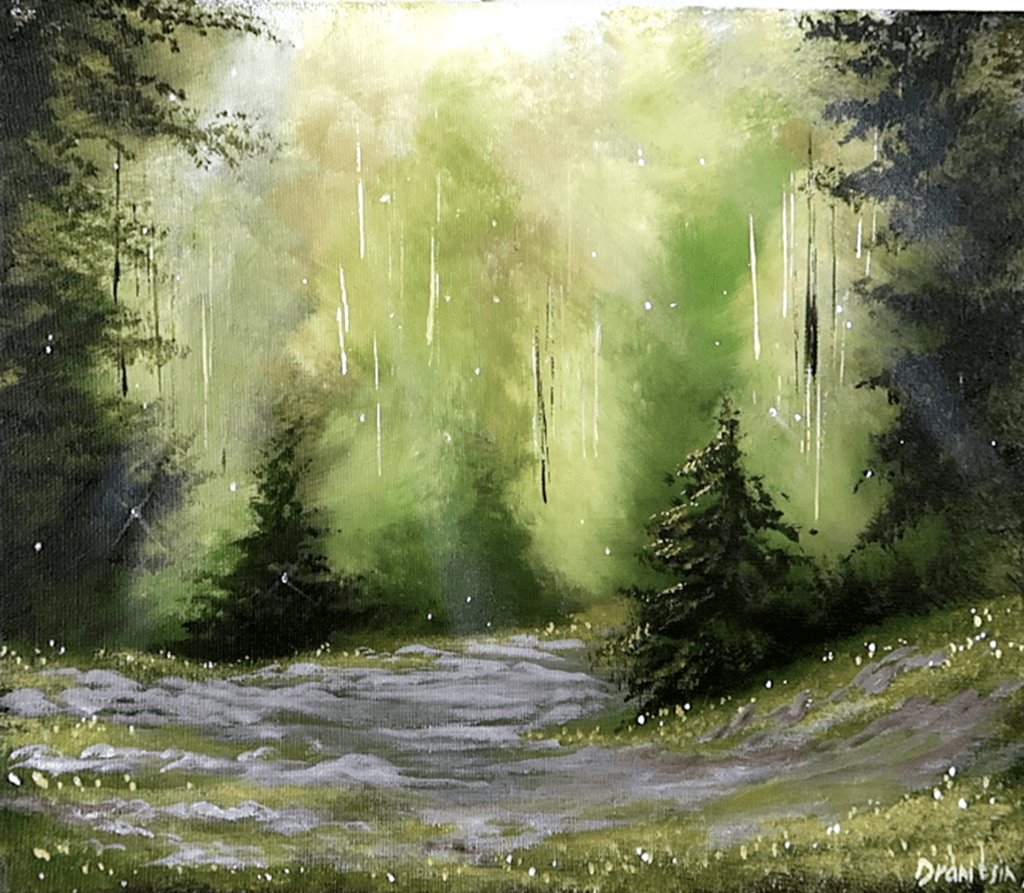
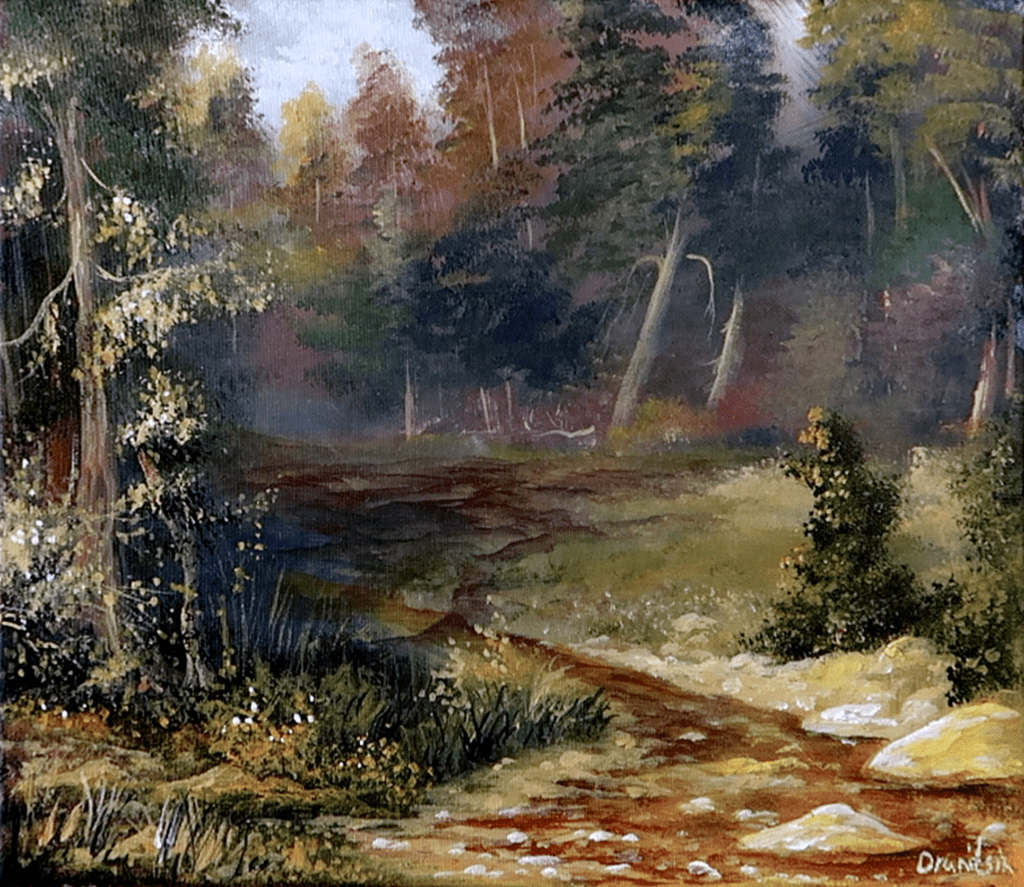
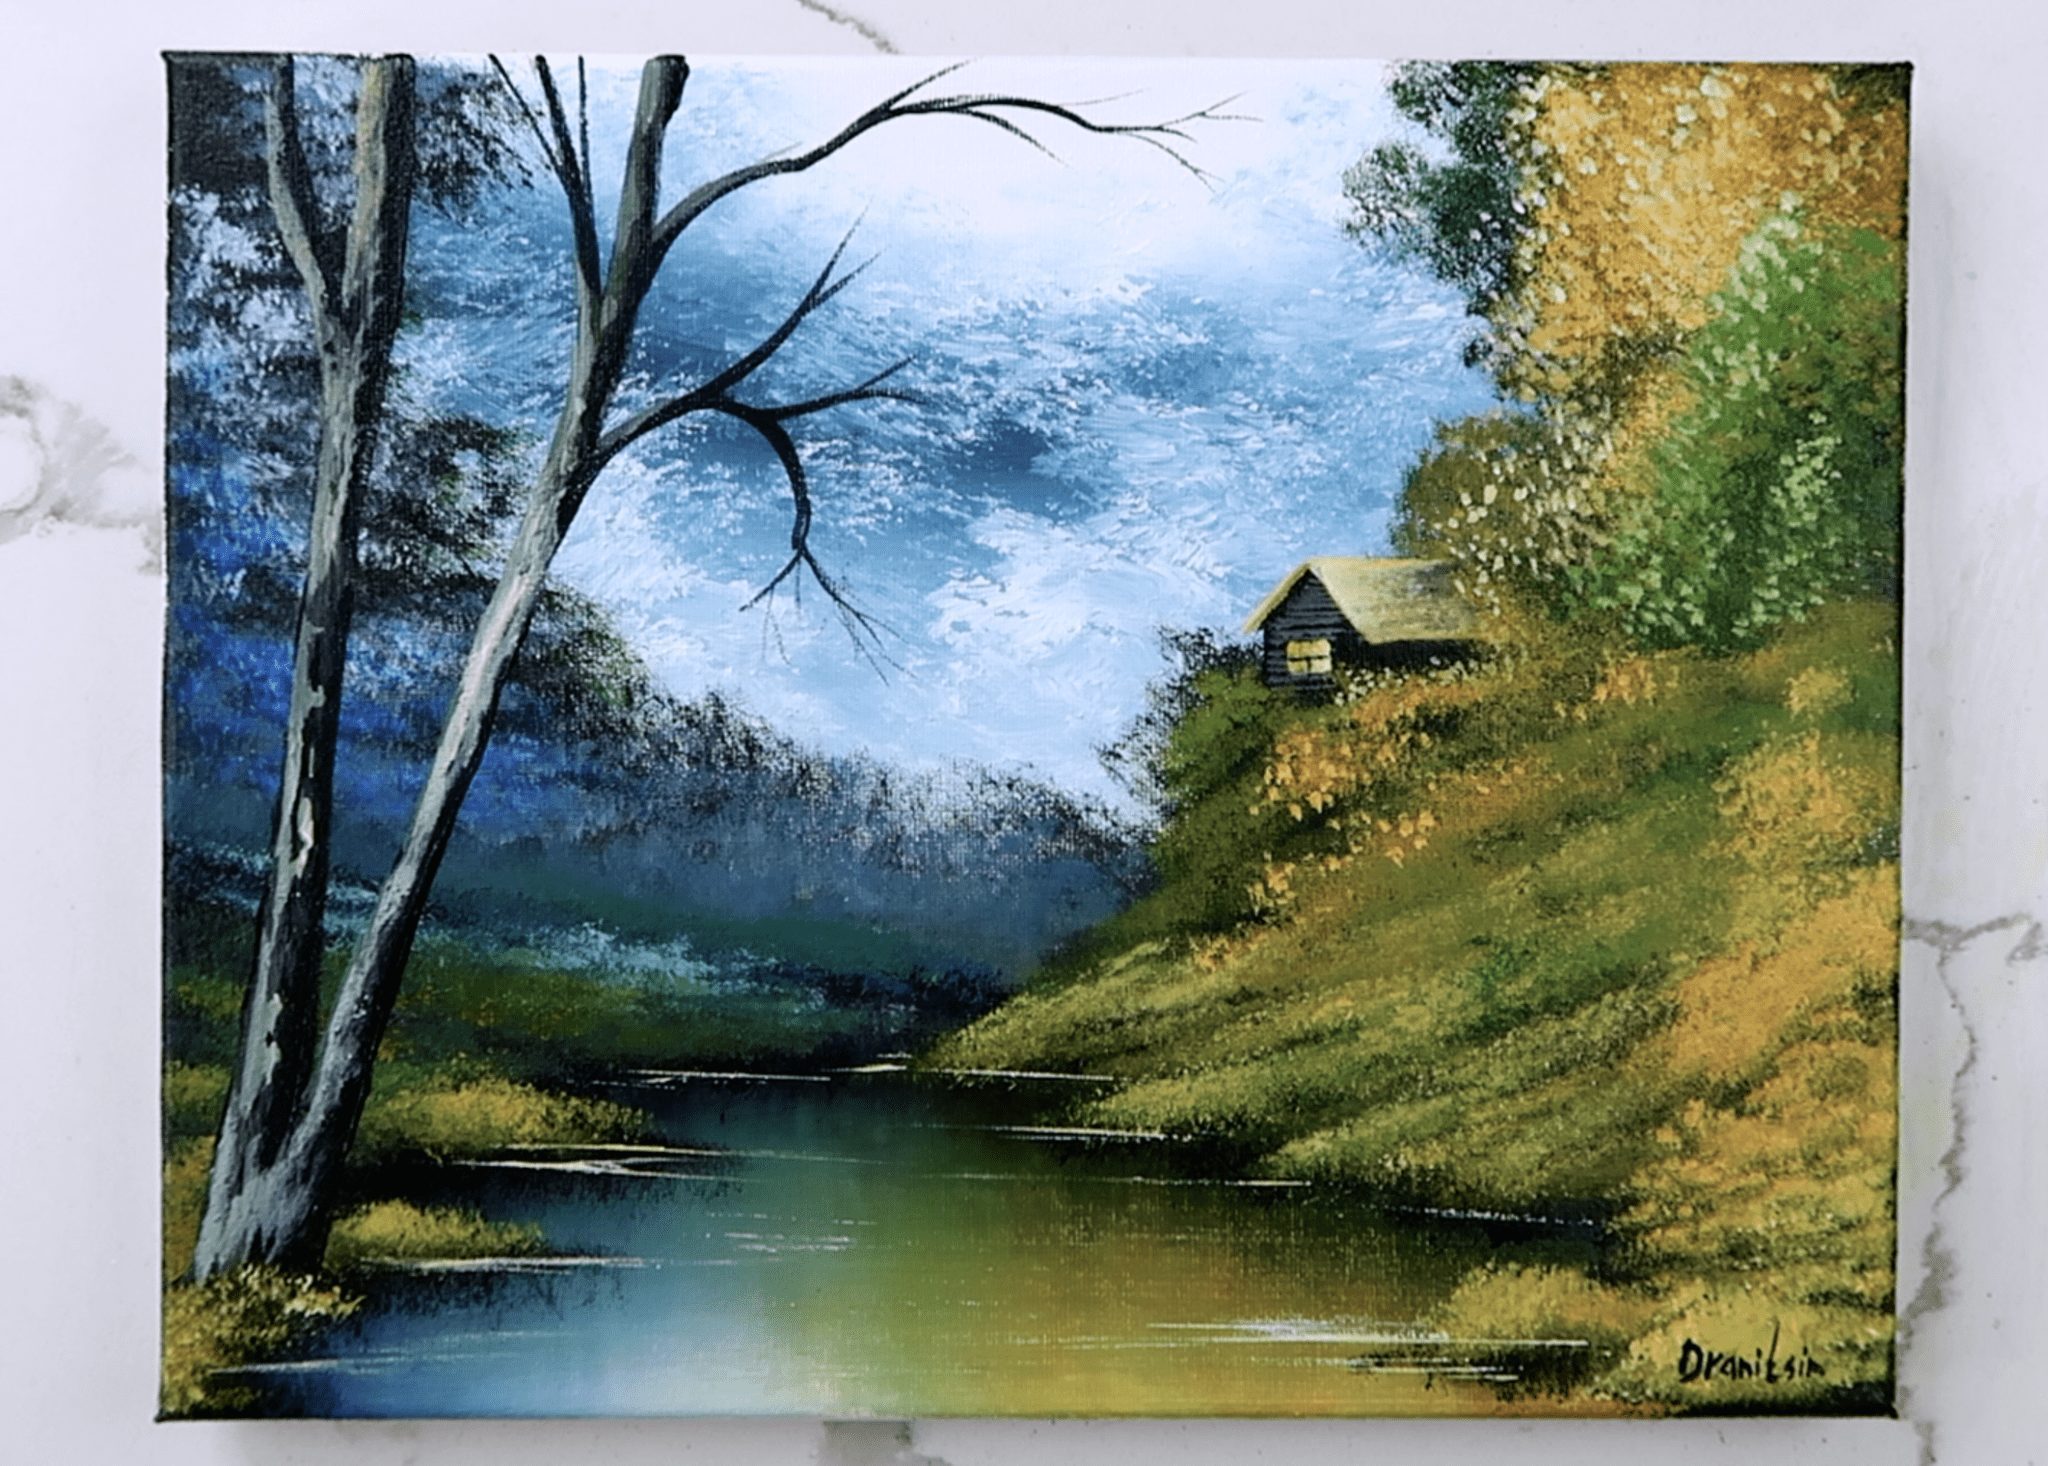
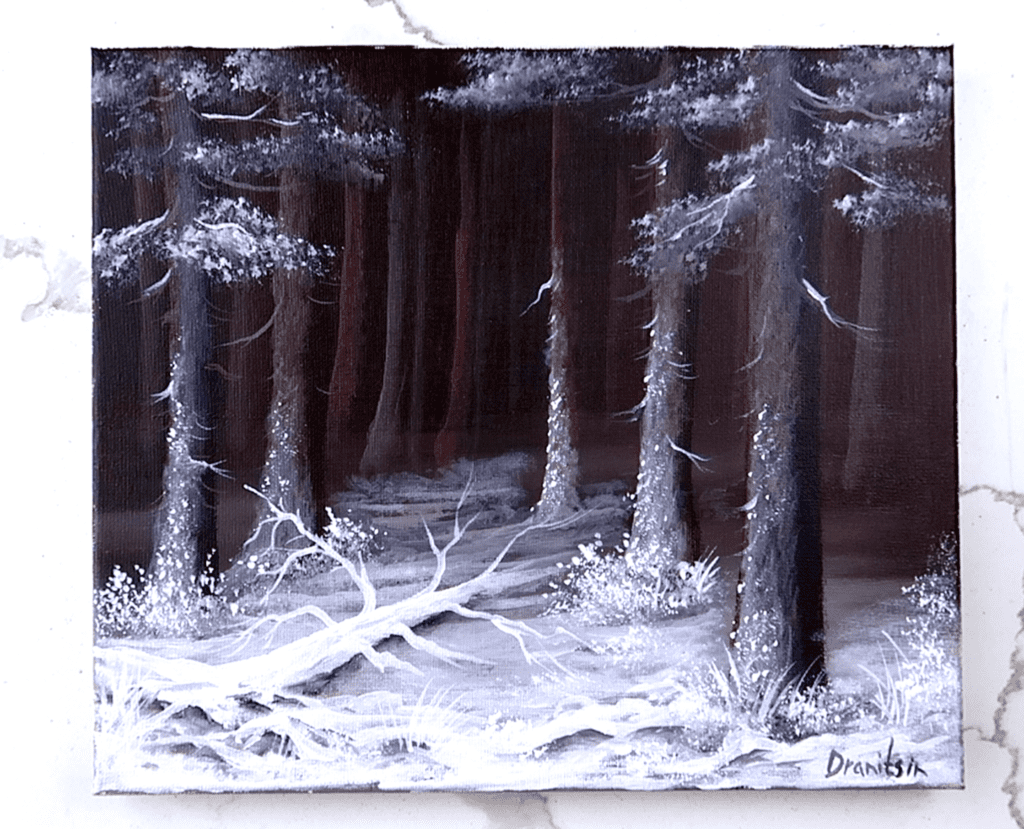
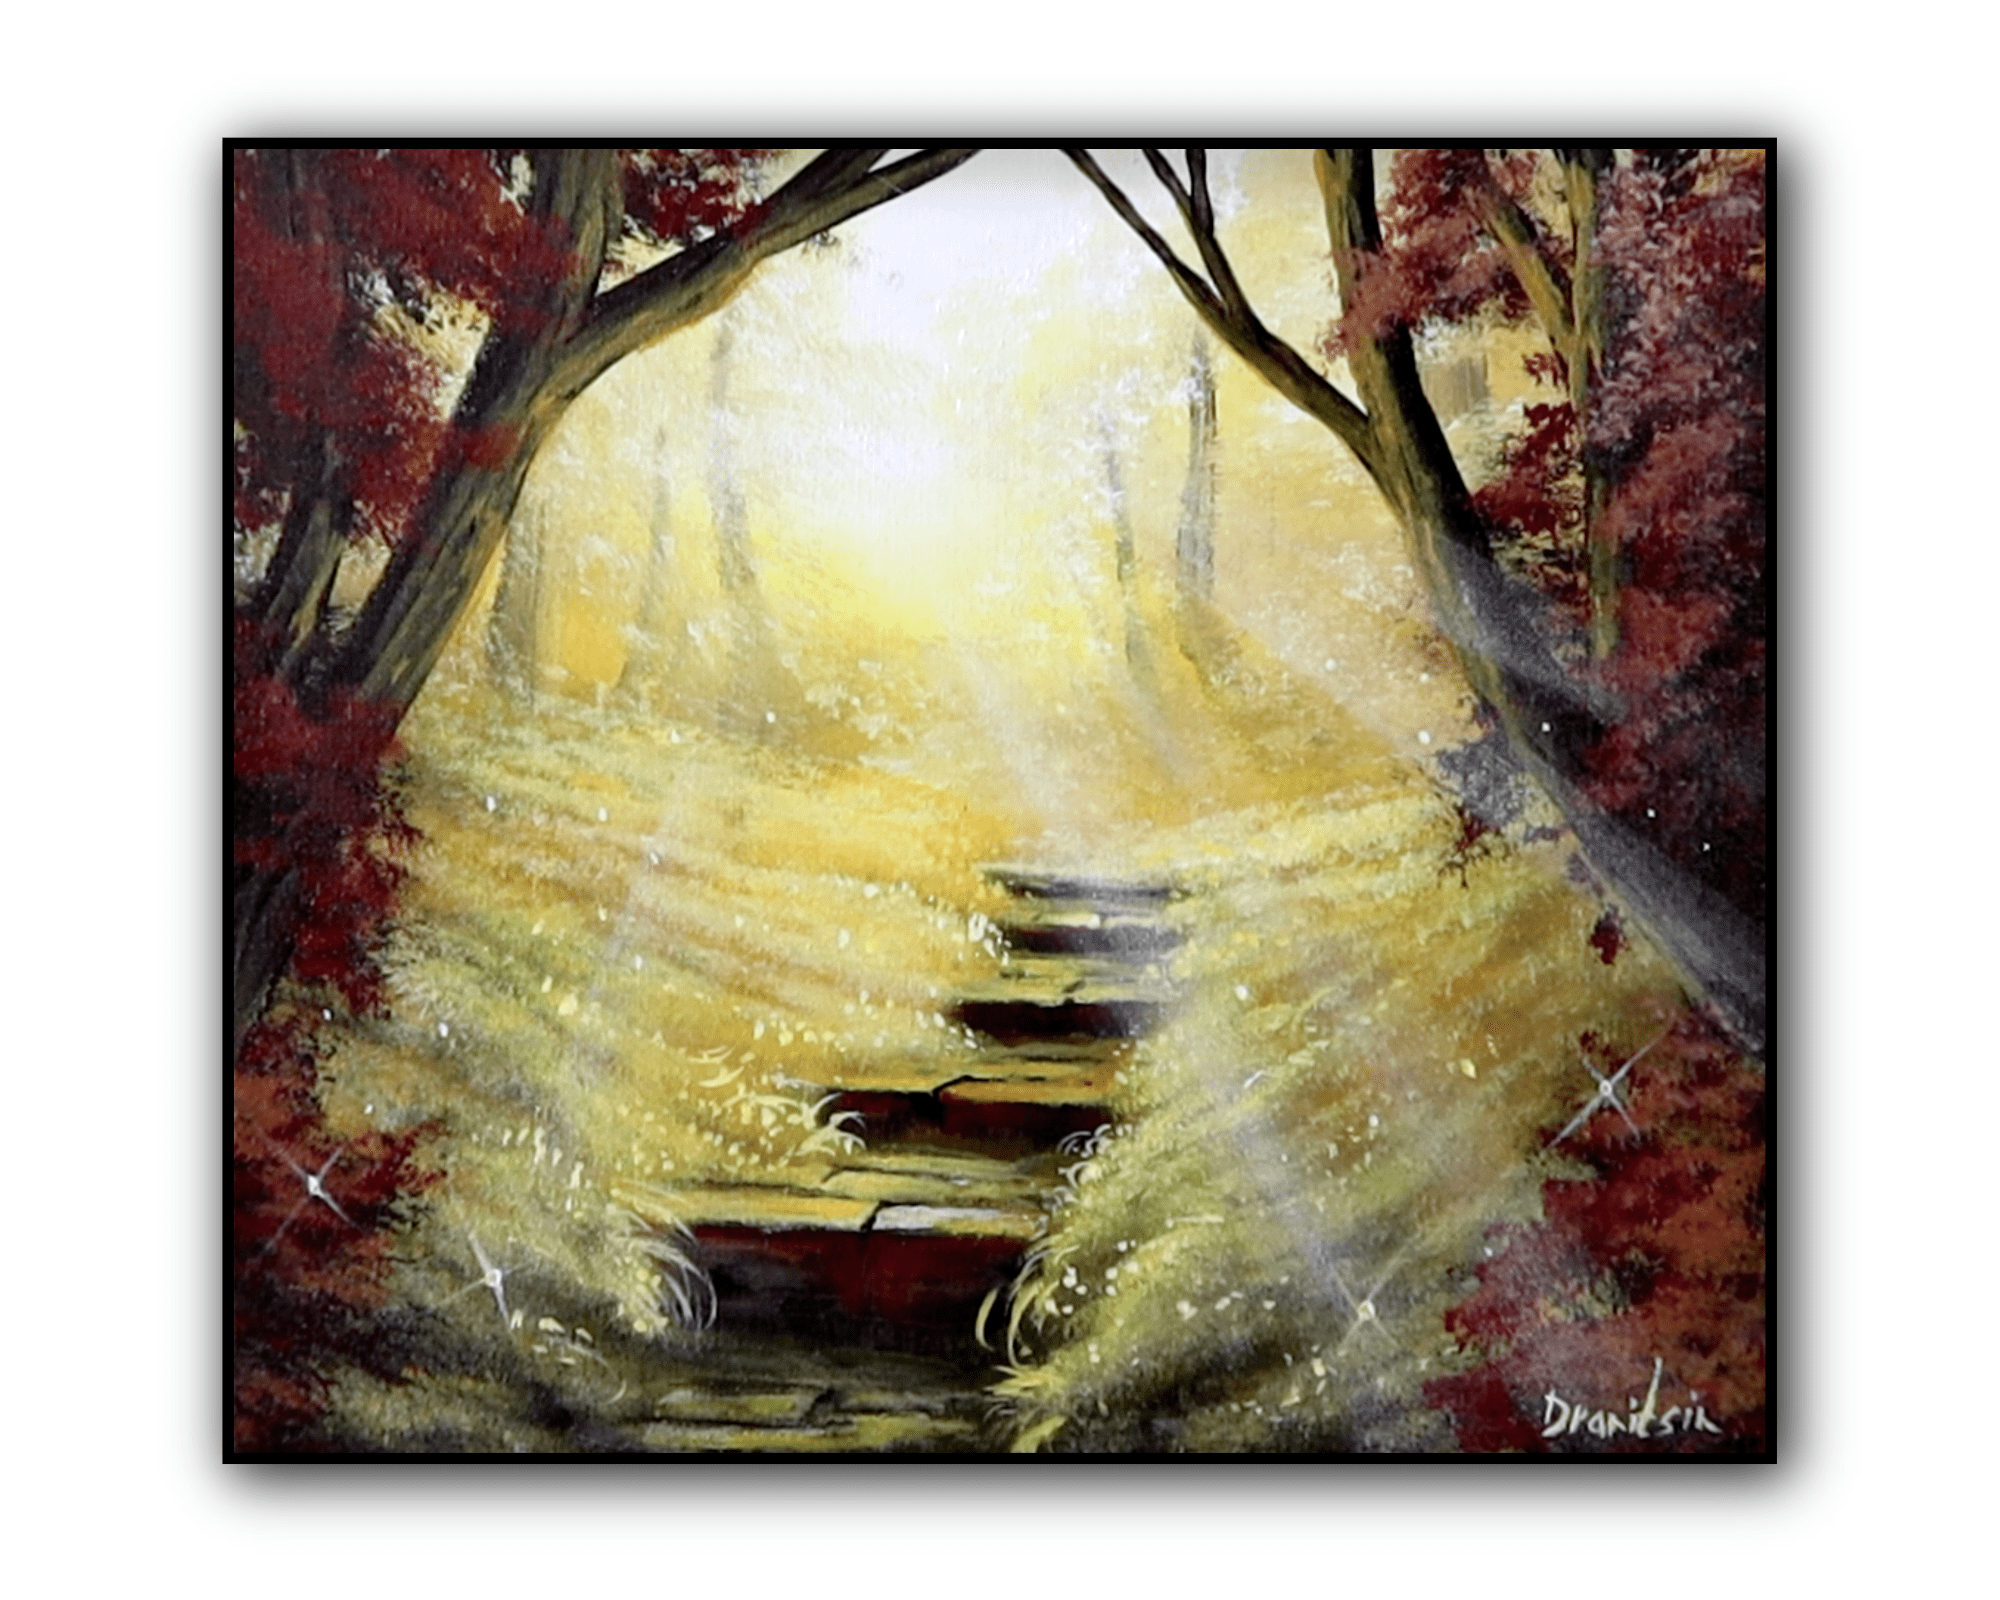
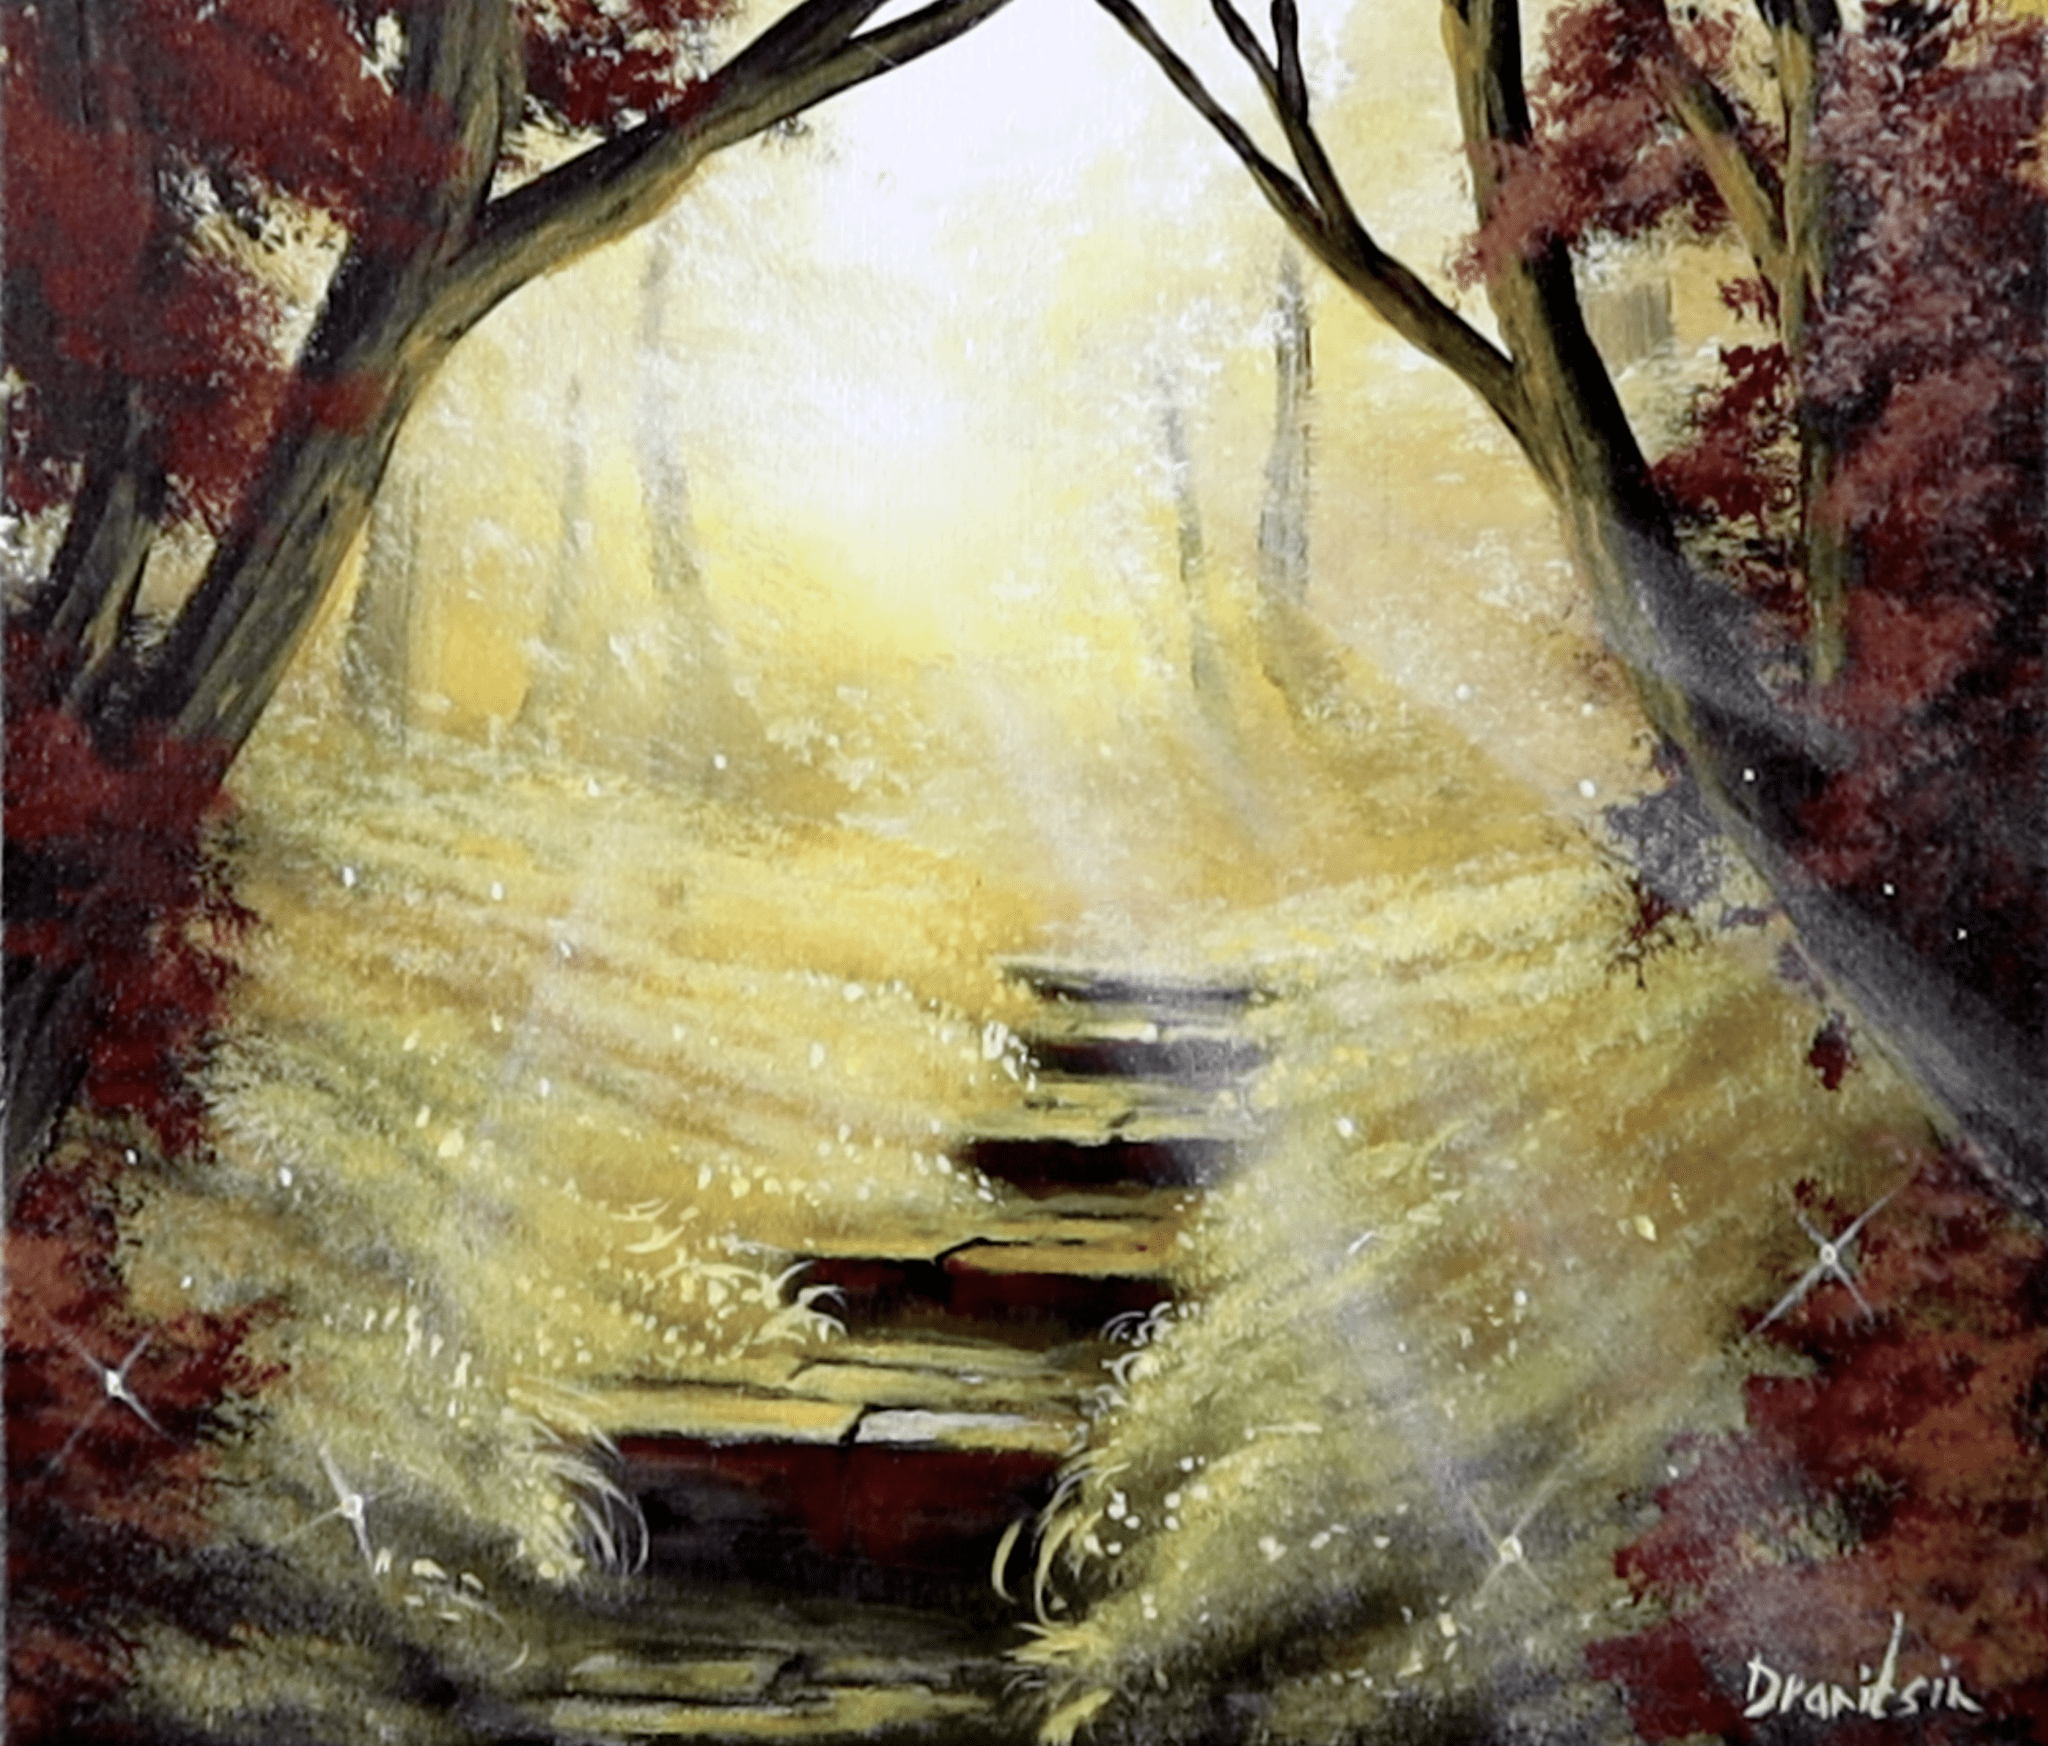
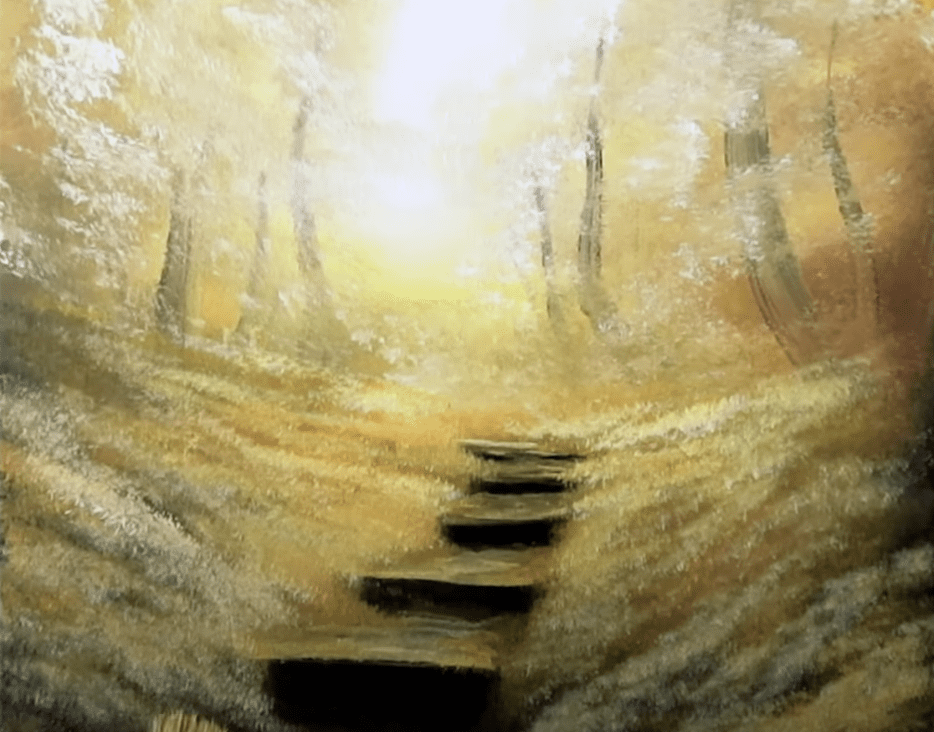
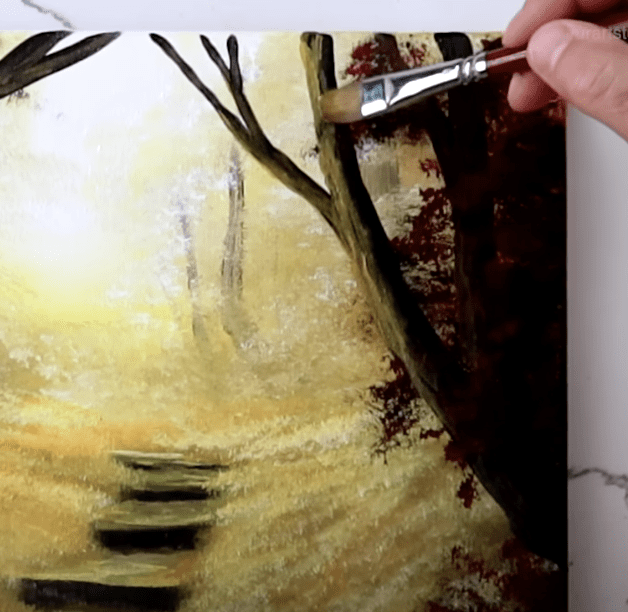
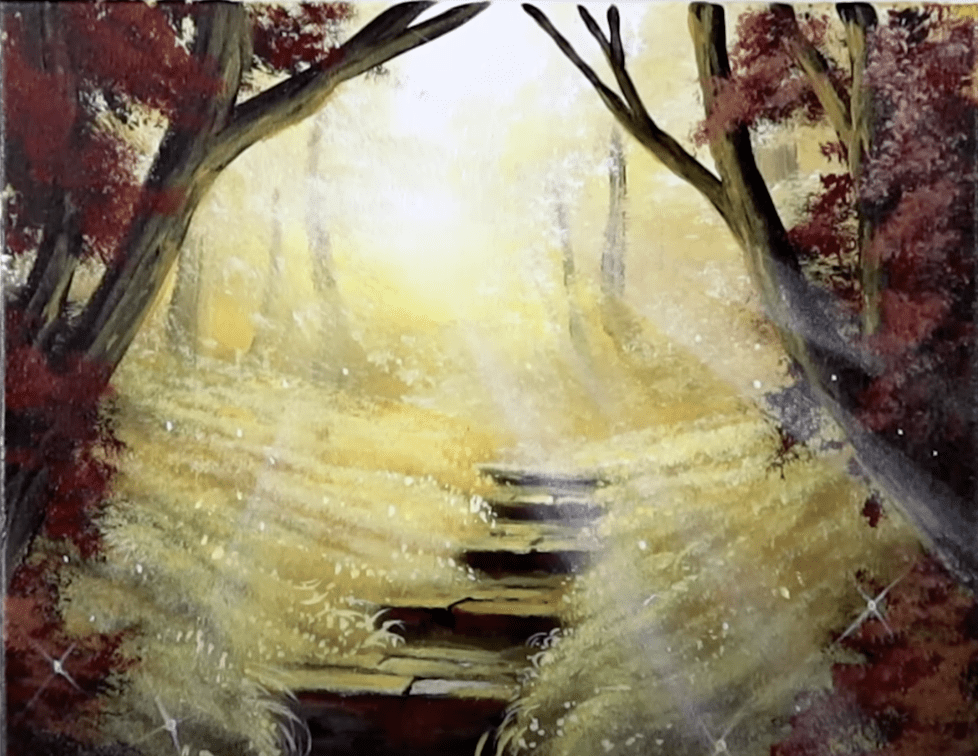
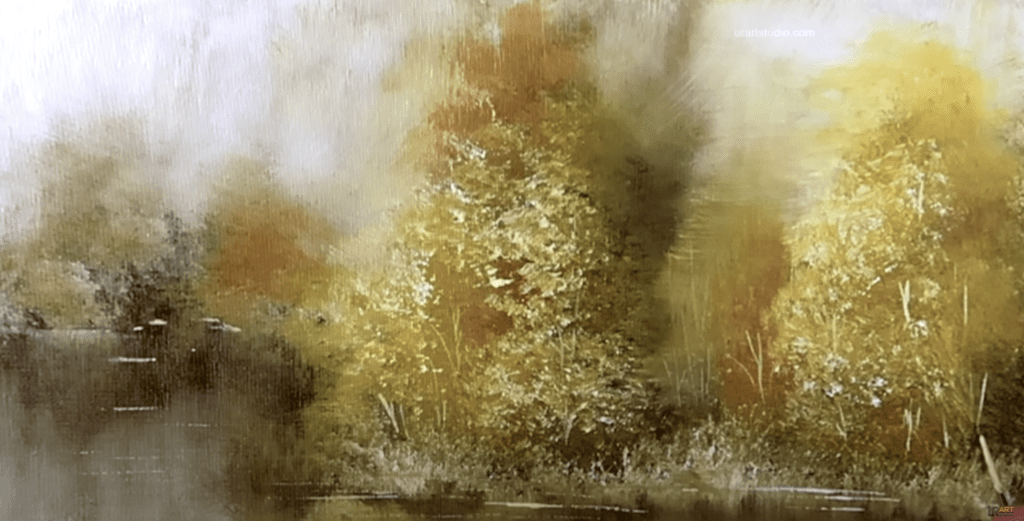
Our task is to transform a simple canvas into a magnificent scene: a stairway leading into a sunlit forest.
Once our canvas is prepped and our colors set, we are all set to begin.
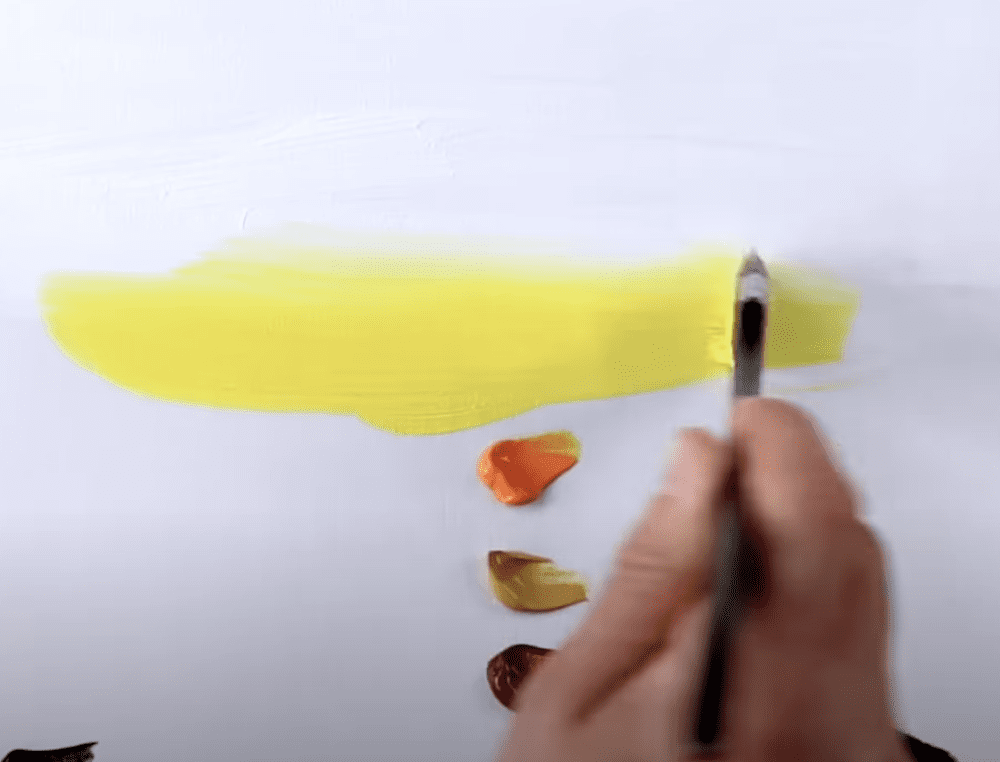
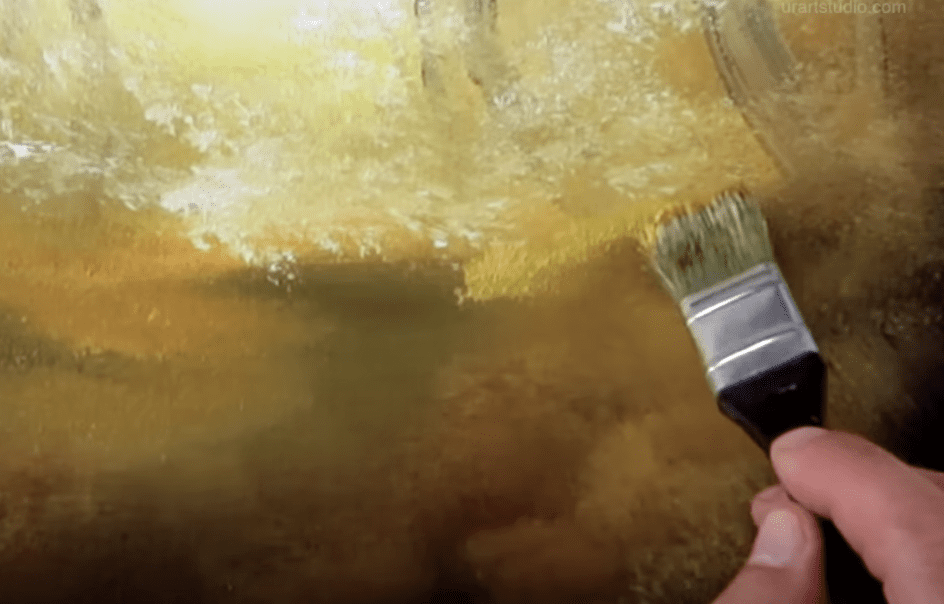
Using a number four big square brush, we will artfully blend paints from light to dark to bring our vision to life.
Today we are using sunshine happy colors, such as white, yellows, burnt sienna , brown, and black .
As you merge these colors seamlessly, feel free to continue using the same brush without the need for frequent cleaning.
For all of our premium brushes and expert painting advice, visit urartstudio.com – your one-stop destination for all your artistic needs.
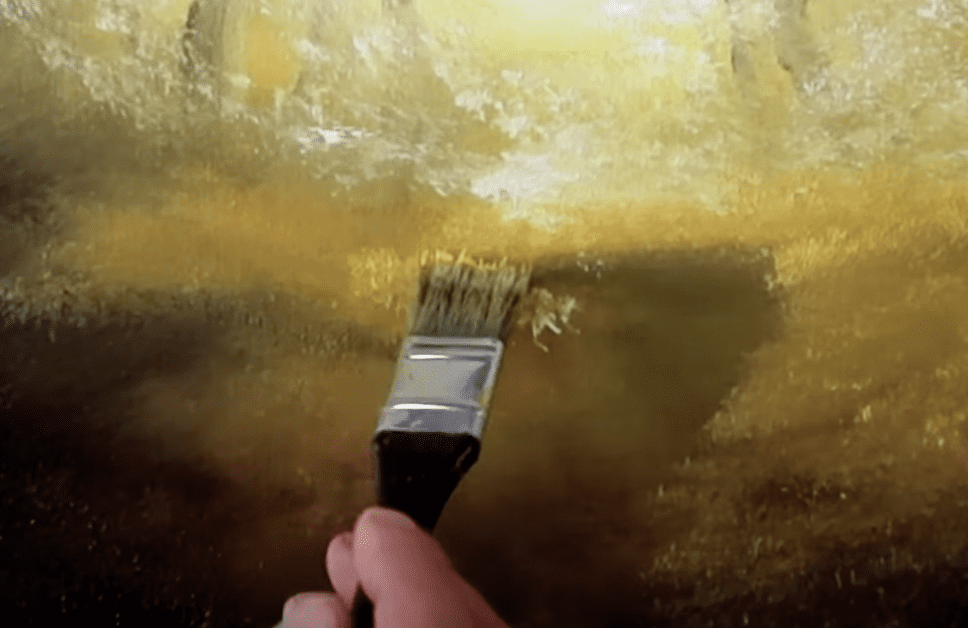
Once the paint has been spread, transition to a big oval brush. Using gentle, dabbing motions, blend all the colors seamlessly to craft a textured background that evokes the serene presence of distant forest foliage.
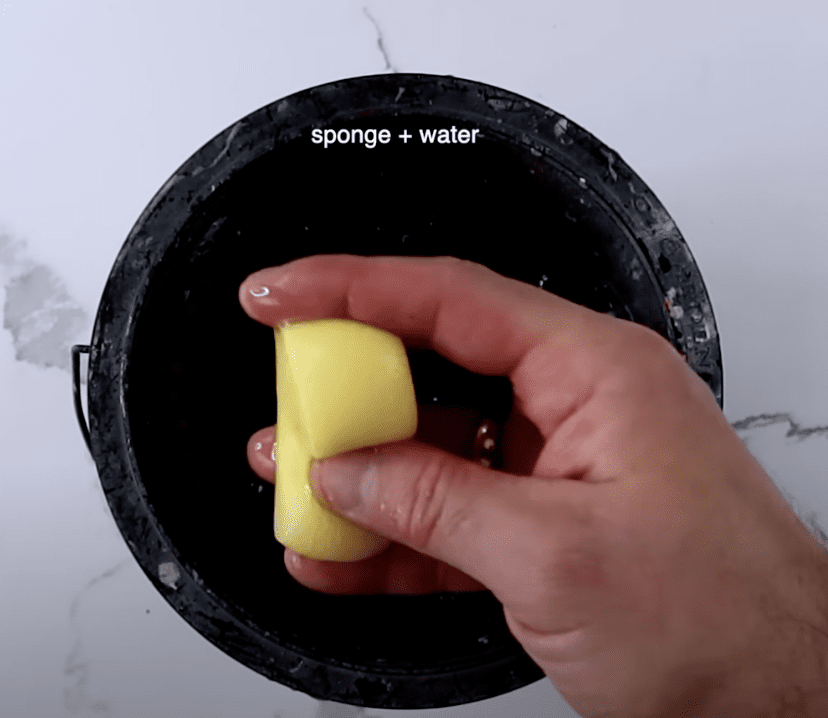
Remember to clean your brush in water and dab it dry on a paper towel whenever it gets overloaded with paint.
Maintain a fluid transition between colors by blending them smoothly into each other.
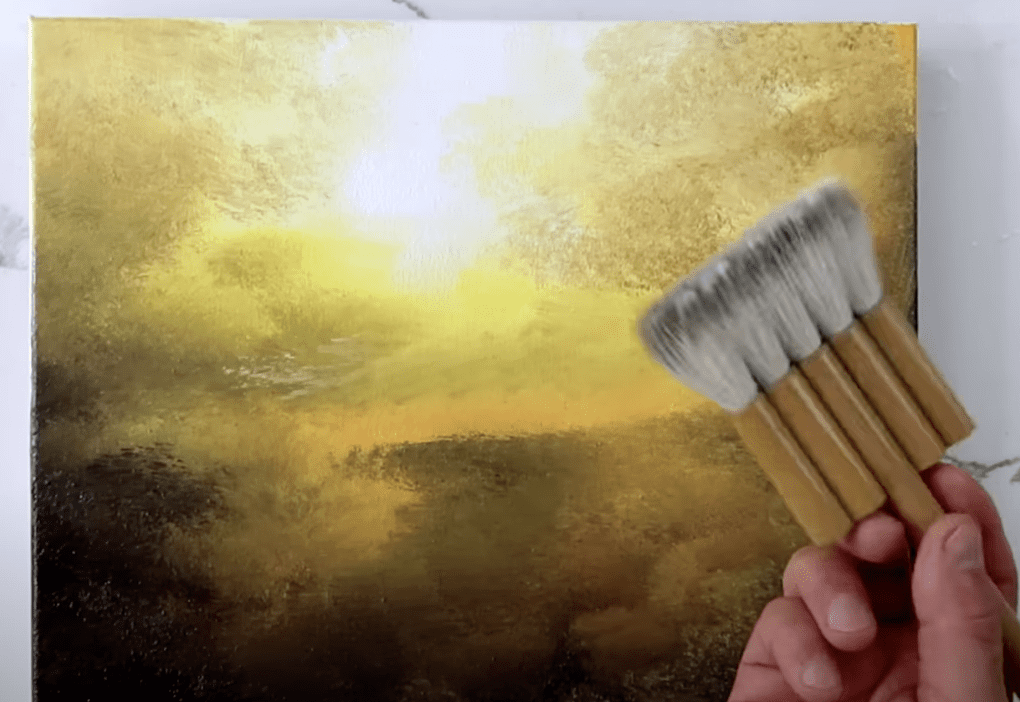
To achieve a soft and polished background, we will employ an ultrasoft blending brush to remove visible brushstrokes.
Transitioning to a small Filbert brush, let’s paint a few distant tree trunks using a rich VanDyke Brown. The moist background will naturally infuse light tones into these trunks, enhancing the illusion of depth. Experiment with various trunk size and thicknesses for added dimension.
Blend these trunks into the background using a small oval brush, dabbing and merging them with the surroundings for a seamless effect.
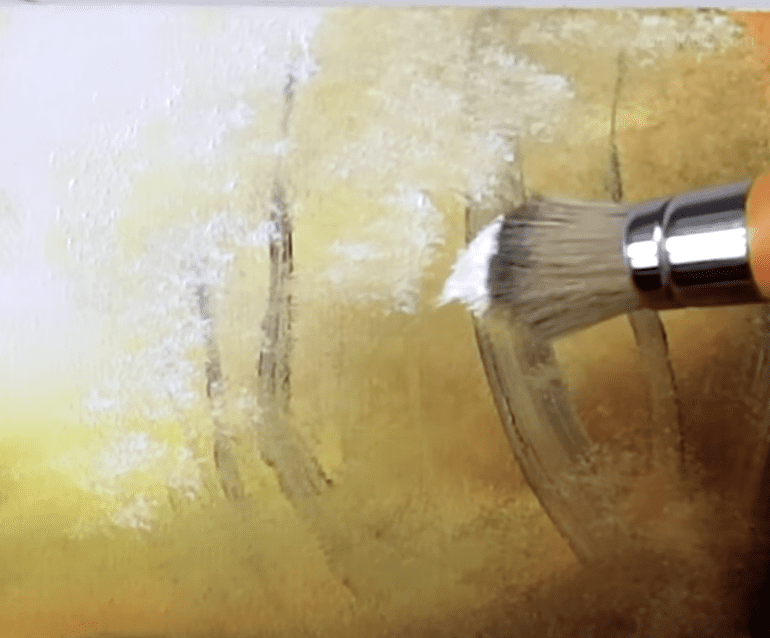
Now we will introduce white paint for tree foliage, adding a sun-kissed sparkle to the background trees.
Let’s shift focus to the foreground. Using a number two big square brush loaded with a mix of yellow shades, create grassy areas sculpting our beautiful hills.
Before moving to the next step, use a heat gun or a hair dryer to swiftly dry our painting.
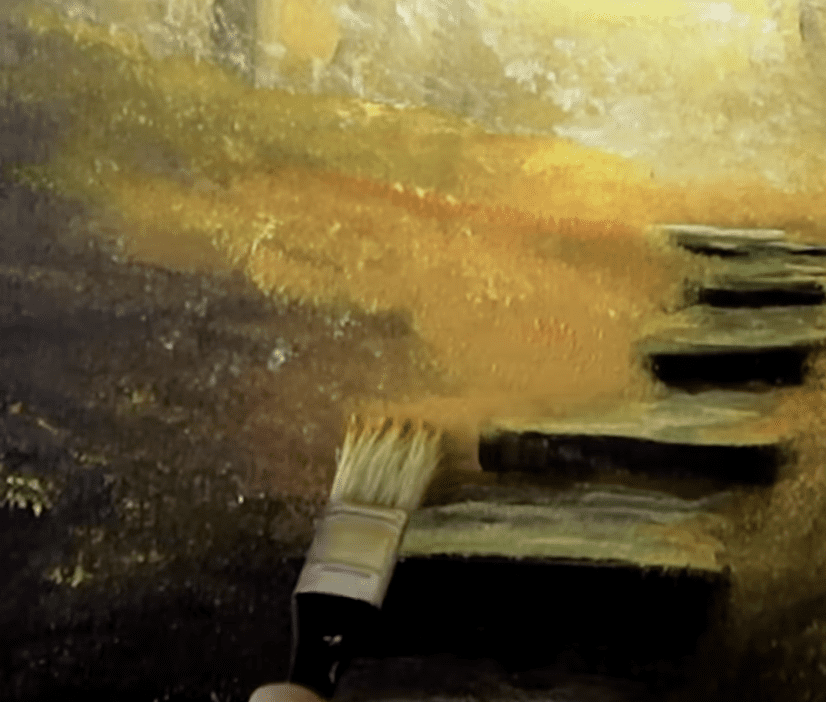
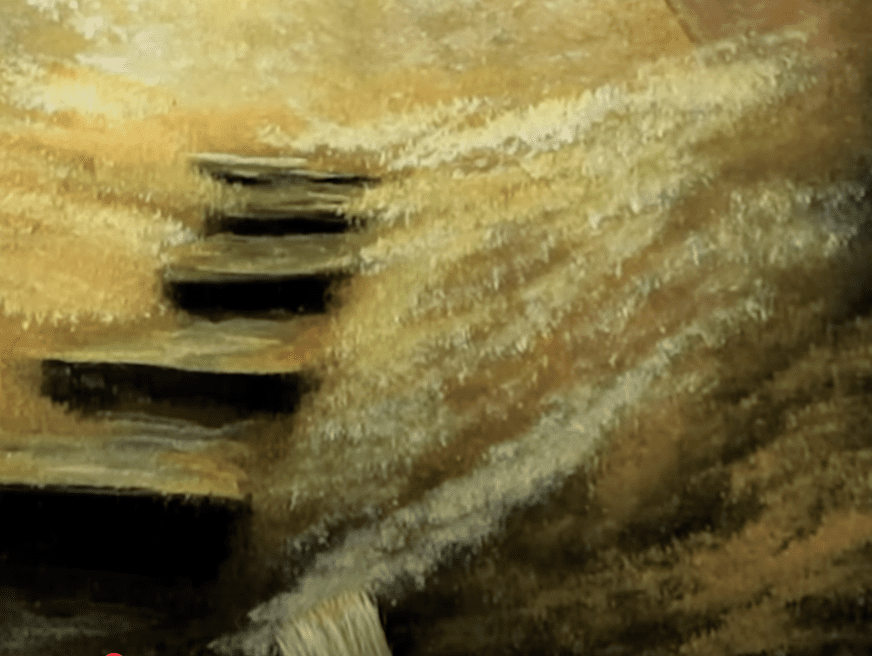
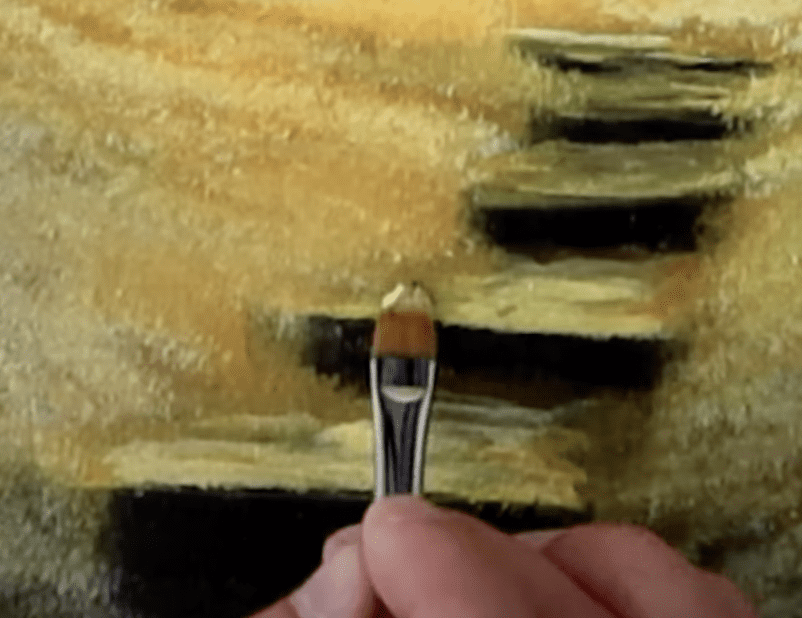
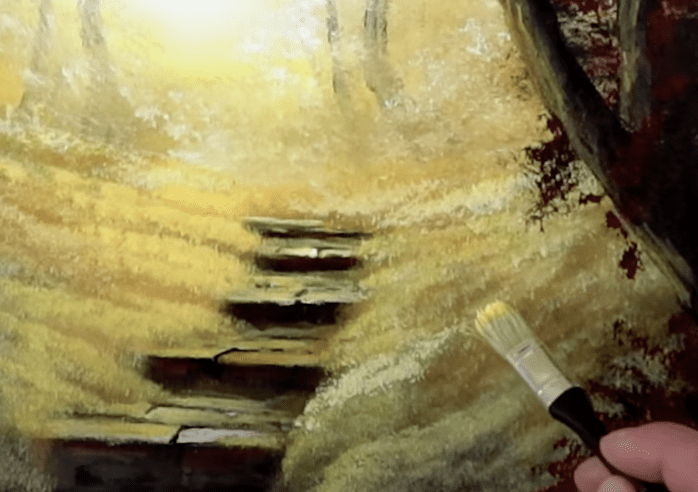
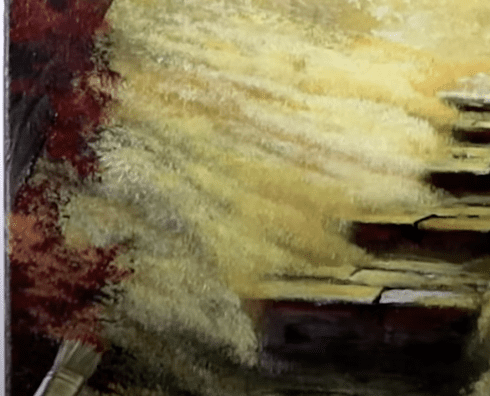
With a small square brush, sketch out the stairwell details. Enhance the upper part with Indian yellow, blending it without cleaning the brush to create a harmonious shape for our stepping stones.
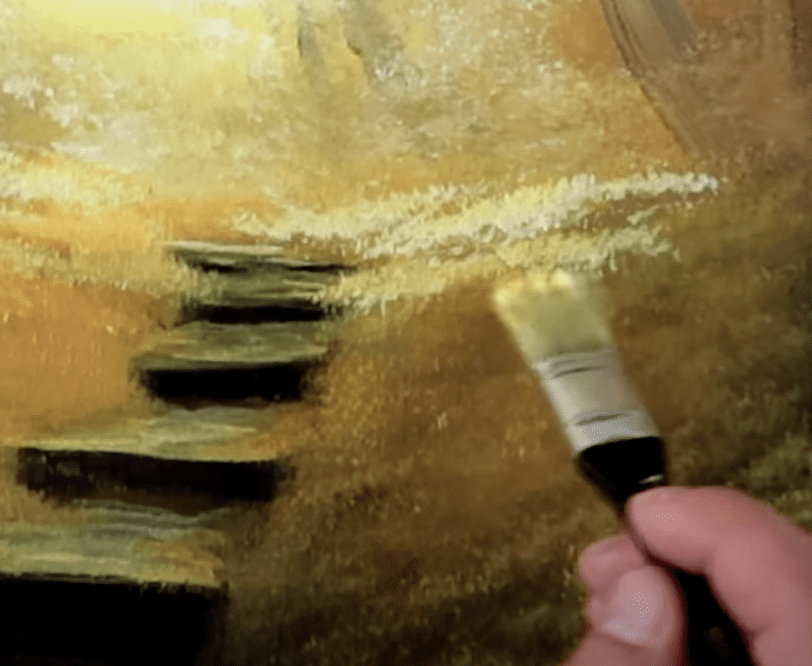
Switch to a small Filbert brush, adding highlights with white and yellow to capture the sunlight dancing on the stairwell’s edges.
Blend these highlights smoothly using a clean filter brush.
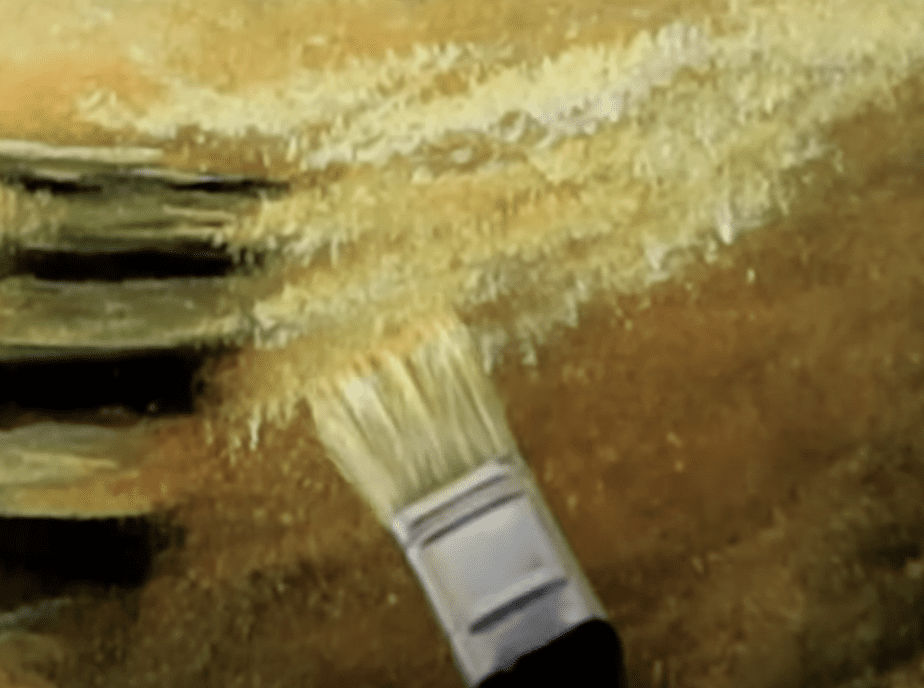
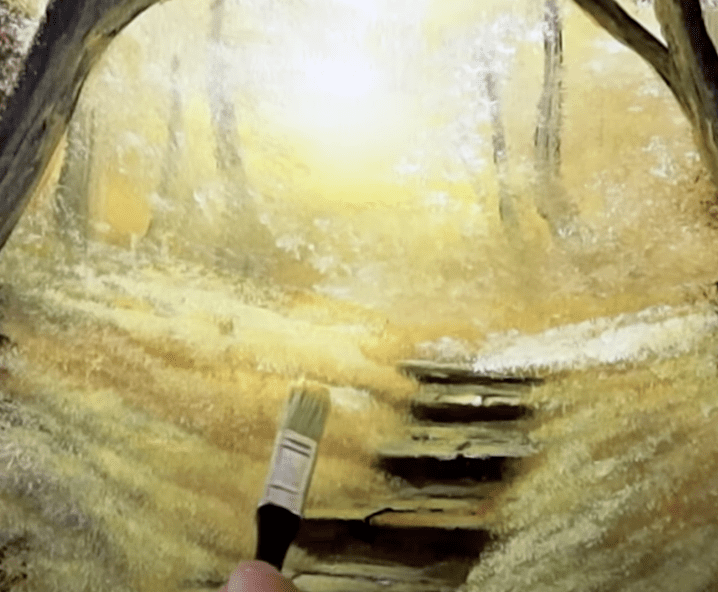
Utilizing a number 2 big square brush loaded with yellow ocher we will intensify the highlights on the grassy hills.
Using same #2 big square brush add a layer of bright yellow and white to make our grass gleam under the sun.
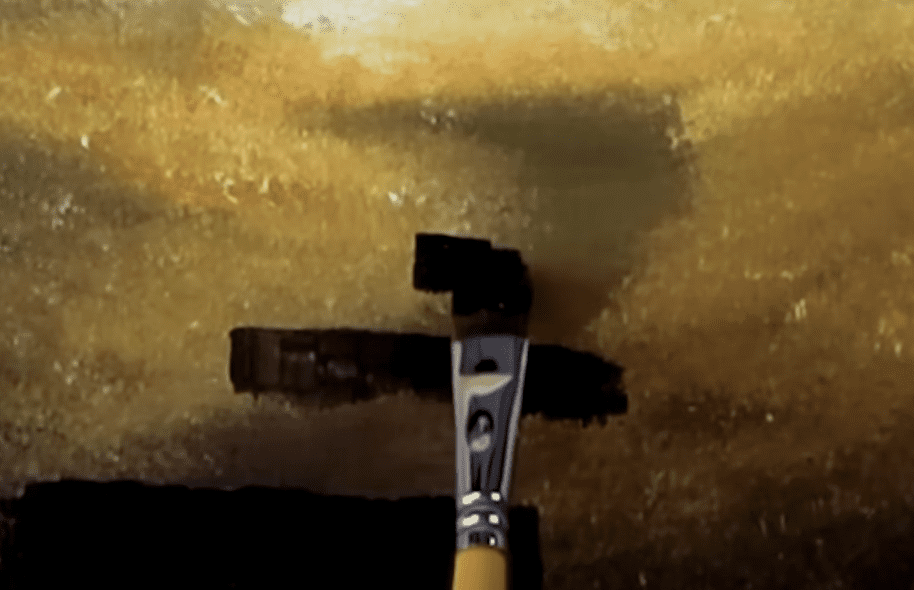
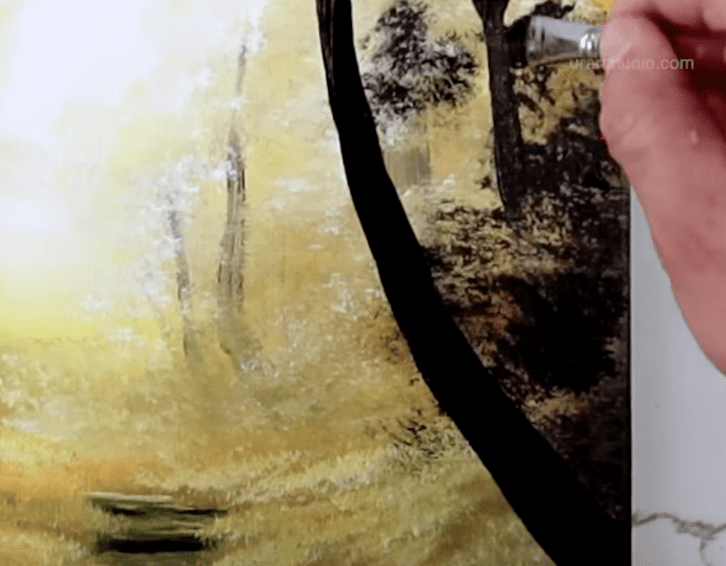
Return to our big oval brush, load this brush with black and brown colors and let’s create foreground tree foilage embracing our composition on both sides of our painting.
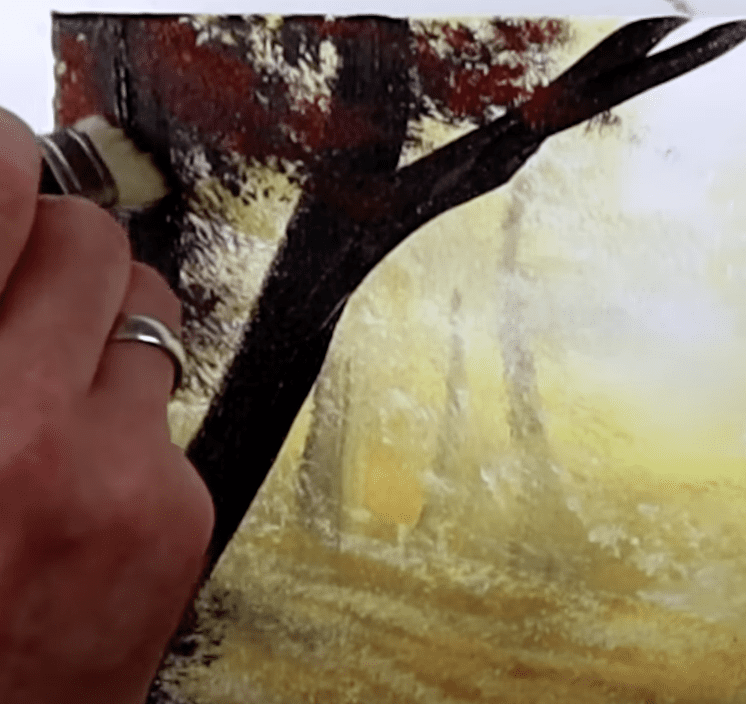
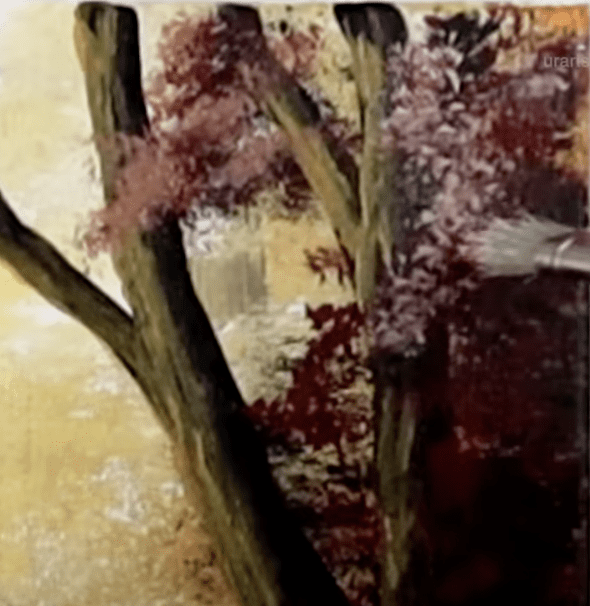
For prominent tree trunks, load a Filbert brush with black paint and let’s paint a few big tree trunks weaving against our tree foliage.
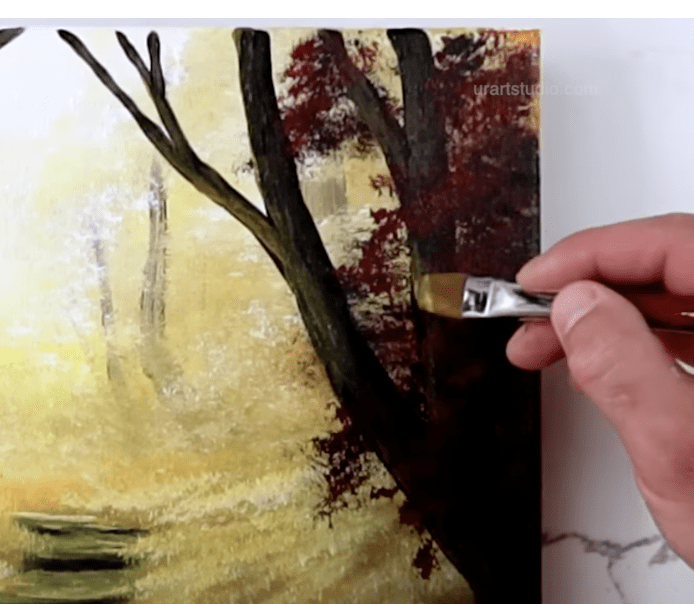
Enhance the foliage with bright highlights using burnt Sienna.
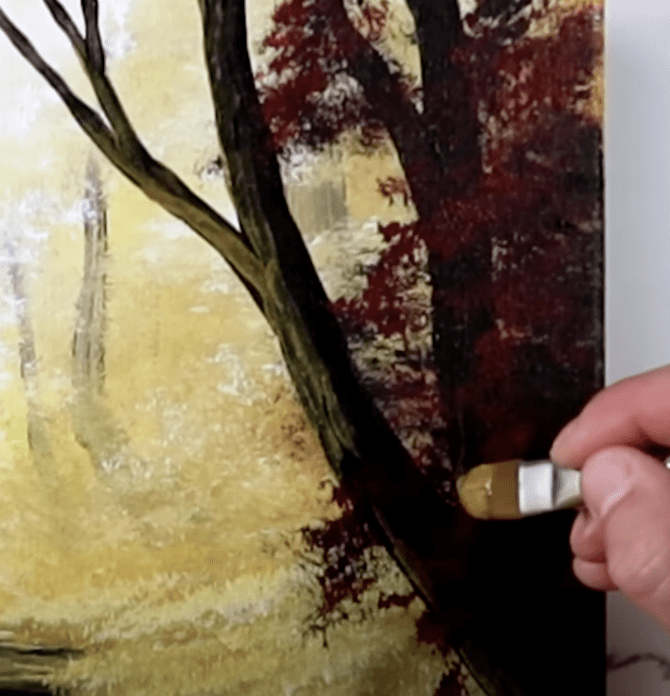
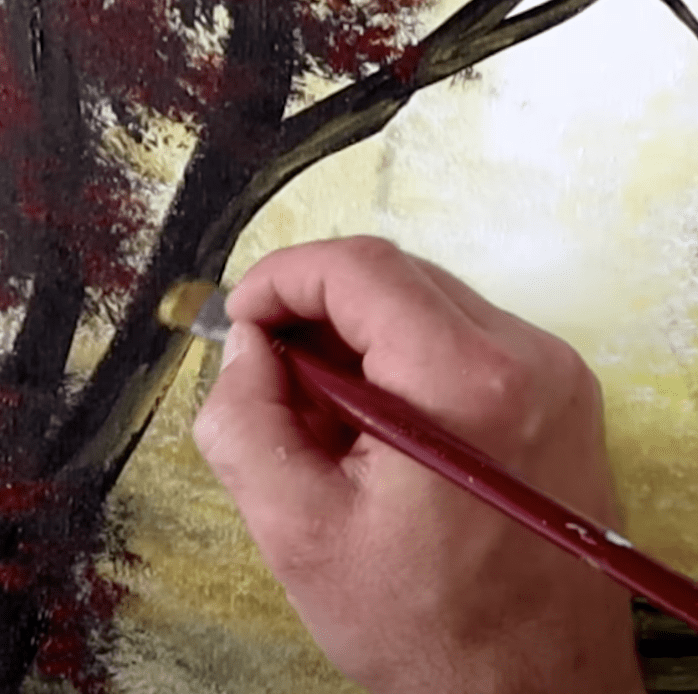
Let’s enhance the richness of our tree trunk with a delicate touch of yellow ochre infused with a hint of black to slightly mute the color. This strategic blend will serve as a highlight, defining the contours and curves of the trunk, giving it a sense of depth and dimension. By carefully applying this nuanced hue, we can sculpt the tree trunk, ensuring it boasts a distinctive and refined shape that harmonizes beautifully with the surrounding foliage.
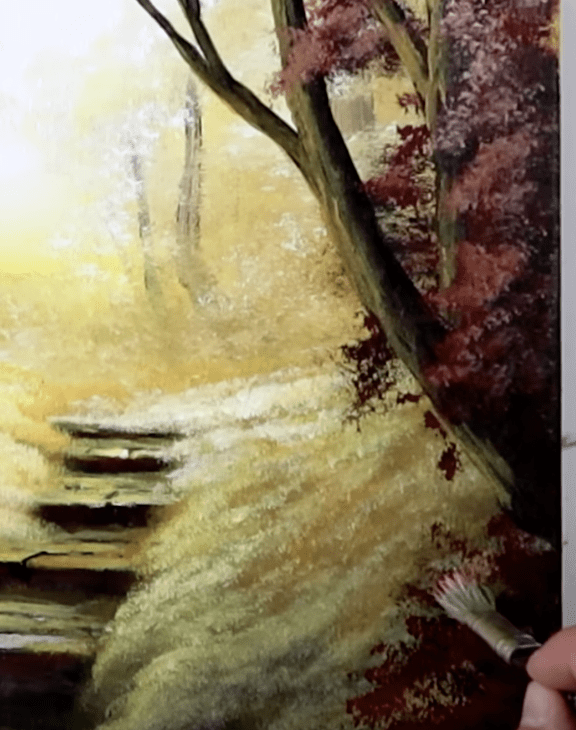
Continue this method of layering brighter highlights by incorporating pure yellow ochre.
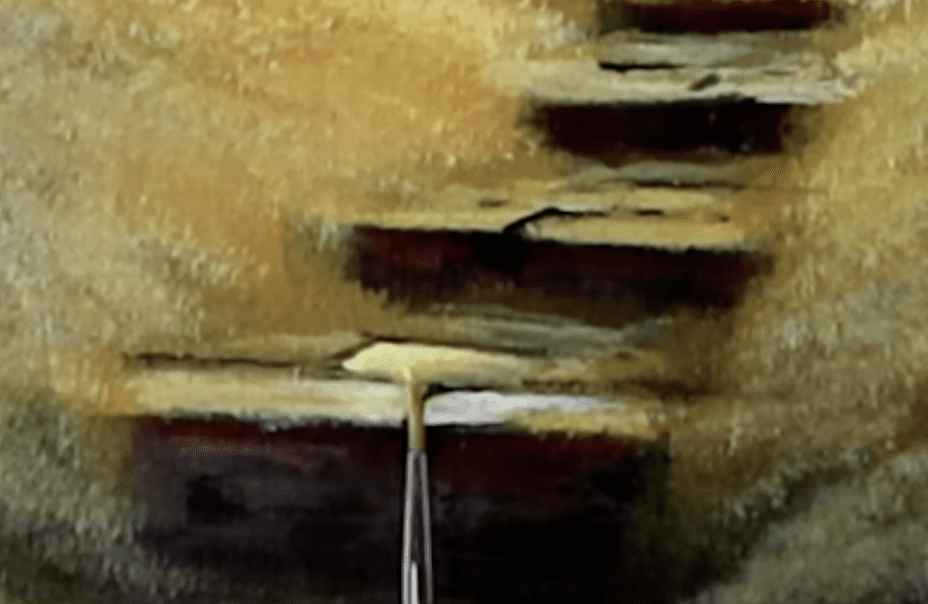
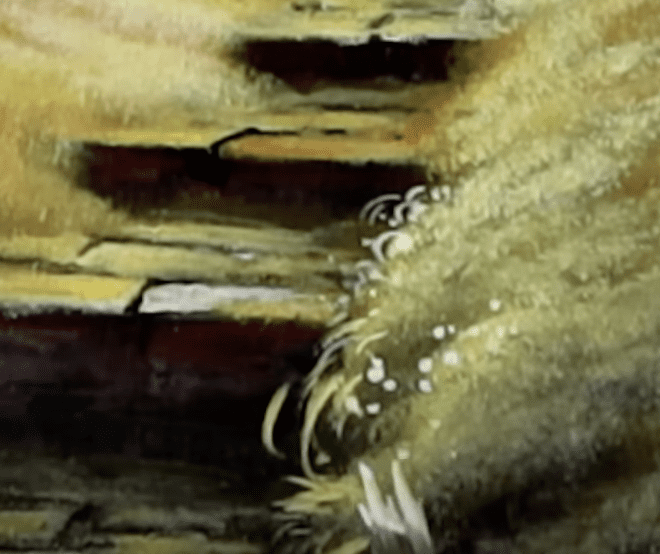
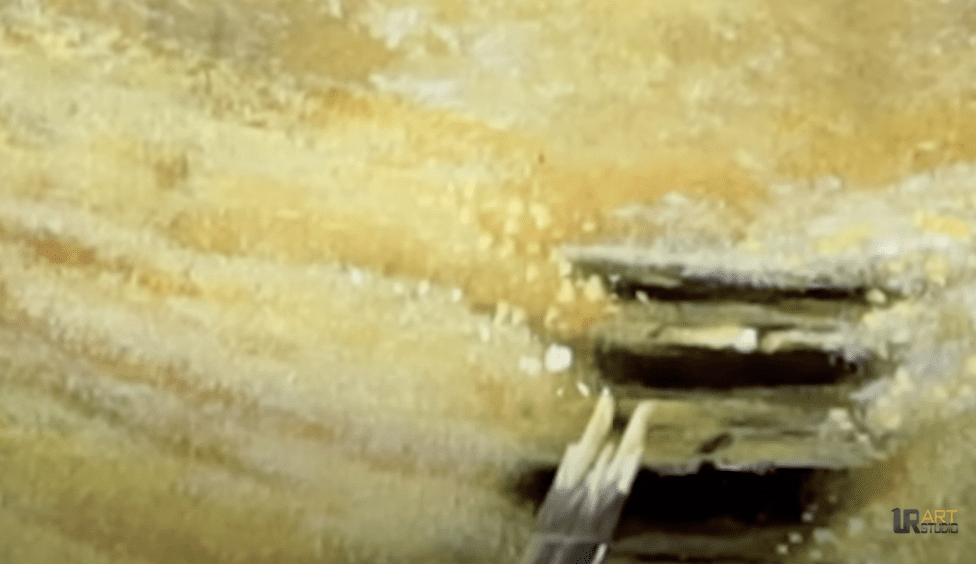
Define individual stones on the stairwell with varied bright colors where light strikes, using a small filbert brush to differentiate each stone clearly.
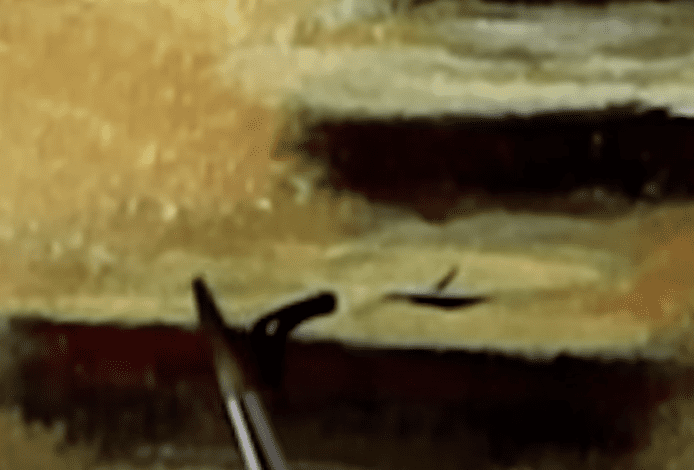
Using detail brush and black paint, outline the distinct counterlines on each stone that separate them on our stairwell platforms. This careful detailing adds a sense of structure and individuality to each stone, infusing the stairwell with a sense of depth.
With that same detailed brush, incorporate additional highlighted spots on every individual stone for added depth and realism.
Brighten up the grassy hills with more yellow and white highlights, overlapping them with the stairwell for a cohesive look.
To enrich our tree foilage, add a touch of burnt sienna slightly mixed with white and yellows using our #1 square brush.
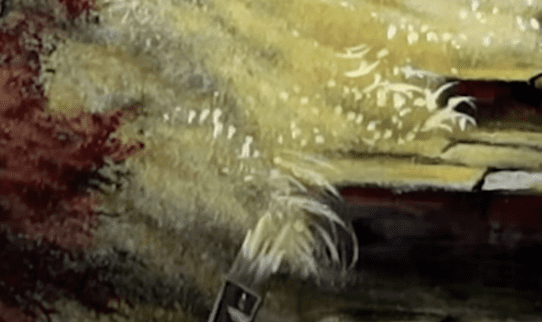
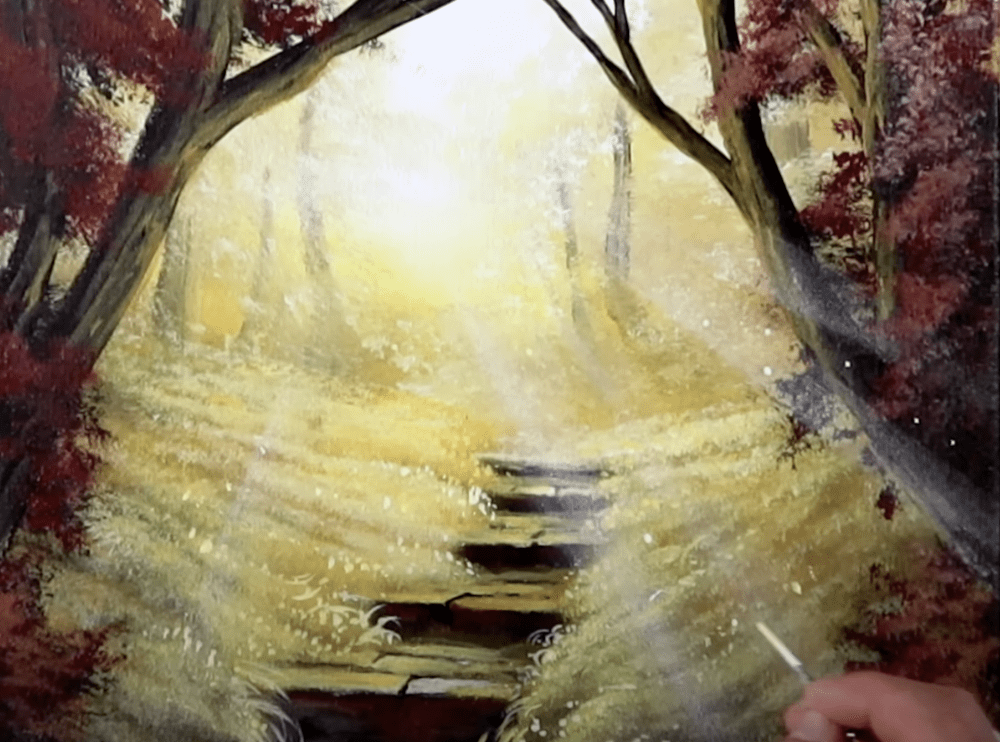
For the final touches, utilize a custom bristle brush for delicate grass blades and sparkling flowers on the hills, ensuring a subtle and balanced finish.
Let’s once again dry our canvas and damp our surface to prepare for the next final step.
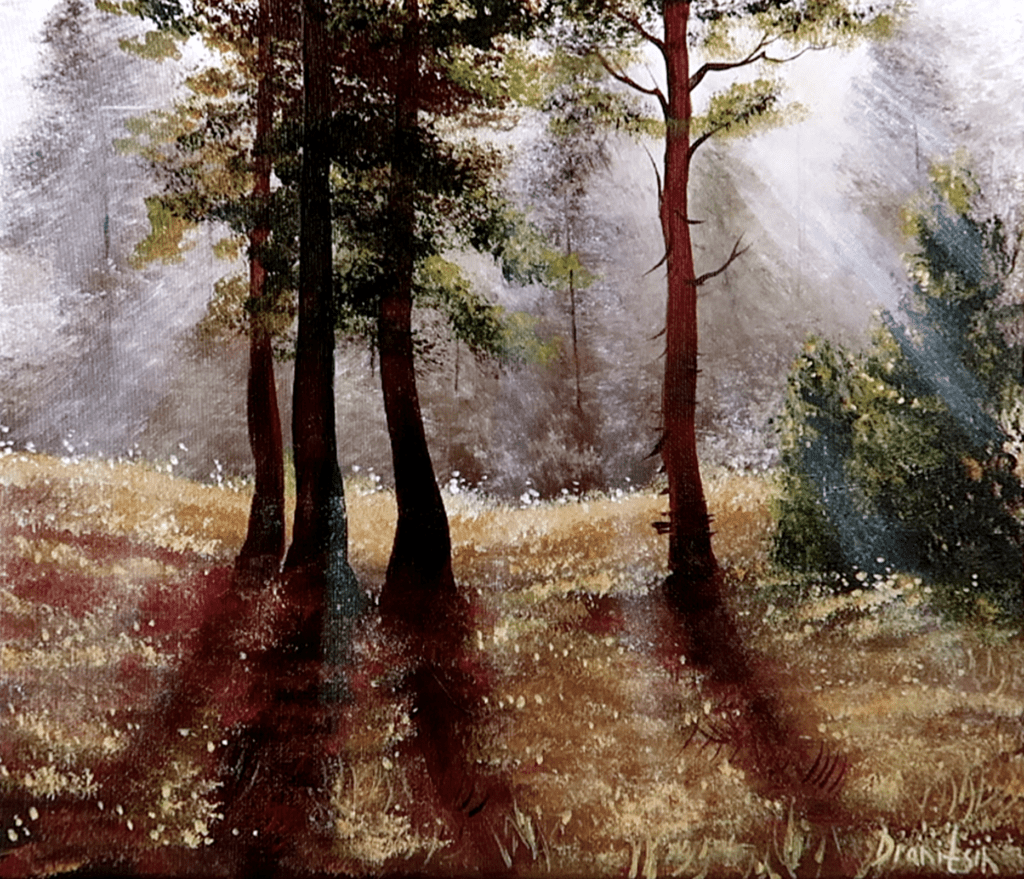
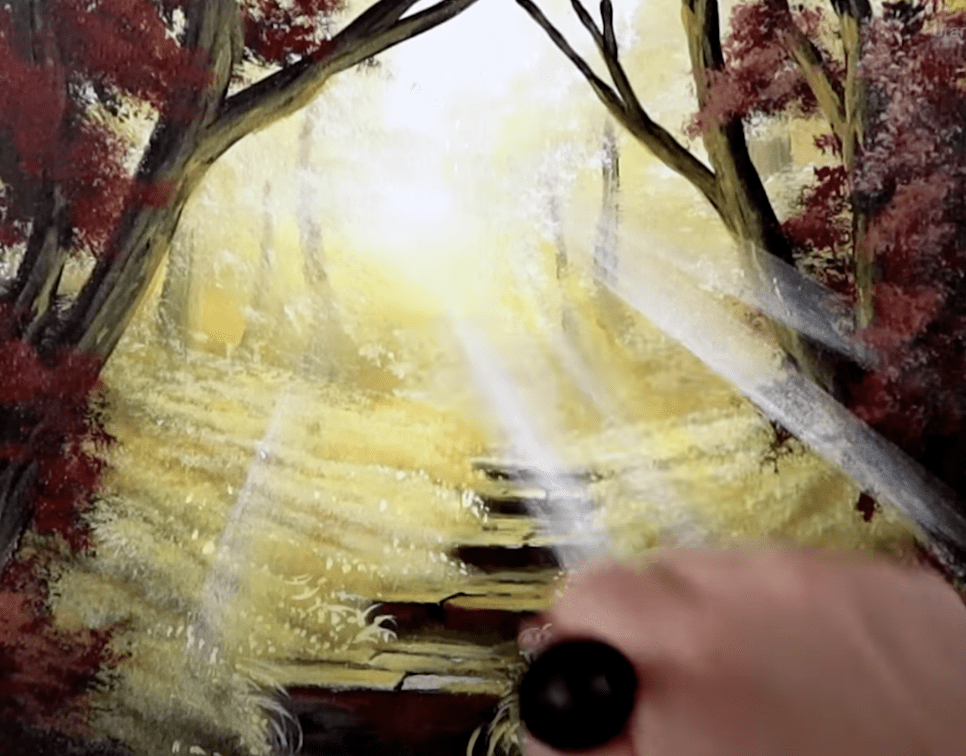
Accentuate the scene with rays of sunshine using a big Filbert brush loaded with white and yellow hues and create a magical glow.
Finish off by adding sparkling details with a liner brush and white paint, bringing a magical element to the painting.
Step back, sign your artwork, and admire your masterpiece.
Happy painting, and until next time, keep creating and exploring!
MEMBERSHIP – https://www.youtube.com/channel/UC3hCdJZXe9k52K6FIzUBLeA/join/
SHARE YOUR ART – https://www.facebook.com/groups/shareyourart1/
#forestscene, #sunlitstairway, #acrylicpaintinglesson, #natureart, #arttutorial, #paintingdemo, #woodlandlandscape, #creativeprocess


STEP BY STEP PAINTING INSTRUCTIONS AND NARRATED GUIDES FOR URARTSTUDIO.COM YOUTUBE ART VIDEO DEMONSTRATIONS

ART VIDEO STEP BY STEP VIDEO DEMONSTRATIONS AND ORIGINAL ART GALLERY BY URARTSTUDIO:
Welcome to the captivating world of URARTSTUDIO! Immerse yourself in the exquisite artistry and creativity with our step-by-step video demonstrations and exclusive original art gallery. Prepare to be spellbound as true mastery unfolds before your very eyes. Witness the artistic process come alive as our videos take you by the hand, guiding you through each brushstroke and technique. Discover the secret behind captivating compositions and the intricate details that make art truly mesmerizing. Our gallery proudly showcases a curated collection of unique and breathtaking artwork, where every piece tells a story and evokes powerful emotions. Journey with us and let your imagination take flight as URARTSTUDIO invites you to unravel the magic of art like never before.