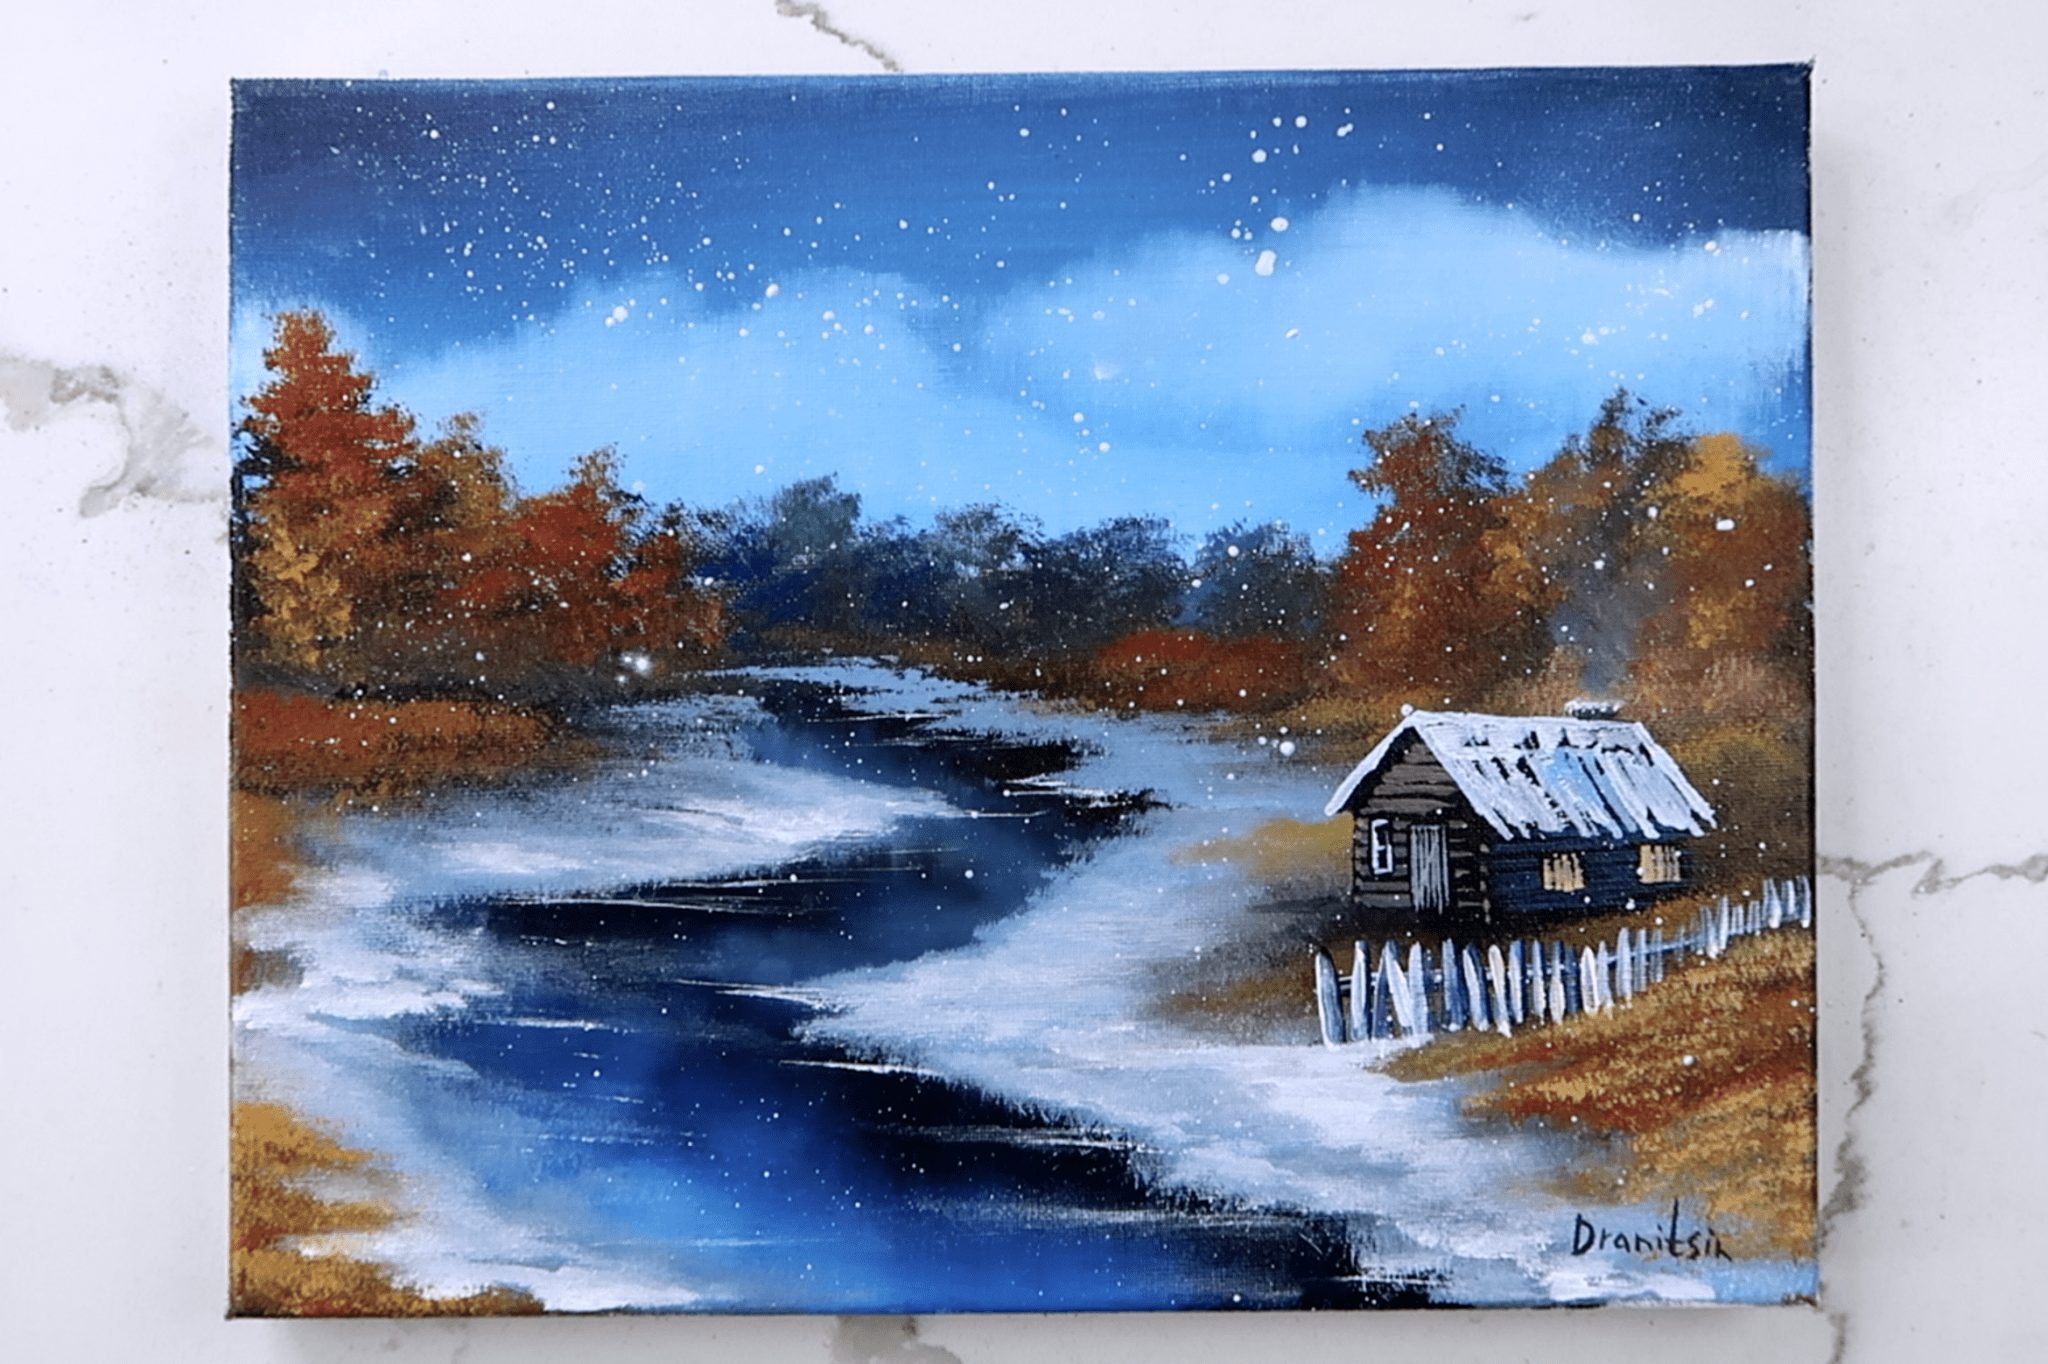
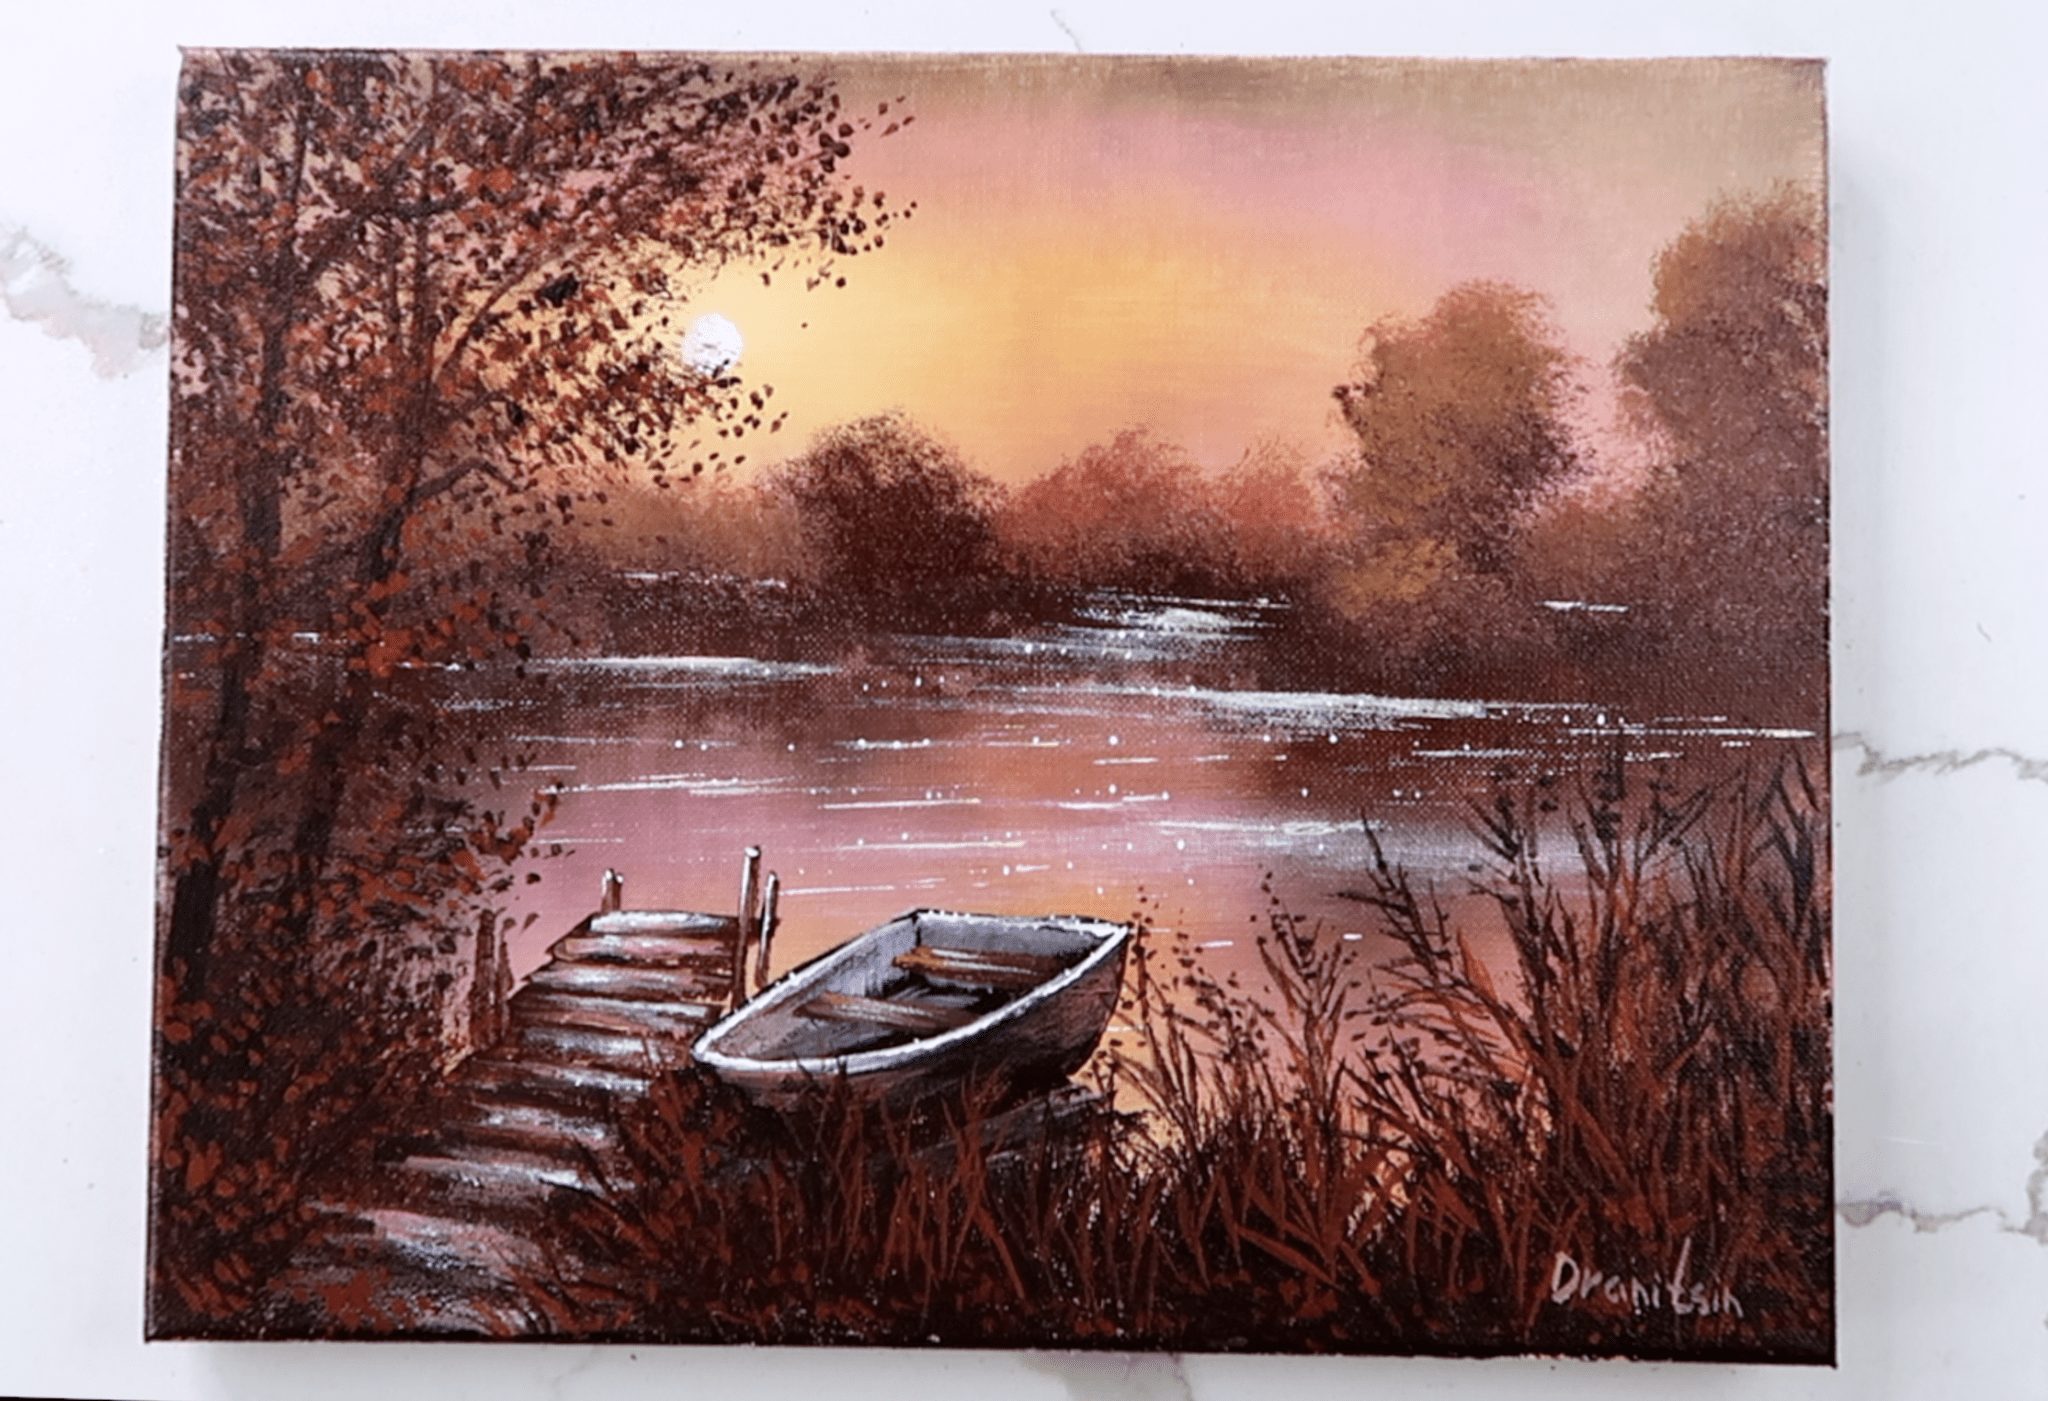
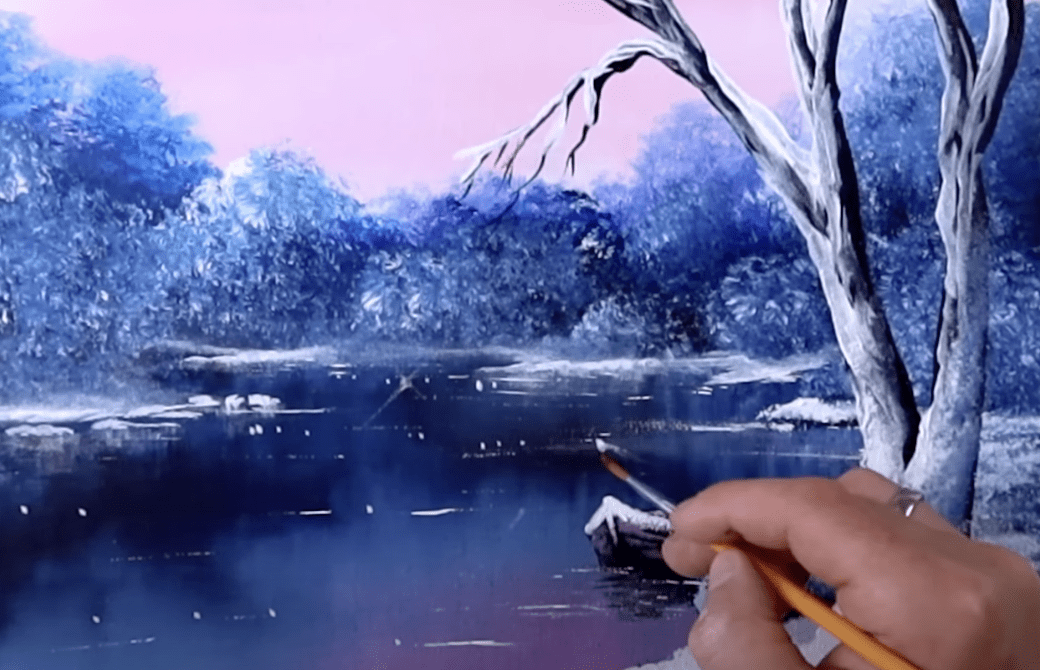
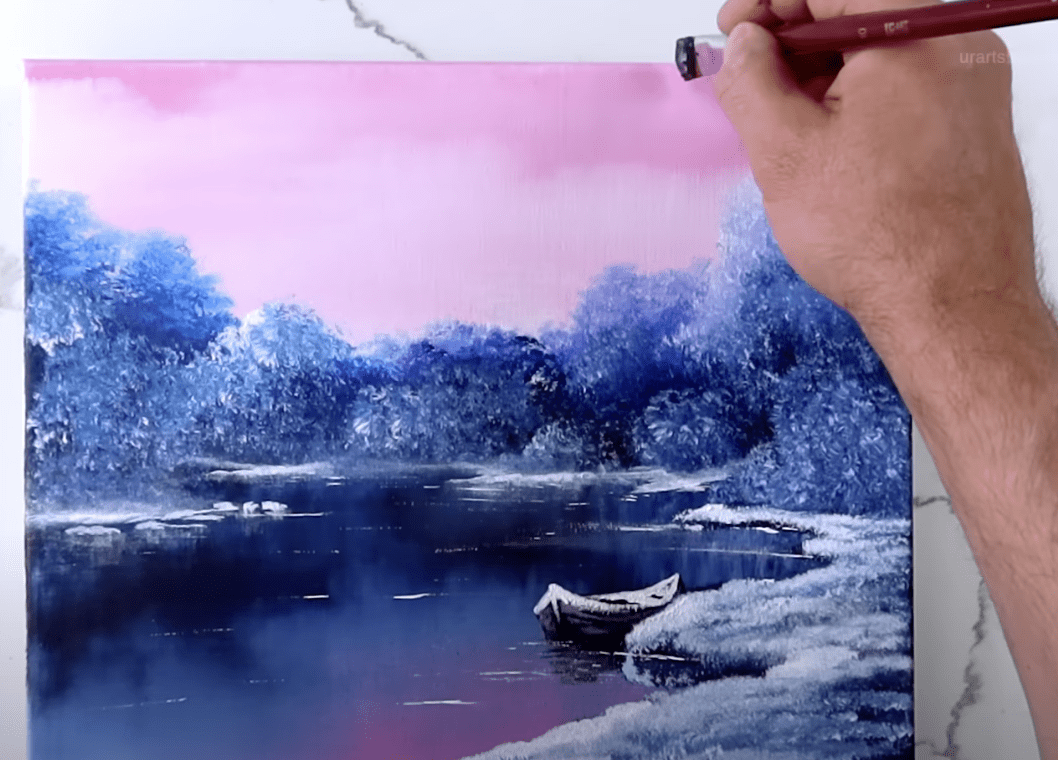
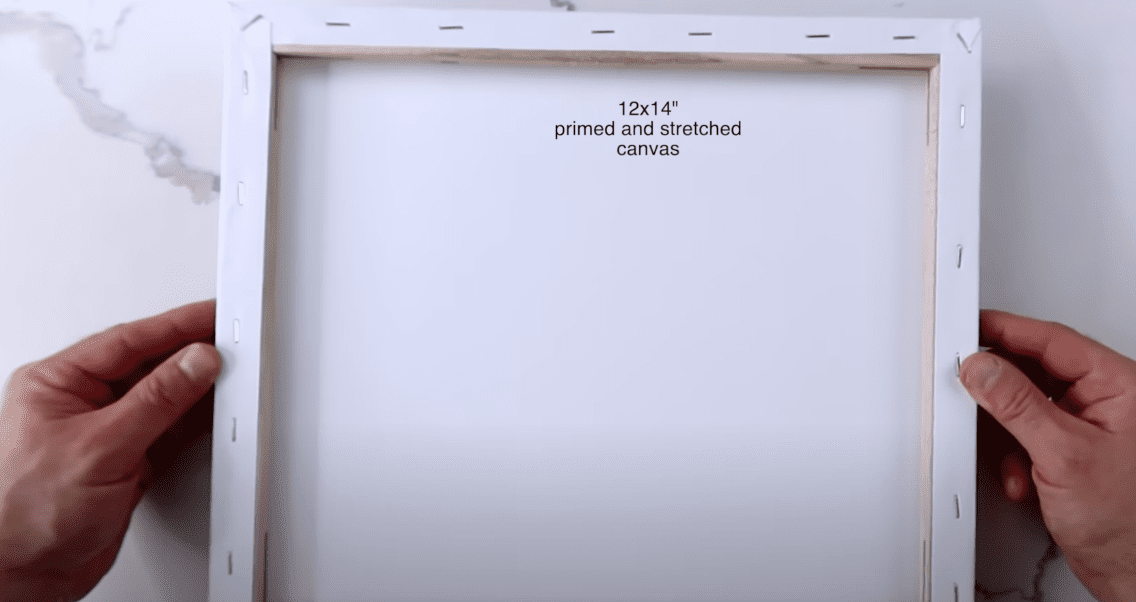
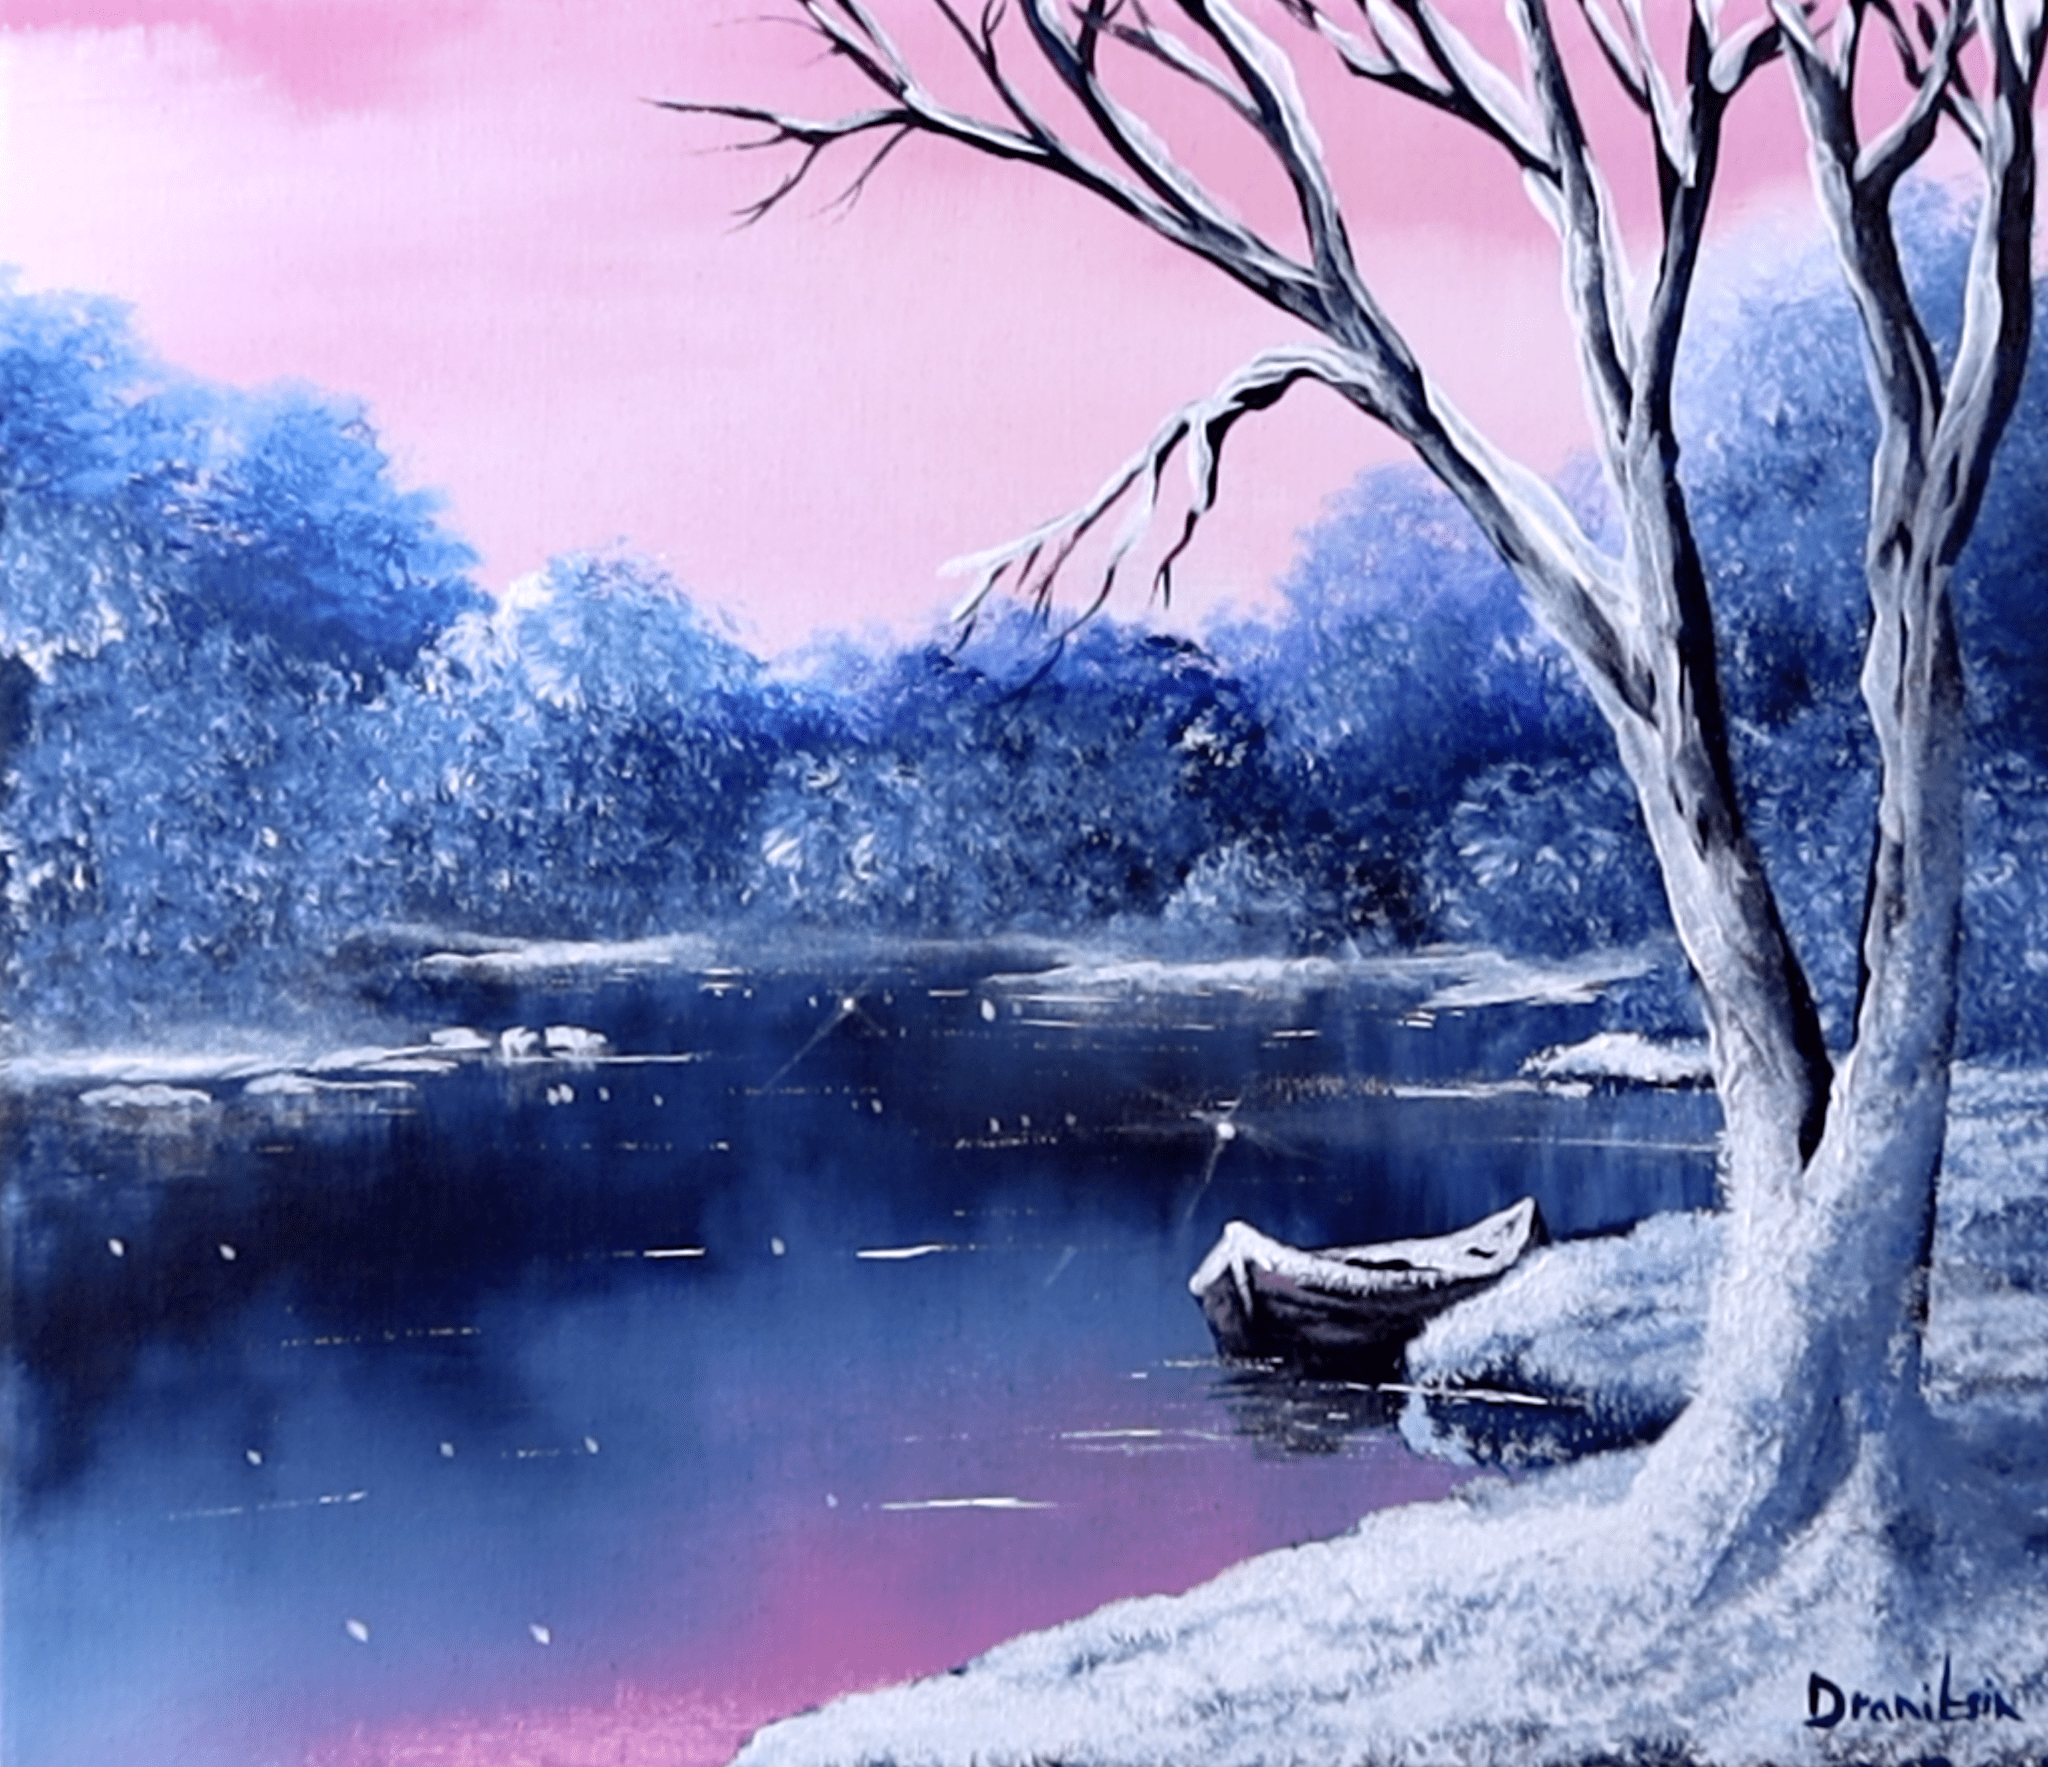
Hi there, welcome to another peaceful painting session! Today, we’re going to dive into a serene winter landscape, capturing the quiet beauty of a boat covered in snow. Grab your brushes, and let’s get started on this 12×14” canvas together. Follow along, and you’ll see how simple and enjoyable painting can be. Let’s paint something beautiful.
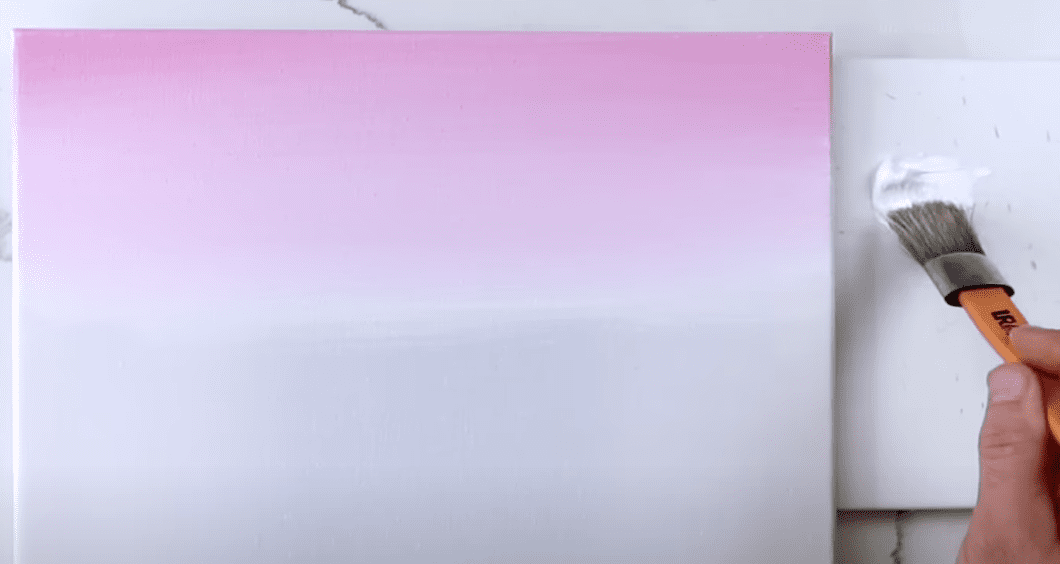
Step 1: Painting the Sky
We’ll begin with our sky, using just two colors: pink and white.
With our small oval brush, Starting at the top of the canvas, gently spread the pink mixing it with white across the canvas, transitioning smoothly to white as you move downward. Create a soft gradient that evokes a warm, calm winter morning.
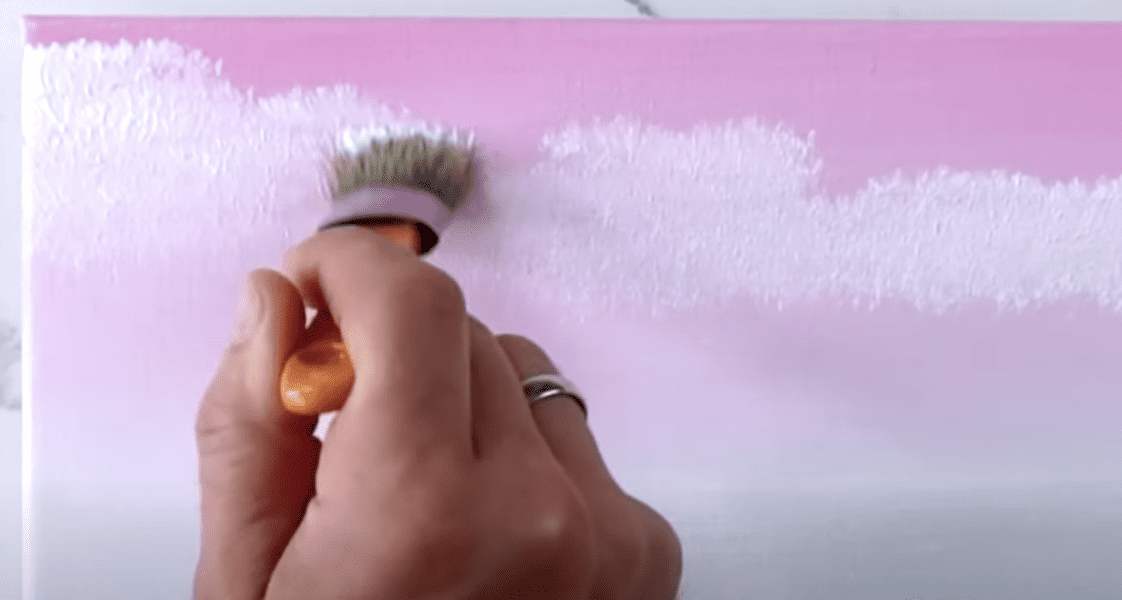
Step 2: Adding Clouds
Now, after cleaning the brush, dip into some white paint. Gently dab on the canvas to create wispy, fading clouds stretching from one side of canvas to the other. These clouds will add a delicate texture to our sky, making it look even more serene.
Step 3: Blending the Sky
Introduce your ultra-soft blending brush. Use it to blend the white clouds into the pink sky, removing any harsh brush marks. This will give our sky a soft, ethereal quality, perfect for our tranquil winter scene.
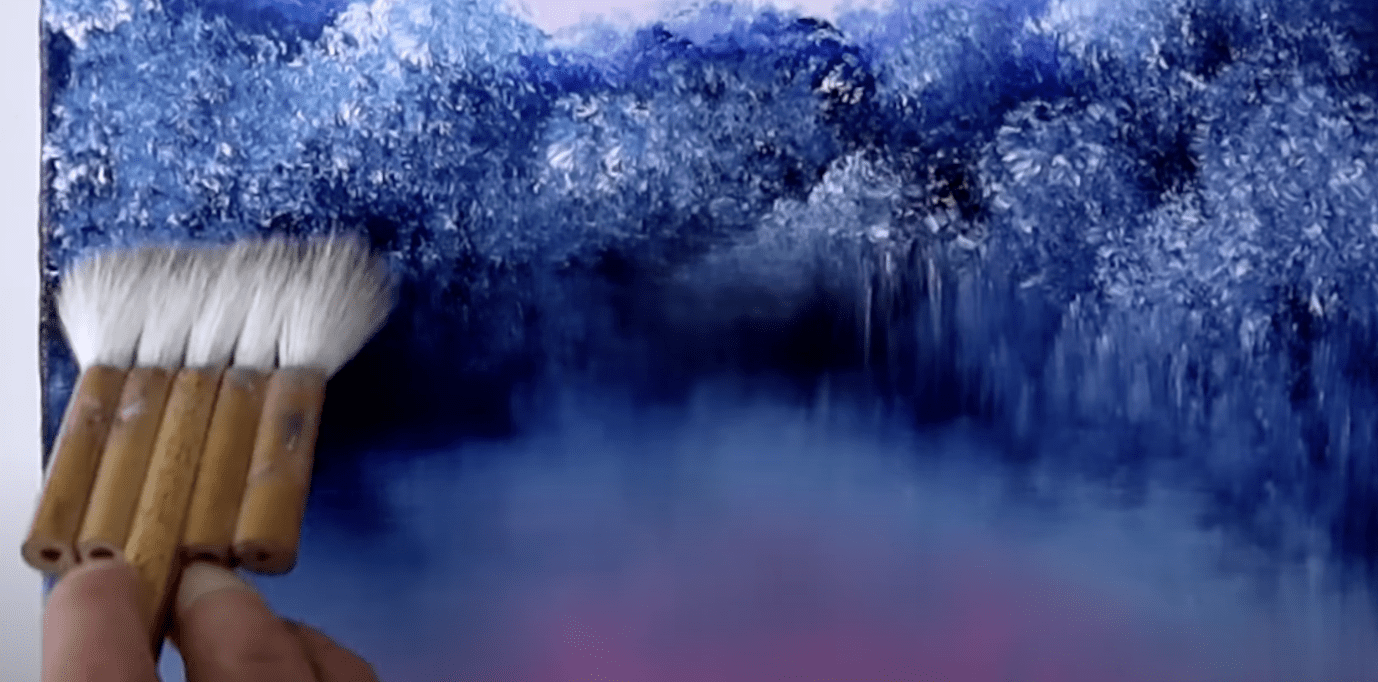
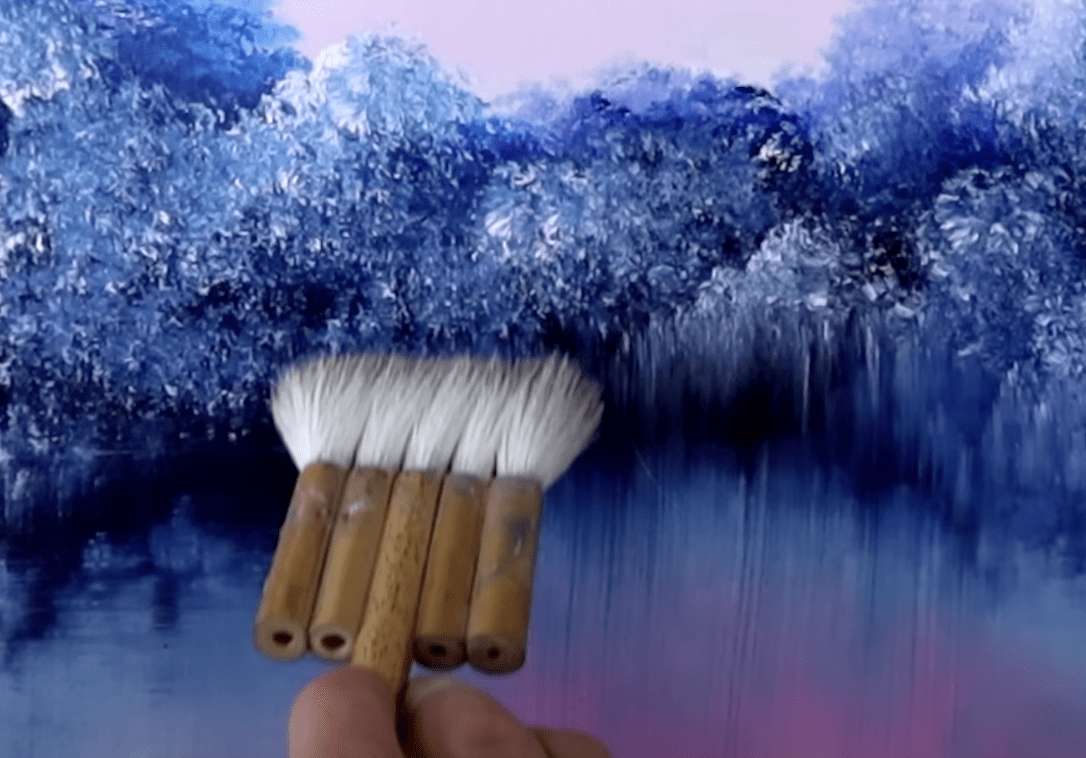
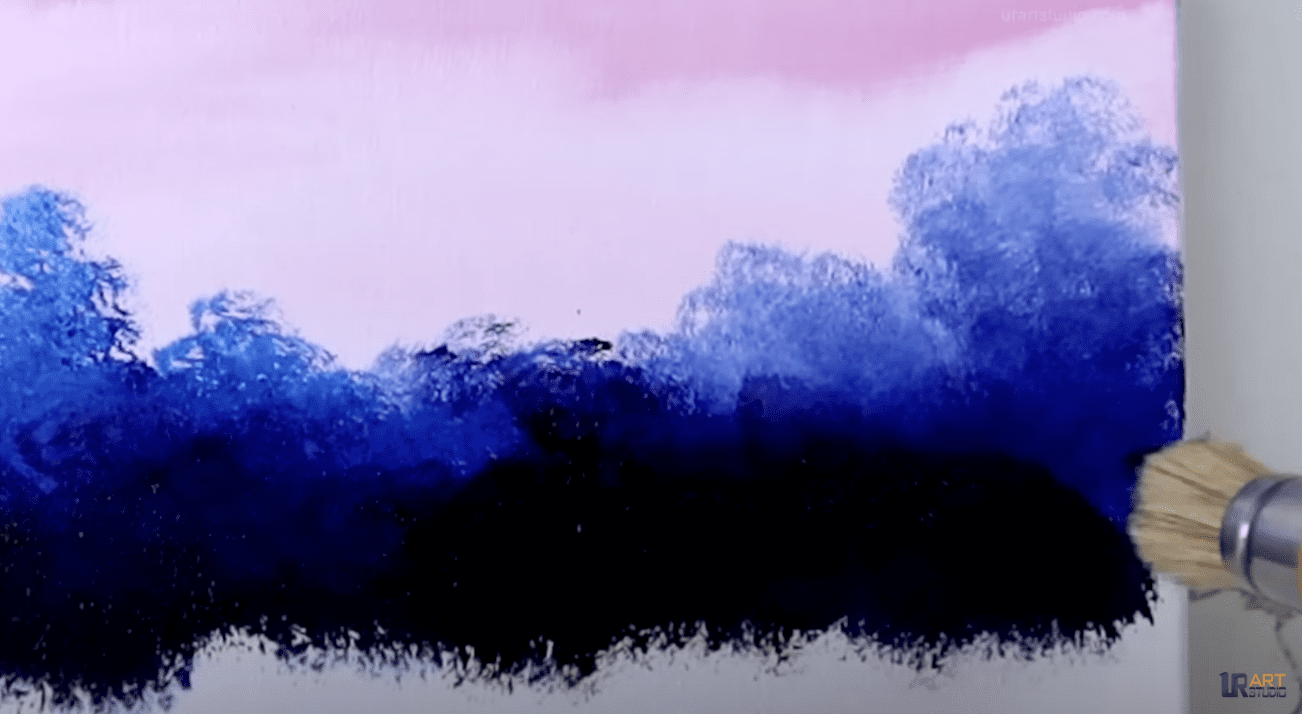
Step 4: Painting the Distant Trees
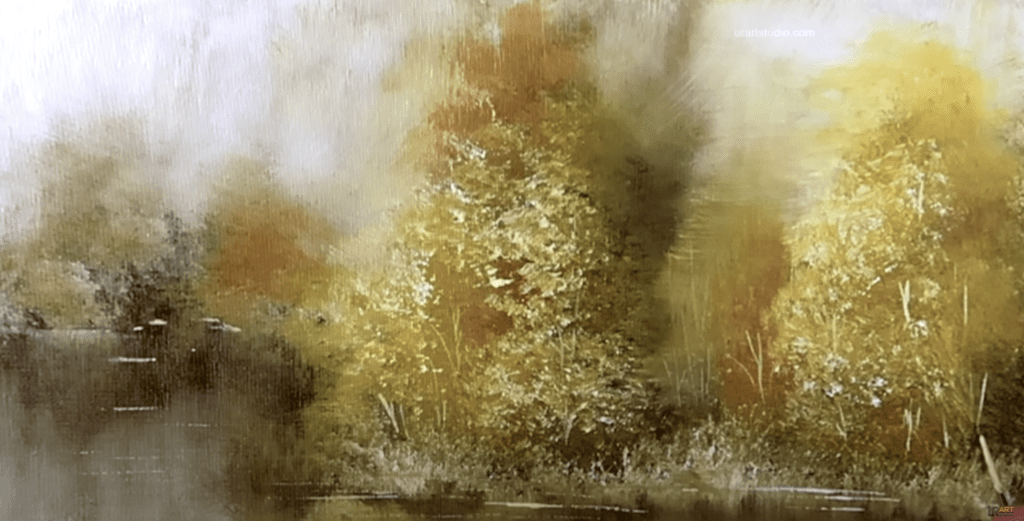
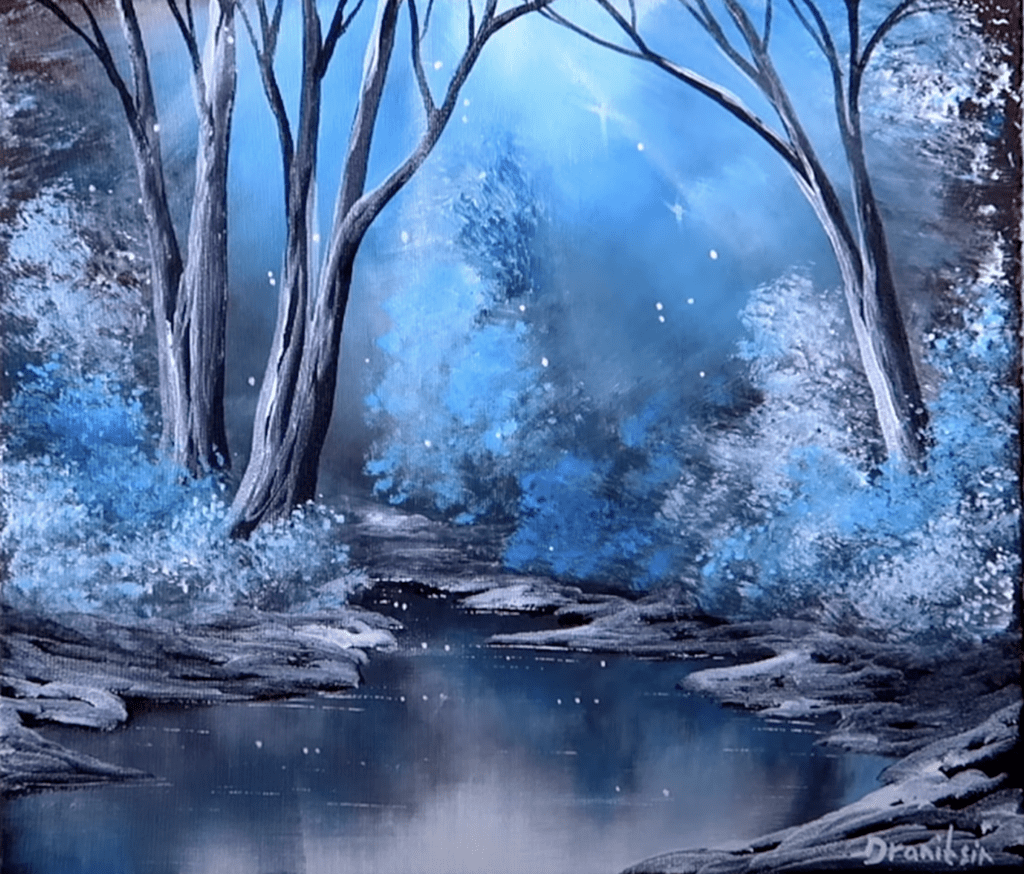
For our distant trees and shoreline, we’re going to use black, Prussian blue, and phthalo blue. Apply these colors to the center portion of the canvas. With your big oval brush, mix them using a dabbing motion to paint distant trees and the shoreline. This will add depth and set the stage for the rest of our painting.
Step 5: Adding Highlights to the Trees
Clean your big brush, then load it with a touch of white paint. Start at the corner of one tree, and gently blend white highlights. As you blend, the brush will pick up darker colors, gradually darkening the white paint. This technique helps create the shape of the trees. Remember, some trees in the background should remain blue silhouettes.
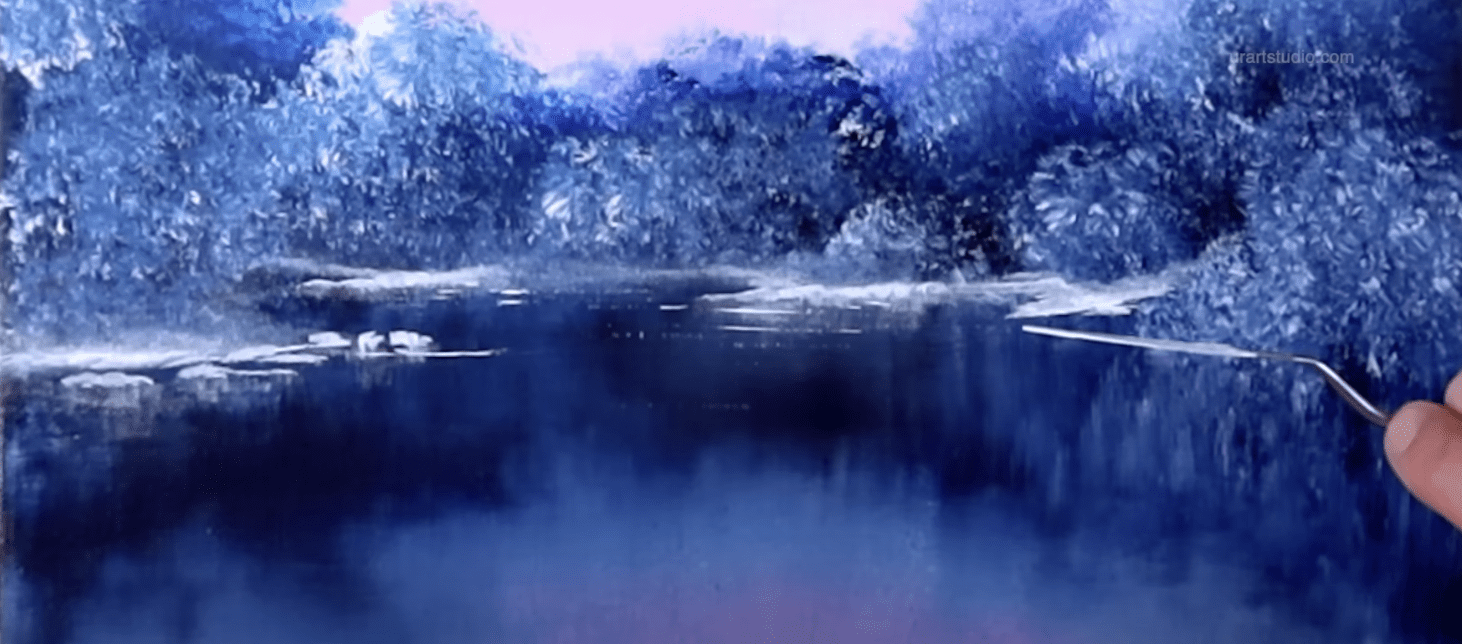
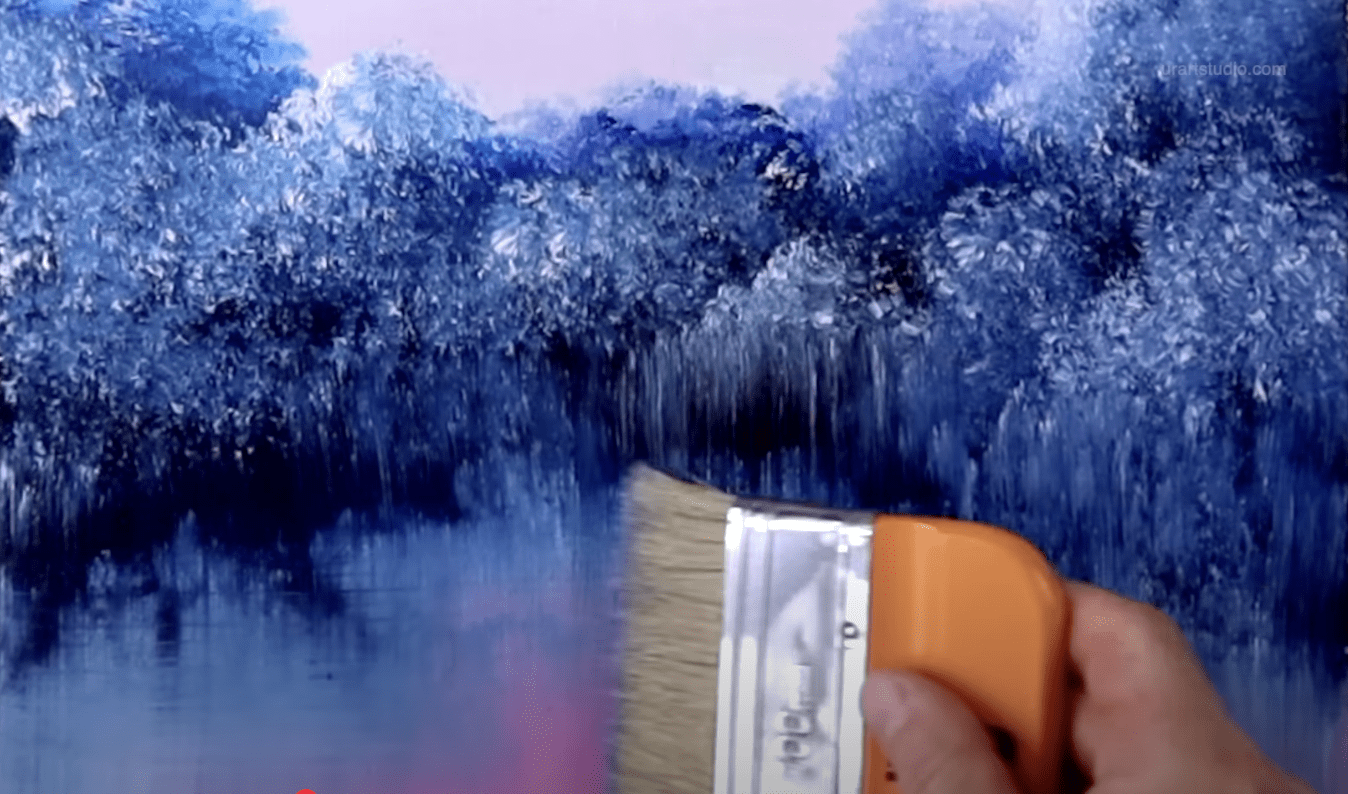
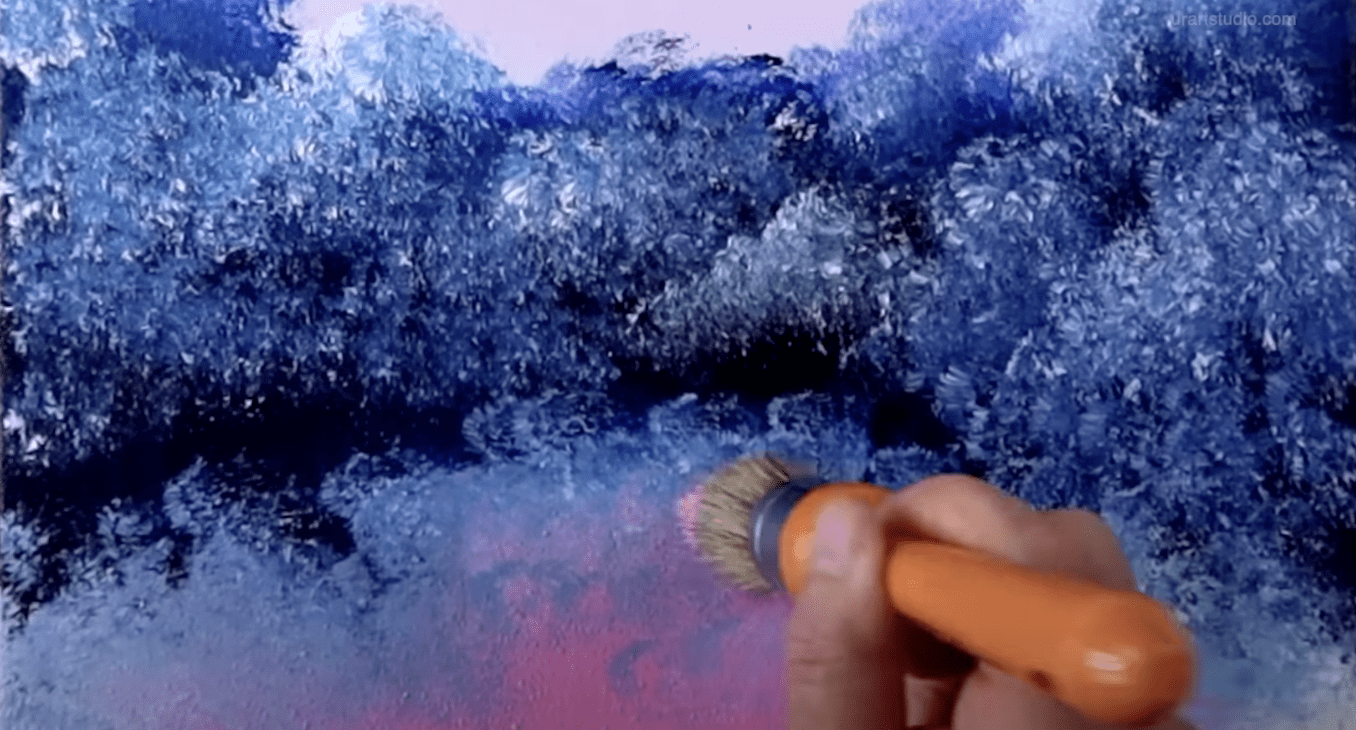
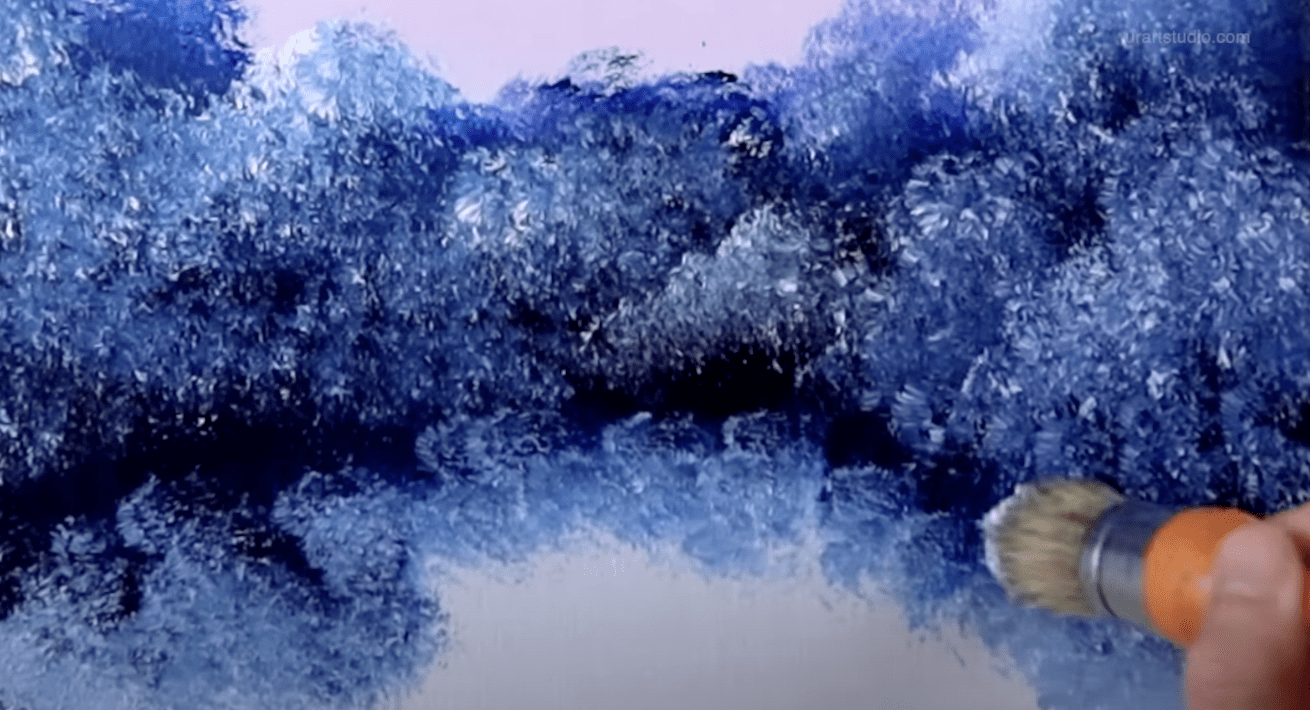
Step 6: Painting Reflections in the Water
Notice how we’ve mimicked the colors of the trees and land in the water. Now, add highlights and sky colors below the reflection. Use your wide 4-inch oval brush to smudge the reflection downwards, applying vertical strokes first, wiping the brush between each stroke, and then guide it horizontally to create a mirror-like effect.
*Step 7: Drying the Canvas
*Use a hairdryer or heat gun to dry the canvas before moving to the next step. This ensures your layers don’t smudge and keeps your colors crisp.
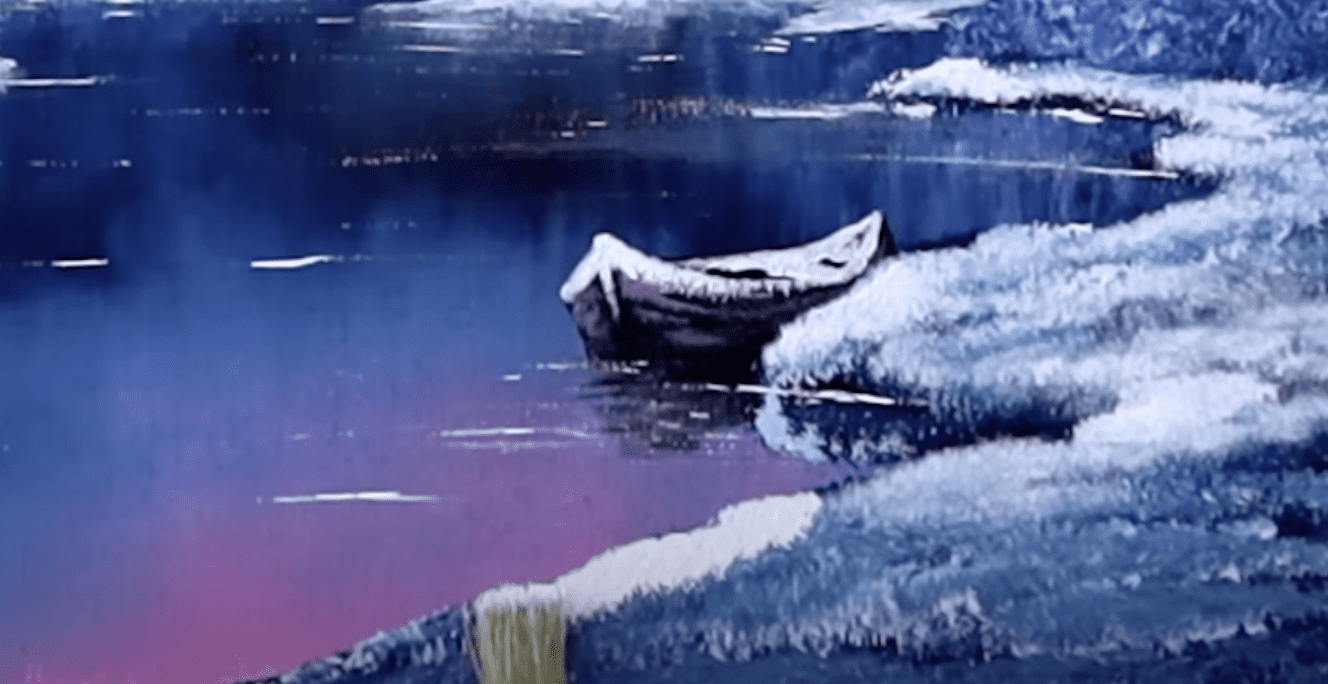
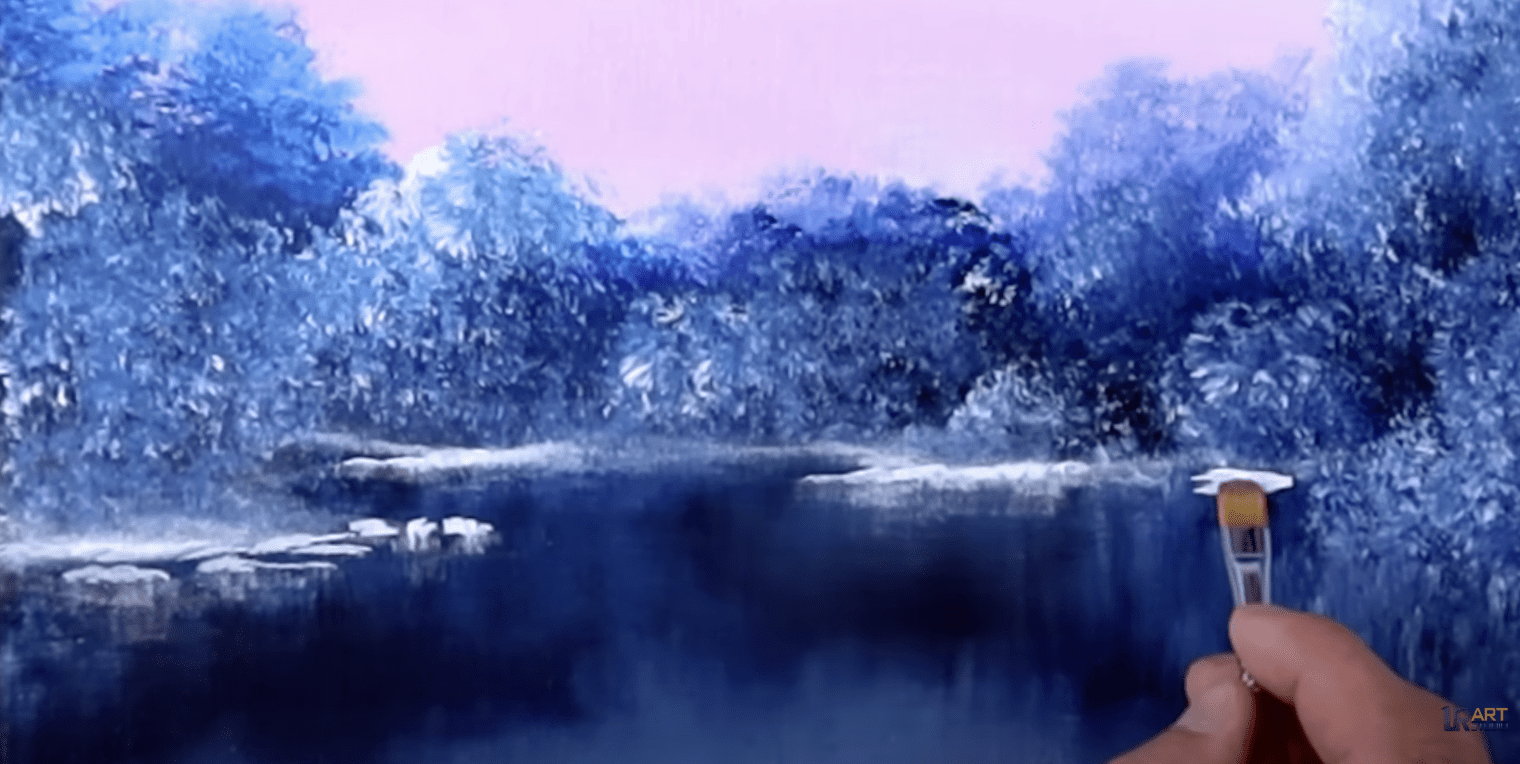
Step 8: Painting the Snowy Shore
Take a small filbert brush and white paint to paint the snowy shoreline under the trees. Add more white paint to some areas to create depth, pushing faded parts into the distance.
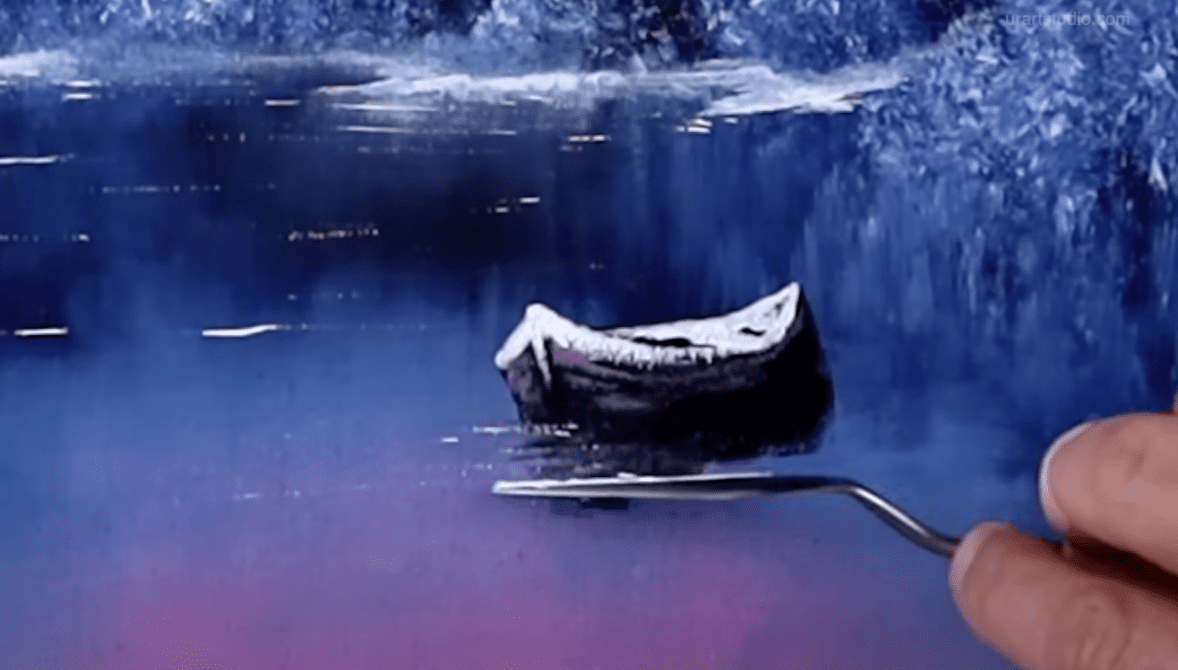
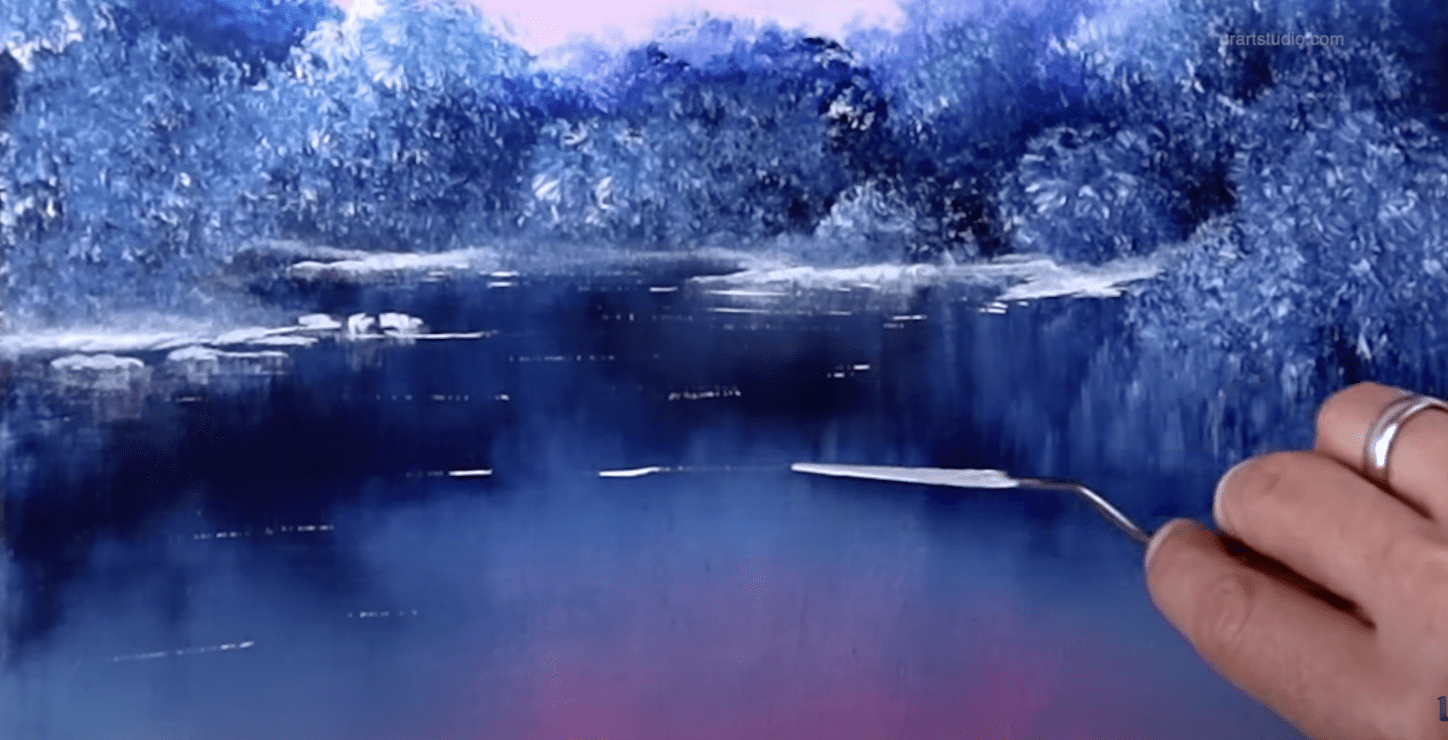
Step 9: Adding Waterlines
Using a palette knife loaded with white paint, add thin waterlines to separate the land from the water. These lines give a realistic touch to the reflection in the lake.
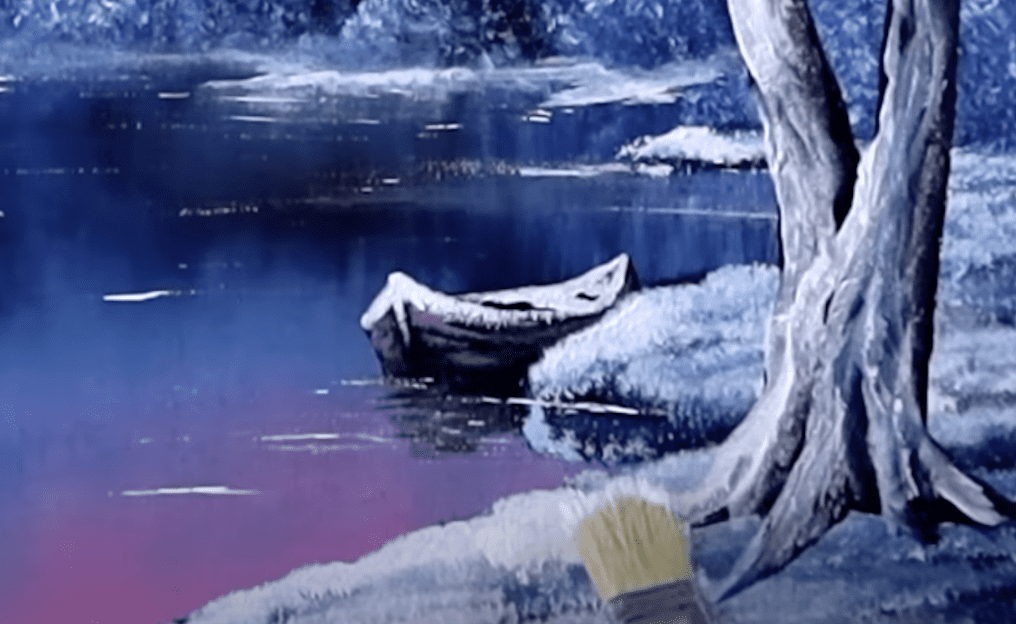
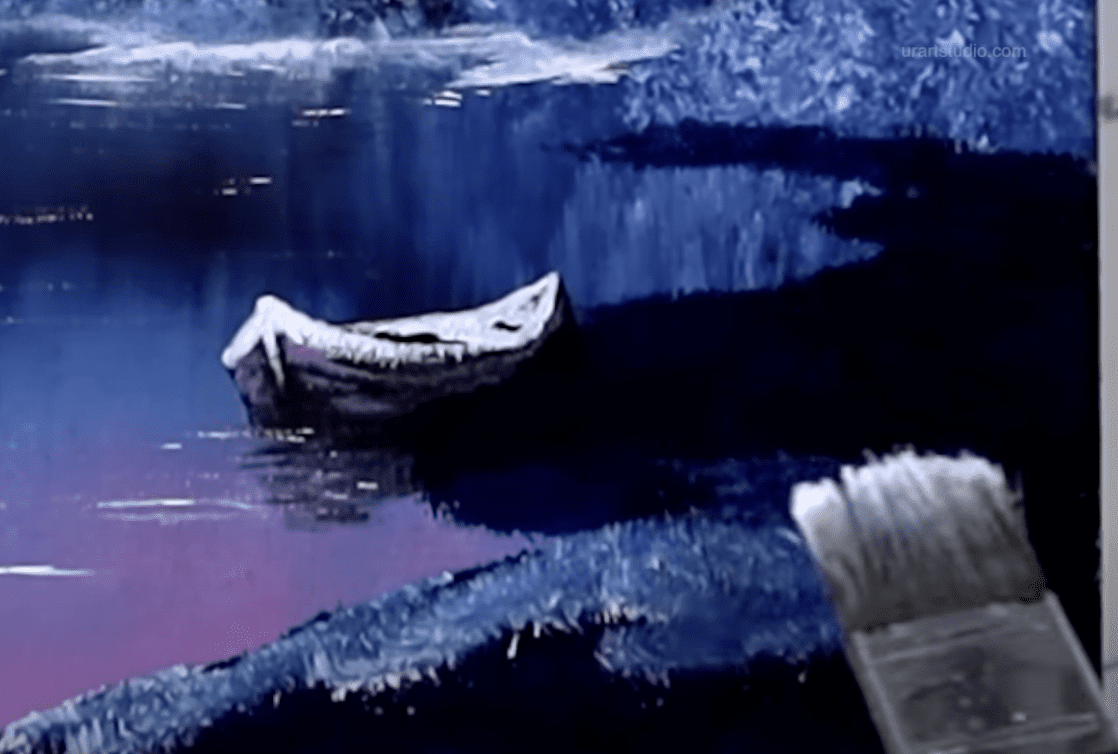
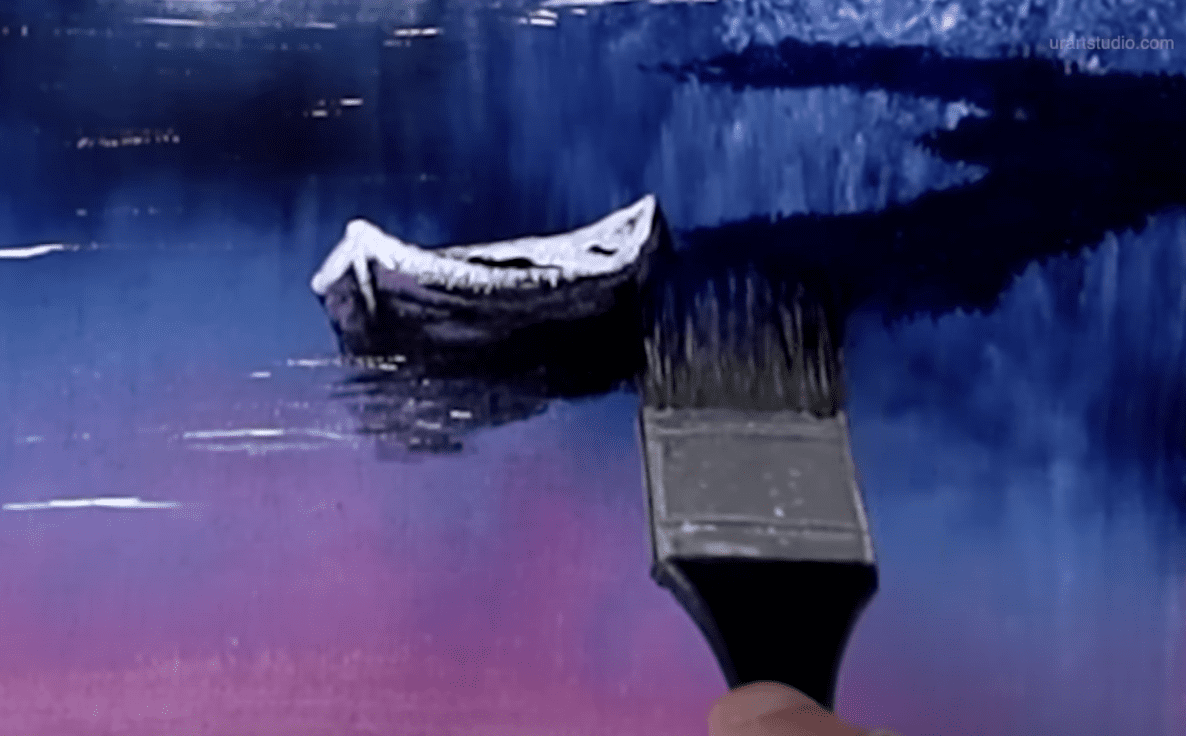
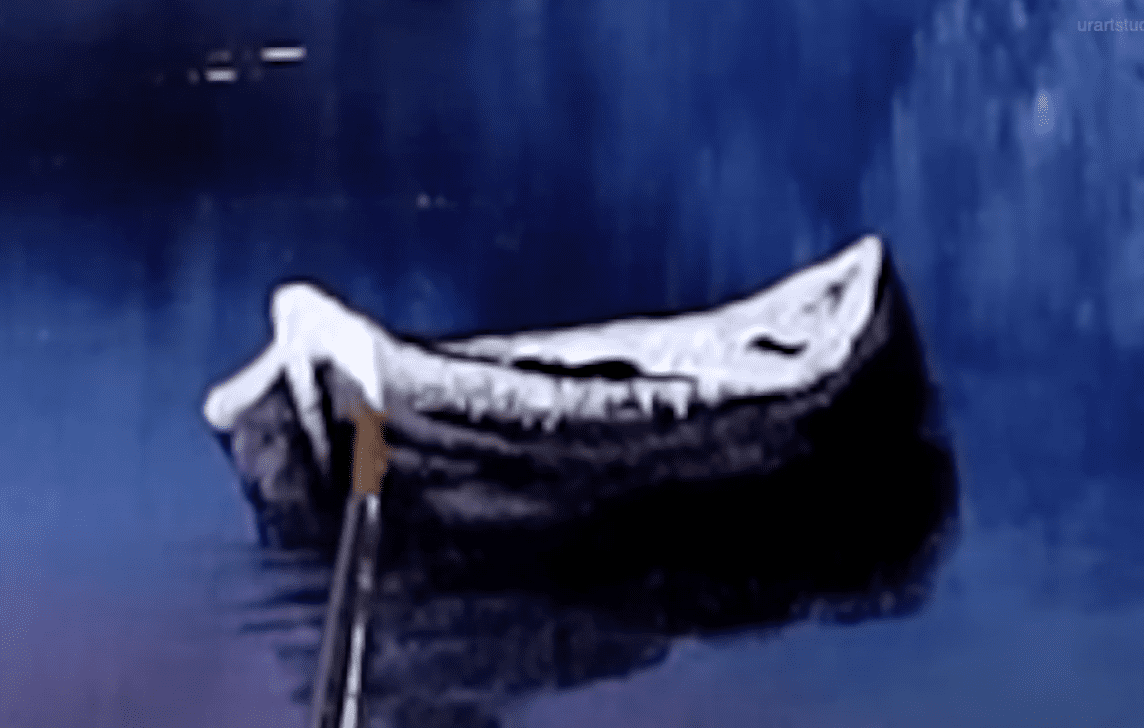
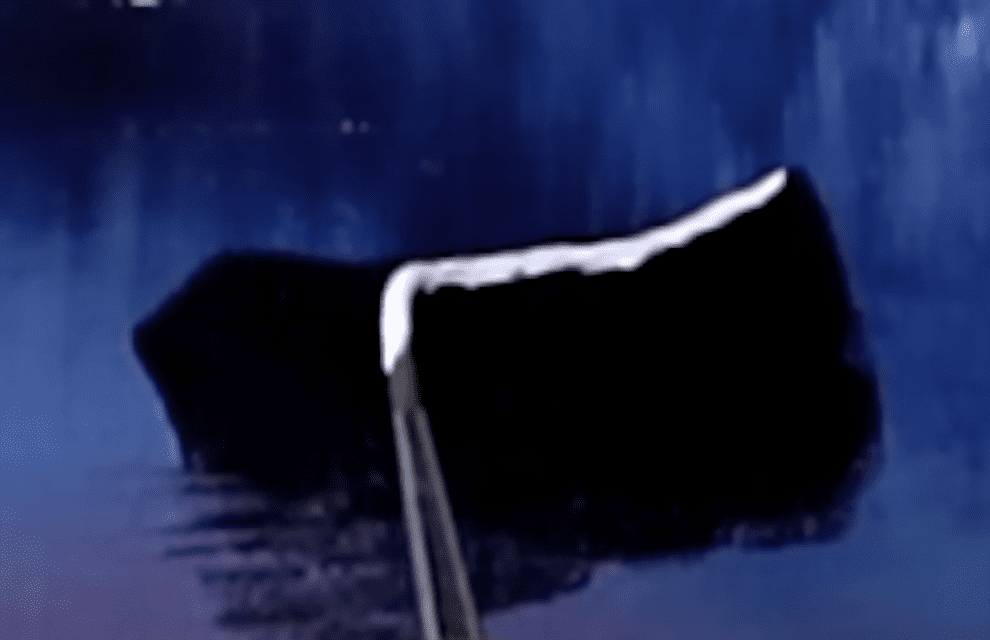
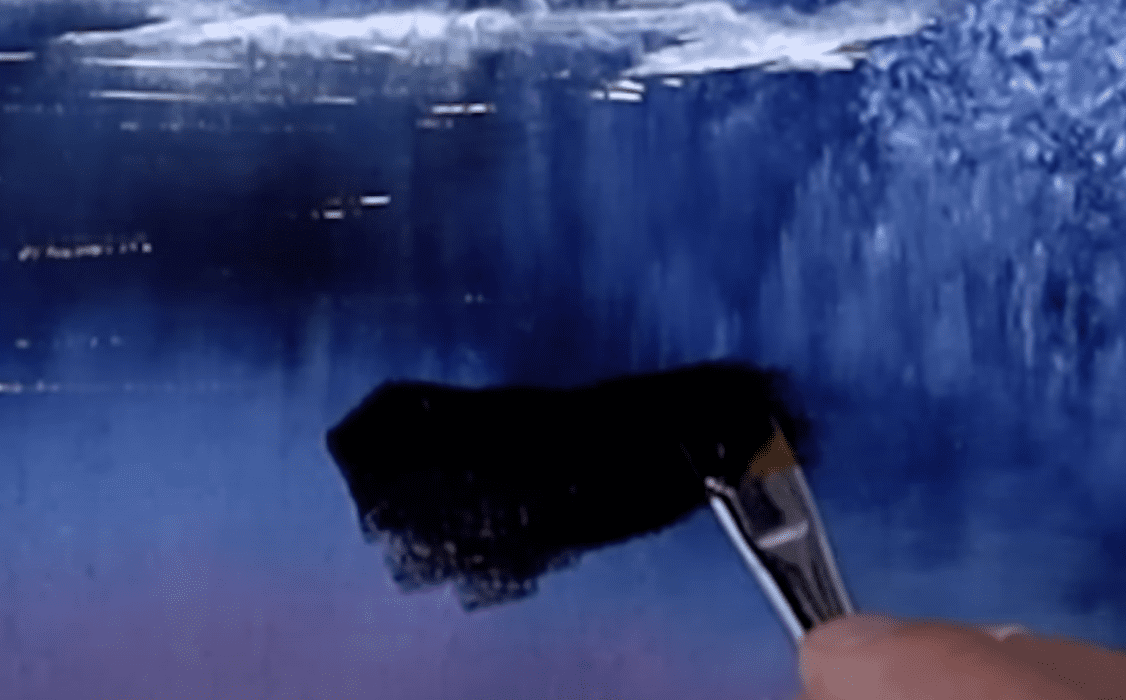
Step 10: Painting the Boat Silhouette
Using dark colors and a small square brush, paint the silhouette of a rowing boat. Remove thin lines from the dark reflection of the boat in the water to show its presence.
Step 11: Adding Snow to the Boat
With a detail brush and white paint, add snow on top of the boat, highlighting its contours and giving it shape. Add a bit of pink mixed with black for additional details on the boat’s sides.
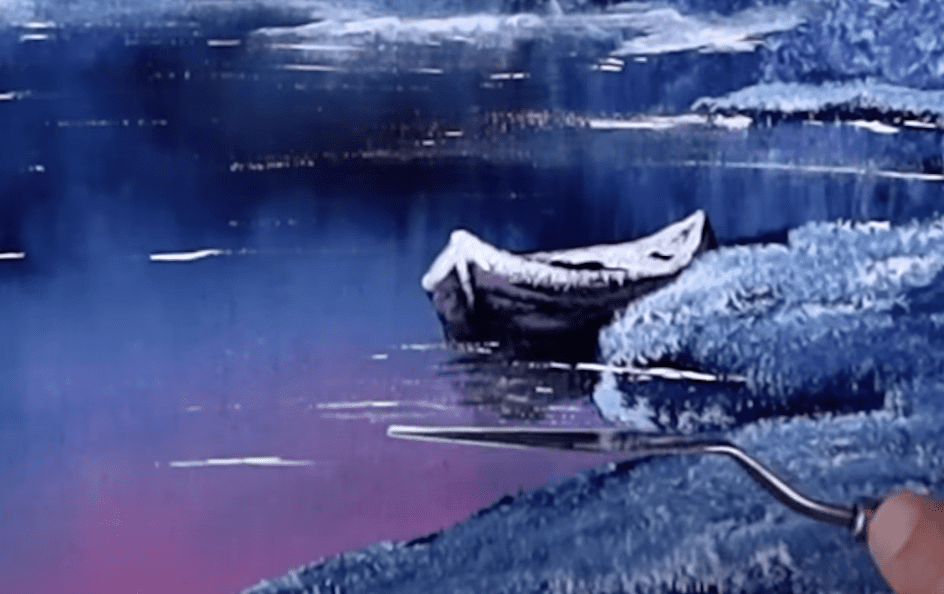
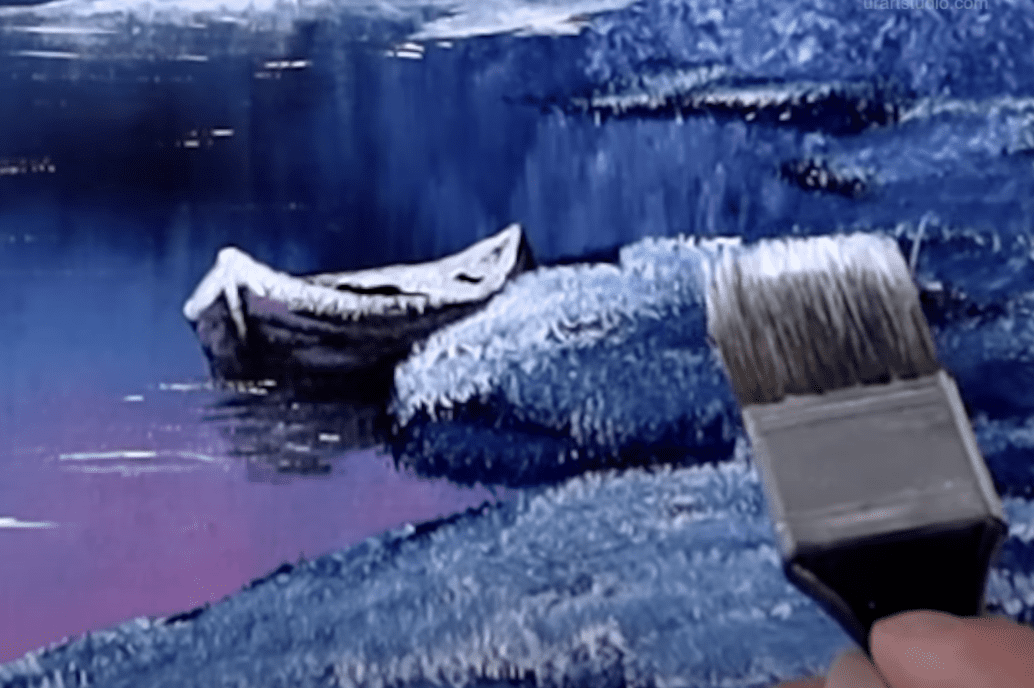
Step 12: Painting the Nearby Shoreline
Use a big square brush and dark colors to indicate the nearby shoreline. Add highlights to the snow-covered areas while leaving some dark parts for contrast.
Step 13: Adding Reflections of the Shoreline
Mimic the shoreline reflections in the water, then use the palette knife technique again to add sharp waterlines separating land from water.
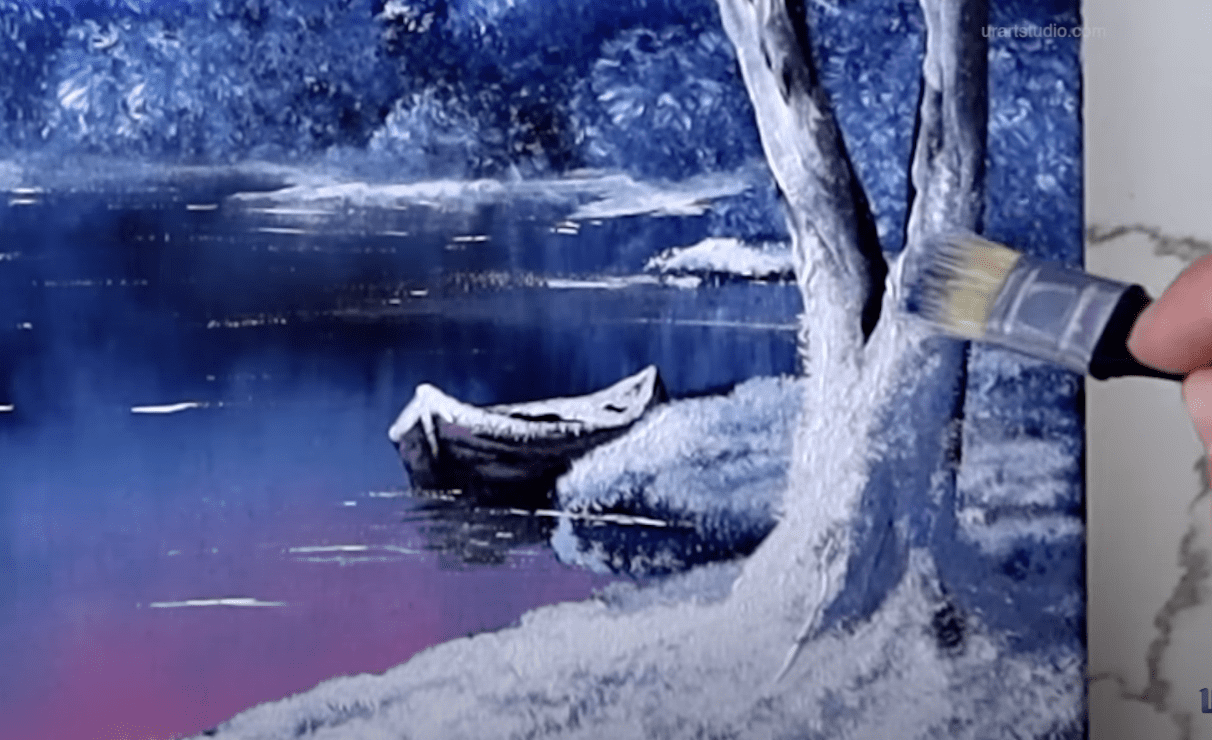
Step 14: Painting the Big Tree
Load a medium-sized filbert brush with dark colors to paint a large tree trunk on the snowy shore. Use the sharp edge of the brush to create elegant branches.
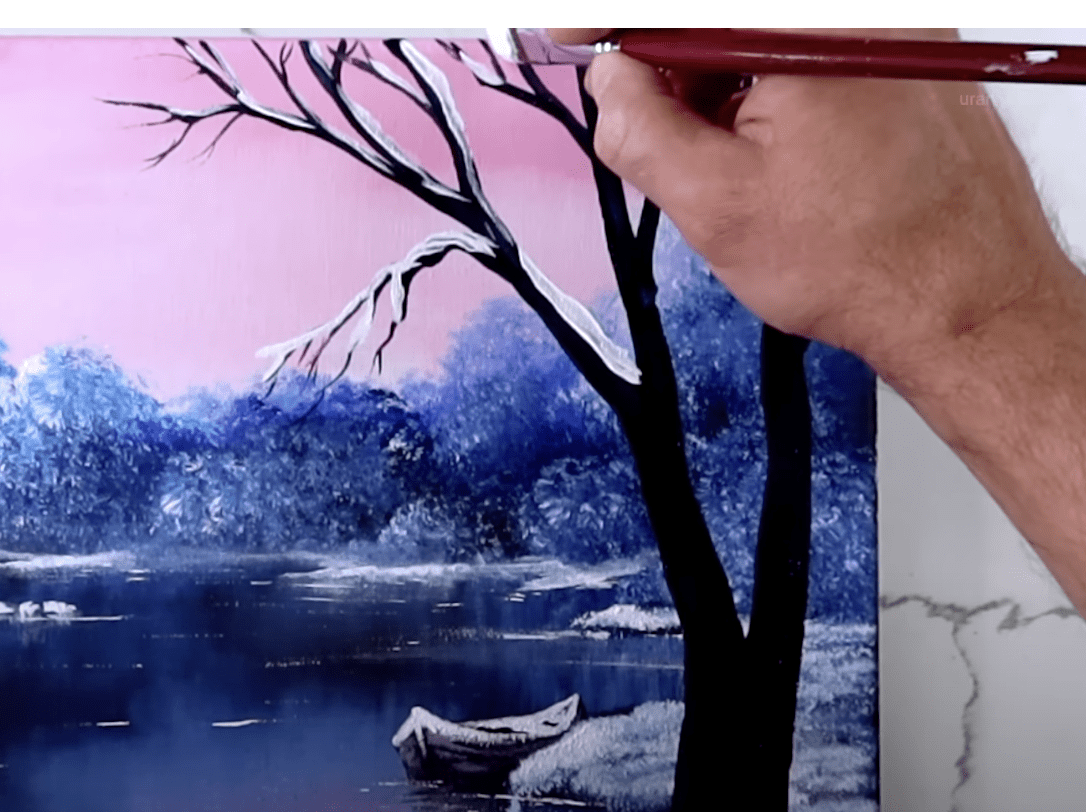
Step 15: Adding Tree Branches
With a liner brush and the same dark colors, paint the finer branches protruding from the trunk. Ensure your paint is fluid enough to flow smoothly from the brush.
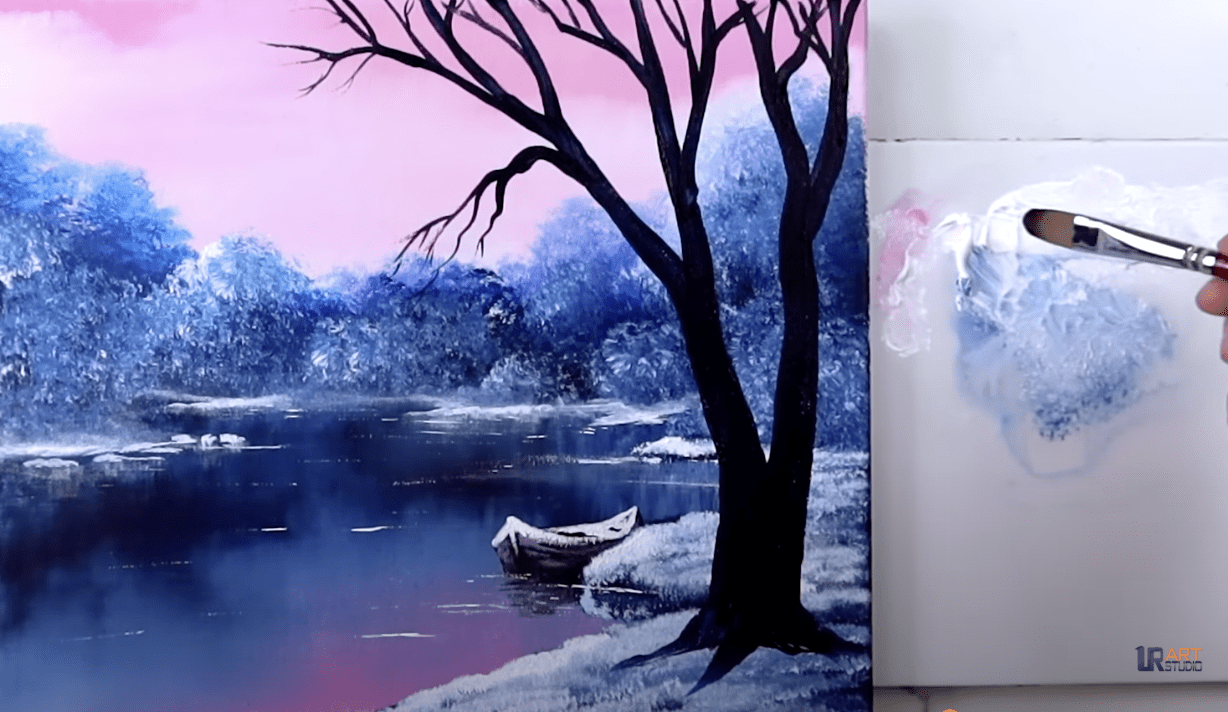
Step 16: Highlighting the Tree and Snow
Once the painting is dry, use a clean filbert brush and white paint to add snow on the tree branches and trunk. Follow the natural contours where snow would accumulate.
Step 17: Finishing Touches
To tie the tree into the snowbank, use a square brush and white paint to add snow following the land into the tree. Add a shadow behind the tree for realism. For the final touch, use a detail brush and white paint to add sparkles on the frozen lake.
Conclusion:
Great job, everyone! You’ve created a beautiful, peaceful winter scene with a snow-covered boat. Step back and admire your masterpiece. Remember, for more painting tips and supplies, visit urartstudio.com. Until next time, happy painting!


STEP BY STEP PAINTING INSTRUCTIONS AND NARRATED GUIDES FOR URARTSTUDIO.COM YOUTUBE ART VIDEO DEMONSTRATIONS

ART VIDEO STEP BY STEP VIDEO DEMONSTRATIONS AND ORIGINAL ART GALLERY BY URARTSTUDIO:
Welcome to the captivating world of URARTSTUDIO! Immerse yourself in the exquisite artistry and creativity with our step-by-step video demonstrations and exclusive original art gallery. Prepare to be spellbound as true mastery unfolds before your very eyes. Witness the artistic process come alive as our videos take you by the hand, guiding you through each brushstroke and technique. Discover the secret behind captivating compositions and the intricate details that make art truly mesmerizing. Our gallery proudly showcases a curated collection of unique and breathtaking artwork, where every piece tells a story and evokes powerful emotions. Journey with us and let your imagination take flight as URARTSTUDIO invites you to unravel the magic of art like never before.