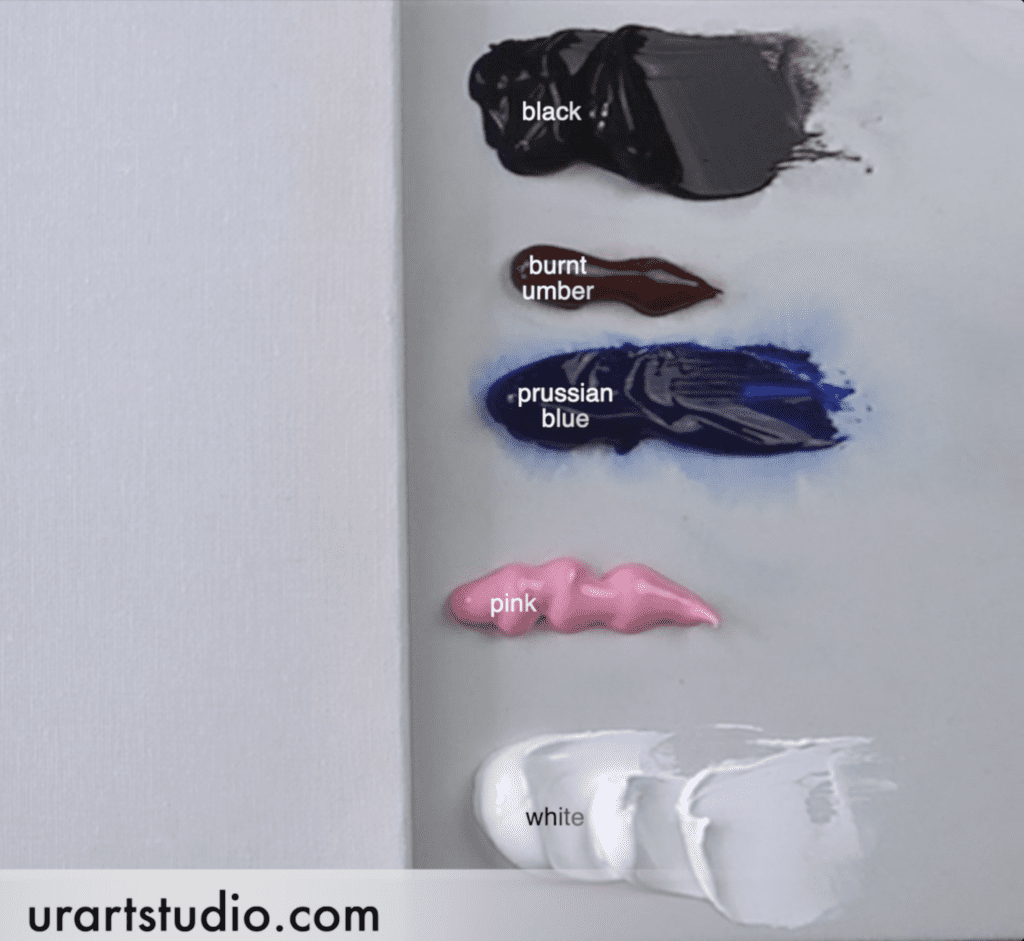
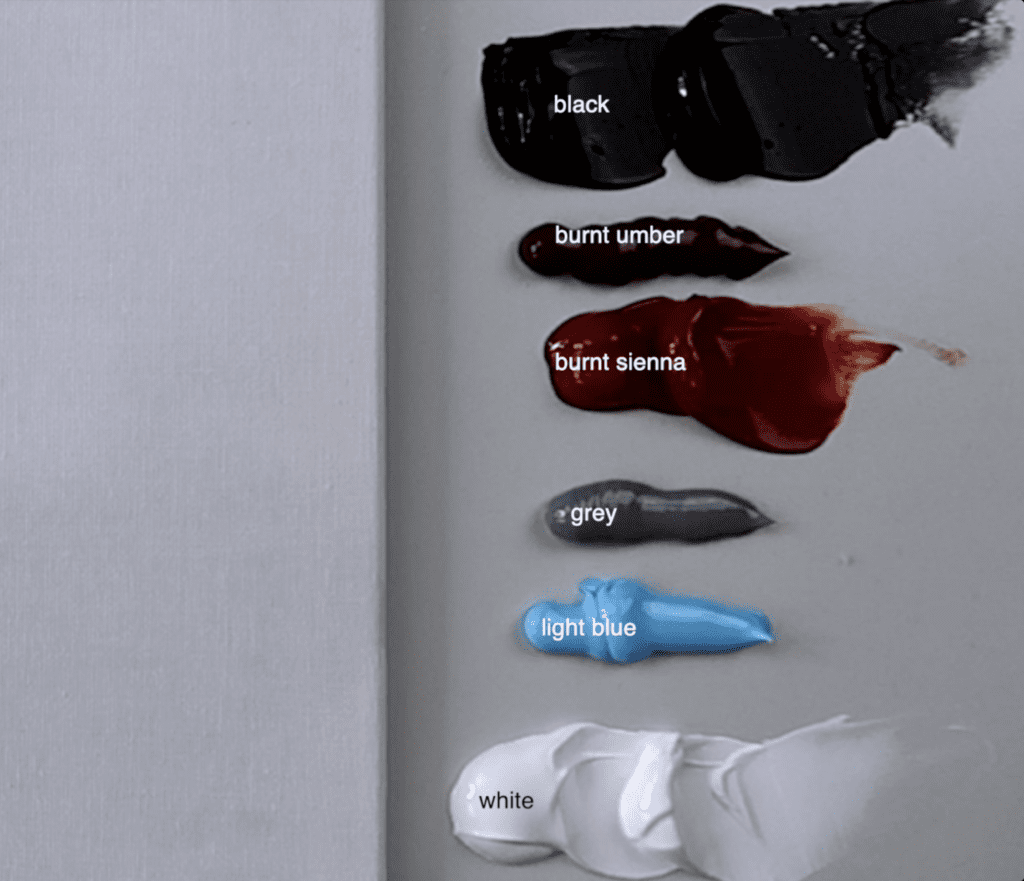
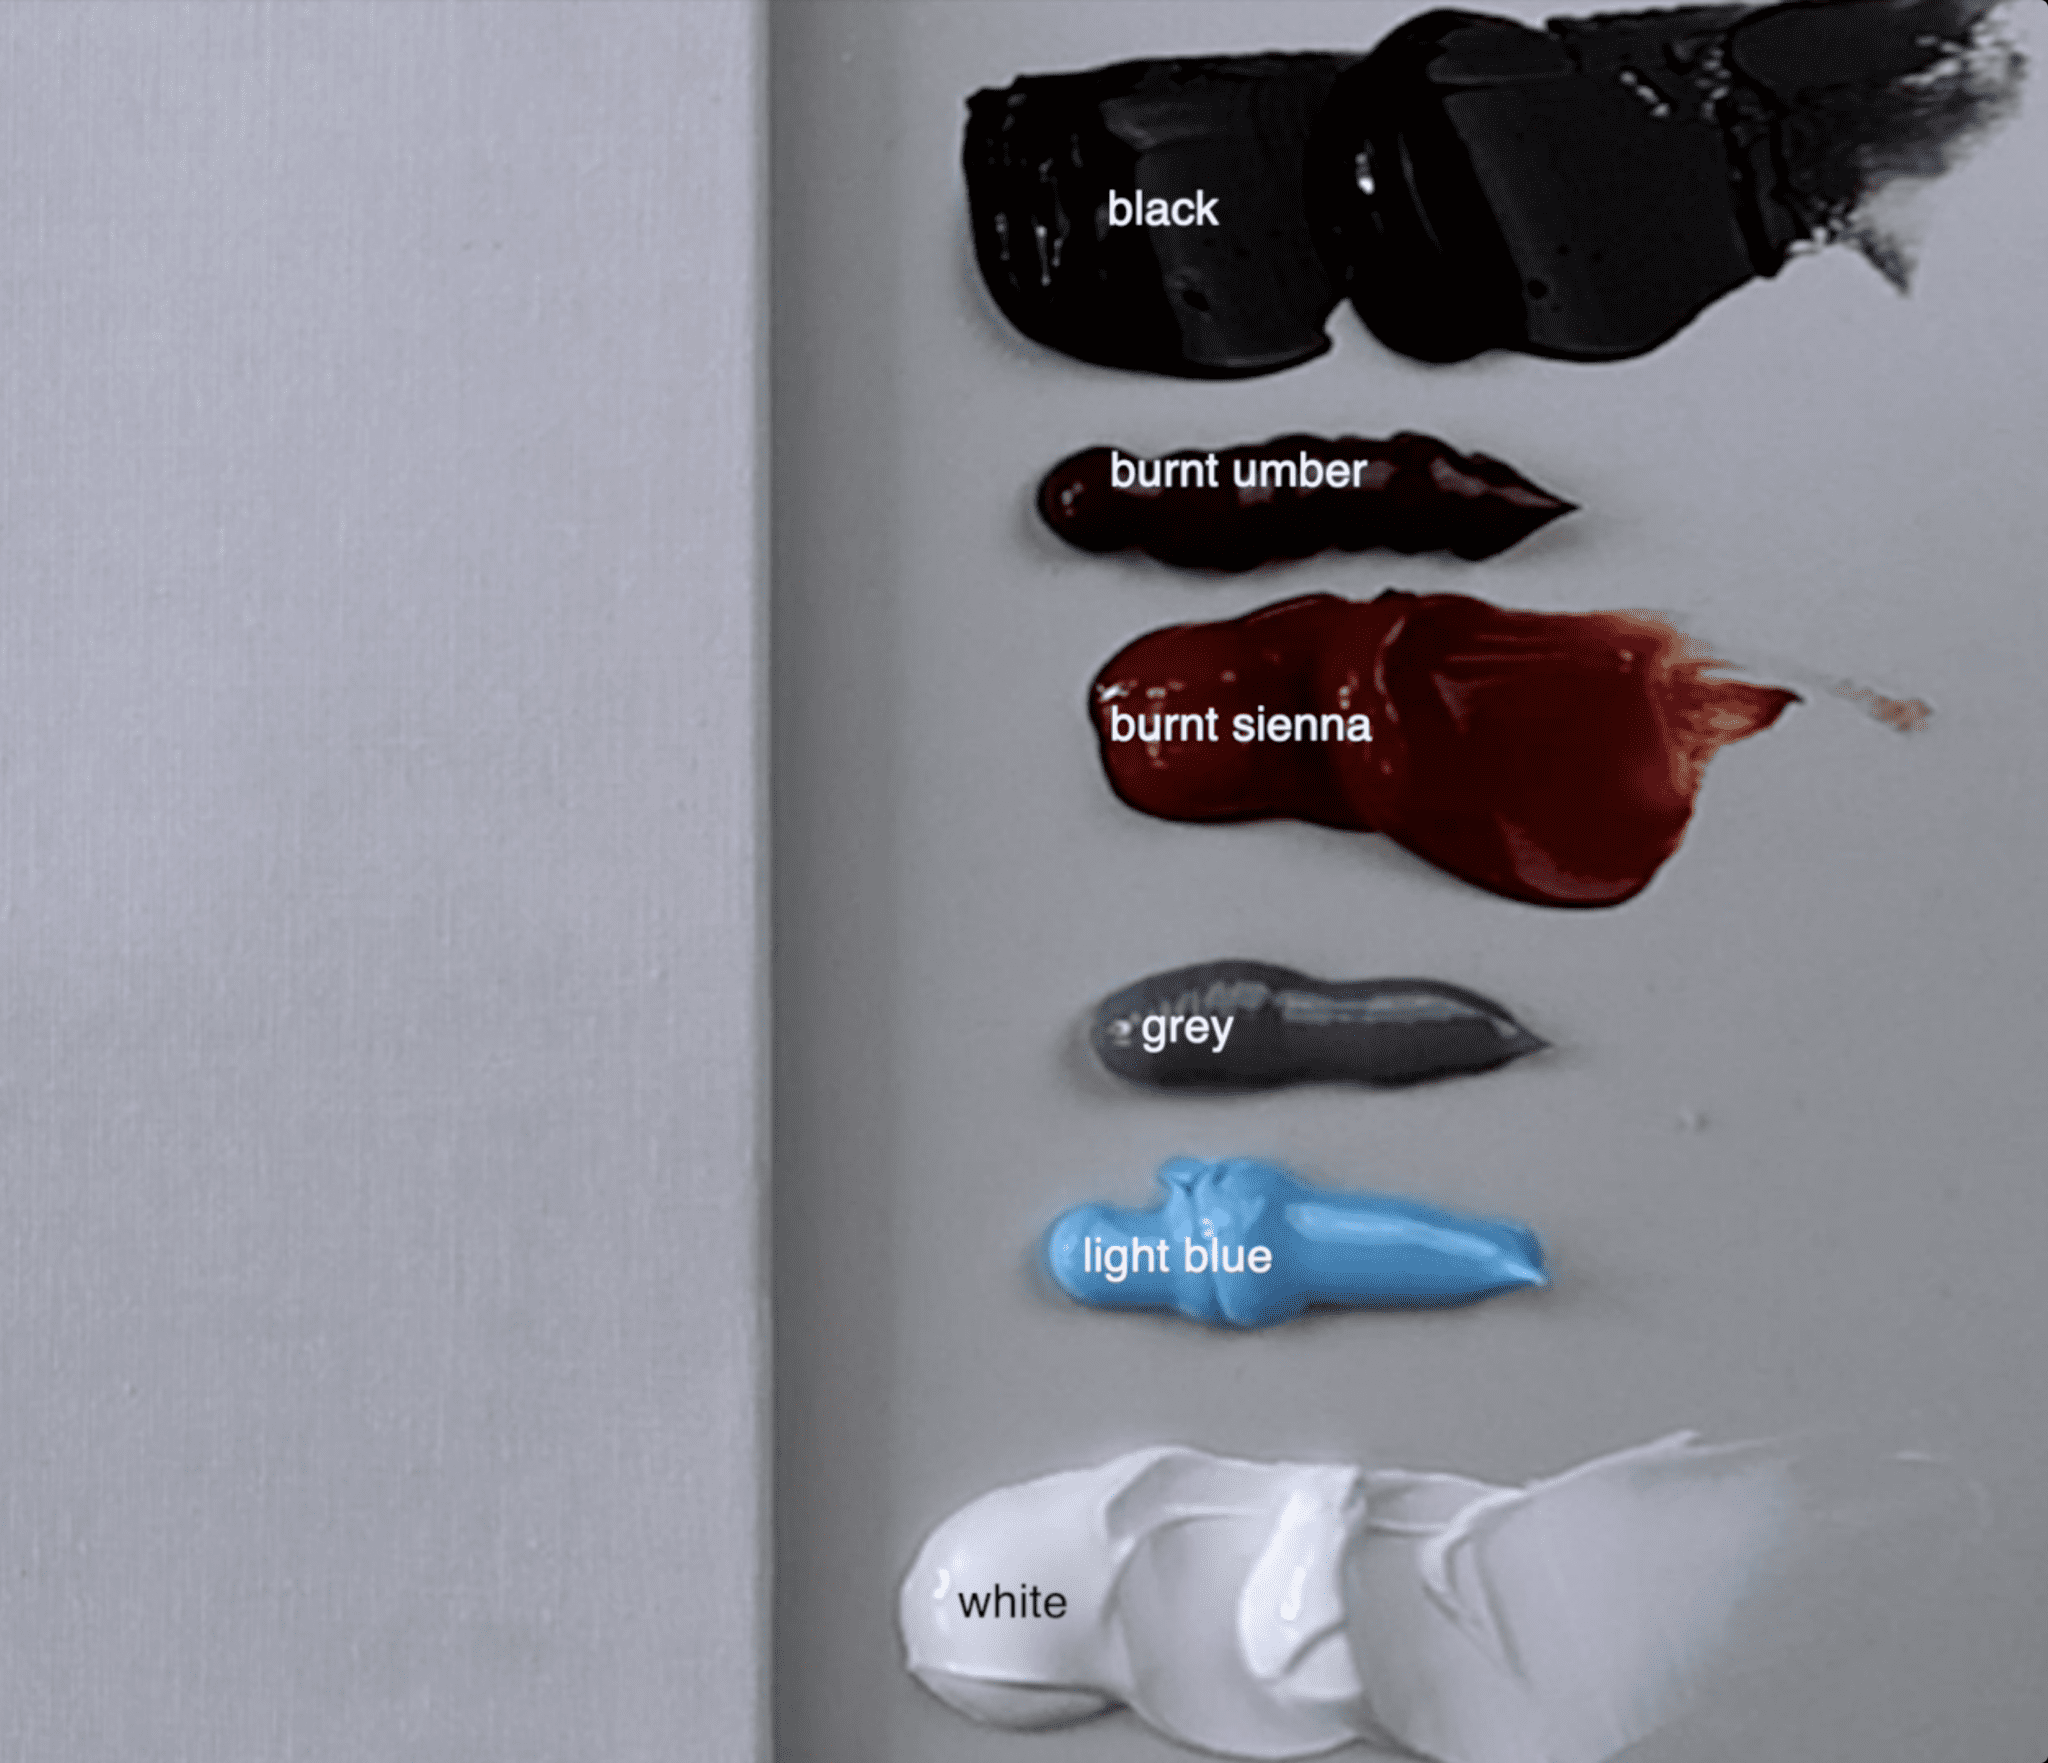
As artists, we know that the journey of painting can sometimes feel overwhelming—especially when faced with a cluttered palette and a chaotic array of colors. The organization of your acrylic palette is a crucial first step toward an enjoyable and productive painting session. Whether you’re an experienced artist or just starting on your creative journey, having a well-organized palette can significantly enhance your workflow and inspire your creativity. In today’s post, we’ll dive into the best ways to prepare your acrylic palette for your next masterpiece.
Why Organizing Your Palette Matters
- Saves Time: Spending less time searching for the right color means more time spent painting and being creative.
- Enhances Creativity: An organized palette allows colors to interact more cohesively, facilitating unexpected harmonies and contrasts.
- Reduces Waste: By managing your paint efficiently, you can minimize spills and waste, maximizing the use of your materials.
Tips for Organizing Your Acrylic Palette
1.
Choose the Right Palette
Start with a palette that fits your painting style and needs. From traditional wooden palettes to modern disposable ones, the right choice can make a significant difference. If you enjoy experimenting with color mixing, consider a larger palette that provides ample space for both painting and mixing.
2.
Plan Your Color Layout
Think strategically about how you arrange your colors on the palette. You can create a gradient effect from warm to cool tones or organize them by hue. Here’s a simple layout suggestion:
- Warm Colors: Place reds, oranges, and yellows on one side.
- Cool Colors: Greens, blues, and violets can go on the opposite side.
- Neutrals: Whites, blacks, and browns should be positioned in the center for easy access.
This layout facilitates quicker access to colors and helps you visualize the overall color relationships in your work.
3.
Establish a Mixing Area
Dedicate a specific area on your palette for mixing colors. This could be a separate section of your palette or a small dish placed nearby. Keeping this area organized helps to prevent contamination of your paints and allows you to achieve the perfect shade.
4.
Implement Moisture Control
Acrylic paints can dry quickly, which can hinder your creative flow during extended painting sessions. To keep your paints fresh:
- Utilize a wet palette or one with a lid to maintain moisture.
- Alternatively, place a few damp paper towels under your colors to keep them from drying out without diluting your paint.
5.
Develop a Cleanup Routine
After each painting session, take a moment to clean your palette. Remove any dried paint and reorganize your colors so that they are ready for your next session. This not only extends the life of your palette but also prepares you for your future projects.
6.
Experiment and Adapt
Every artist has a unique style and rhythm. Don’t hesitate to experiment with different organizational methods until you find what works best for you. Try various color arrangements or mixing techniques. The ultimate goal is to create a system that fuels your creativity and makes you feel inspired.
Final Thoughts
An organized acrylic palette is more than just a convenient setup; it is a critical foundation for a successful painting experience. By dedicating time to how you set up your palette, you’ll benefit from a smoother, more focused artistic process, allowing your creative spirit to truly flourish.
Want to discover more painting tips and techniques? Head over to our website at UrartStudio Painting Tips for a treasure trove of articles, tutorials, and resources that can help you elevate your art practice. Join our vibrant community of artists today and unlock your full creative potential. Happy painting!
#AcrylicPainting, #ArtTips, #PaletteOrganization, #CreativeProcess, #PaintingTips, #ArtCommunity, #ColorMixing, #ArtistLife, #Inspiration, #ArtJourney


Leave a Reply
You must be logged in to post a comment.