

Introduction to Glazing in Acrylic Painting
Glazing is one of the most transformative techniques in acrylic painting, adding luminous depth and subtle transitions that can take your landscape art to a professional level. By layering transparent washes of color over dry paint, you can create mesmerizing effects—soft atmospheric backgrounds, glowing highlights, and shadows with rich inner complexity. But the real secret to beautiful glazing isn’t just in your color choice; it’s in selecting and mastering the right brushes.
Understanding the Importance of Glazing
Glazing allows artists to build up color gradually, achieving a vibrancy and realism that’s hard to match with opaque layers alone. Each glaze interacts with underlying colors, creating unique hues and a sense of inner light. In landscapes, glazing can suggest atmospheric haze, depth in distant hills, or the golden glow of evening light. Proper brushwork ensures your glazes are smooth, streak-free, and precisely where you want them—making a significant difference in the final result.
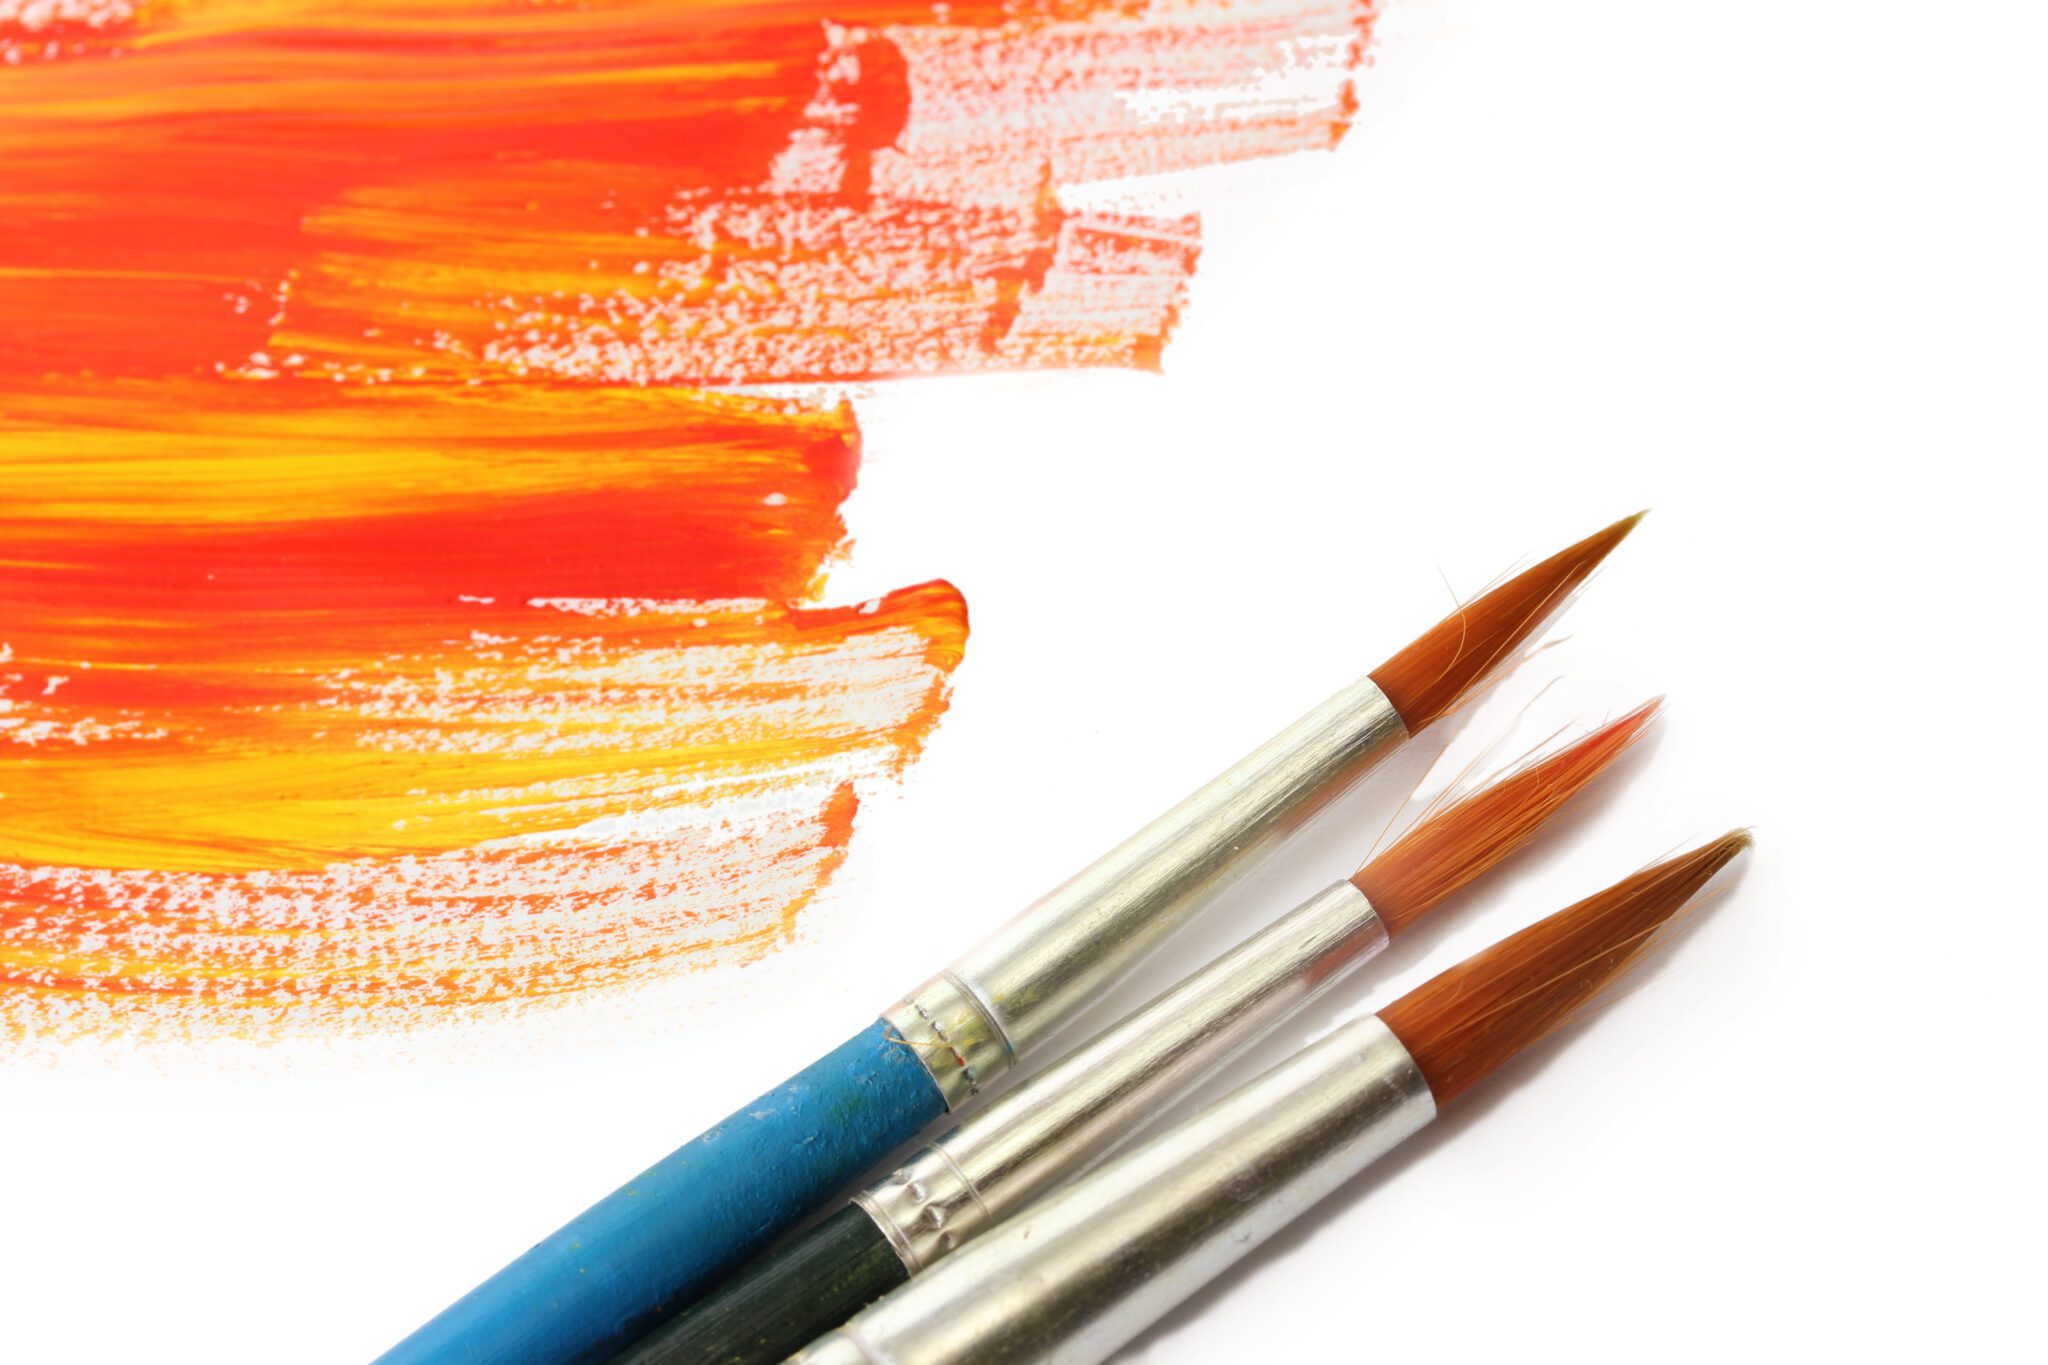
Choosing the Right Brushes for Glazing Techniques
Not every brush is suited to glazing. The best brushes for this method are those that deliver thin, even coats of paint without harsh lines or bristle marks. Here are a few top choices:
- Soft Synthetic Flat Brushes: Wide, soft brushes are ideal for laying down smooth, even glazes across broad areas, such as skies and water. Look for high-quality synthetic fibers that hold water and paint evenly.
- Mop Brushes: With their rounded, fluffy heads, mop brushes are wonderful for feathering out glazes over large spaces to create soft transitions, blending edges, and merging colors seamlessly.
- Filbert Brushes: Their curved edges allow for controlled, rounded glazing in smaller areas, perfect for modeling hills, clouds, or highlights.
- Detail Round Brushes: For glazing in tightly defined spaces or adding delicate, transparent shadows and color shifts, a small, soft round brush is essential.
Always keep your glazing brushes separate from those used for heavy body paint to maintain their softness and prevent unwanted texture.
Techniques for Effective Glazing
- Mix Your Glaze: Use a glazing medium with your acrylic paint to achieve sheer, translucent layers. Mix thoroughly to avoid uneven coverage.
- Load Lightly: Dip your chosen brush into the glaze, gently blotting off excess to prevent drips and streaks.
- Apply Even Pressure: Use long, even strokes to lay down your glaze, overlapping each pass slightly for consistency.
- Feather the Edges: Soften boundaries with a clean, dry mop brush or soft blending brush before the glaze dries, ensuring smooth transitions.
- Layer Gradually: Build up depth with several thin glazes, allowing each to dry completely before adding the next. This prevents muddiness and gives richer color.
- Experiment with Color: Try glazing with cool blues or purples for distance and shadow in a landscape, or warm golds and oranges to create a glowing sunlight effect.
Conclusion: Elevate Your Art with Glazing
Mastering glazing techniques with the right brushes opens up a world of depth and luminosity in your acrylic landscapes. It’s a subtle, patient process—but the results are transformative. Take the time to explore different brushes, experiment with glazes, and watch your paintings gain breathtaking vibrancy and three-dimensionality.
Ready to take your glazing to the next level? Explore our selection of premium brushes and glazing mediums in the URARTSTUDIO art supply shop. For more expert tips and inspiring step-by-step guides, visit our painting tips and acrylic tutorials. Let each glaze enrich your art—your landscapes are about to shine!
Keywords: glazing techniques, acrylic painting, brush selection, art supplies, depth in painting, URARTSTUDIO
#glazingtechniques #acrylicpainting #brushselection #artsupplies #depthinpainting #URARTSTUDIO
Leave a Reply
You must be logged in to post a comment.