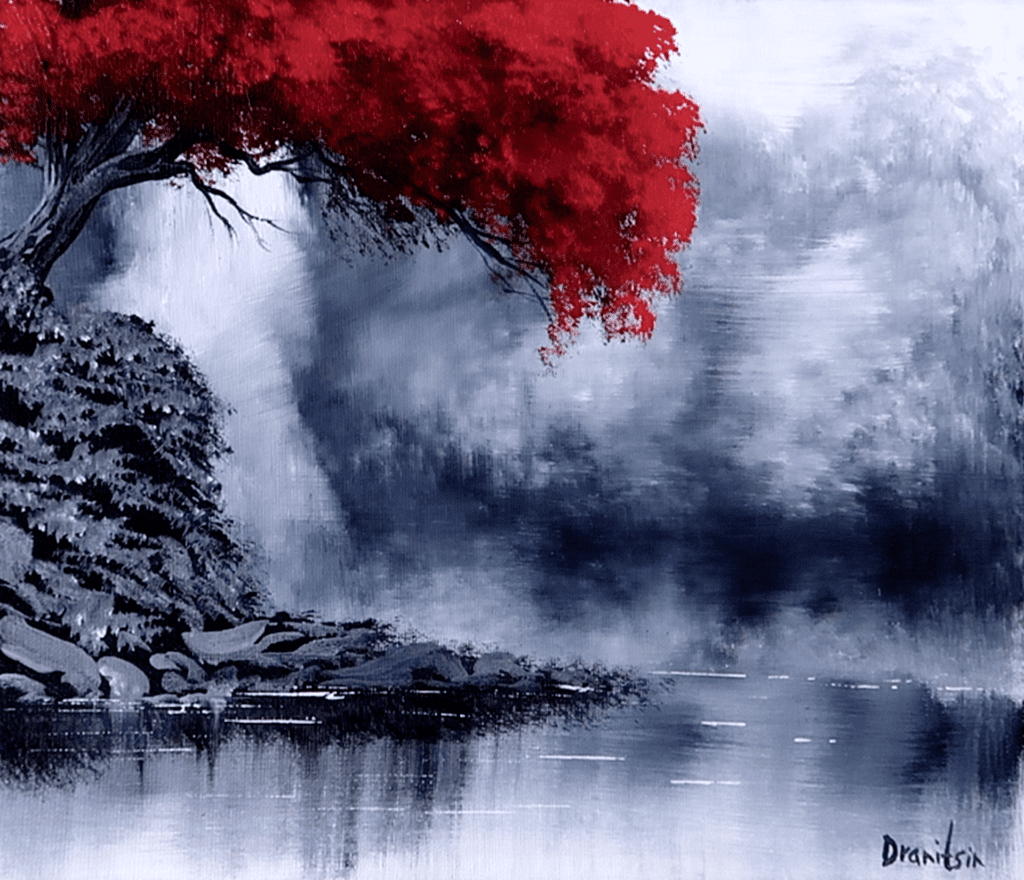
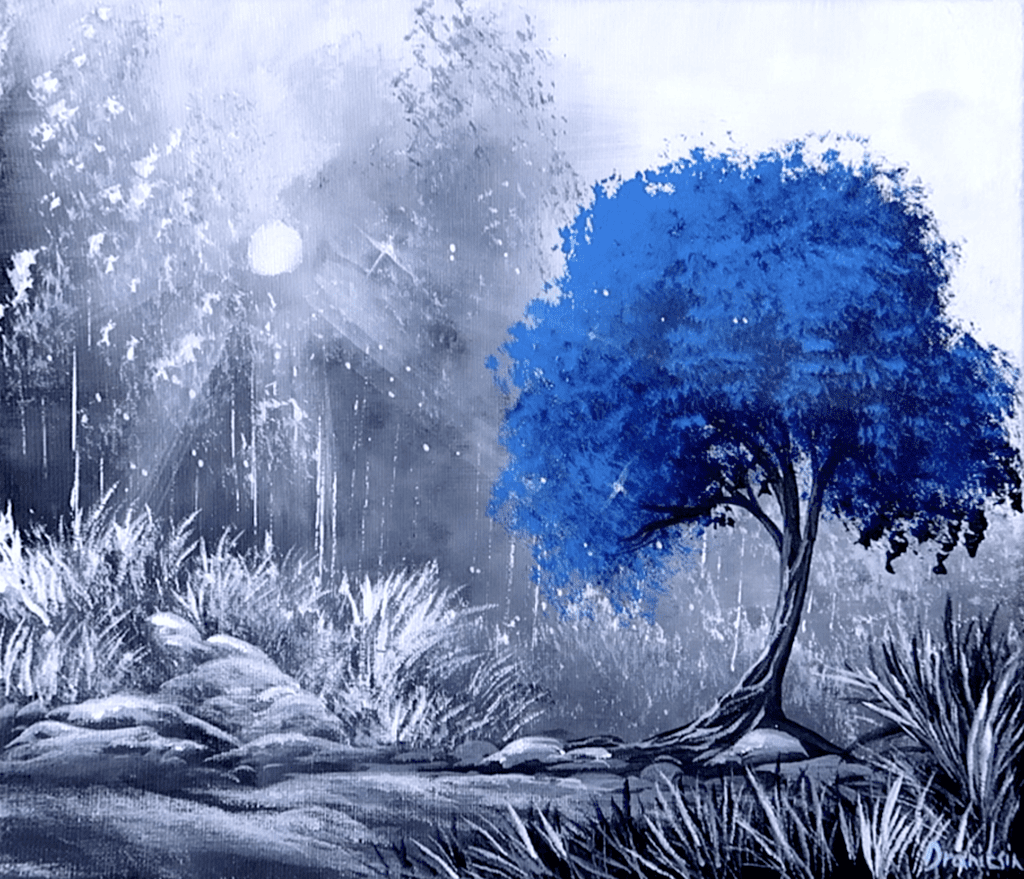
Introduction:
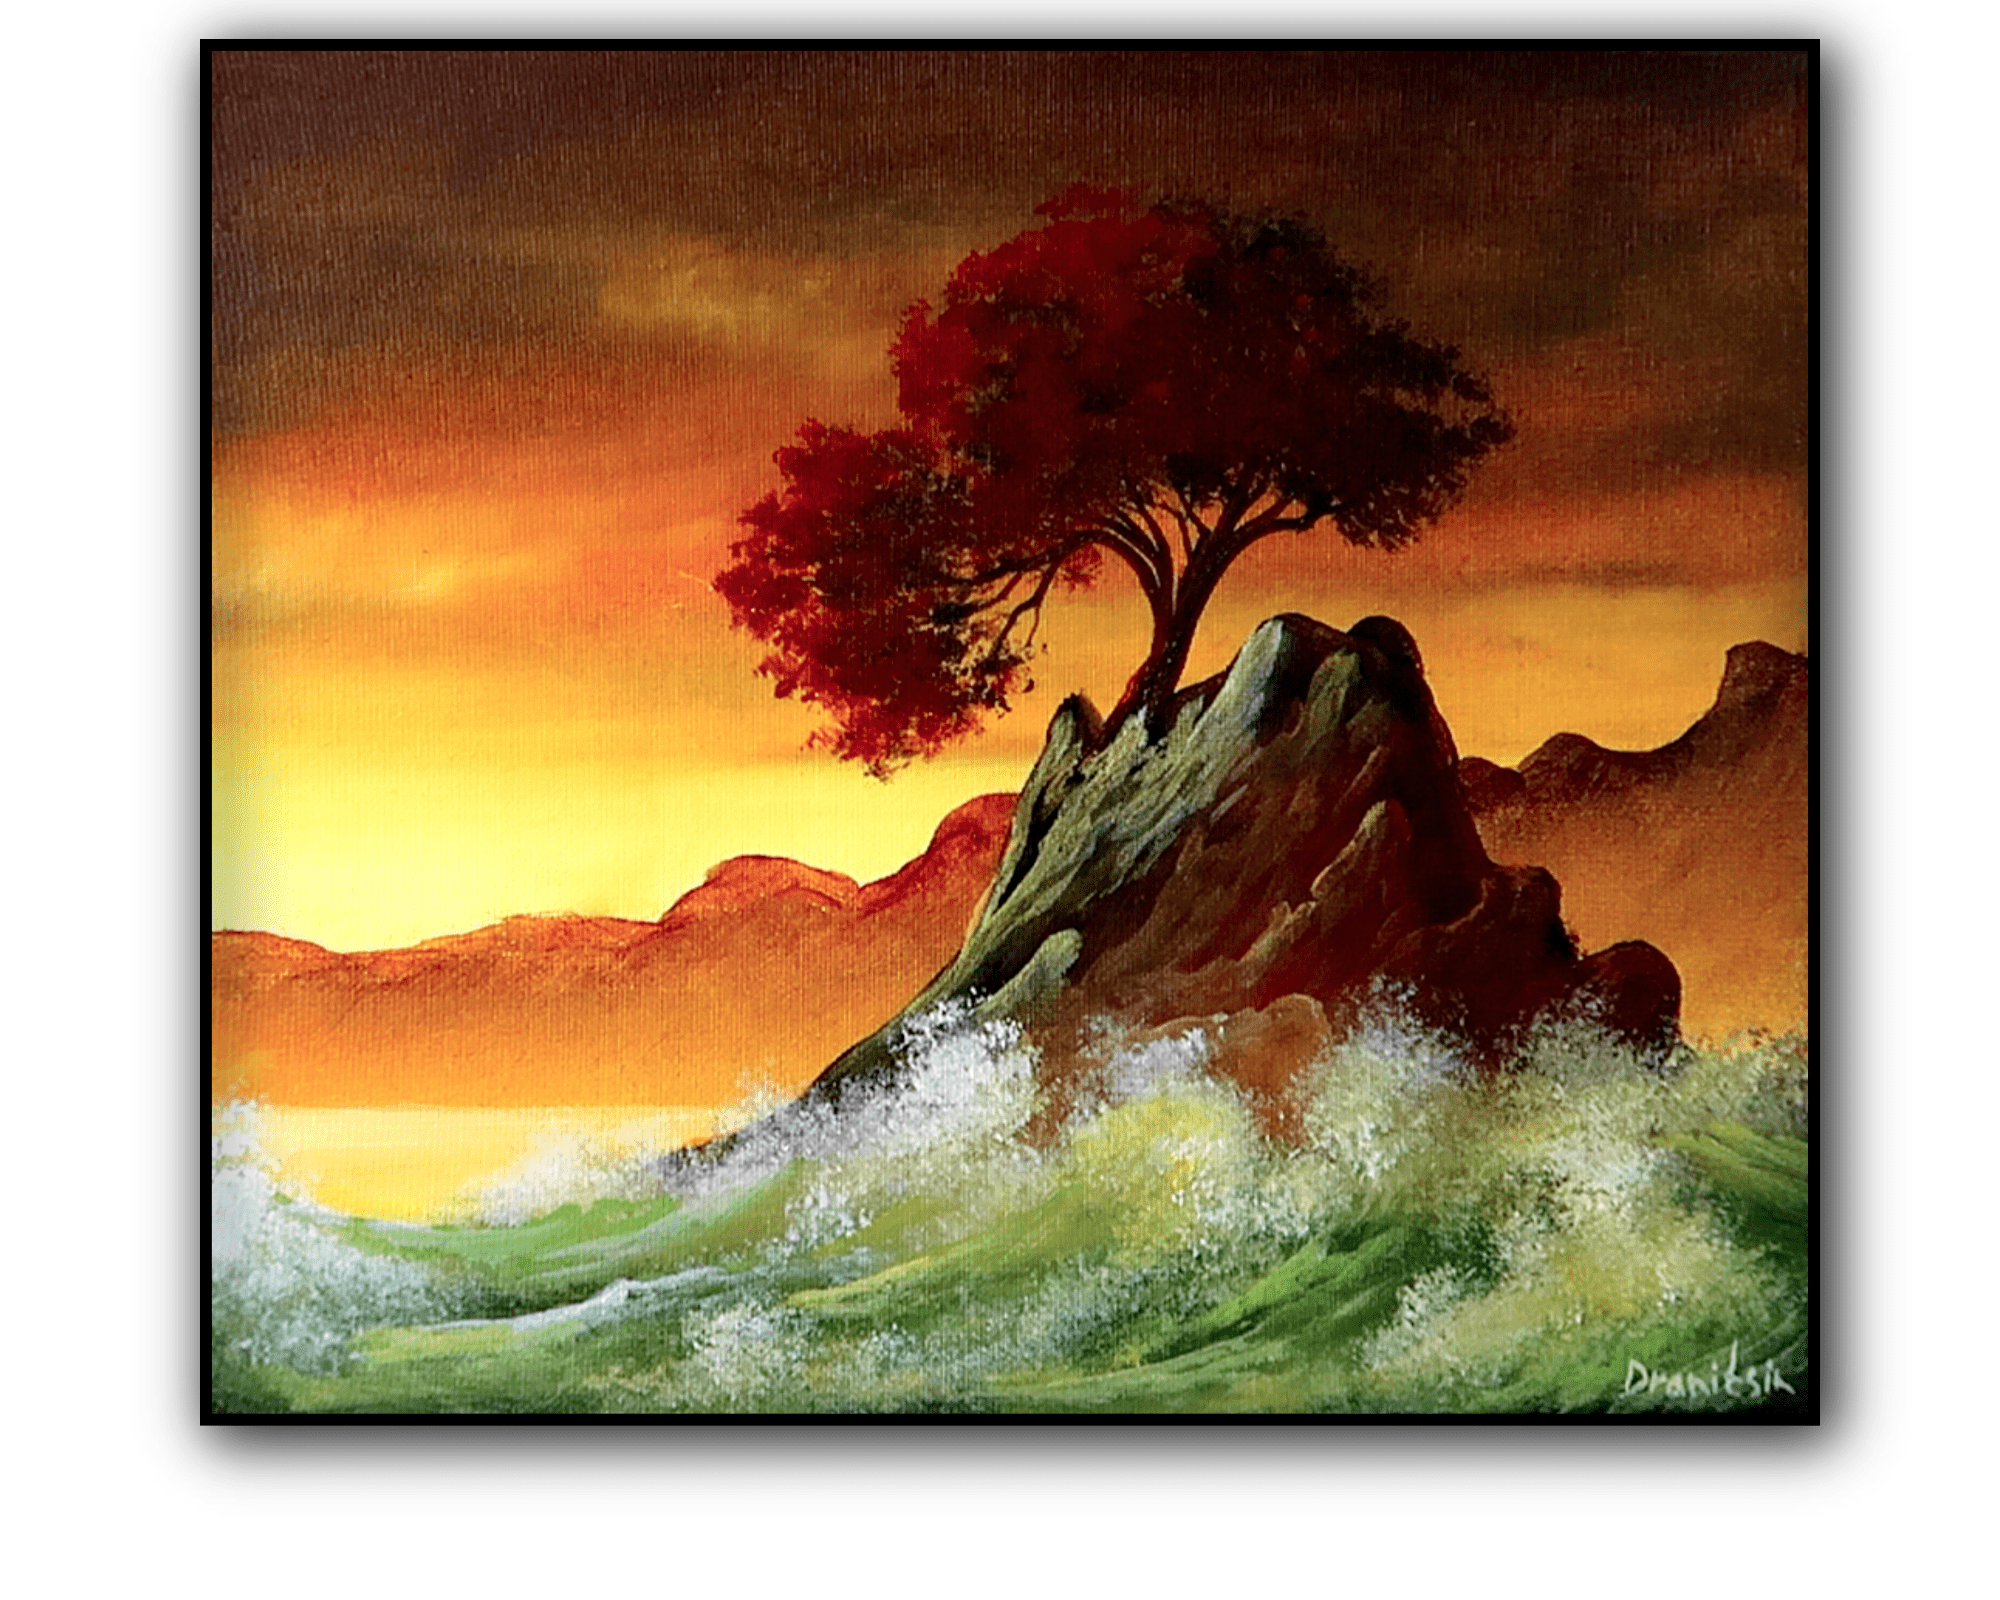
Hi, and welcome to our acrylic painting session! Today, we’re embarking on a beautiful artistic journey that will awaken your imagination and inspire your creativity. Get ready to immerse yourself in a serene landscape, showcasing the gentle beauty of a lonely tree standing resilient against the vibrant canvas of a sunset, where the sky meets the ocean waves. This painting evokes a sense of peace, contemplation, and connection to nature.
Materials Needed:
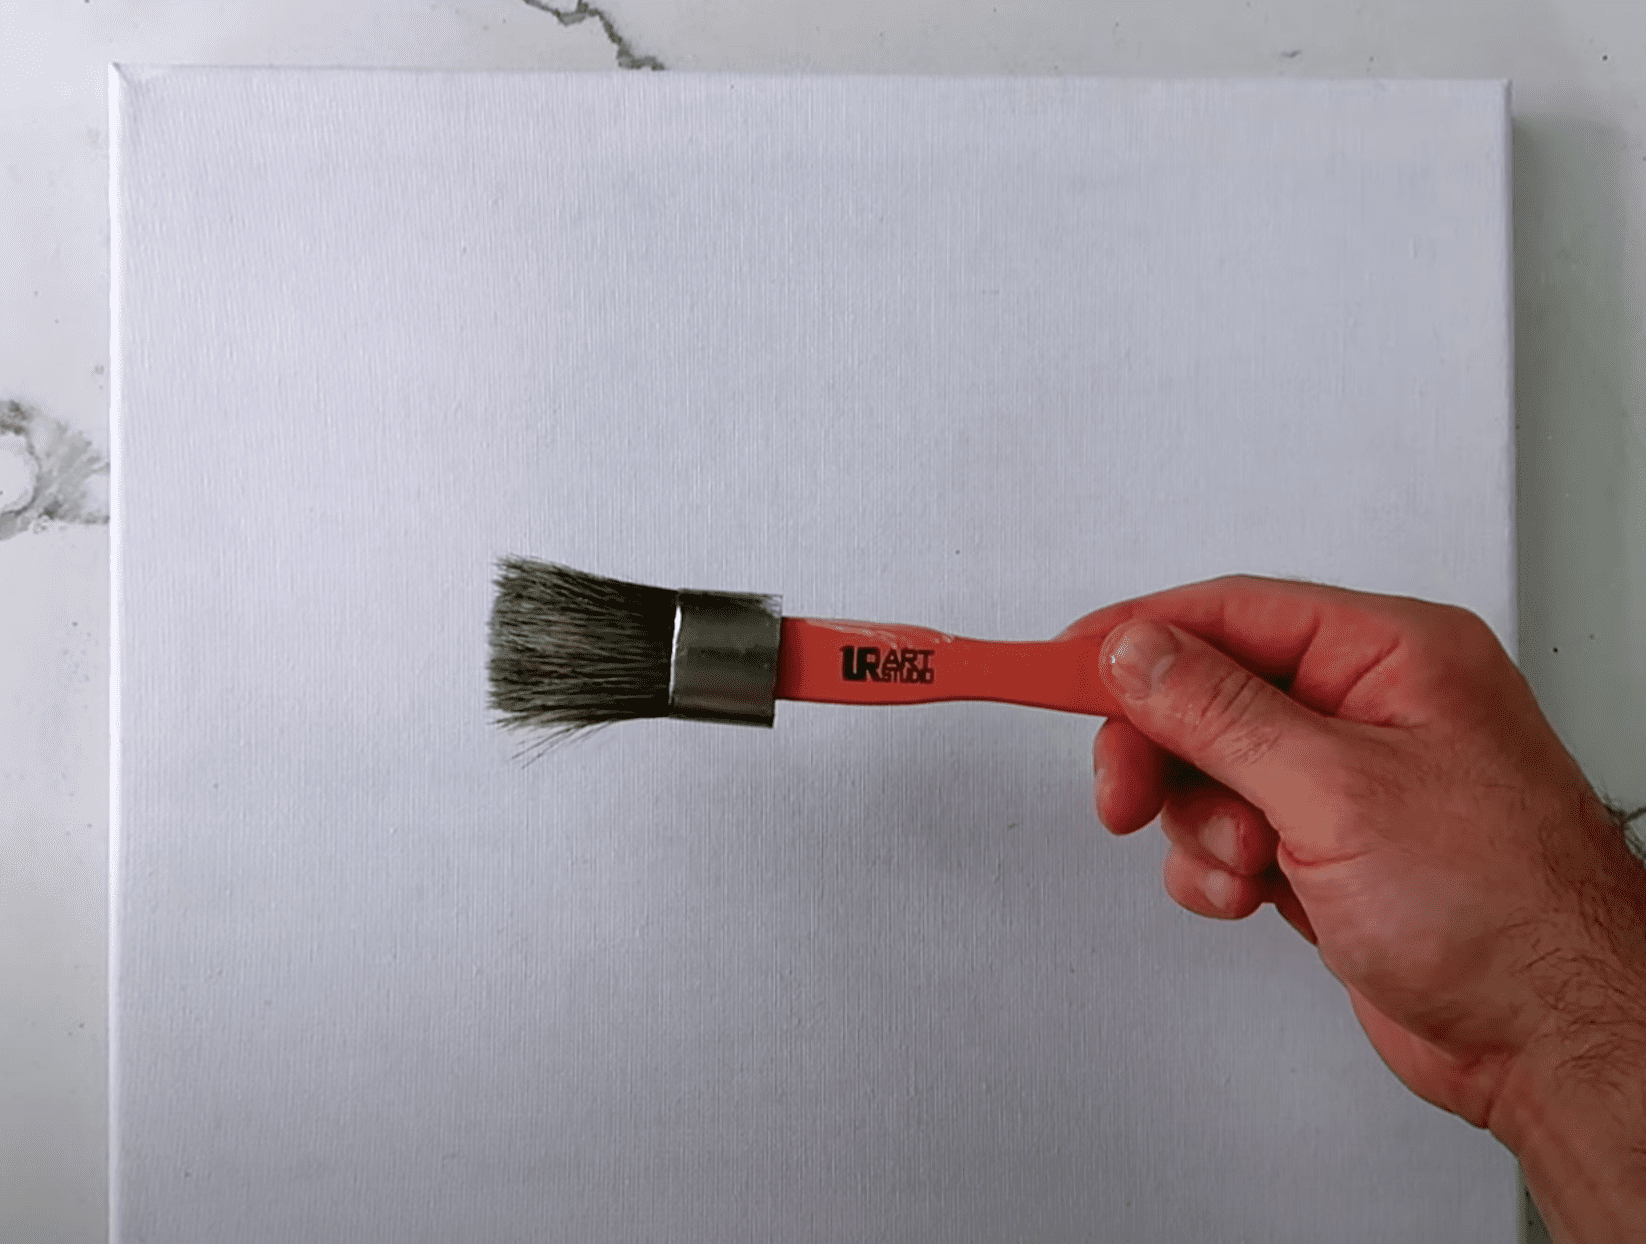
Before we dive into the magic of painting, let’s gather our materials. We’ll be working on a 12 x 14-inch canvas, but feel free to use whatever size you have on hand. Remember, it’s all about expressing yourself! You can find helpful tips on preparing your canvas on our website.
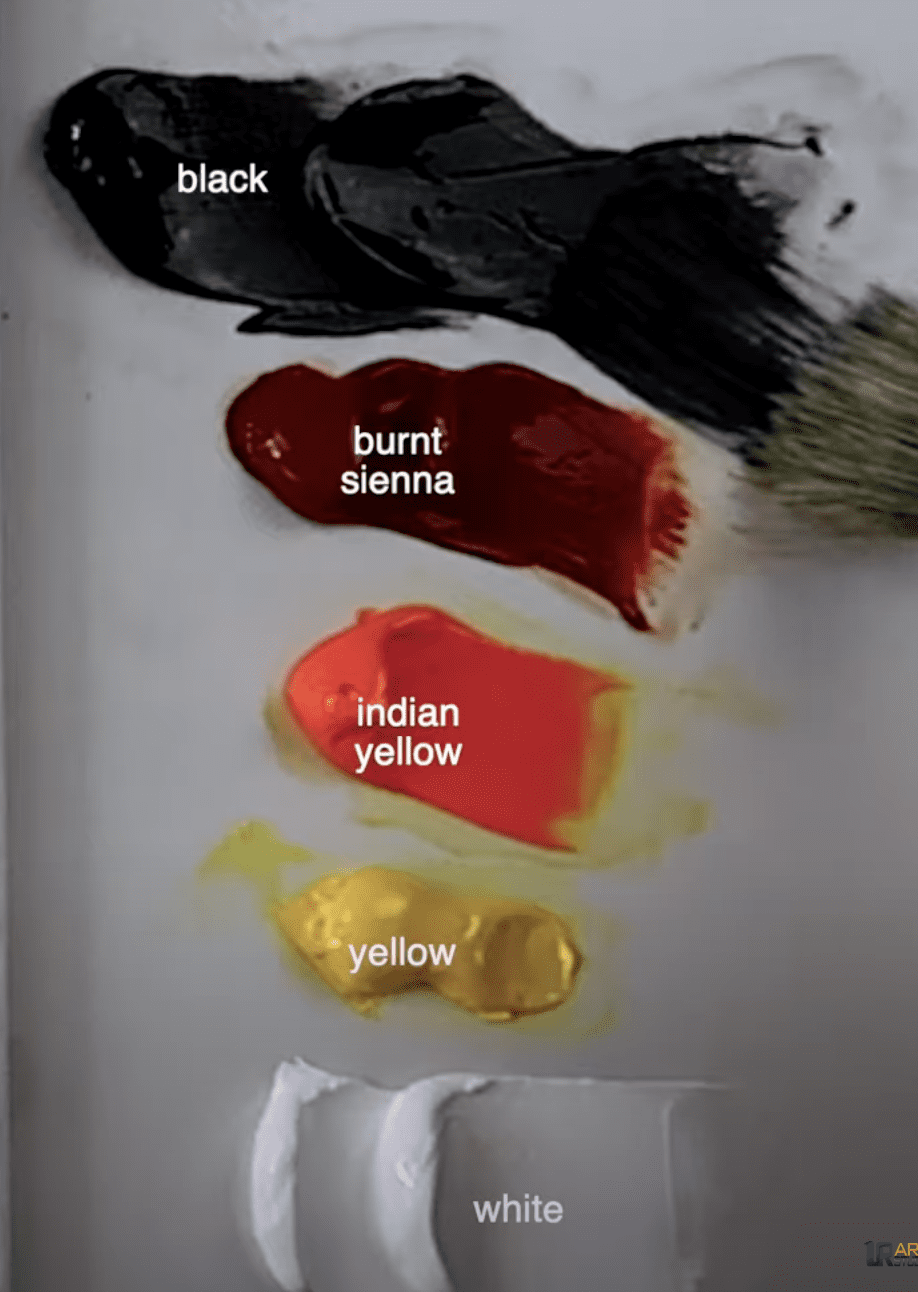
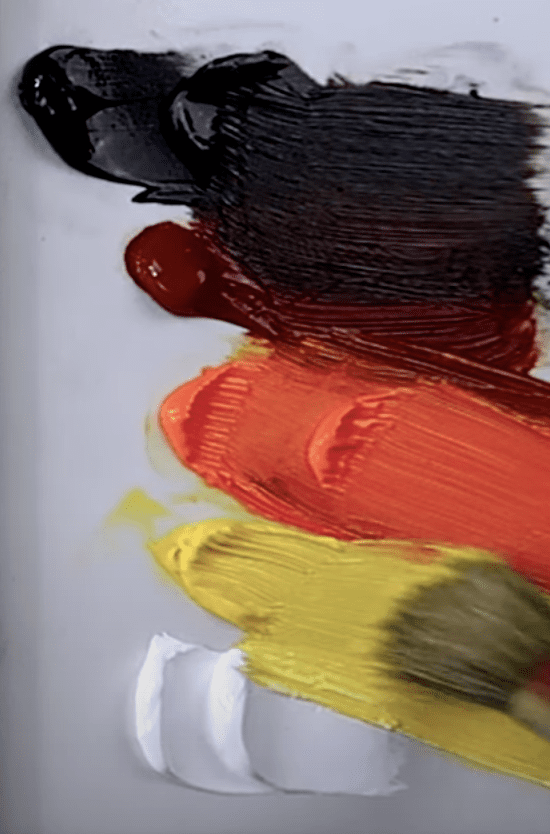
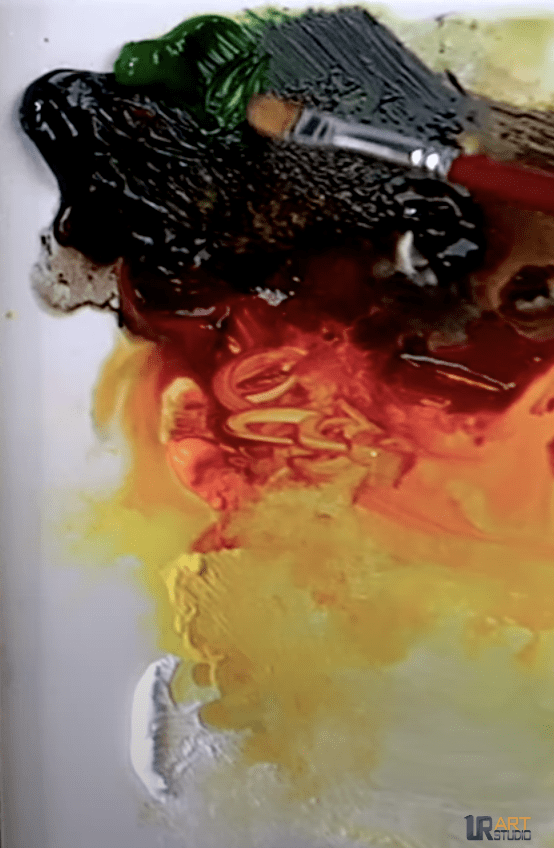
Now, let’s take a look at our color palette. We will be using the following acrylic colors: black, white, yellow, Indian yellow, burnt sienna, and Prussian green. These colors will help us capture the warmth of the sunset and the tranquility of our landscape.
Here’s a list of tools and materials you’ll need for the Lonely Tree in Sunset acrylic painting:
Tools and Materials List
1. Canvas
- Dimensions: 12 x 14 inches (or your preferred size)
2. Brushes
- Flat Oval Brush: For blending and backgrounds
- Big Filbert Brush: For painting larger areas and sketching mountains
- Small Filbert Brush: For details on rocks and tree trunk
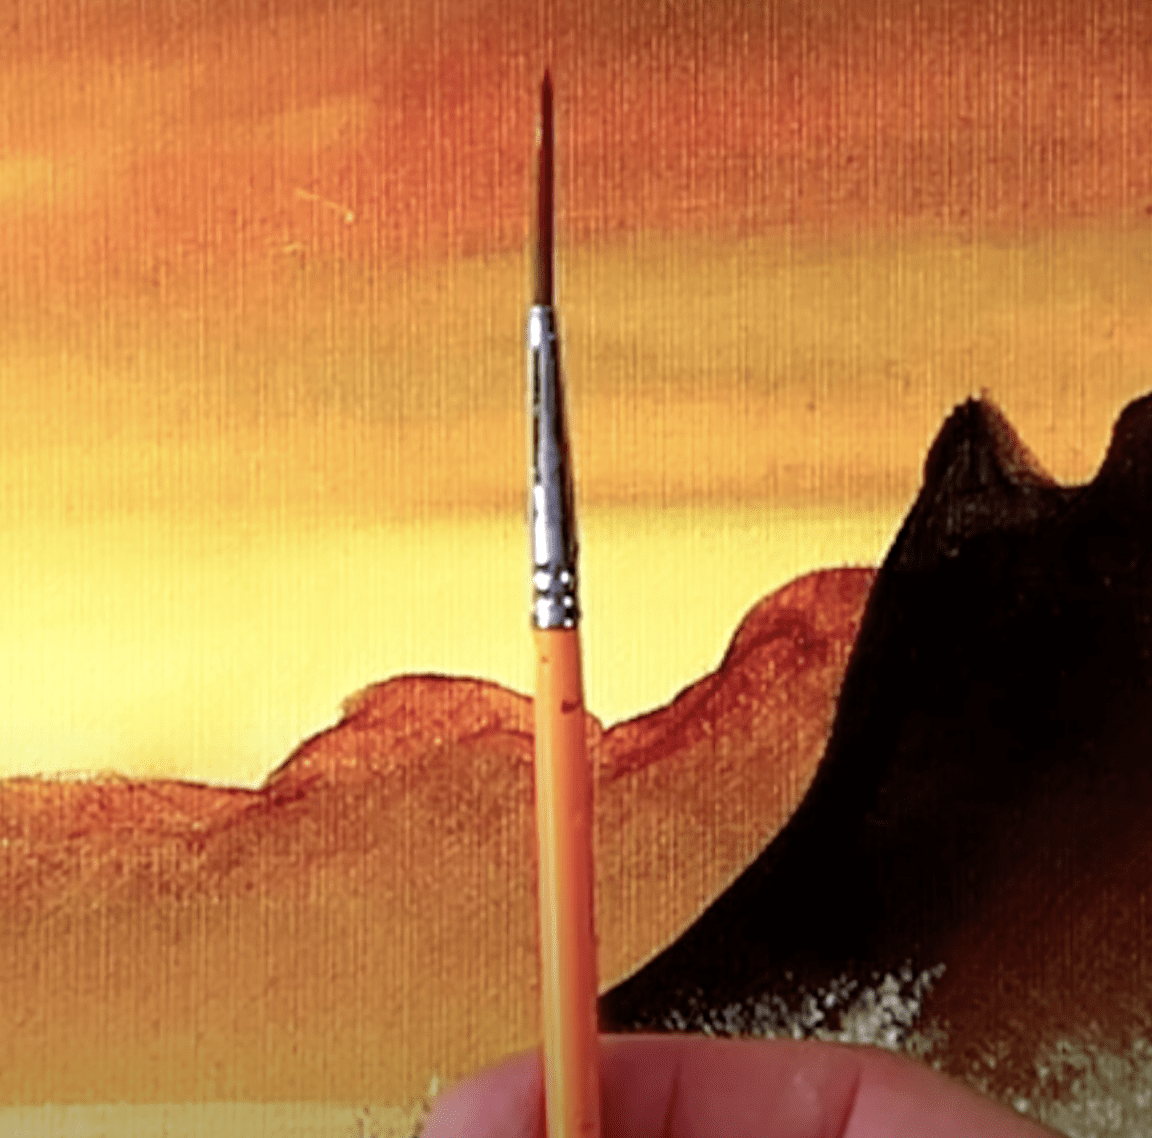
- Pointed Oval Brush: For finer details and blending colors
- Ultra-Soft Blending Brush: For gentle blending and softening edges
- Liner Brush: For intricate details like tree branches
- Small Round Brush: For highlights and finer details in the foliage
- Square Brush: For sharp edges and highlights on rocks

3. Palette
- For mixing and holding paints
4. Palette Knife
- For mixing paints and creating texture (optional)
5. Colors (Acrylic Paints)
- Black
- White
- Yellow
- Indian Yellow
- Burnt Sienna
- Prussian Green
6. Water Container
- For rinsing brushes between colors
7. Paper Towels or Rags
- For wiping brushes and cleaning up
8. Easel (Optional)
- To hold your canvas at a comfortable angle
9. Heat Gun or Hairdryer (Optional)
- For drying layers of paint quickly
10. Protective Smock or Apron
- To keep your clothes clean while painting
11. Varnish (Optional)
- To seal your finished painting and enhance colors (for later use)
With these tools and materials on hand, you’re all set to embark on your painting adventure! Happy painting!
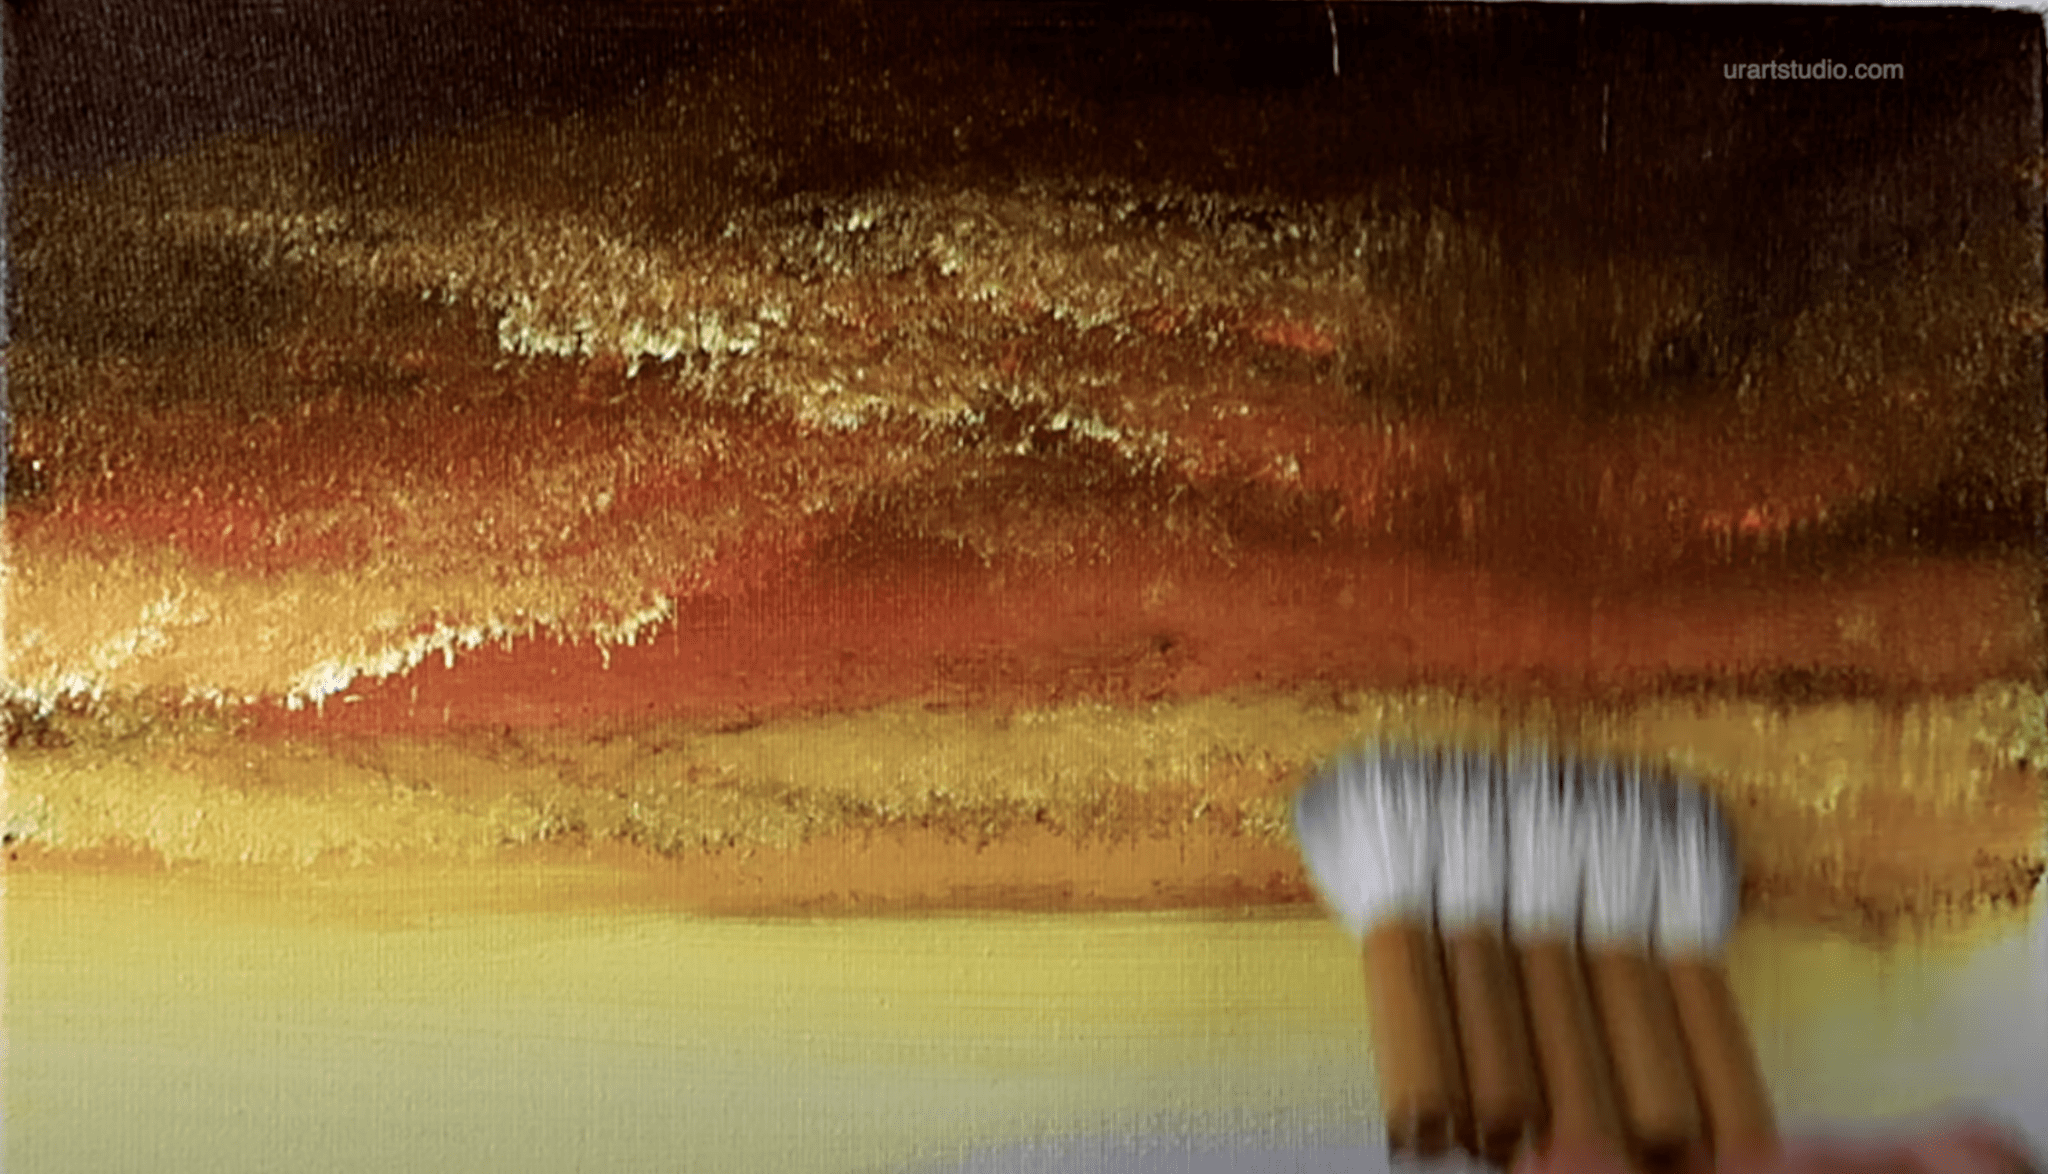
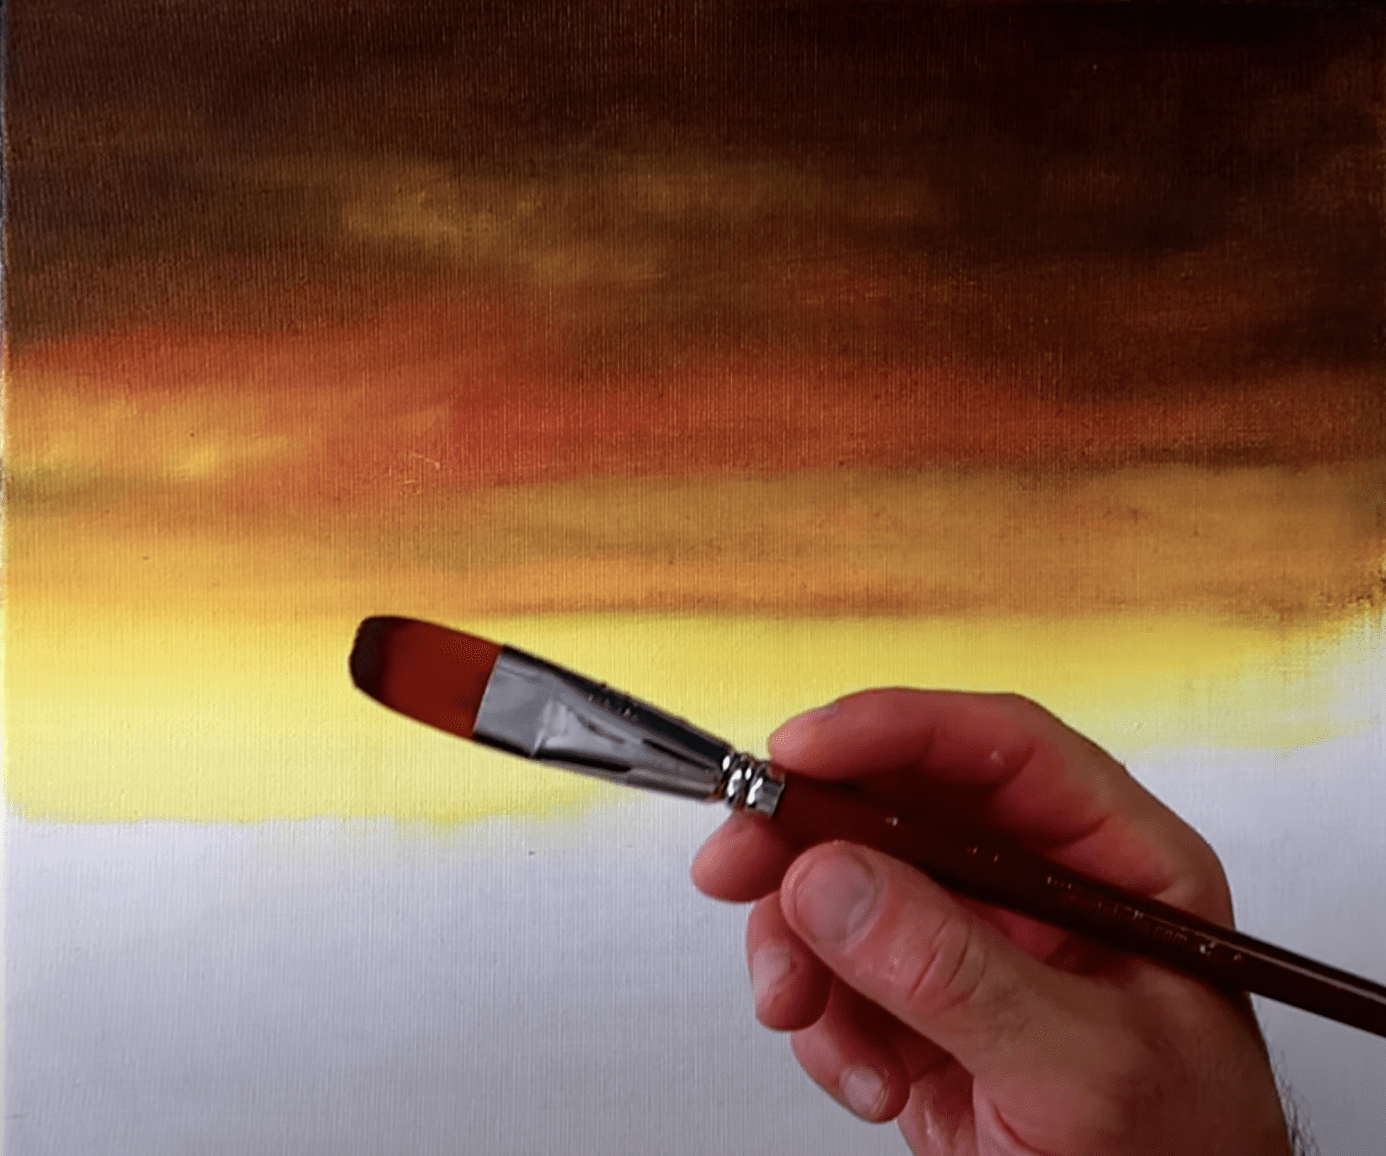
Step 1: Creating the Sky
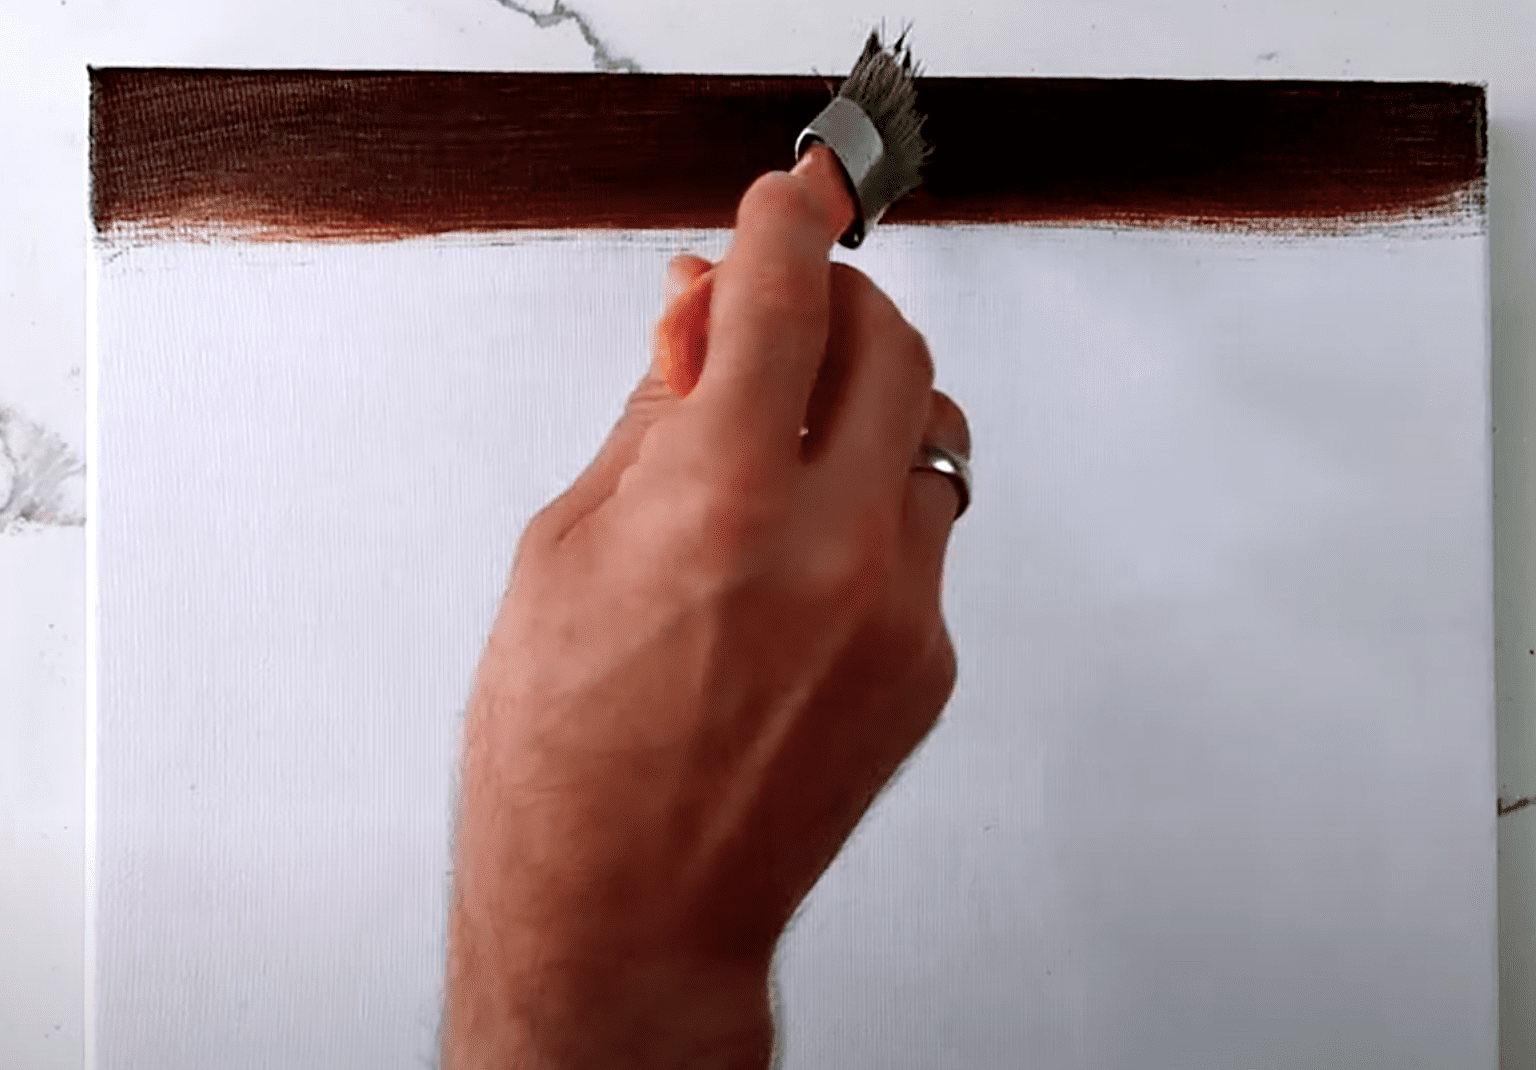
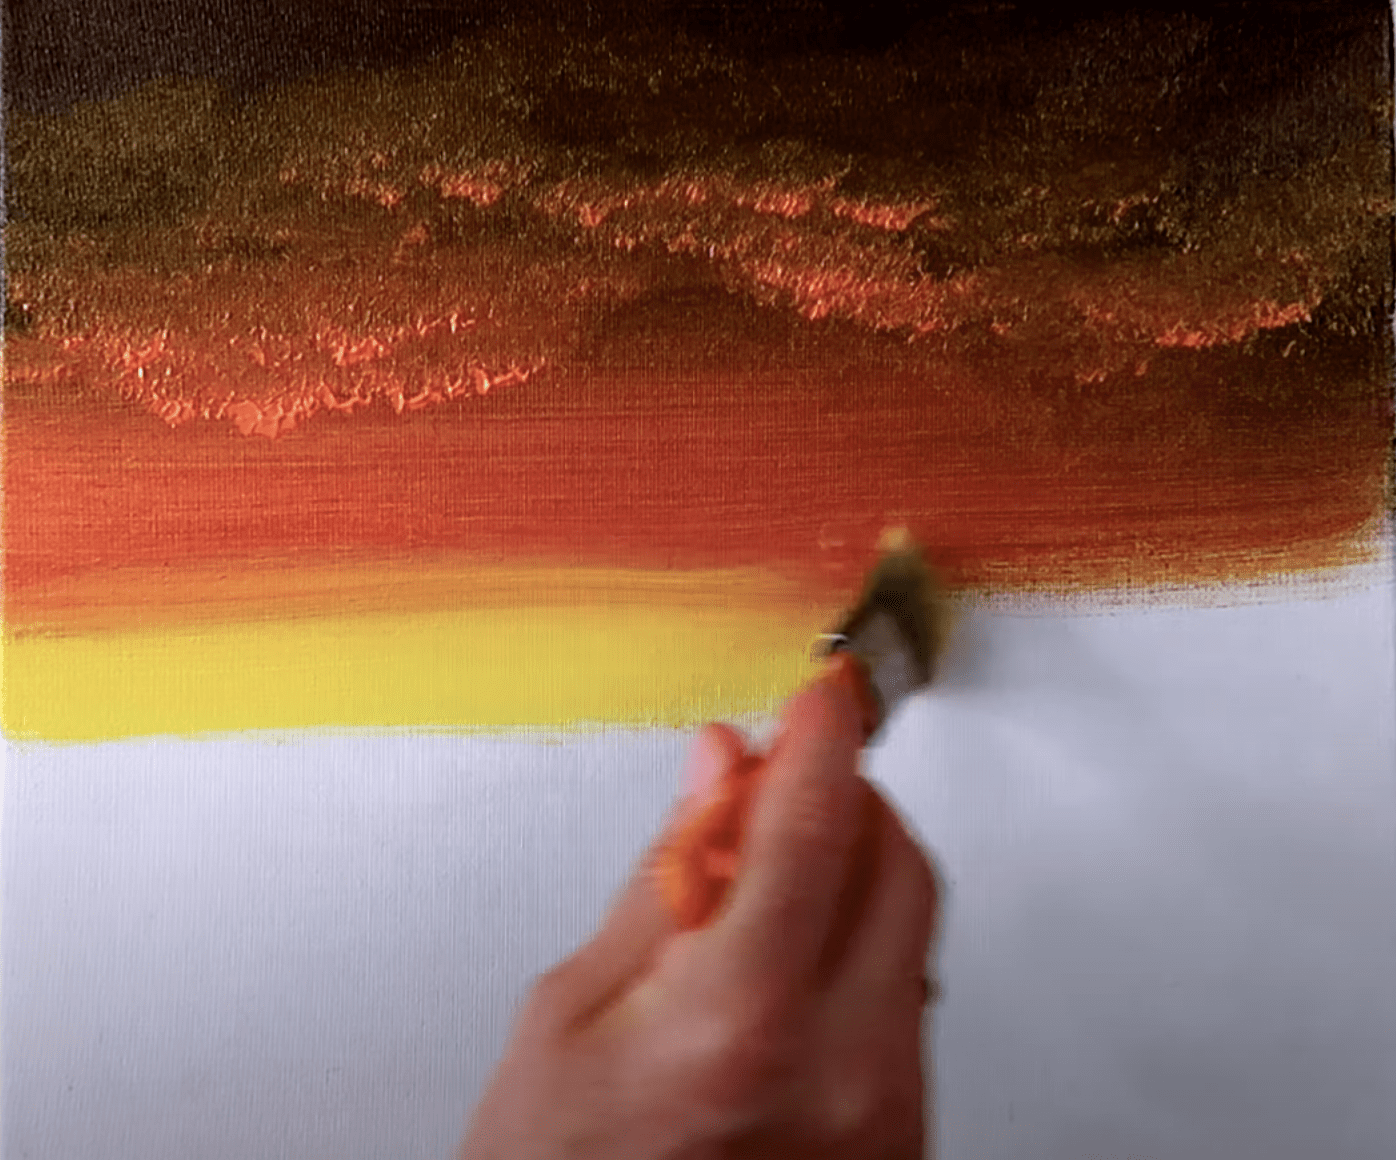
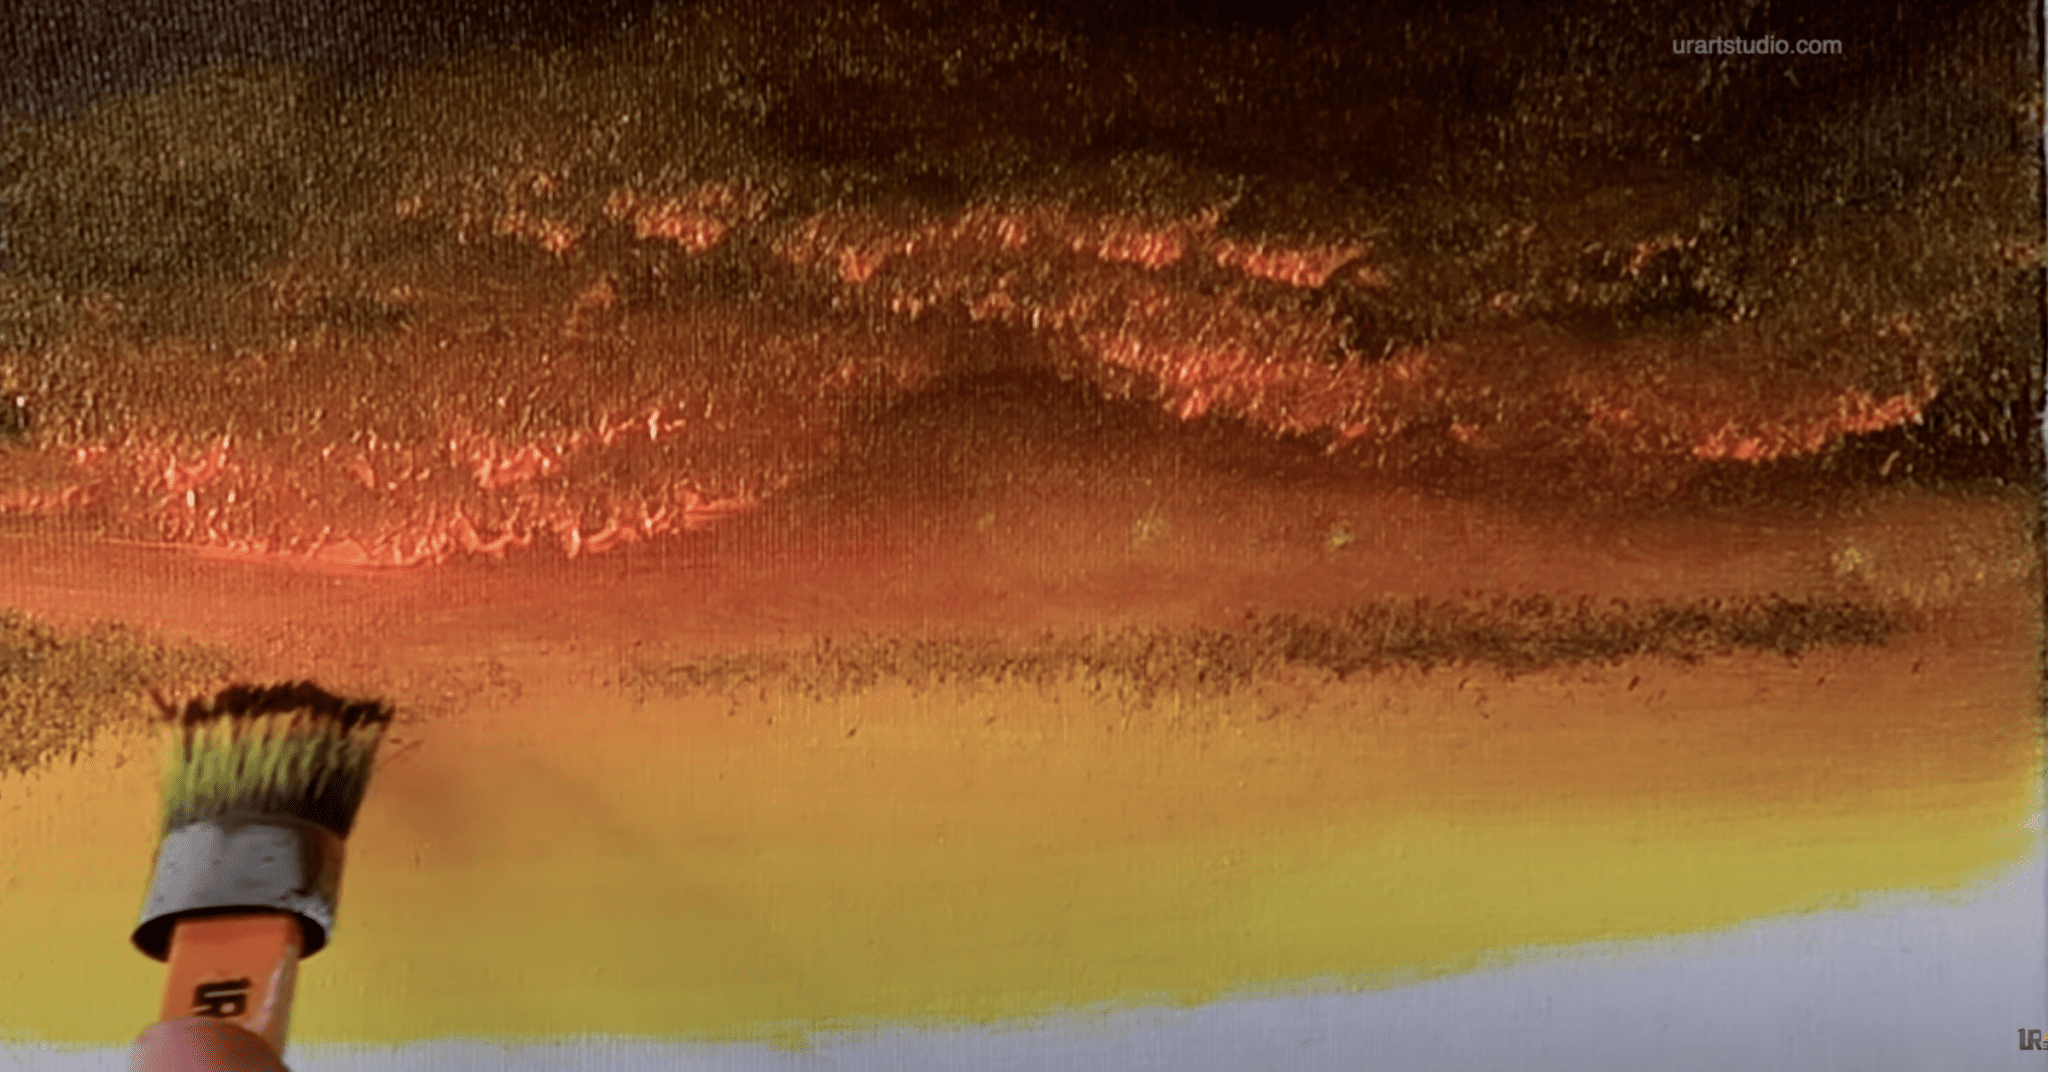
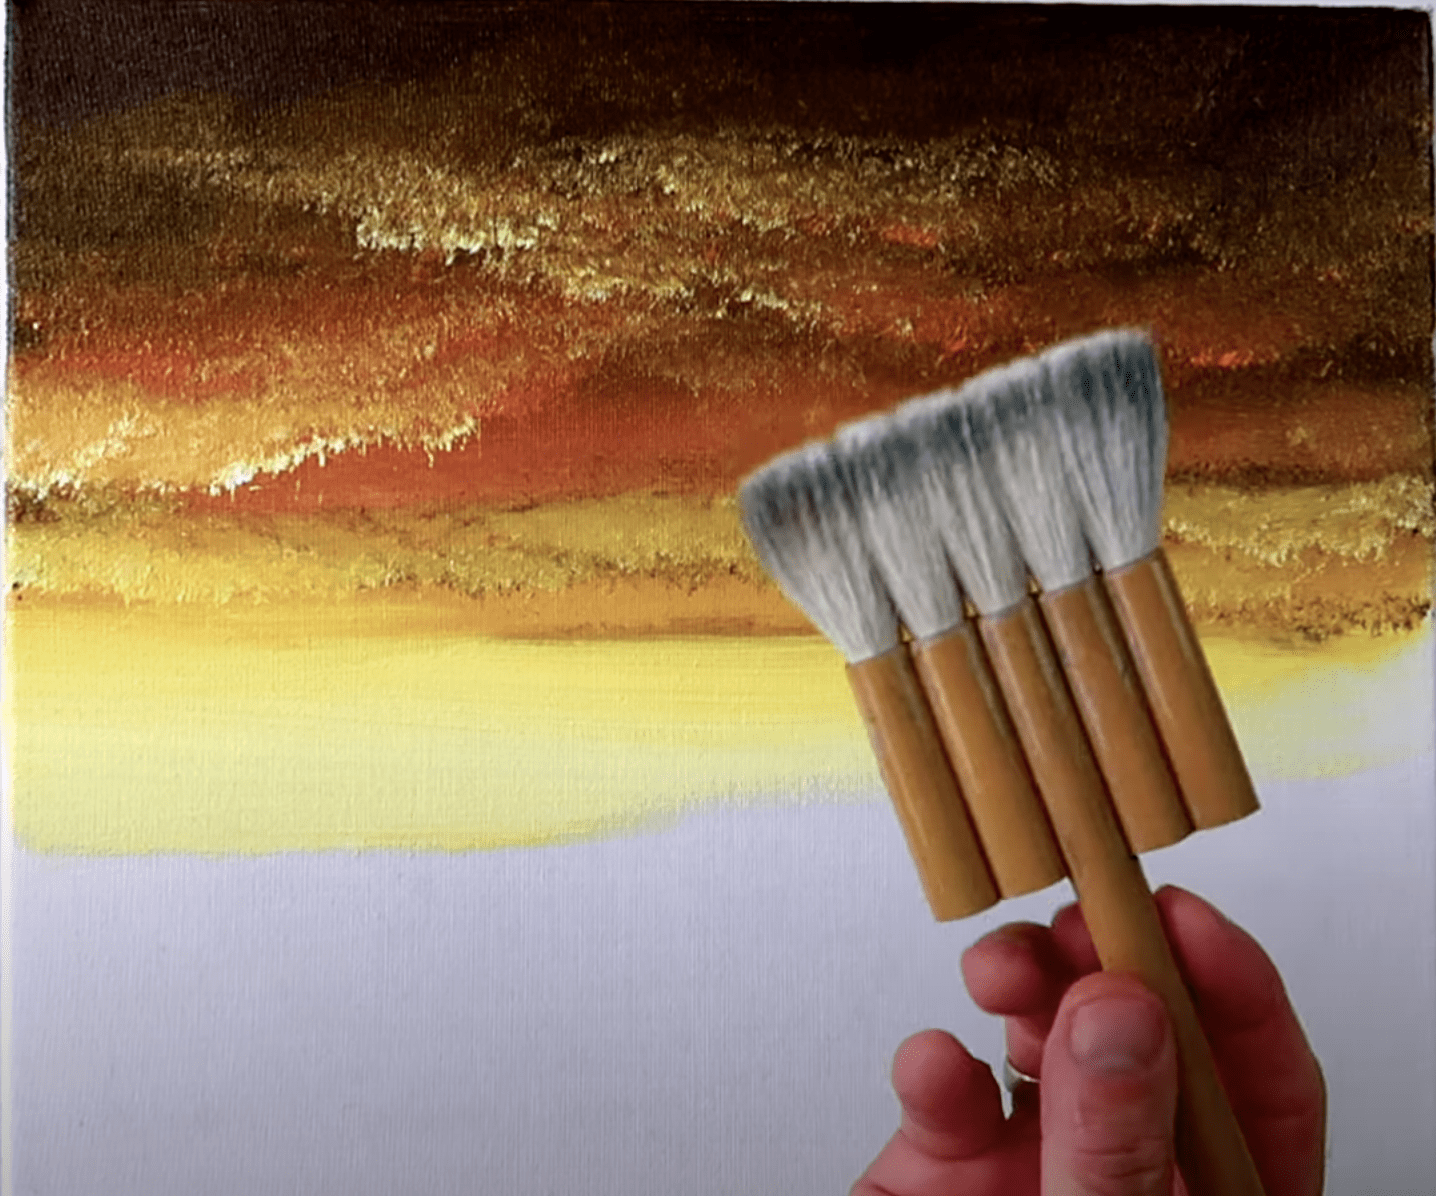
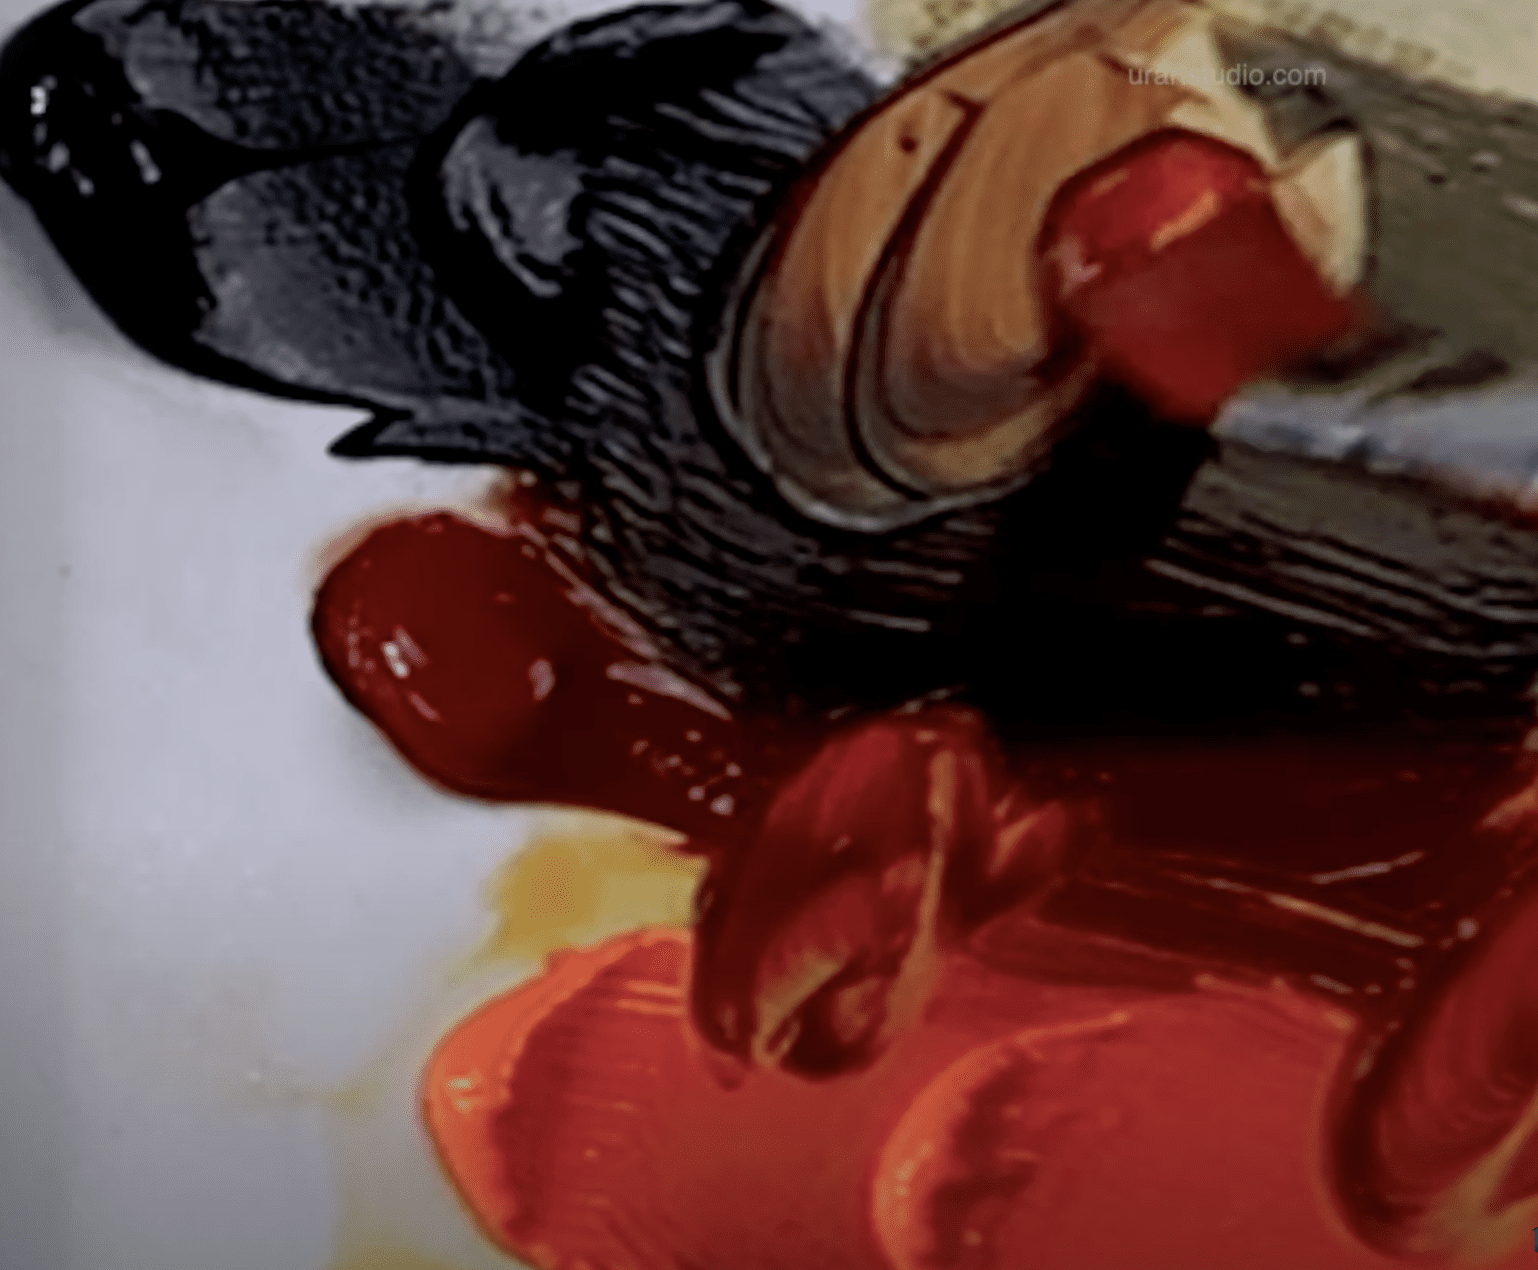
Let’s begin our journey! Take your flat oval brush and dip it into a mix of black and burnt sienna. Now, with a gentle touch, start adding this rich color blend at the top of your canvas. Imagine the skies turning darker as the sun sets and feel free to let your brush glide effortlessly.
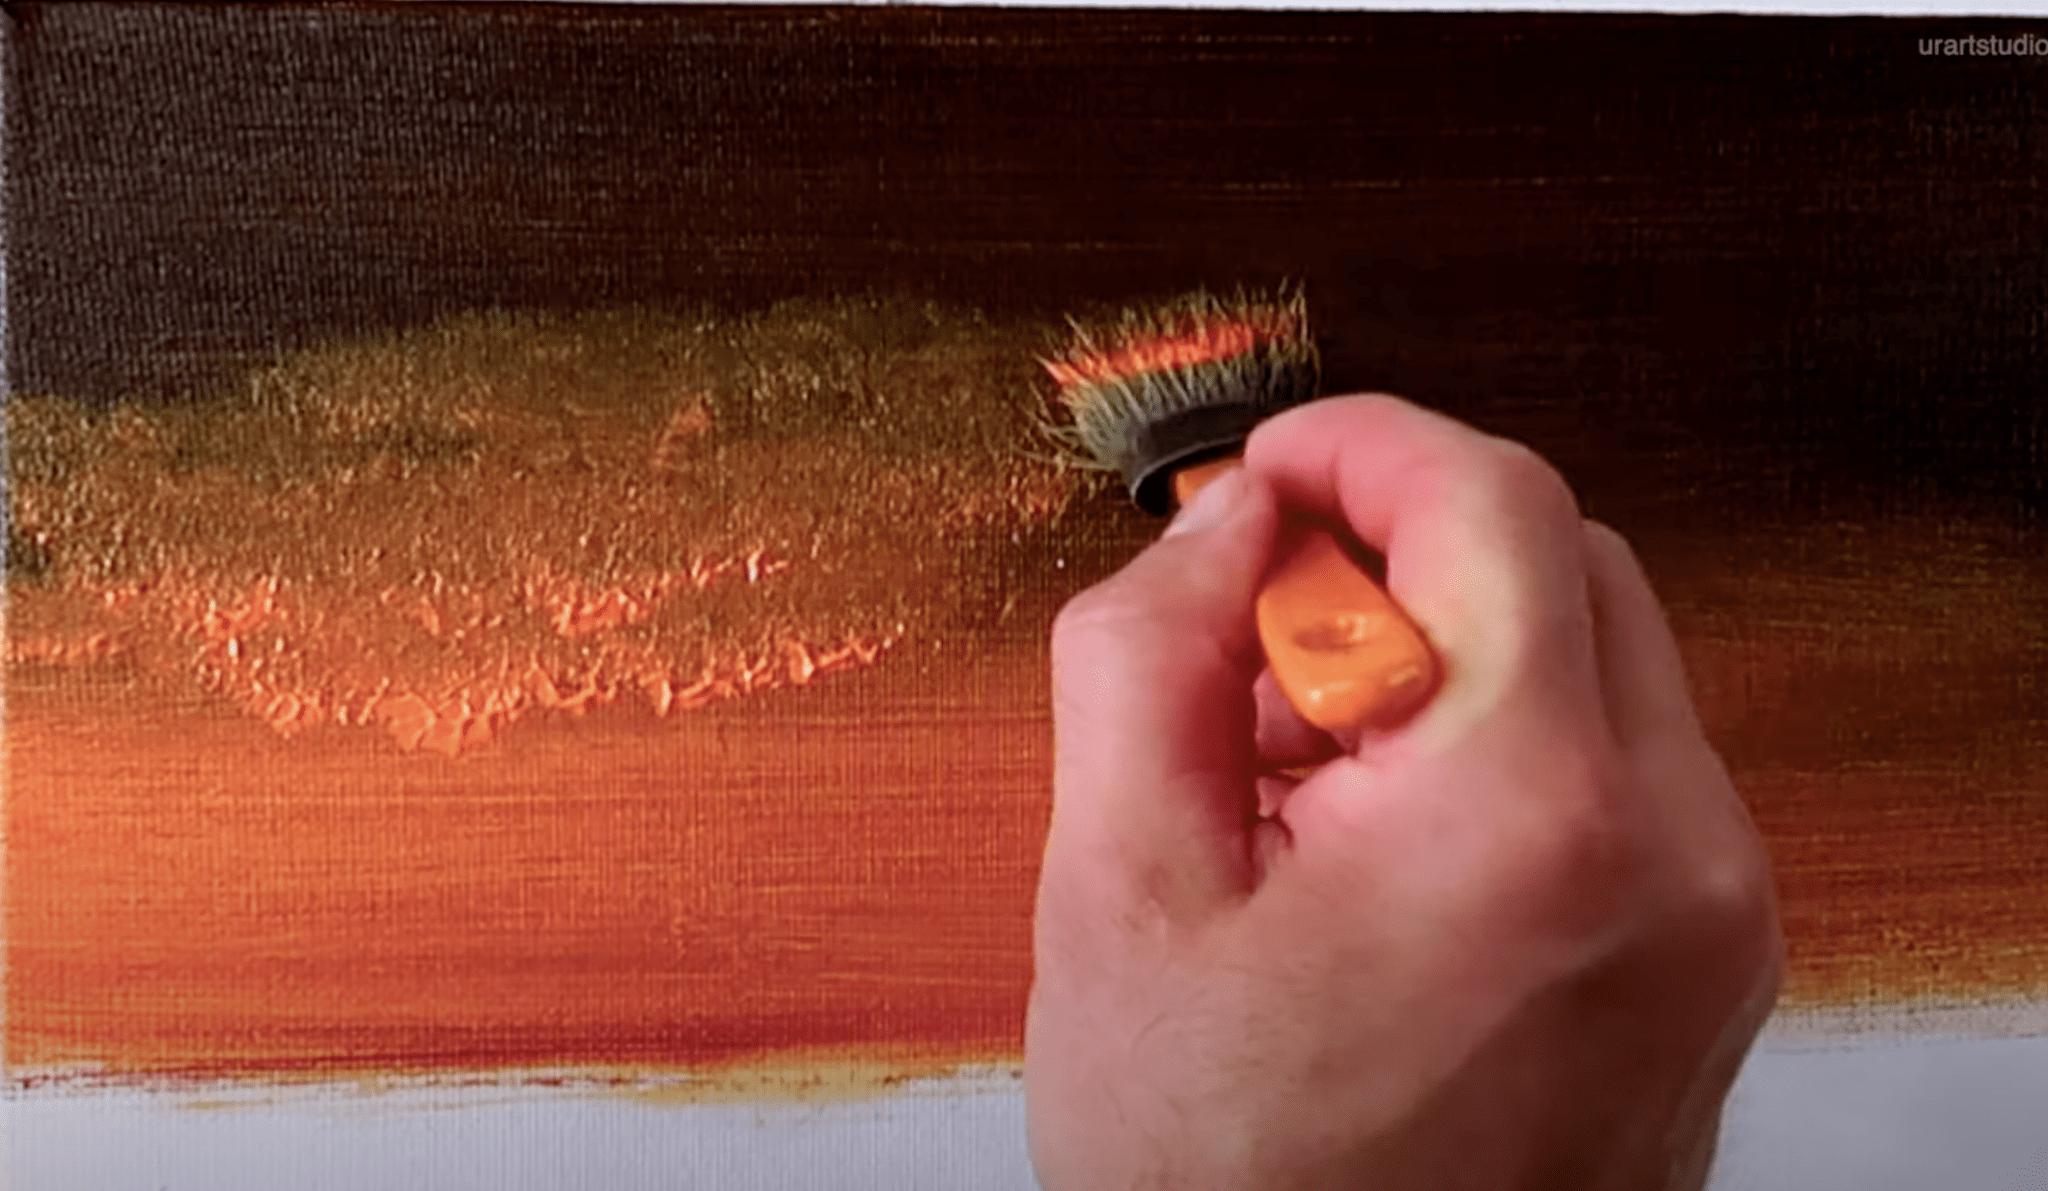
Next, we’ll switch to a mix of Indian yellow and burnt sienna. With a smooth motion, apply this mix starting from the horizon, blending it upward into the darker colors we just applied. Visualize the sun’s golden glow illuminating the sky as you work.
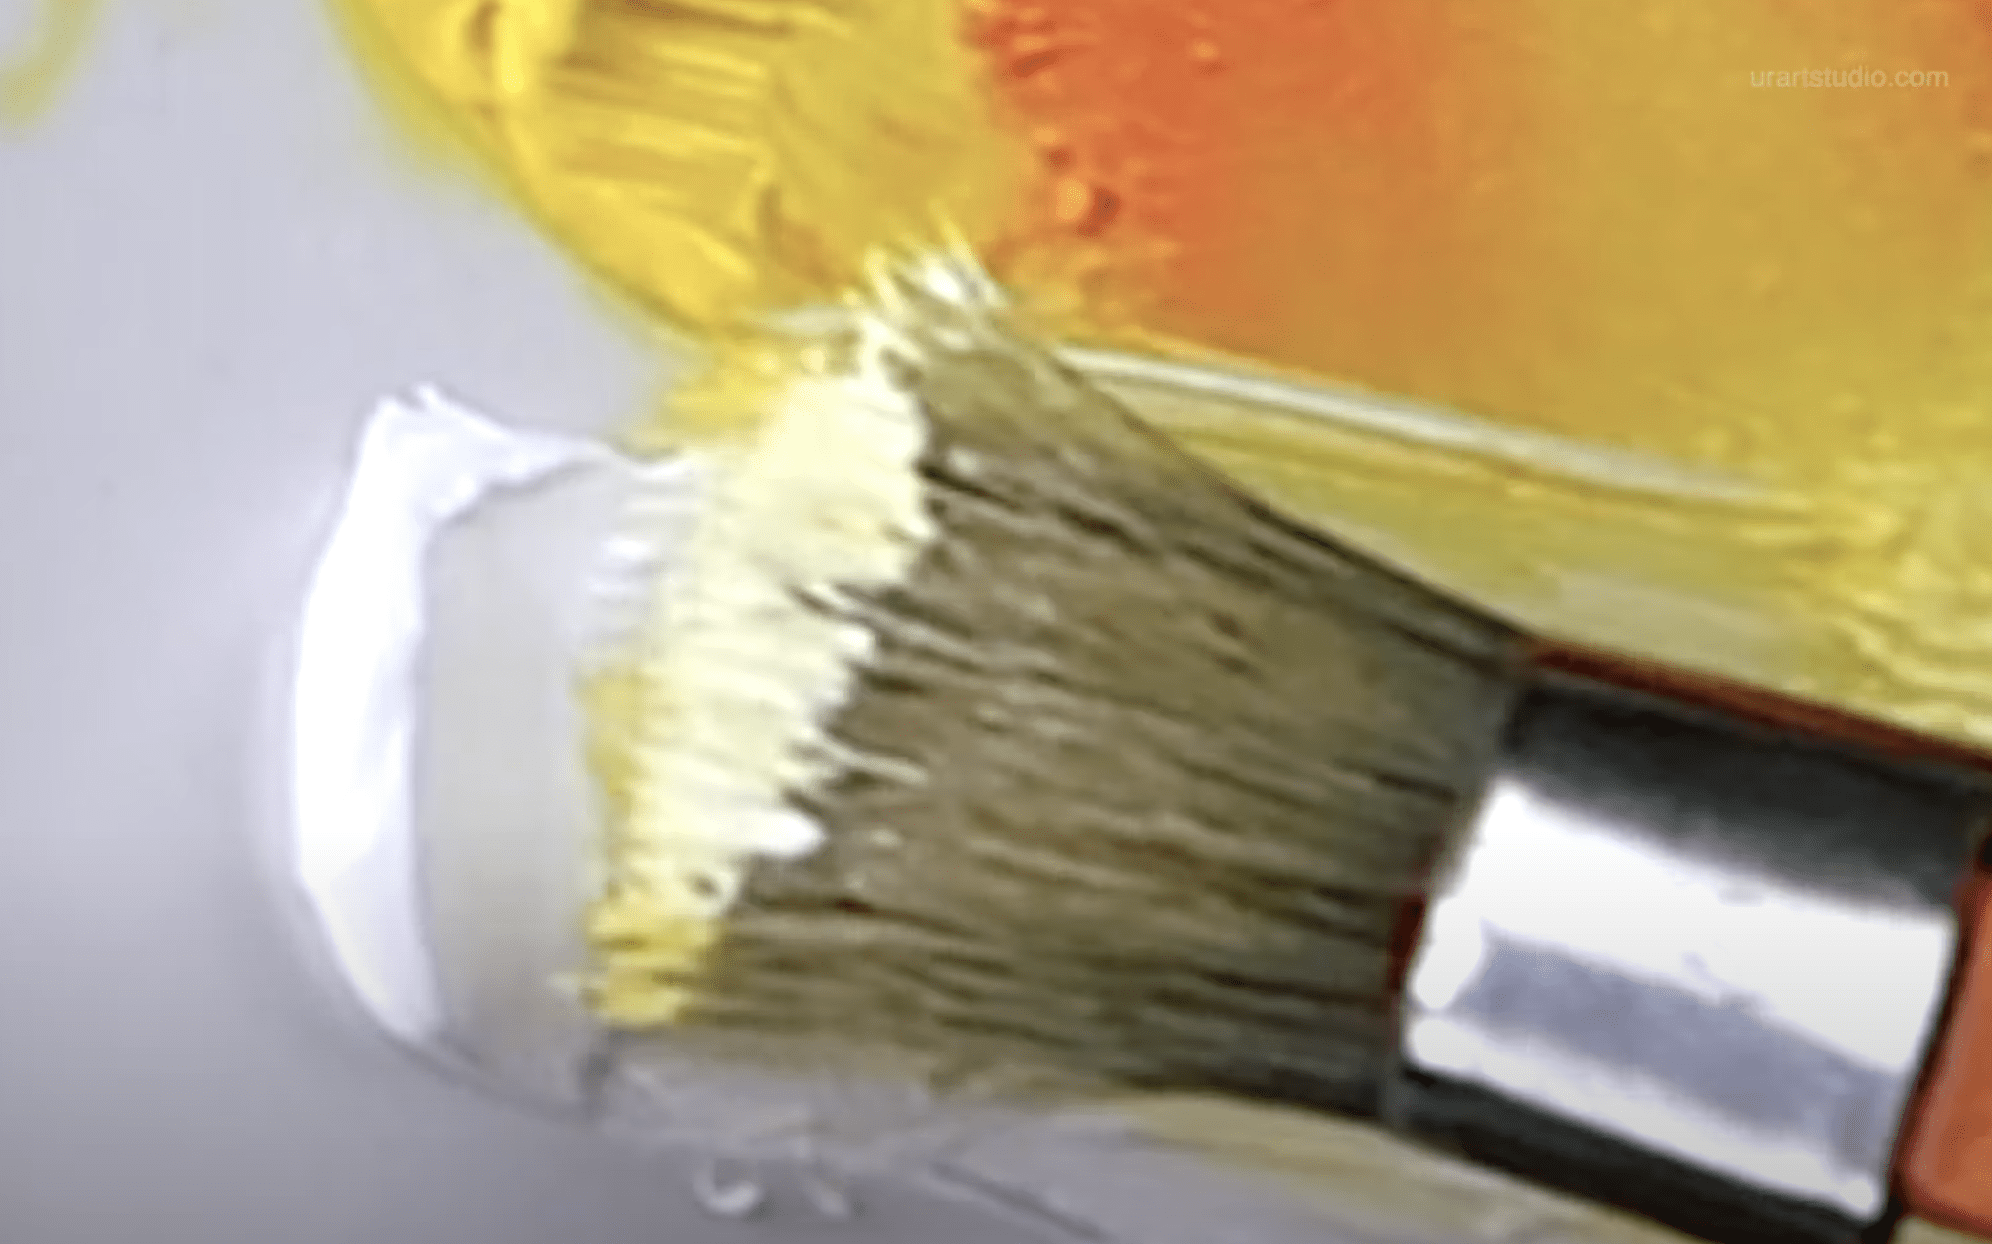
Now let’s craft some fluffy, glowing clouds! Using the same oval brush, dip it into pure Indian yellow. With a soft tapping motion, create radiant clouds in the darker sections of our sky—a stunning contrast that invites the viewer’s eye.
Once those clouds are in place, let’s brighten up our scene even more. Take some bright yellow and start from the horizon line, gradually blending it into the sky. This layer represents sunlight casting its golden rays—let your brush dance with joyful strokes.
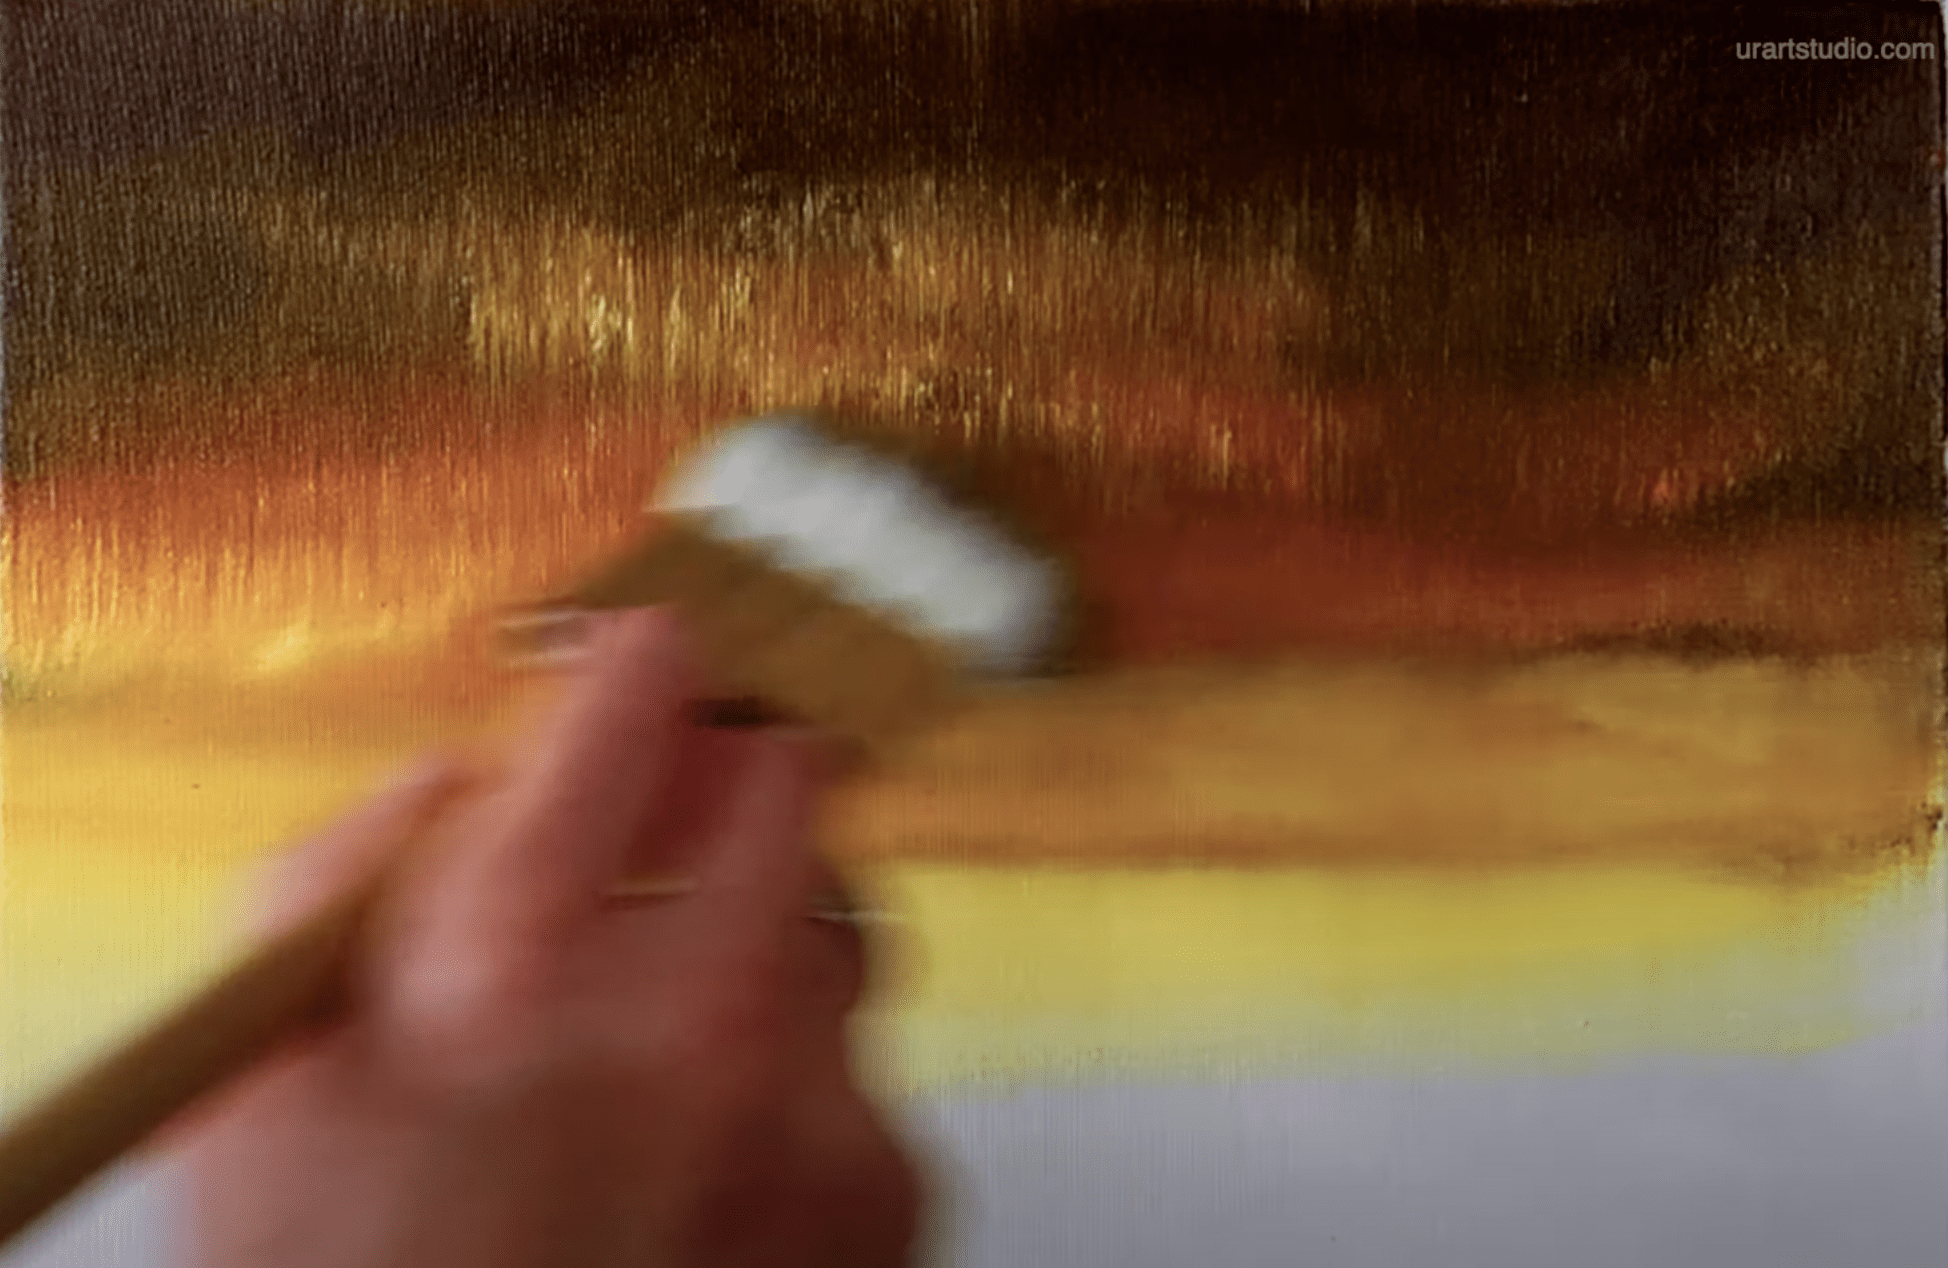
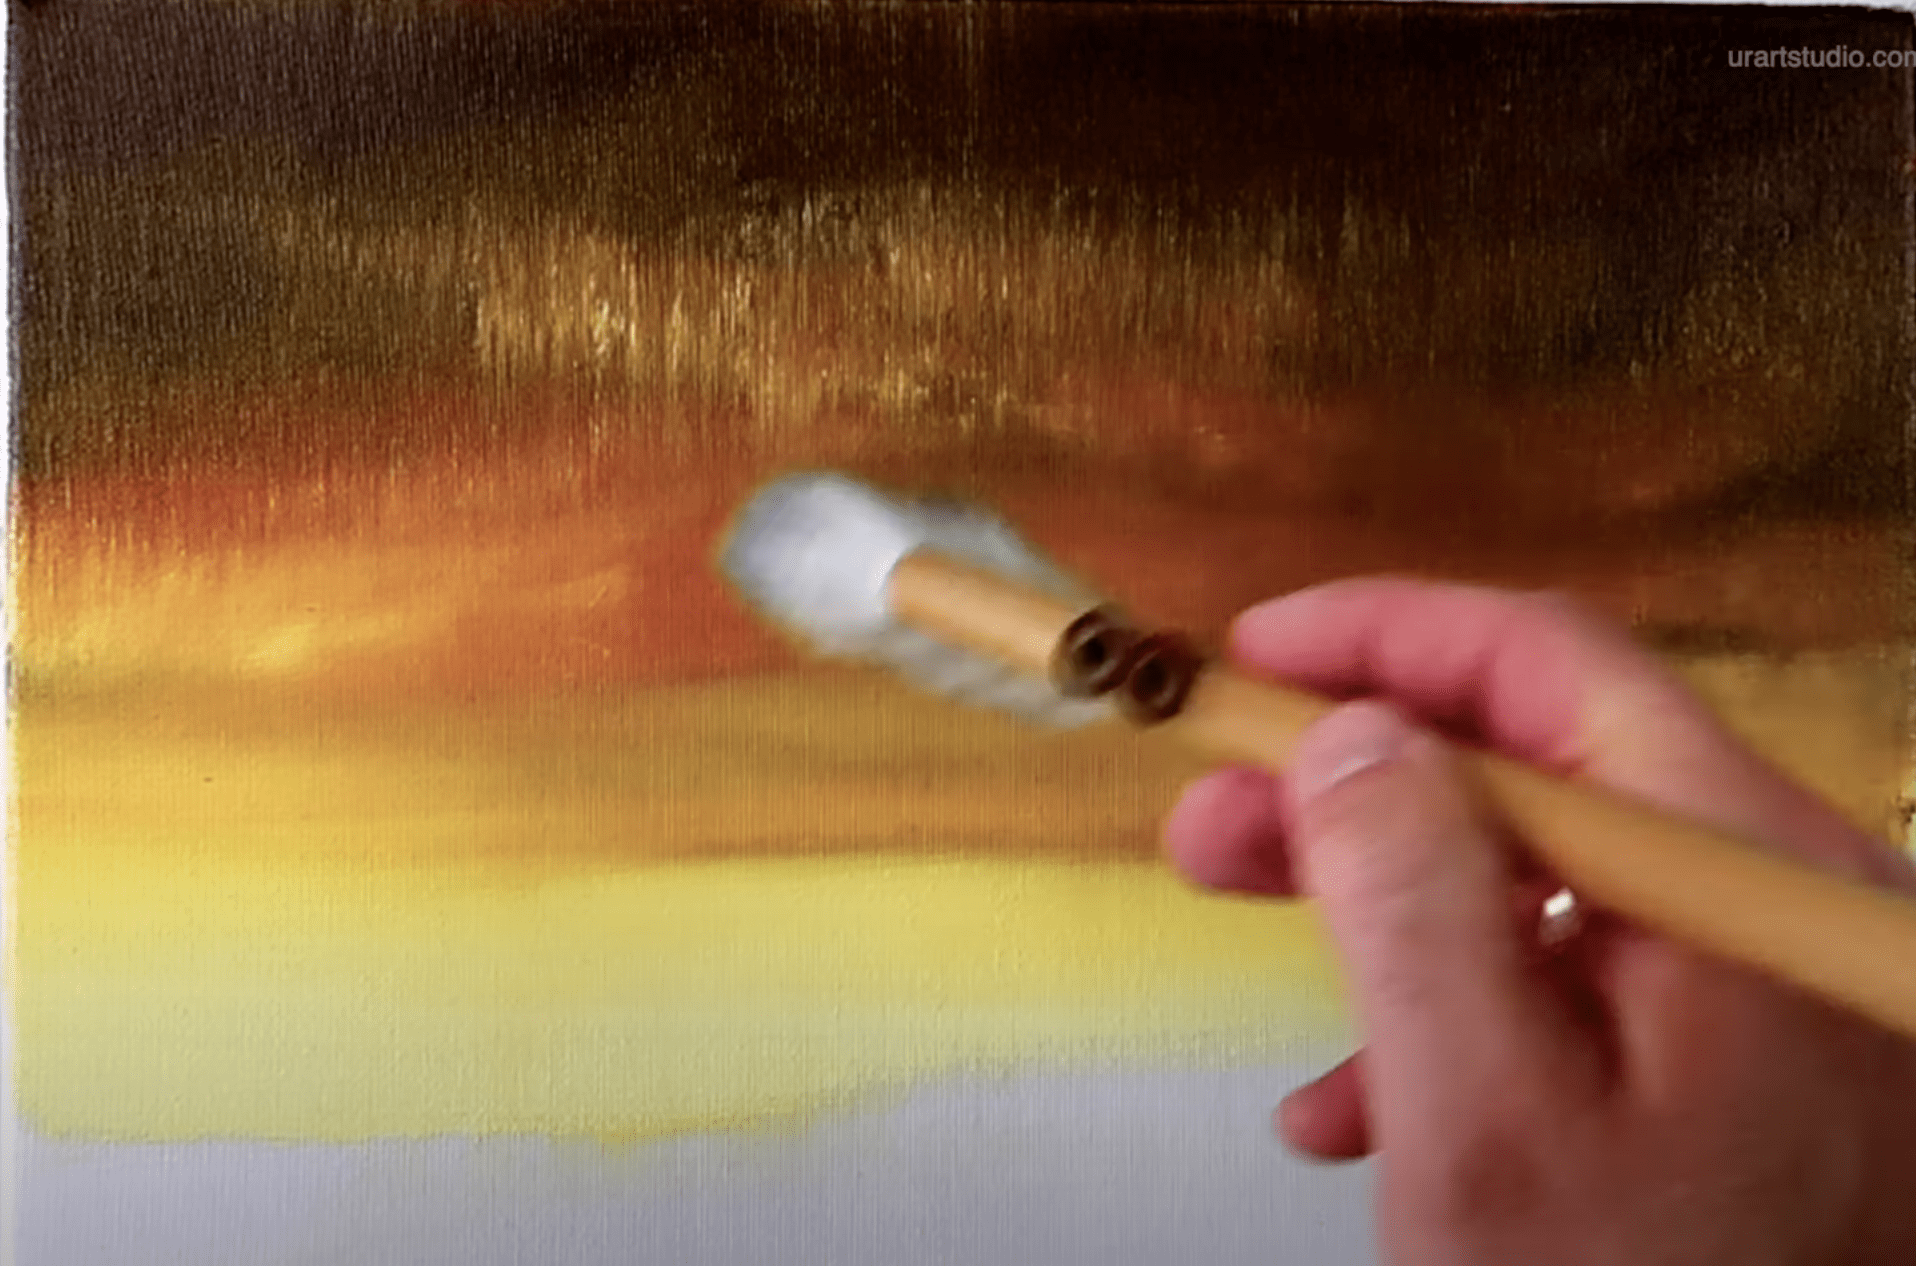
Next, introduce a few darker shades to form delicate, wispy clouds against the bright canvas of the sky.
To refine our sky, pick up your ultra-soft blending brush. In its dry state, apply gentle pressure to blend all the colors together—carefully moving your brush in vertical and horizontal motions. Remember to wipe off excess paint on a clean paper towel between strokes, ensuring a soft and seamless finish.
If you’d like to speed up the drying process, you can use a heat gun or hairdryer—just be careful not to burn your beautiful creation!
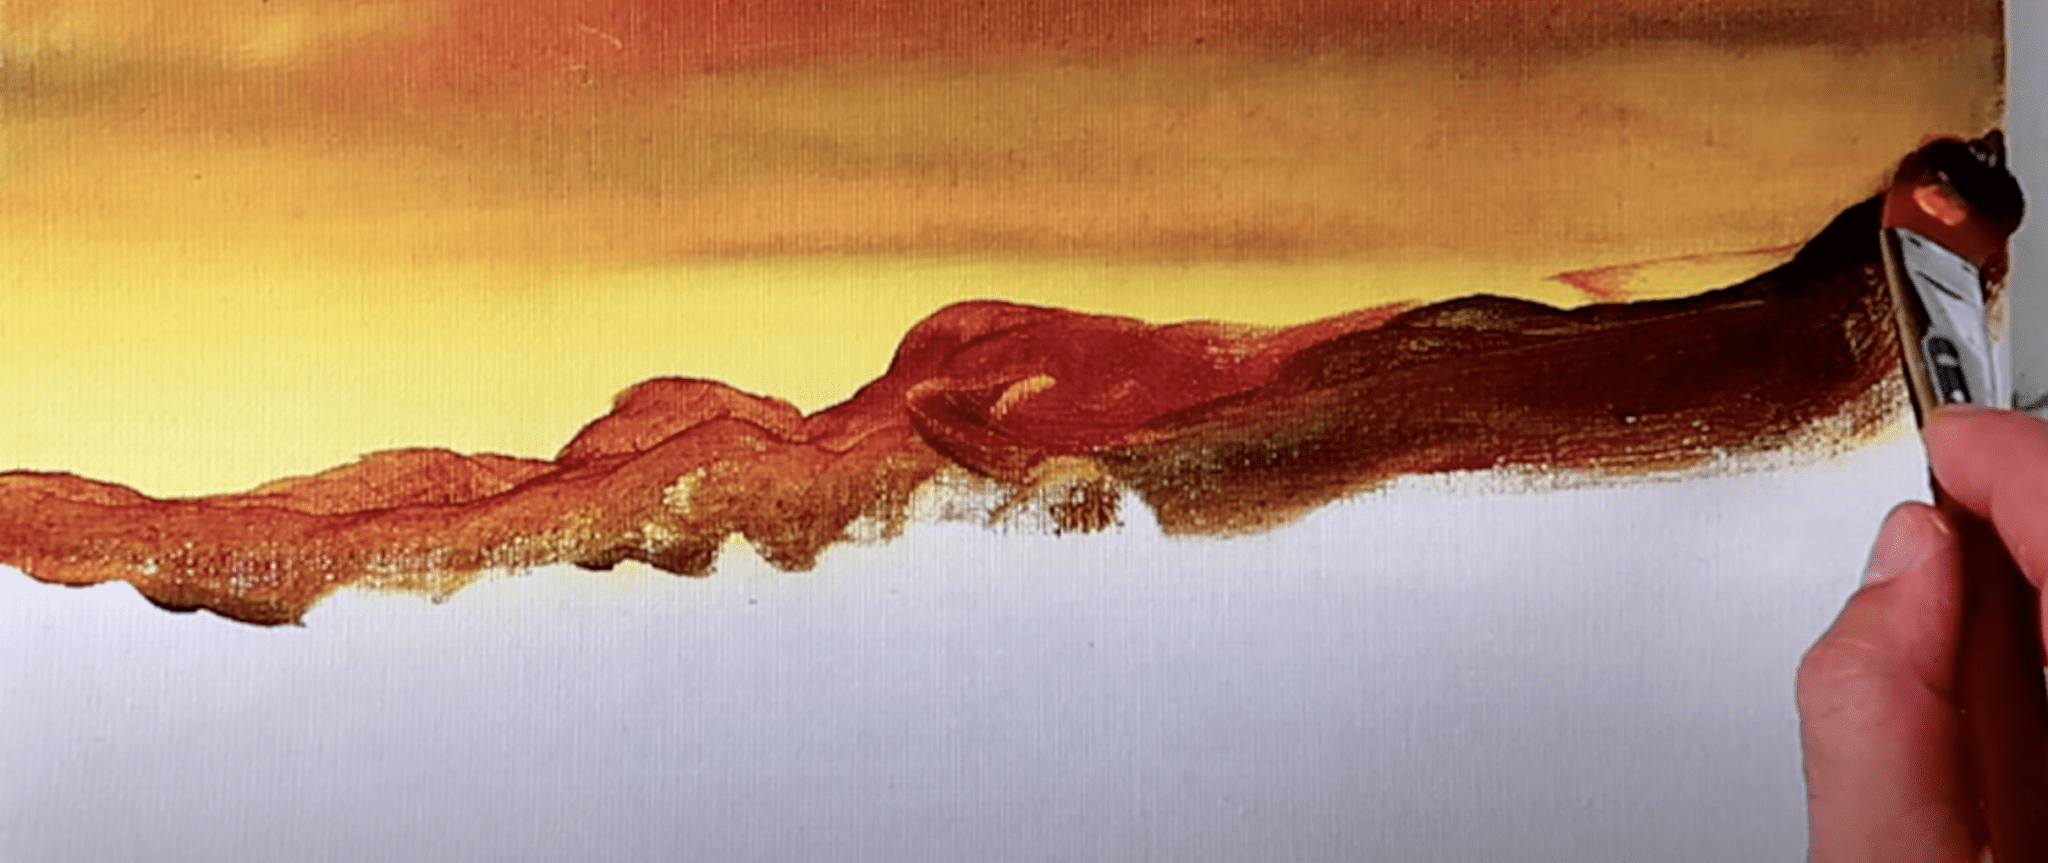
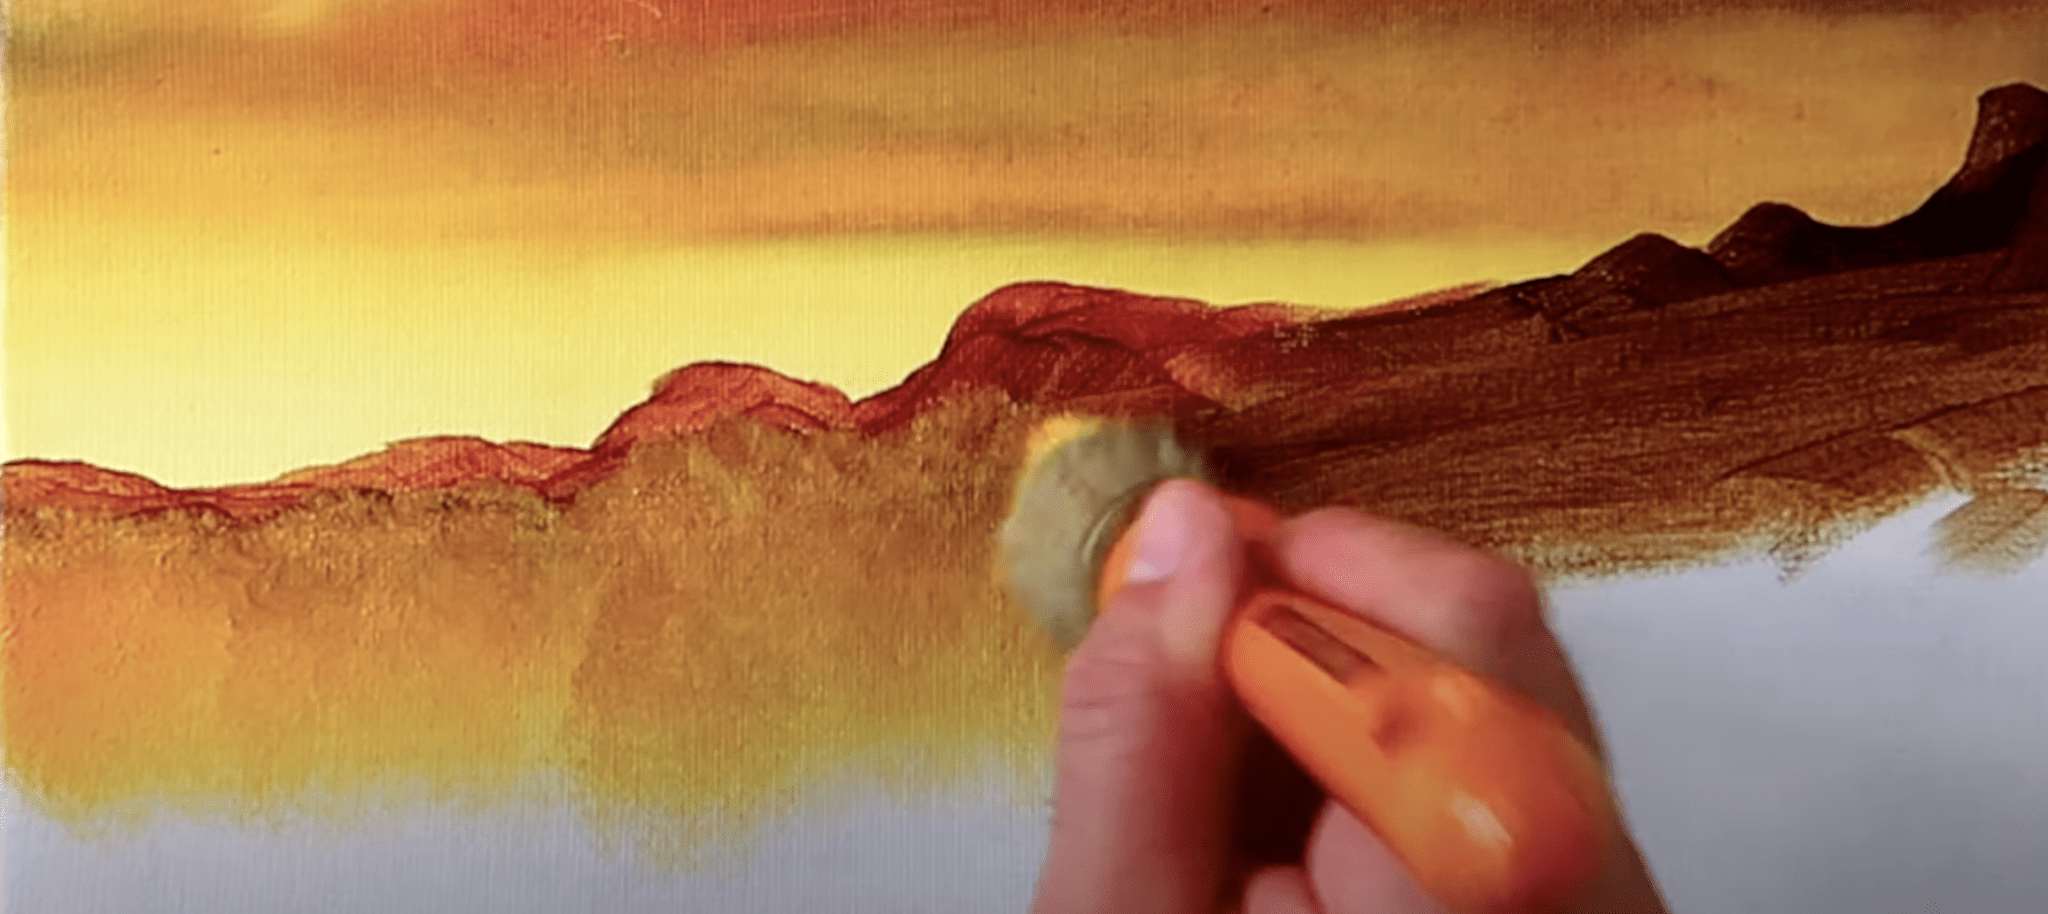
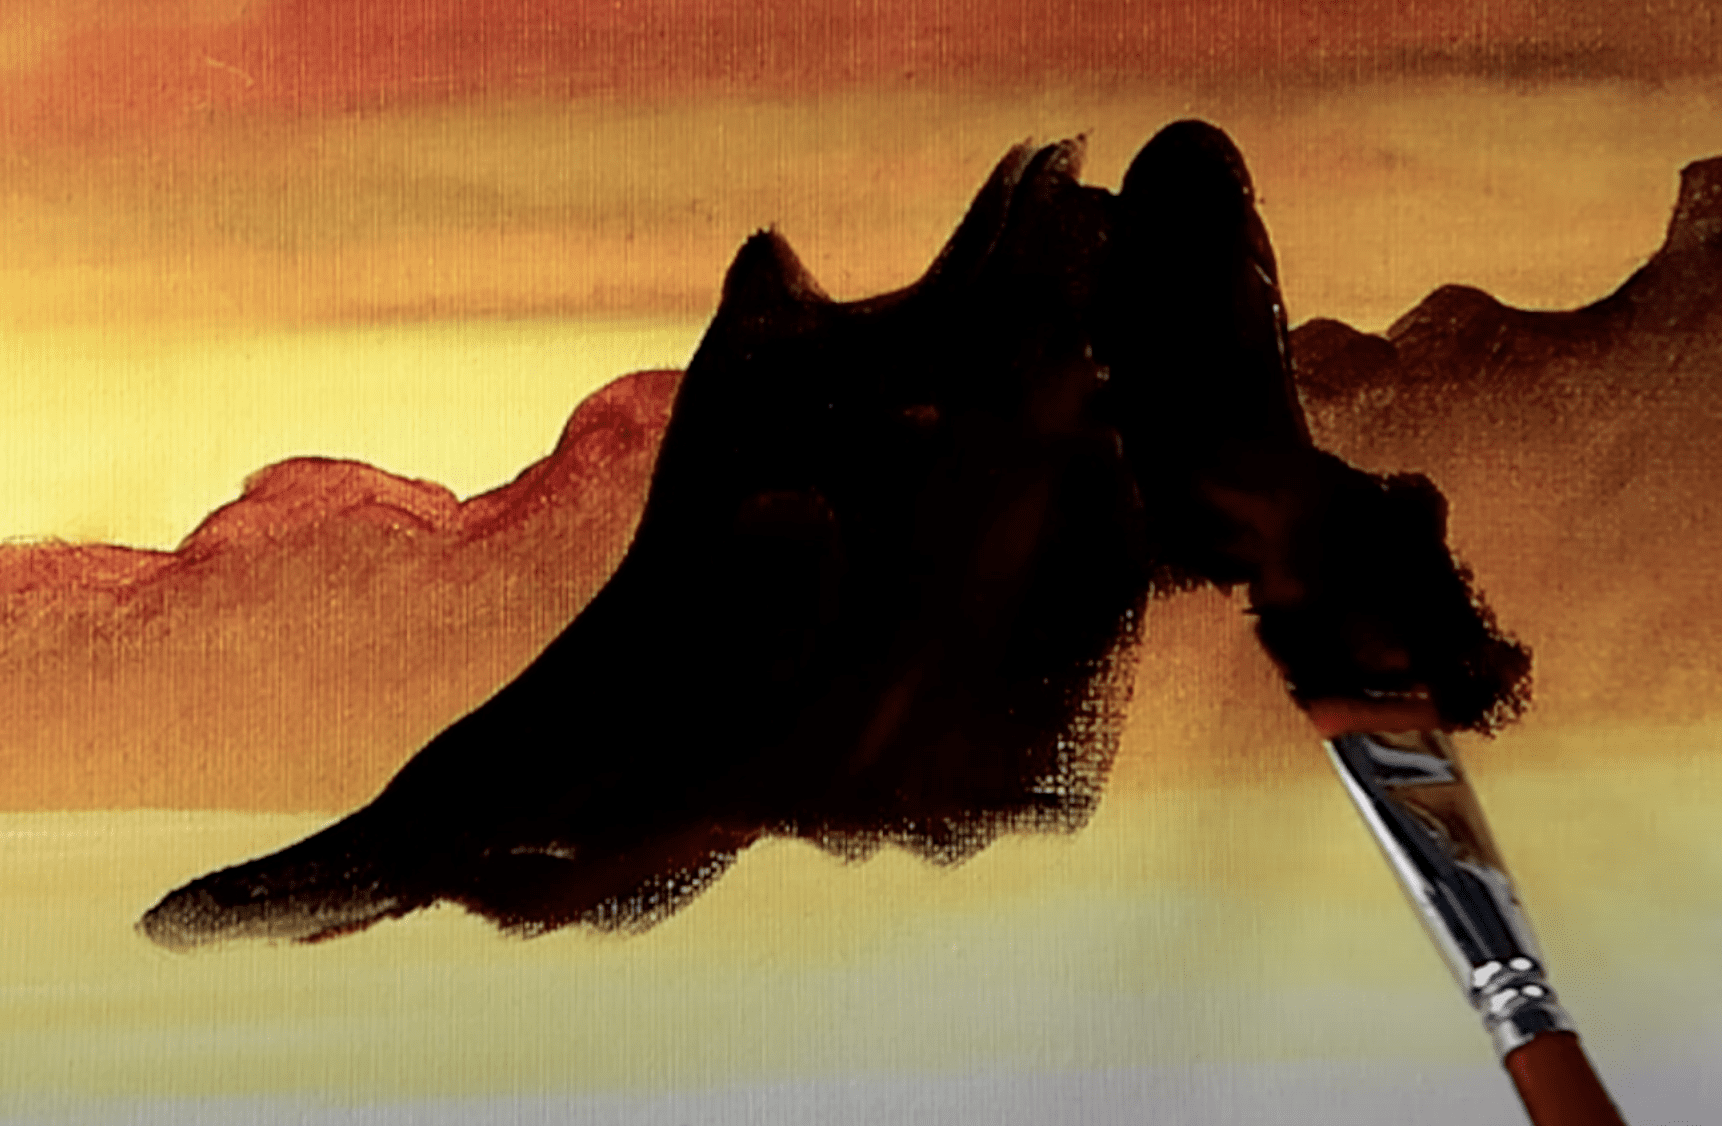
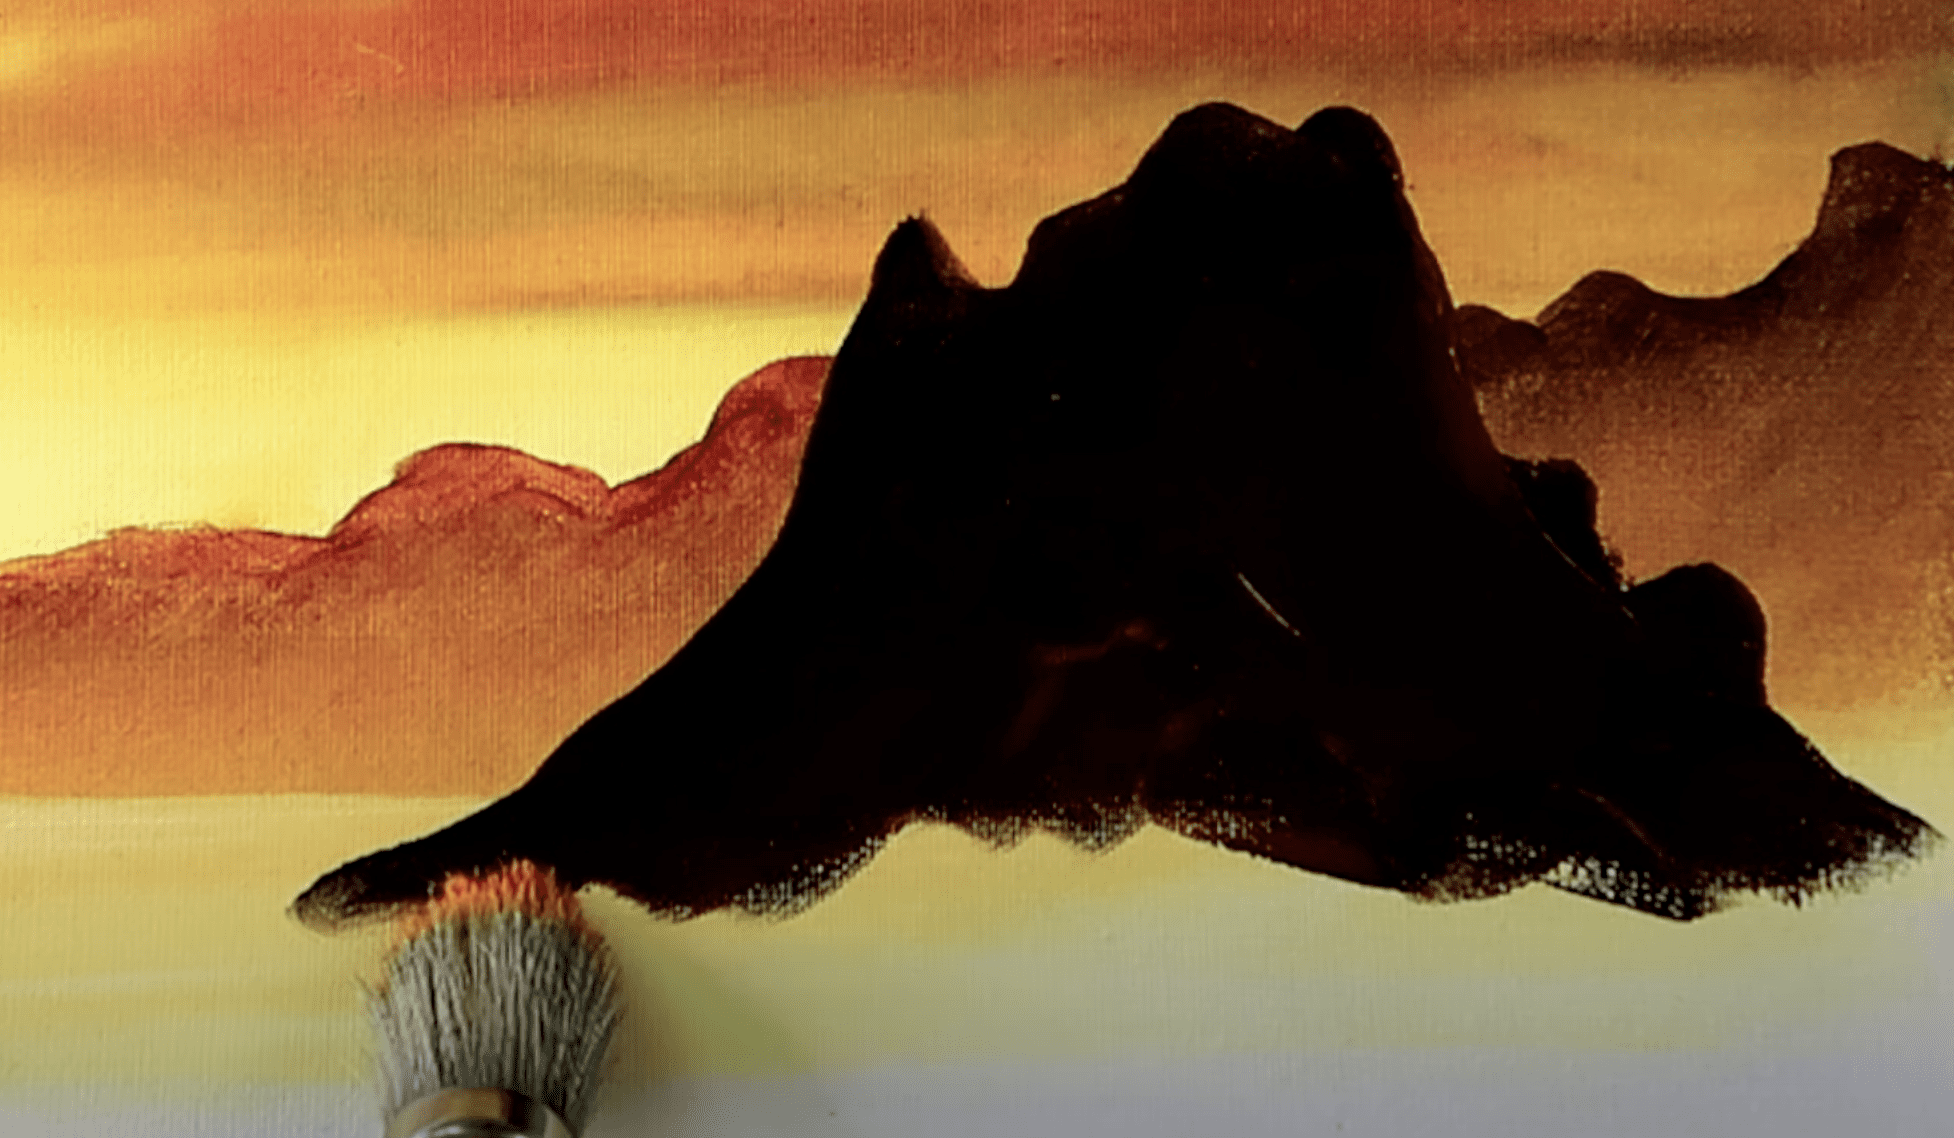
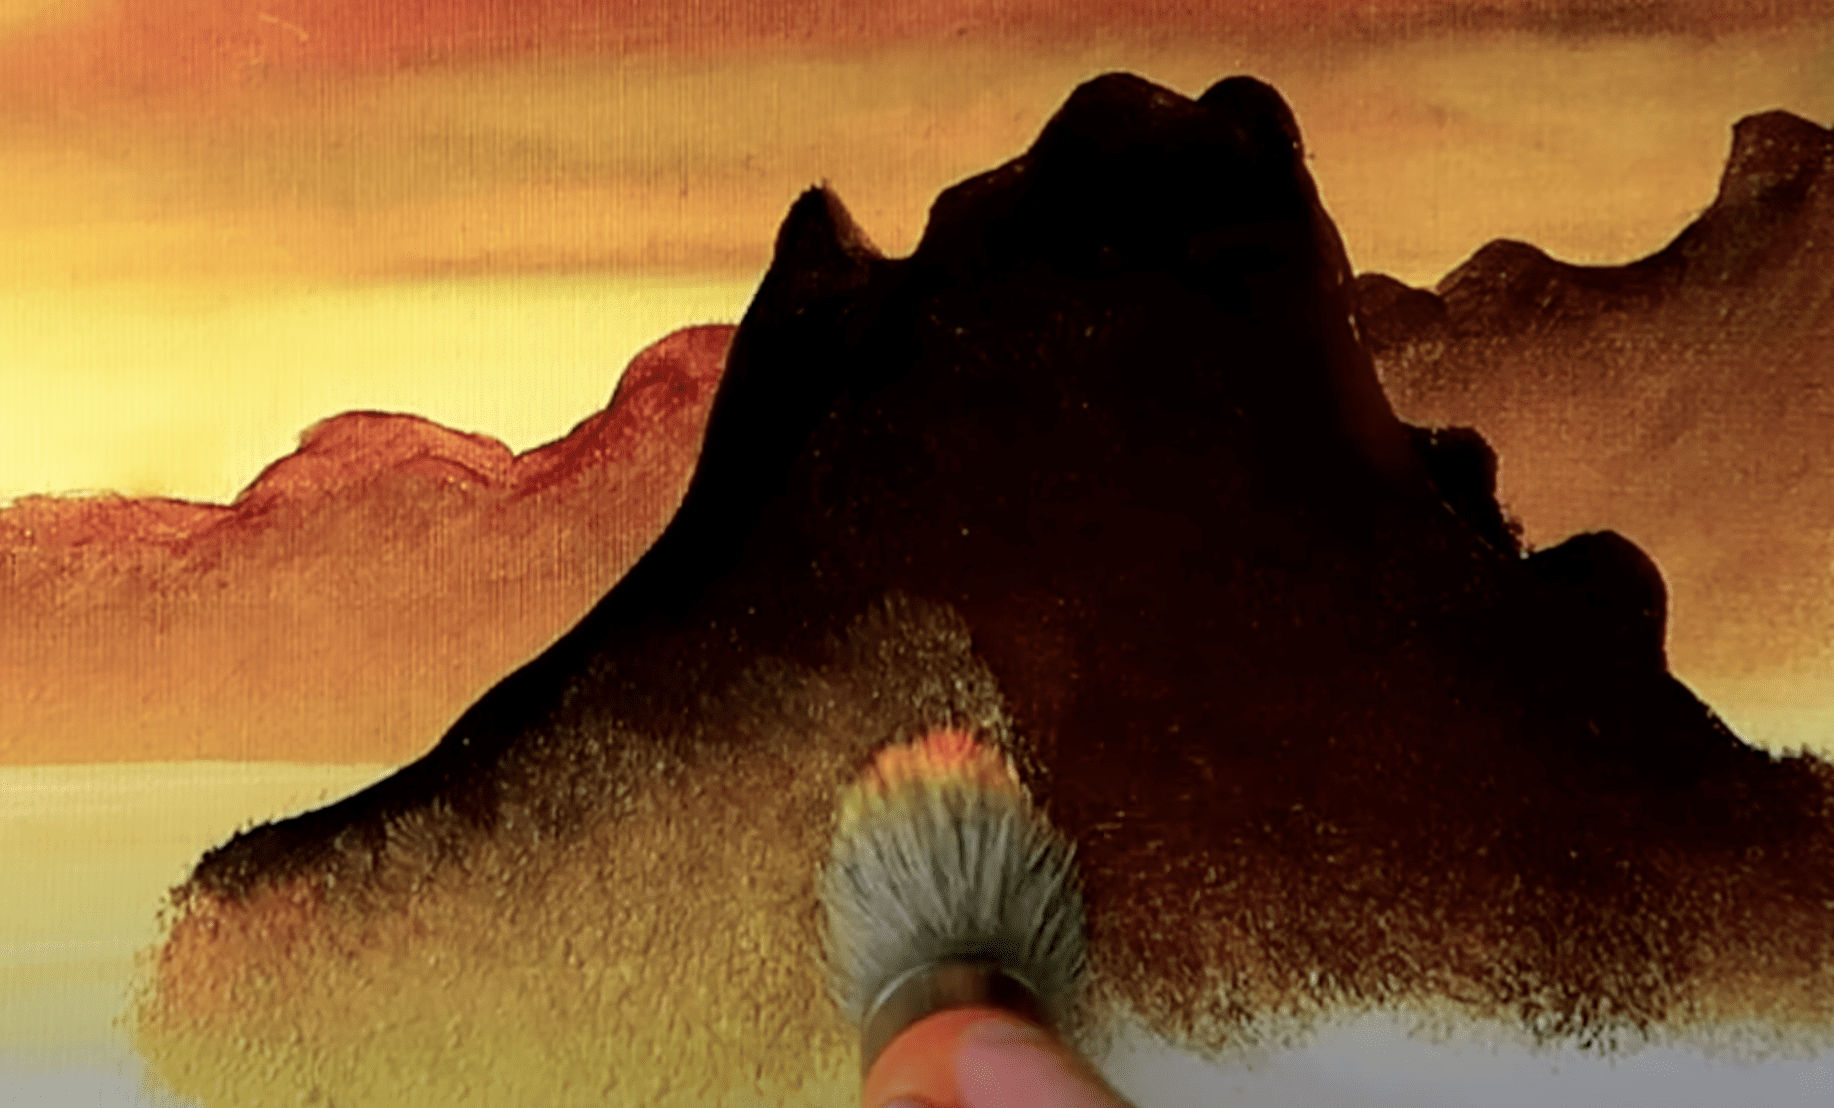
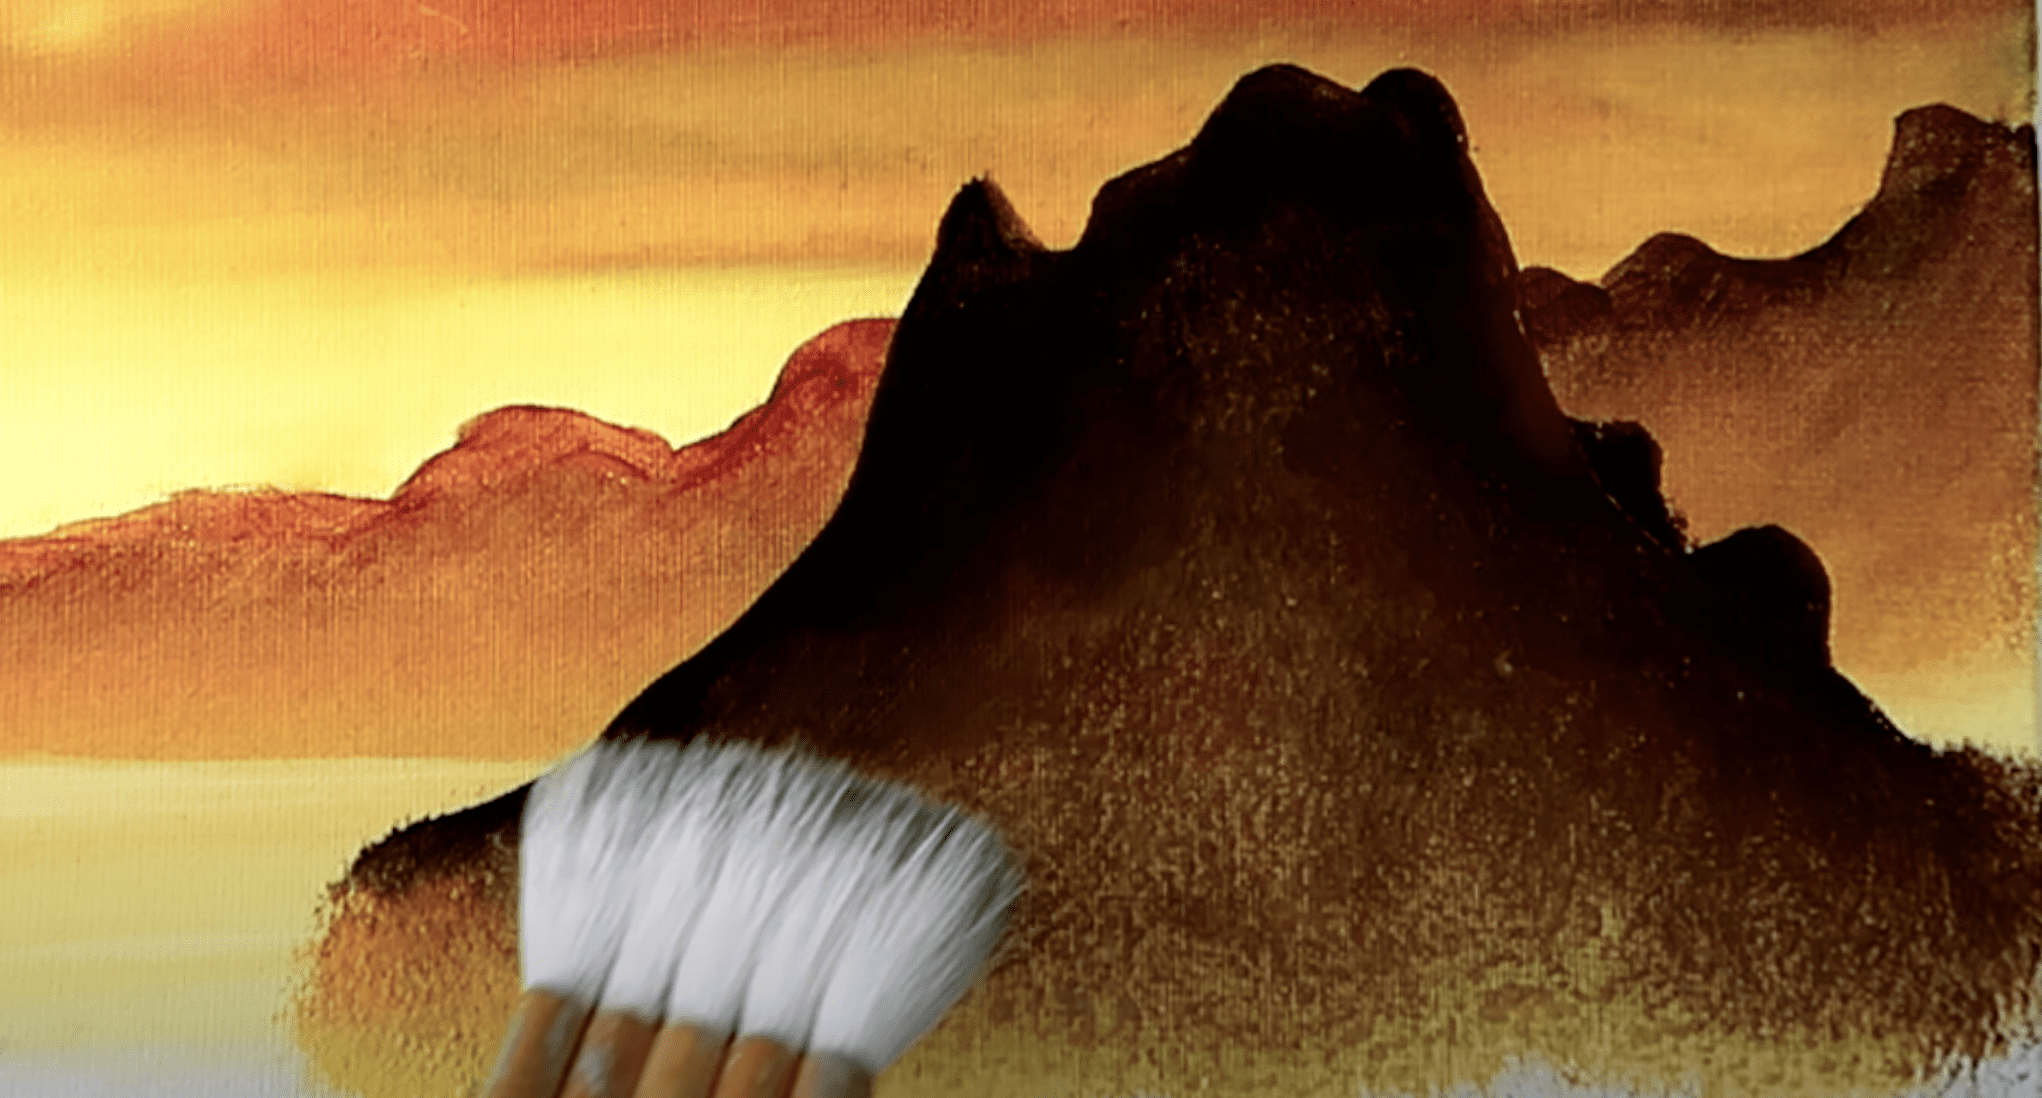
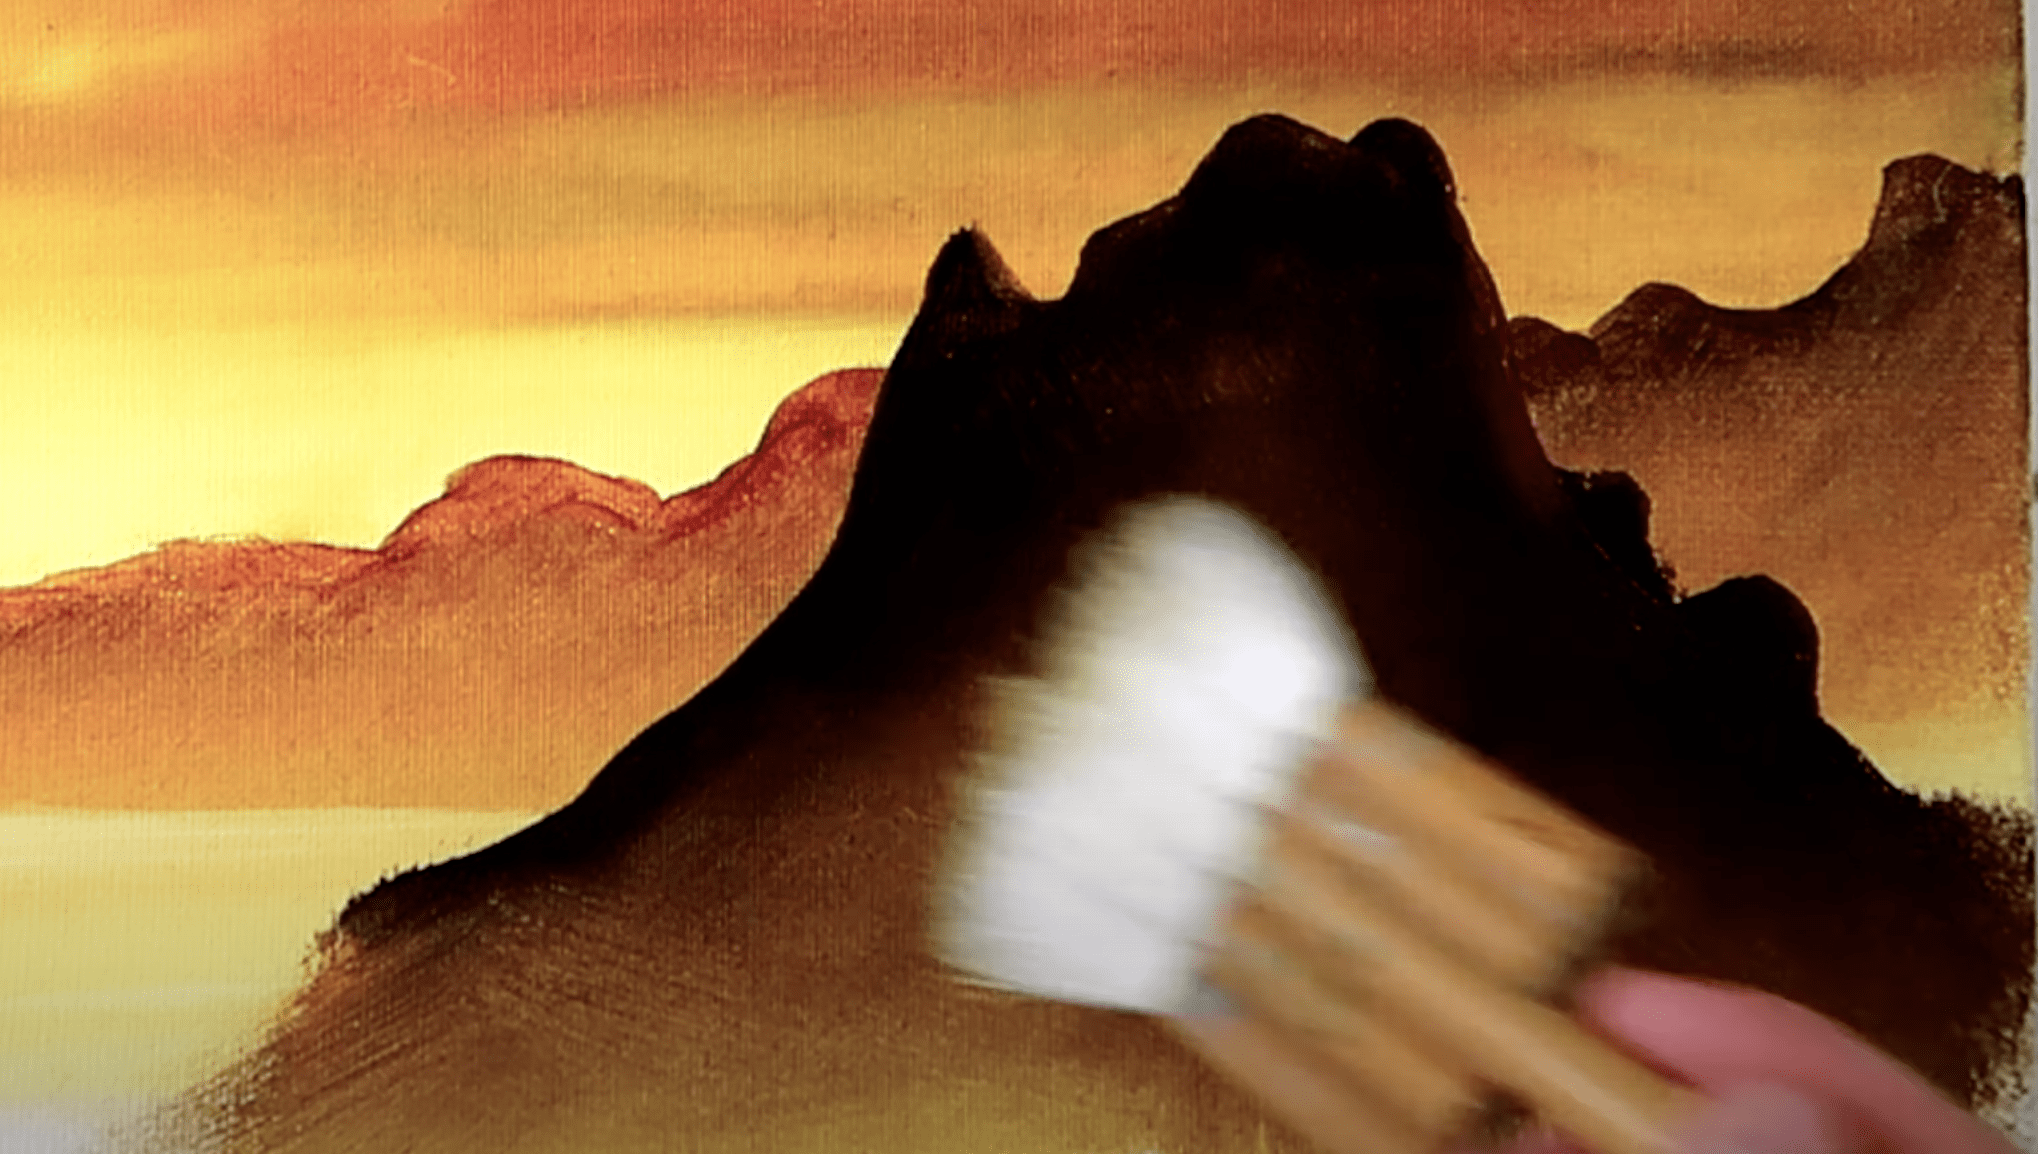
Step 2: Painting the Mountains
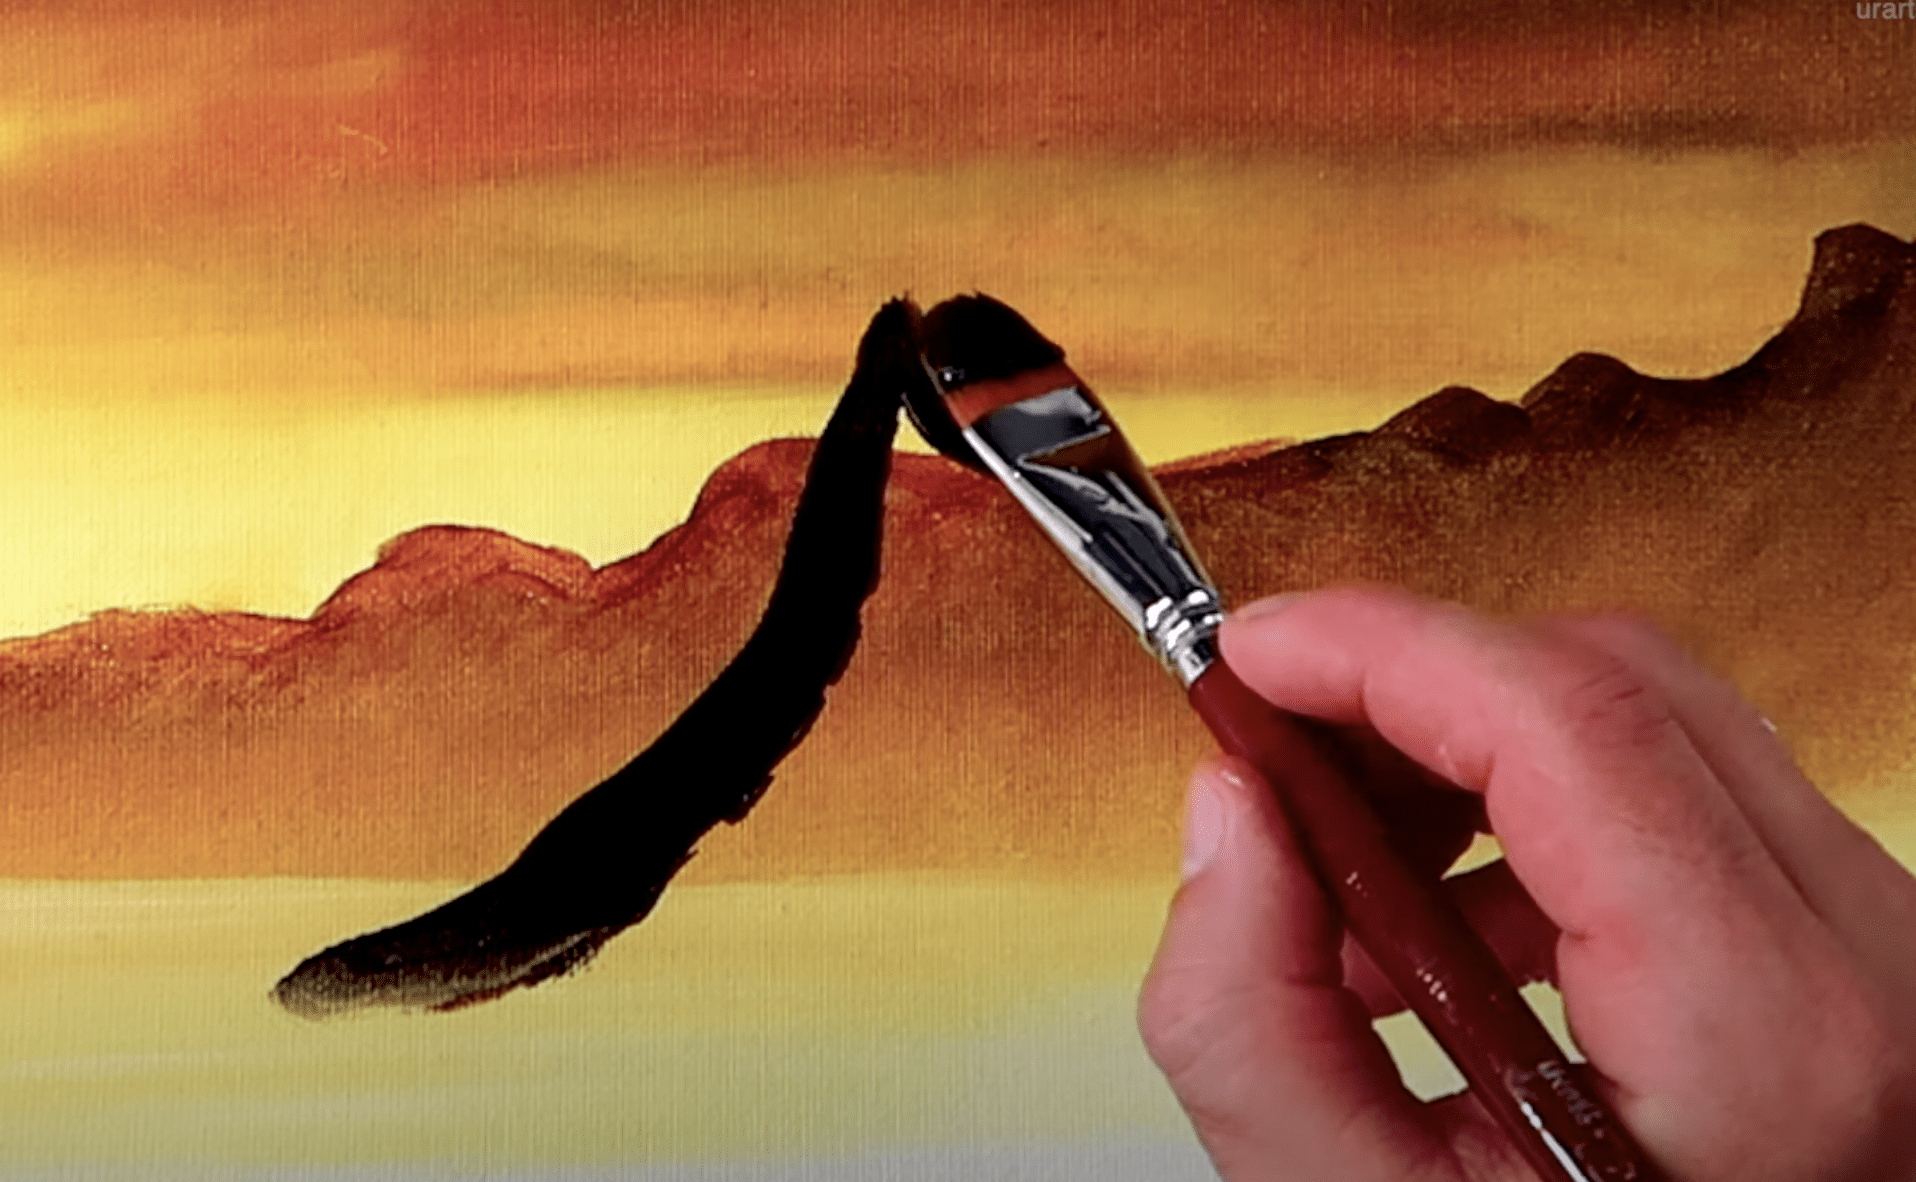
Now, let’s reach for our big Filbert brush and mix a touch of black and burnt sienna. With this combination, sketch the outlines of the distant mountain range across the canvas. Imagine those majestic peaks silhouetted against the stunning sunset behind them.
Next, load your pointed oval brush with a yellow color mix and begin to fill in the base of the mountains. Be mindful to keep the top of the mountain intact! This layering of color will add depth and warmth to our serene landscape.
Using your clean ultra-soft blending brush, gently blend the colors to create a soft, misty effect on the mountains. This technique will give them an ethereal quality, allowing them to recede into the background like distant memories.
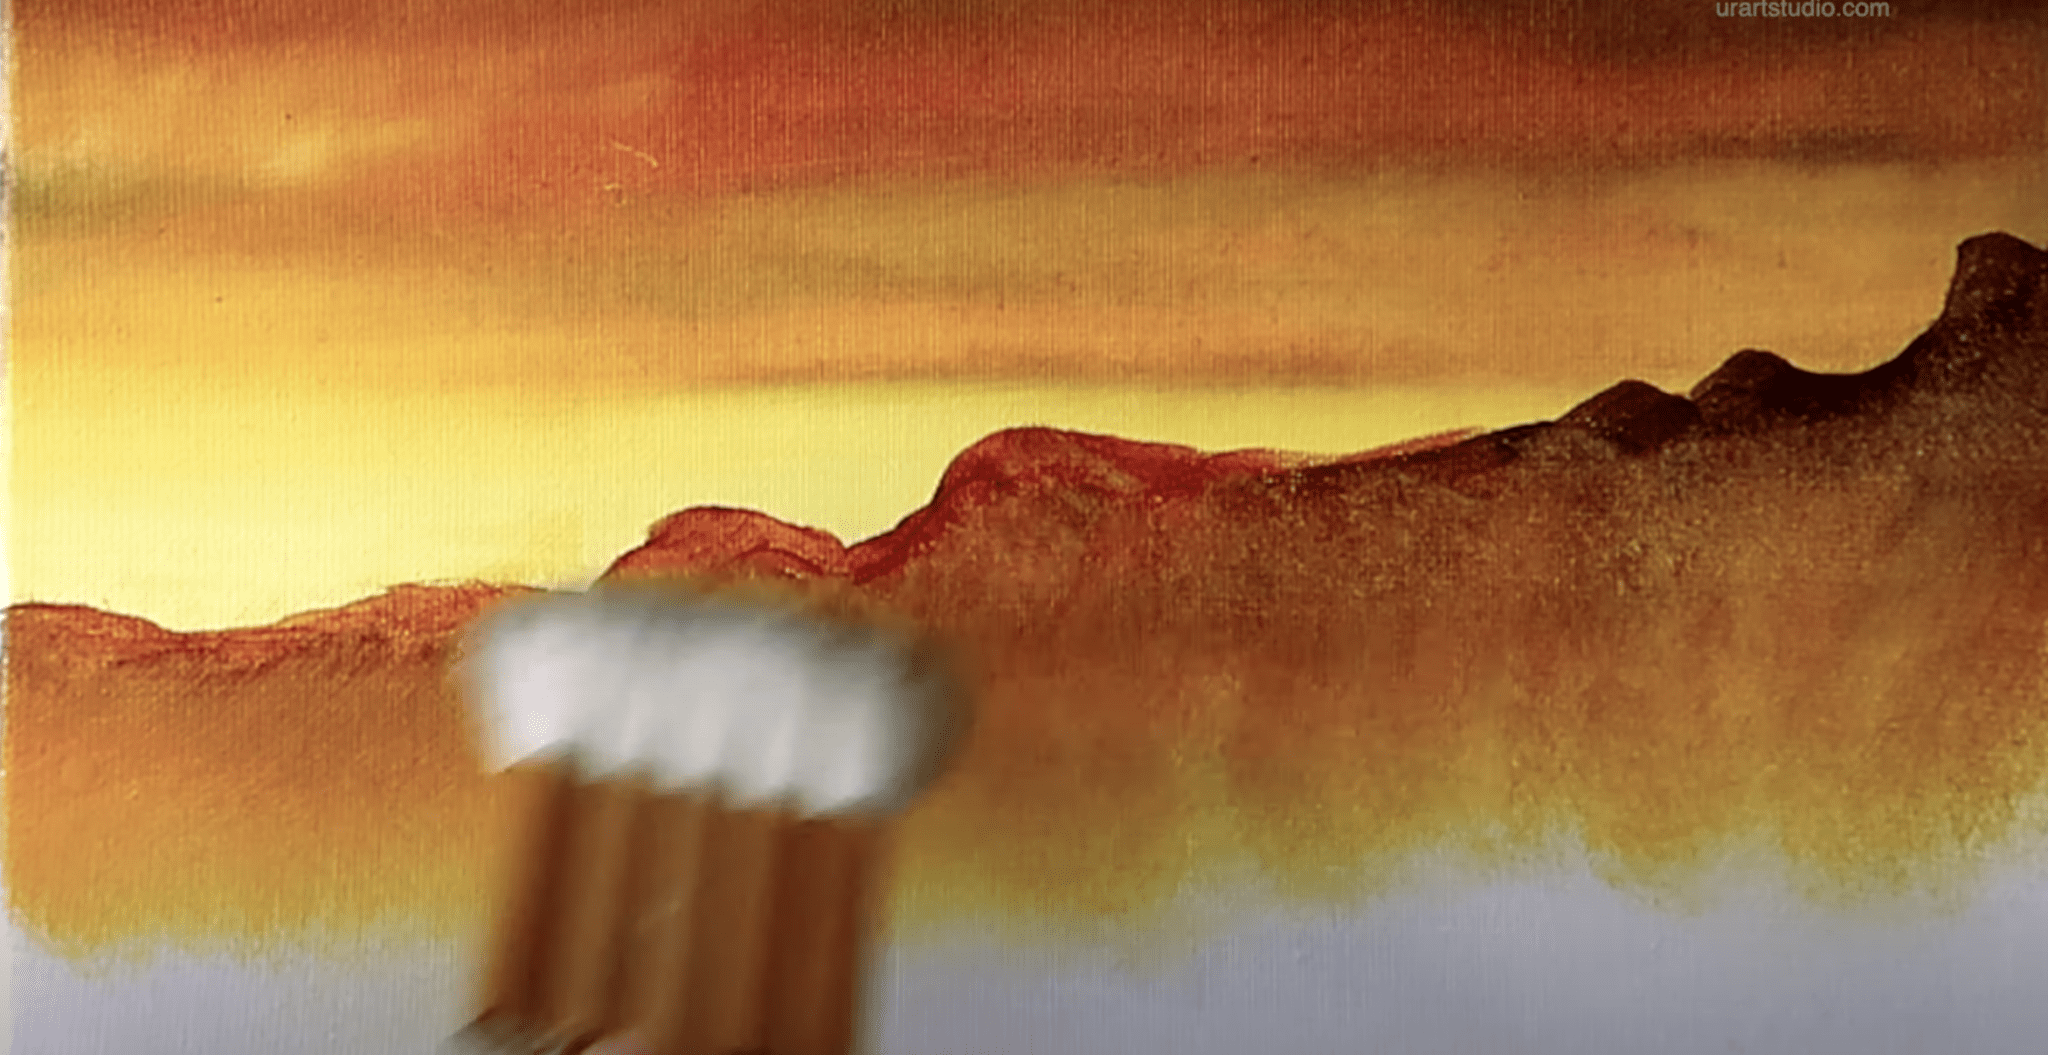
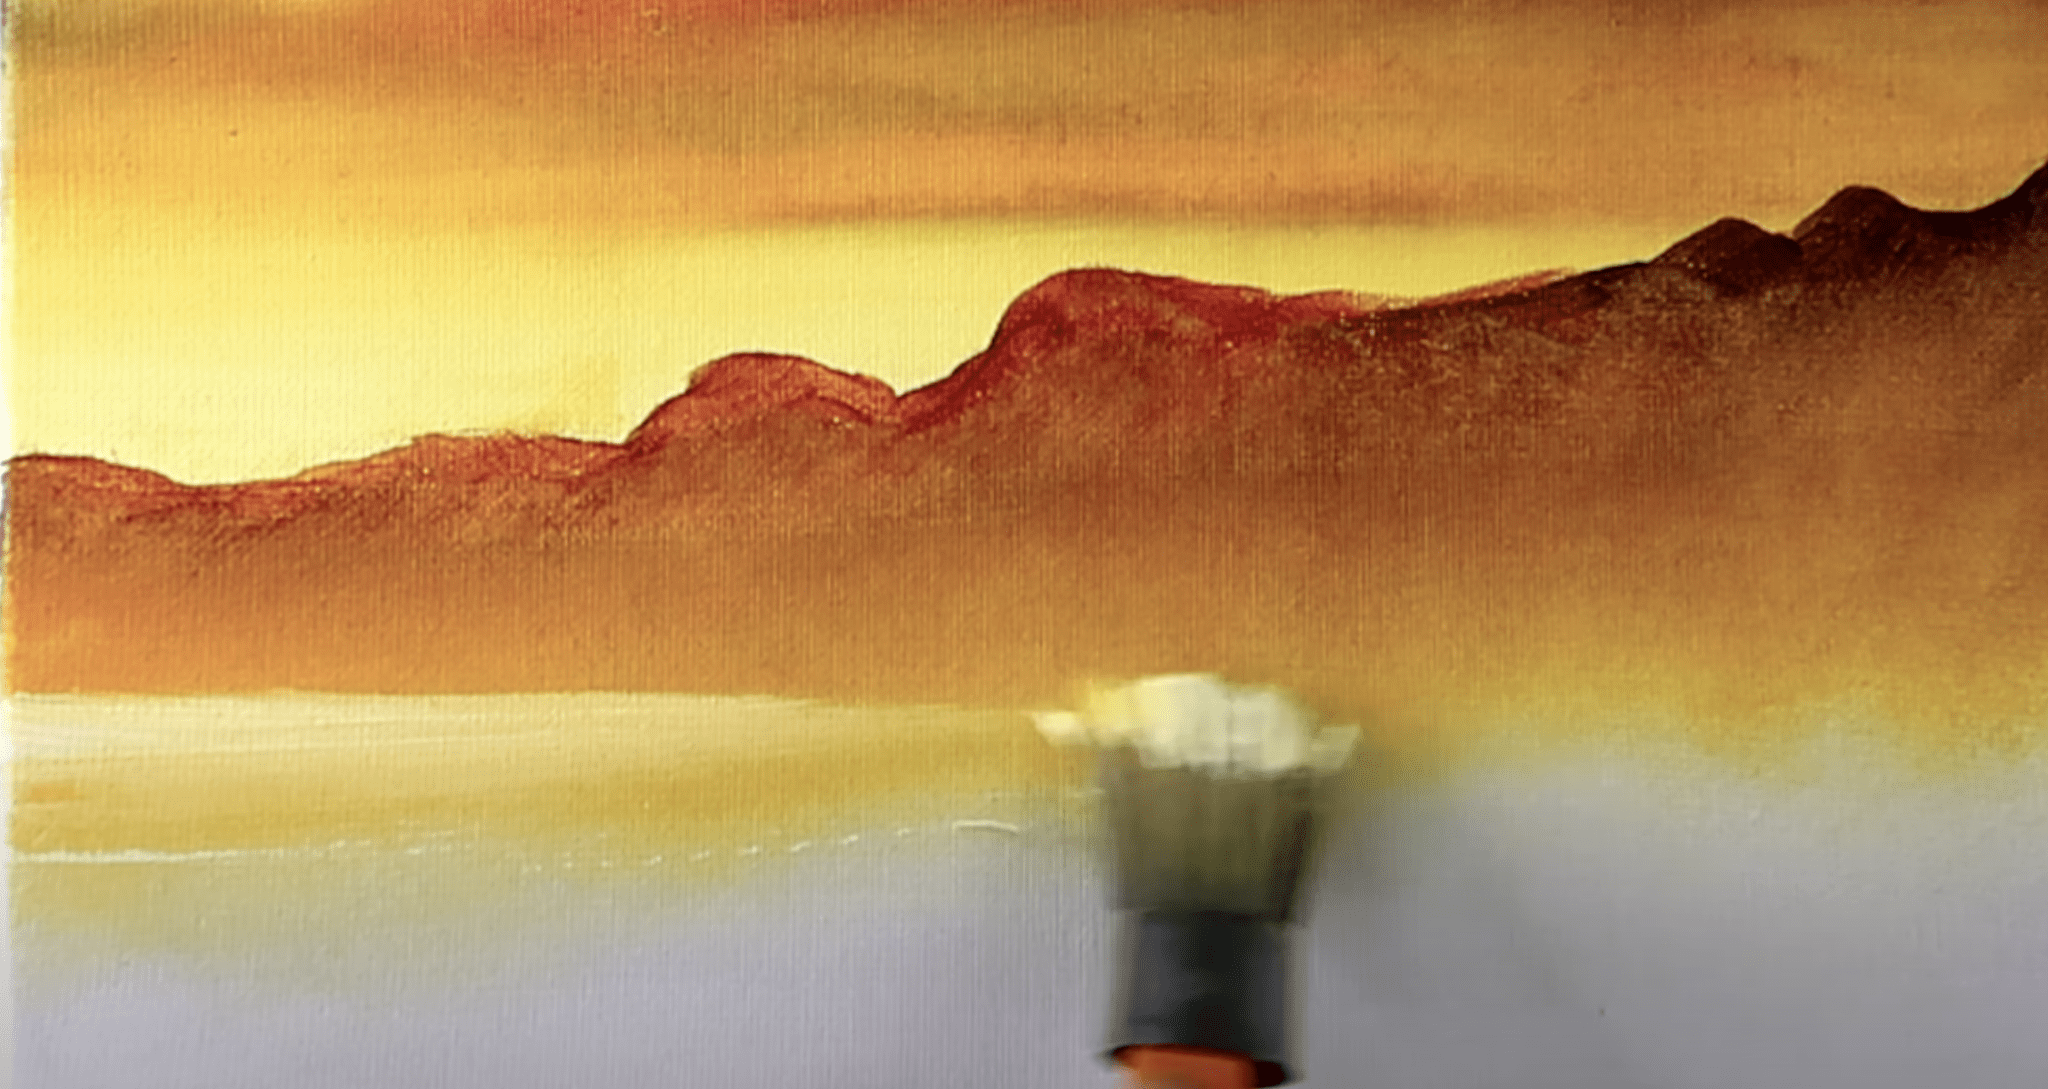
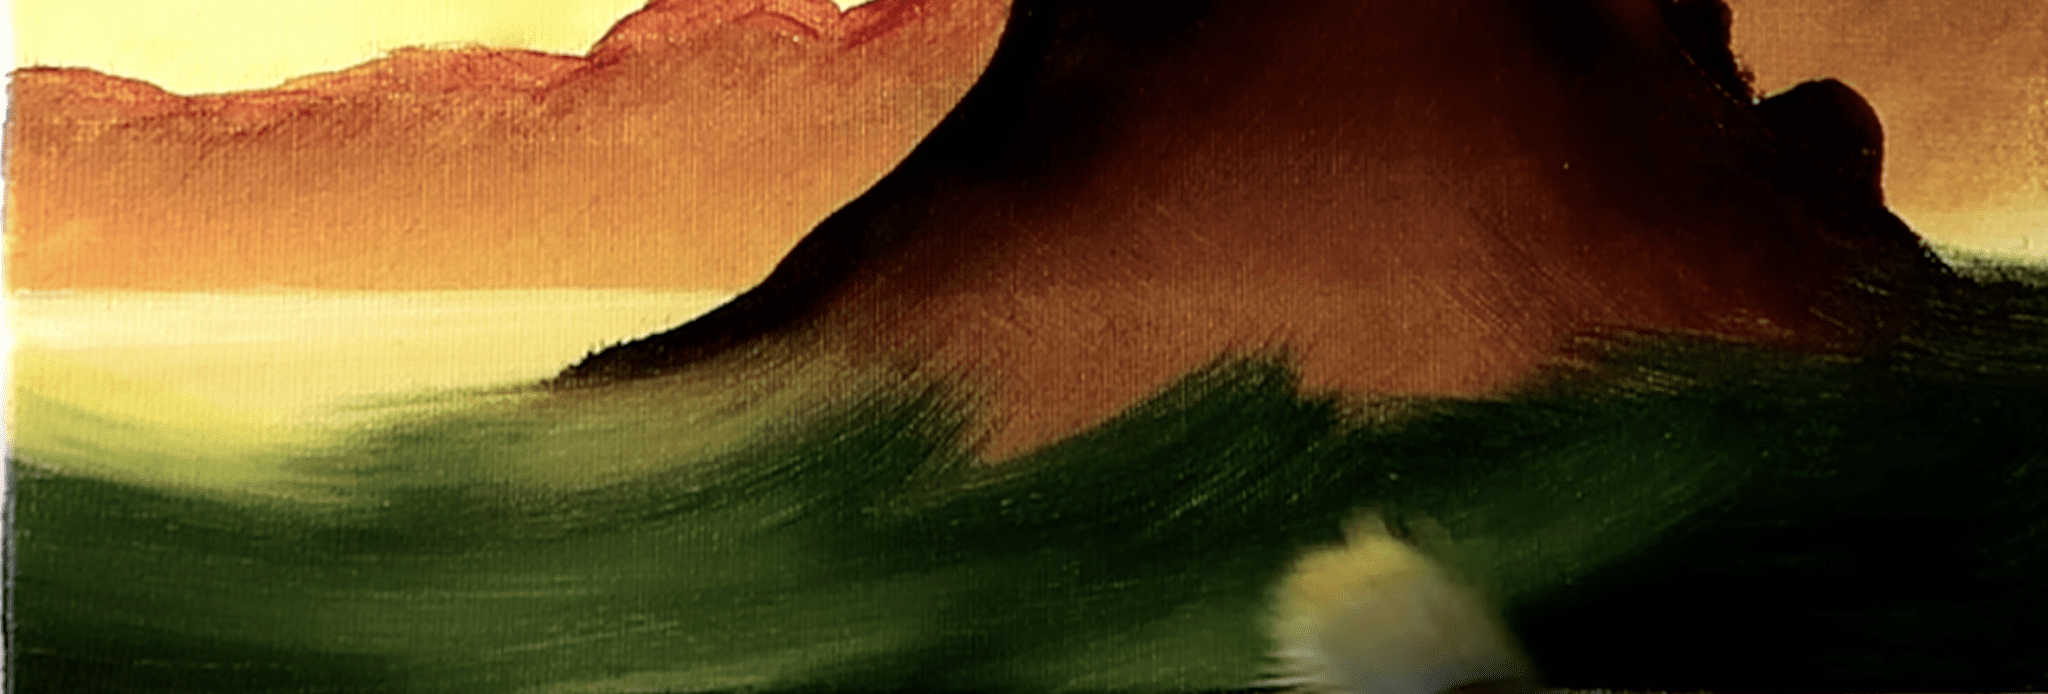
Step 3: The Ocean Awaits
We’re now ready to paint the ocean just below our mountain range. Take a clean oval brush and a mix of white and yellow. Sweep this mixture across the canvas at the foot of the mountains, letting it flow naturally like the waves lapping at the shore.
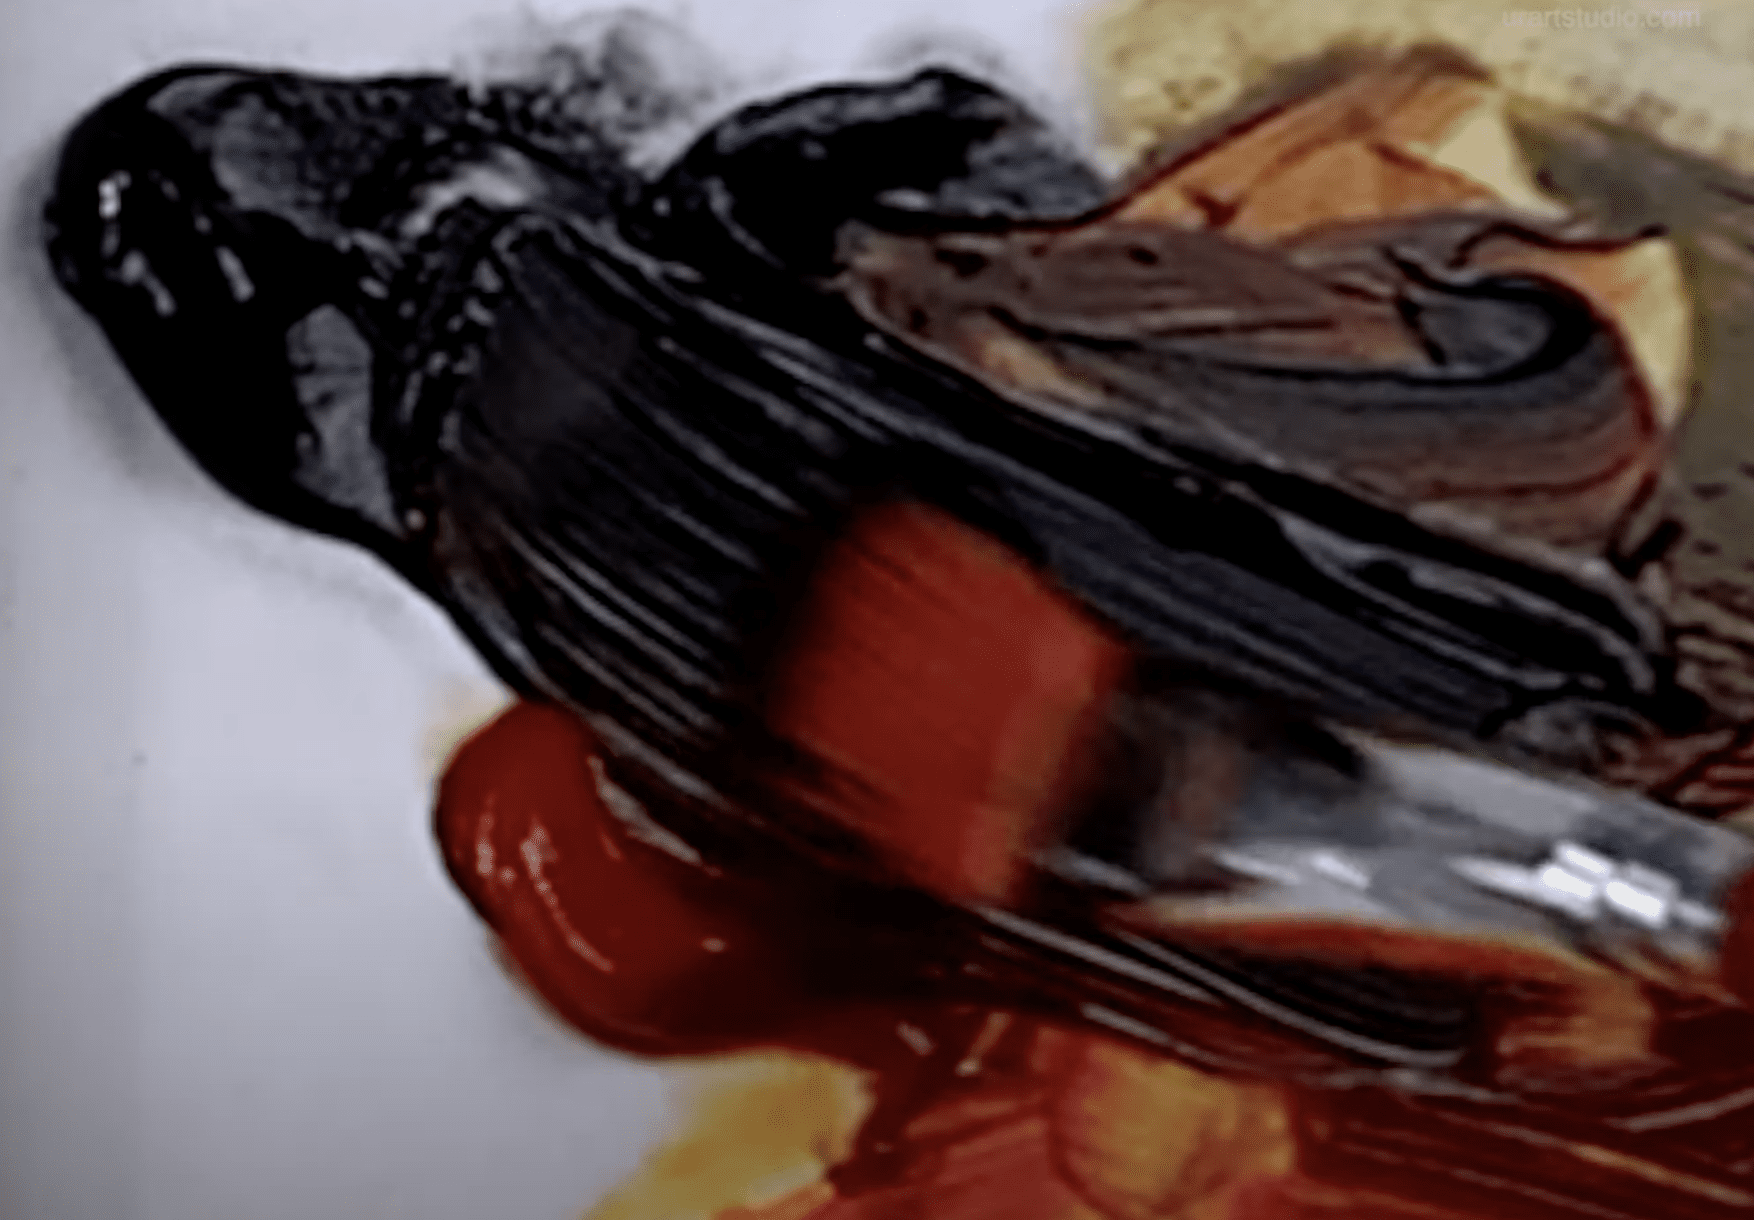
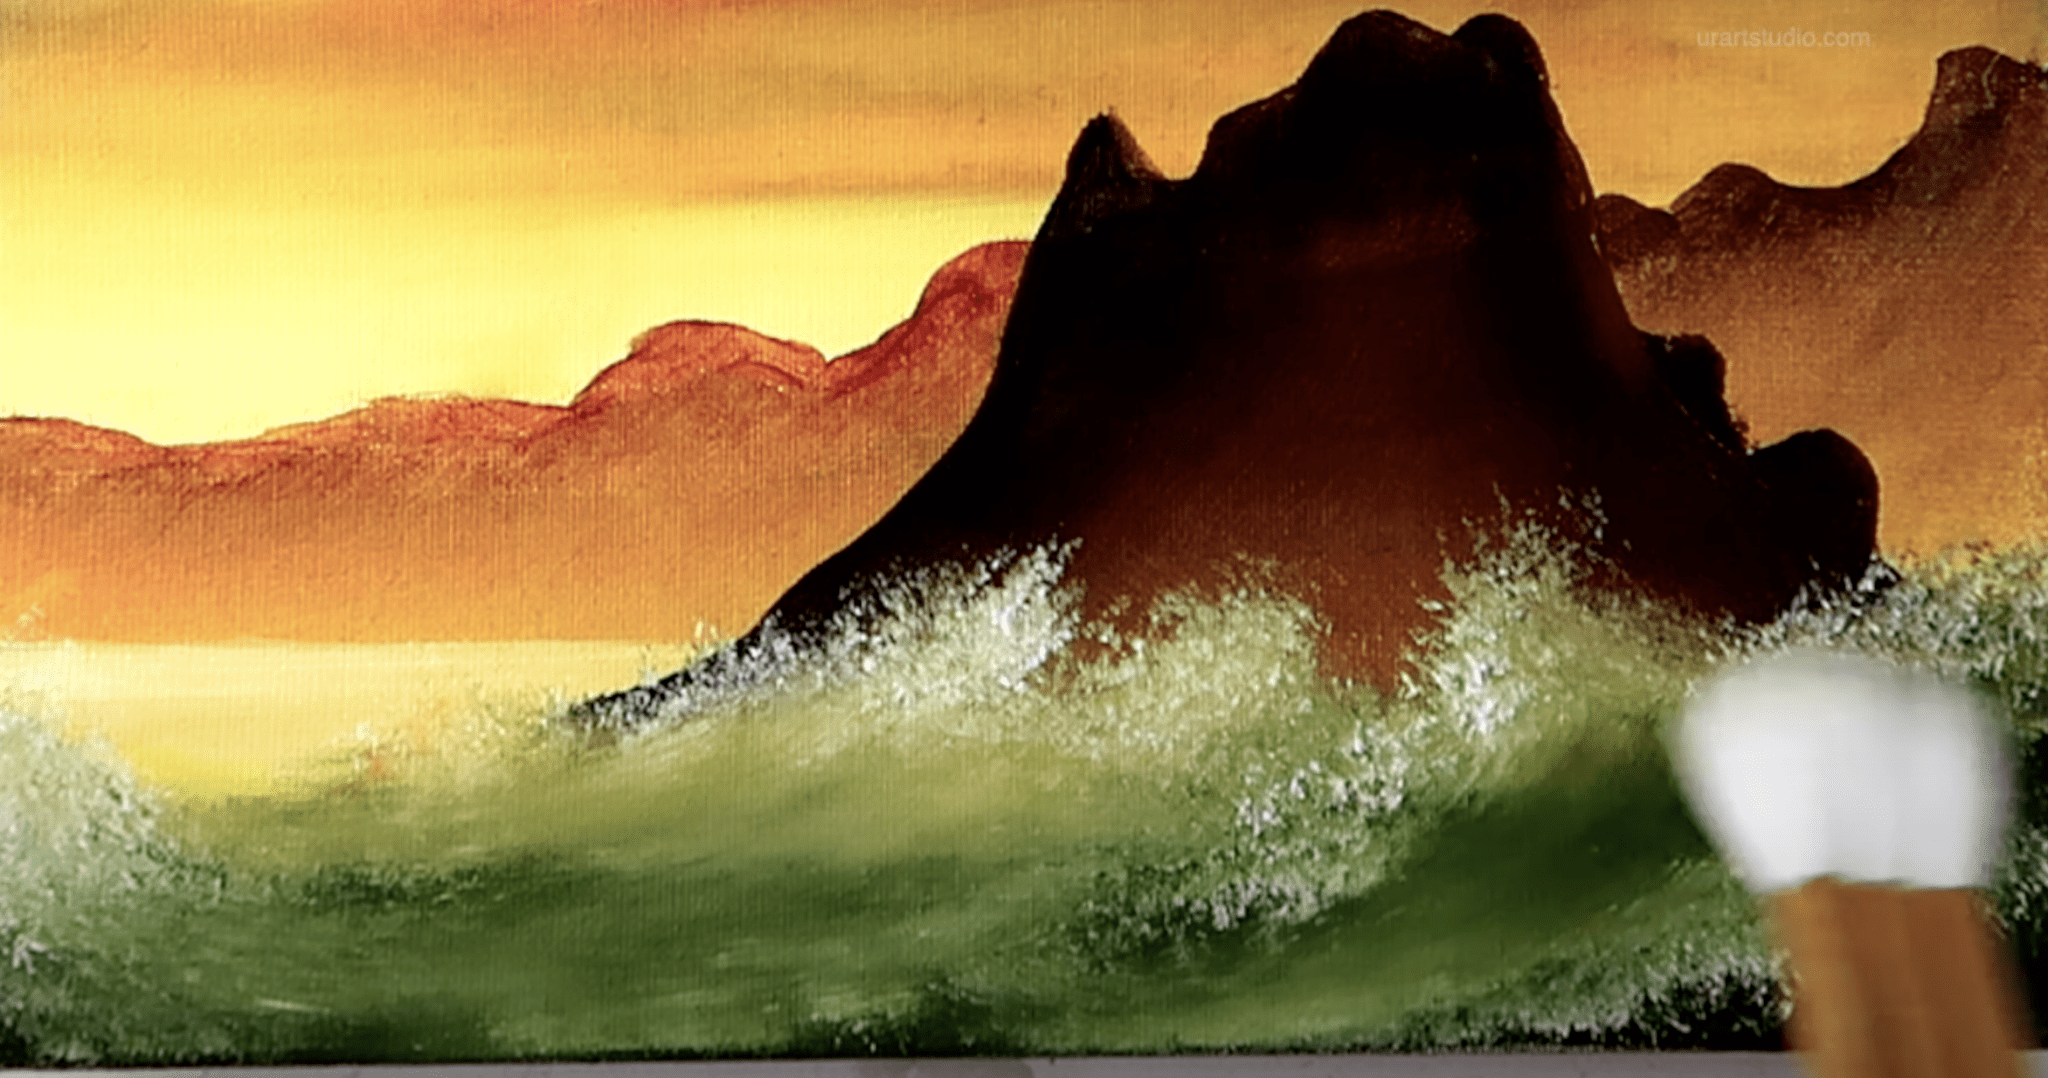
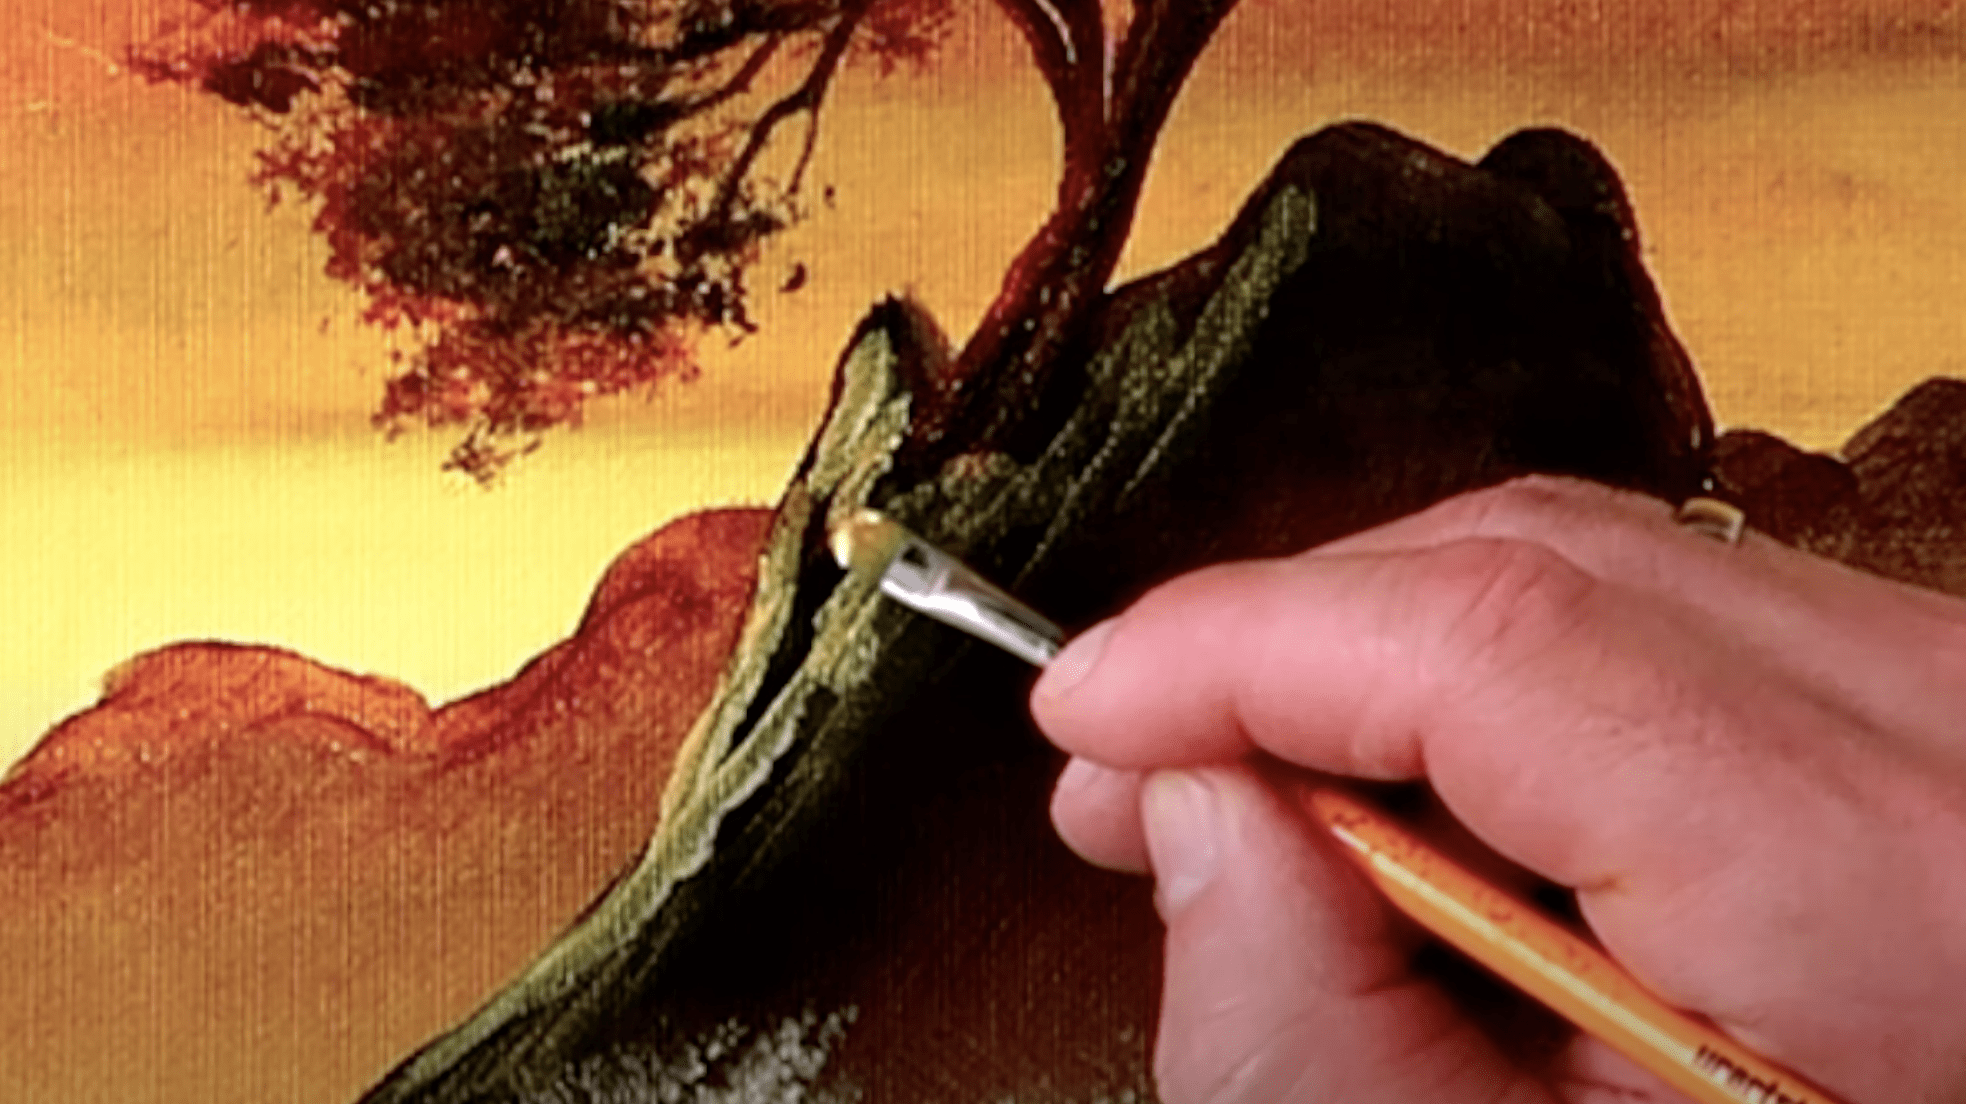
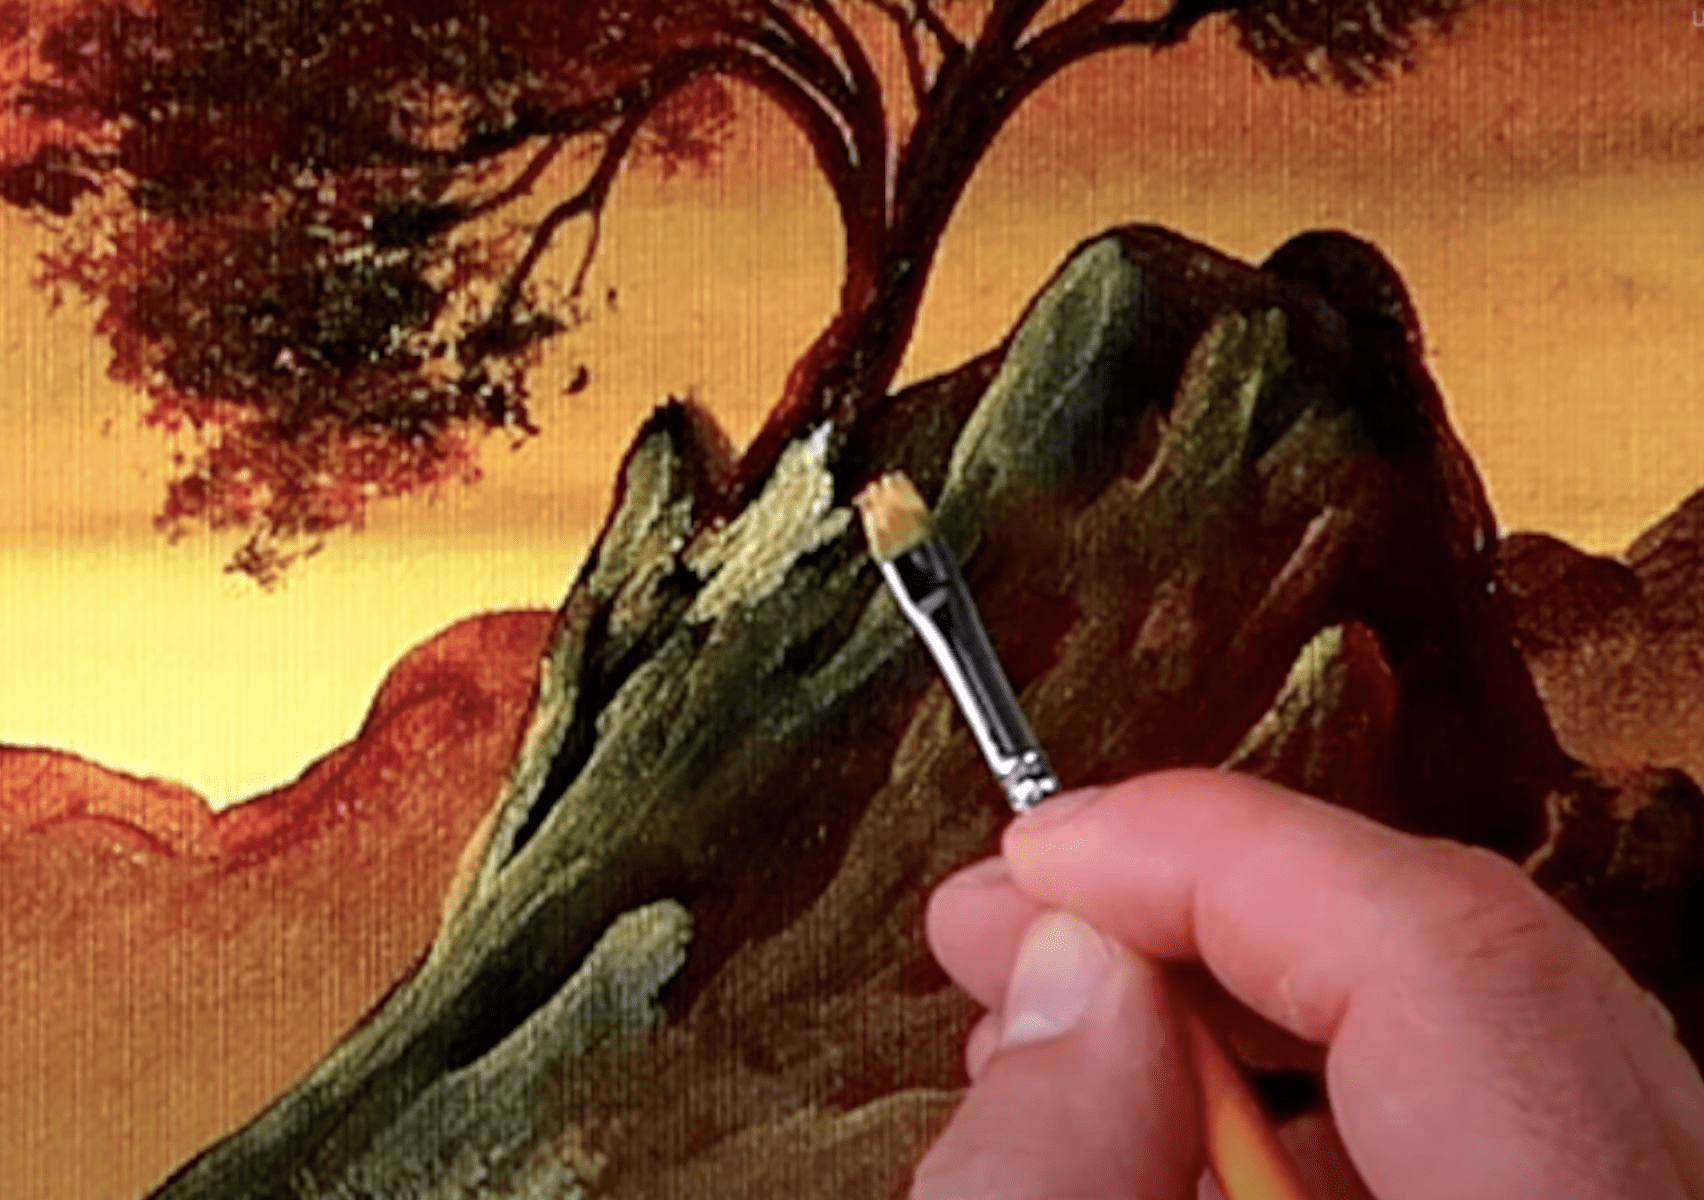
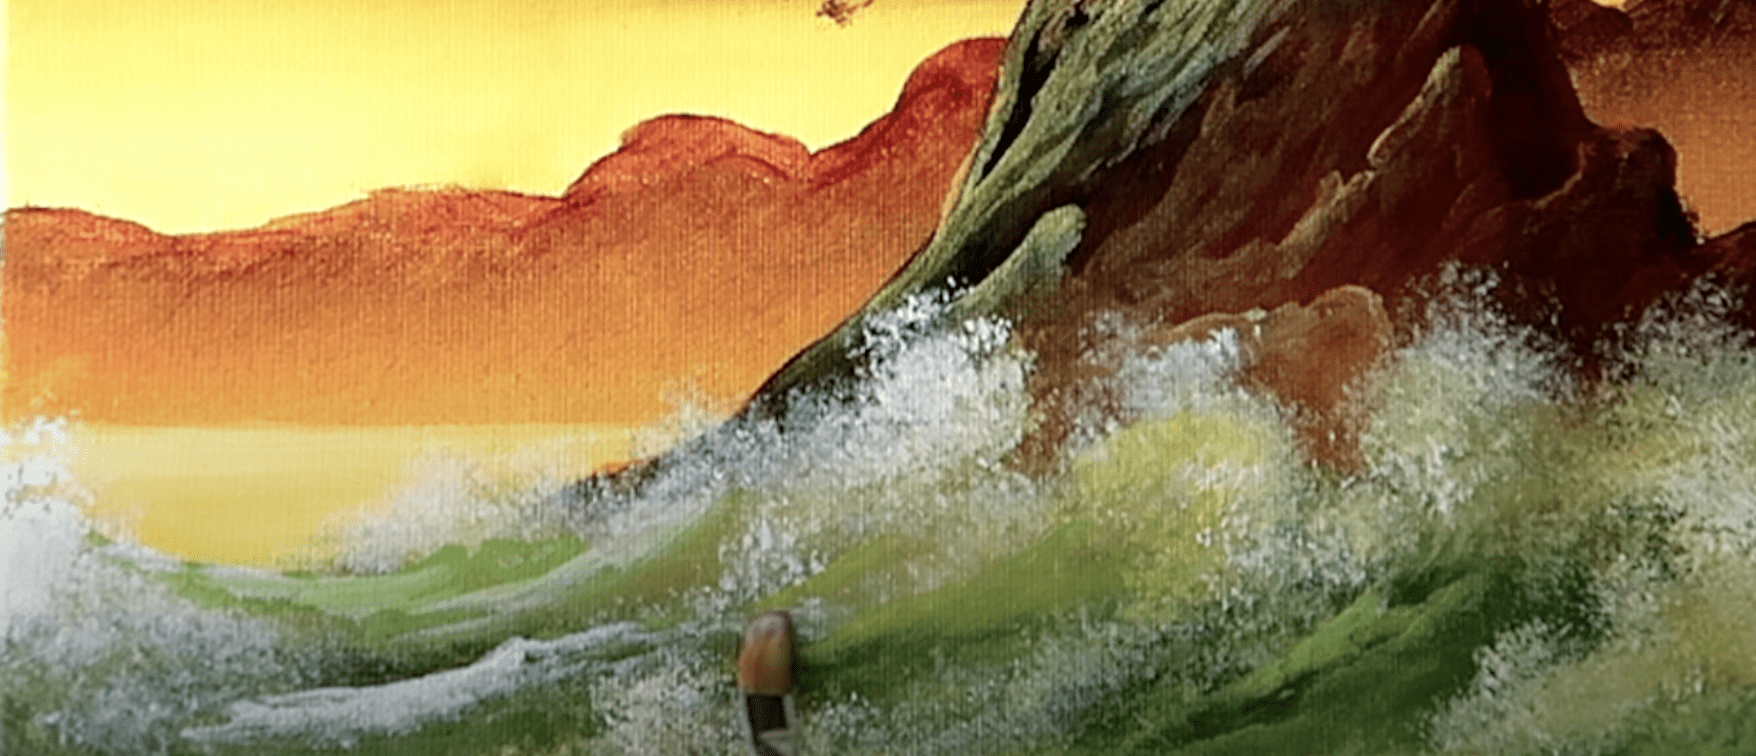
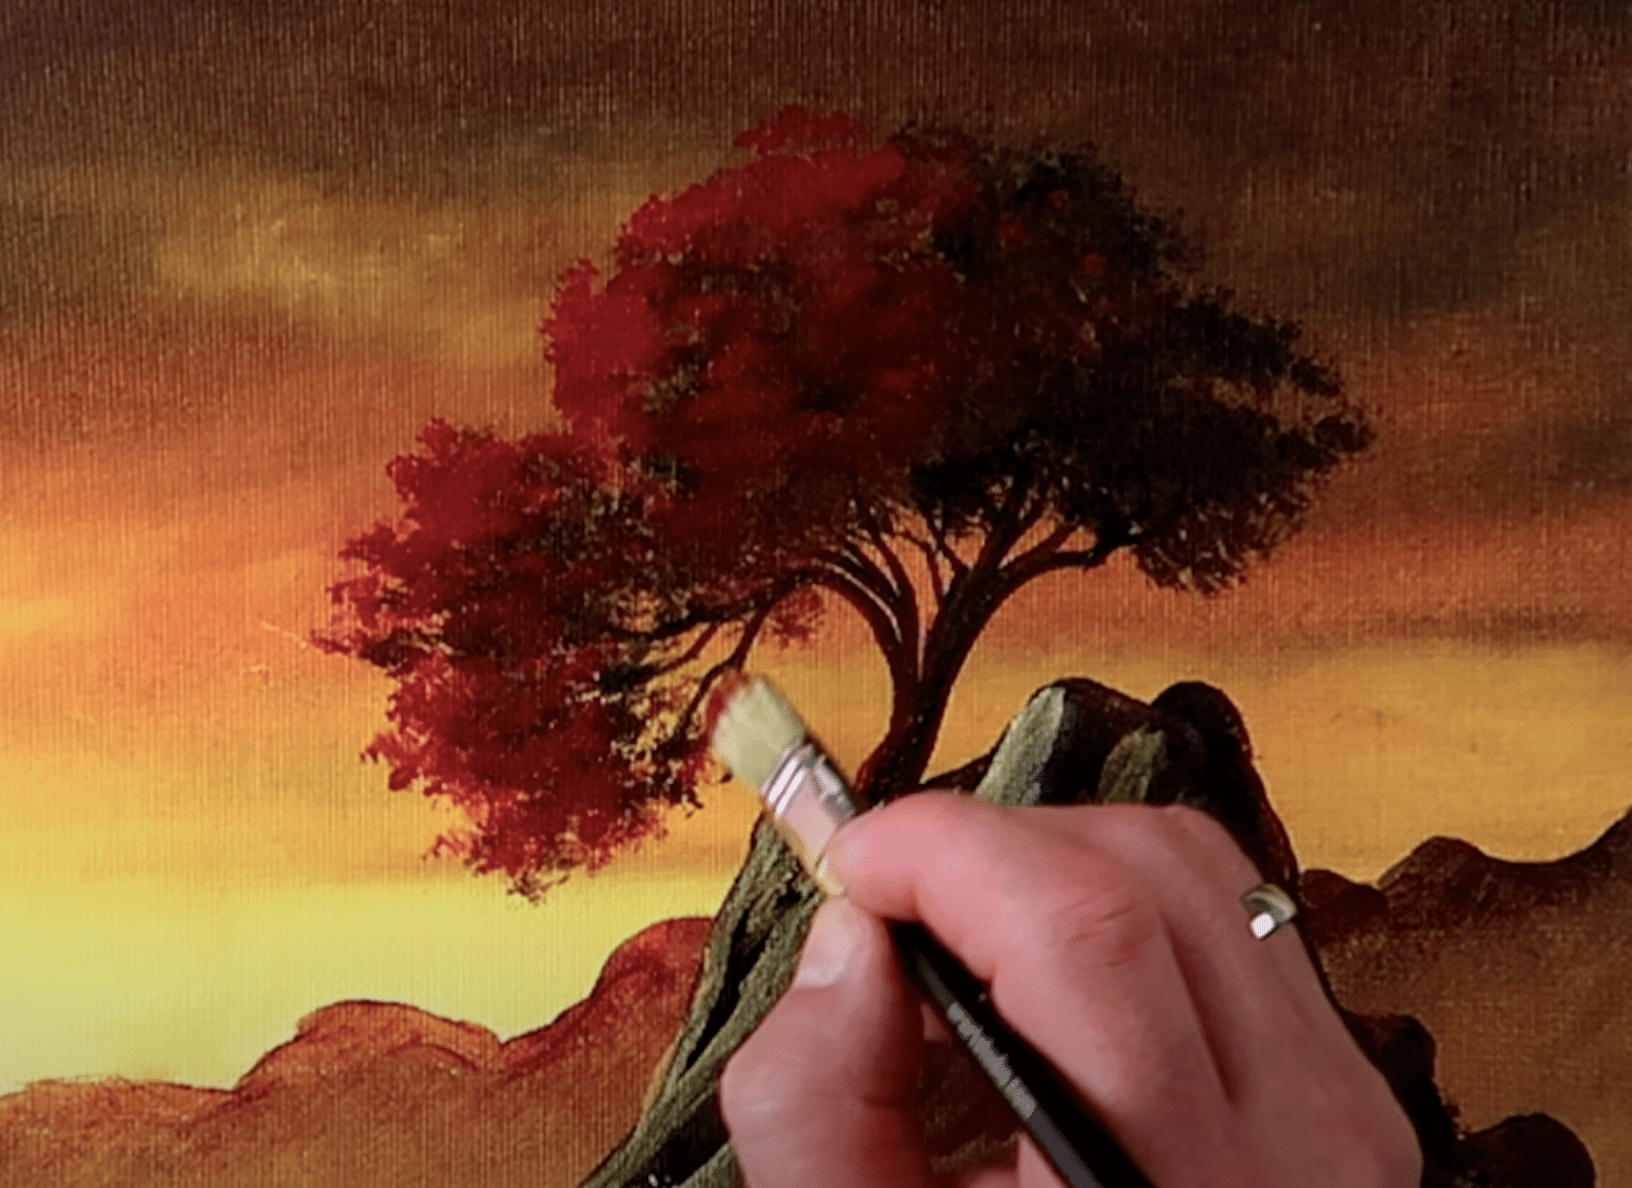
Now switch to a smaller Filbert brush loaded with darker hues. Start sketching the dark silhouette of the rock formation where our lonely tree will reside. Imagine this rocky outcrop standing bravely against the crashing waves.
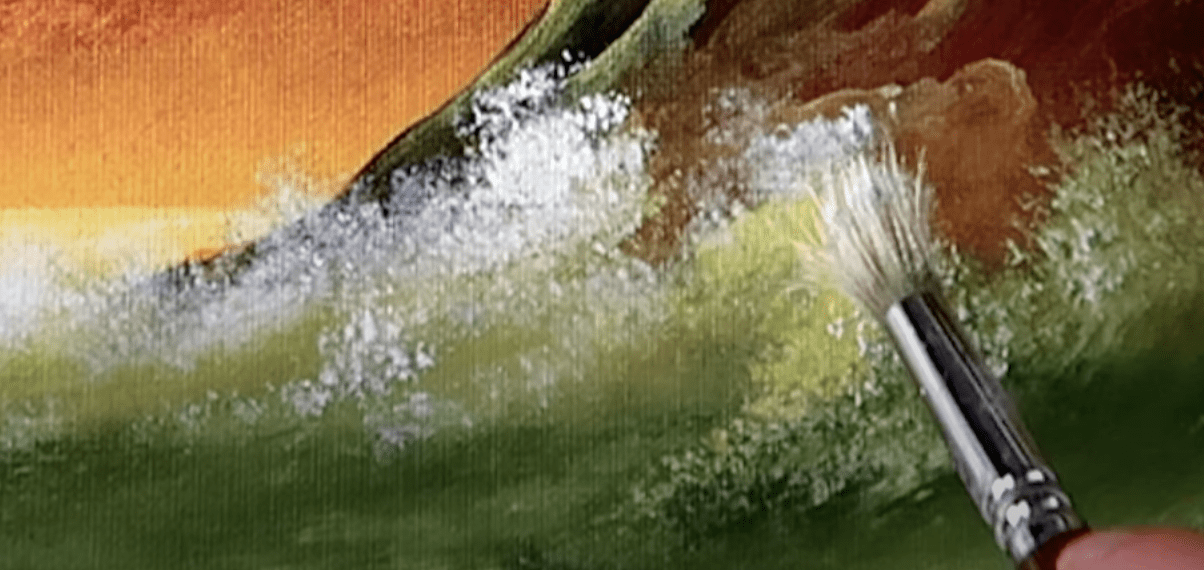
Don’t forget to create a misty effect at the base of the rocks, mimicking the gentle caress of ocean spray. Use your brush to softly blend the edges, allowing the dark colors to merge gracefully.
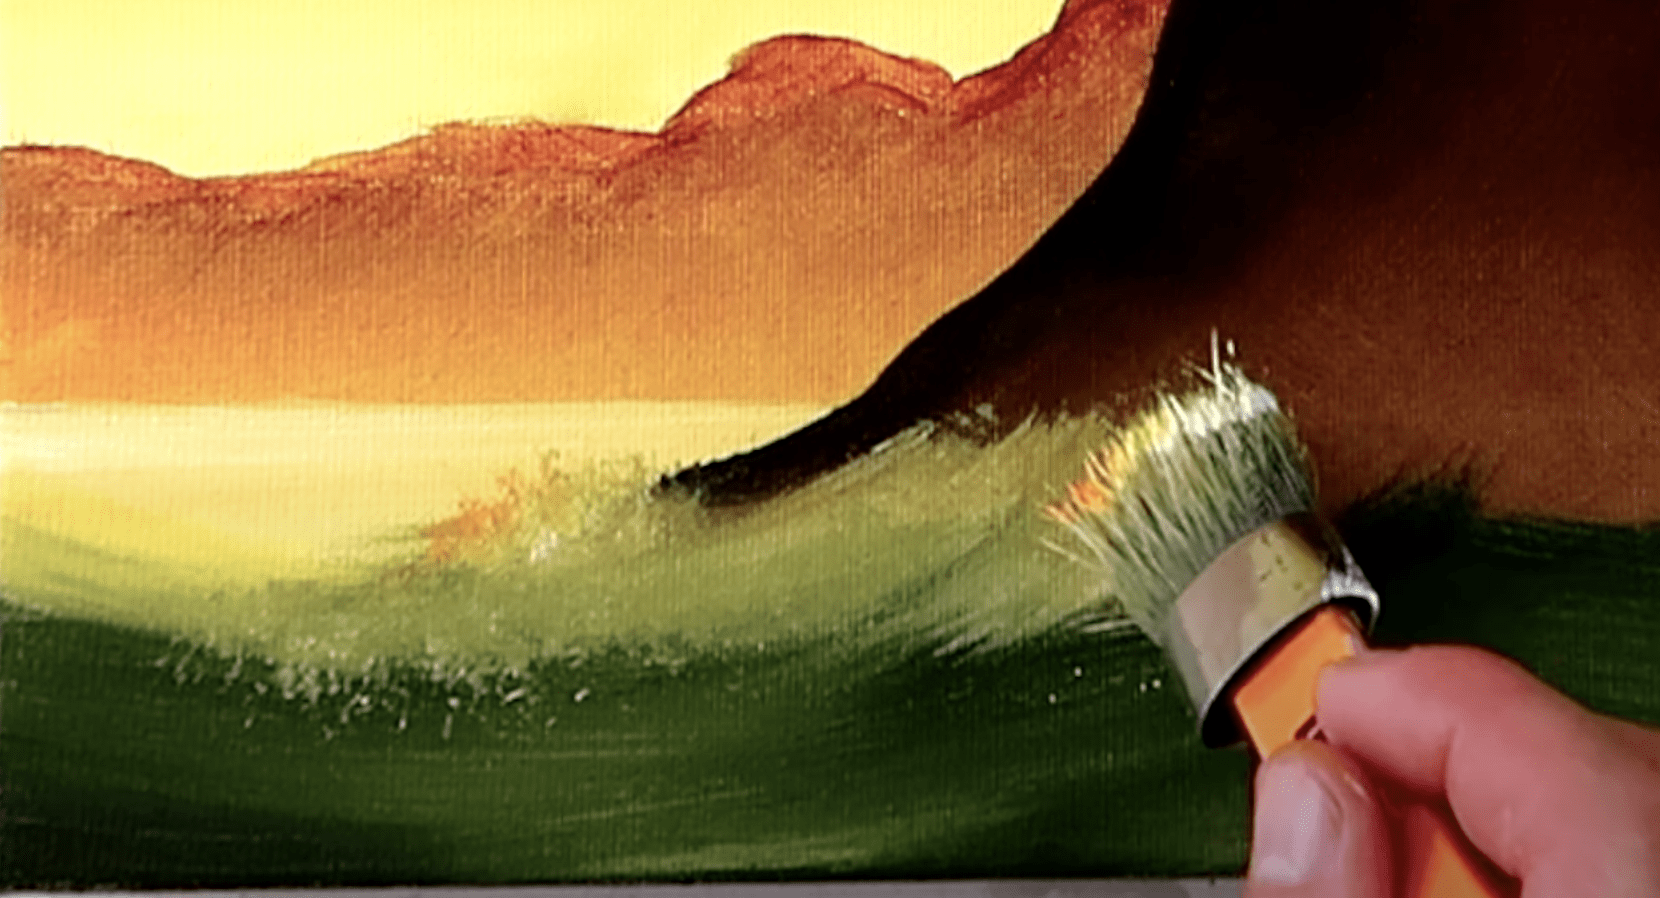
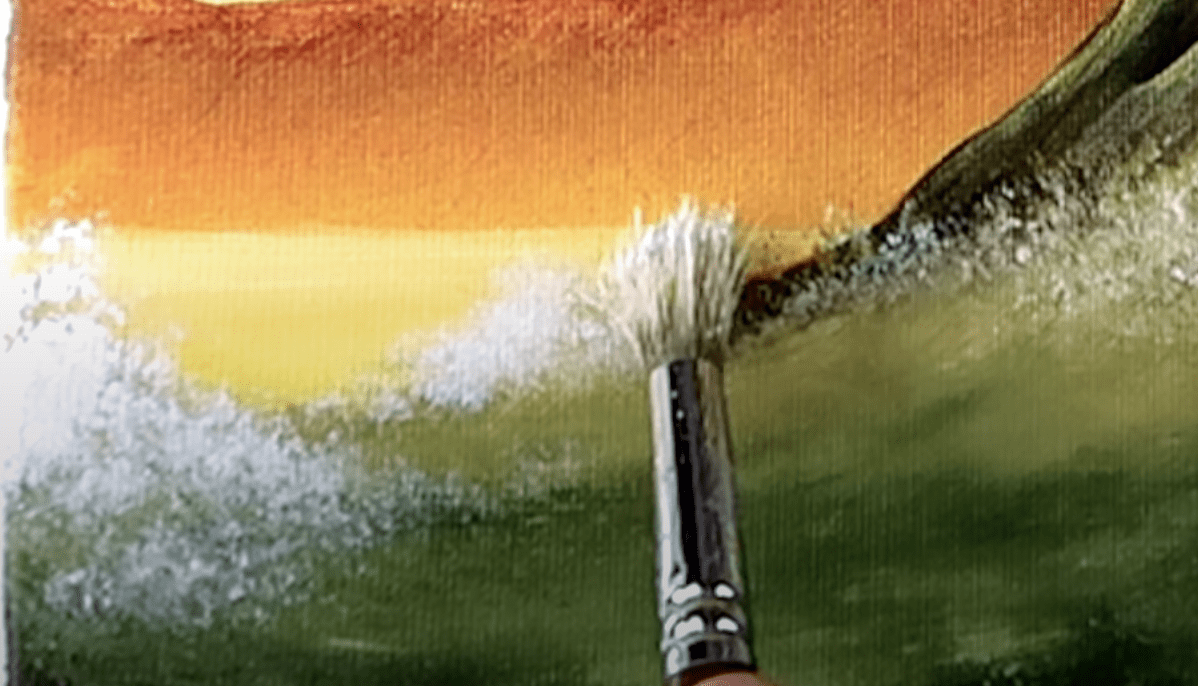
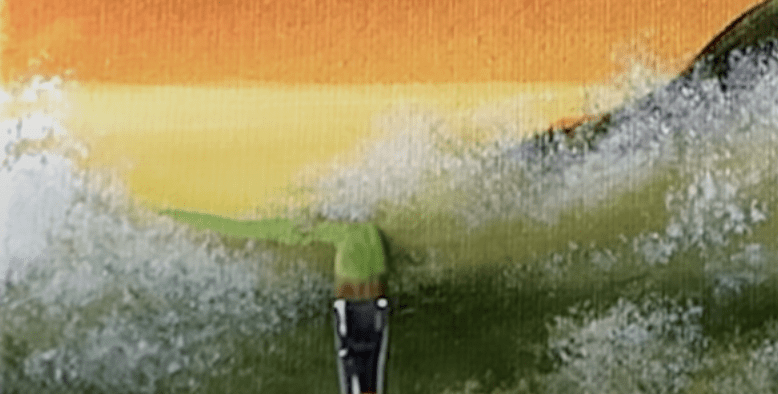
Now it’s time to add a dash of life to our ocean. Mix green and black and brush in a few ocean waves at the base of the rock formation. Feel the energy of the sea as you create those gentle strokes.
After that, clean your oval brush and load it with bright white and yellow to create some highlights on the waves. These accents will bring dimension and vibrancy to the turbulent ocean below.
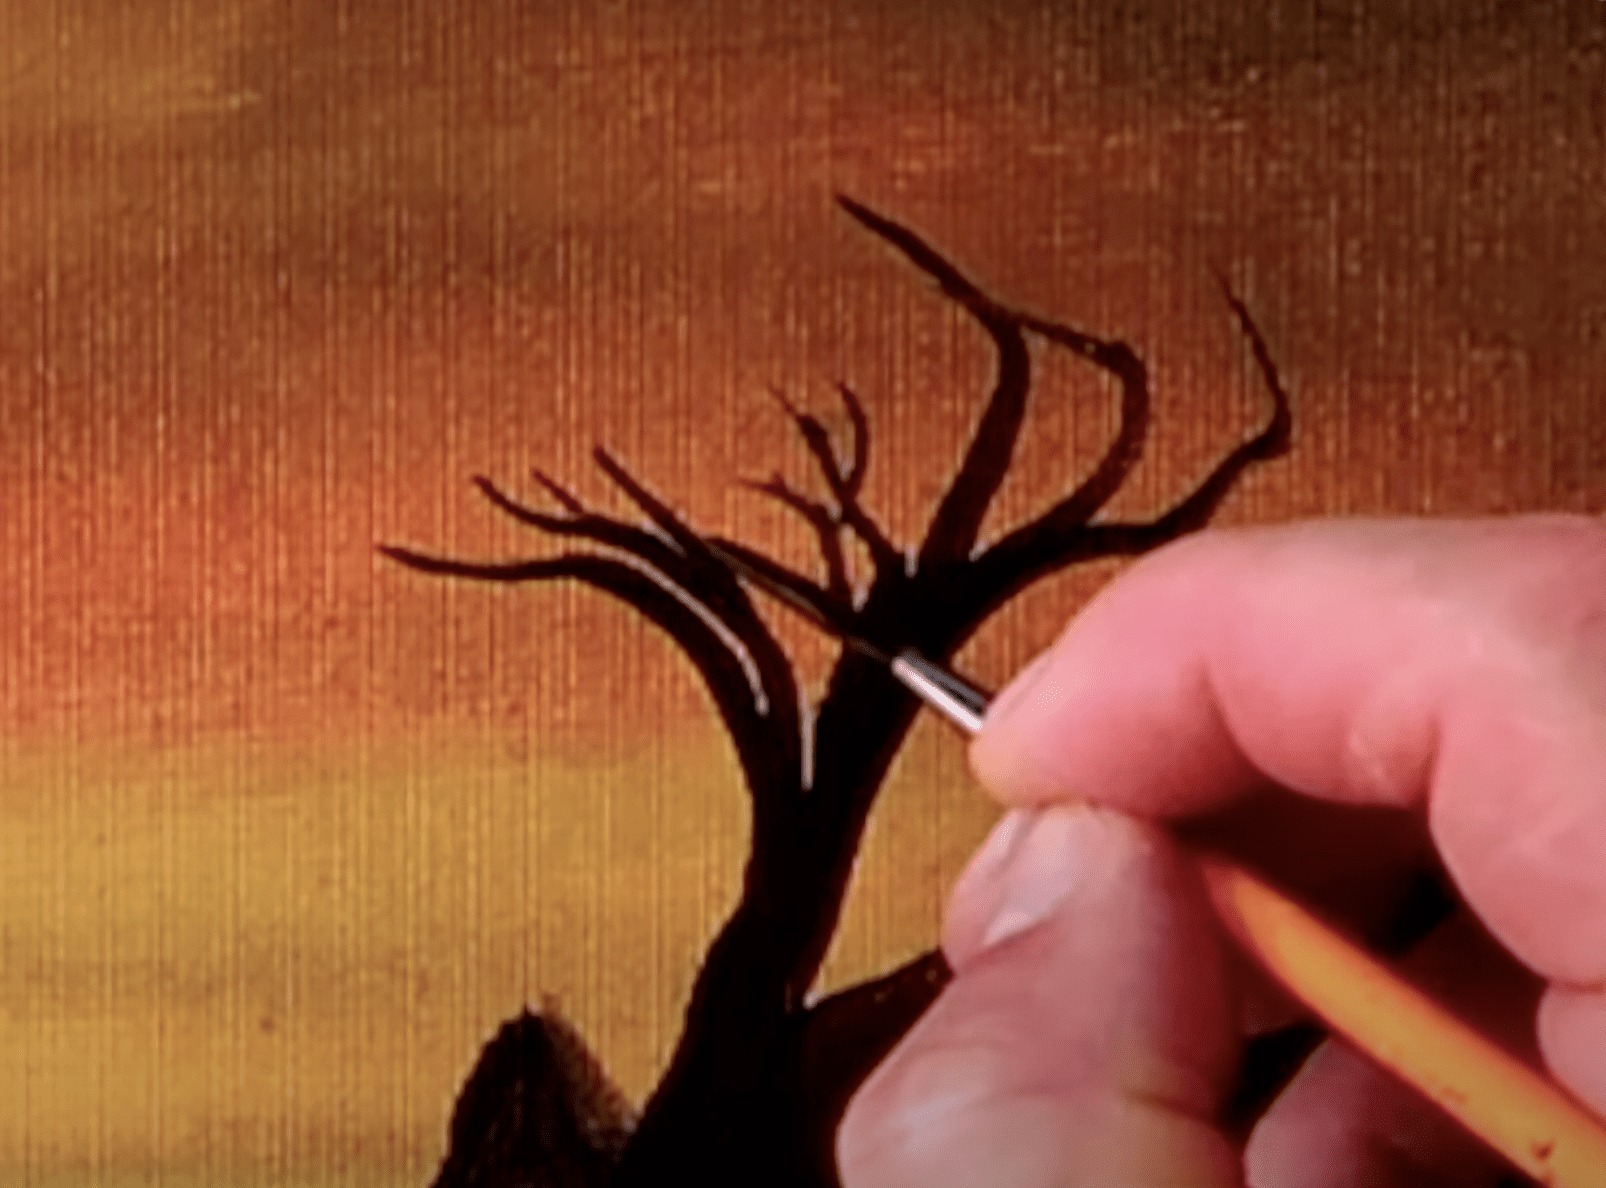
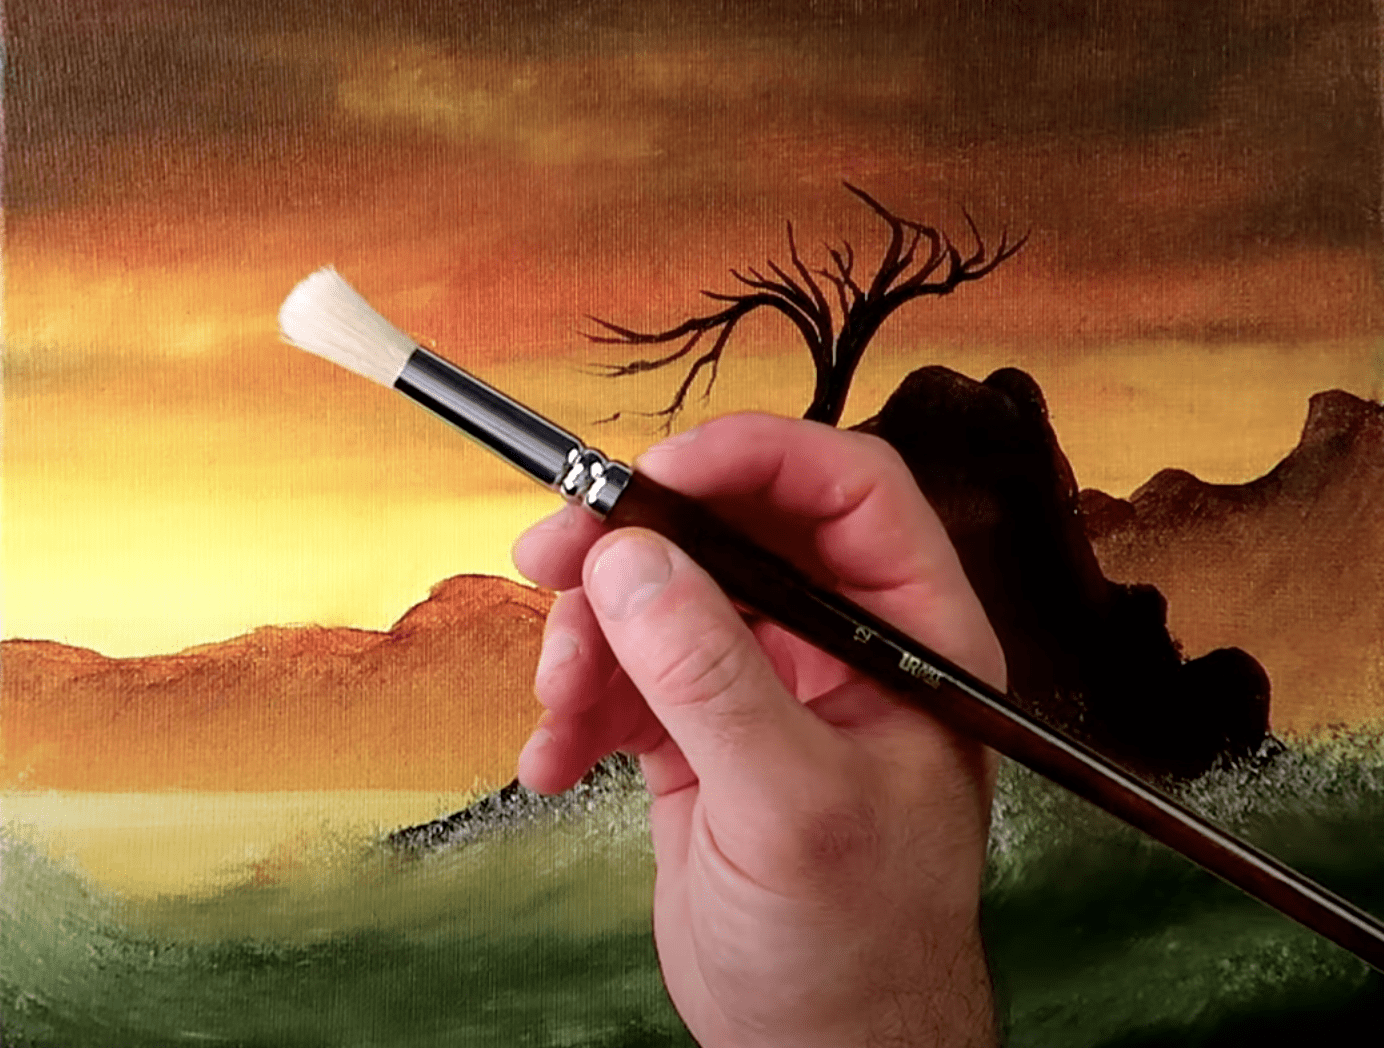
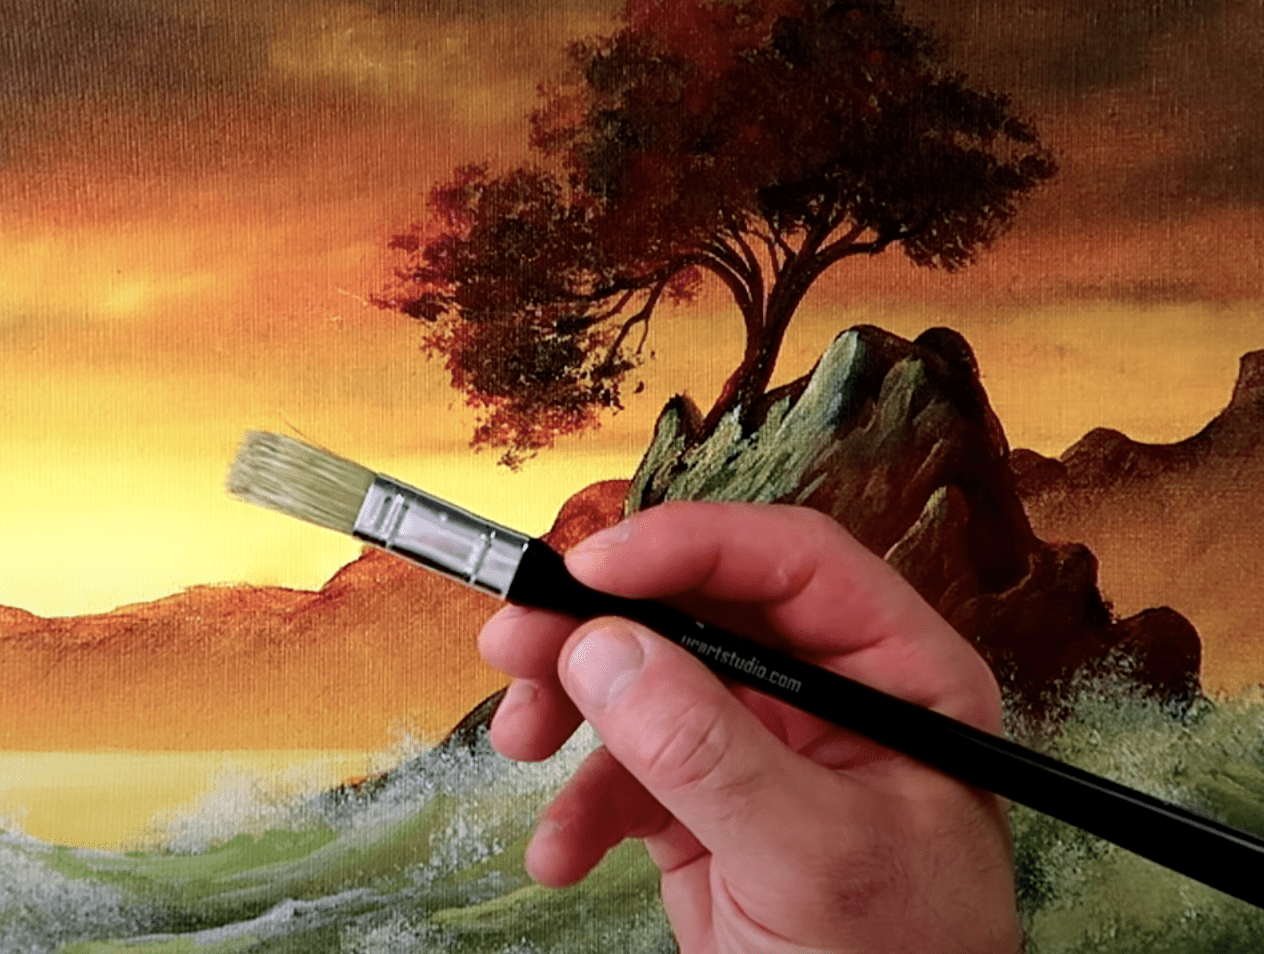
Step 4: The Lonely Tree
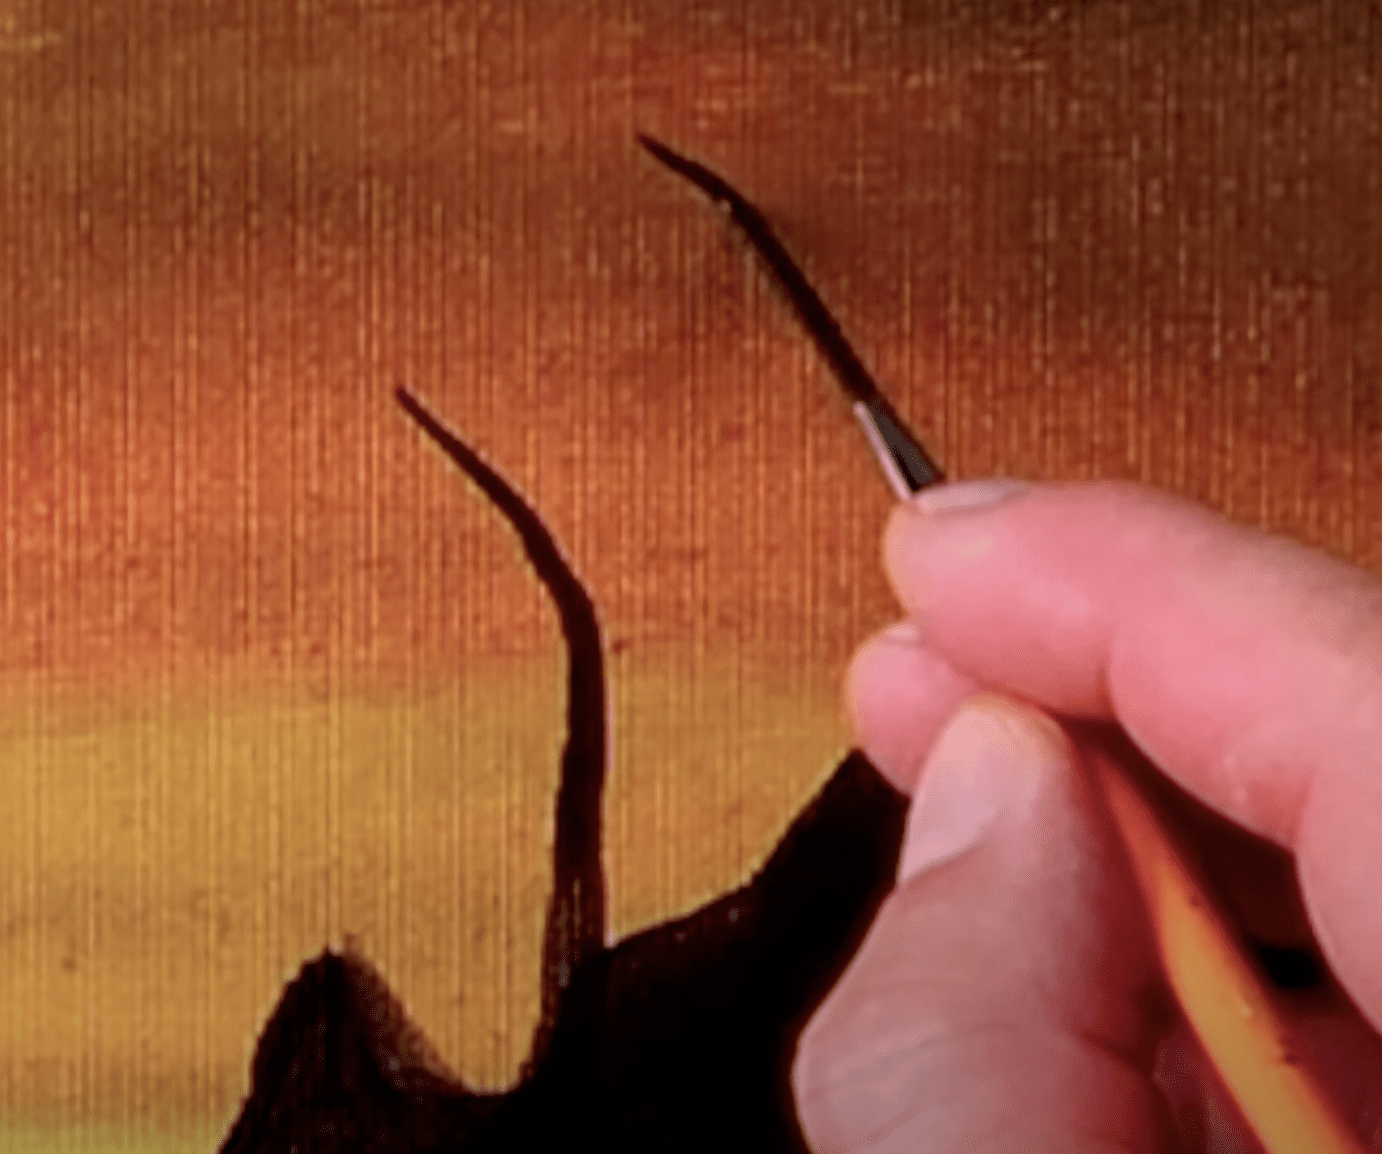
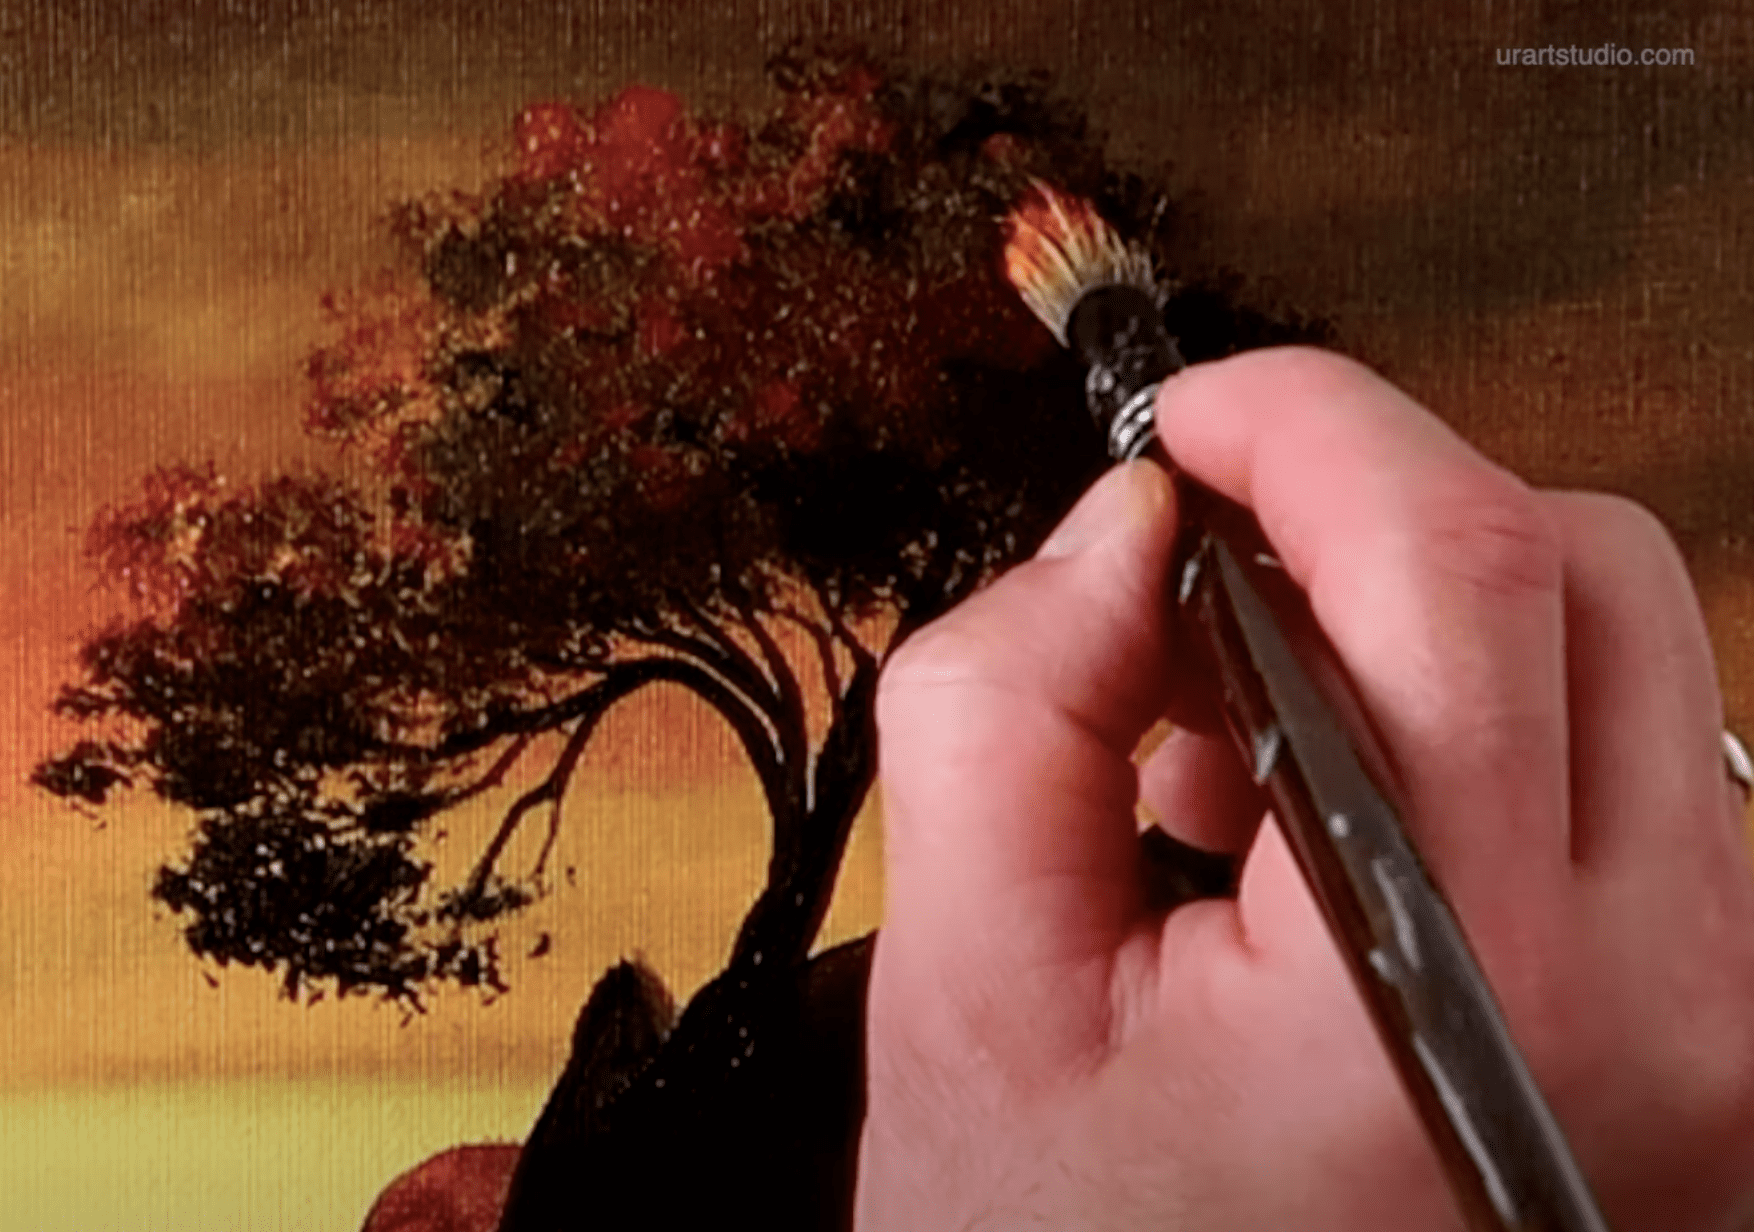
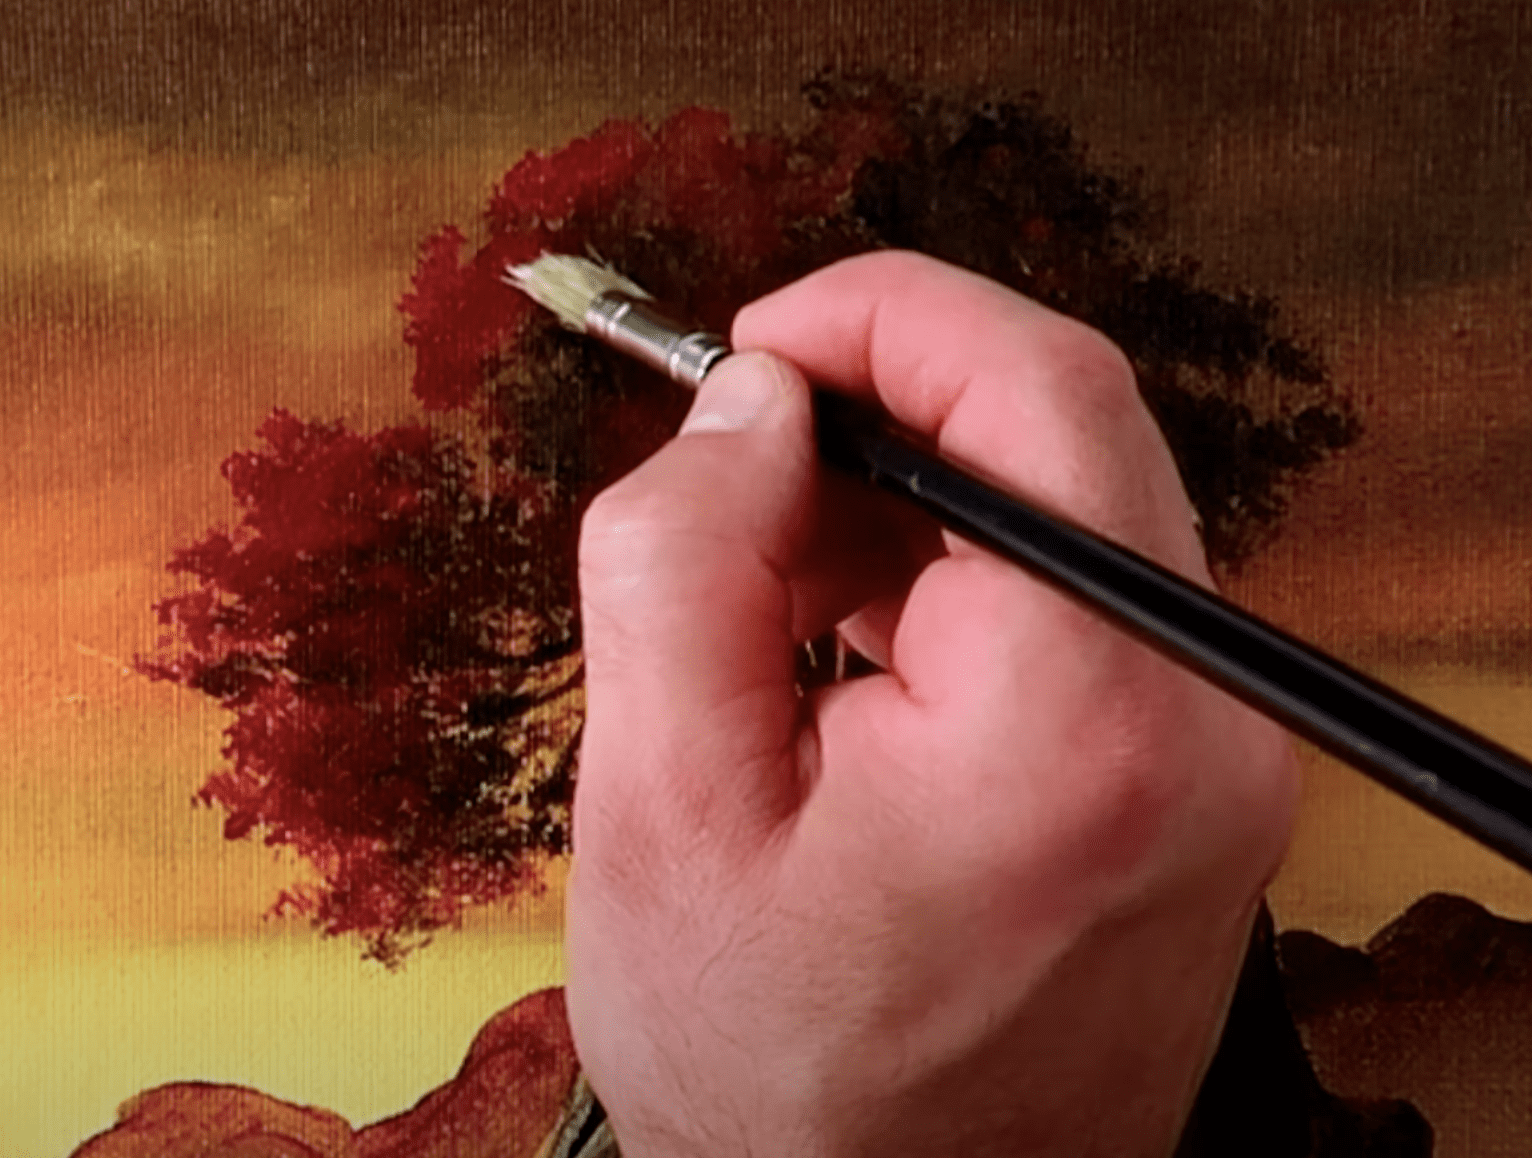
With the waves dancing beneath us, let’s now focus on the lone tree. Grab your liner brush and dark colors to sketch the outline of the tree atop the rock formation. Visualize its strength and resilience against the elements, donning an air of tranquility.
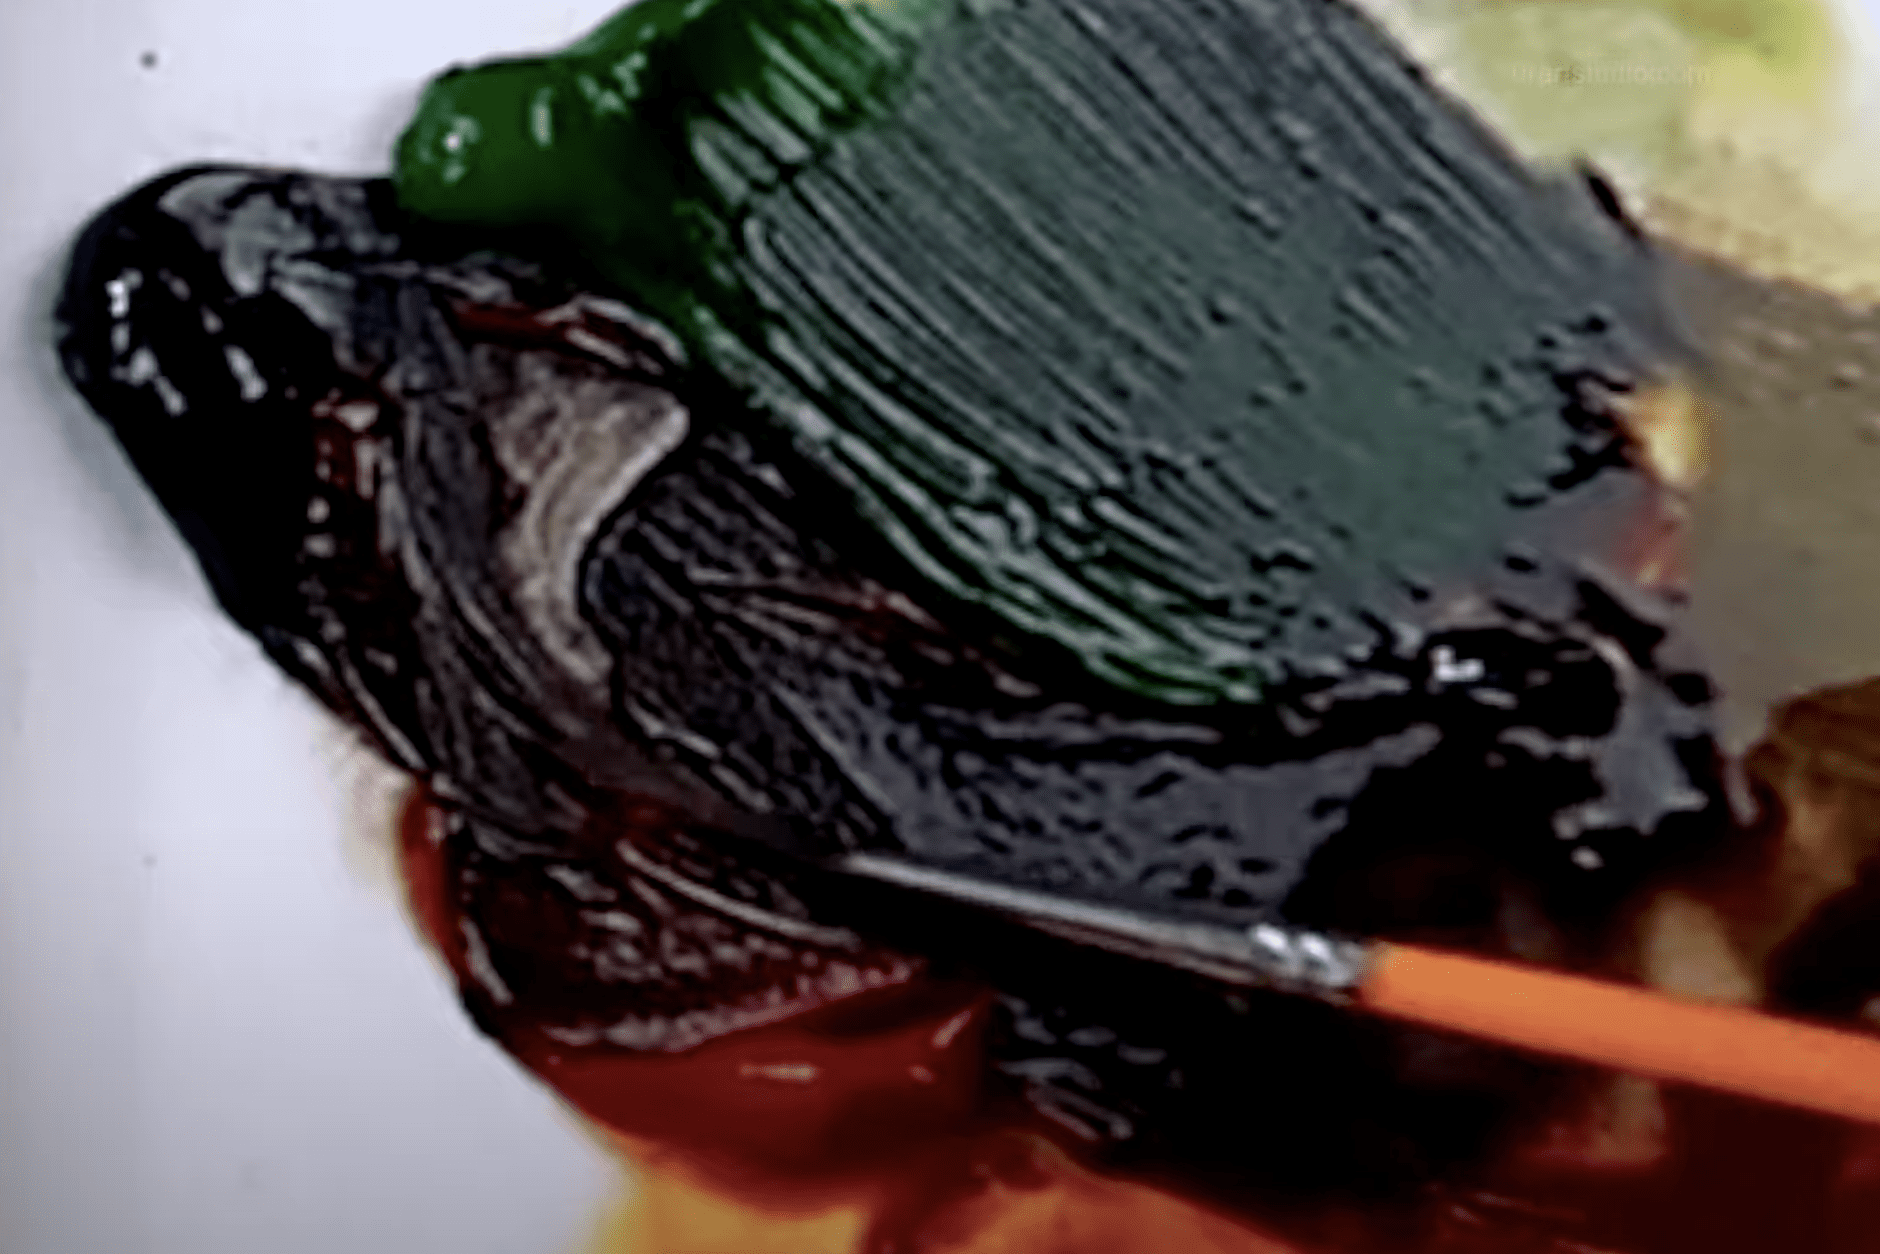
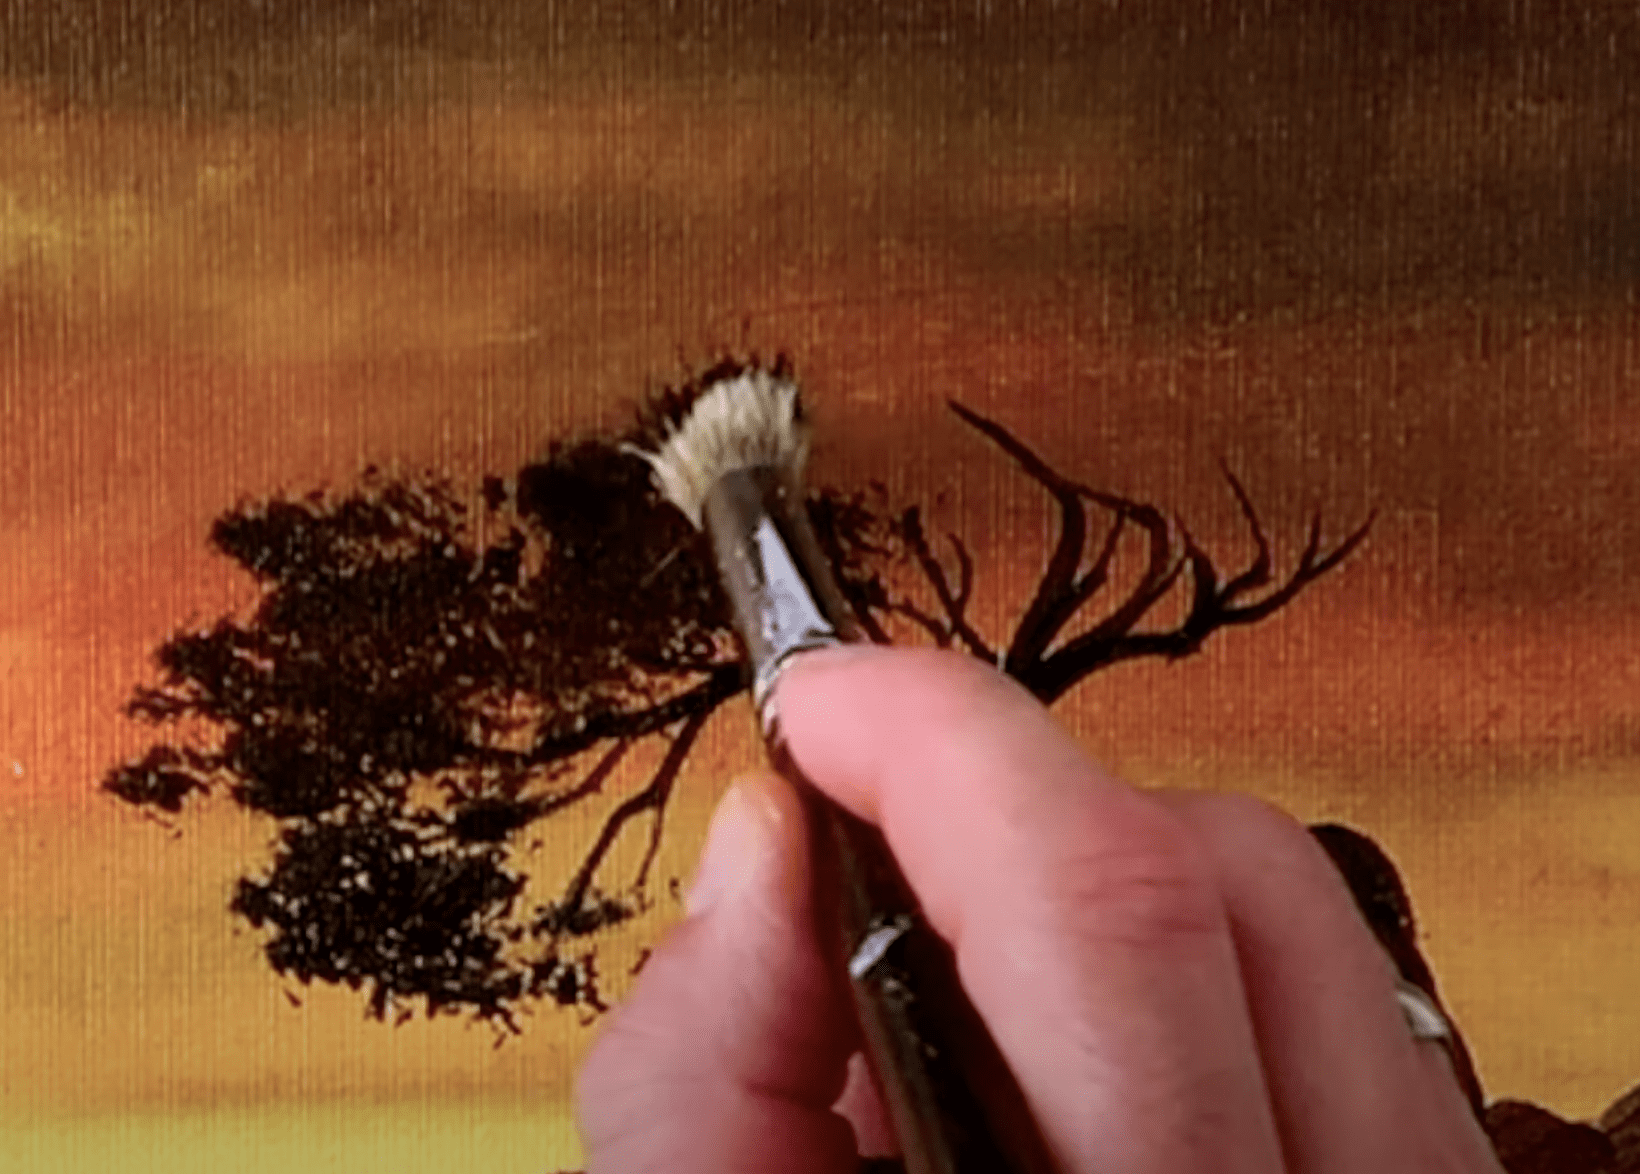
Now, with your small round brush and a mix of dark colors, let’s create the tree canopy. A blend of Prussian green and burnt sienna will give our tree depth and richness, as nature intended.
After you’ve laid down the base colors, clean your round brush and dip it into just a mix of burnt sienna and Indian yellow. Add highlights to the top of your tree canopy to capture the warm glow of the setting sun filtering through the leaves.
Now let’s add a few finishing touches to the tree trunk using your liner brush with burnt sienna. This will sharpen the silhouette and bring more definition to our lonely tree.
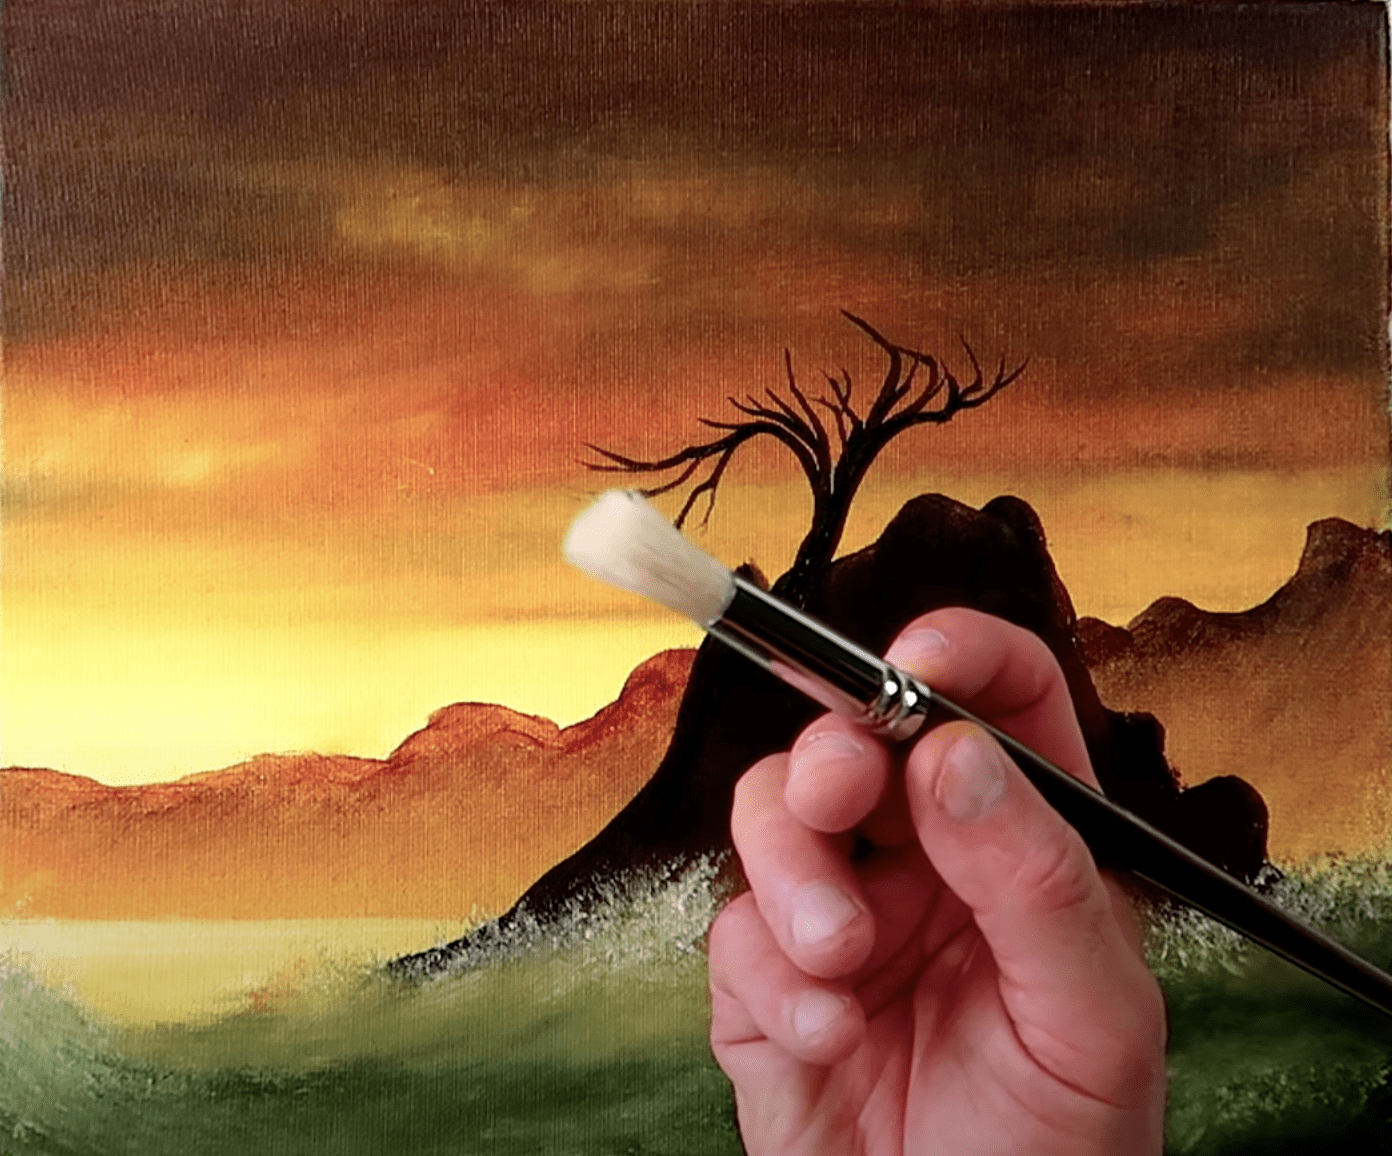
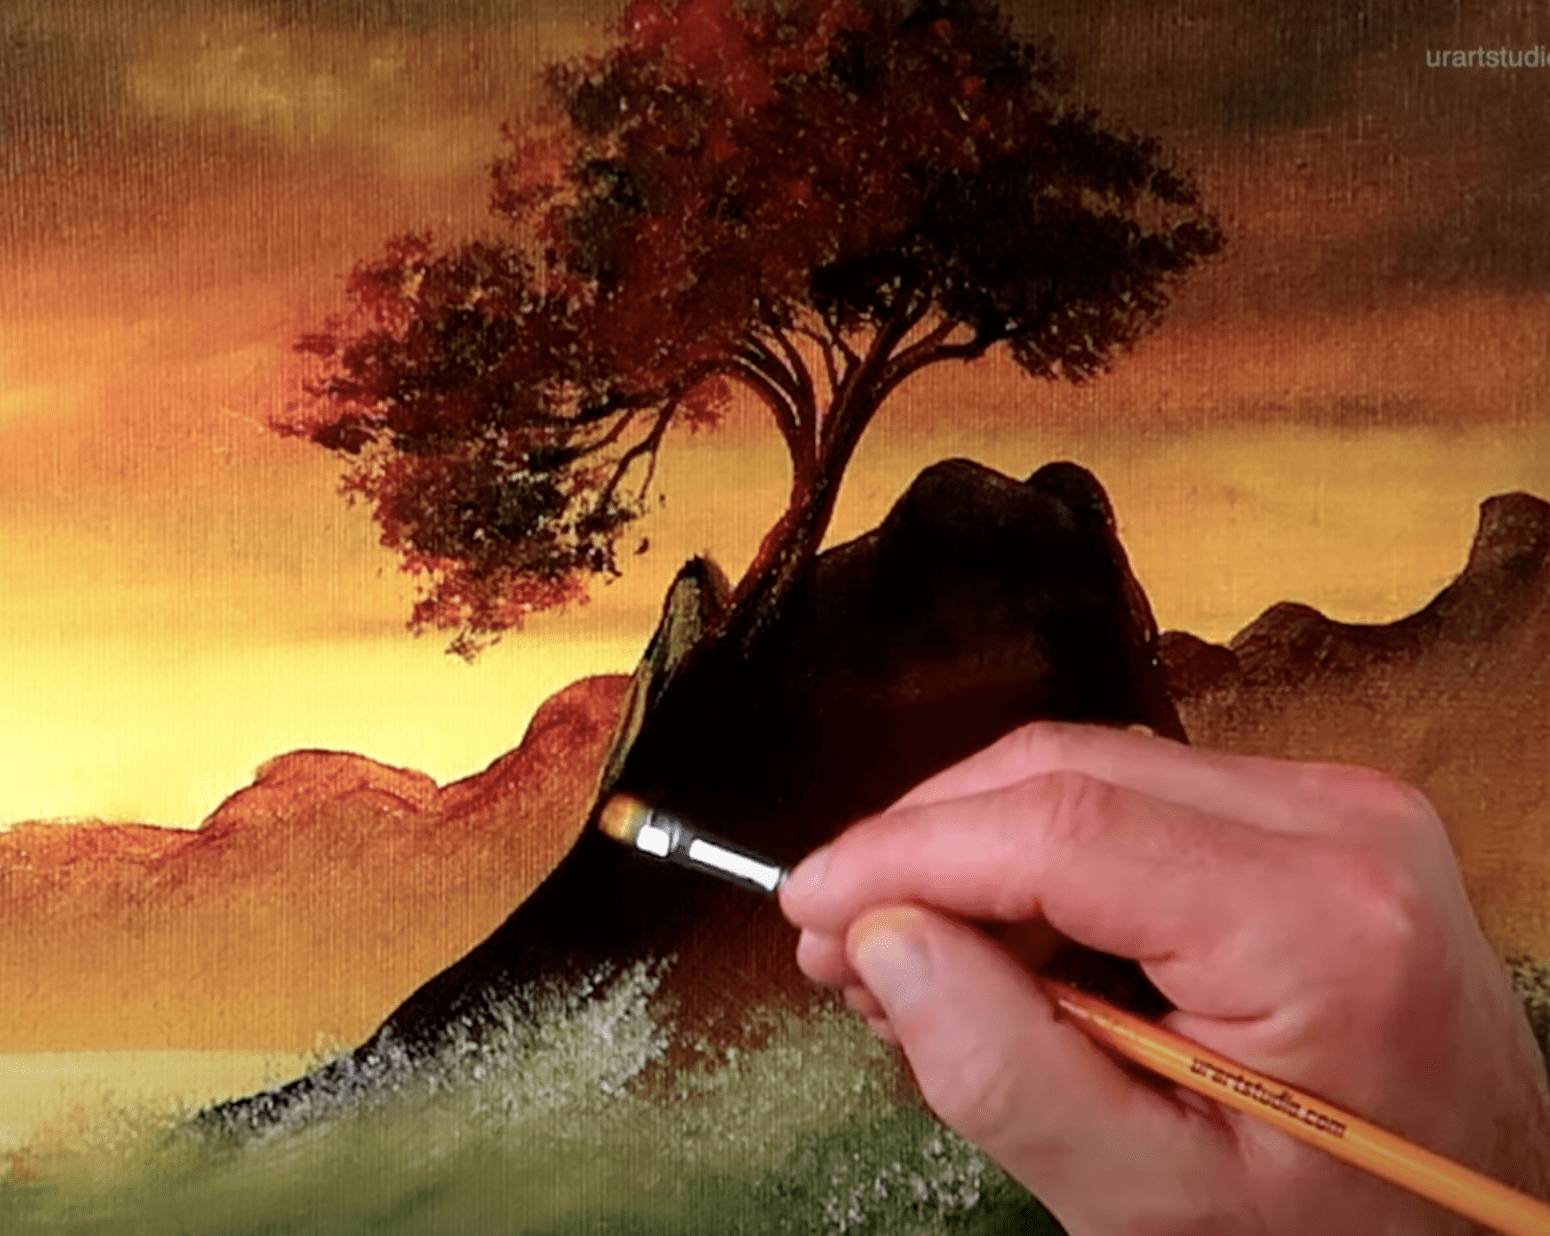
Step 5: Final Touches
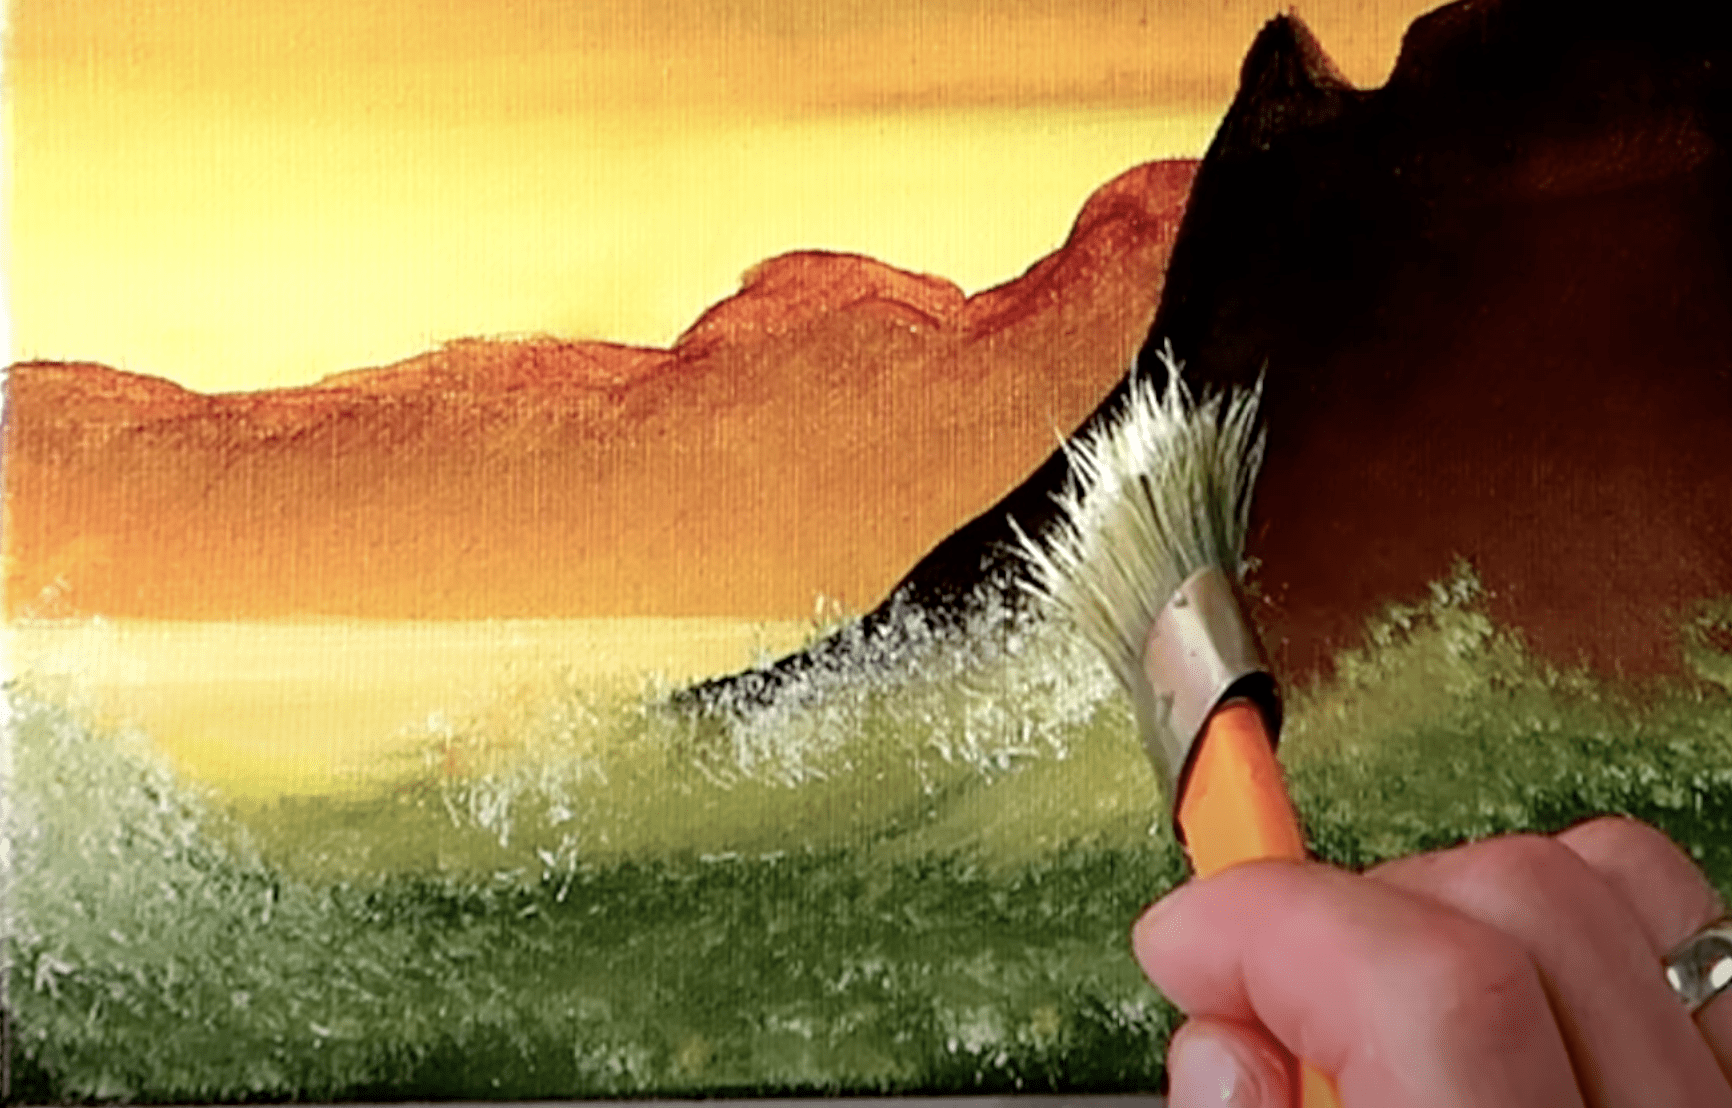
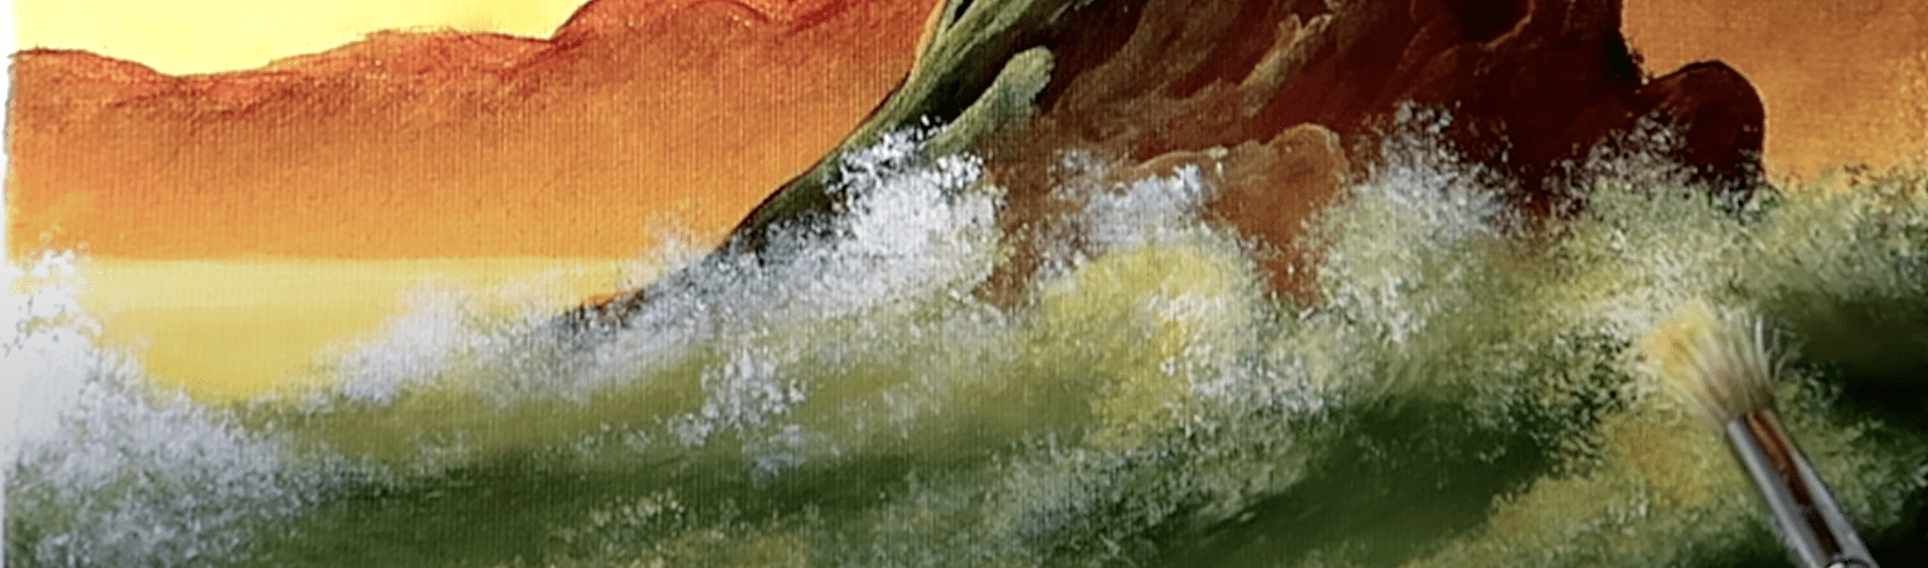
To add depth to our rocky surface, use a small square brush with light yellow to incorporate highlights, mimicking the sunlight kissing the rocks. Think about where the light would hit, and sprinkle those warm tones generously but thoughtfully.
Next, grab your round brush and white paint to add more highlights to the ocean waves below. Feel free to add a bit of yellow for a warm touch, enhancing the vibrancy of your seascape.
Finally, use a small Filbert brush to mix green and yellow, adding subtle highlights to the waves beneath the frothy white foam.
With just a few more strokes, finish by placing highlights of pure burnt sienna on the top of the lonely tree, ensuring it stands out beautifully against the backdrop of the sunset.
Conclusion
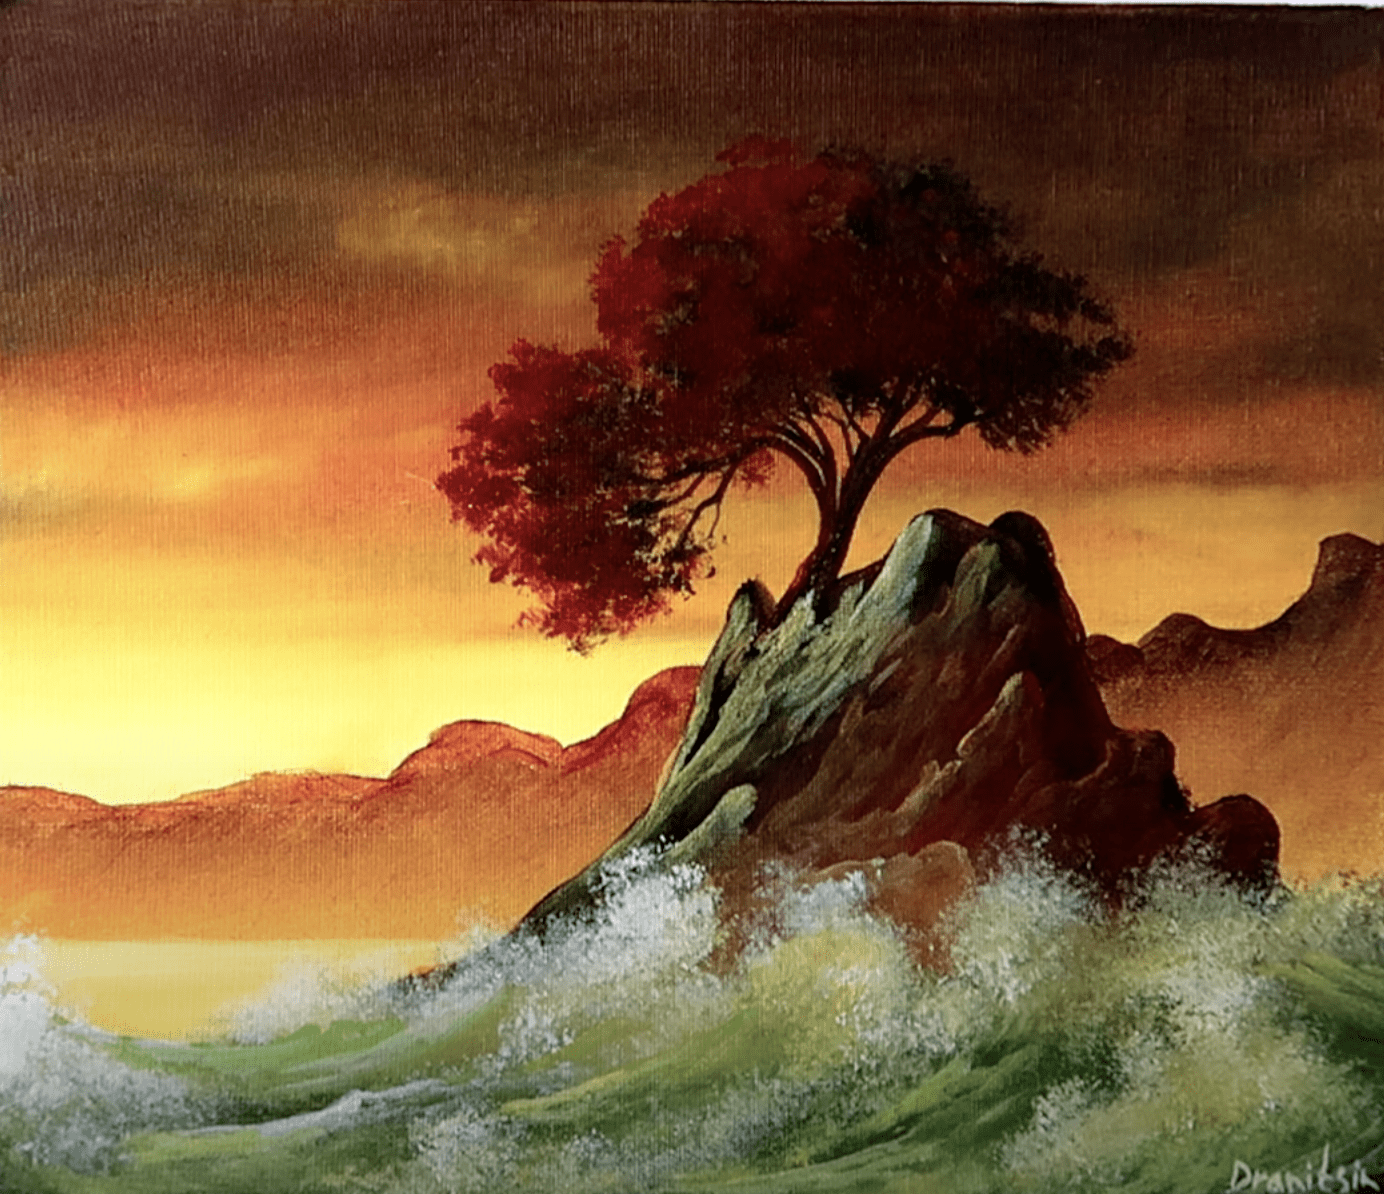
And just like that, our breathtaking painting is complete! Take a step back and admire your masterpiece—the stunning lonely tree, the vibrant sunset, and the gentle waves of the ocean.
As you sign your painting, let a sense of accomplishment wash over you. You’ve brought to life a serene landscape filled with the beauty of nature.
We hope this step-by-step journey ignited your artistic spirit and inspired you to continue exploring the world of painting. Until next time, happy painting!


STEP BY STEP PAINTING INSTRUCTIONS AND NARRATED GUIDES FOR URARTSTUDIO.COM YOUTUBE ART VIDEO DEMONSTRATIONS

ART VIDEO STEP BY STEP VIDEO DEMONSTRATIONS AND ORIGINAL ART GALLERY BY URARTSTUDIO:
Welcome to the captivating world of URARTSTUDIO! Immerse yourself in the exquisite artistry and creativity with our step-by-step video demonstrations and exclusive original art gallery. Prepare to be spellbound as true mastery unfolds before your very eyes. Witness the artistic process come alive as our videos take you by the hand, guiding you through each brushstroke and technique. Discover the secret behind captivating compositions and the intricate details that make art truly mesmerizing. Our gallery proudly showcases a curated collection of unique and breathtaking artwork, where every piece tells a story and evokes powerful emotions. Journey with us and let your imagination take flight as URARTSTUDIO invites you to unravel the magic of art like never before.