

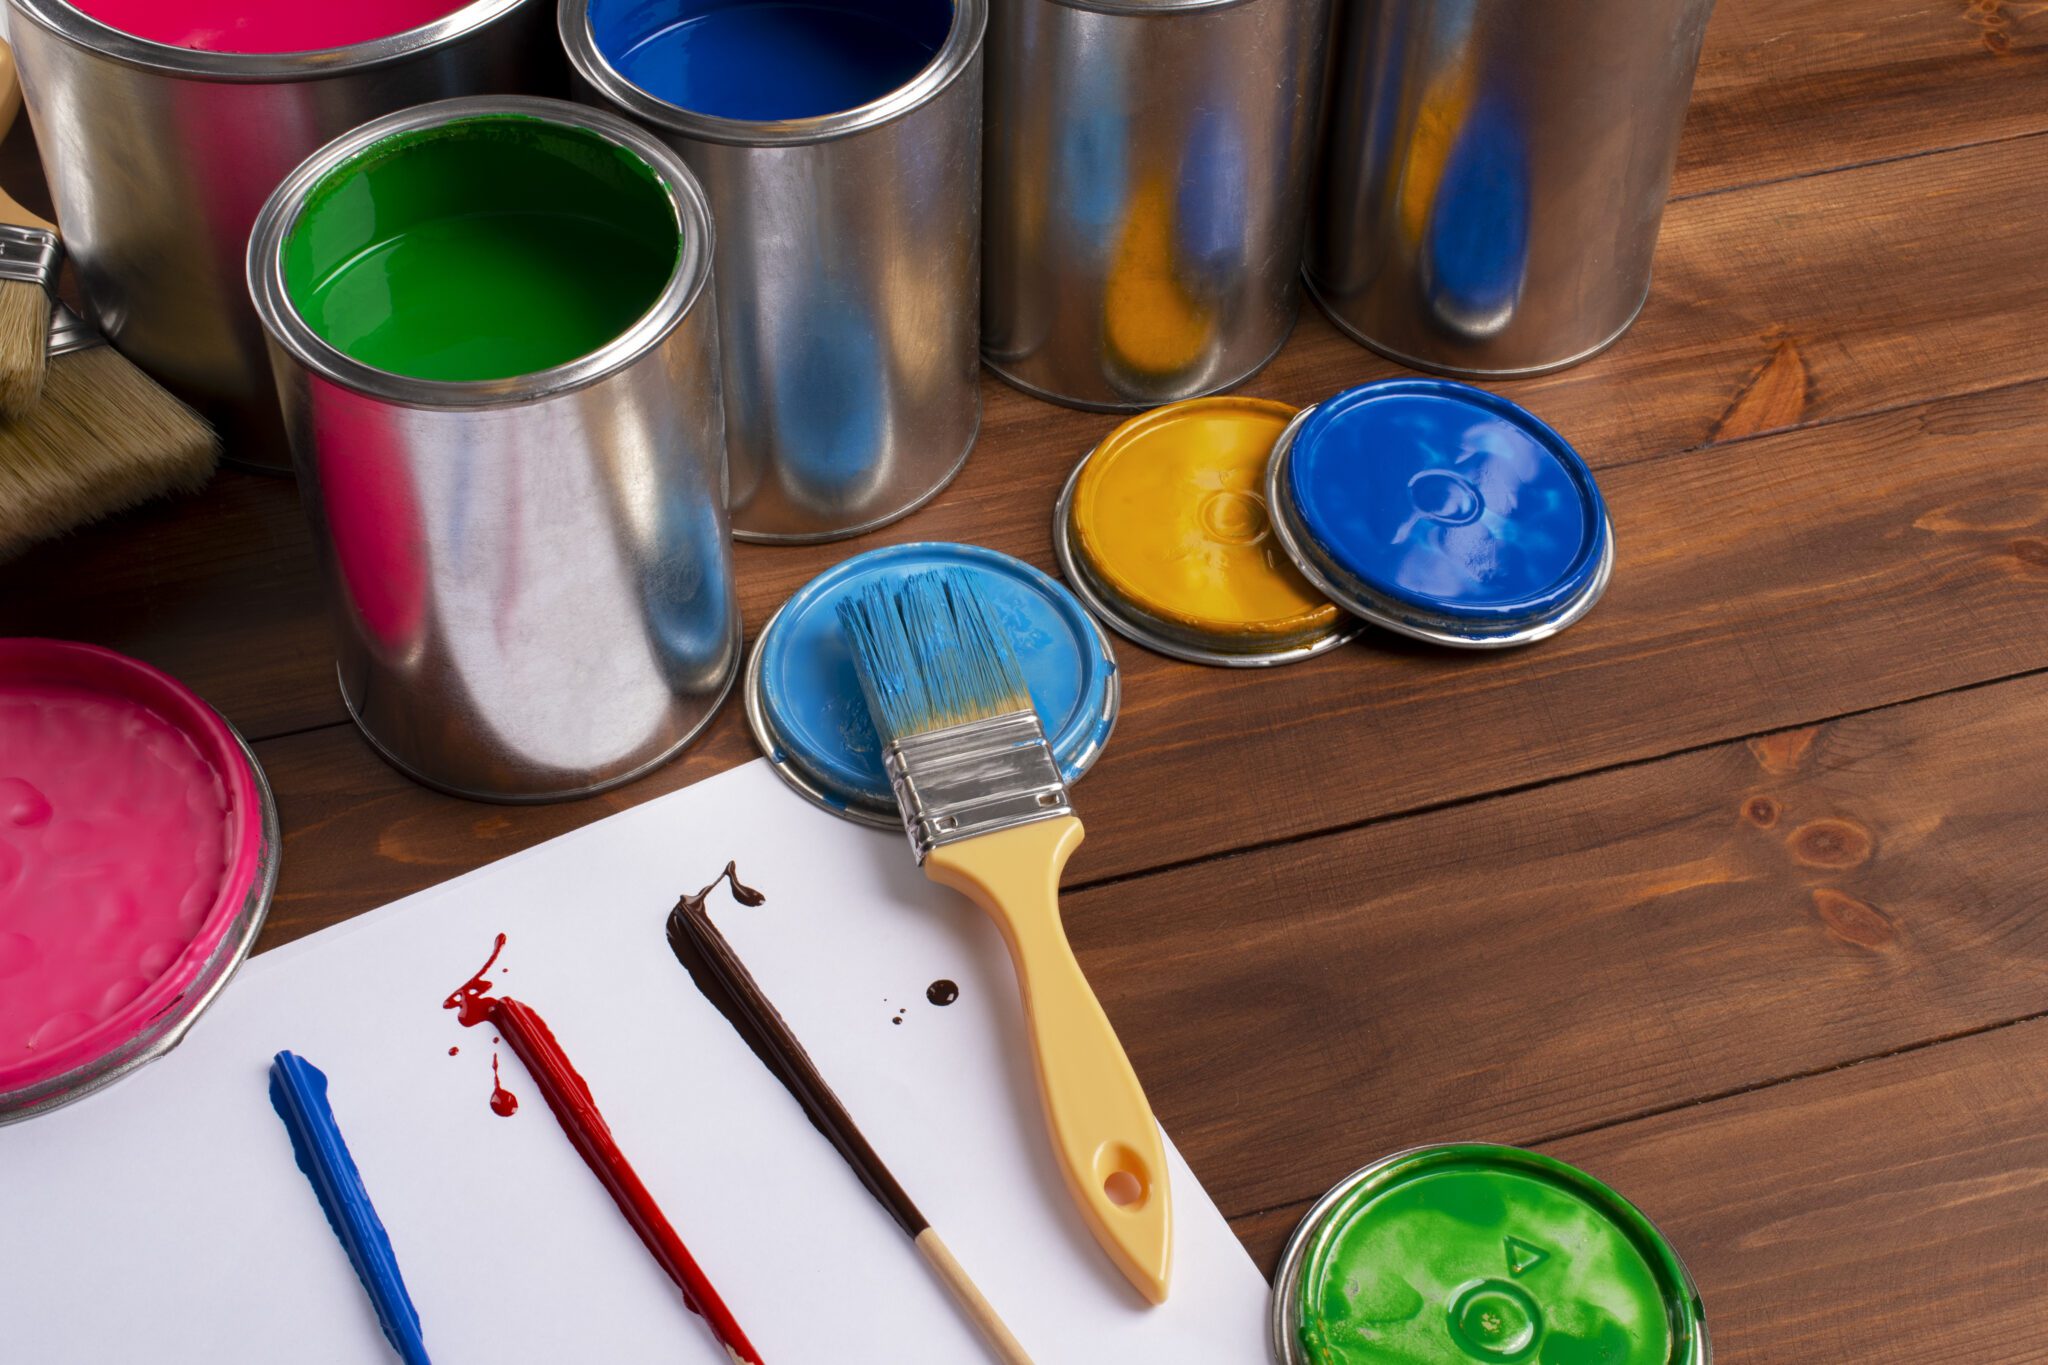
The flat brush is a versatile tool in the painter’s toolkit, well-regarded for its ability to deliver precision and control while enabling smooth gradation through layering techniques. Its flat, rectangular shape allows artists to cover larger areas with ease while also providing the ability to create sharp lines and fine details. In this guide, we will explore effective techniques for layering with the flat brush to achieve smooth color transitions and vibrant depth in your acrylic paintings.
1. Understanding the Flat Brush
The flat brush possesses a wide, rectangular head with stiff bristles that can hold a significant amount of paint. Key features include:
- Versatility: Suitable for various applications, including bold strokes, blending, and fine details.
- Edge Control: The straight edge enables sharp lines and defined shapes, making it easier to create geometric shapes or precise detailing.
- Smooth Application: The brush’s ability to lay down paint evenly makes it ideal for covering larger areas and producing smooth transitions.
2. Techniques for Smooth Gradation with the Flat Brush
Here are some effective techniques to achieve smooth gradation using the flat brush:
a. Color Mixing and Preparation
- Choose Your Colors: Select the colors you wish to blend and prepare them on your palette. Having a full understanding of color mixing will help you create the desired shades and intensities.
- Create Transitional Colors: Mix intermediary shades between your two main colors to facilitate a smoother gradation. This preparation allows for gradual transitions rather than abrupt changes.
b. Layering Techniques
- Wet-on-Wet Technique: This involves applying paint directly onto wet paint. Start by applying your base color to the area; while the paint is still wet, use the flat brush to add the next color. The brush’s straight edge allows for easy blending of the two colors, helping to create a seamless transition.
- Building Layers: Begin with the lightest color at the base. Allow it to dry completely before applying a slightly darker shade on top. Each subsequent layer should be applied lightly, gradually increasing the intensity of color without overwhelming the underlying layers.
- Zigzag Strokes: For blending from one color to another, use a zigzag or back-and-forth motion with the flat brush. This creates a smooth transition between the colors as the overlapping strokes help to meld the shades together.
c. Creating Smooth Blends
- Feathering Technique: After applying the first layer, use the clean, damp flat brush to gently stroke over the edge of the dry area where the two colors meet. Lightly drag the brush across the line, pulling the top color into the bottom one to soften the transition.
- Blending with Water: If you’d like a softer look, you can mist the area with water before applying your layers. This will allow the colors to blend more fluidly without harsh edges.
3. Tips for Effective Layering
Here are some practical tips to keep in mind while using the flat brush for layering:
- Maintain Brush Cleanliness: Rinse your flat brush thoroughly between color changes to avoid muddying your colors. Frequent cleaning ensures consistent color application and better blending results.
- Experiment with Consistency: Adjust the consistency of your paint for optimal blending. Thinned-down paint can produce soft gradation, while thicker paint can provide opacity.
- Use Repeated Strokes: If you find a particular area is not blending as smoothly as desired, don’t hesitate to apply multiple layers with repeated strokes. This approach can build transparency and create depth.
4. Practical Applications
- Landscapes: The flat brush can be particularly effective in creating smooth gradients in skies or backgrounds. Work from the top down, transitioning from lighter hues at the top to darker ones at the horizon.
- Abstract Art: Use the flat brush to apply big swaths of color, gradually intermingling them for a dynamic, fluid effect. The brush can help create a sense of movement and energy.
- Portraits: Employ the flat brush to build skin tones and create gradients in areas such as cheeks or shadows on the face. Layering allows for more realistic effects and depth.
5. Conclusion
Mastering layering techniques with the flat brush can vastly improve your acrylic painting skills, allowing you to create smooth gradations and rich color depth. By following the techniques outlined in this guide, you can confidently explore the versatility of the flat brush and enhance your artistic expression.
Don’t forget to explore our selection of flat brushes and other essential art supplies available at urartstudio.com to support your creative journey!
Be sure to visit our online store at https://urartstudio.com/shop/ for a variety of art supplies and tools. Additionally, check out valuable painting tips at urartstudio.com/painting-tips/ and our step-by-step painting instructions at https://urartstudio.com/step-by-step-painting-instructions/ to further enhance your skills.
Keywords: flat brush, layering techniques, acrylic painting, smooth gradation, art supplies.
#FlatBrush, #LayeringTechniques, #AcrylicPainting, #SmoothGradation, #ArtSupplies
Leave a Reply
You must be logged in to post a comment.