

The rigger brush is a specialized tool designed for creating fine, delicate lines and intricate details in your artwork. With its long, thin bristles, the rigger brush is ideal for painting everything from the fine strands of whiskers on an animal to detailed tree branches and other intricate line work. This guide will walk you through the characteristics of the rigger brush, its best uses, and techniques to master creating delicate lines and details with it. Don’t forget to check out urartstudio.com for tools, tips, and resources to elevate your painting skills!
1. Understanding the Rigger Brush
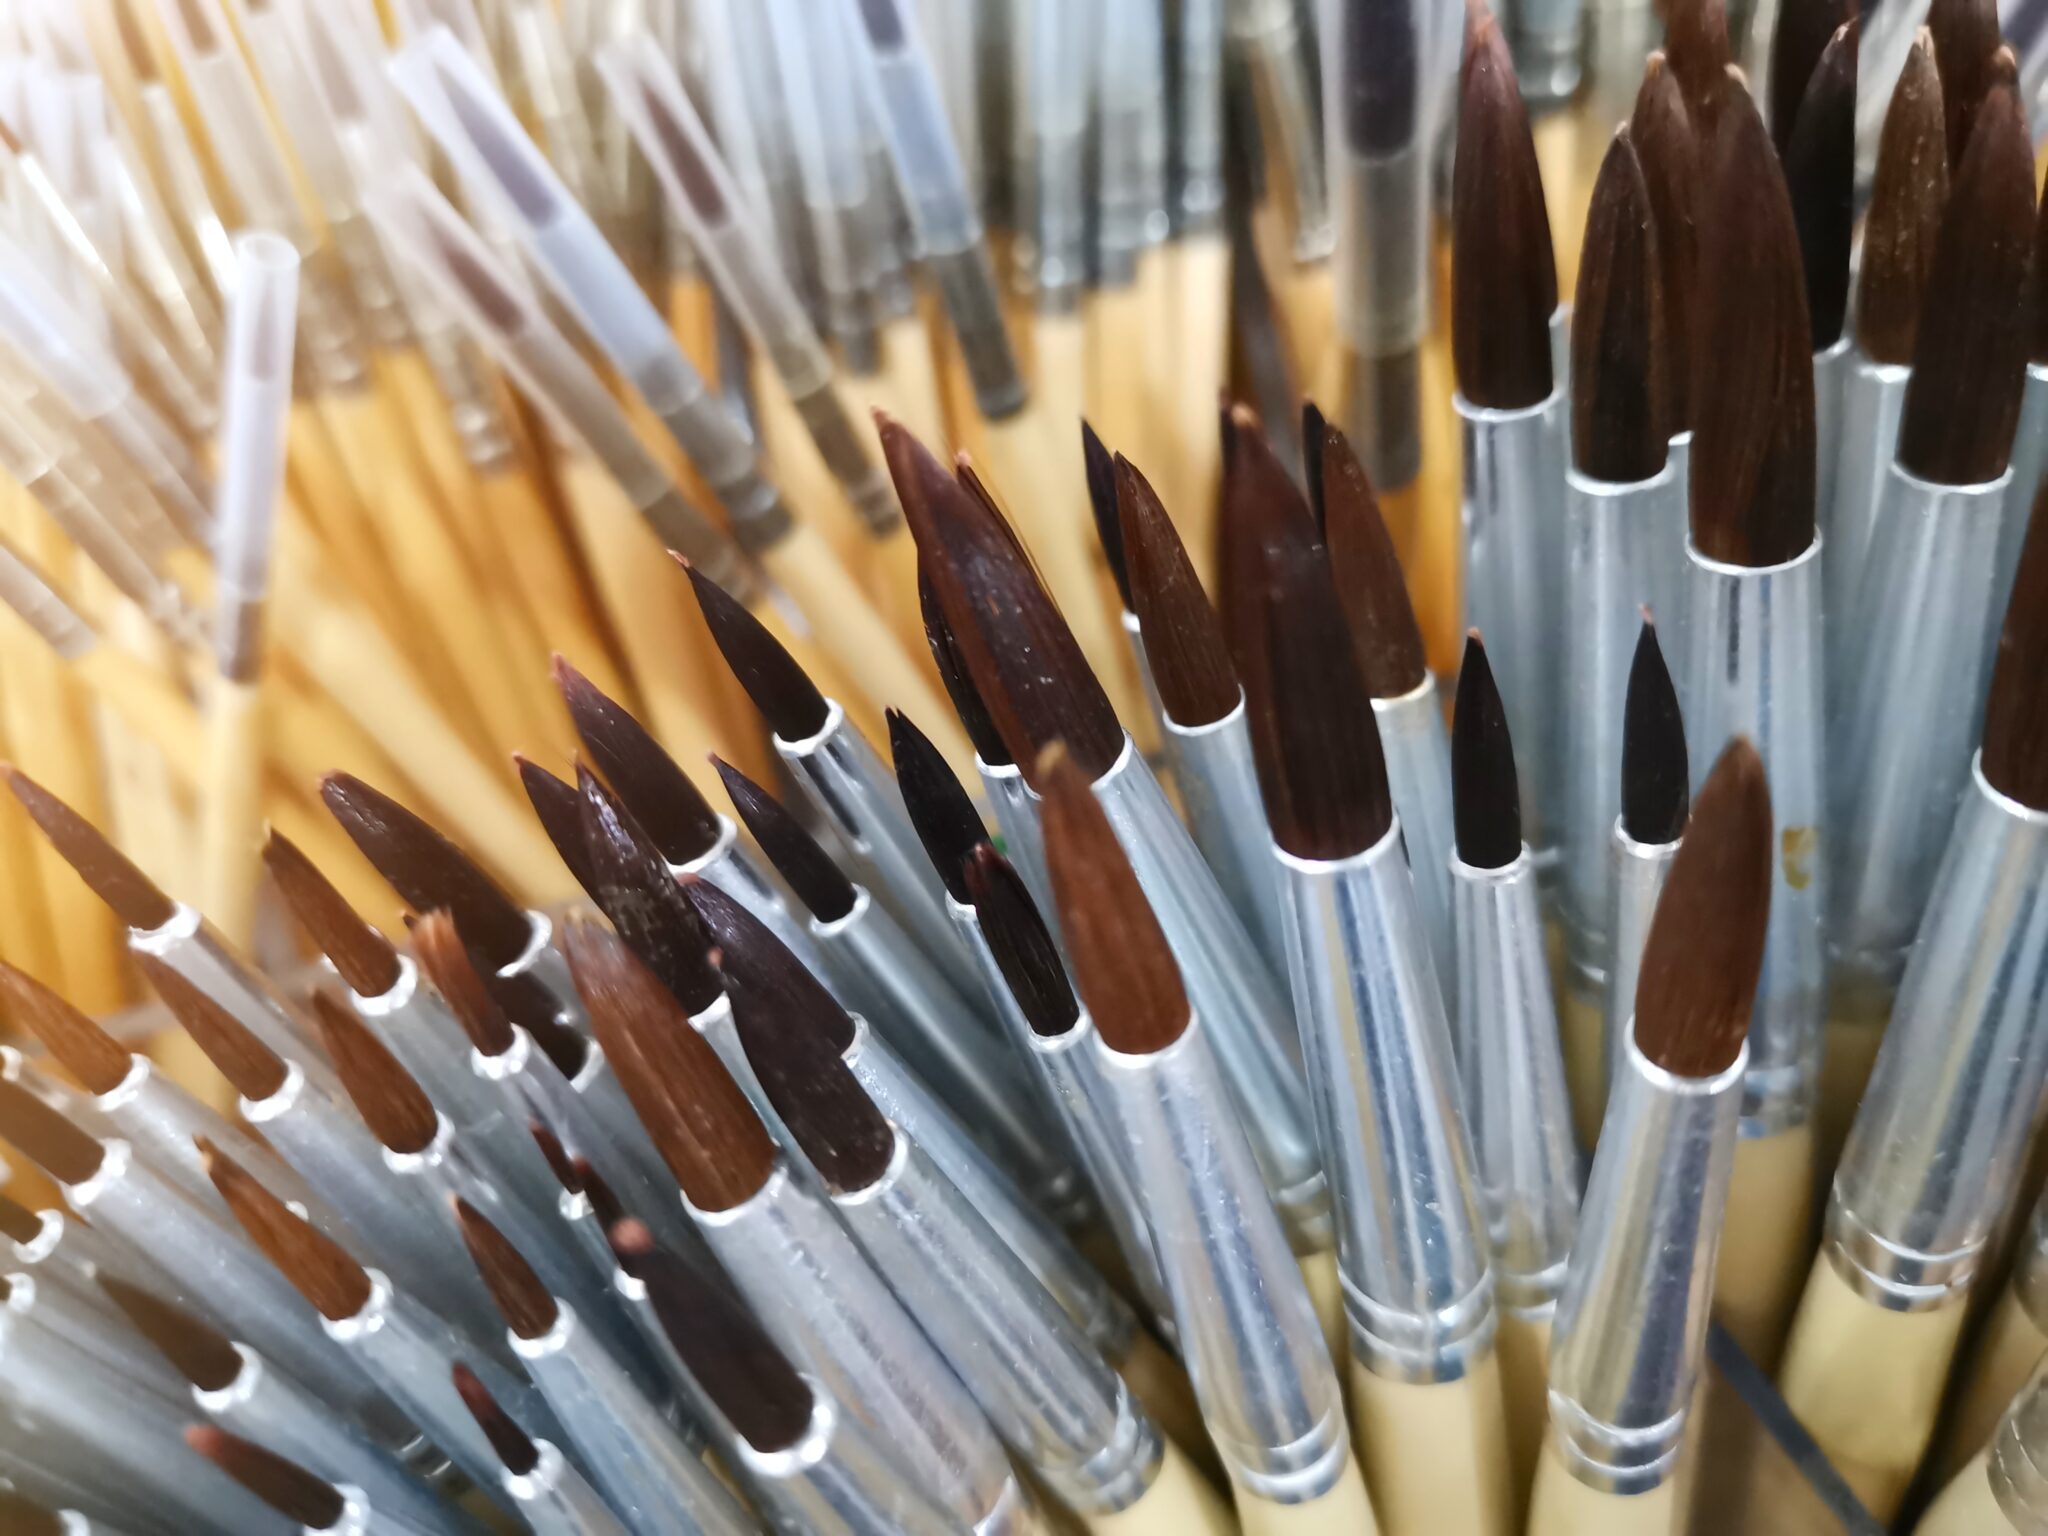
The rigger brush has a long, thin profile and is typically made with either natural or synthetic bristles. Its defining features include:
- Length: The long bristles hold a significant amount of paint while maintaining a fine point, making it easy to create extended lines.
- Flexibility: The bristles are flexible, allowing for smooth application and control when painting delicate details.
- Versatility: While traditionally used in watercolor painting, the rigger brush can also be effective with acrylics, oils, and inks.
2. Best Uses for a Rigger Brush
Rigger brushes are ideal for various applications where fine detail is required:
- Fine Line Work: Use the rigger brush for creating precisely controlled lines, such as outlines, fine details in landscapes, or intricate patterns.
- Whiskers and Fur: Perfect for painting fine strands of fur, whiskers on animals, and hair in portraits or figures.
- Branches and Grasses: The long bristles can easily mimic the look of tree branches, grasses, and other delicate elements in nature.
3. Techniques for Using the Rigger Brush
Here are several effective techniques to help you master the use of a rigger brush:
a. Loading the Brush
- Proper Loading: Dip the rigger brush into your paint, but be careful not to overload it. The point of the brush should be well-covered, but the bristles should not be dripping. It’s often beneficial to load the brush partially to maintain control.
- Water for Fluidity: If you are using acrylics, consider thinning your paint slightly with water or a medium to achieve better flow, especially for finer lines and details.
b. Creating Delicate Lines
- Slow, Gentle Strokes: When applying paint, use a gentle, steady hand to create controlled strokes. The width of the line will depend on how much pressure you apply and the amount of paint loaded into your brush.
- Variation in Pressure: Change the pressure slightly while painting to create varying widths in your lines. Lightly dragging the brush can produce thin lines, while applying a bit more pressure can yield thicker strokes without losing the fine point.
c. Building Whiskers and Fur
- Layering Techniques: For detailing fur or whiskers, build them layer by layer. Start with lighter strokes to establish the basic outline, and then add darker colors for depth and dimension.
- Quick, Flicking Motions: Use quick, flicking motions with the rigger brush to create the appearance of individual hair strands or whiskers. This technique gives a more natural look to fur and hair.
4. Creating Texture and Detail
- Texture Representations: For additional texture, mix a small amount of a coarse medium into your paint. This can add dimension to lines, particularly for elements like bark on trees or grass blades.
- Controlled Wiggle: Incorporate a slight wiggle in your stroke when painting branches or curved lines to mimic the natural irregularities of those elements.
5. Cleaning and Maintenance
To ensure the longevity and performance of your rigger brush, proper cleaning and maintenance are essential:
- Immediate Cleaning: Rinse the brush thoroughly after use in warm, soapy water to prevent paint from drying in the bristles. For acrylics, cleaning is vital as they can harden quickly.
- Reshape the Bristles: After cleaning, reshape the bristles while they are wet and allow the brush to dry flat or hanging to maintain its fine point.
- Proper Storage: Store your rigger brush upright or in a protective case to prevent damage to the bristles.
6. Practice Makes Perfect
- Experimentation: Spend time practicing different strokes and techniques with your rigger brush on scrap paper or canvas. Experiment with varying amounts of paint and pressure to discover the effects you can achieve.
- Study Examples: Look closely at paintings that utilize fine line work for inspiration, paying attention to how the artist used the rigger brush to create depth and detail.
7. Conclusion
The rigger brush is an invaluable tool for any artist looking to add delicate lines and intricate details to their work. By mastering its techniques and applications, you can effectively enhance your paintings with fine lines, depth, and realism.
Don’t forget to explore our selection of rigger brushes and other essential art supplies available at urartstudio.com to support your creative journey!
Be sure to visit our online store at https://urartstudio.com/shop/ for a variety of art supplies and tools. Additionally, check out valuable painting tips at urartstudio.com/painting-tips/ and our step-by-step painting instructions at https://urartstudio.com/step-by-step-painting-instructions/ to further enhance your skills.
Keywords: rigger brush, fine lines, painting techniques, whiskers, art supplies.
#RiggerBrush, #FineLines, #PaintingTechniques, #Whiskers, #ArtSupplies
Leave a Reply
You must be logged in to post a comment.