Step-by-Step Acrylic Landscape Painting: “Frozen Contrast” – How to Paint Dark Brown Pine Forest | Fallen Tree Covered in White Snow
LISTEN TO THIS STEP BY STEP INSTRUCTIONS:
Discover a world of artistic possibilities with our comprehensive collection of acrylic paint brushes and tools, expertly curated for your creative journey. Designed to accompany and enhance our online art video tutorials, these brushes and tools are essential for every aspiring artist. Embrace the versatility and precision of our high-quality acrylic paint brushes, available in a range of sizes and shapes to suit any artistic style. From fine details to bold strokes, these brushes help you bring your visions to life with ease. With our handpicked collection of acrylic paint brushes and tools, unleash your inner artist and explore boundless creativity conveniently from the comfort of your home. Let your artistic dreams soar as you dive into our online art video tutorials, equipped with the finest brushes and tools that will undoubtedly elevate your artistic endeavors.
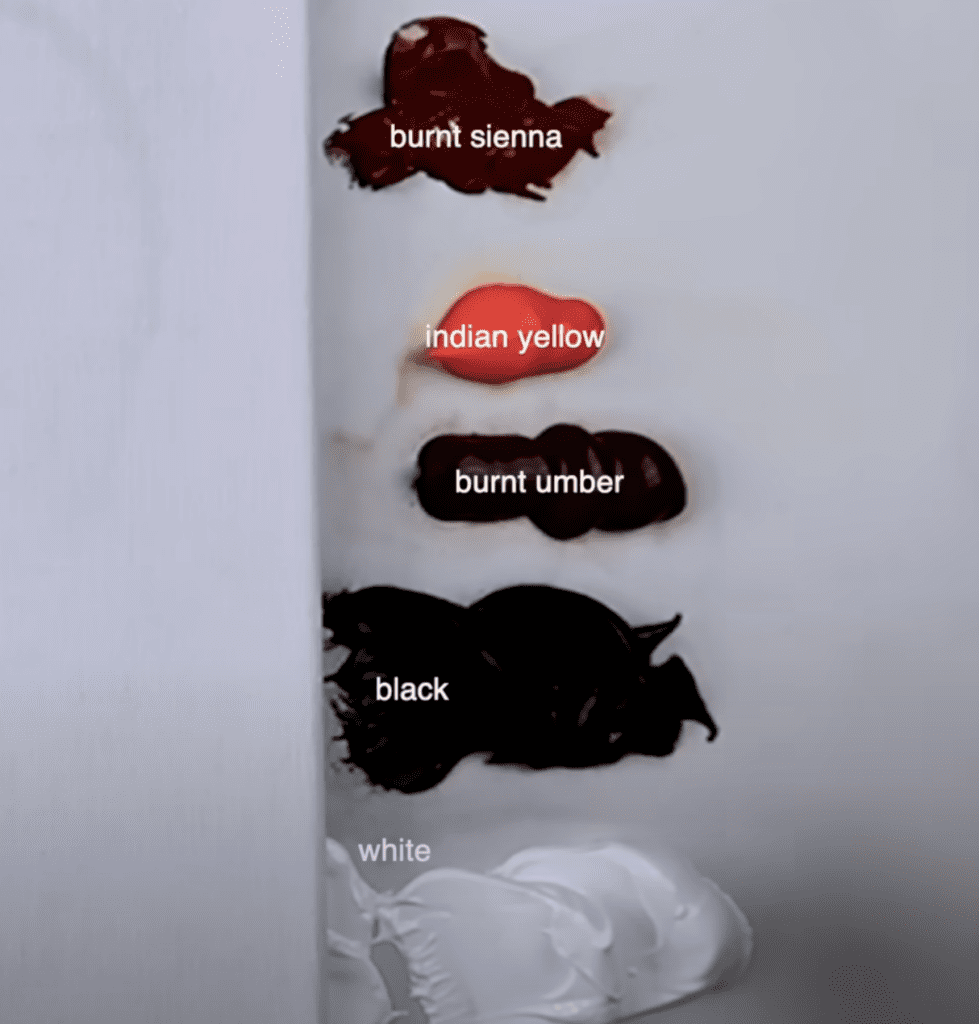
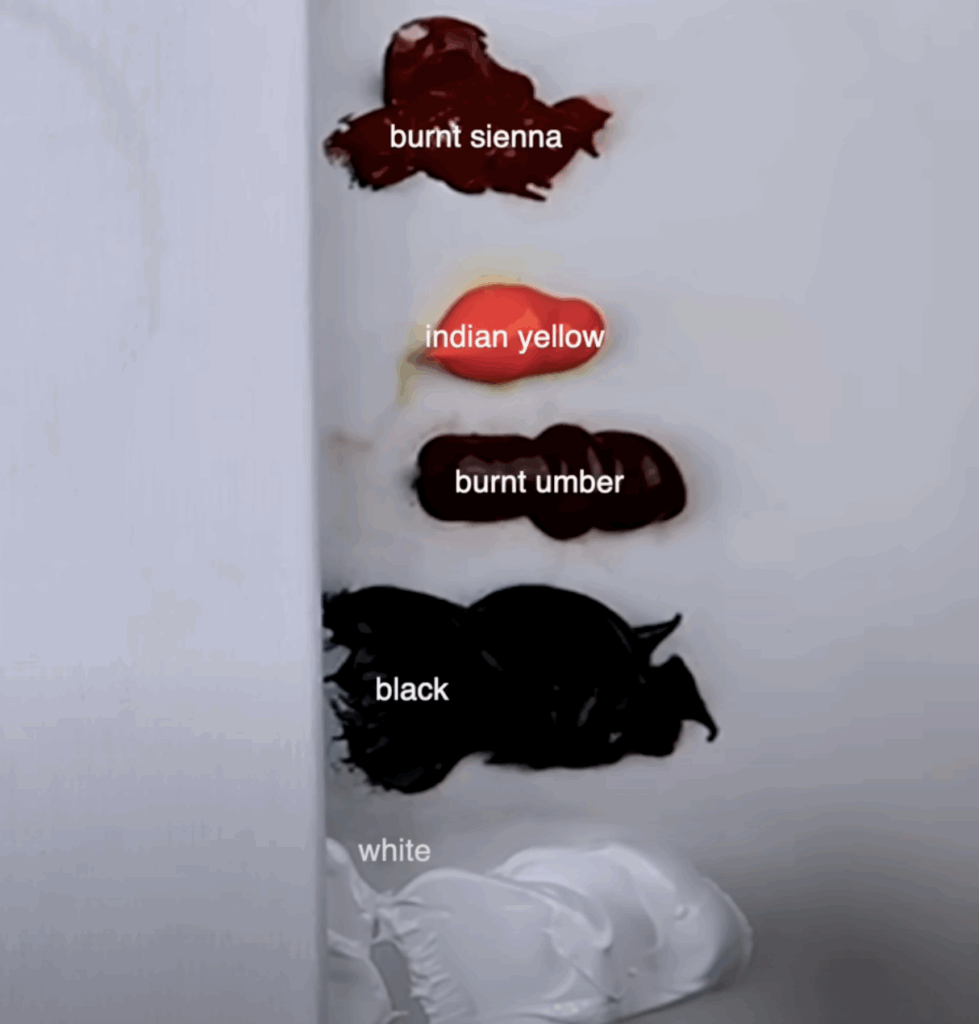
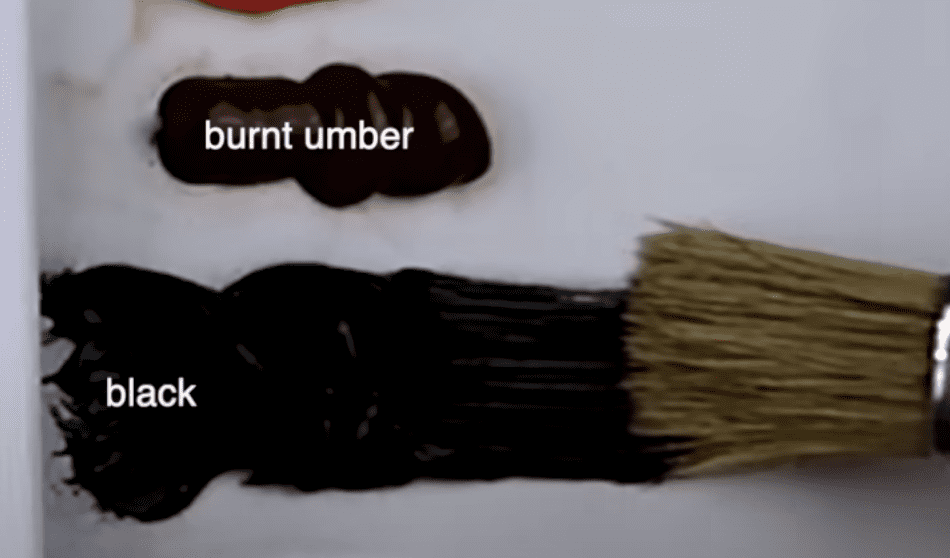
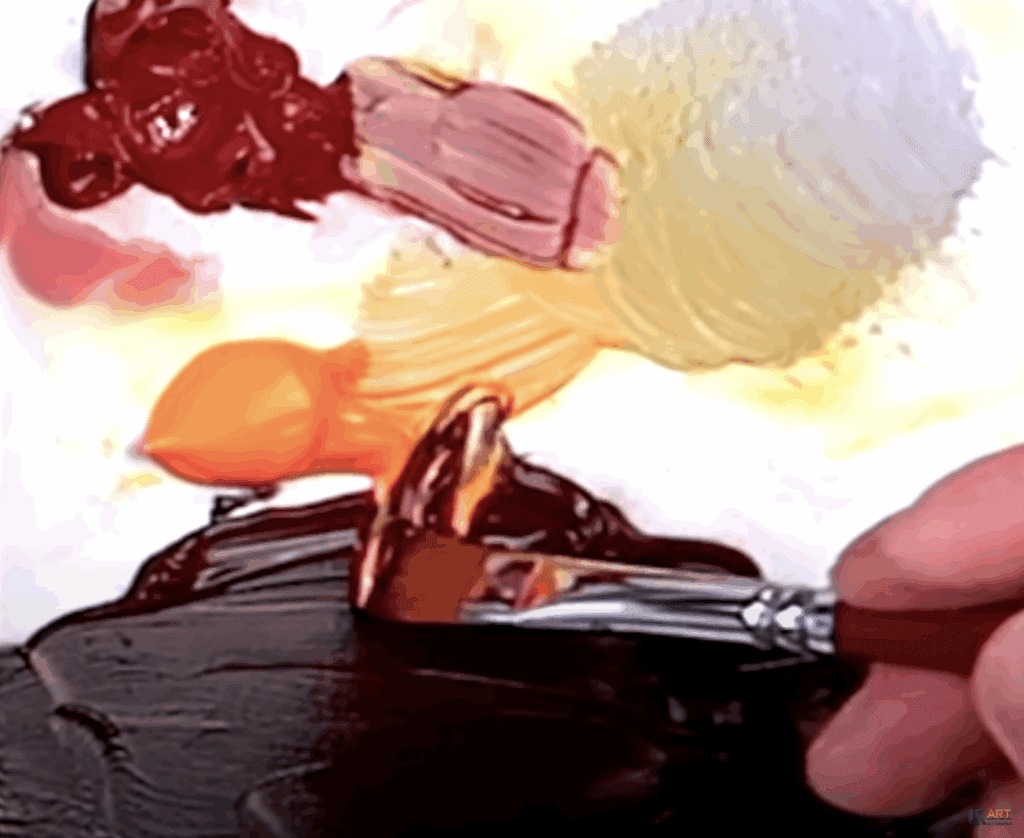
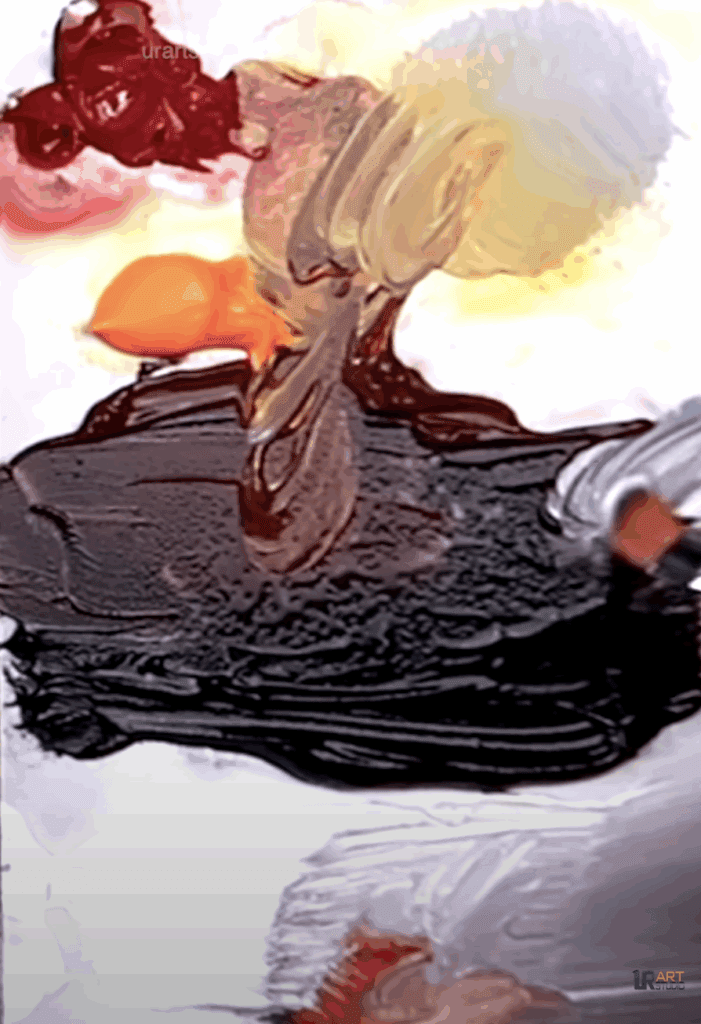
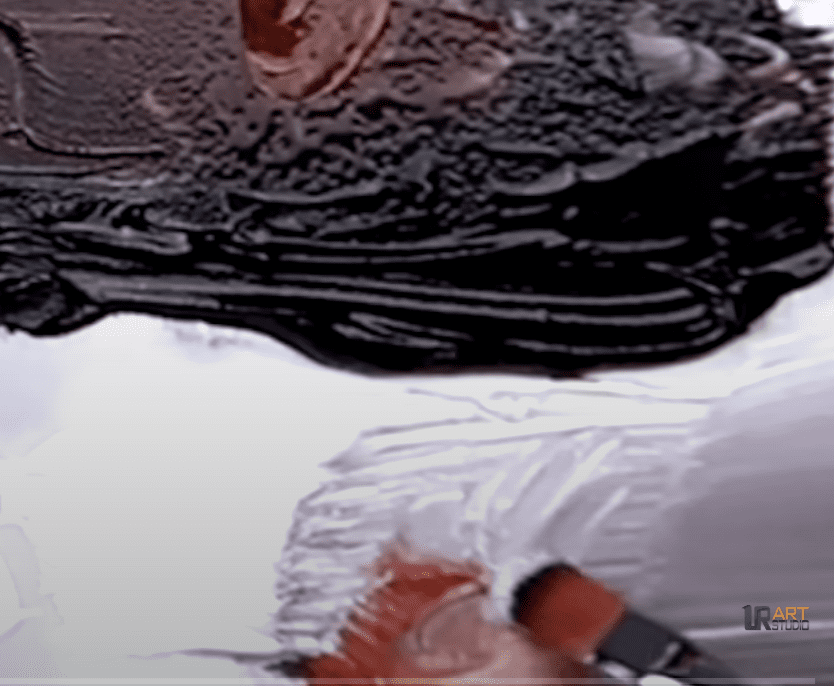
COLORS: black, white, burnt sienna, burnt umber, indian yellow
Painting Tips Page:
- Ultimate resource for invaluable painting tips and techniques.
- Learn canvas preparation, color preservation, drying techniques, and more!
- Master brush selection and usage for breathtaking artworks.
- Join us at urartstudio.com for curated painting tips.
- Visit Our YouTube channel at https://youtube.com/pdranitsin to unlock your artistic potential.
Materials Needed:
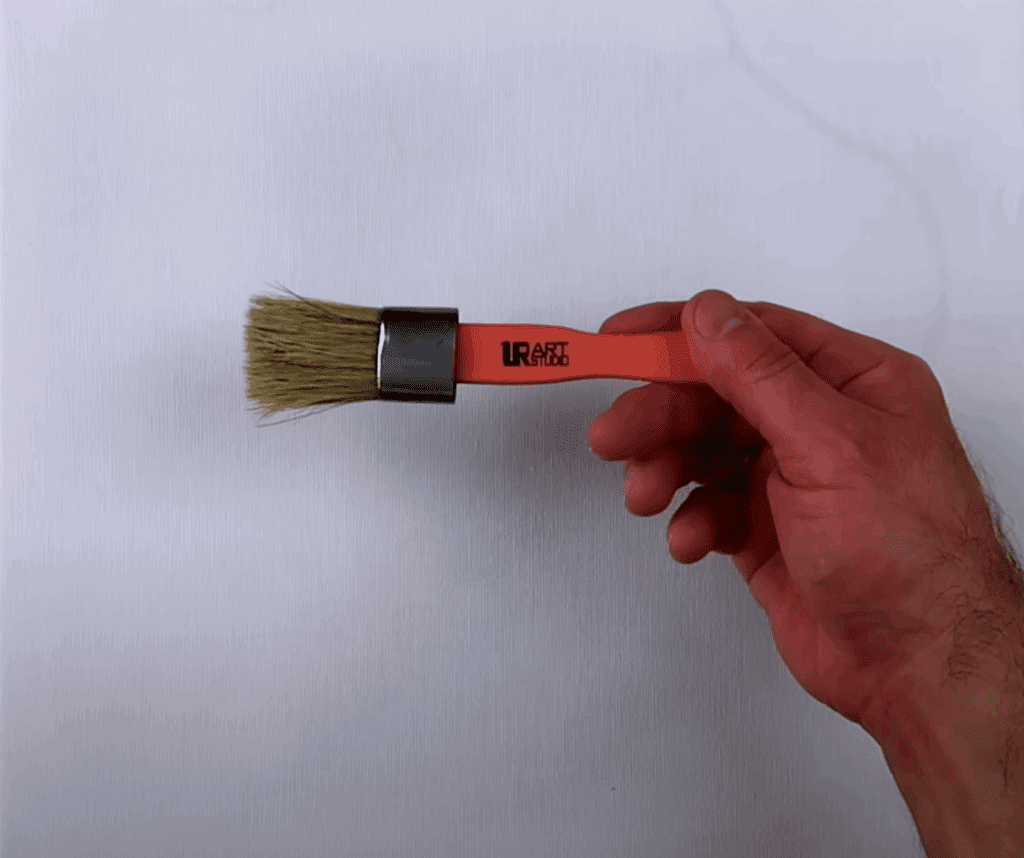
- 1-inch brush
- Ultra-soft blending brush
- Filbert brush
- Liner brush
- Big square brush
- Custom bristle brush
- Canvas
- Paint colors: black, white, burnt sienna, burnt umber, Indian yellow
.
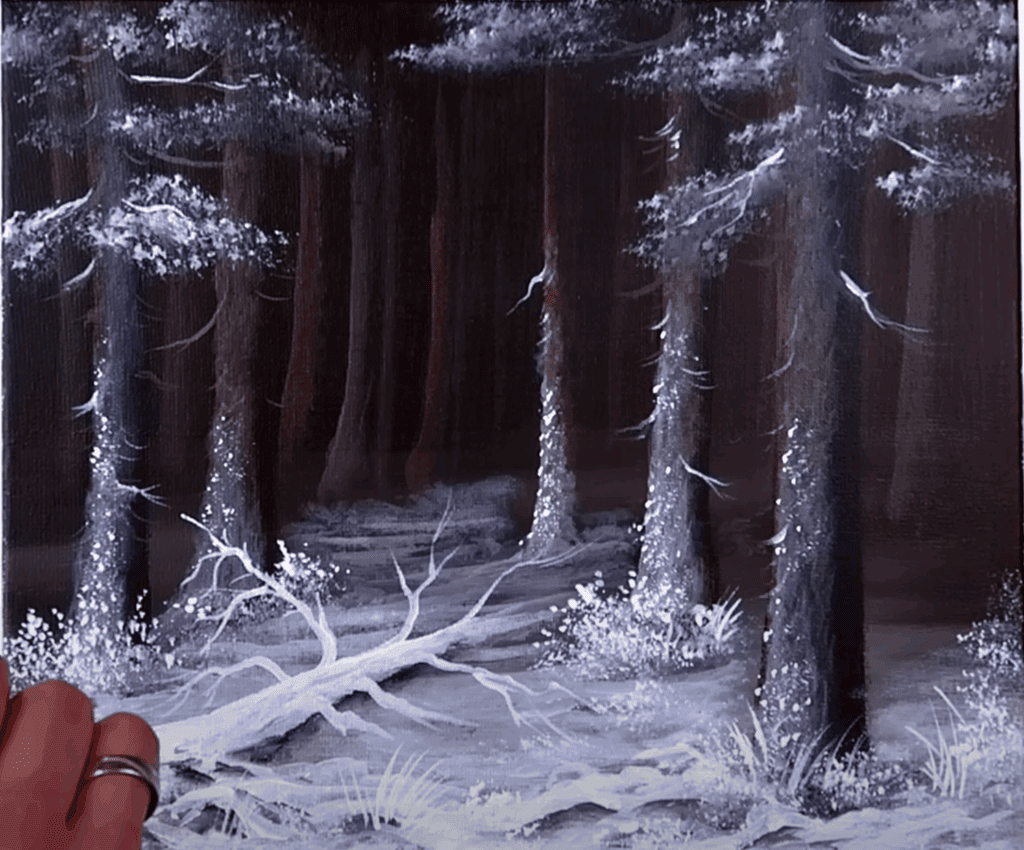
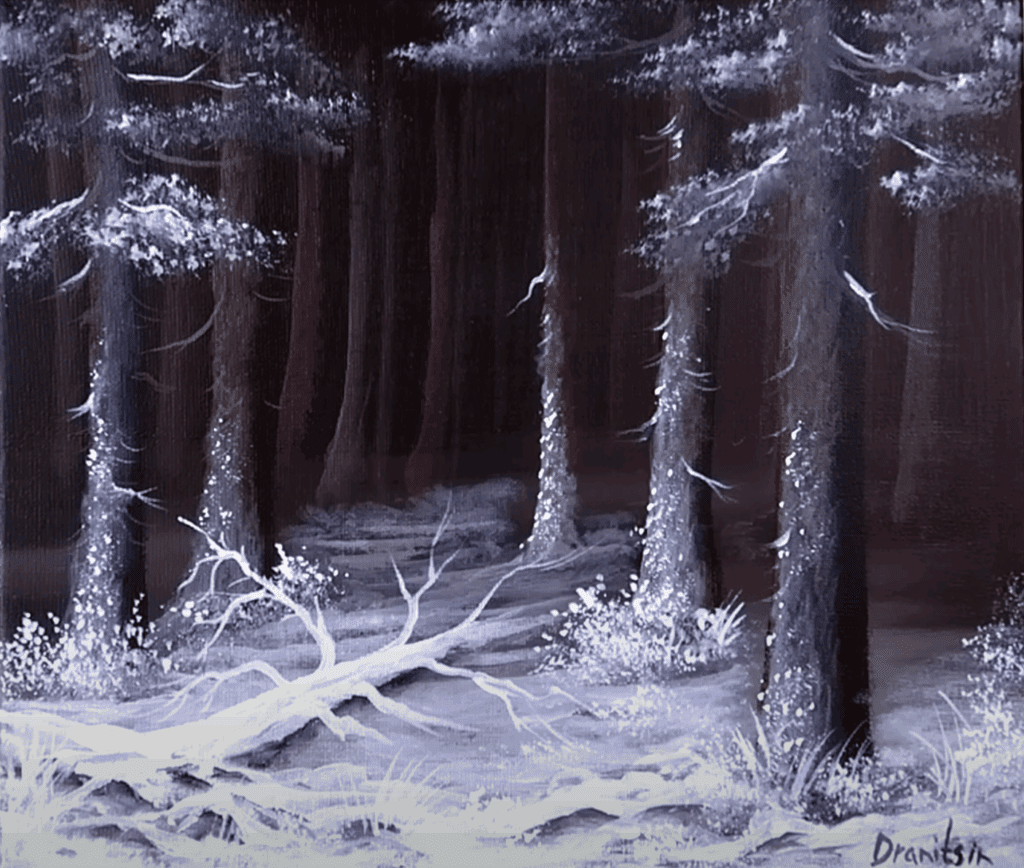
Welcome to this immersive step-by-step landscape painting demonstration where you’ll learn how to create a stunning winter scene of a snow-covered deep forest. Using expert strokes of rich dark brown hues, we will capture the majesty of towering pine trees contrasting against a pristine white snow blanket. Pay close attention as the fallen tree, gracefully cloaked in a white embrace, adds a serene touch to the composition. Allow the artist’s guidance to transport you to a tranquil winter wonderland, a place where you can capture the awe-inspiring beauty of nature on your canvas. Witness the harmonious interplay between darkness and light, reminding us that even in the cold silence of winter, enchantment and beauty await.
Before we dive in, let’s make sure we have all the necessary materials. Ensure you have the following brushes from UR Art Studio’s collection: 1-inch brush, ultra-soft blending brush, filbert brush, liner brush, and big square brush. These brushes will help you achieve the desired effects throughout the painting process. You can find these brushes at the UR Art Studio website under their art supply section.
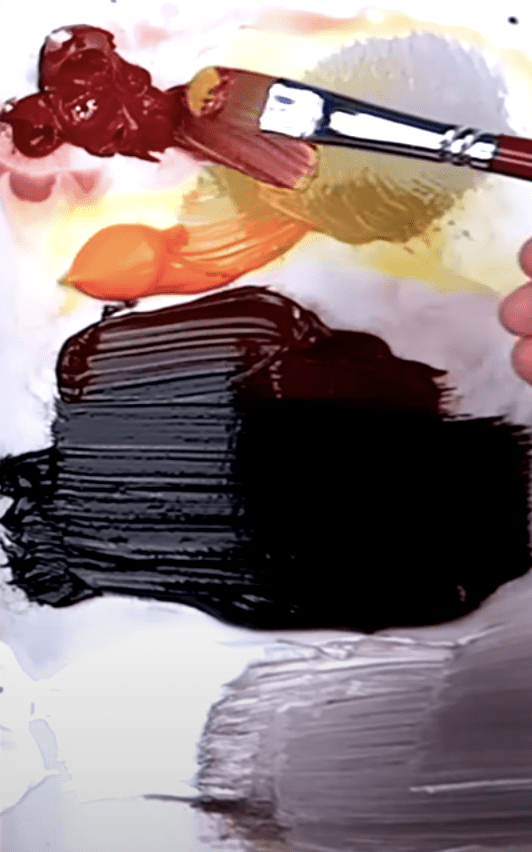
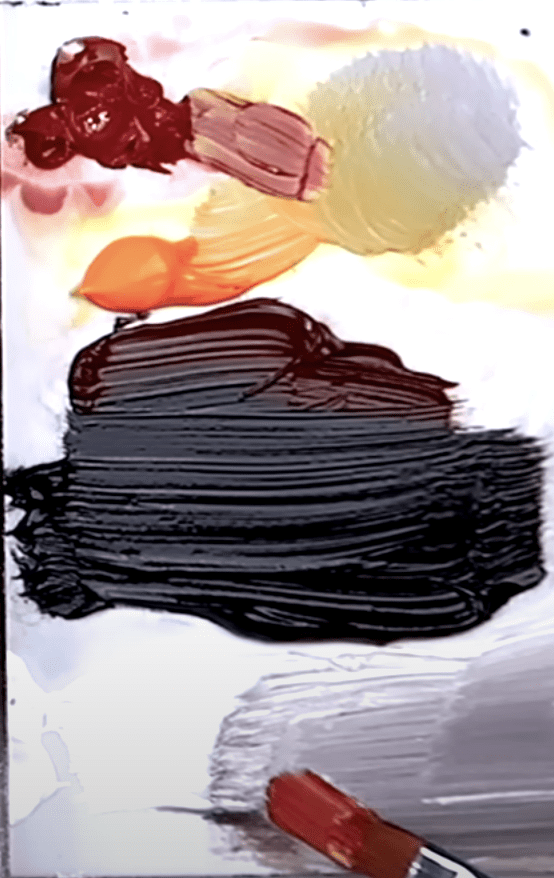
Additionally, to create this captivating winter landscape, we will be using the following paint colors: black, white, burnt sienna, burnt umber, and Indian yellow. Browse through UR Art Studio’s painting tips on their website for valuable insights into color mixing and techniques that can enhance your creative journey.
Now, let’s start creating our masterpiece!
Step 1: Background
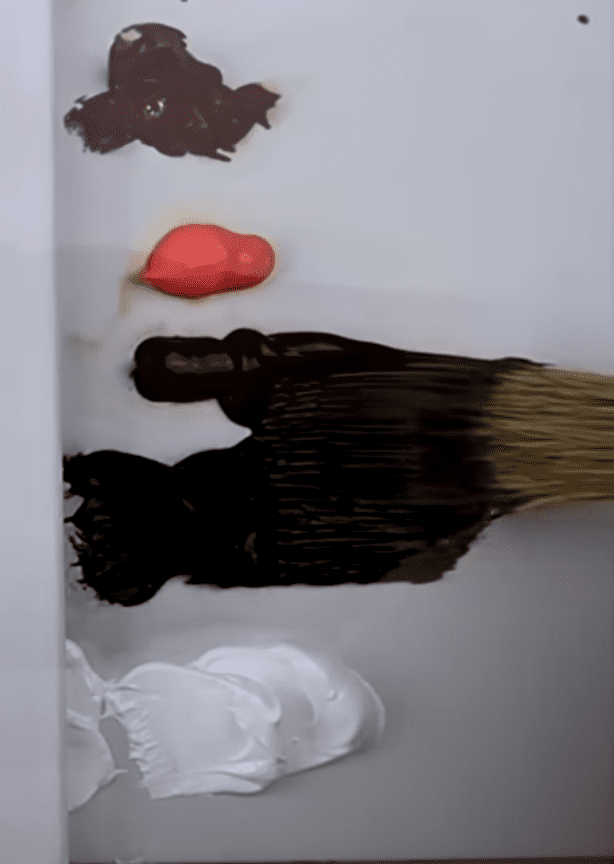
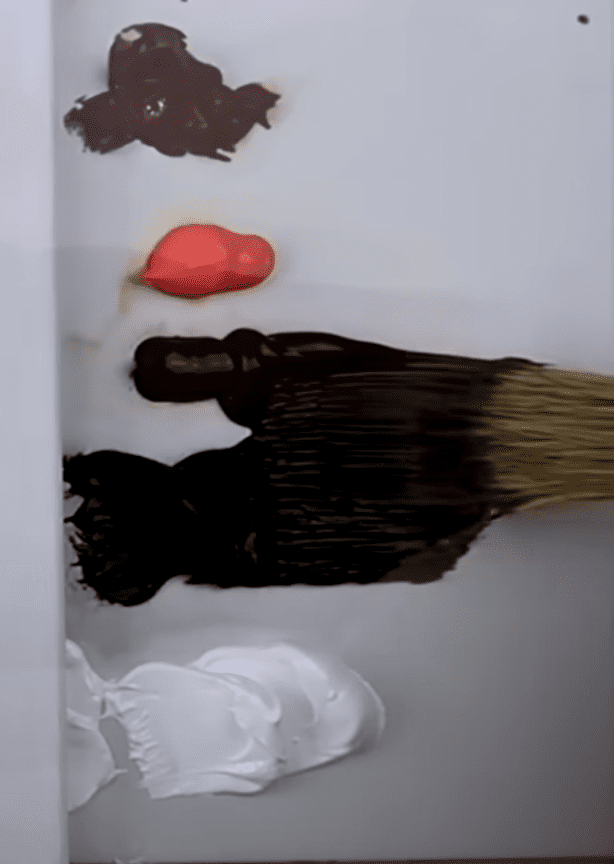
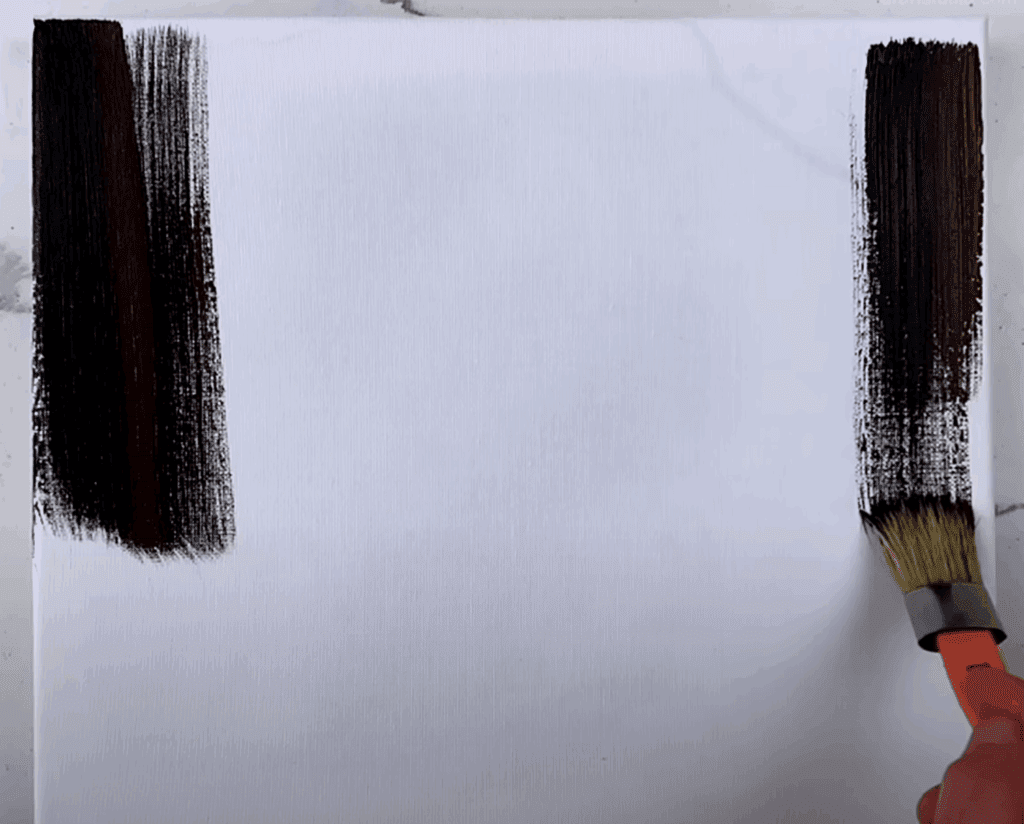
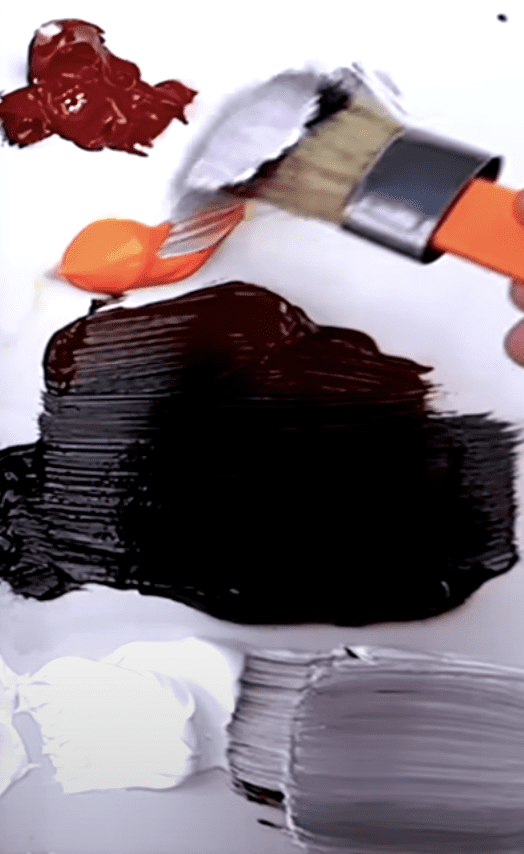
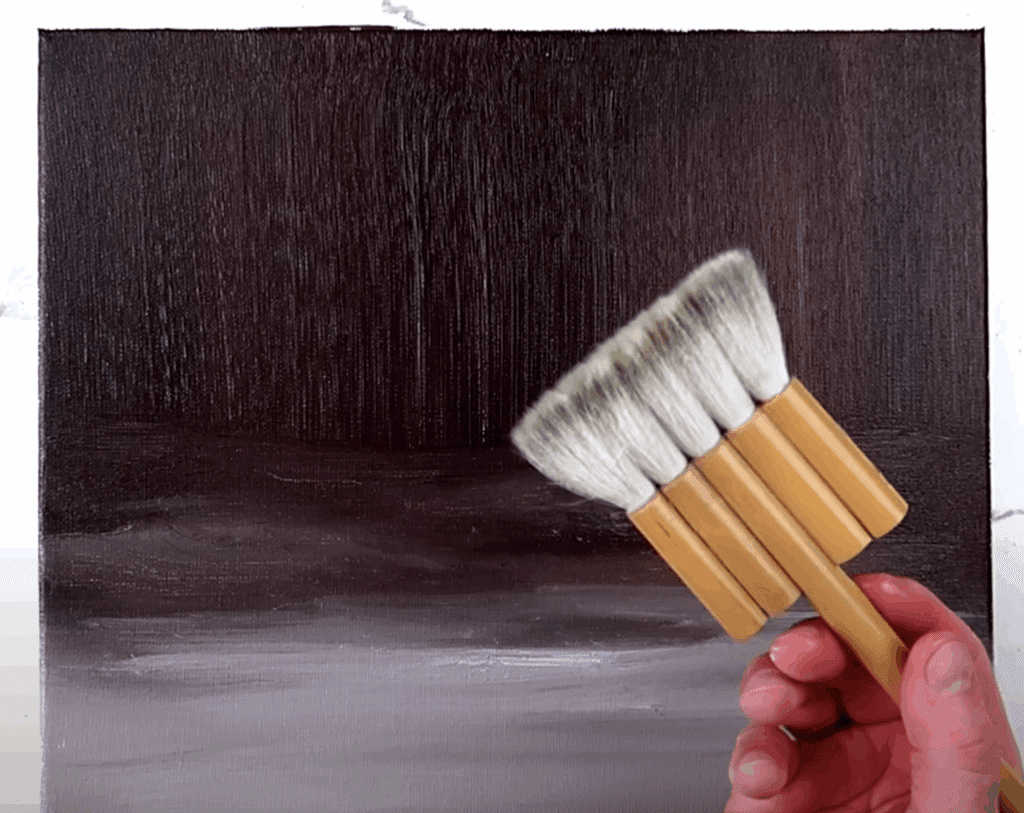
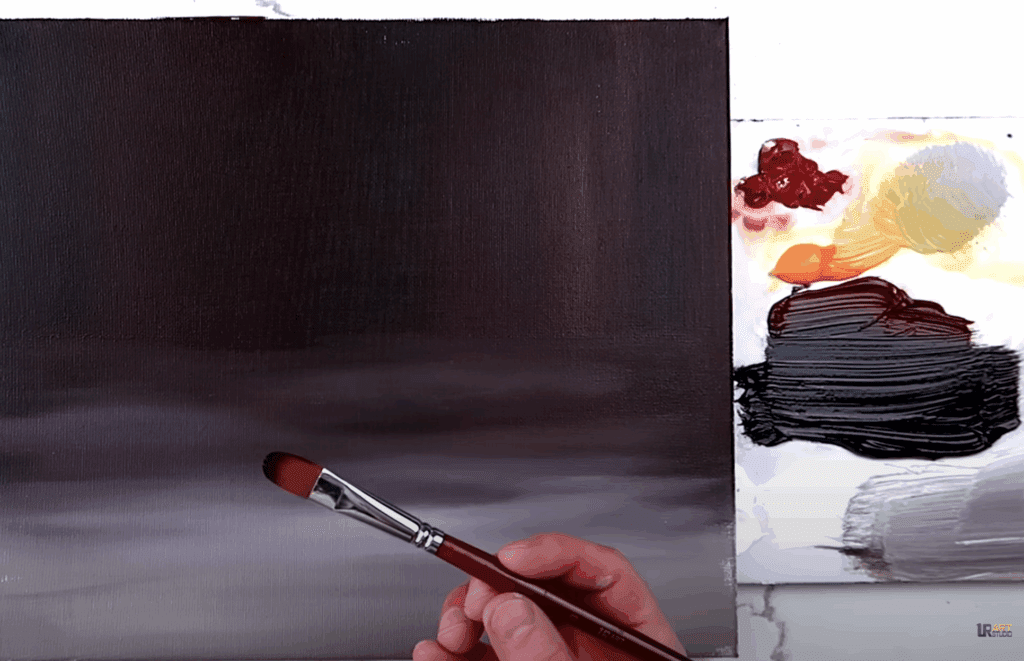
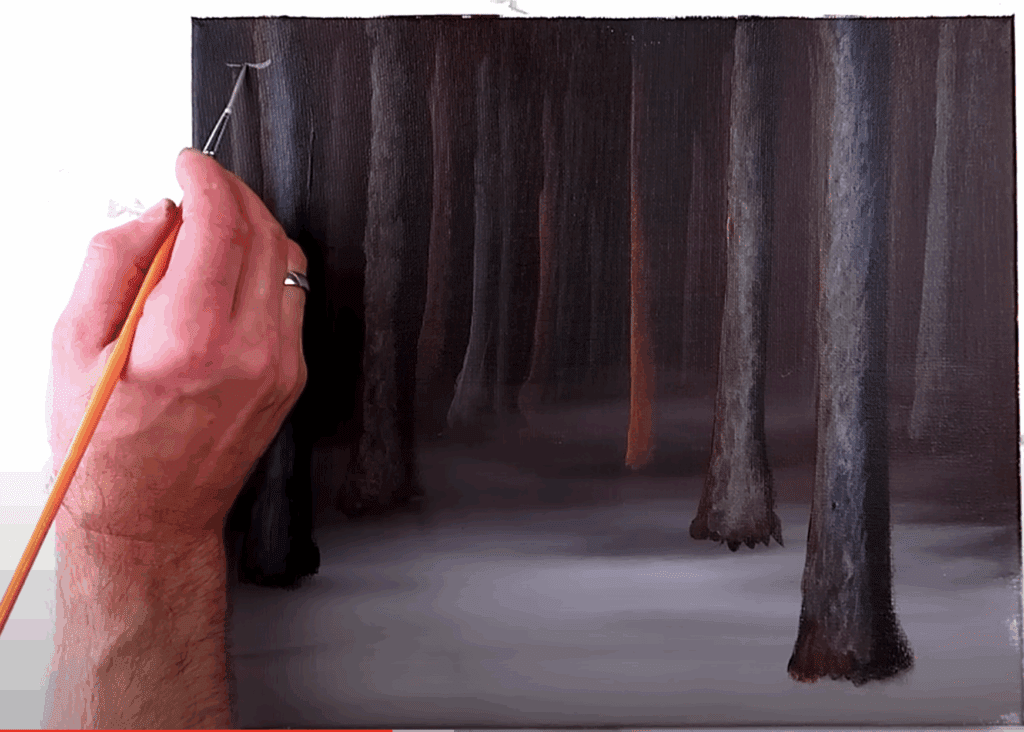
Begin by taking your 1-inch brush and covering the top portion of the canvas and the majority of the middle portion with a mixture of dark brown and black paint, using vertical strokes. This dark base will represent the dense forest. Now, mix a bit of white and Indian yellow on the same brush. Starting from the bottom, blend this light mixture upward, gradually merging it with the dark paint to create the illusion of a snowy landscape. Add a few spots of pure white to the foreground snow to enhance the depth and realism of the scene.
Step 2: Blending
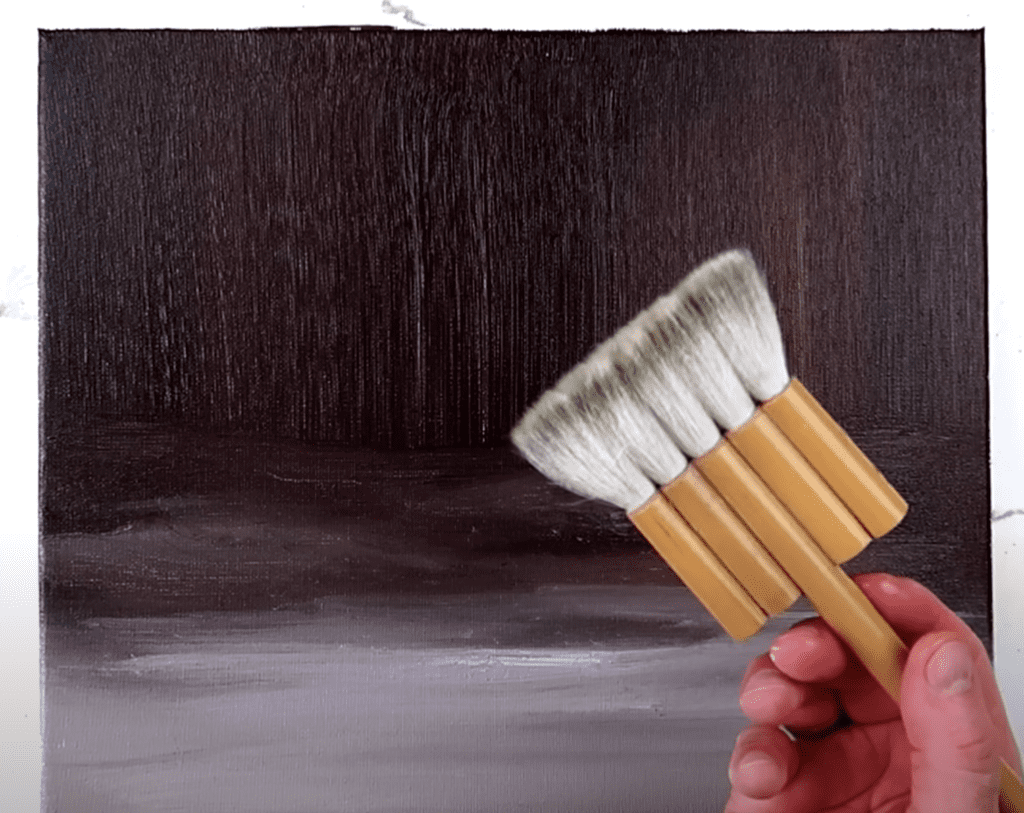
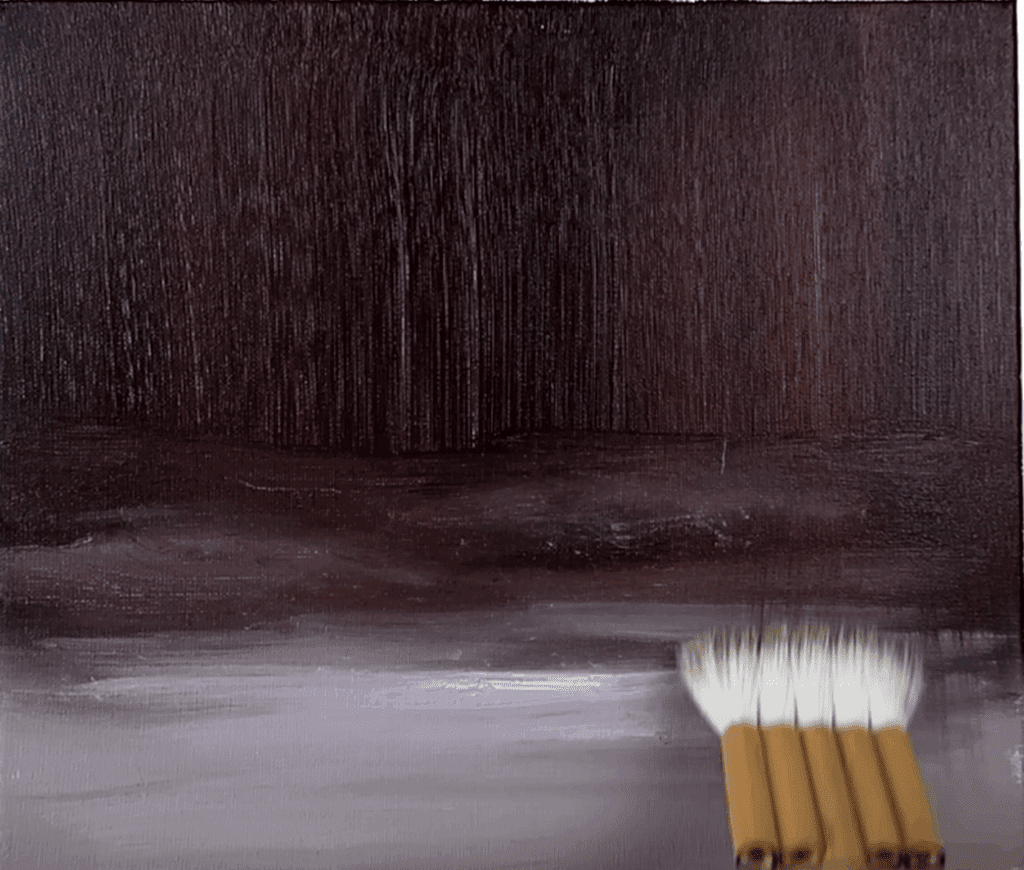
To achieve a soft and smooth appearance for both the foreground and background, we’ll employ the ultra-soft blending brush. With very light pressure, use the blending brush to soften any visible brush marks, creating a seamless transition between the different elements of the painting.
.
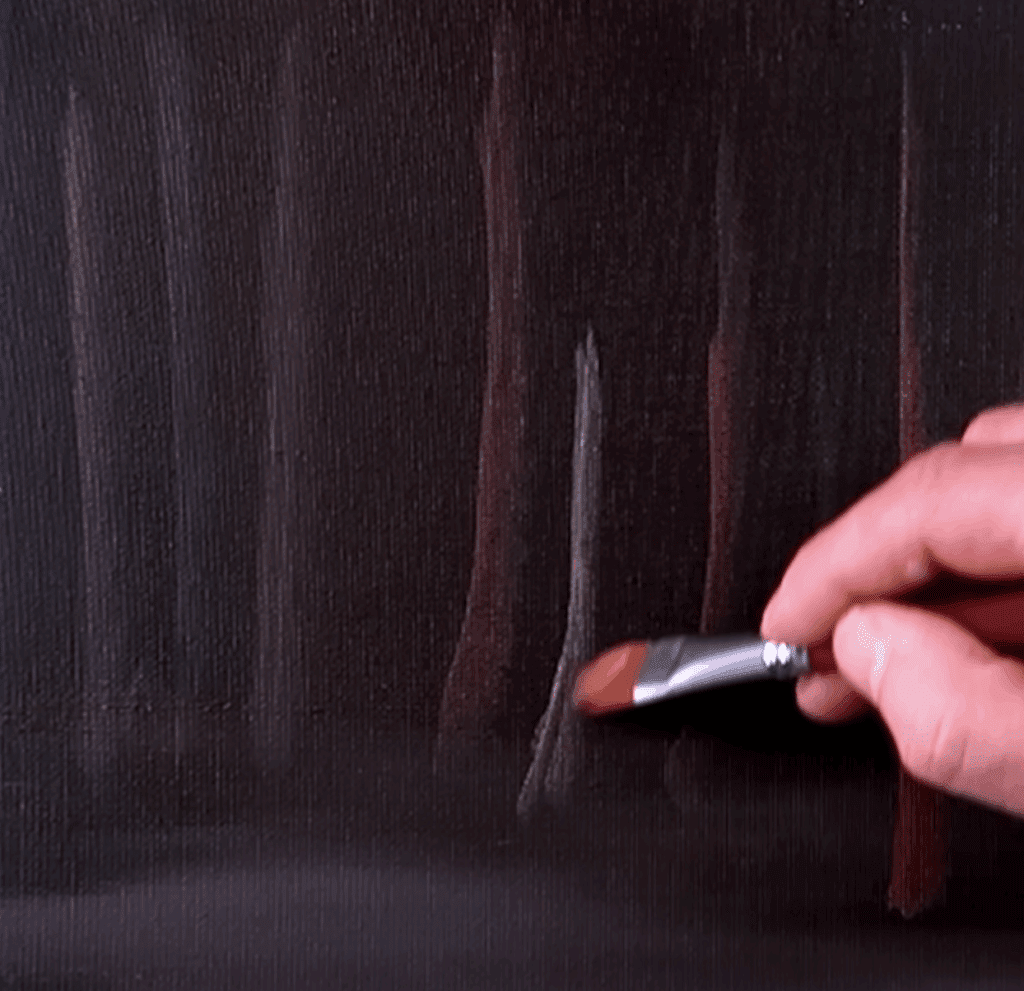
Step 3: Tree Trunks in the Distance
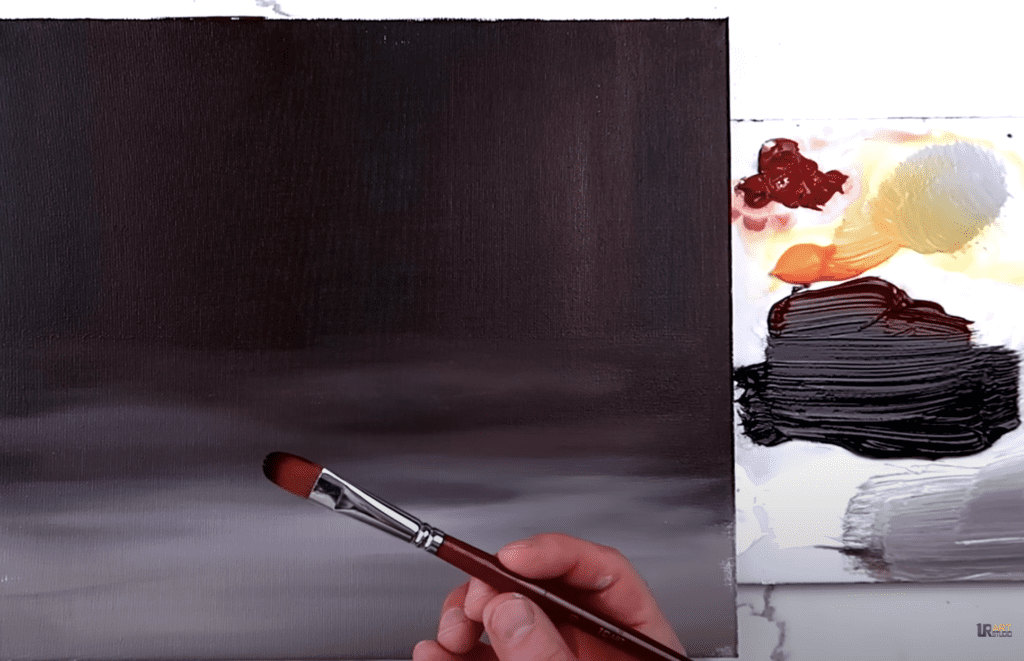
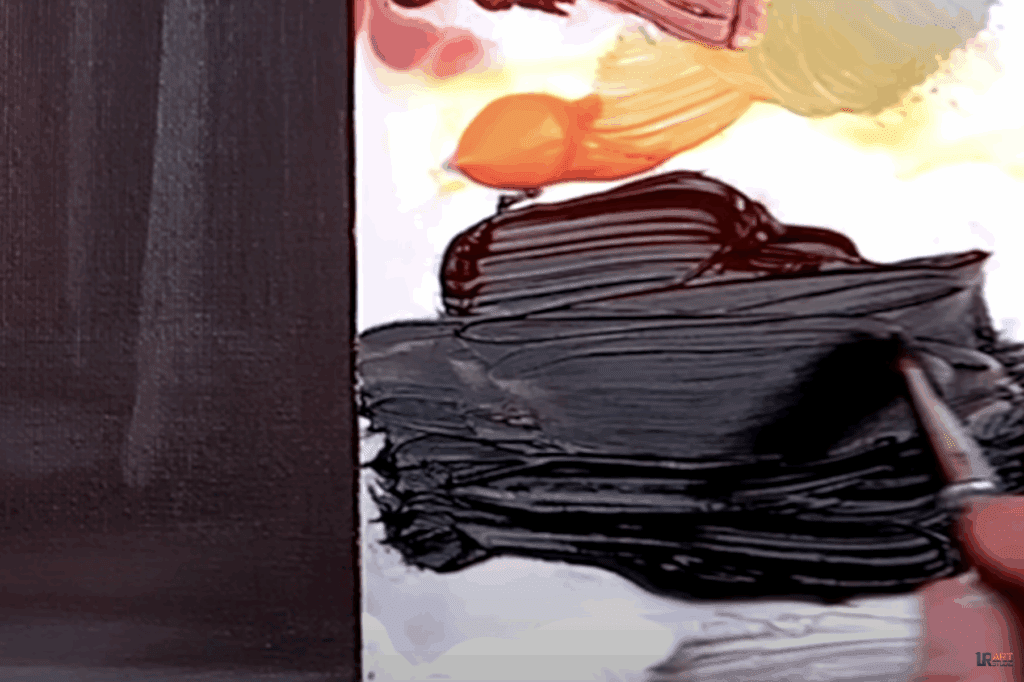
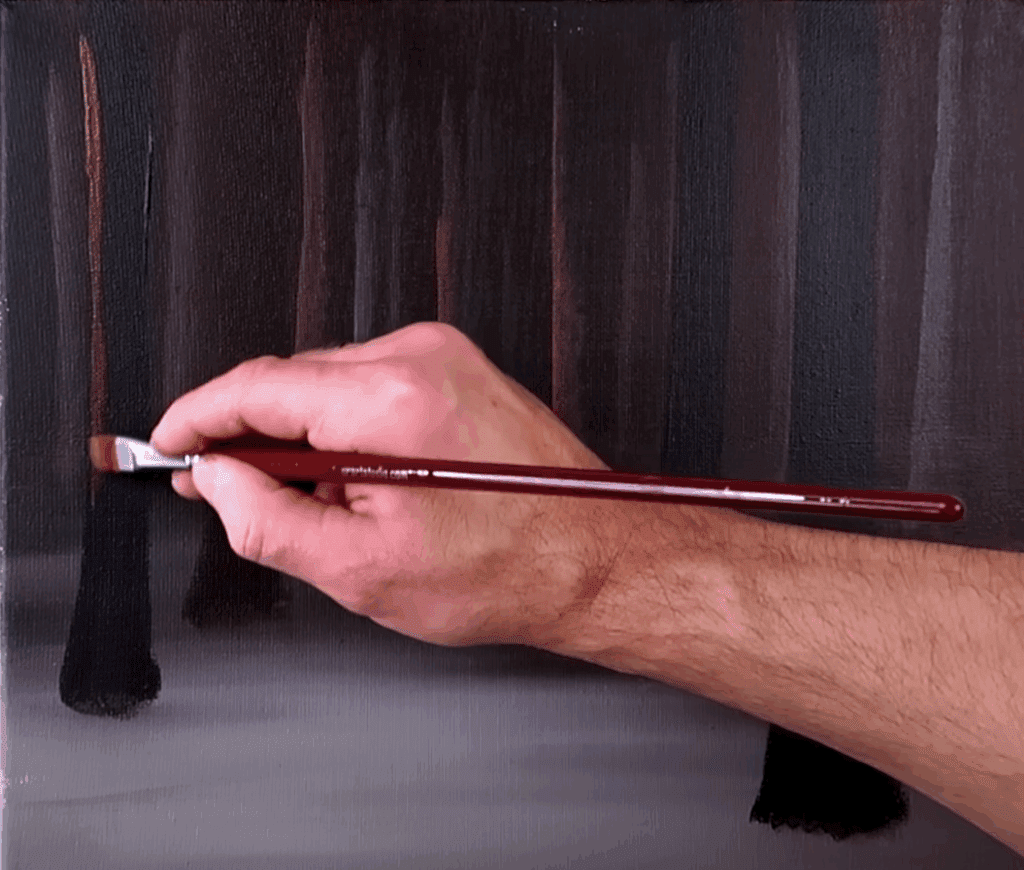
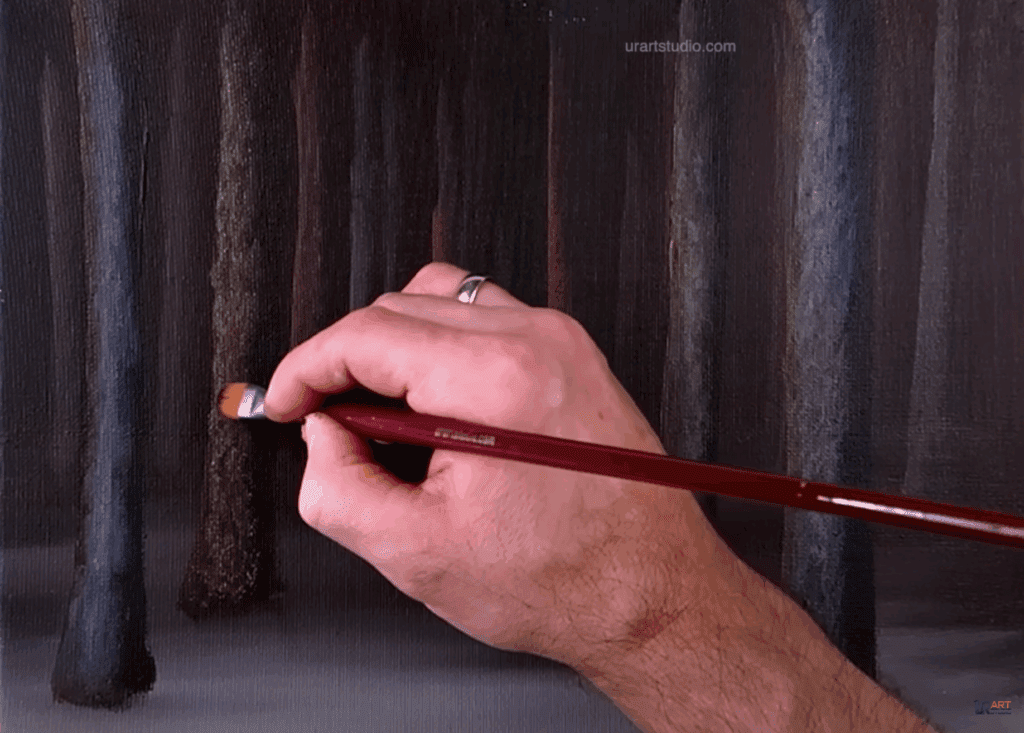
Now, let’s add some remarkable depth to our forest. Load a filbert brush with burnt sienna and a touch of gray to create a subtle variation in color. With this mixture, paint the distant tree trunks in the background, intermixing the colors to achieve a realistic forest texture. To give the trunks shape, use a clean and dry filbert brush to soften one side of each trunk.
.
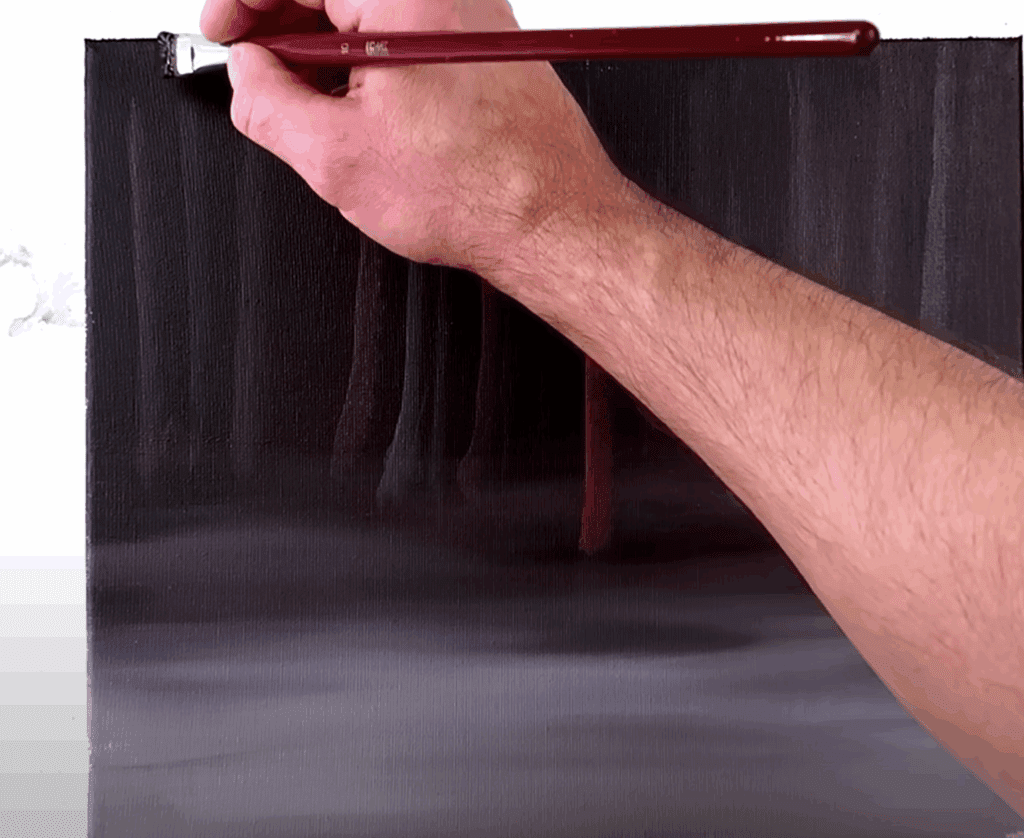
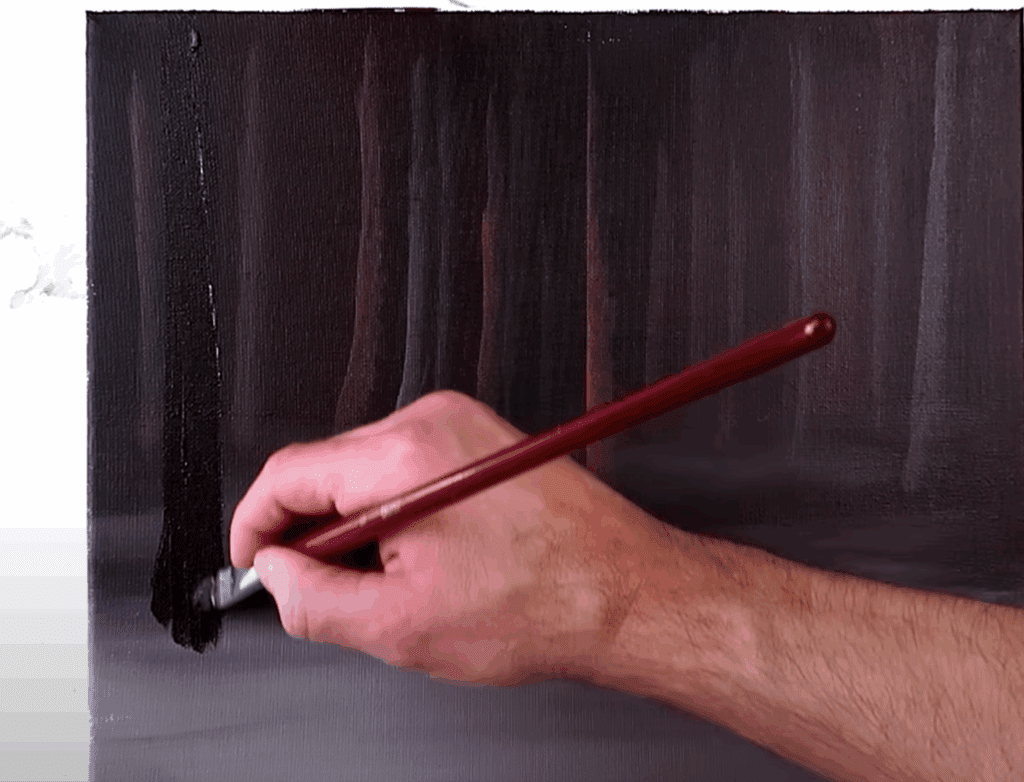
Step 4: Tree Trunks in the Foreground
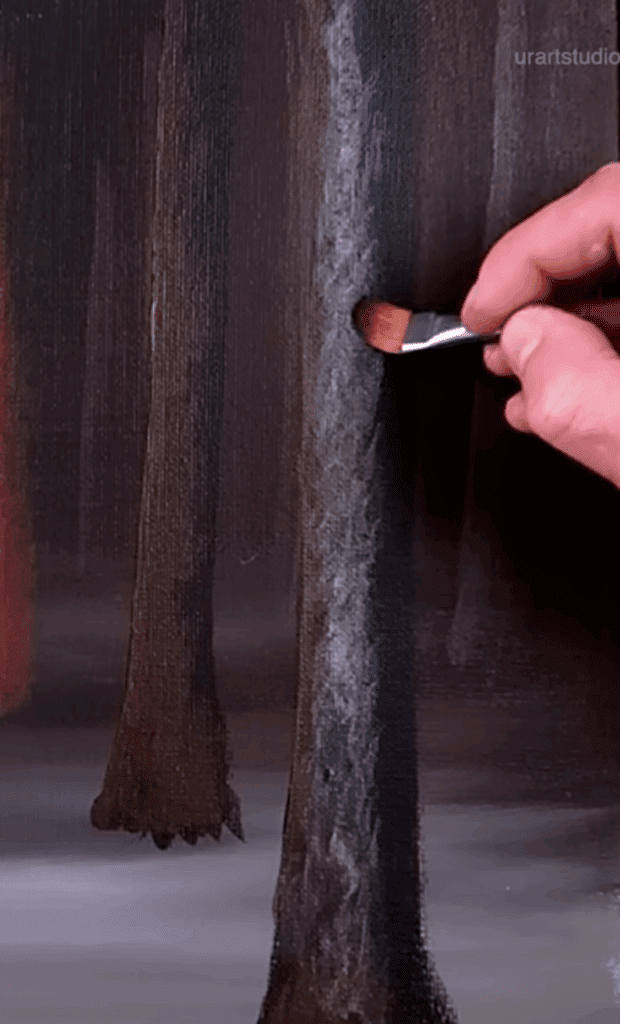
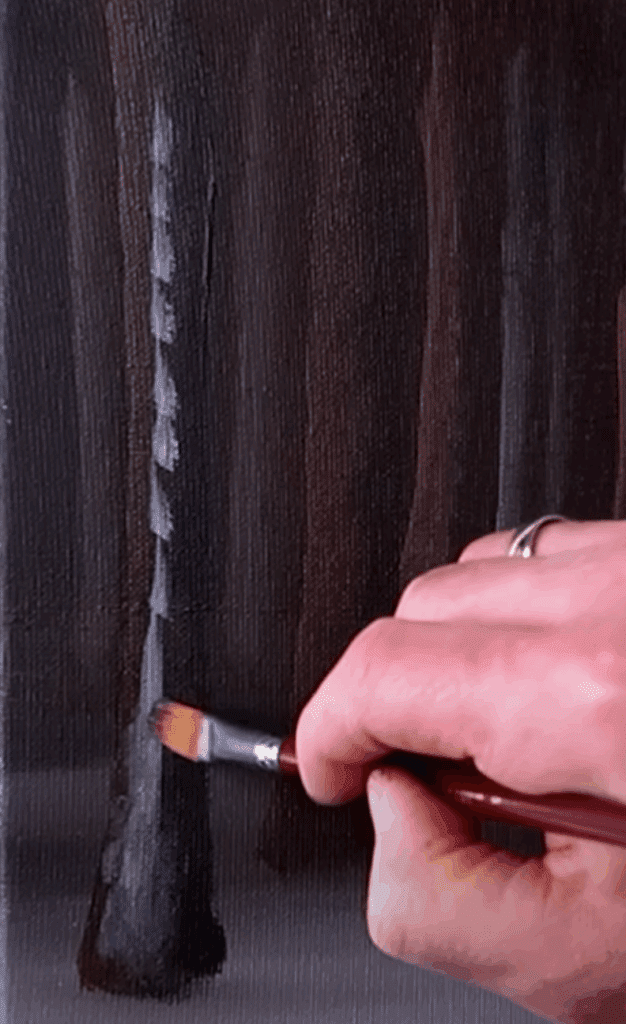
Continue by using the same filbert brush, but this time load it with black paint. Create bigger tree trunks in the foreground. Remember to vary the sizes and shapes to mimic the natural diversity of trees. Add a few highlights using lighter colors, such as white and Indian yellow, to bring the trunks to life. To seamlessly blend the highlights, follow the same process of using a clean and dry filbert brush.
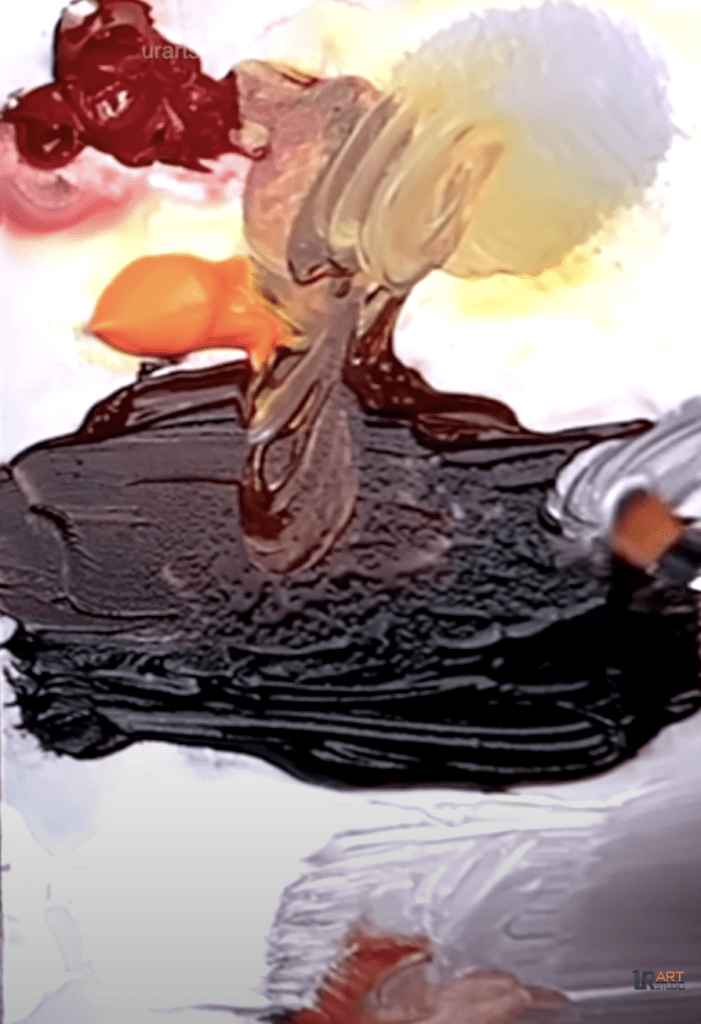
Step 5: Elegant Branches
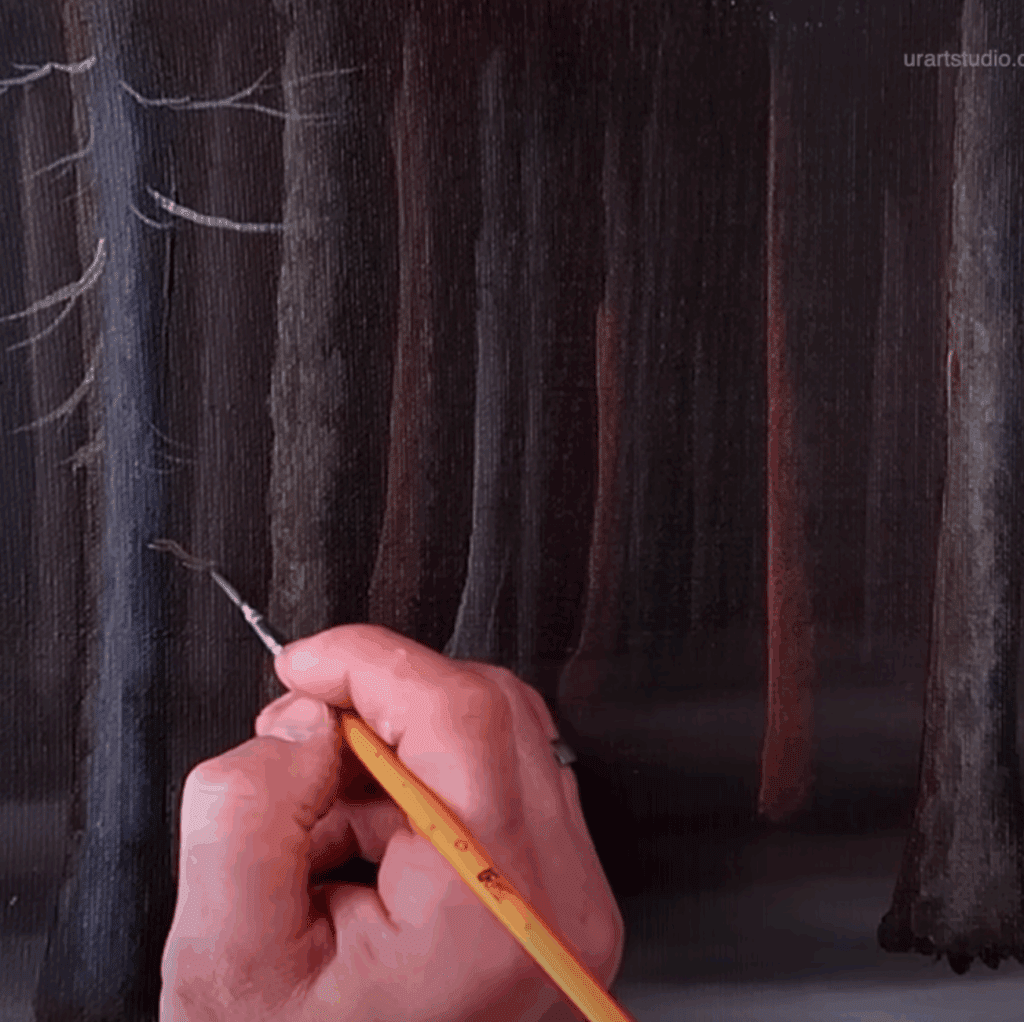
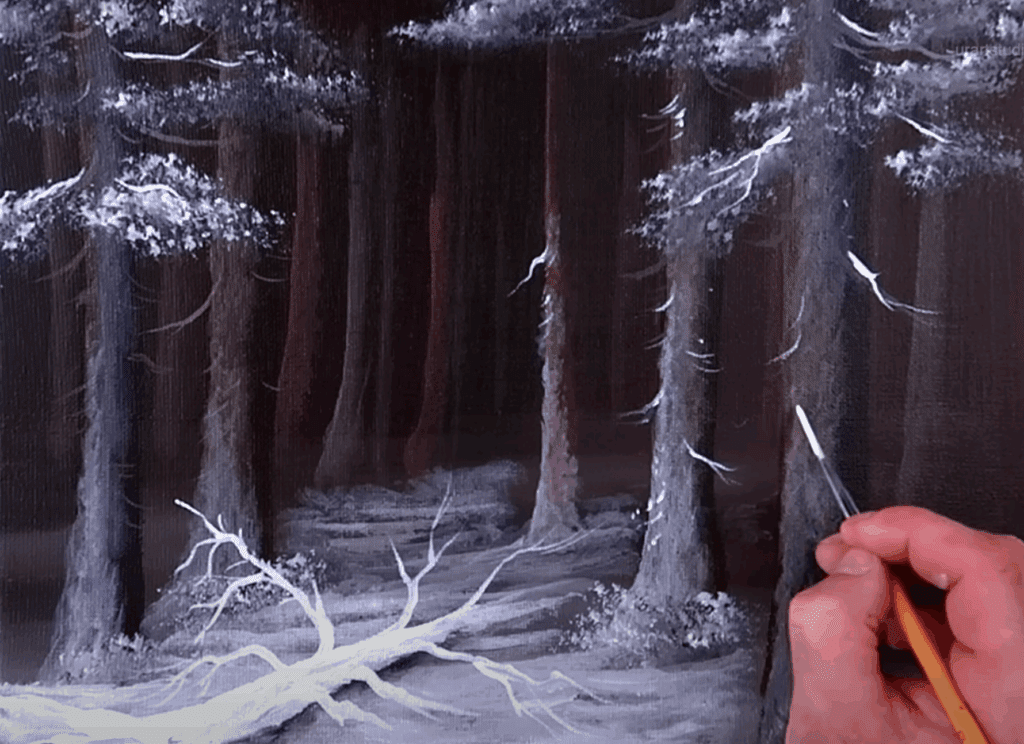
Now it’s time to add the elegant branches to our pine trees. Take the liner brush and load it with light colors, such as white or Indian yellow. Use this brush to create delicate branches that gracefully extend from the tree trunks. Experiment with small wiggles and irregular strokes to create a realistic and organic appearance.
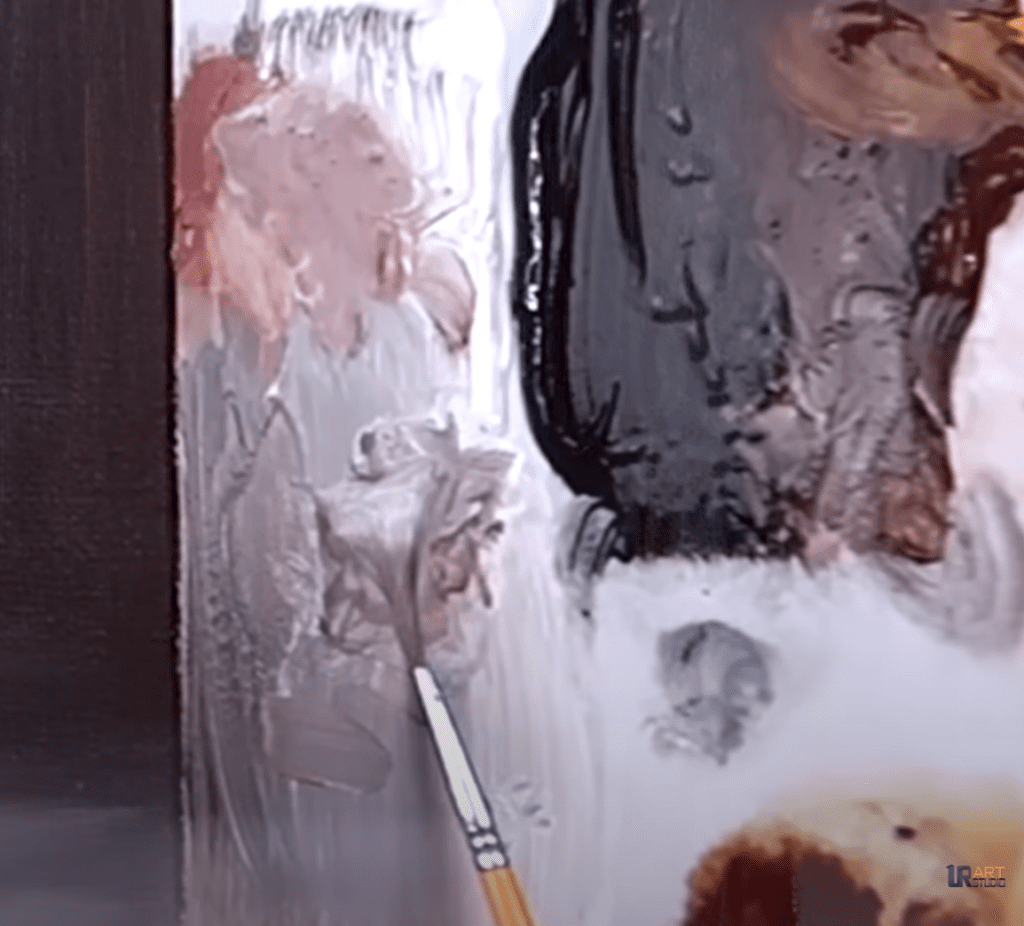
Step 6: Snowy Pine Needles
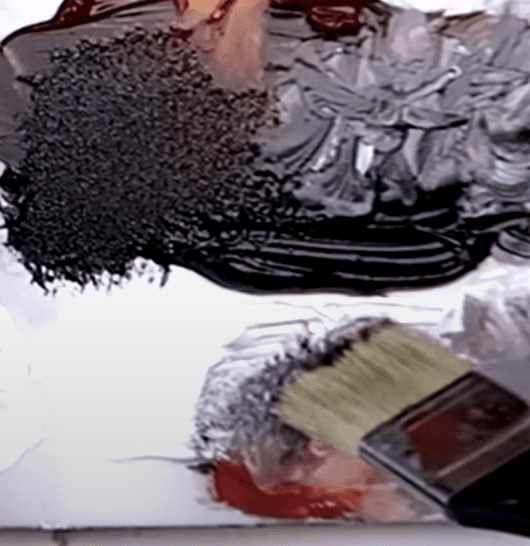
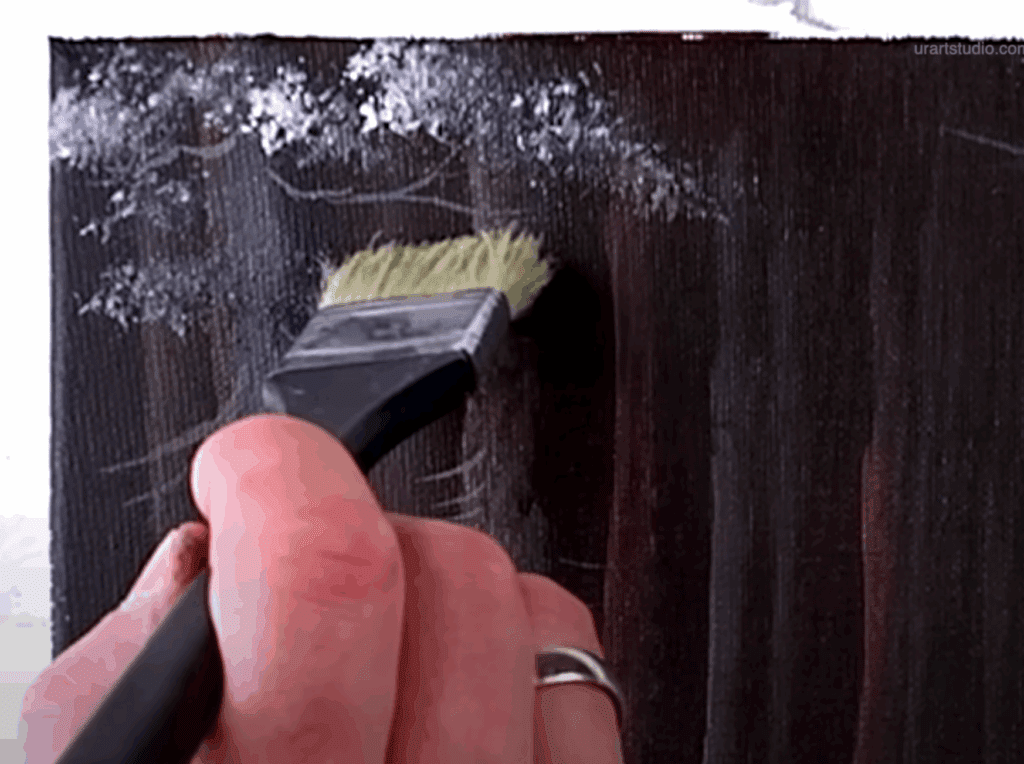
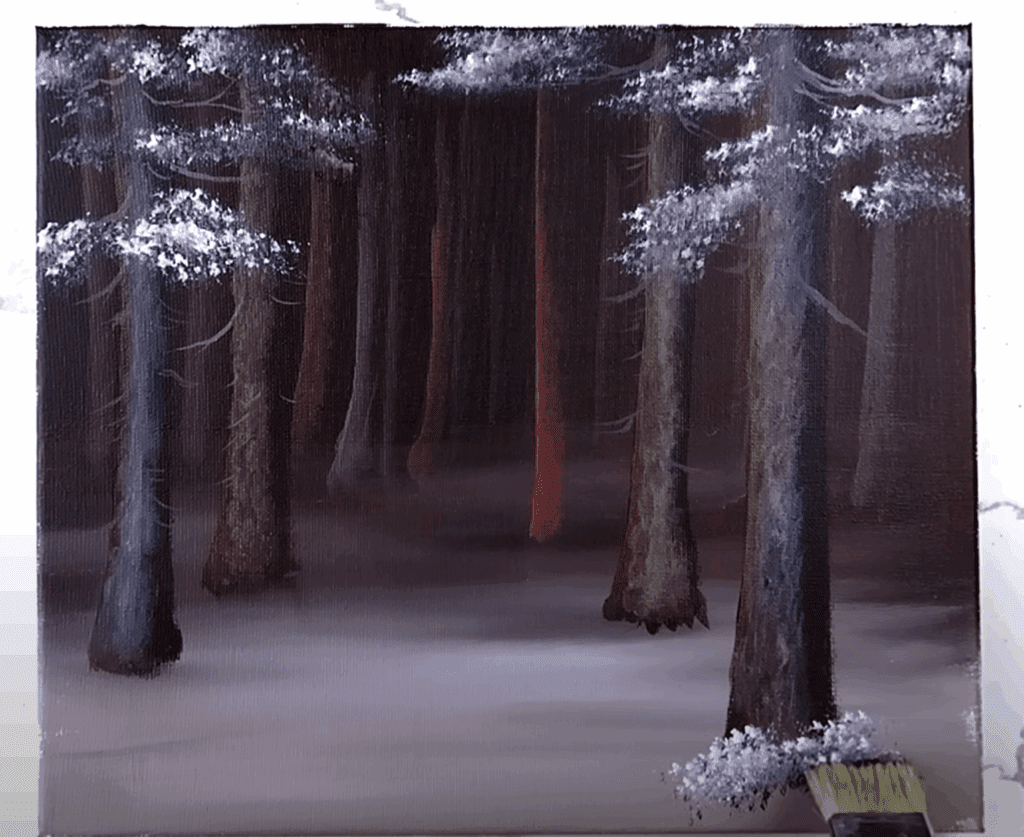
To capture the essence of snow-covered pine trees, grab the big square brush and load it with a mixture of white and gray paint. Using a gentle tapping motion, apply this mixture to the canvas to create the illusion of snowy pine needles. Remember to concentrate on the upper portions of the trees, creating depth and texture. Repeat this process, using the same technique, to create snowy bushes under each of the foreground trees.
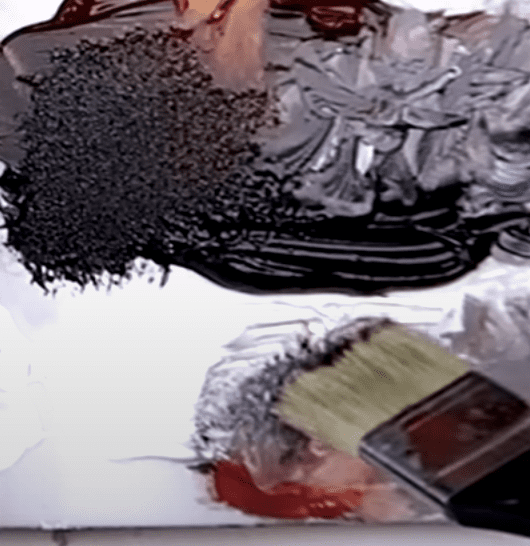
Step 7: Adding Snow
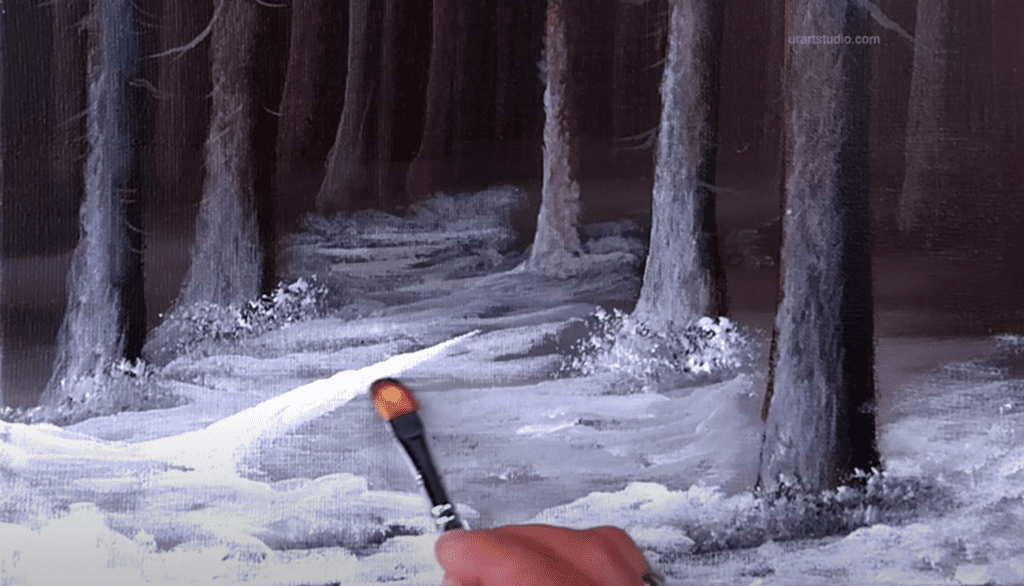
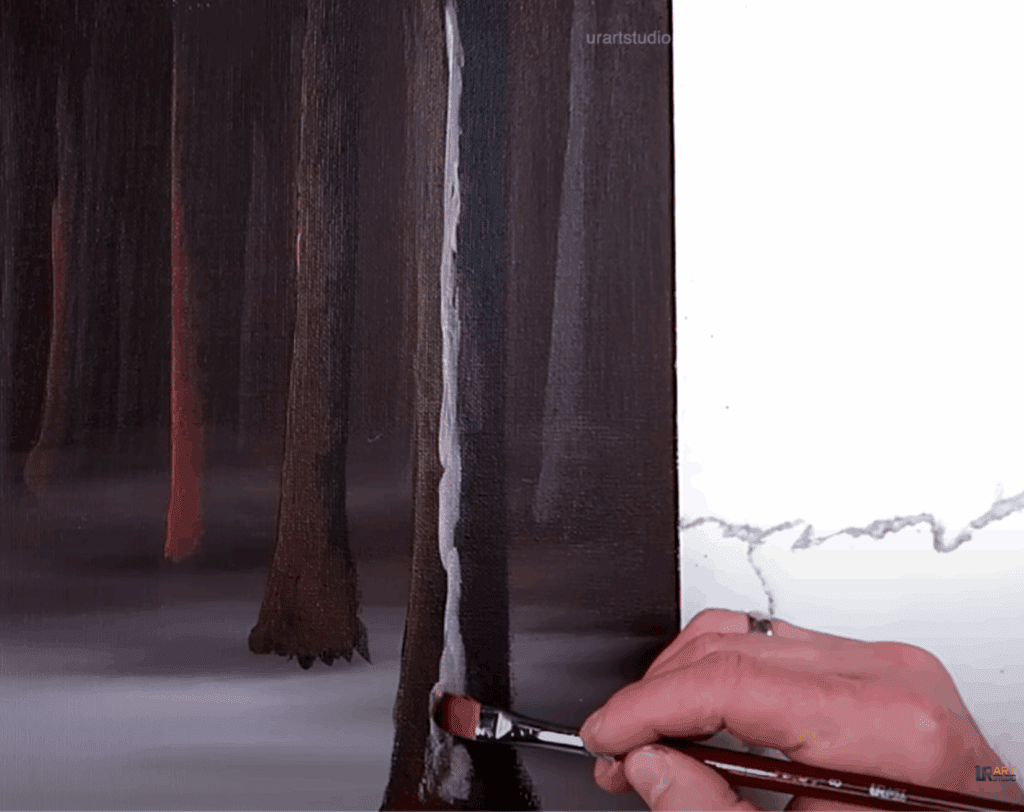
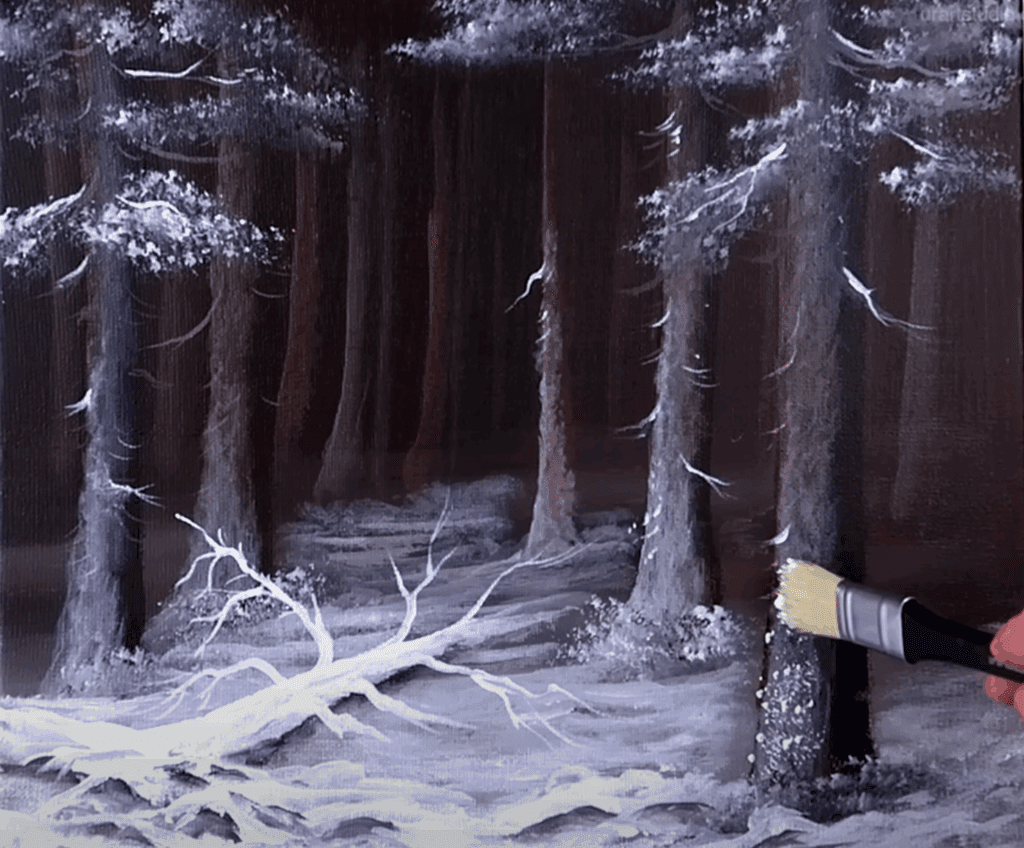
Now it’s time to enhance the snowy landscape further. Using a filbert brush, take white paint (which can be slightly off-white at this stage). Apply this paint in varying amounts in between the trees, giving the impression of freshly fallen snow. To seamlessly blend each layer of snow into the background, use the clean filbert brush. This blending technique helps to create a realistic winter landscape. Add some pure white snow on top of the tree trunks, starting from the bottom and working your way up, ensuring a stronger contrast closer to the viewer.
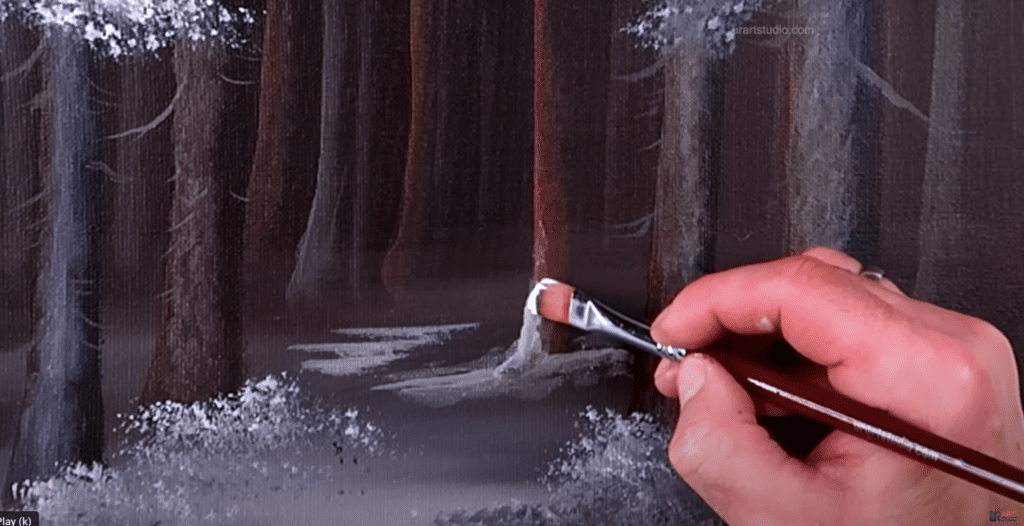
Step 8: Fallen Tree
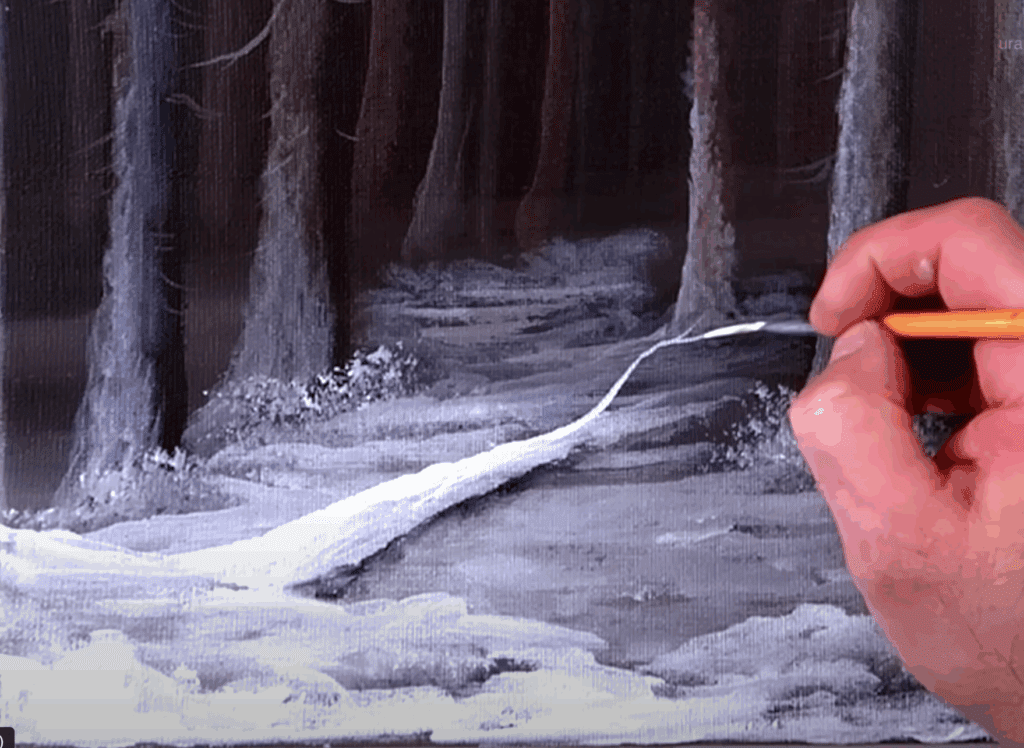
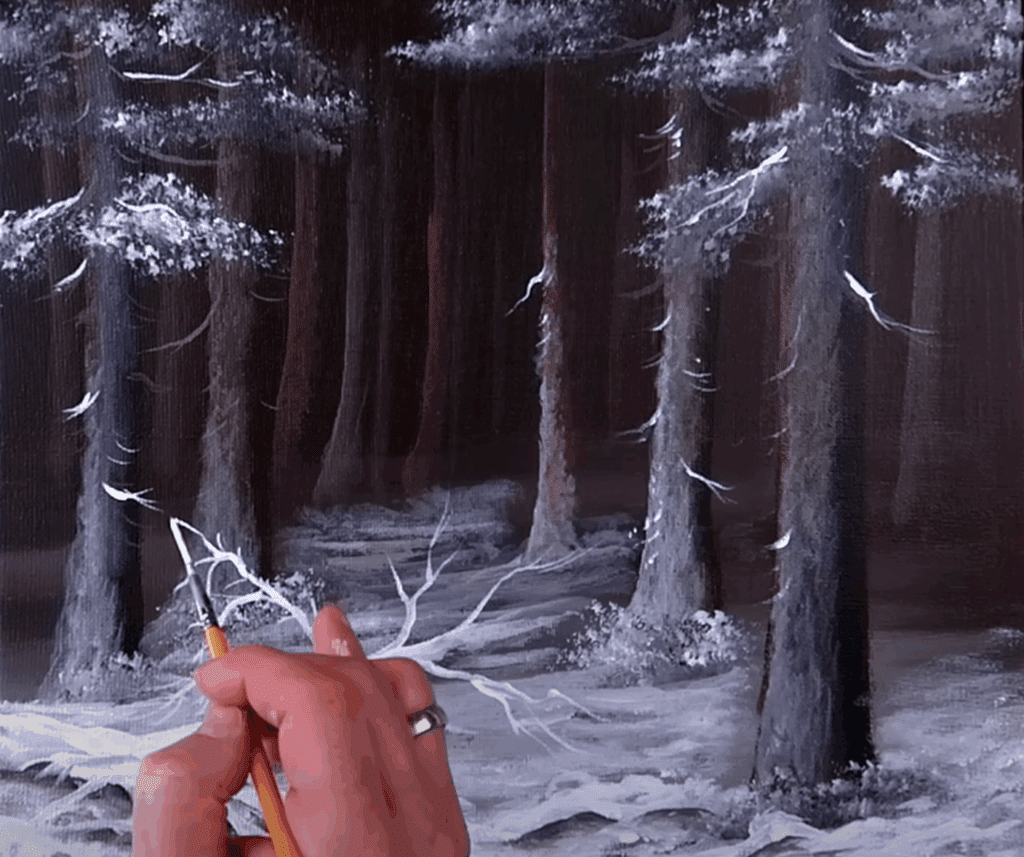
Let’s bring some unique details to our painting by adding a fallen tree covered in snow. Load your filbert brush with white paint and shape it to create the appearance of a fallen tree among the standing pine trees. Be strategic in selecting the placement to ensure a balanced composition. Utilize black paint to give the fallen tree some shadow beneath it, blending it smoothly into the background with a clean filbert brush.
Step 9: Snowy Details on Fallen Tree
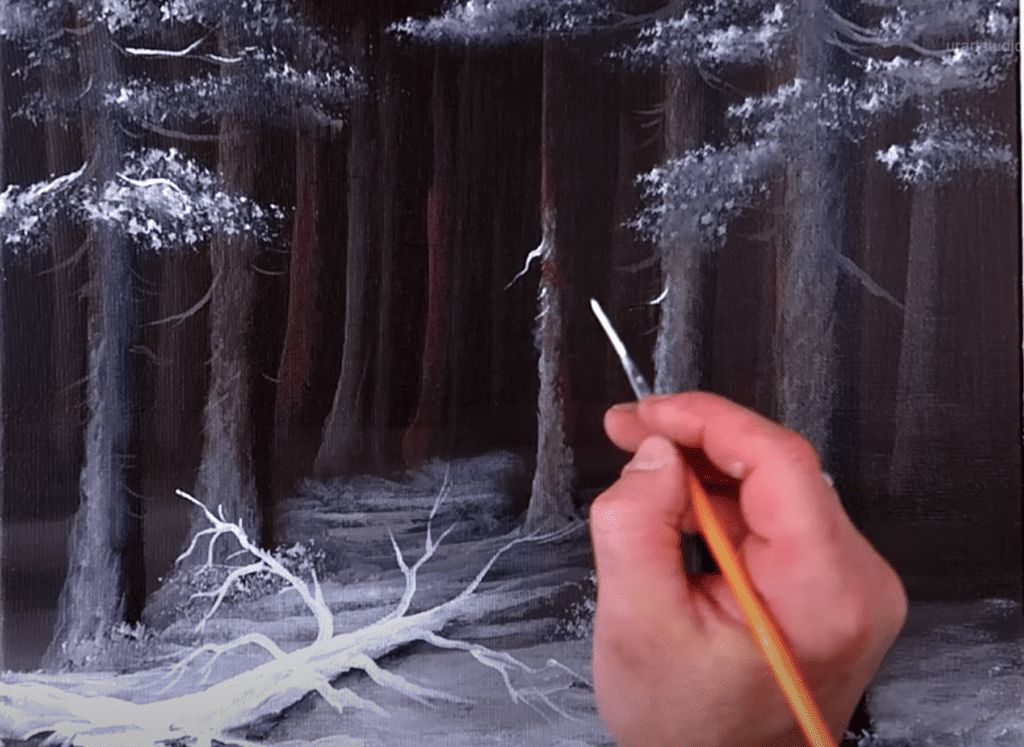
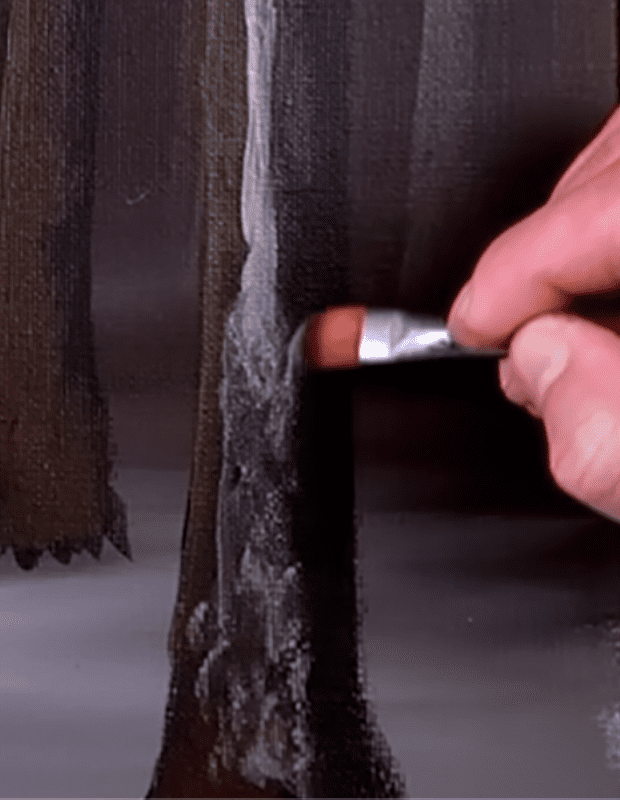
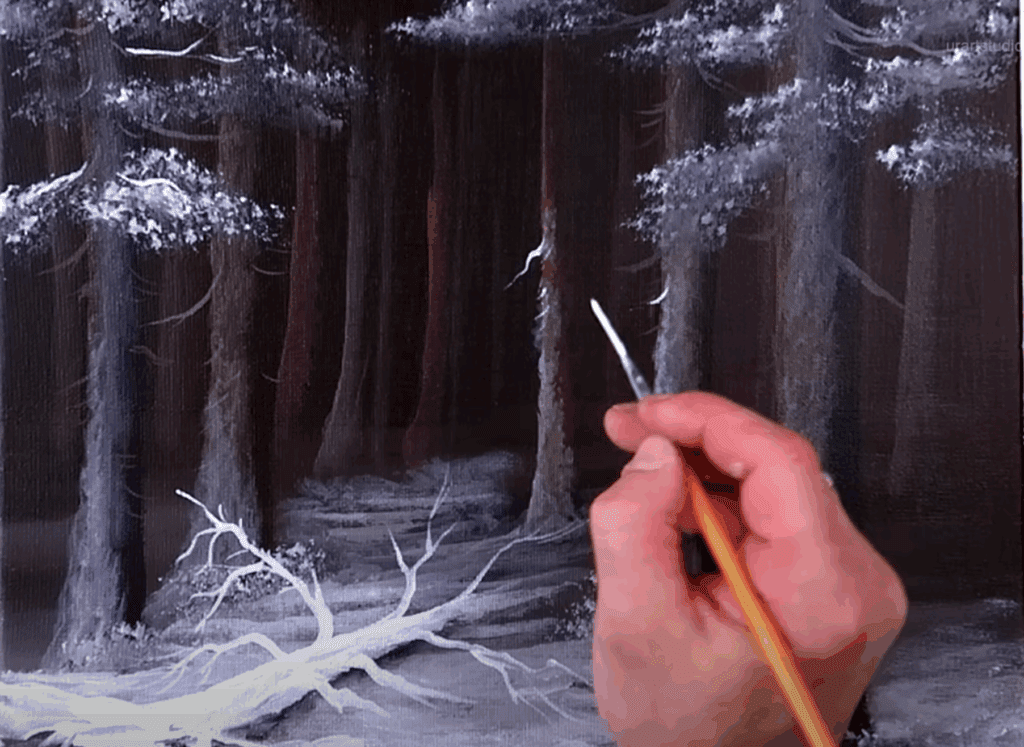
To make the fallen tree appear more realistic, add a few snow-covered branches protruding from its fallen trunk. Consider the direction of the branches, creating a sense of movement and natural flow. Add shadows in the area surrounding the tree root using subtle gray tones. Use pure white paint to highlight the snow-dusted areas above these shadows, bringing depth and dimension to the fallen tree.
Step 10: Snowy Branches
To further enhance the snowy forest, take the liner brush and pure white paint. Carefully create random snowy branches extending from the pine trees. These delicate branches will add visual interest and contribute to the overall winter ambiance. These tiny details will give a sense of depth and presence to the painting.
Step 11: Snow Cupboards
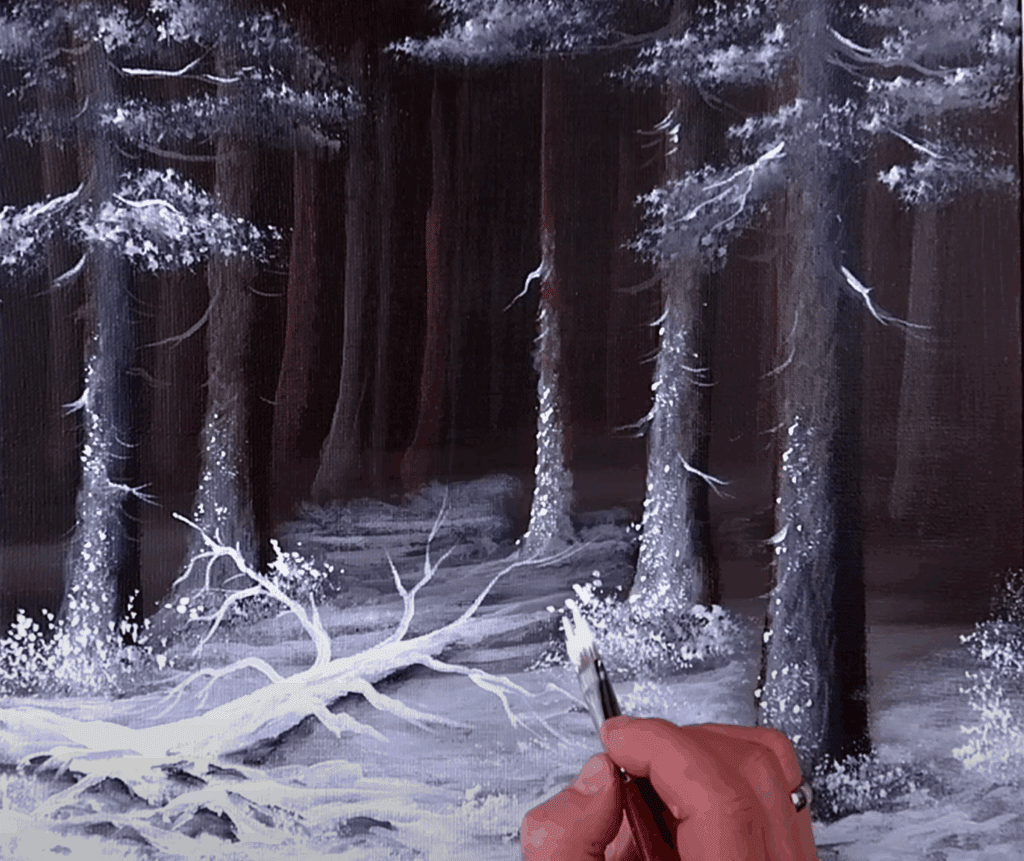
Grab your big square brush and load it with pure white paint. Apply a gentle tapping motion to create snowy highlights below the big tree trunks. This will represent accumulations of snow on the ground. Repeat this process to create snow-covered bushes situated beneath each of the prominent trees. These snowy cupboards will add texture and realism to the winter scene.
Step 12: Custom Details
To add additional dimension and texture, we will employ a custom bristle brush. Load the custom bristle brush with pure white paint and use it to add intricate details to the snow-covered bushes. The dabbing motion of the brush will create delicate dashes, mimicking the appearance of snow on the bushes. This step further contributes to the depth and realism of the painting.

Step 13: Foreground Details
To complete our masterpiece, let’s add a few final details. Using the custom bristle brush and pure white paint, add a sprinkling of snow-covered grass in the foreground. This will add another layer of visual interest and depth. Pay attention to your brushstrokes, creating different lengths and angles to simulate individual blades of snow-covered grass.
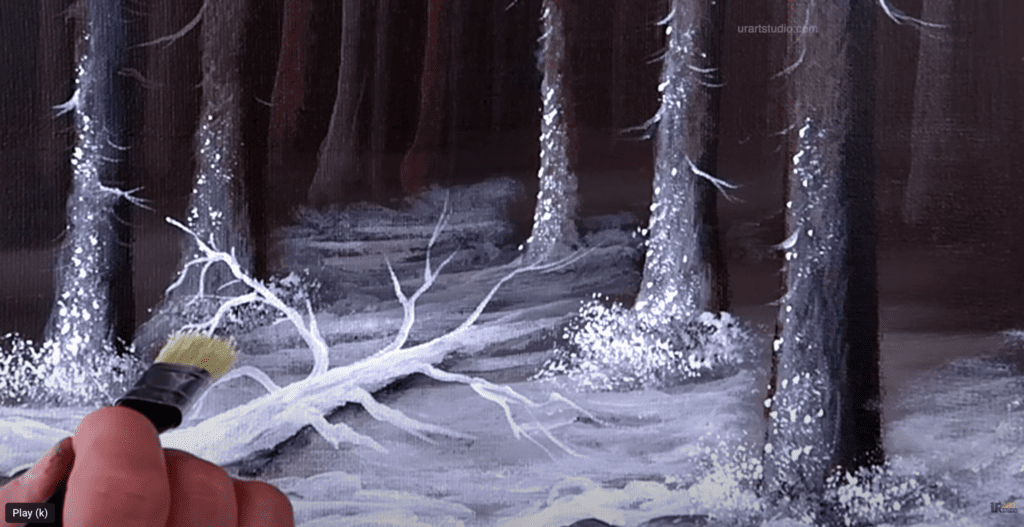
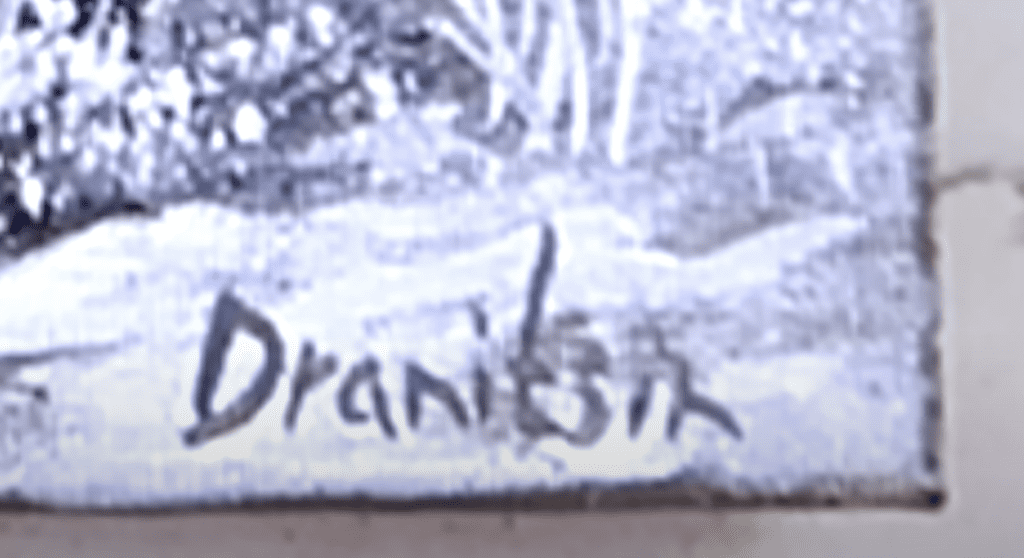
With these final touches, your painting is complete! Take a moment to sign your artwork, expressing your pride and ownership of this beautiful winter landscape. Stand back and admire your masterpiece








Leave a Reply
You must be logged in to post a comment.