

In the world of painting, mastering the use of different brush types is essential for achieving varied effects. Two of the most commonly used brushes are the flat and round brushes, each with its unique characteristics and applications. Understanding how to transition between these brush types can enhance your ability to create seamless, dynamic effects in your artwork. This guide will provide insights into the distinct functions of flat and round brushes, as well as techniques for smoothly transitioning between them.
1. Understanding Flat and Round Brushes
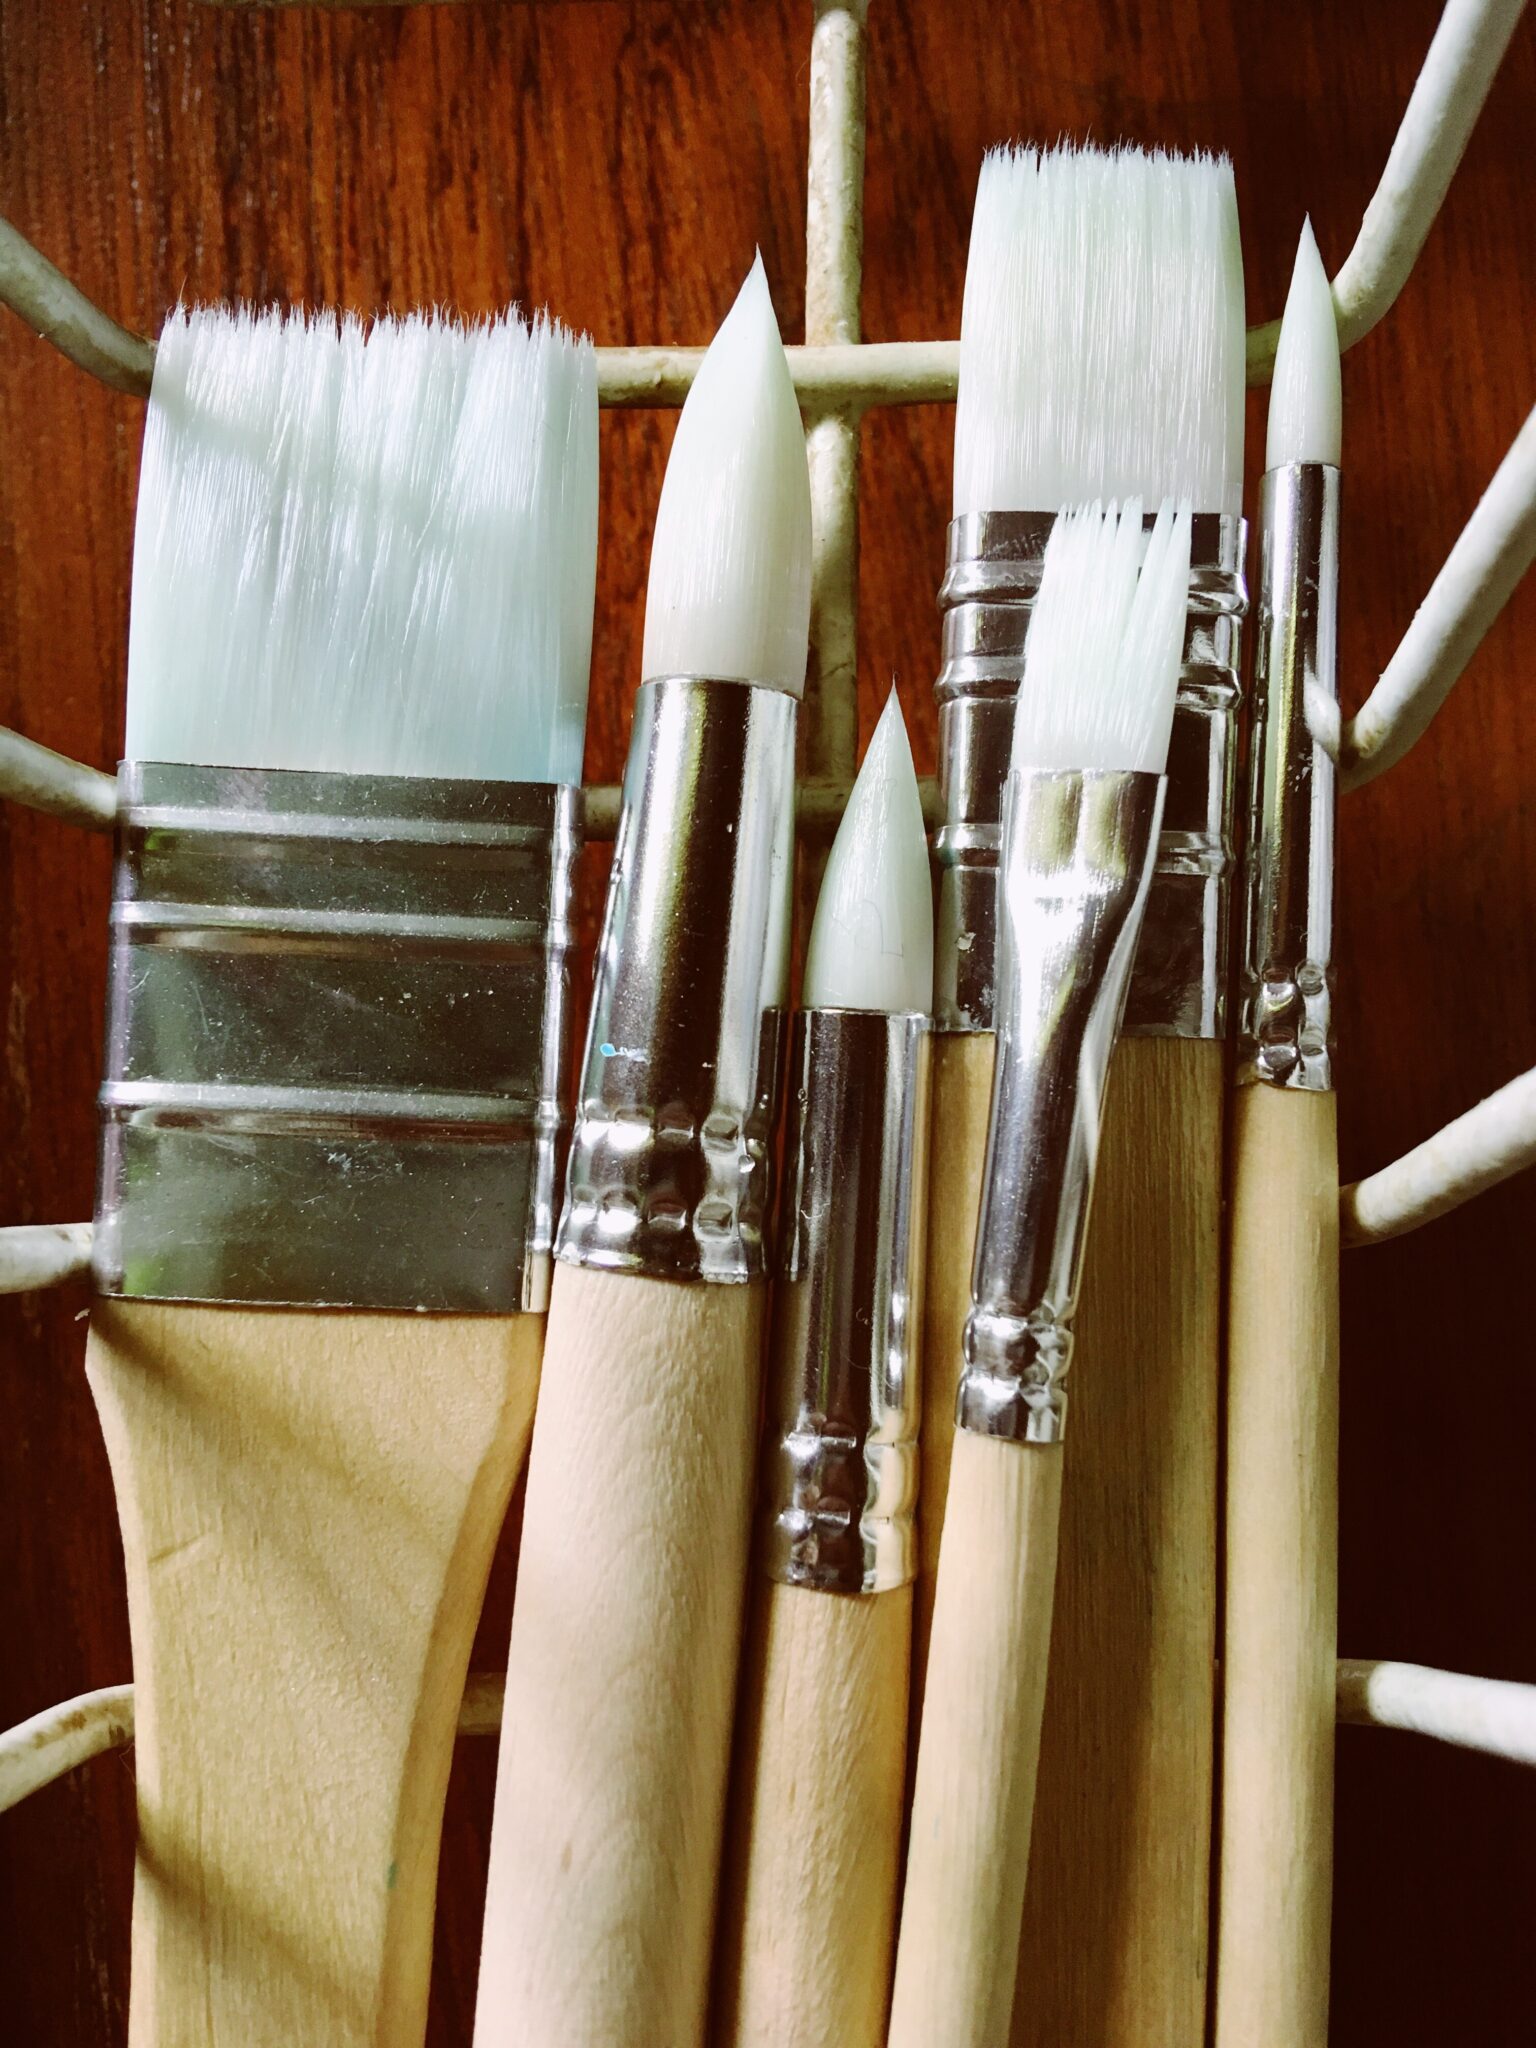
Flat Brushes:
- Shape: Flat brushes have a rectangular, flat head with straight edges. This shape makes them ideal for bold strokes and sharp lines.
- Ideal Use: Excellent for painting broad areas, creating defined edges, making sharp lines, and developing texture. They are particularly useful for block applications of color.
Round Brushes:
- Shape: Round brushes feature a tapered, pointed tip. The shape allows for versatility in stroke size, from fine lines to broad strokes, depending on how you hold the brush.
- Ideal Use: Great for detailed work, intricate lines, and soft blending. They excel in creating shapes that require a softer edge, such as organic forms and detailed highlights.
2. Techniques for Transitioning from Flat to Round Brushes
Transitioning between flat and round brushes can create smooth effects and balance between boldness and detail. Here are some techniques to facilitate this transition:
A. Blending and Layering
- Initial Layering with Flat Brush:
- Start by applying a base layer of paint using a flat brush. This technique allows for quick coverage of large areas, whether for backgrounds or foundational colors.
- When painting landscapes, you can use the flat brush for the sky or ground, applying broad strokes for depth.
- Transition to Round Brush for Detail:
- Once the base layer is dry, switch to a round brush for detailing. For instance, you can use it to define clouds in a sky or add highlights to the terrain.
- Technique: When adding details, approach the edges of the flat areas with the round brush. Use soft, flicking motions to create the transition from bold colors to finer strokes without harsh lines.
B. Creating a Gradient Effect
- Flat Brush for Gradient Foundation:
- Use a flat brush to lay down the initial gradient. For instance, you can blend colors from a darker shade to a lighter shade across a landscape background using broad strokes.
- Rapid horizontal strokes can help you achieve a smooth vertical gradient in the sky.
- Round Brush for Fine Blending:
- After laying the gradient, use a round brush to blend edges and soften any transitions. The pointed tip allows you to feather the edge where two colors meet, leading to a more natural look.
- Technique: Use the round brush to lightly pull the colors together in circular motions at the transition points, creating a subtle and fluid effect.
C. Adding Textures
- Applying Texture with Flat Brush:
- To create texture in elements like rocks, grass, or clouds, start with a flat brush to apply the foundational color. Use techniques like dry brushing to add rough texture.
- Stippling with the flat brush can help create the groundwork for areas that need more detail.
- Round Brush Detailing:
- Once you have the textural foundation, switch to a round brush to add highlights and shadows. The round brush’s flexibility can create details like the sheen on wet stones or individual blades of grass.
- Technique: Lightly stroke over the textured base with the round brush to highlight certain areas, enhancing the dimensional quality of the elements.
3. Painting Specific Elements
A. Landscape Elements
- Mountains and Trees:
- Use the flat brush to create the broad shapes of mountains or the trunks of trees. Follow this with the round brush for detailing the texture of the bark or foliage.
- Water Features:
- Lay a flat brush wash for the water surface, then transition to the round brush to create reflections and ripples on the water’s surface, blending the edges for a seamless transition.
B. Portraits
- Facial Features:
- Use a flat brush for applying base skin tones. Transition to a round brush for detailed work on the eyes, lips, and highlights, allowing for more precision and control.
- Hair:
- Start with the flat brush to create broad strokes for the baseline of hair. Use the round brush to detail individual strands and highlights, ensuring the transition feels natural and cohesive.
4. Cleaning and Maintenance
Proper care of your brushes will enhance their performance during transitions:
- Frequent Cleaning: Clean brushes regularly, especially when switching between colors. This prevents unwanted mixing and maintains the integrity of the bristles.
- Reshape After Use: After cleaning, reshape the bristles of both flat and round brushes to help maintain their specific functions.
5. Conclusion
Mastering the technique of transitioning from flat to round brushes can greatly enhance your painting skills, allowing for the creation of seamless and dynamic effects. By focusing on blending, layering, and careful detailing, you can achieve stunning results in your artwork.
Explore our selection of flat and round brushes and other essential art supplies at urartstudio.com to support your creative journey!
Be sure to visit our online store at https://urartstudio.com/shop/ for a variety of art supplies and tools. Additionally, check out valuable painting tips at urartstudio.com/painting-tips/ and our step-by-step painting instructions at https://urartstudio.com/step-by-step-painting-instructions/ for further enhancing your skills.
Keywords: flat brush, round brush, brush techniques, painting effects, seamless transitions.
#FlatBrush #RoundBrush #PaintingTechniques #ArtSkills #SeamlessEffects
Leave a Reply
You must be logged in to post a comment.