

The filbert brush is a favorite among artists for its unique shape and versatility, allowing for a blend of the benefits found in both flat and round brushes. Its oval bristles create soft edges and subtle blends that are perfect for achieving lifelike textures and transitions in painting. In this guide, we will cover the fundamentals of the filbert brush, including its characteristics, various techniques, and how to harness its shape to create beautiful, soft effects in your artwork.
1. Understanding the Filbert Brush
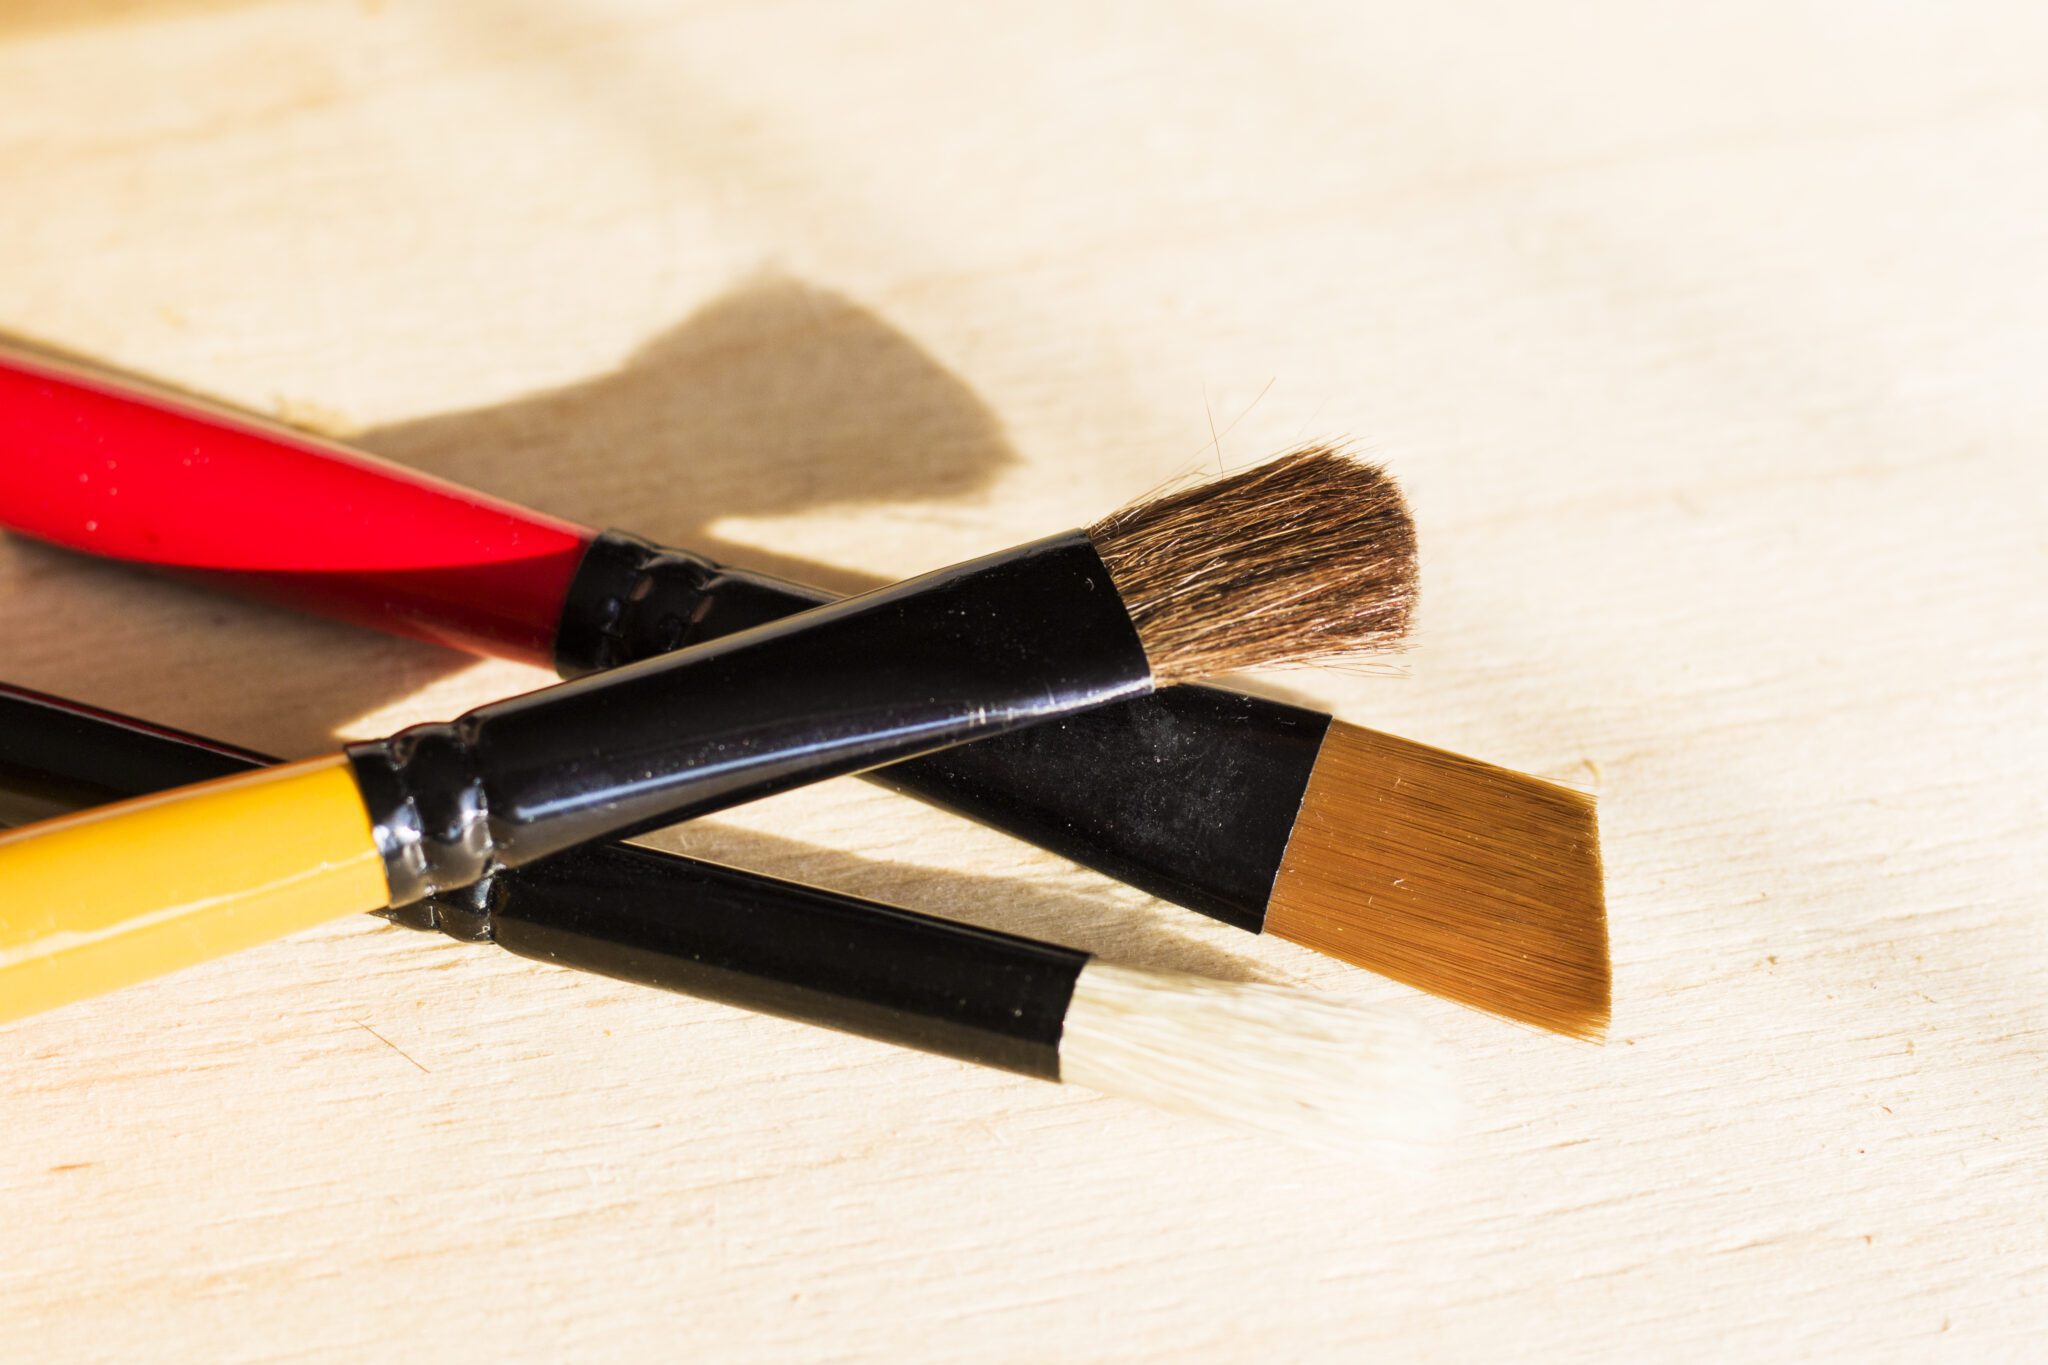
Characteristics:
- Shape: The filbert brush features a flat head with rounded edges, making it ideal for both broad strokes and fine details.
- Versatility: This design allows for a variety of applications, from smooth blending to creating soft lines and textures.
- Bristle Types: Available in both natural and synthetic fibers, offering different textures and paint-holding capacities.
2. Techniques for Using the Filbert Brush
A. Blending Techniques
- Soft Blending:
- Loading the Brush: Start by loading your filbert brush with two adjacent colors. For example, if you’re painting a sunset, load one side with orange and the other with pink.
- Blending Colors: Use the brush to gently drag the colors together, working in a circular or soft sweeping motion. The rounded edges allow for a smooth transition without harsh lines, perfect for creating atmospheric effects in skies and backgrounds.
- Feathering:
- Creating Gentle Transitions: To create feathered effects, lightly touch the edge of the filbert brush into the color you want to blend into. Use a gentle flicking motion to pull the color from one area to another, creating a soft, blended effect.
- Application: Feathering works beautifully in landscapes, such as when blending the horizon with the sky or creating soft transitions in foliage.
B. Texturing Techniques
- Creating Natural Textures:
- Using the Side: Utilize the side of the filbert brush to create various textures, such as the uneven surfaces of rocks or the delicate textures of leaves.
- Technique: For grass or foliage, tap the filbert brush on the surface to create a stippling effect. This method can add a natural feel to your paintings, giving detail without precision.
- Building Layers for Depth:
- Layering Colors: Start with a base layer using the flat side of the brush for broader applications. Allow it to dry, then use the filbert brush to add additional layers.
- Creating Shadows and Highlights: With the rounded tip, you can easily apply darker shades for shadows and lighter colors for highlights, enhancing the three-dimensional quality of your subject.
C. Painting Specific Elements
- Landscapes:
- Sky and Ground Blending: Use the filbert brush to blend soft gradients in the sky and ground. The rounded edges help in merging colors seamlessly for a softer, more natural appearance.
- Cloud Formation: Create clouds by dabbing the brush into white and lightly tapping it over the blue sky, creating soft textures that mimic fluffy clouds.
- Portraits:
- Skin Tones: In portrait painting, the filbert brush is excellent for applying skin tones due to its ability to blend. Lay down a base skin tone, then use the brush to gently blend in highlights and shadows.
- Soft Features: Use the rounded edges to define delicate features such as lips and cheeks, allowing for natural transitions between colors.
- Floral Elements:
- Petal Shapes: The filbert’s shape is perfect for creating flower petals. Use the flat side to create the base and the tip to add details. For example, when painting a rose, the brush can create the curved edges of the petals effortlessly.
3. Cleaning and Maintenance
To ensure your filbert brush maintains its performance:
- Immediate Cleaning: Rinse the brush immediately after use in warm, soapy water to prevent acrylic paint from drying in the bristles.
- Gentle Cleaning: When cleaning, avoid harsh scrubbing. A gentle wash helps keep the bristles intact and maintains the brush’s unique shape.
- Reshape While Wet: After rinsing, gently reshape the bristles to preserve their form. Allow the brush to dry flat or hanging to avoid damaging the bristles.
4. Conclusion
The filbert brush is a powerful tool in the artist’s arsenal, allowing for a range of techniques that emphasize softness and subtlety. By mastering the blending and texturing capabilities of the filbert brush, you can create stunning, lifelike effects in your artwork. Whether you are painting landscapes, portraits, or abstract works, the unique shape of the filbert brush will help you achieve beautiful results.
Explore our selection of filbert brushes and other essential art supplies available at urartstudio.com to support your creative journey!
Be sure to visit our online store at https://urartstudio.com/shop/ for a variety of art supplies and tools. Additionally, check out valuable painting tips at urartstudio.com/painting-tips/ and our step-by-step painting instructions at https://urartstudio.com/step-by-step-painting-instructions/ to further enhance your skills.
Keywords: filbert brush, blending techniques, texturing techniques, acrylic painting, art supplies.
#FilbertBrush #BlendingTechniques #TextureCreation #AcrylicPainting #ArtSkills
Leave a Reply
You must be logged in to post a comment.