Tools needed for creating the artwork described in “Enveloped in a Golden Glow: Unveiling Depth and Simplicity in Creative Expression”:
1. Number four big square brush
2. Big oval brush
3. Ultrasoft blending brush
4. Filbert brush
5. Thin liner brush
6. Small filbert brush
7. Small round brush
8. Size two large square brush
9. Palette knife
10. Custom bristle brush
Optional tools for detail and refinement:
– Heat gun or hairdryer for drying the canvas
– Clean towels for wiping brushes
– Palette for mixing colors
– Paper towels for cleaning brushes
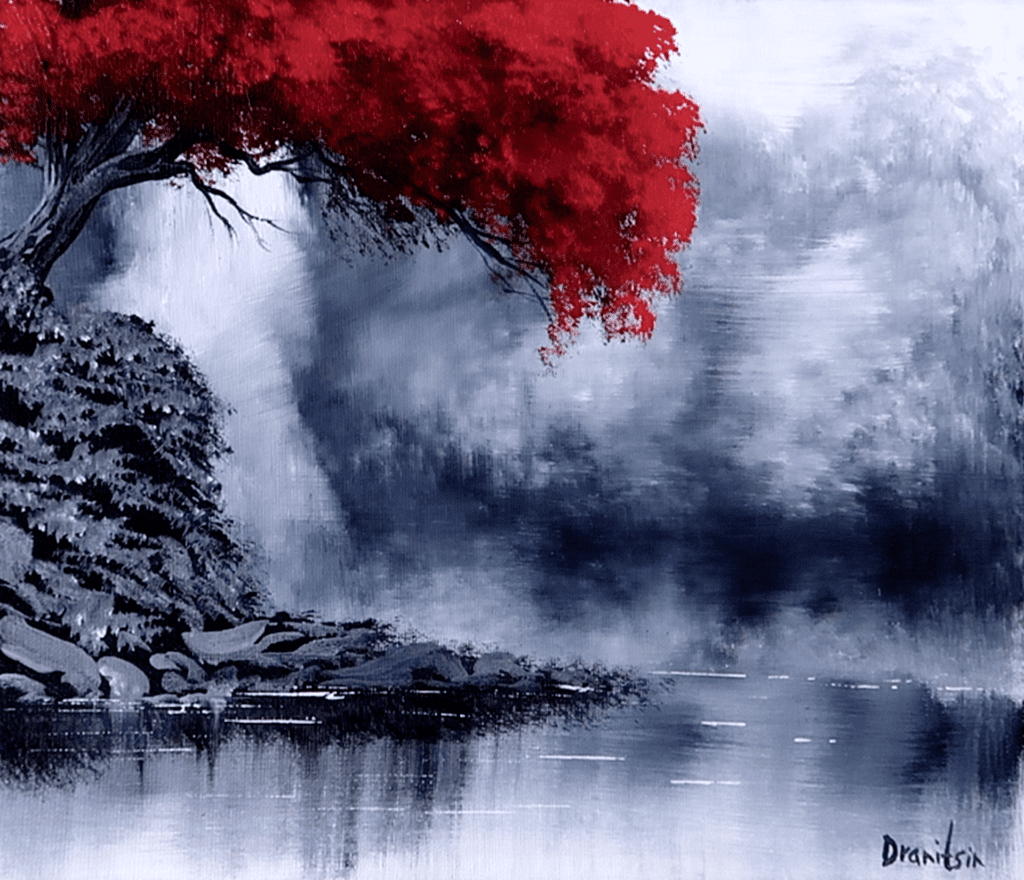
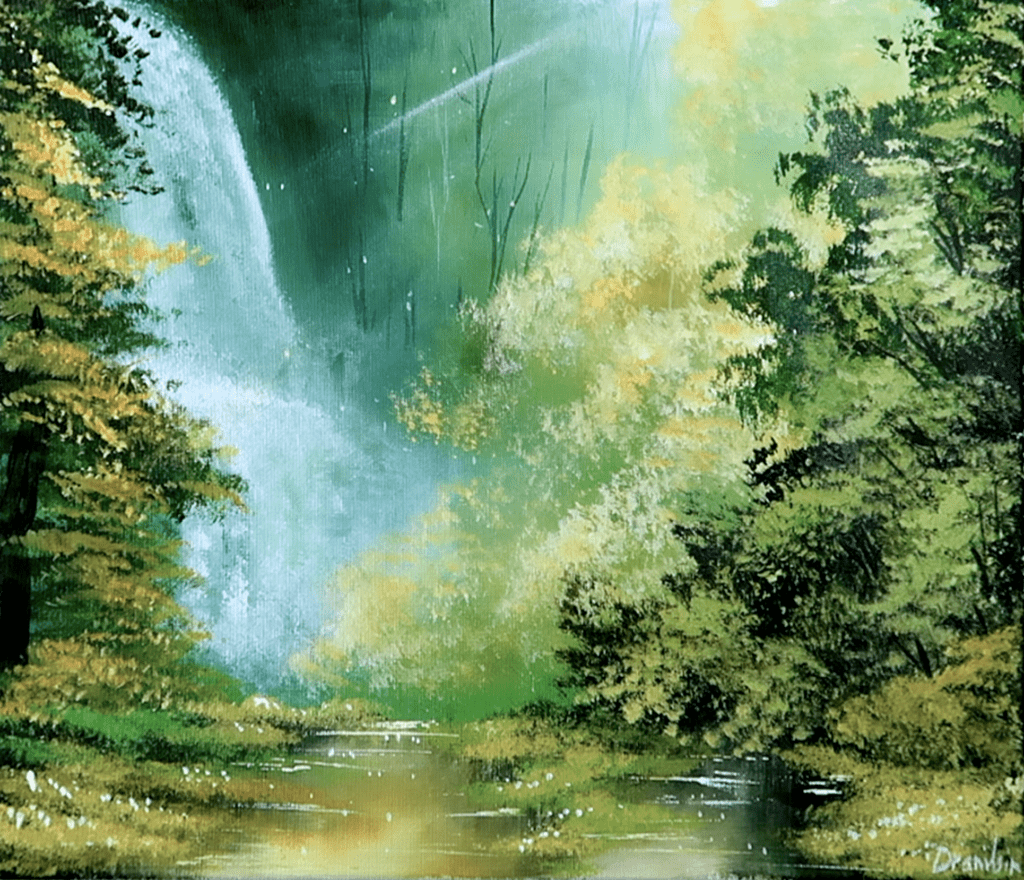
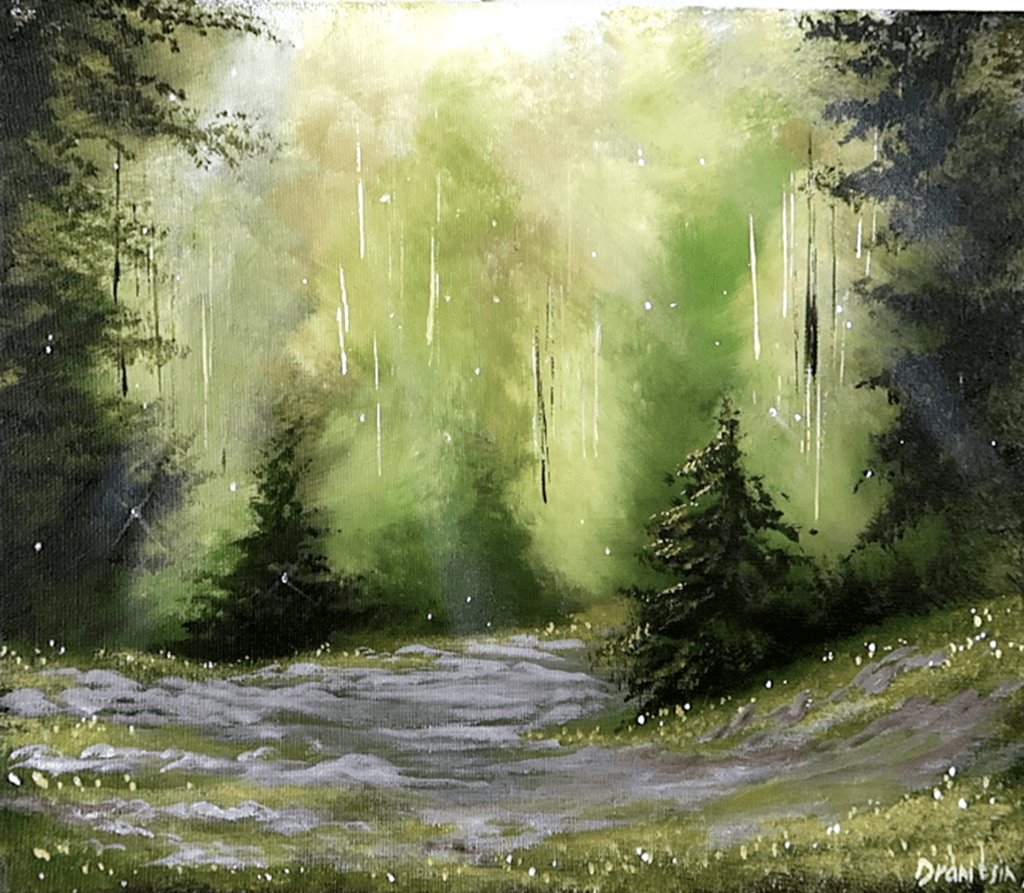
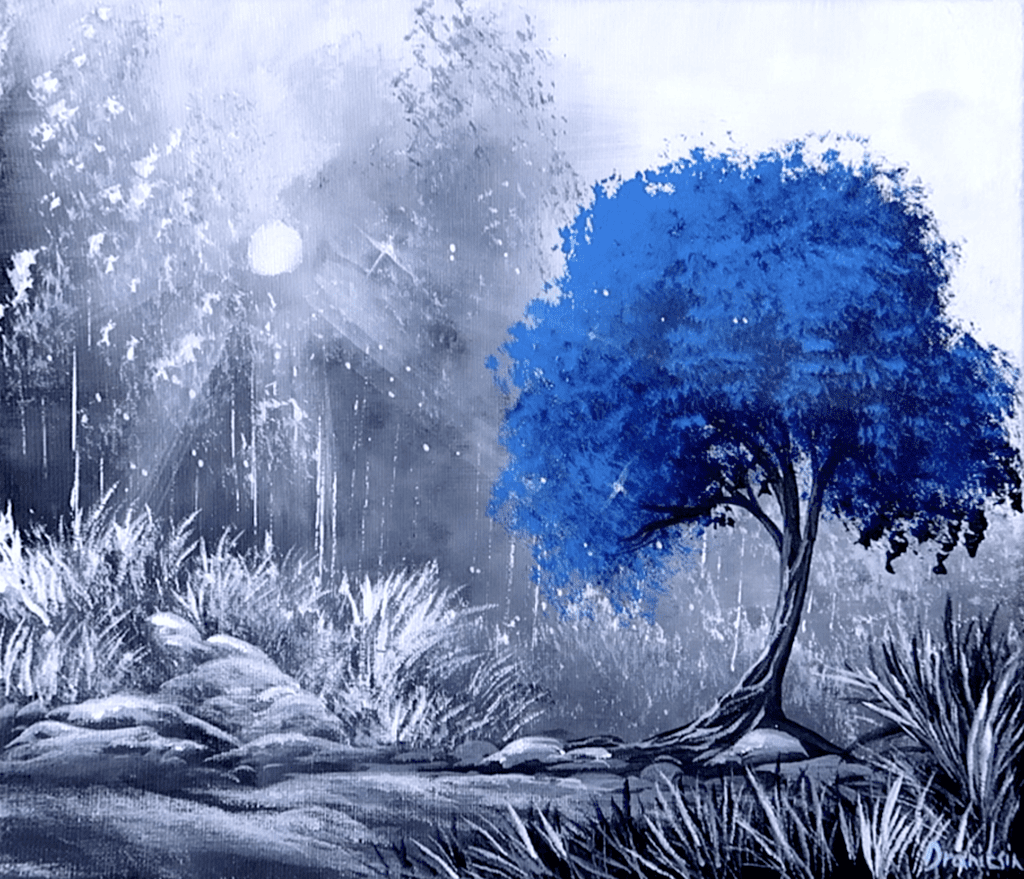
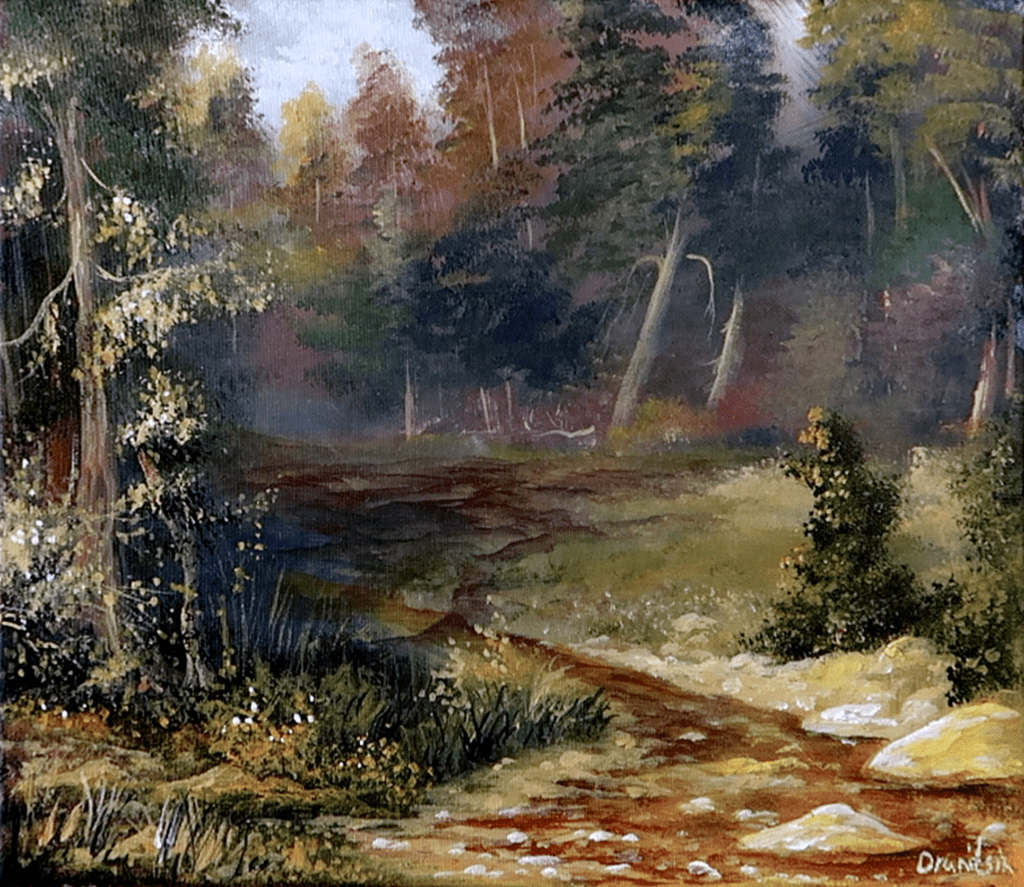
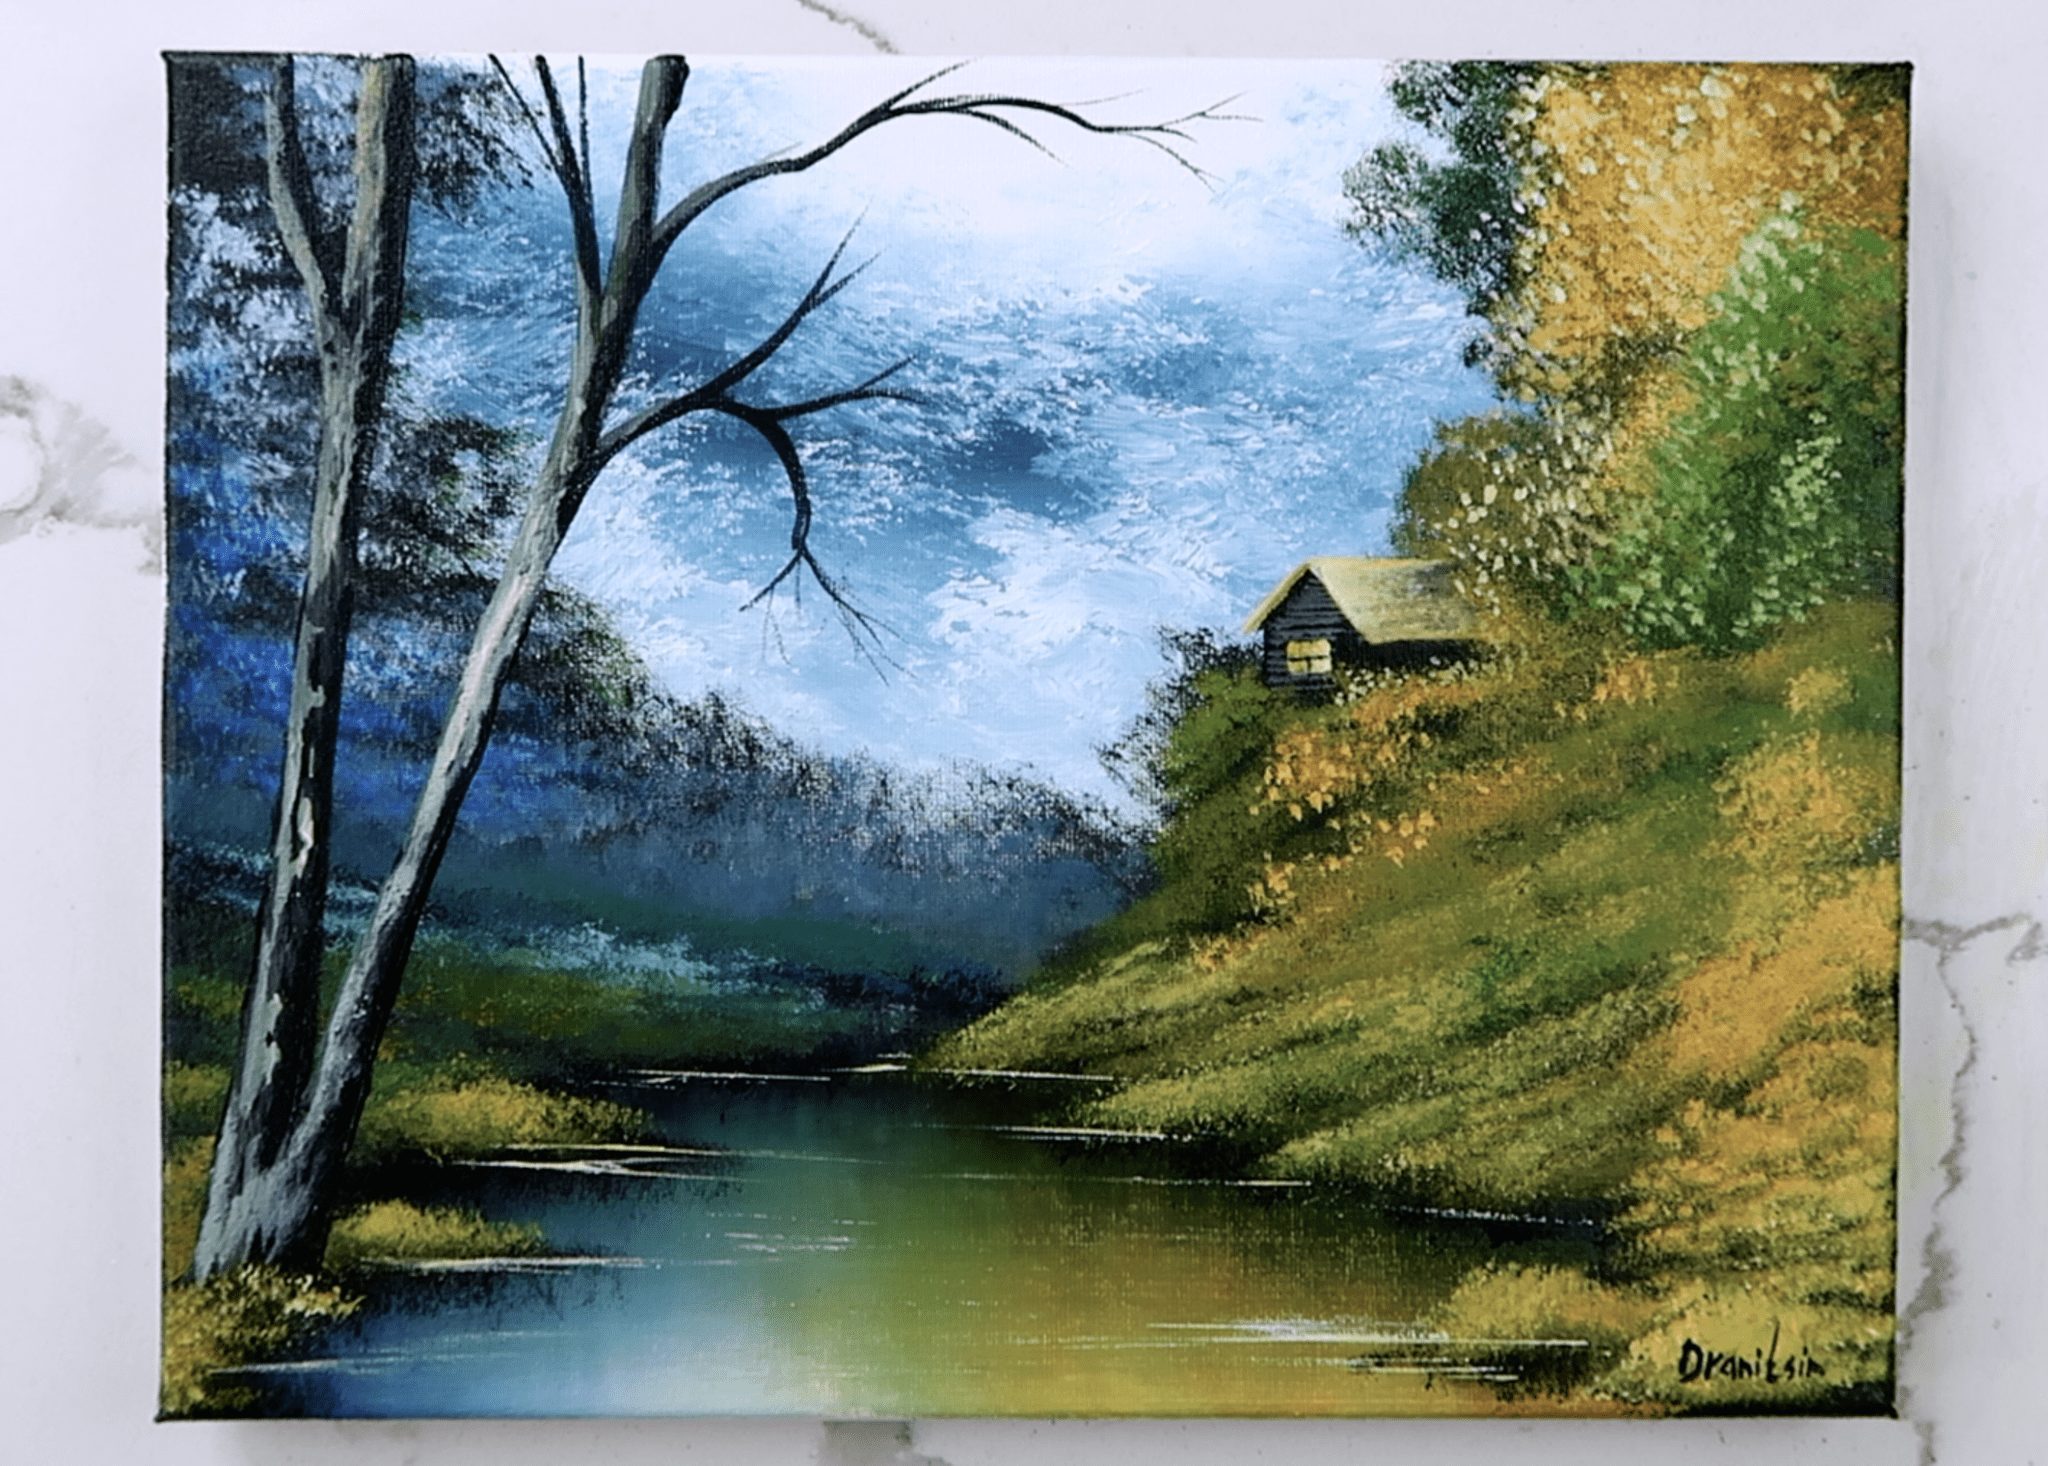
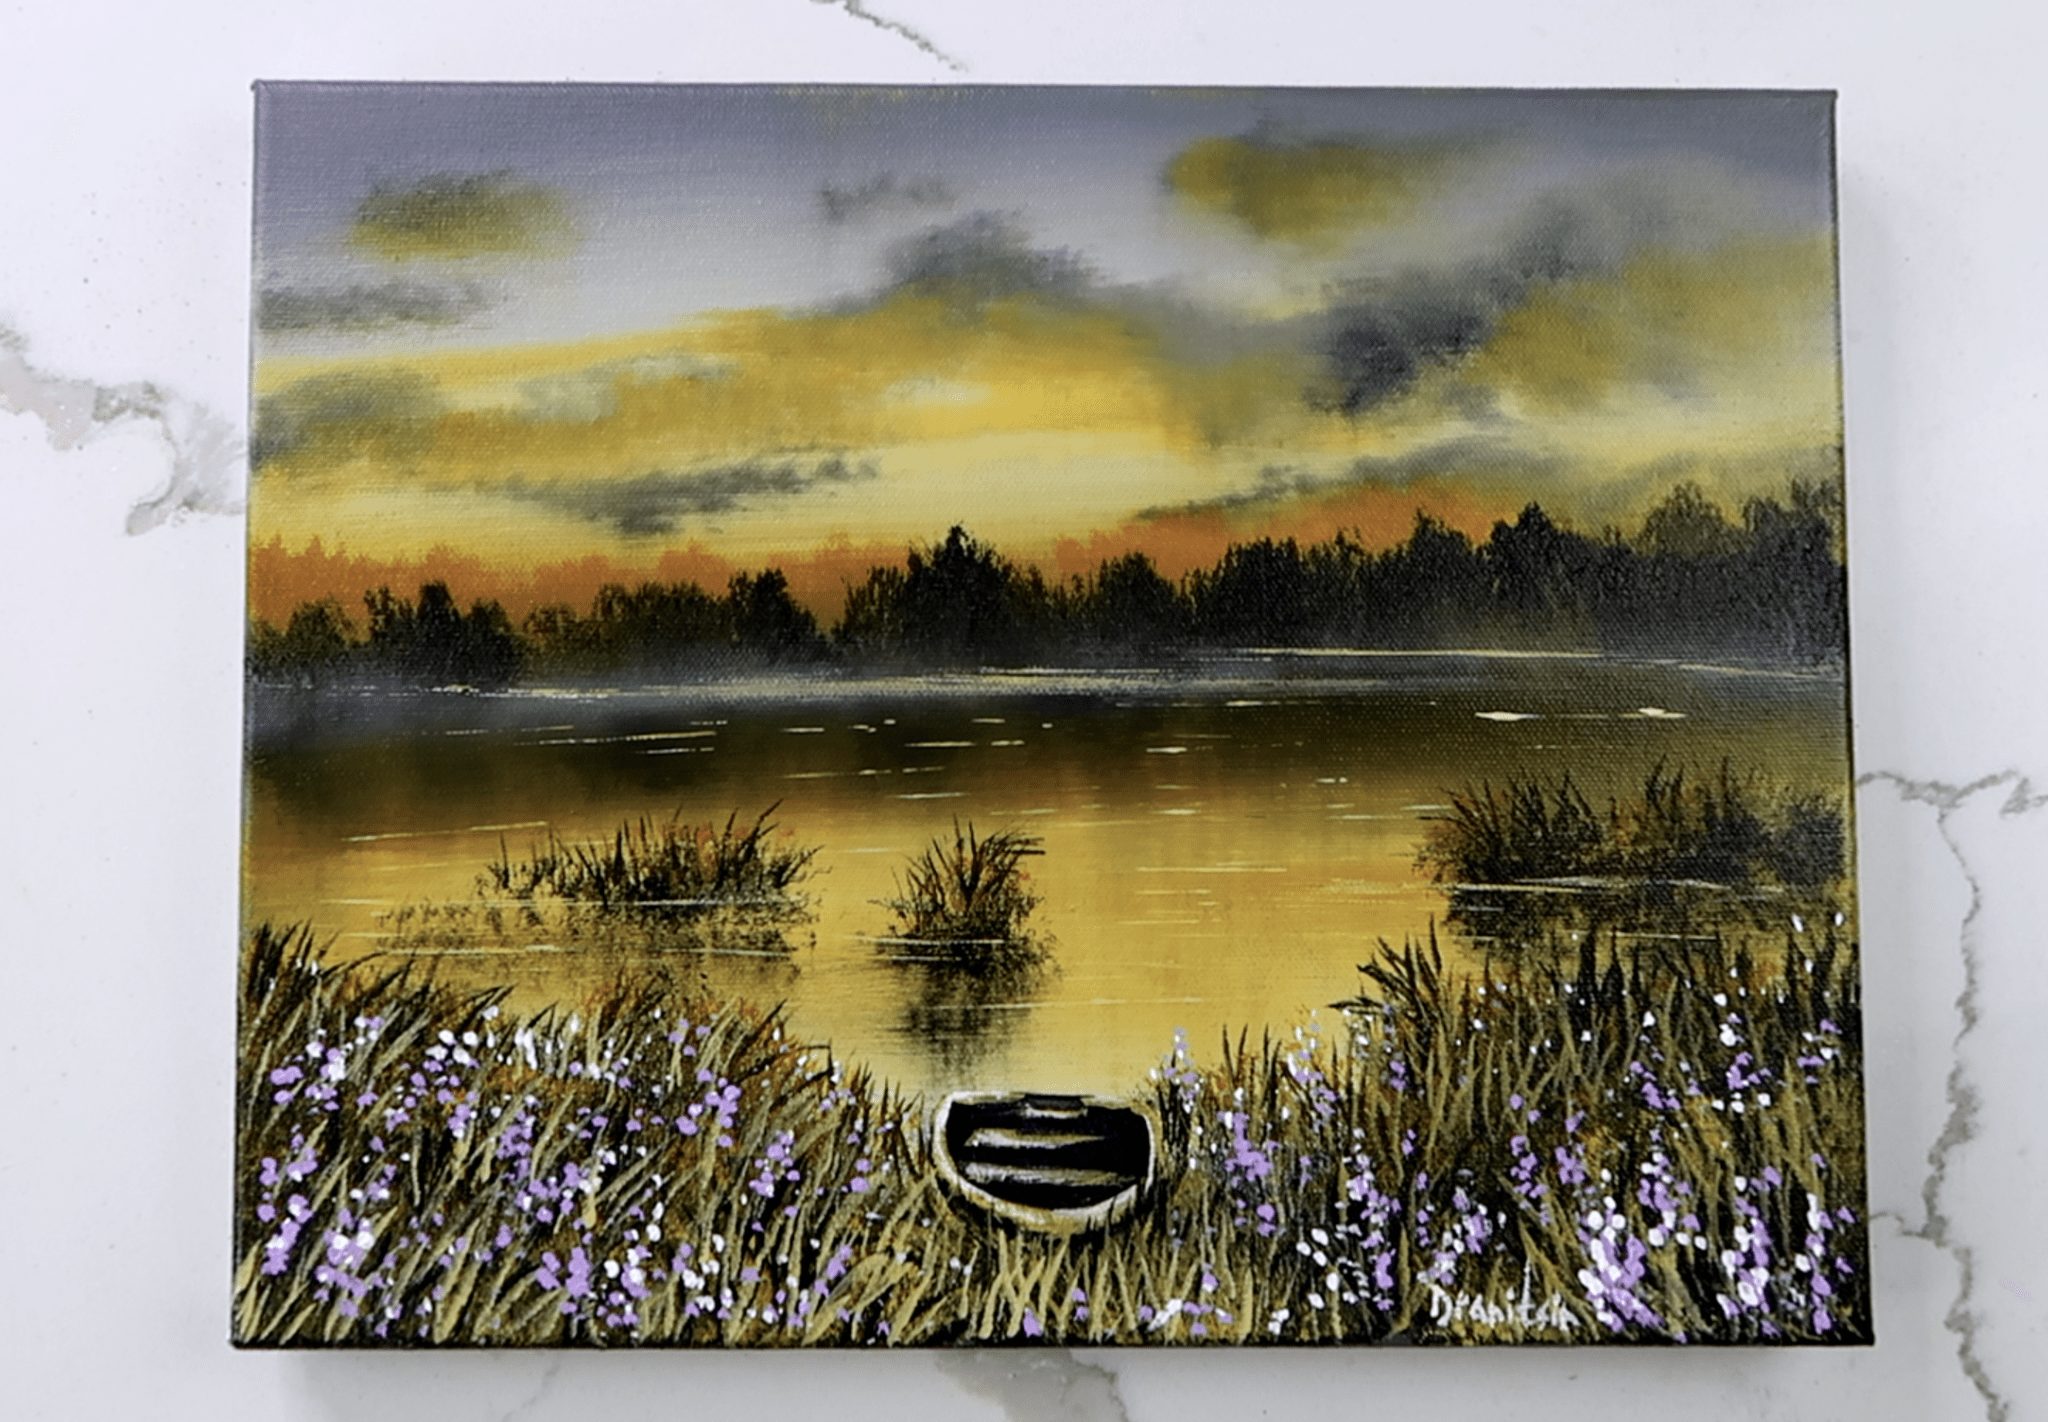
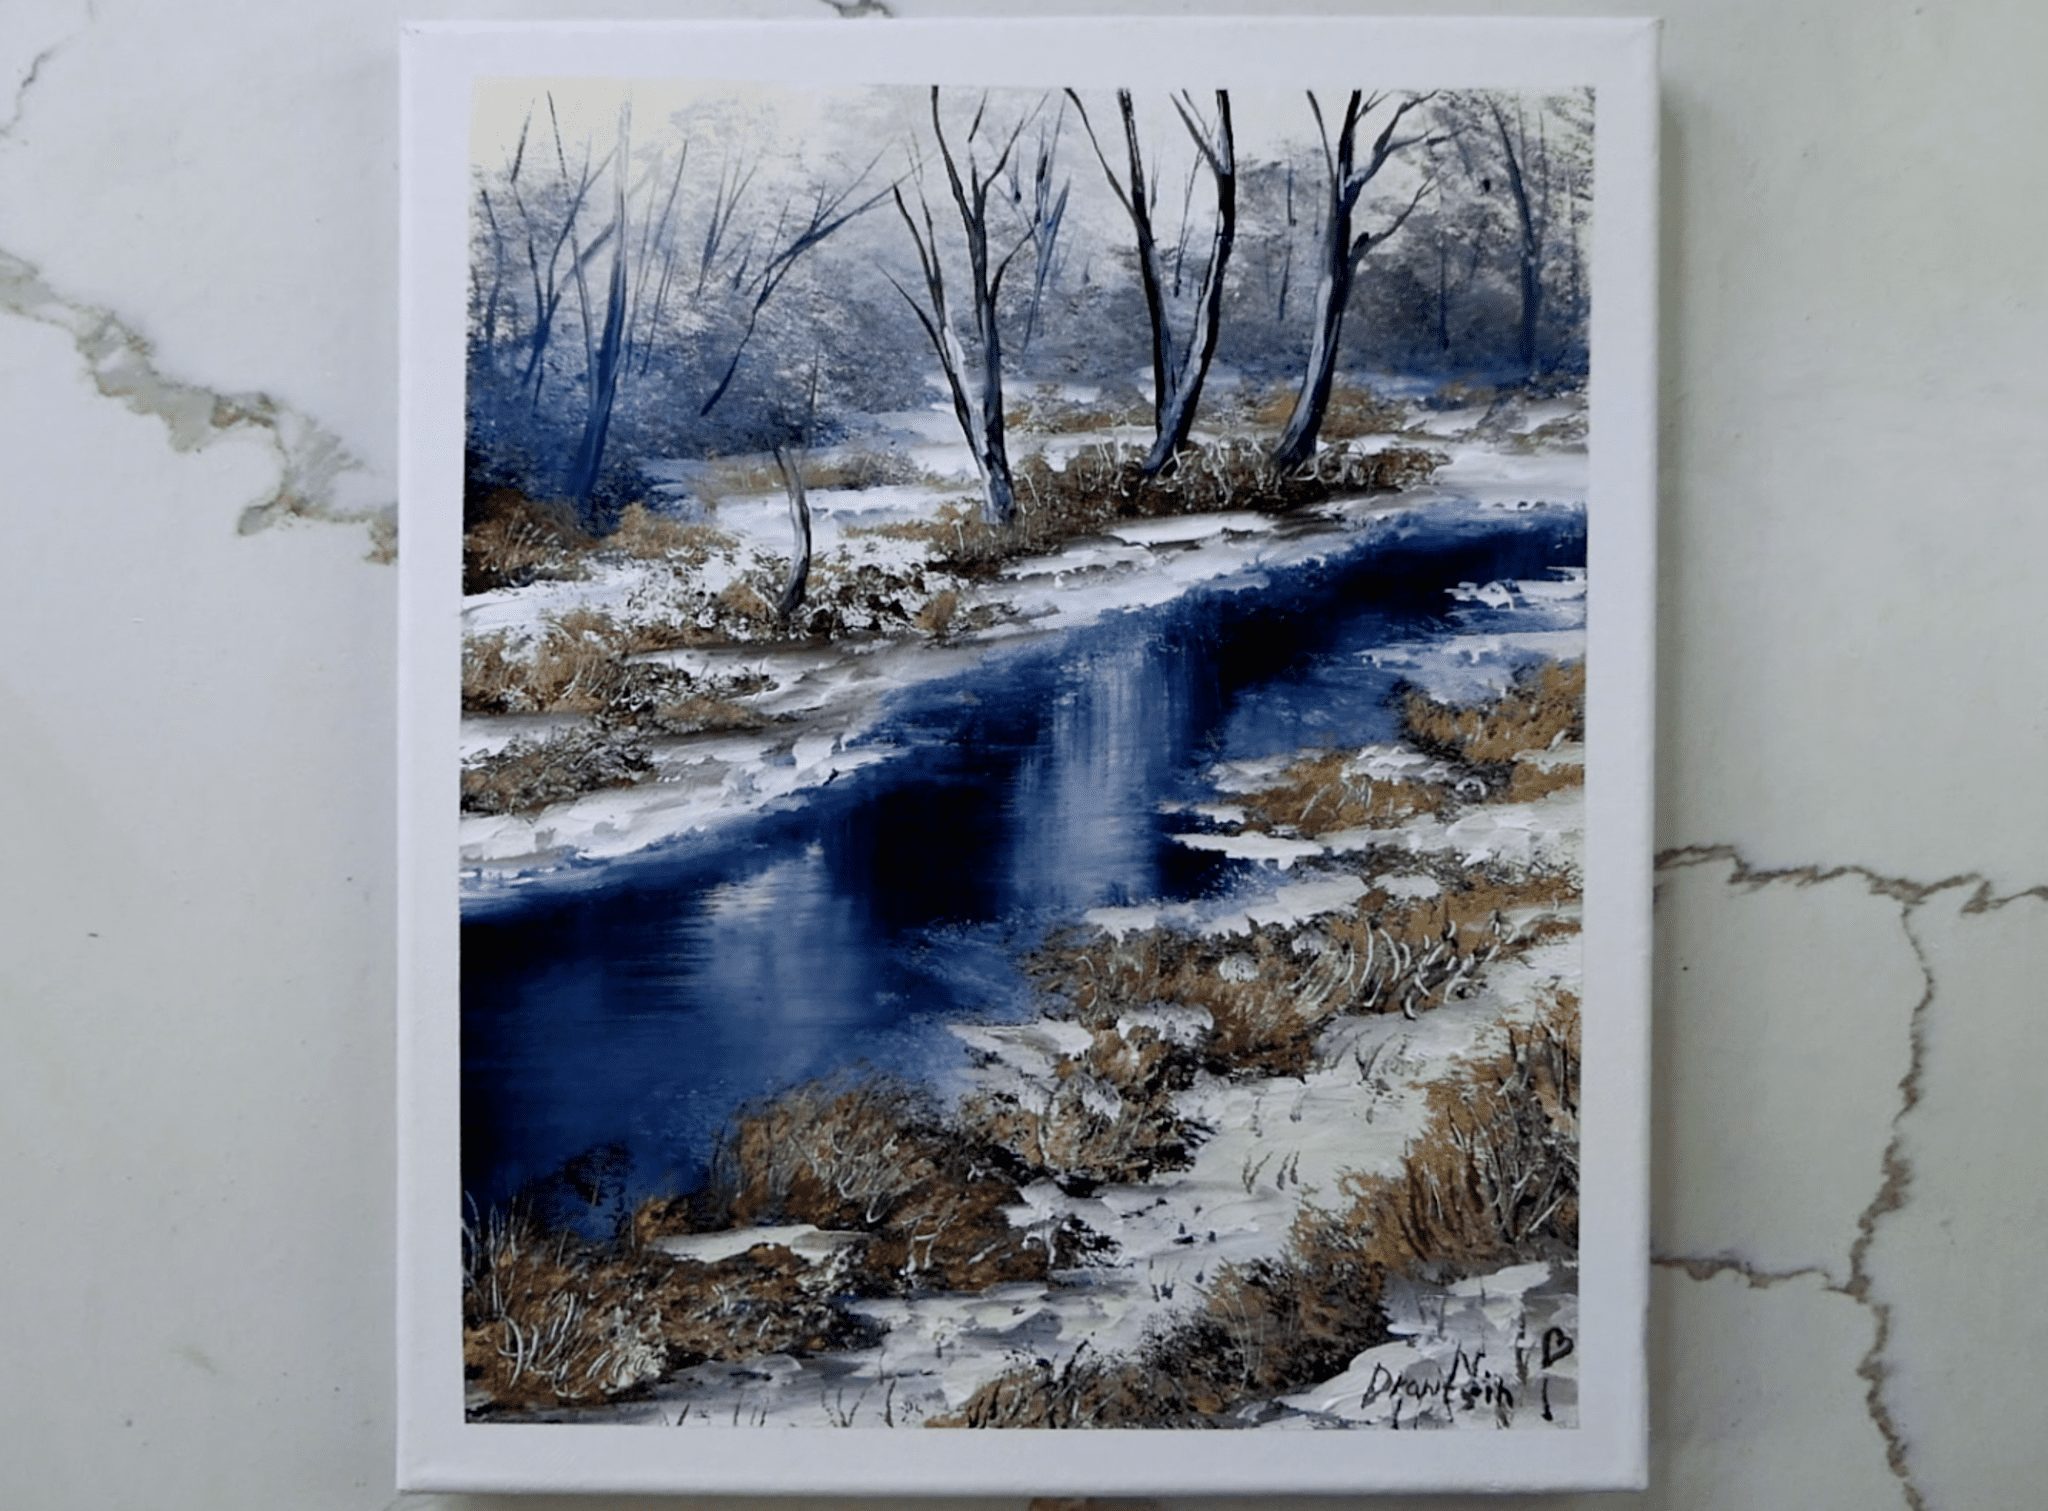
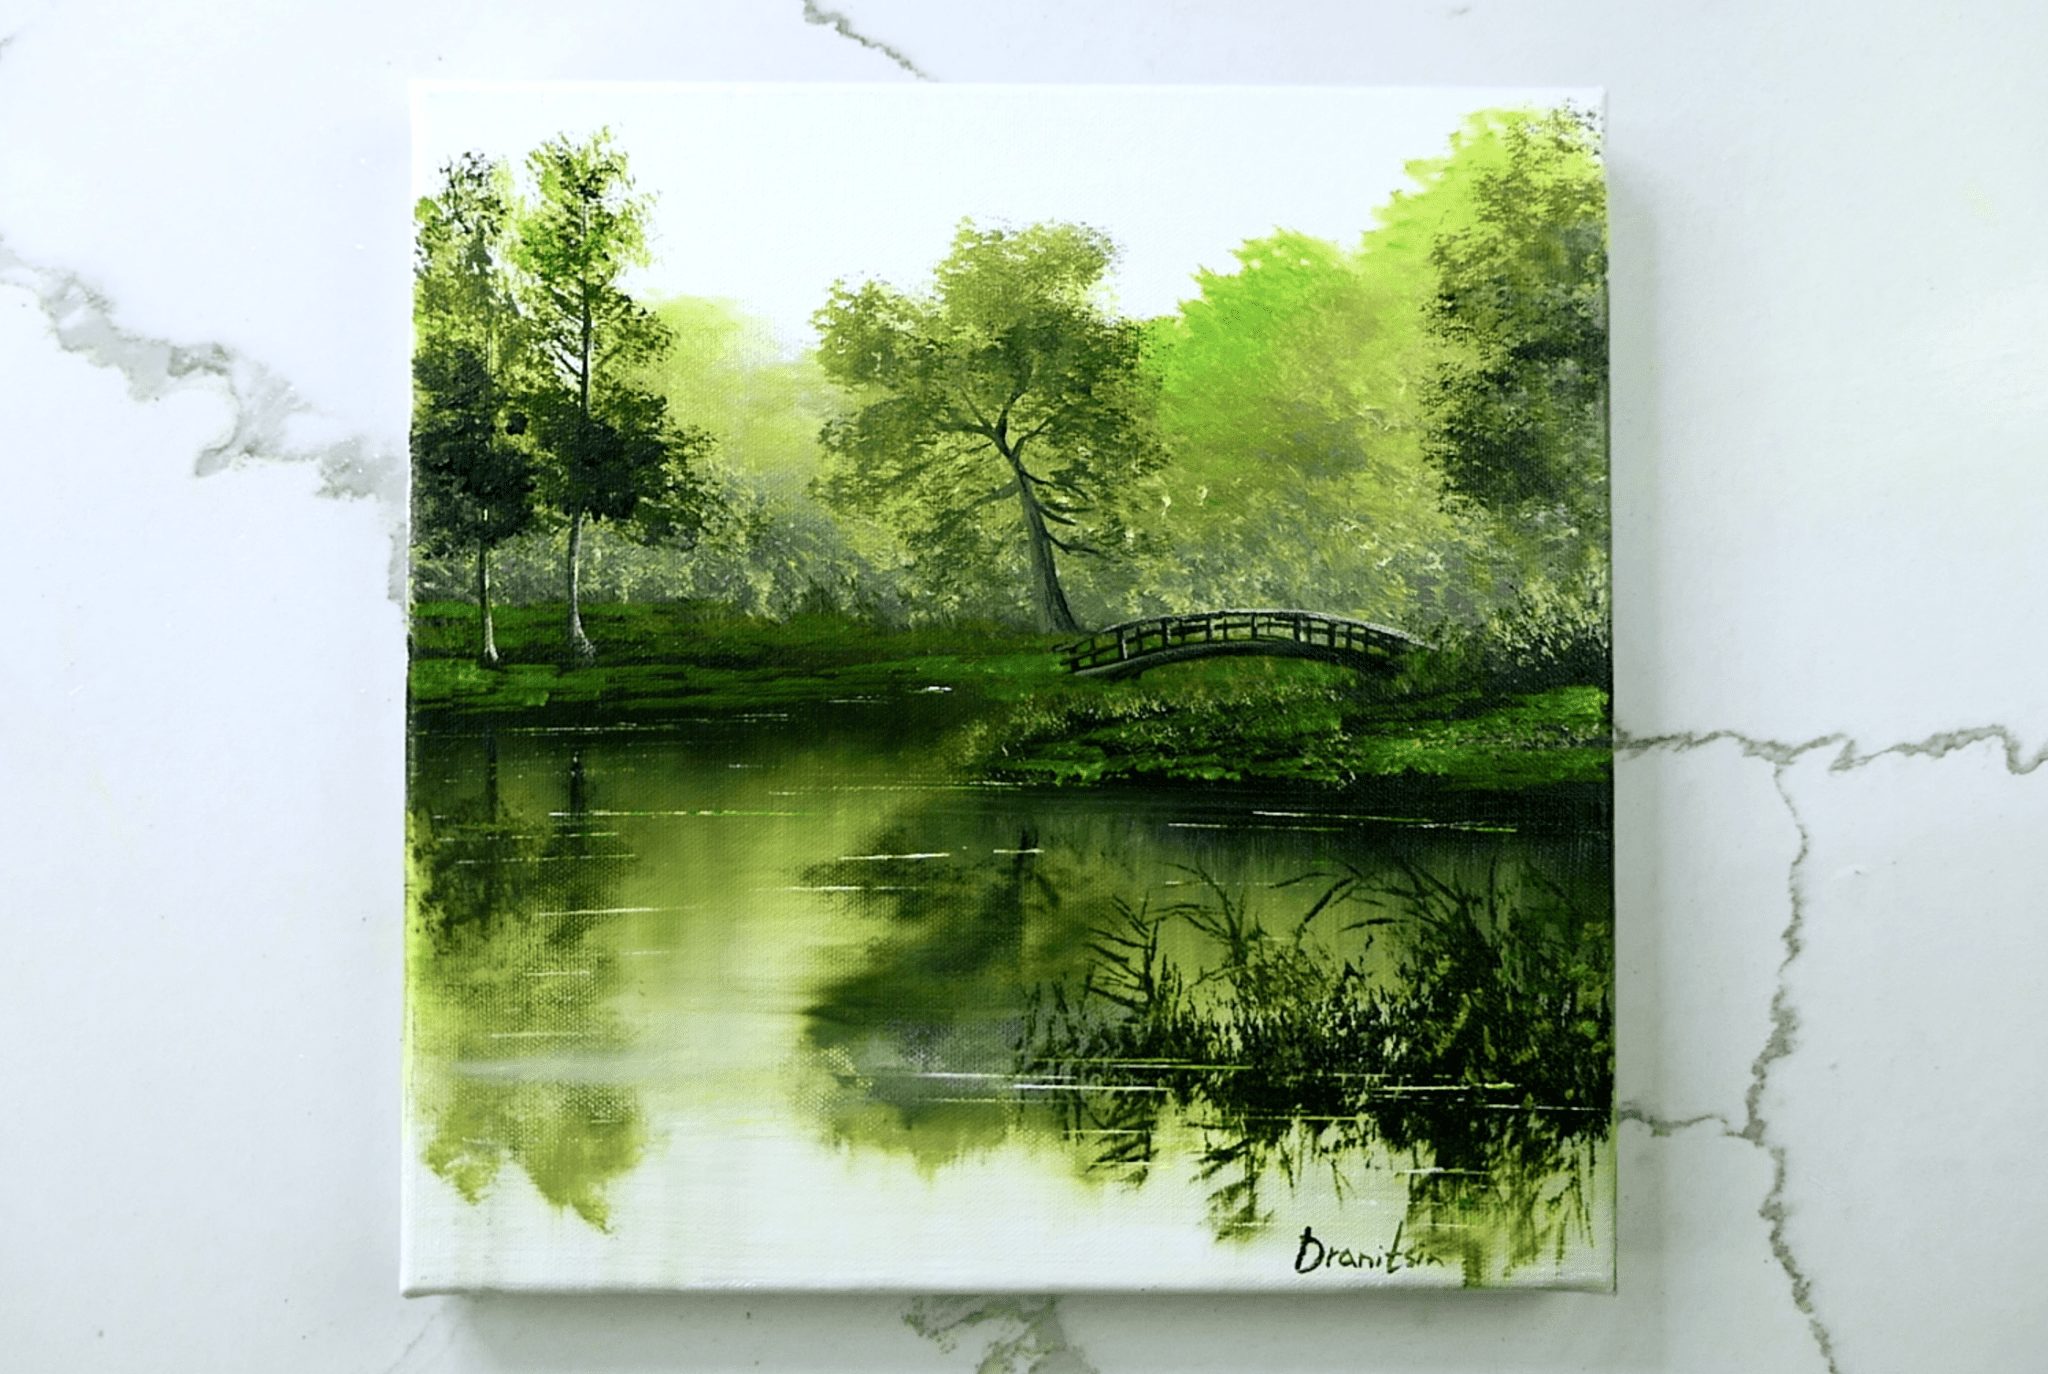
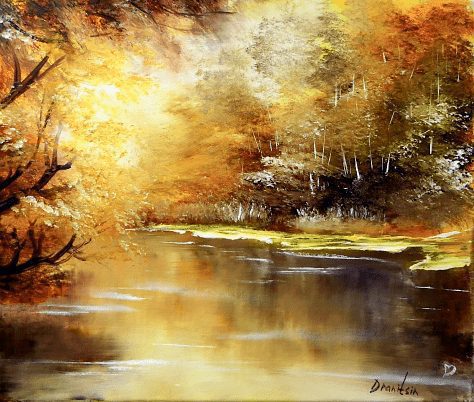
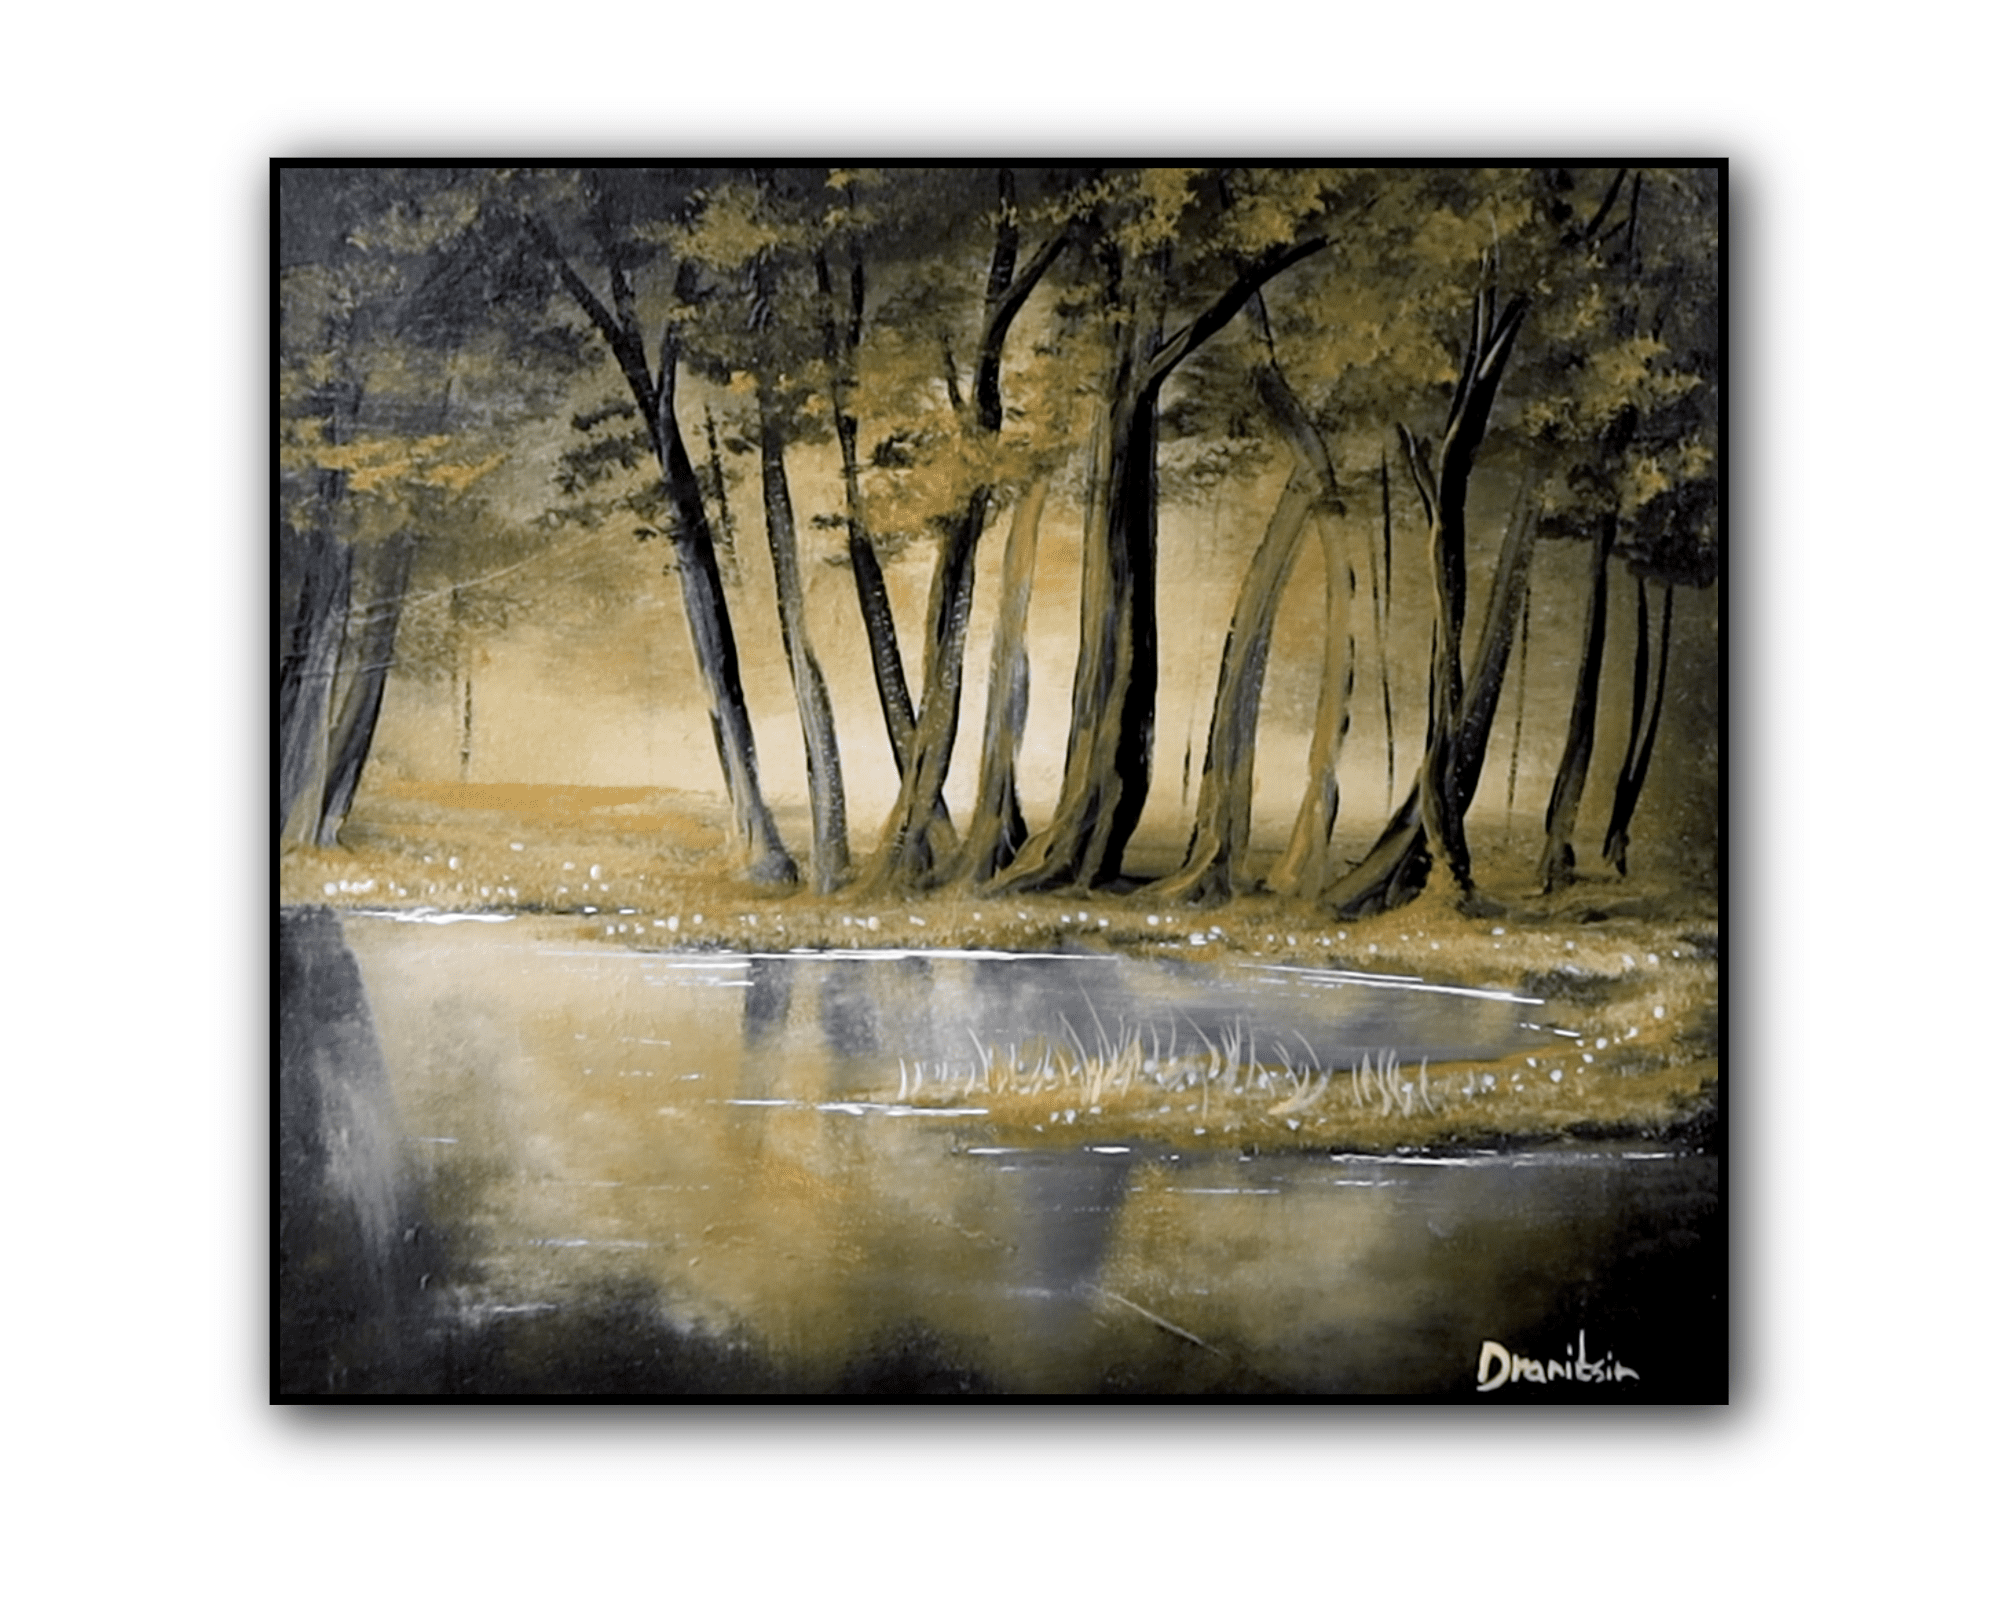
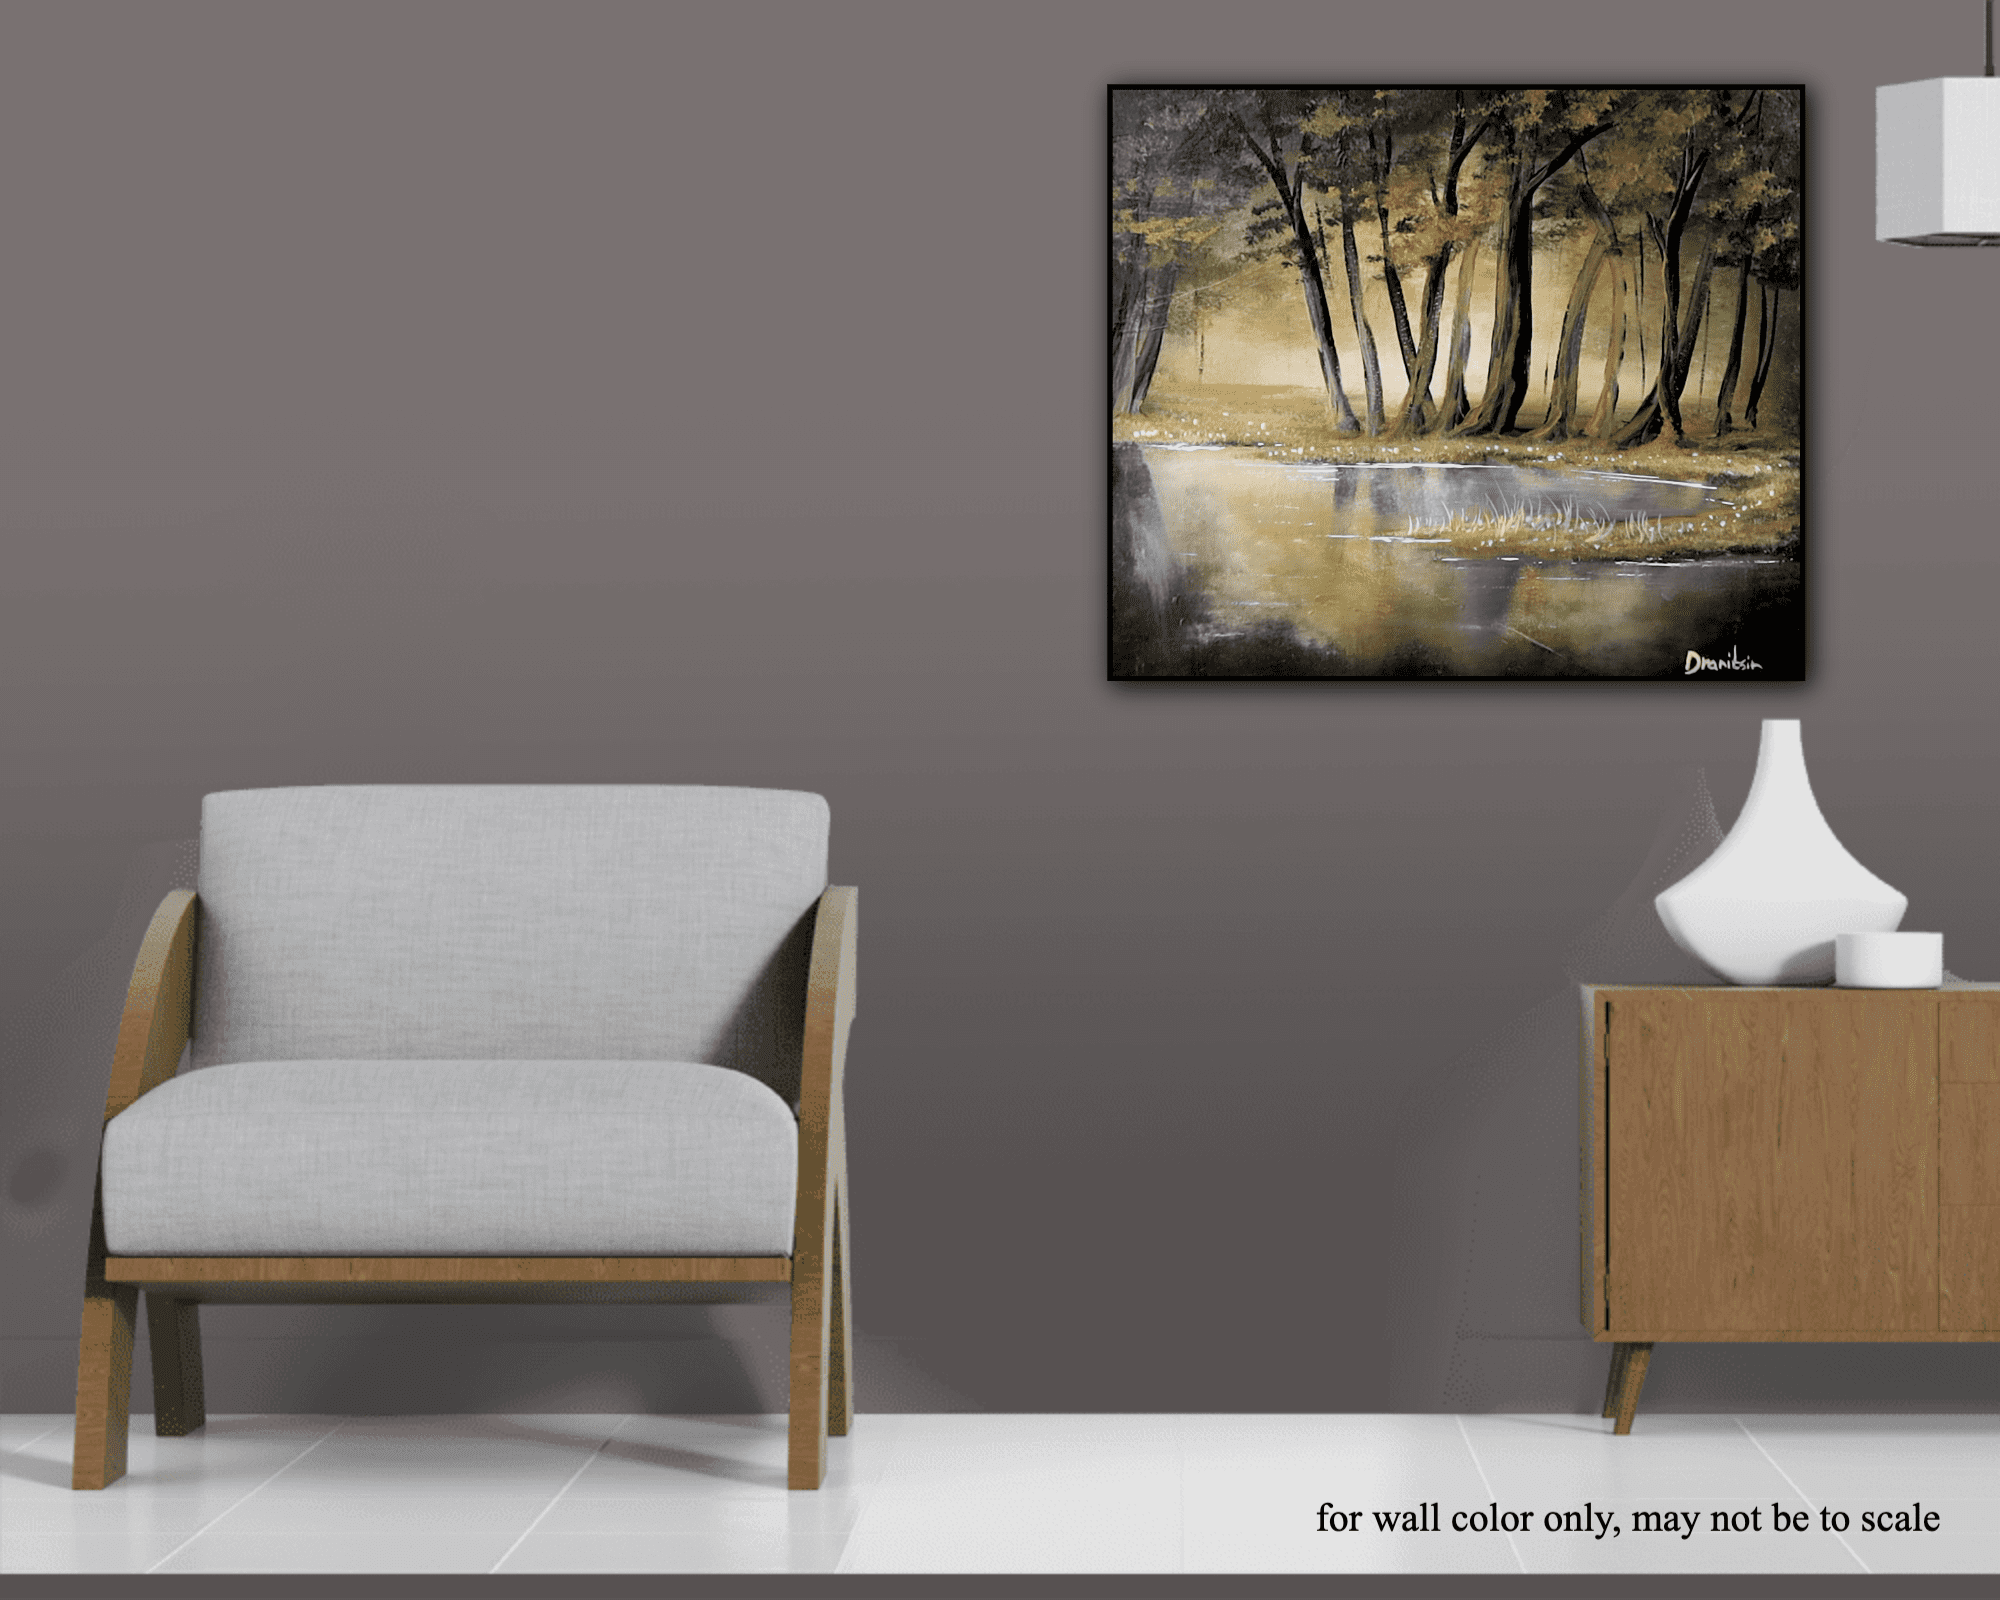
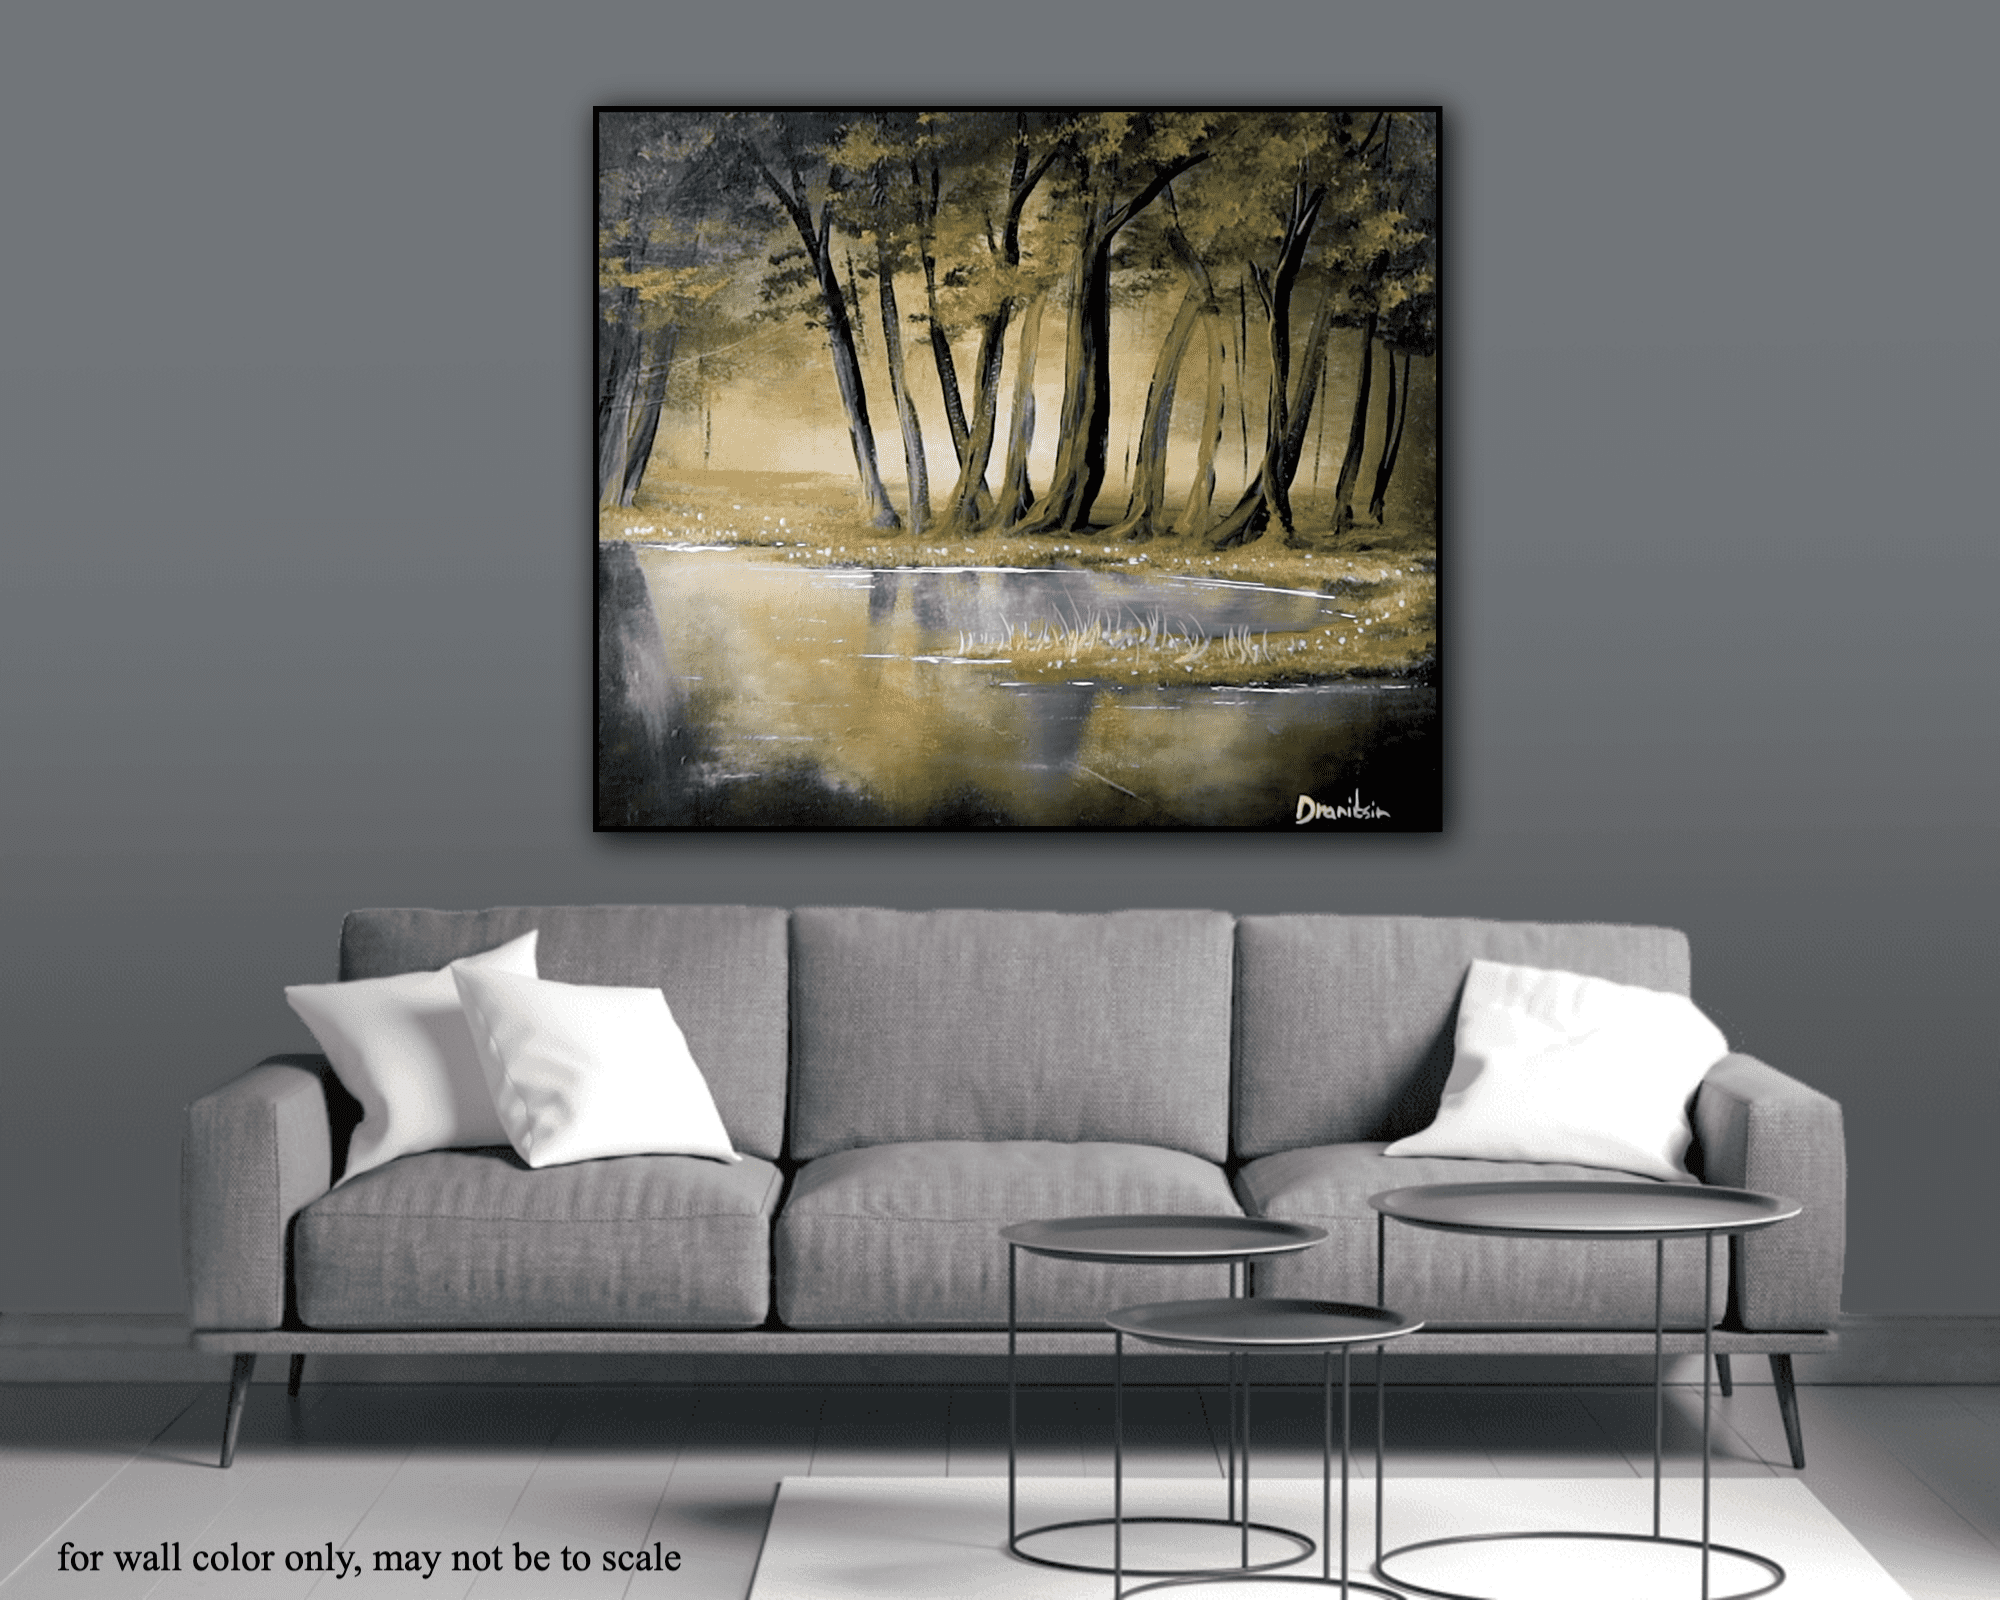
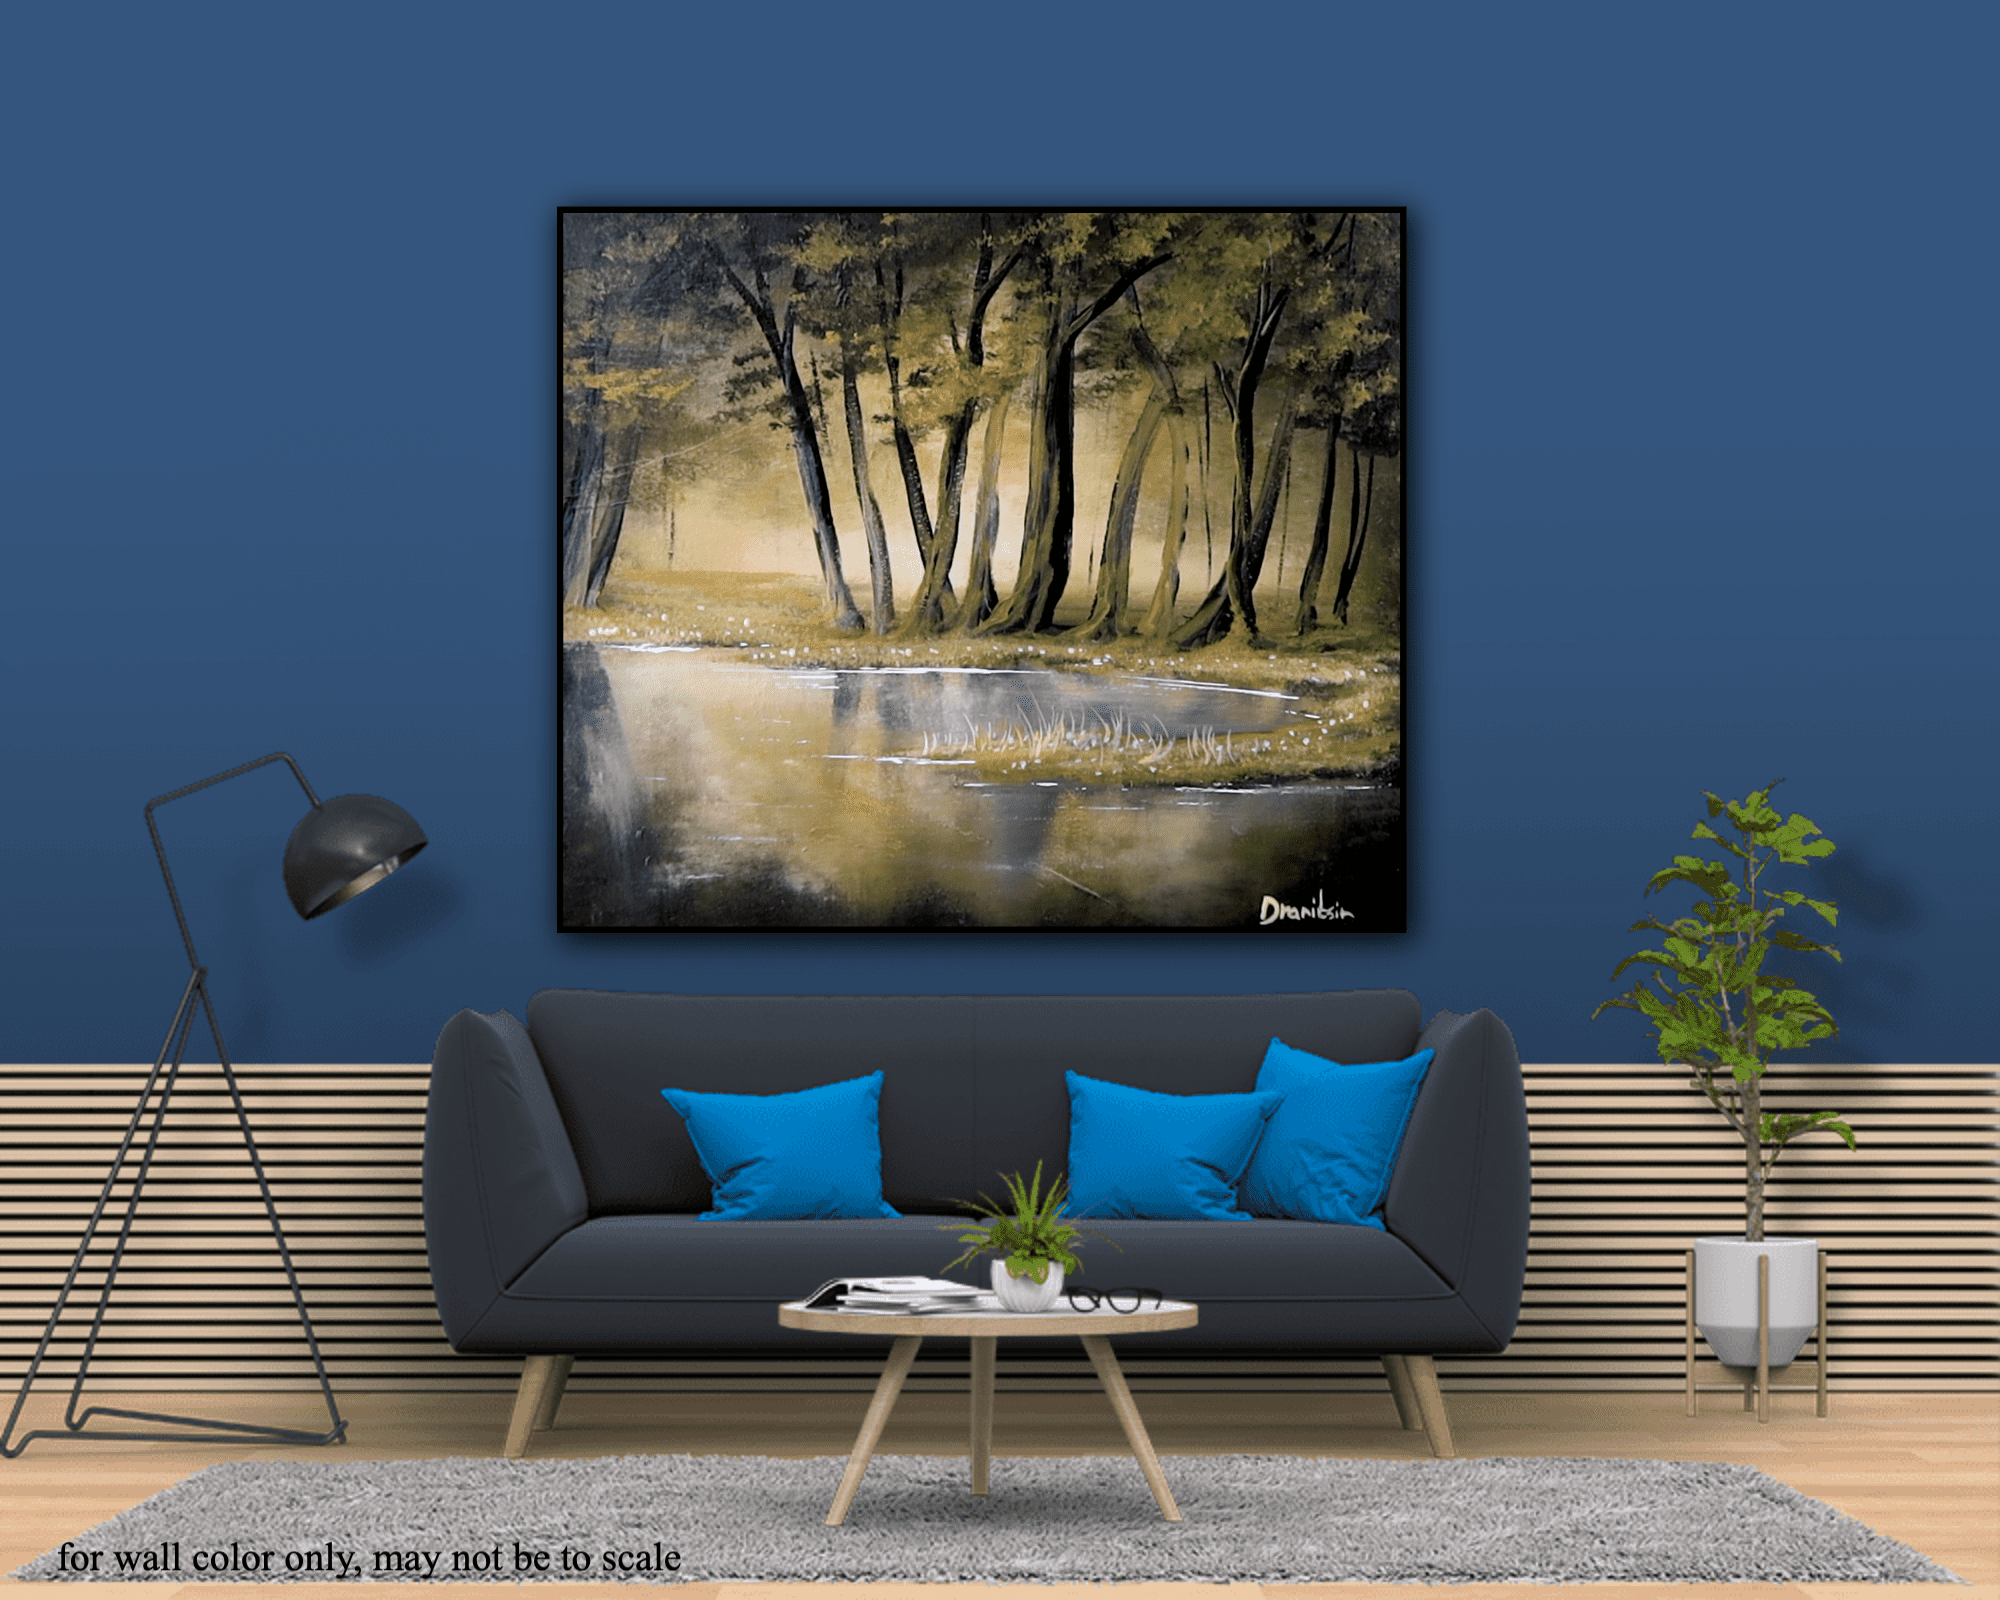
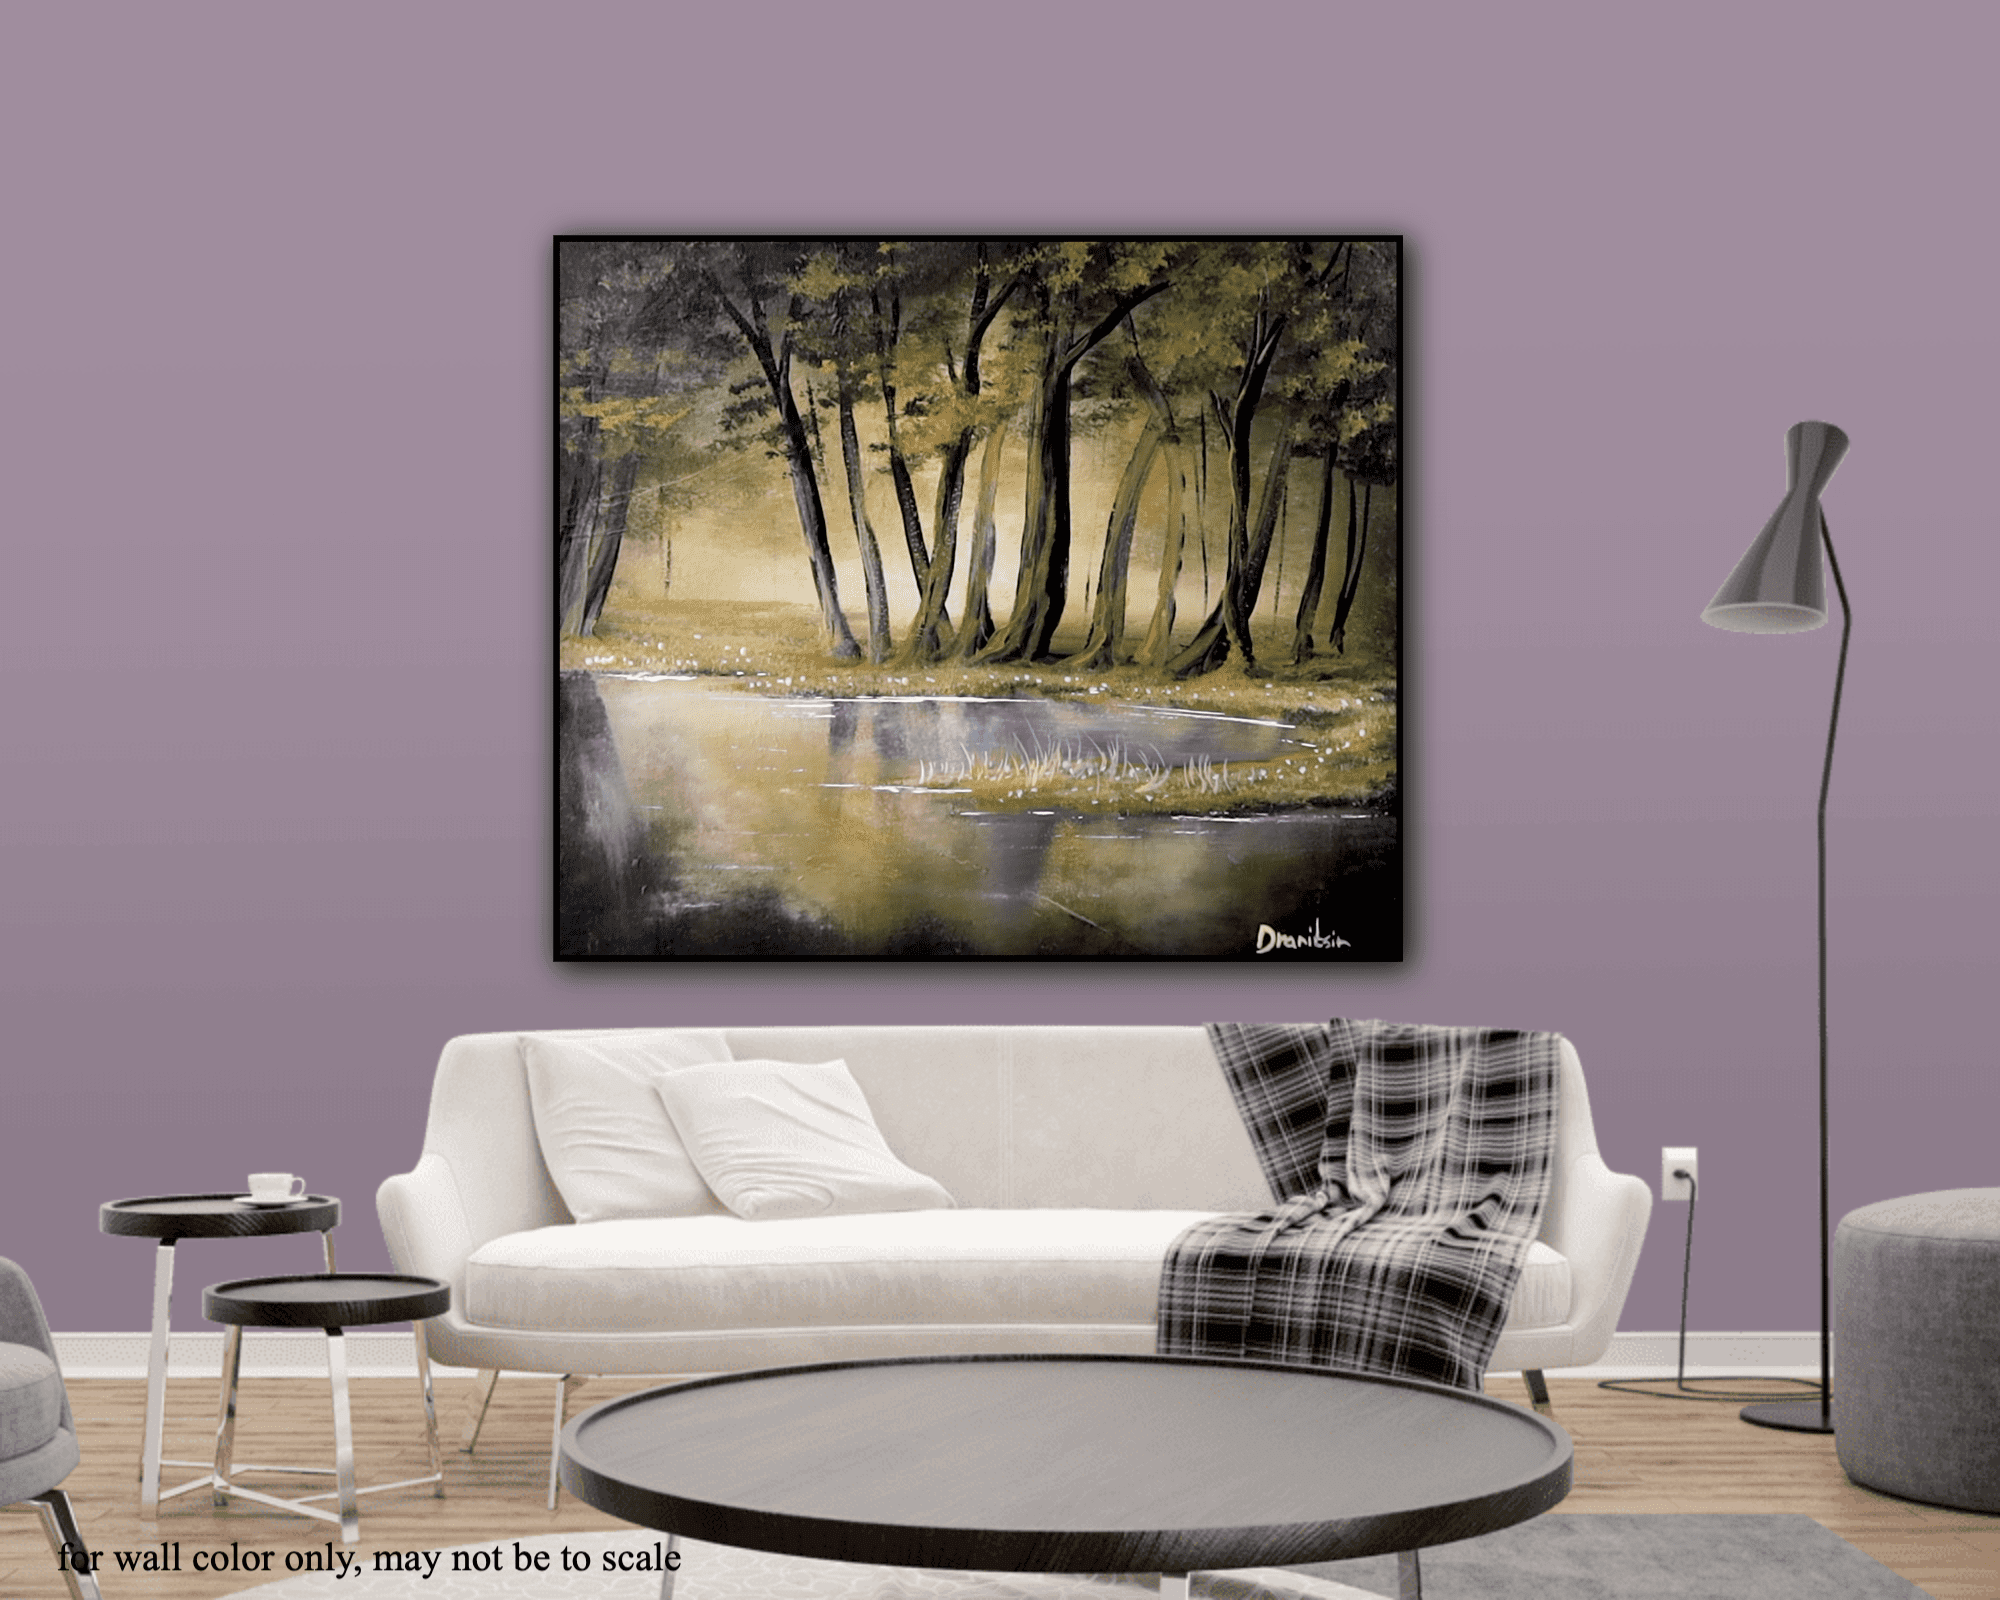
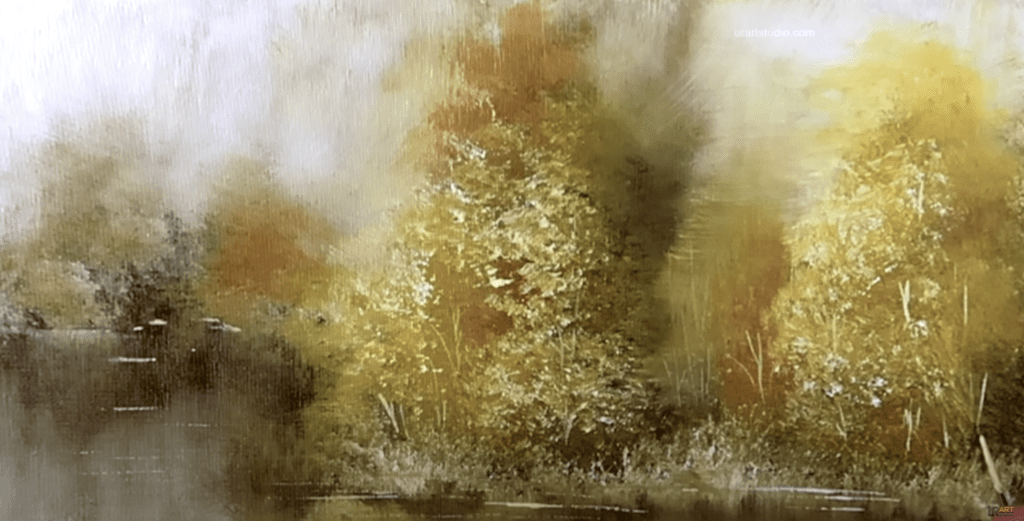
In this artistic journey titled “Enveloped in a Golden Glow: Unveiling Depth and Simplicity in Creative Expression,” participants are guided through a breathtaking process of painting a masterpiece using just three colors: black, white, and yellow ochre. The narrative delves into the meticulous steps of blending, adding light and radiance, painting unique trees with varying textures and reflections, and infusing life into the landscape. Techniques like blending, detailing with brushes of different shapes and sizes, and creating delicate waterlines enhance the overall composition. The guide concludes with a flourish as participants sign their completed artwork, signifying the end of a creative odyssey filled with artistic exploration and expression.
Step by step Guide:
Step-by-Step Guide: Creating a Luminous Landscape Painting
- Prepare the Canvas:
Ensure the canvas is damp to keep acrylic paint moist. - Apply Base Colors:
Use black on the sides and yellow in the center, spreading color with a big square brush. - Blend Colors:
Employ a big oval brush to blend colors seamlessly, rinsing between strokes. - Add Light Elements:
Use a hint of white paint to create a subtle glow, blending it gently. - Blend Background:
Utilize an ultrasoft blending brush to smooth background colors with vertical and horizontal strokes. - Detail with Trees:
Paint trees with a Filbert brush in black, creating varied thickness and direction. - Create Reflections:
Blend tree reflections in water using an oval brush and then an ultra soft blending brush for a mirror-like appearance. - Enhance Land Details:
Restore land areas and paint branches with a thin liner brush for added depth. - Add Foliage and Grass:
Emphasize trees with a mix of yellow and black on a small filbert brush, then paint grassy areas using a size two large square brush. - Define Waterline:
Use a palette knife with white paint to delineate the boundary between land and water, adding elegance. - Finalize Details:
Paint individual grass blades and sparkling flowers using a custom bristle brush to enhance visual appeal. - Complete and Sign:
Admire your artwork, appreciating the journey of creativity and expression. Sign your painting to mark its completion.
Enjoy the process of crafting a luminous landscape filled with depth and simplicity in your creative expression journey.


Narration:
Hey everyone, are you ready to dive into a captivating world of color? Today, we’re going to embark on an artistic journey that will leave you mesmerized by the magic of simplicity and depth.
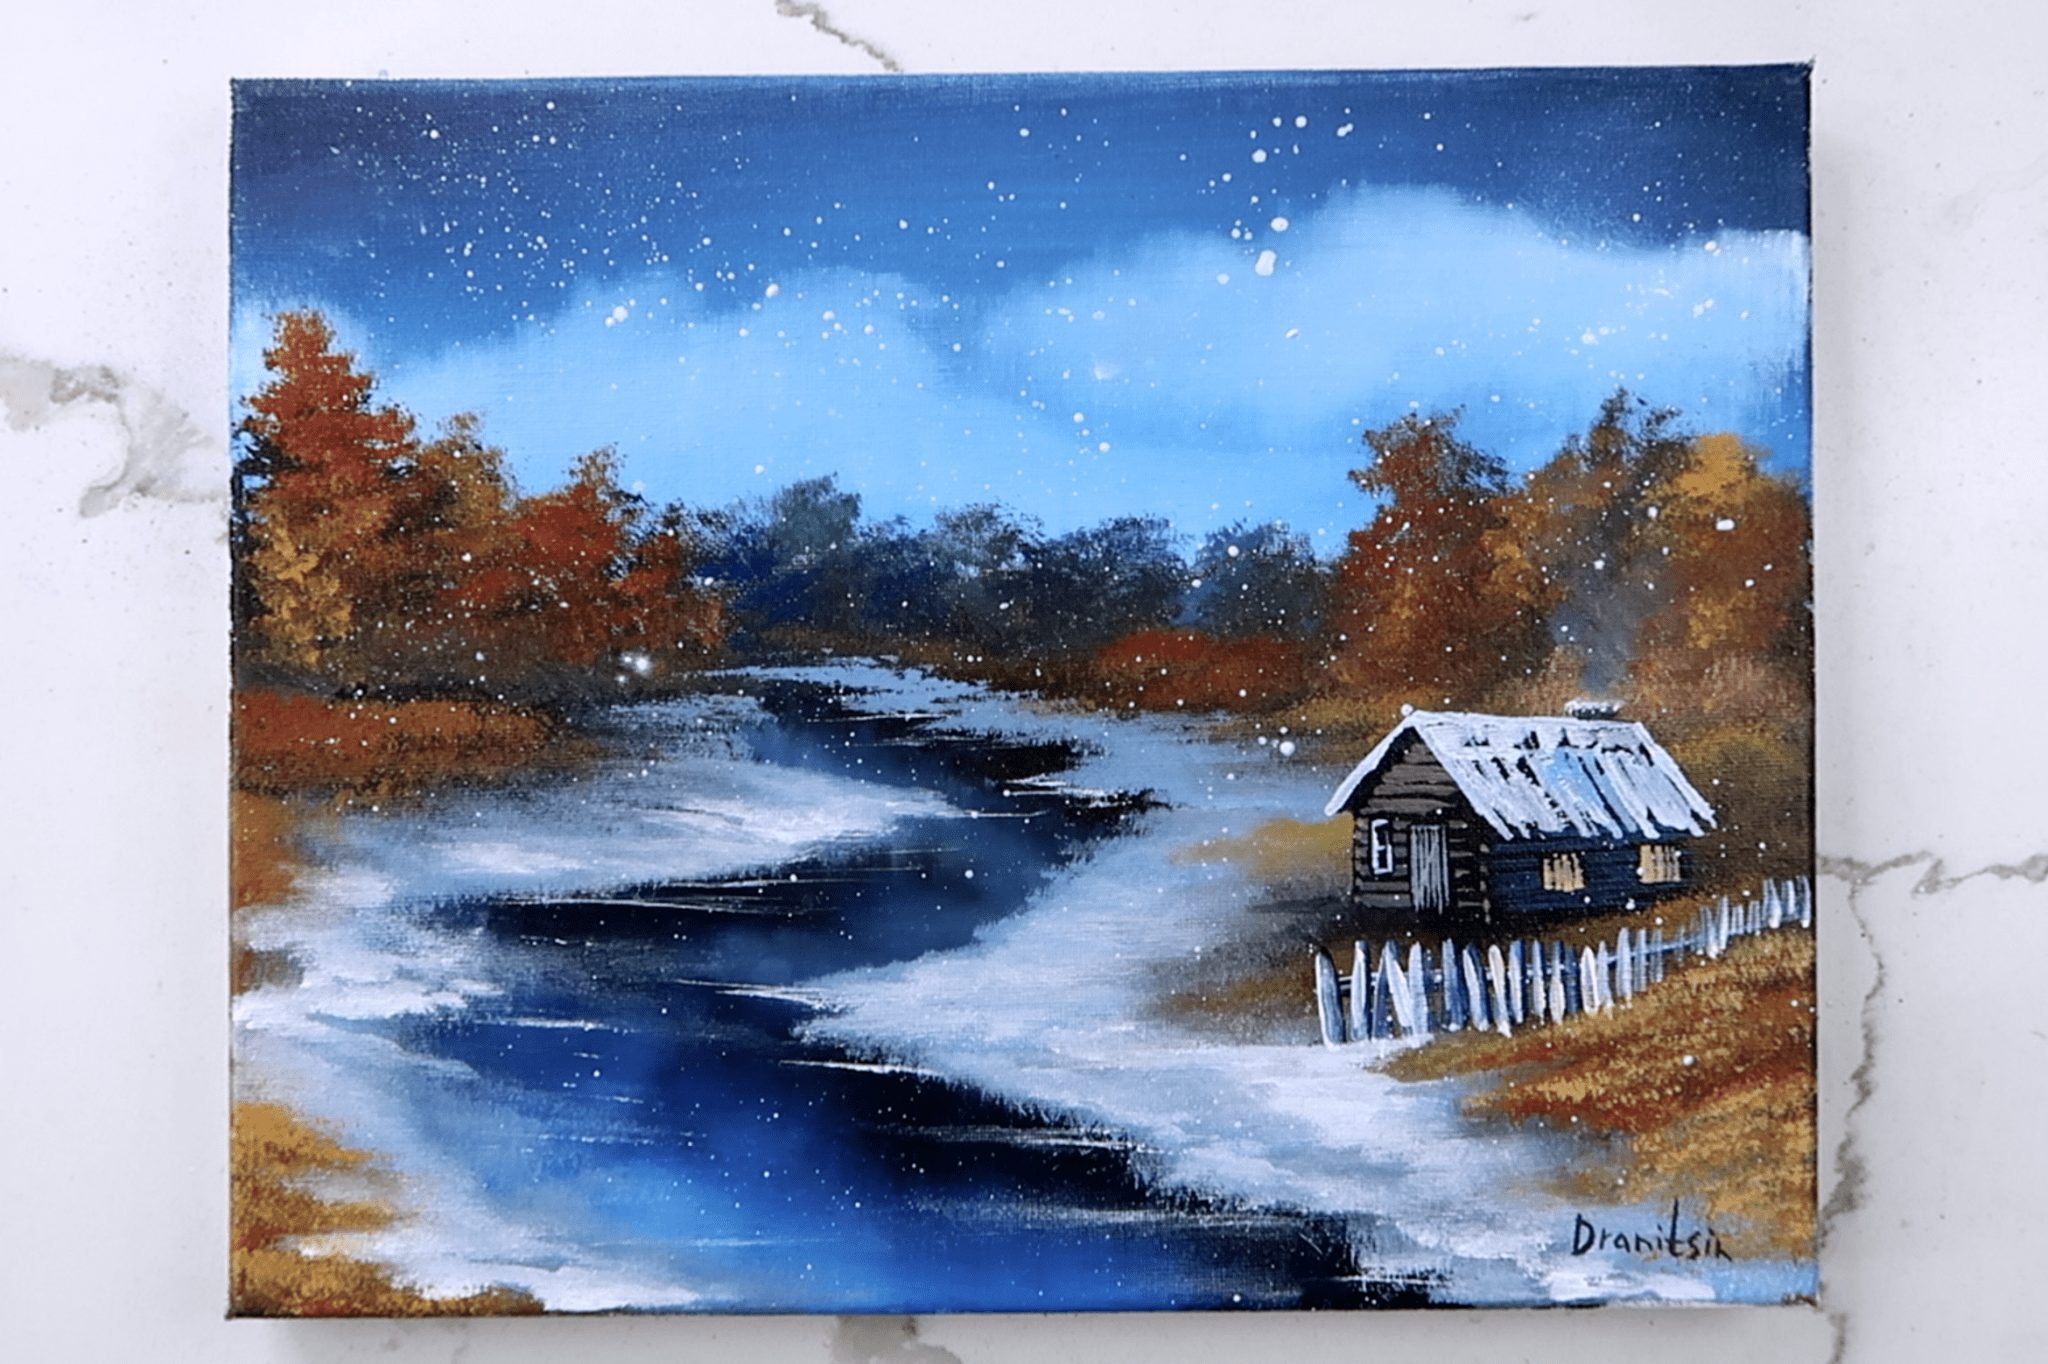
Picture this: a canvas waiting to be transformed into a masterpiece, with just three colors – black, white and yellow ochre – we’re about to unleash a symphony of hues and textures that will captivate your senses.
After we have prepared our canvas, making sure that it’s nice and damp so that our acrylic paint stays moist as long as possible, we are ready to begin.
After we laid the colors on the canvas, yellow in the center black on the sides, let’s take out our number four big square brush and we’re gonna gently spread the color across the canvas.
At this point there is no need to meticulously blend yellow and black together, because we’re going to do this in the next step.
Let’s take our big oval brush and with the dabbing motion, we’re gonna seamlessly blend the colors together. Make sure to rinse the brush in between to keep our background colors clean.
At this time let’s clean our brush in water and wipe it dry on the clean towel before moving to the next step.
Using just a hint of white paint, we will bring a touch of light into our painting on the damp canvas. Gently dabbing the white color and blending it with the surroundings, ensure not to backtrack with a contaminated brush into the luminous areas. Once a subtle glow is established, cleanse your brush once more, replenish it with white paint, and proceed to infuse as much radiance as desired.
At this stage, with our paint still wet, we’ll bring out the ultrasoft blending brush to delicately blend the background, smoothing away any visible brushstrokes. Begin with vertical strokes across the canvas before transitioning to horizontal strokes. Remember to periodically wipe your brush clean using a cloth in between strokes.
Now, let’s add detail to our painting. Grab a Filbert brush deep it in black paint to paint a few trees. Before we begin painting the trees, let’s create a land area where our trees will be situated.
Because the background paint is still wet, our brush will pick up some of light colors. This is important to give our tree trunks and land different shades, adding depth to our landscape.
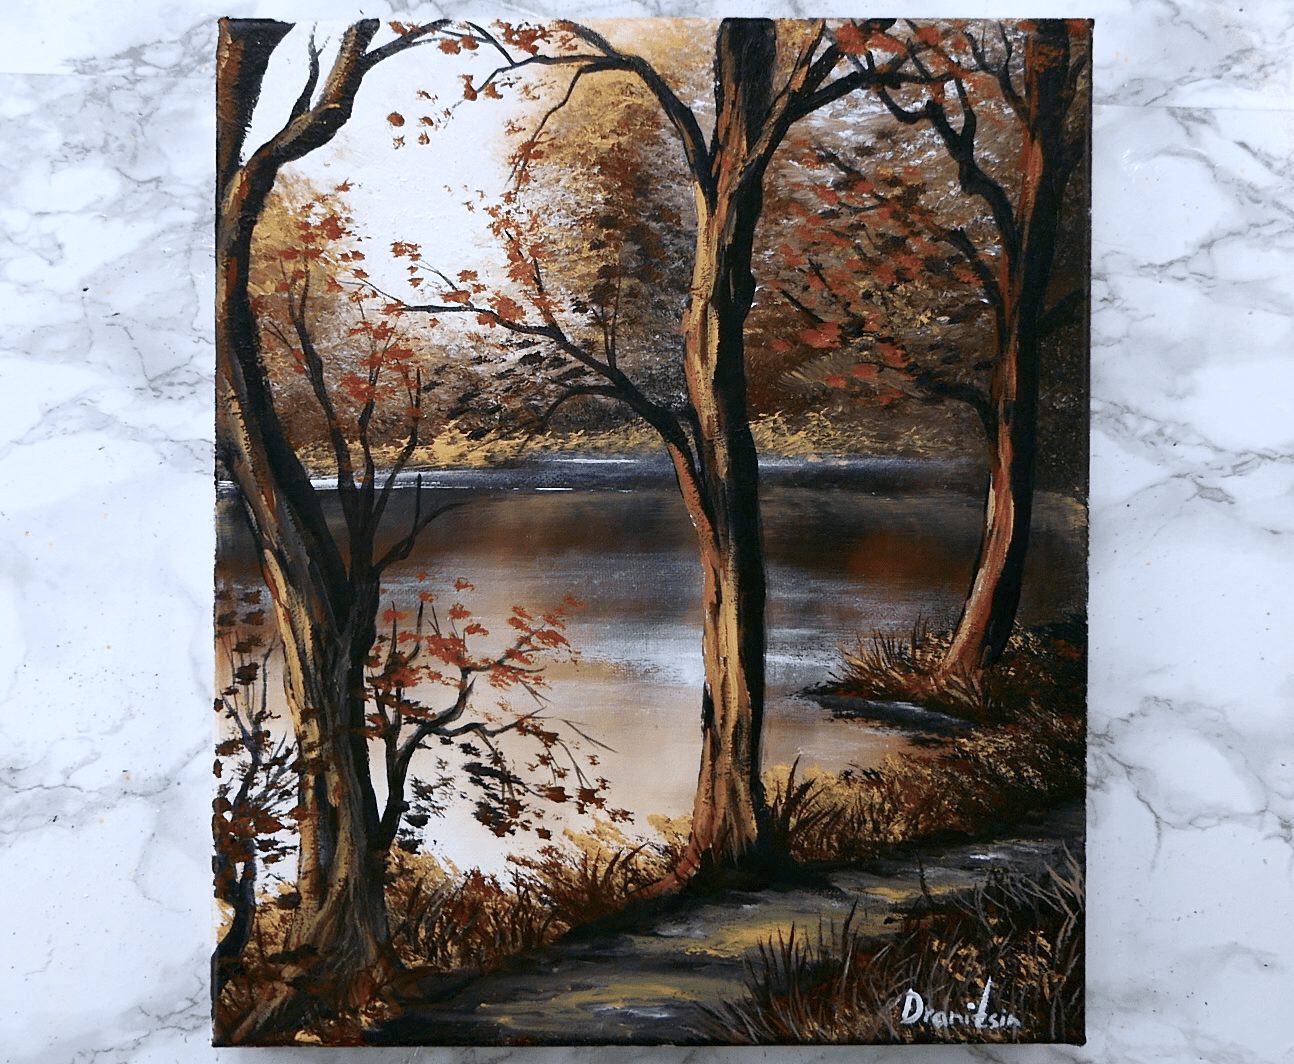
When painting the trees, let’s make each one unique. Vary their thickness and direction, putting your own spin on the scene as the master of your creation.
As we transition to adding a reflection in the water, our goal is to capture the essence of the trees above by creating a mirrored image in the water’s surface. While it’s important to lay down the initial reflection with care, exact precision is not imperative at this point. The beauty lies in capturing the general impression, knowing that we will refine and blend these elements seamlessly in the next steps using the oval brush. This process allows for a natural and harmonious integration of the reflection into the overall composition, enhancing the visual impact of our artwork. .
Retrieve the smaller oval brush and begin blending the tree reflections into the water. Start with vertical strokes, then switch to horizontal strokes after cleaning the brush on a paper towel. Keeping the brush clean between strokes will help ensure that your reflection looks clear and sharp.
And we’re gonna repeat the process using our ultra soft blending brush. this will give a reflection, a mirror like appearance without any visible brush marks.
Next, with the Filbert brush, we’ll gently restore some of the land areas that may have faded into the reflection.
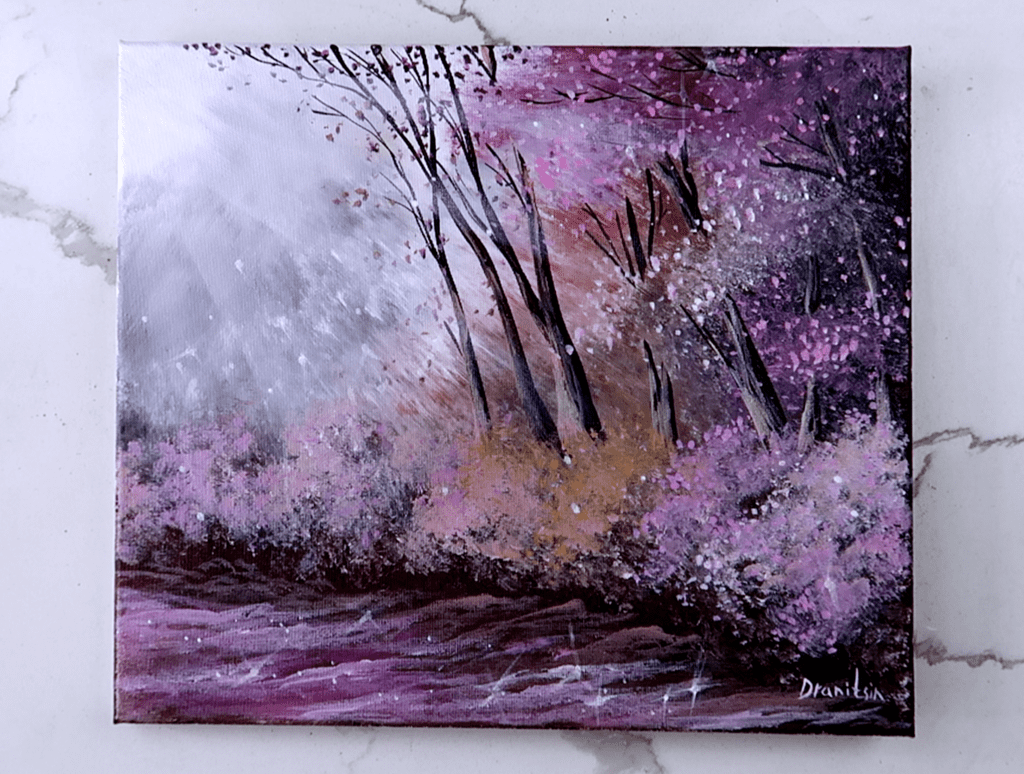
With a thin liner brush and black paint, we’ll delicately paint graceful branches extending from our tree trunks.
We might also add a few slender and graceful trees between the larger ones, peeking out sporadically throughout the scene.
Before moving to the next step, let’s dry our canvas using a heat gun or a hairdryer to speed up the drying process.
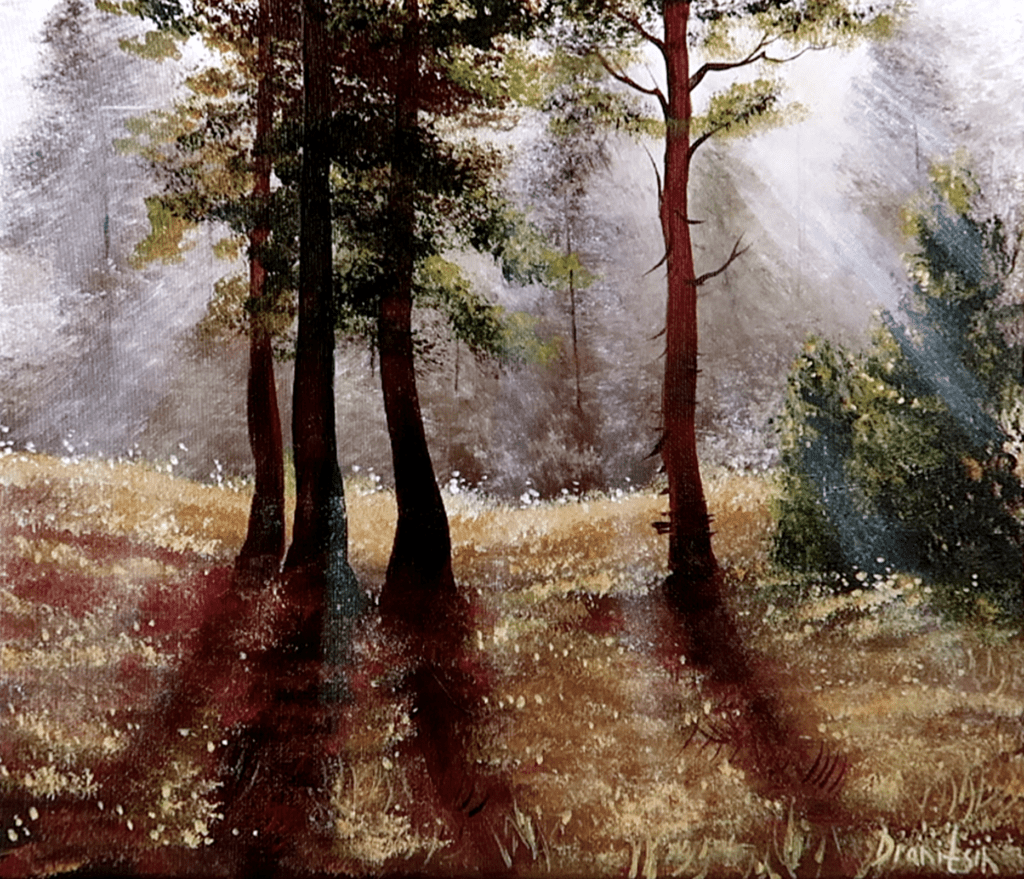
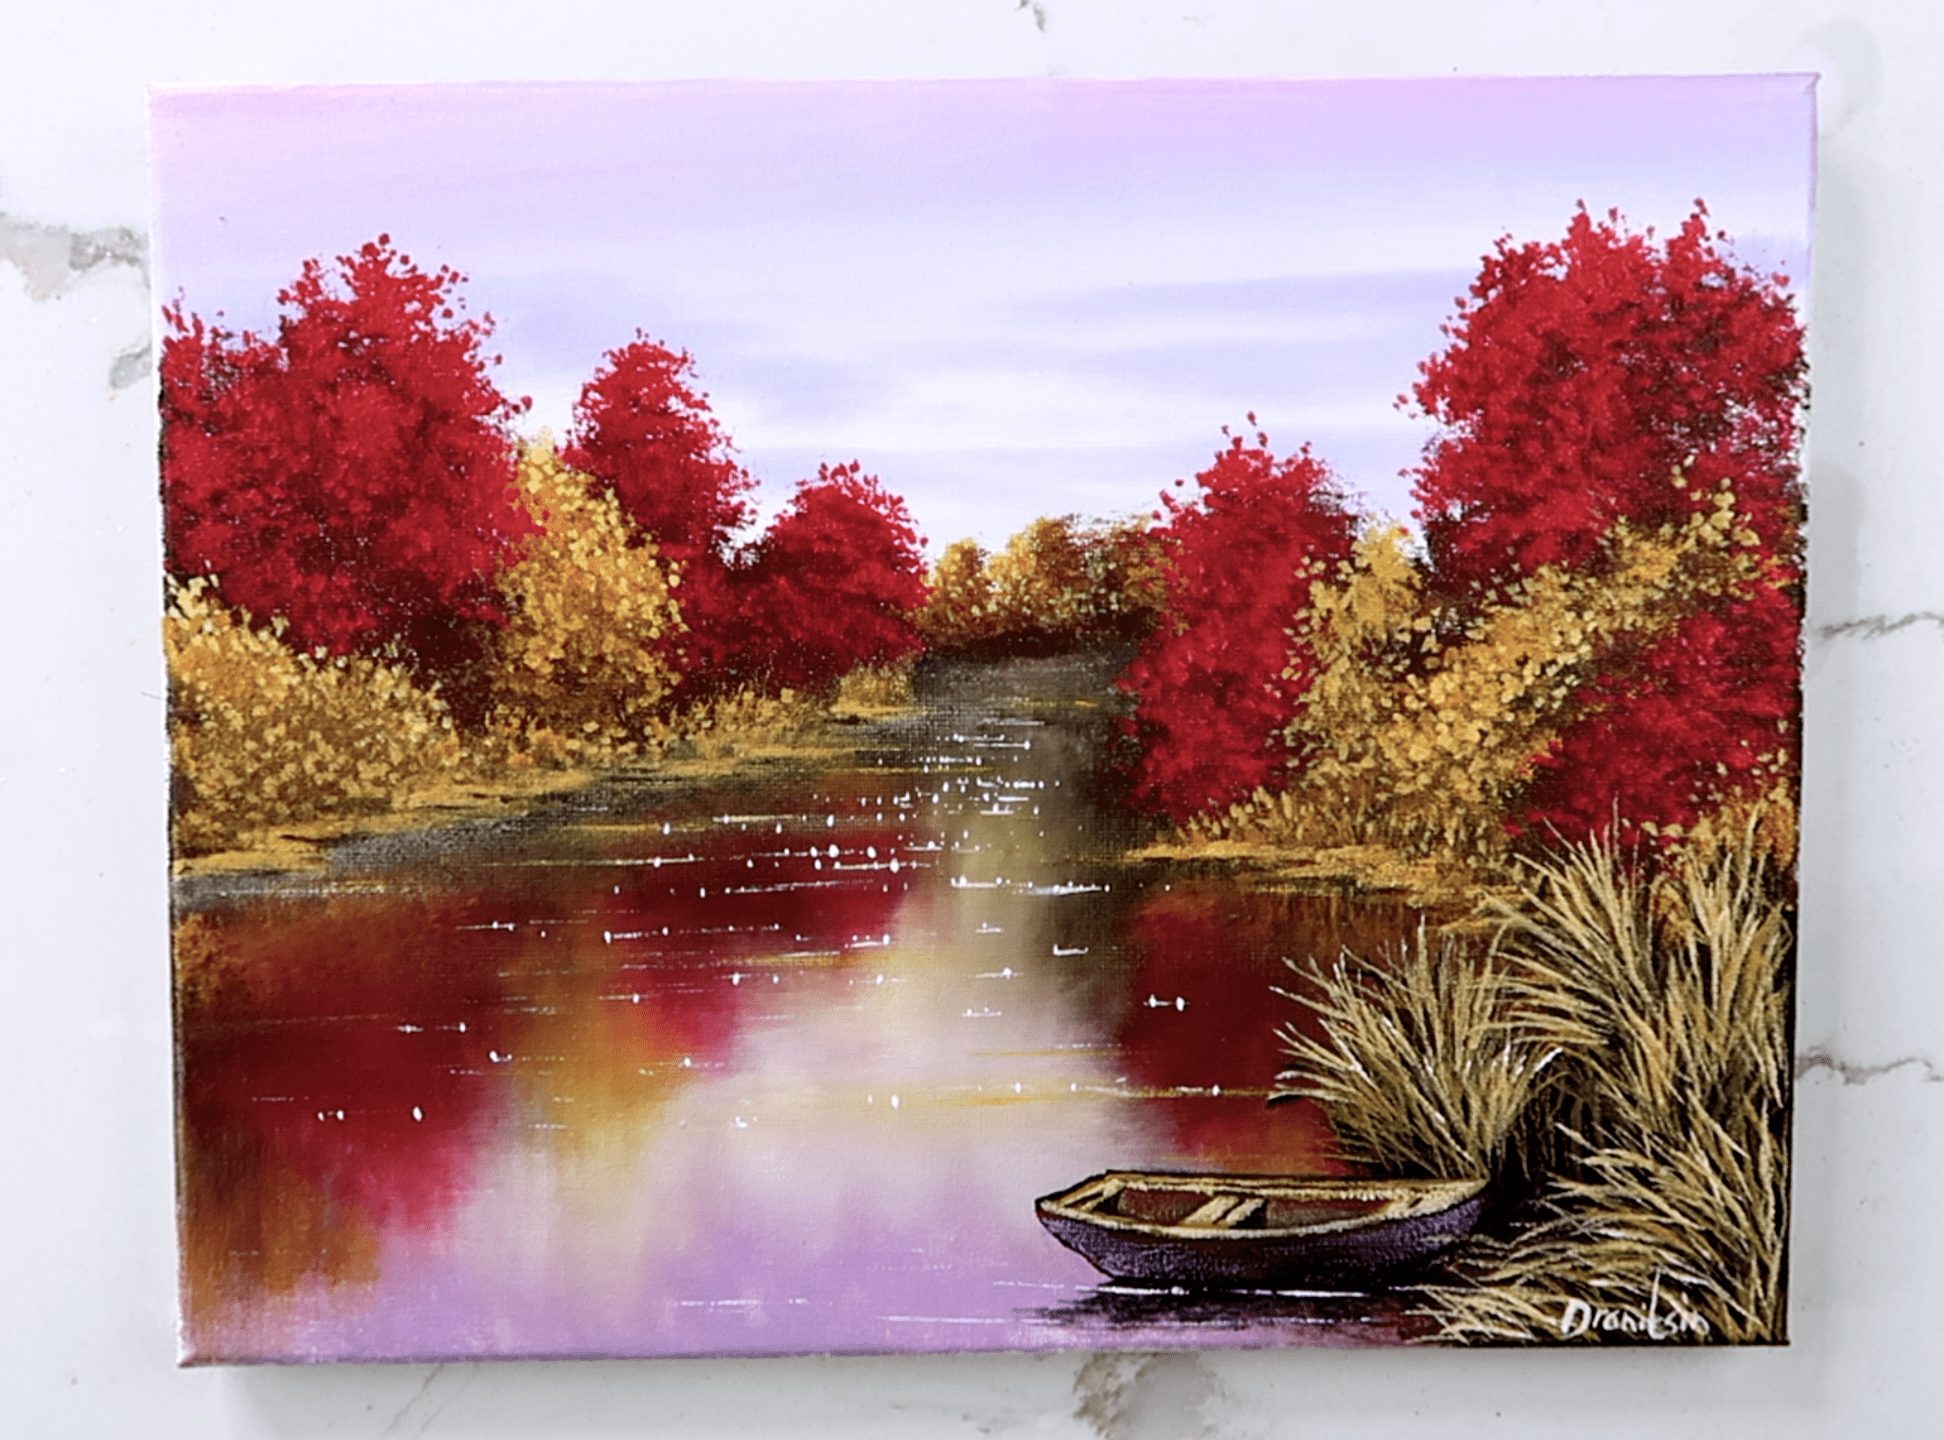
With a small filbert brush loaded up with a mix of white and yellow paint, we’ll immerse it in vibrant colors. Our aim is to emphasize and define the trees by adding a lovely highlight, enhancing their features and bringing them to life with a luminous touch.
We will employ a small round brush to delicately paint the leafy canopies of the trees. Using a blend of yellow and black colors, we’ll create a rich and textured foliage that adds depth and character to our forest scene. This careful blending of colors will help bring out the intricate details of the tree canopies, enhancing the overall visual appeal of our painting.
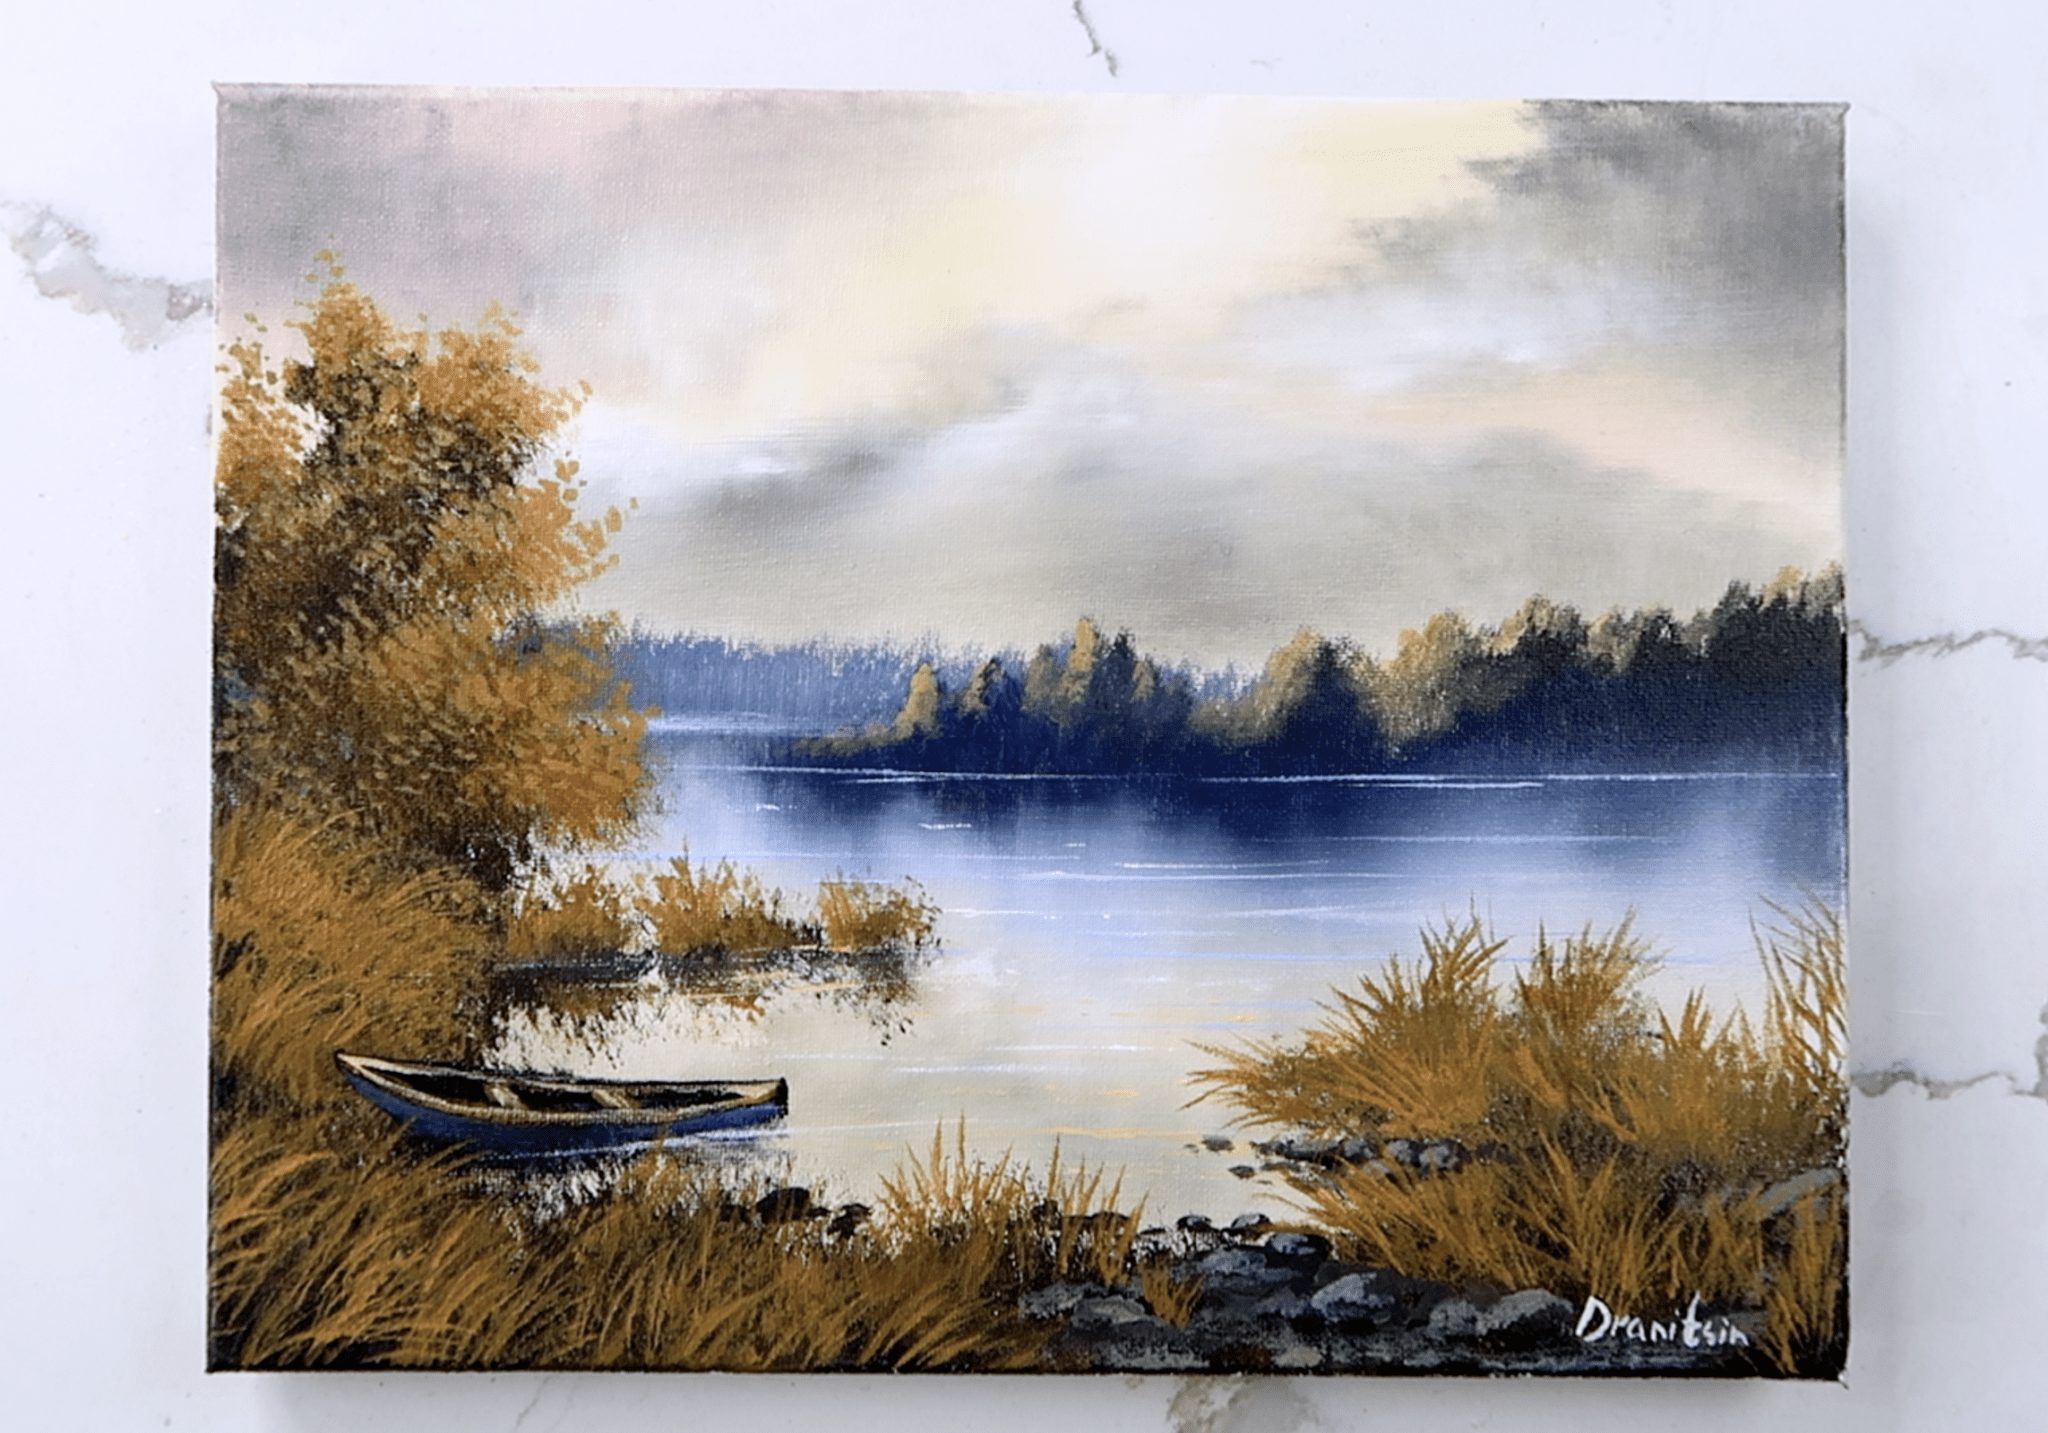
With a size two large square brush, we will introduce some grassy areas below the line of trees.These delicate touches will enhance the overall composition, adding a sense of elegance and balance to the scene.
Dabbing into a touch of white paint using the same brush, we will apply gentle highlights to the grass, enhancing its appearance with a subtle sparkle. These highlights will bring a luminous quality to the grass, adding depth and vitality to our painting.
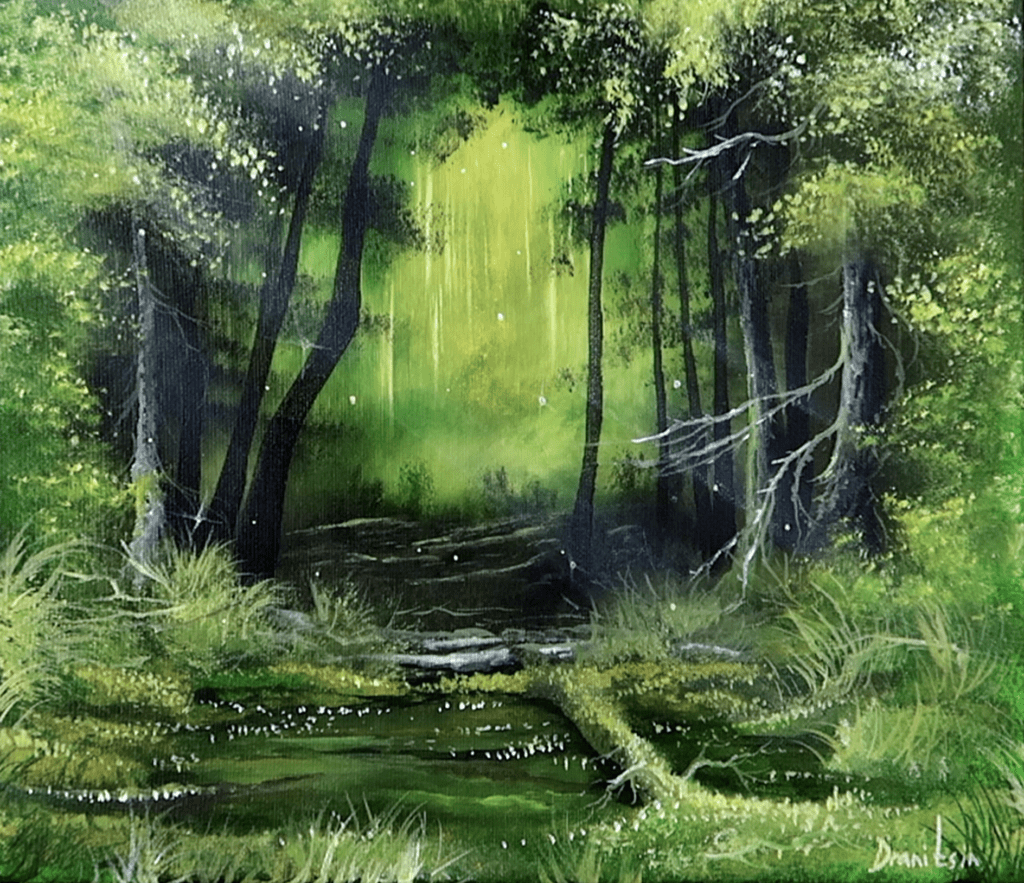
Using a palette knife, load one side with white paint. Carefully, let’s delineate the boundary between the land and water, forming delicate waterlines that add a touch of elegance to the scene.
Feel free to gently smudge a few of these waterlines with your finger to enhance the shimmering effect of the water as it catches the light, creating a beautiful gleam across the surface.
–
To enhance the diversity and visual appeal of our painting, we will paint individual grassy blades using our custom bristle brush.
This brush’s irregular shape is ideal for capturing these fine details and adding depth to the scene.
Next, with this same specialized bristle brush, we’ll delicately paint sparkling flowers along the shore, nestled amongst the lush grass. This will bring a touch of color and enchantment to our artwork, creating a vibrant and captivating depiction of nature.
Finally, it’s time to sign your painting. Take a moment to step back, admire your masterpiece, and appreciate the creative journey you’ve been on. Keep exploring and creating as you continue your artistic path.

STEP BY STEP PAINTING INSTRUCTIONS AND NARRATED GUIDES FOR URARTSTUDIO.COM YOUTUBE ART VIDEO DEMONSTRATIONS

ART VIDEO STEP BY STEP VIDEO DEMONSTRATIONS AND ORIGINAL ART GALLERY BY URARTSTUDIO:
Welcome to the captivating world of URARTSTUDIO! Immerse yourself in the exquisite artistry and creativity with our step-by-step video demonstrations and exclusive original art gallery. Prepare to be spellbound as true mastery unfolds before your very eyes. Witness the artistic process come alive as our videos take you by the hand, guiding you through each brushstroke and technique. Discover the secret behind captivating compositions and the intricate details that make art truly mesmerizing. Our gallery proudly showcases a curated collection of unique and breathtaking artwork, where every piece tells a story and evokes powerful emotions. Journey with us and let your imagination take flight as URARTSTUDIO invites you to unravel the magic of art like never before.