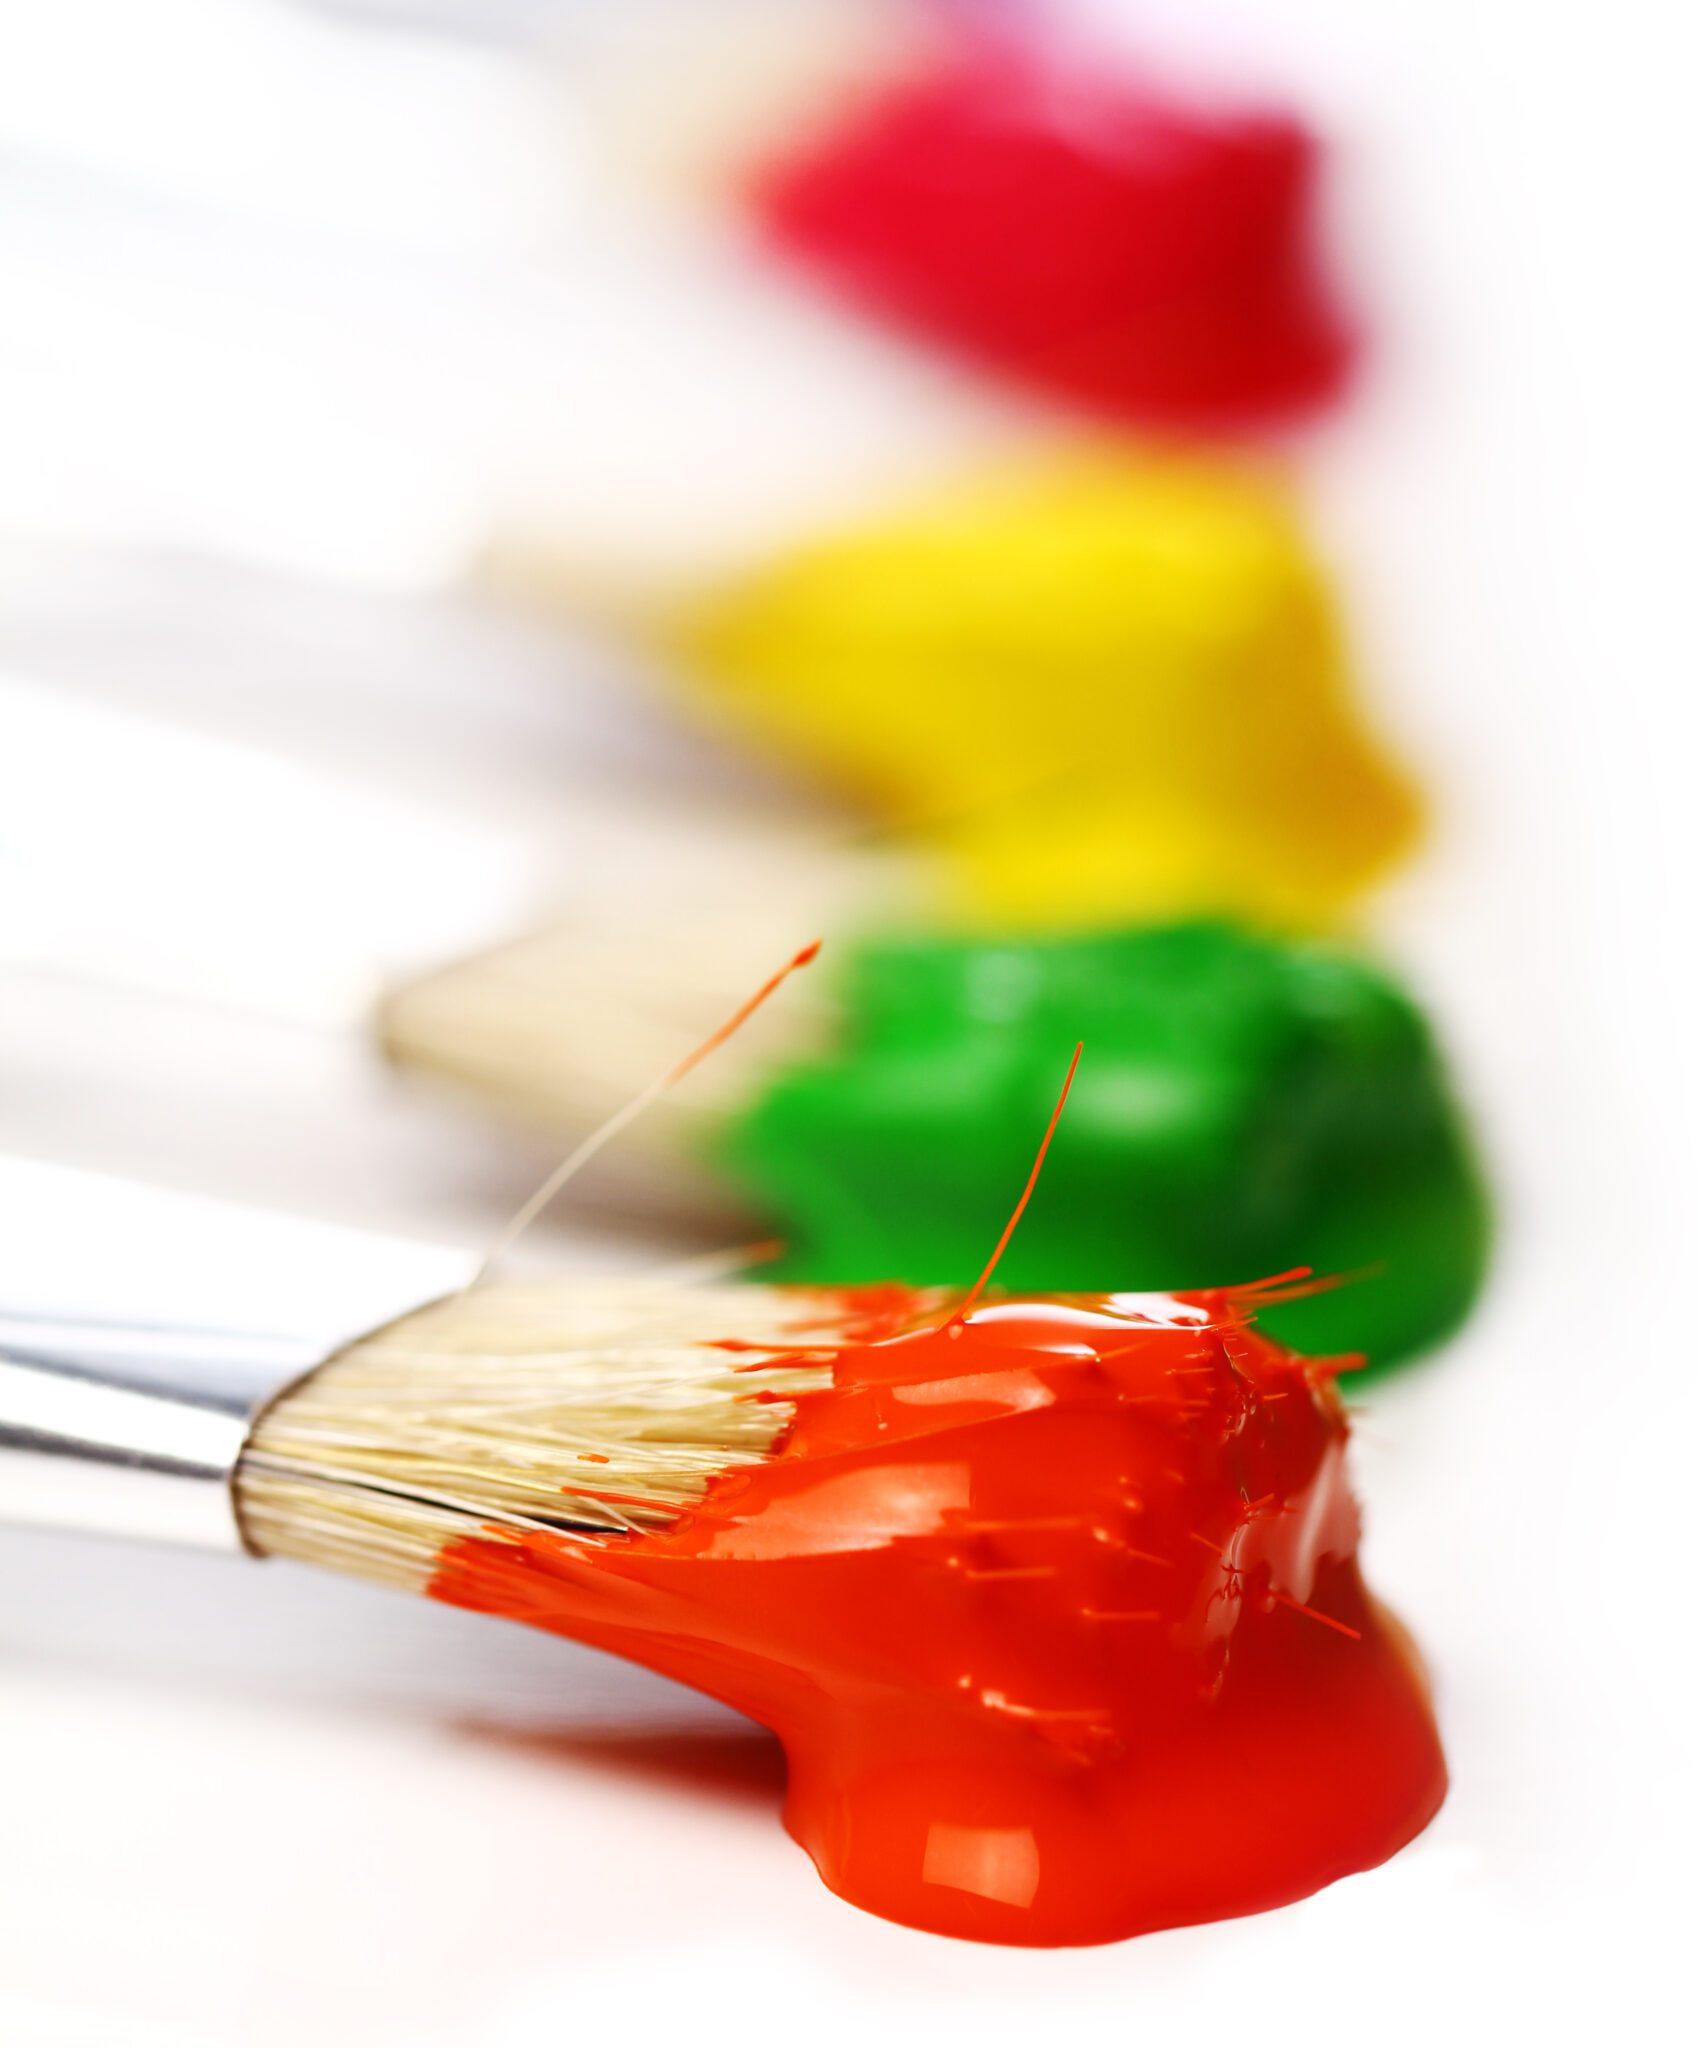
The round brush is an indispensable tool in the acrylic artist’s toolkit, celebrated for its versatility and ability to create depth, volume, and form. With its tapered bristles and pointed tip, the round brush can tackle everything from fine lines and intricate details to bold strokes and soft washes. In this guide, we will explore how to leverage the round brush’s unique characteristics to create depth in your artwork, along with techniques to enhance volume and form. Don’t forget to visit urartstudio.com for resources, tips, and materials to elevate your painting practice!
1. Understanding the Round Brush
The round brush features a cylindrical shape that narrows to a point. Its ability to hold a generous amount of paint makes it suitable for various applications, such as:
- Fine Detailing: The pointed tip allows for precision work, making it ideal for adding details to your painting.
- Versatile Strokes: The round brush can create both broad strokes and thin lines, giving you the flexibility to adjust your brushwork based on the desired effect.
- Blending and Layering: Its capacity to blend colors and create smooth transitions is essential for achieving depth and volume in your artwork.
2. Techniques for Creating Depth with the Round Brush
Here are several essential techniques to help you create depth, volume, and form using the round brush:
a. Layering Colors
- Building Layers: Start with a base color, allowing it to dry before applying subsequent layers. The round brush is perfect for building up depth with thin layers of paint. Each layer adds richness to the overall appearance while maintaining translucency.
- Allowing Underlying Colors to Show: When layering, ensure that the colors beneath can still be seen, as this contributes to the perception of depth. Use a slightly transparent mix for upper layers.
b. Glazing Techniques
- What is Glazing?: Glazing involves layering transparent colors to modify the color and tone without hiding the underlying layers entirely. This technique can increase luminosity and create a three-dimensional look.
- Applying Glazes: Mix your acrylic paint with a glazing medium to achieve a transparent wash. Use the round brush to apply this glaze over existing layers with gentle, sweeping motions, allowing the base color to shine through.
c. Shadowing and Highlighting
- Creating Shadows: Use the round brush to add shadow areas by mixing a darker hue of your base color. Apply this shadow to areas that need depth, such as beneath objects or on one side of a subject, to create the illusion of volume.
- Adding Highlights: To enhance form and dimension, use a lighter shade of the base color or pure white with the round brush to add highlights on raised areas. This contrast creates the illusion of light hitting those surfaces.
d. Use of Small Circular Motions
- Volume Creation: While painting elements like clouds, foliage, or organic forms, use small circular motions with the round brush. This technique creates a soft, puffy appearance that adds volume and dimension.
- Textured Applications: For textured surfaces, employ a stippling motion where you use the round brush to dab or flick paint onto the canvas, creating depth in textures like grass, fur, or petals.
3. Creating Form and Structure
To enhance form in your paintings, consider the following:
- Contour Work: Use the round brush to define the contours of shapes. Lightly outline the primary shapes of your subjects with a darker or contrasting color, then build up volume by filling in with lighter colors strategically.
- Sfumato Technique: For soft transitions between colors, apply the round brush in a way that blends edges while the paint is still wet. This technique creates a hazy effect that contributes to the overall depth and softness of the subject.
4. Practical Tips for Effective Use
To get the most out of your round brush, keep these tips in mind:
- Brush Pressure: Varying the pressure you apply will affect the thickness and character of your strokes. Experiment with light pressure for fine lines and heavier pressure for broader strokes.
- Moisten the Brush: Keep your brush slightly damp (but not overly wet) for smoother paint application and blending. This will help the paint flow better and prevent it from drying unevenly.
- Clean Regularly: Rinse your round brush frequently while working to avoid color contamination and to maintain the integrity of your bristles for precise application.
5. Conclusion
Mastering the use of the round brush can significantly enhance your ability to create depth, volume, and form in your acrylic paintings. By applying the techniques outlined in this guide, you’ll gain greater control over your artwork, allowing you to express dimension and vibrancy effectively.
Don’t forget to explore our range of round brushes and other essential art supplies at urartstudio.com!
Be sure to visit our online store at https://urartstudio.com/shop/ for a variety of art supplies and tools. Additionally, check out valuable painting tips at urartstudio.com/painting-tips/ and our step-by-step painting instructions at https://urartstudio.com/step-by-step-painting-instructions/ to further enhance your skills.
Keywords: round brush, acrylic painting, depth, volume, form, techniques.
#RoundBrush, #AcrylicPainting, #Depth, #Volume, #Form, #Techniques


Leave a Reply
You must be logged in to post a comment.