

Acrylic painting is a wonderful medium that allows artists to explore color and texture in exciting ways. One of the most critical techniques to master as an acrylic painter is blending. Seamless color transitions breathe life into your landscapes, creating a captivating sense of depth and realism. In this post, we’ll delve into the best techniques for blending colors in acrylic landscapes and provide practical tips to help you achieve stunning results. Join us as we explore how to elevate your landscapes with expert blending techniques.
1. Understanding Color Theory for Blending
Before diving into blending techniques, it’s crucial to have a foundational understanding of color theory. Knowing how colors interact with one another will significantly enhance your blending skills.
A. The Color Wheel
- Primary Colors: Red, blue, and yellow are the building blocks of all colors.
- Secondary Colors: These are created by mixing primary colors (e.g., red + blue = purple).
- Tertiary Colors: Formed by mixing a primary color with a secondary color.
B. Complementary Colors
Complementary colors are opposite each other on the color wheel (e.g., blue and orange). When blended together, they create muted tones and can help reduce color intensity—especially useful in landscape paintings where realism is key.
C. Analogous Colors
Analogous colors are next to each other on the color wheel (e.g., blue, blue-green, and green). They work harmoniously together, making them perfect for creating seamless transitions in landscapes.
2. Essential Tools for Blending in Acrylic Painting
Before you start blending, ensure you have the right brushes and tools on hand. Suitable tools will facilitate smoother transitions.
A. Brushes
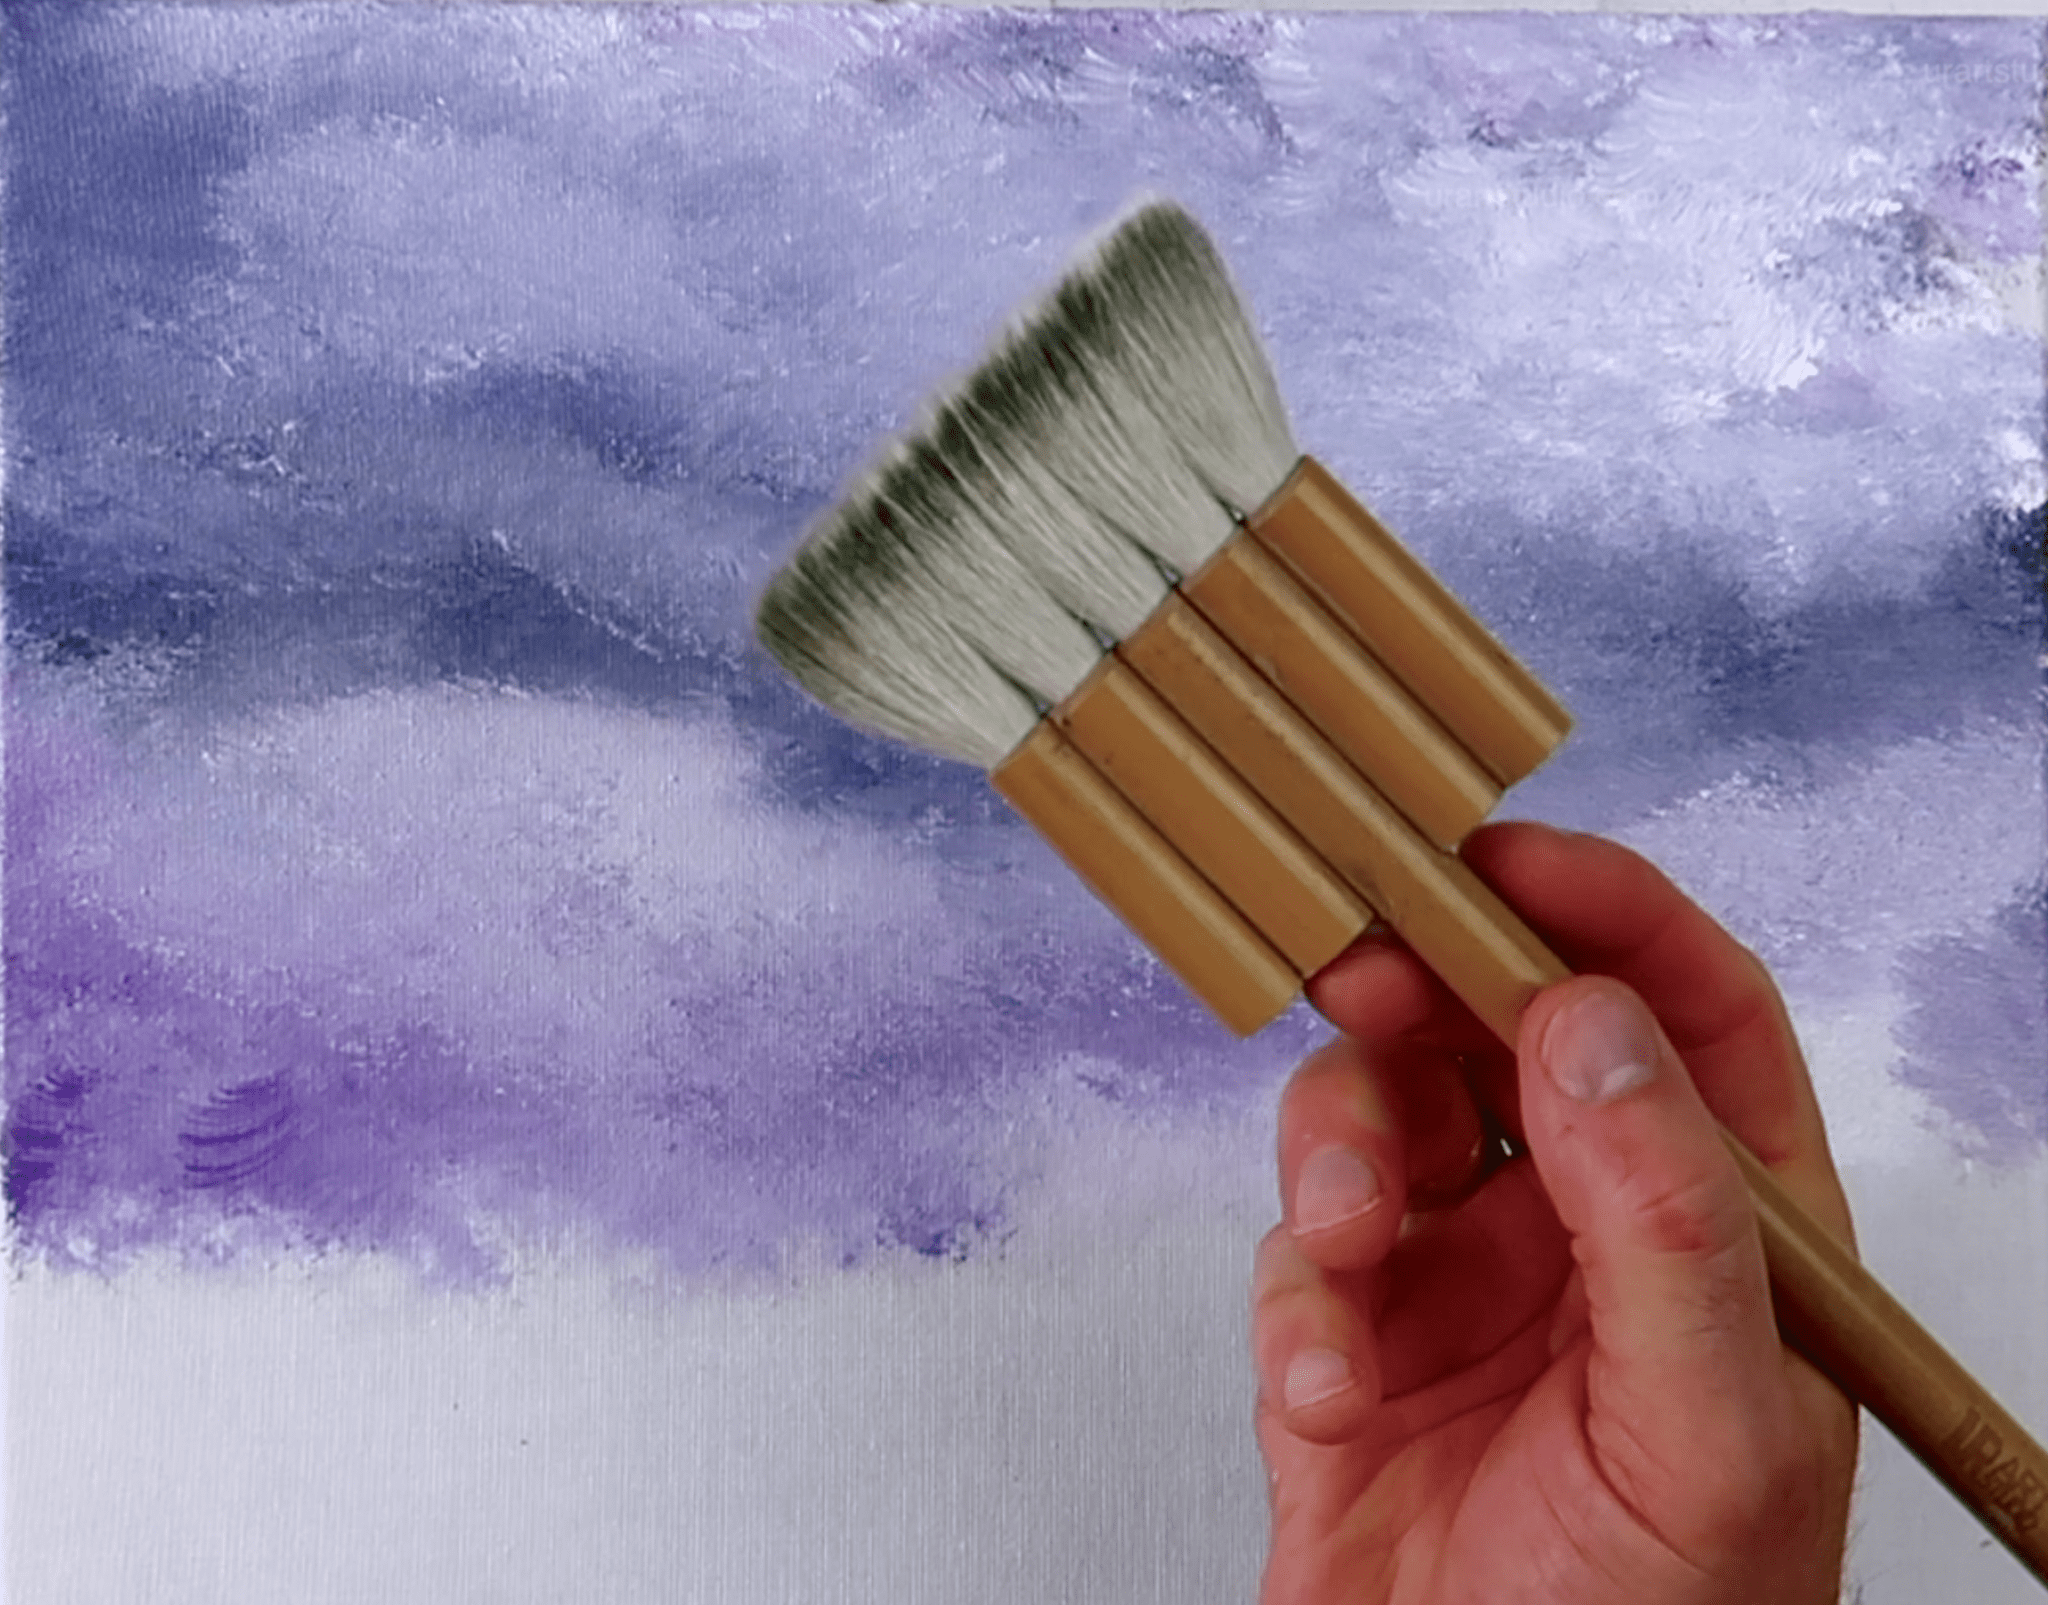
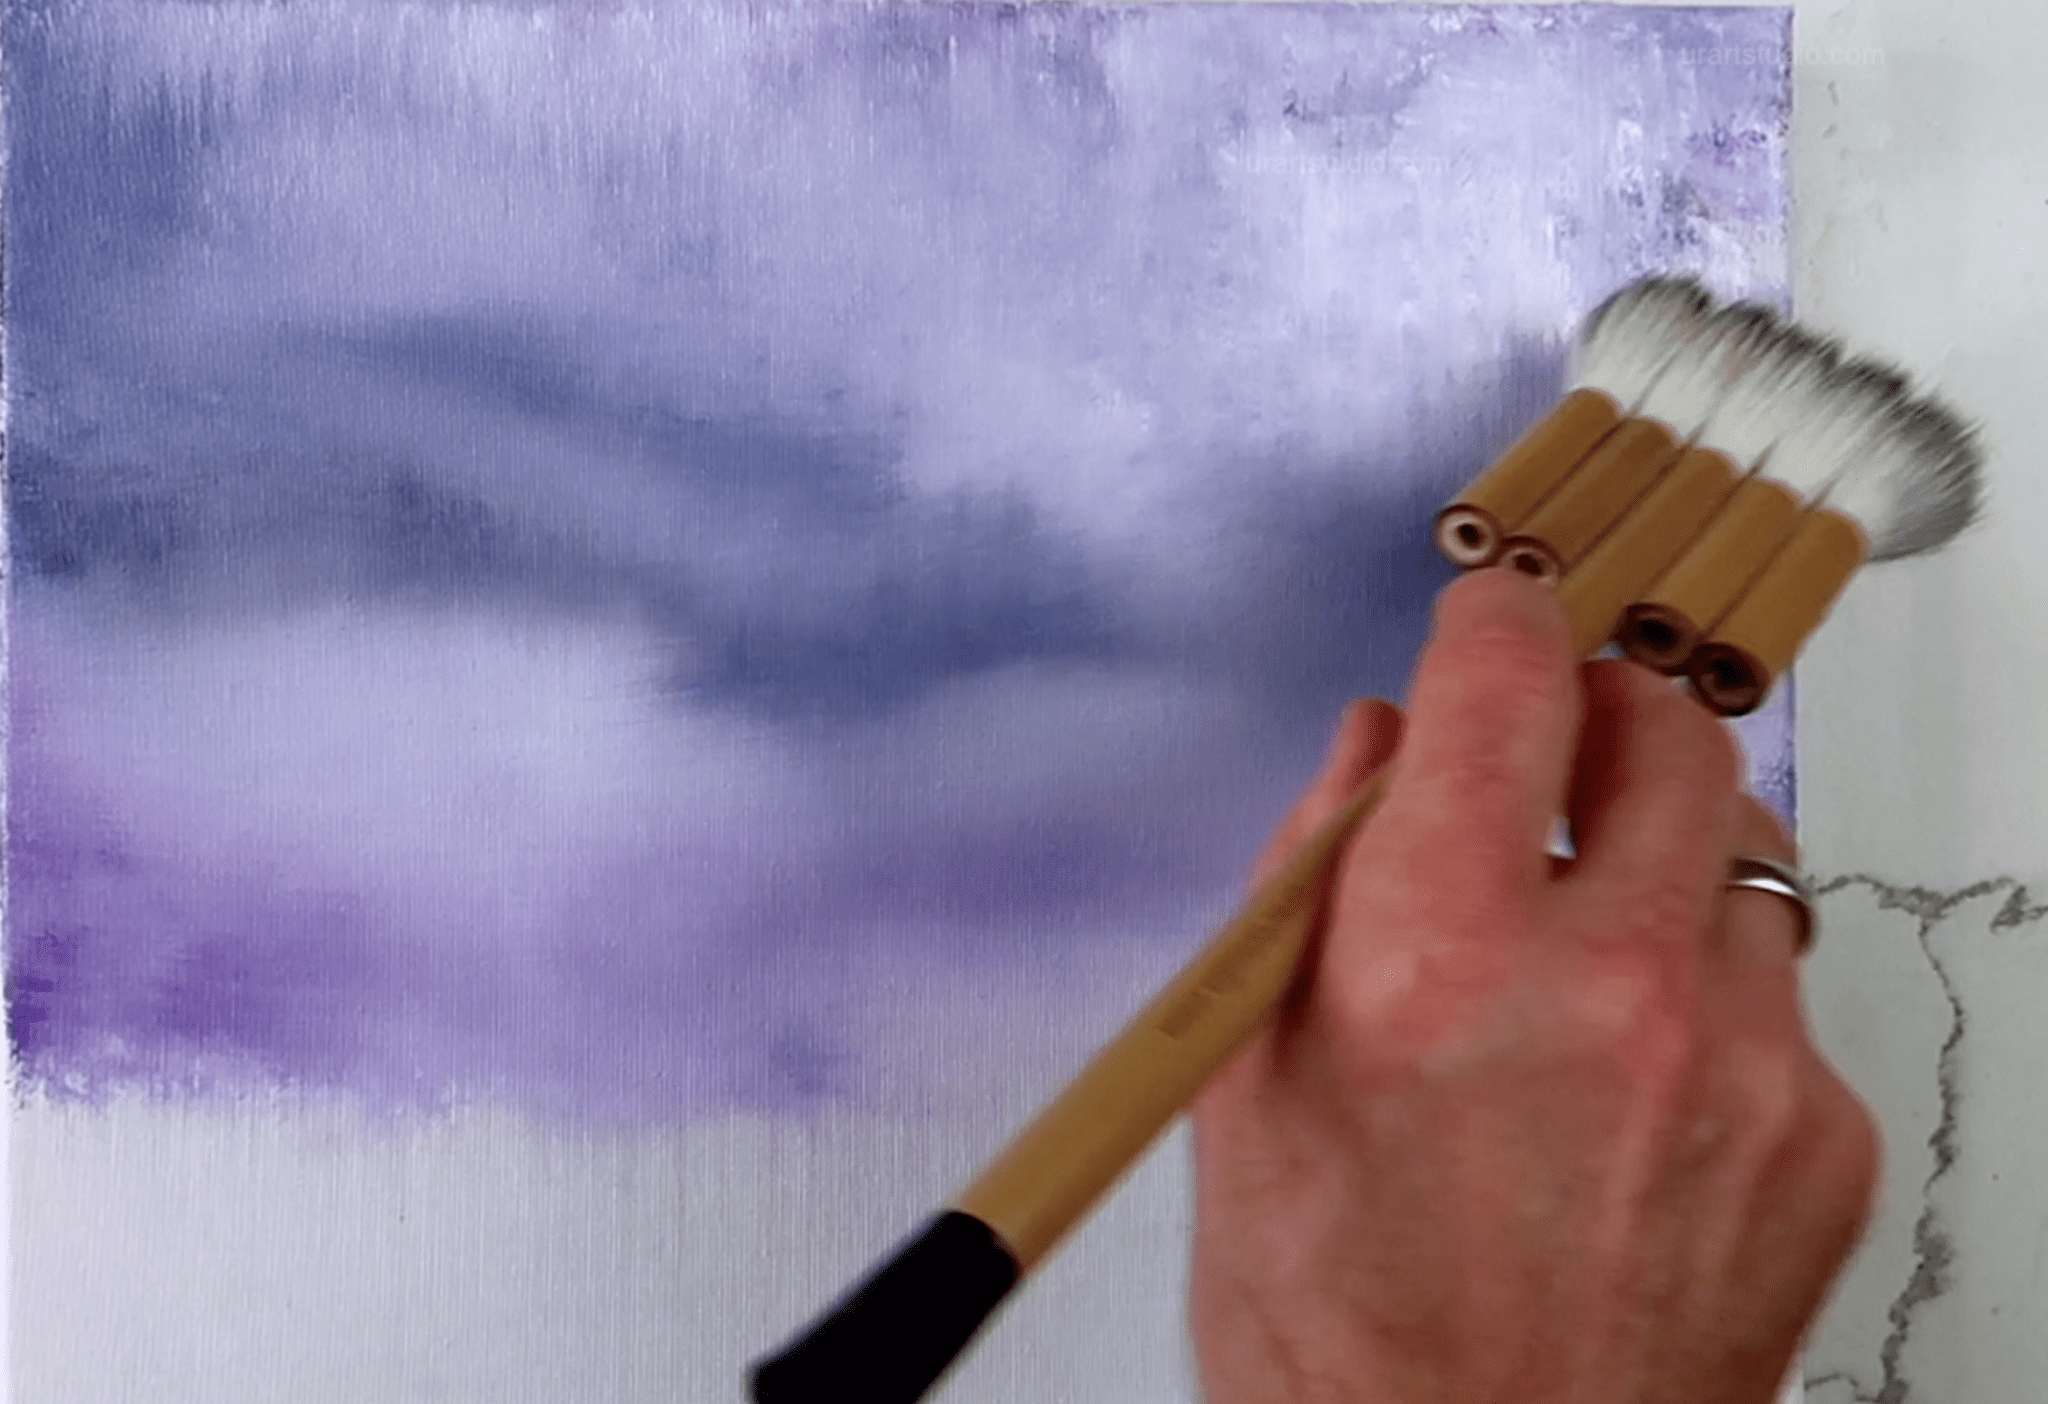
- Flat Brushes: Ideal for broad strokes and blending larger areas. They are perfect for creating smooth transitions in the sky or between large land masses.
- Round Brushes: Excellent for detailed work and softening edges. These brushes can help transition between colors, especially in smaller areas.
- Fan Brushes: Useful for creating texture, especially in foliage and grass. They can deliver a soft blended look when used correctly.
- Liner Brushes: Ideal for fine details and adding intricate lines, which can help define blended edges.
B. Palette Knives
A palette knife can be a valuable tool for blending colors directly on your palette or for creating textured layers on your canvas. The flexible blade allows for smooth mixing and can add interesting textures to your work.
3. Blending Techniques for Acrylic Landscapes
Now that you understand color theory and have the right tools, let’s explore various blending techniques to create stunning color transitions in your acrylic landscapes.
A. Wet-on-Wet Blending
Technique:
- Step 1: Start with wet paint on your canvas. Apply your first color without allowing it to dry.
- Step 2: While the paint is still wet, add a second color near the first.
- Step 3: Use a clean brush or a palette knife to gently mix the colors where they meet. This technique allows for smooth transitions and soft edges.
Best For:
This method is great for skies or soft areas in your landscapes, such as shadows on mountains or reflections on water.
B. Wet-on-Dry Blending
Technique:
- Step 1: Paint your first color and allow it to dry completely.
- Step 2: Once dry, apply a second layer of paint over it. Use a lighter or darker shade to create depth.
- Step 3: Blend the edges of the second color into the first using a dry brush or a damp brush. The residual moisture will allow you to blend without lifting the underlying color too much.
Best For:
This technique is useful for defined shapes and elements in your landscape, such as trees, rocks, or buildings.
C. Glazing Technique
Technique:
- Step 1: Start with a dried base layer. This could be an underpainting or your primary landscape colors.
- Step 2: Mix a thin layer of paint (thinned down with water or medium) in a similar hue. The glaze should be transparent.
- Step 3: Apply the glaze over the first layer and allow it to dry. You can repeat this process to add depth or adjust colors while maintaining the first layer’s visibility.
Best For:
Glazing is excellent for enhancing color richness and achieving luminosity in skies, foliage, and water reflections.
D. Scumbling Technique
Technique:
- Step 1: Load a stiff brush with a small amount of paint. It should be dry enough that it doesn’t saturate the surface.
- Step 2: Drag the brush lightly across the canvas in a circular or sideways motion. Allow the base layer to show through.
- Step 3: Repeat with different colors to create depth and texture.
Best For:
Scumbling is particularly effective for creating texture in skies or natural elements like grass and foliage.
4. Additional Tips for Successful Blending
A. Keep Your Paint Wet
As acrylics dry quickly, it’s crucial to keep your paint workable. Use a spray bottle filled with water to mist your palette and canvas as you work.
B. Use a Medium
Adding a retarder medium to your paints can slow down drying time, allowing for extended blending work while maintaining the paint’s consistency.
C. Work in Layers
Be patient; allow each layer to dry before applying more. This prevents muddiness in your colors and helps maintain vibrancy.
D. Practice Regularly
Blending is a skill that improves with practice. Devote time to painting color swatches where you focus solely on blending different colors and techniques.
E. Clean Brushes Frequently
Rinse your brushes frequently to prevent color contamination, especially when working with multiple colors in one area.
5. Conclusion: Take Your Blending Skills to New Heights
Mastering blending techniques is essential for creating seamless color transitions that bring your acrylic landscapes to life. By understanding color theory, using the right tools, and applying various blending methods, you can transform your paintings into stunning representations of the natural world.
At Urart Studio, we believe in empowering artists of all levels to enhance their skills and find inspiration. Explore our unique selection of art supplies, including a variety of brushes and mediums, at urartstudio.com/shop. Don’t forget to check out our valuable painting tips at urartstudio.com/painting-tips and our step-by-step painting instructions at urartstudio.com/step-by-step-painting-instructions. Let’s embark on this blending journey together!
Keywords: blending techniques, acrylic painting, color transitions, seamless blending, landscape painting, art supplies.
#BlendingTechniques, #AcrylicPainting, #ColorTransitions, #SeamlessBlending, #LandscapePainting, #ArtSupplies
Leave a Reply
You must be logged in to post a comment.