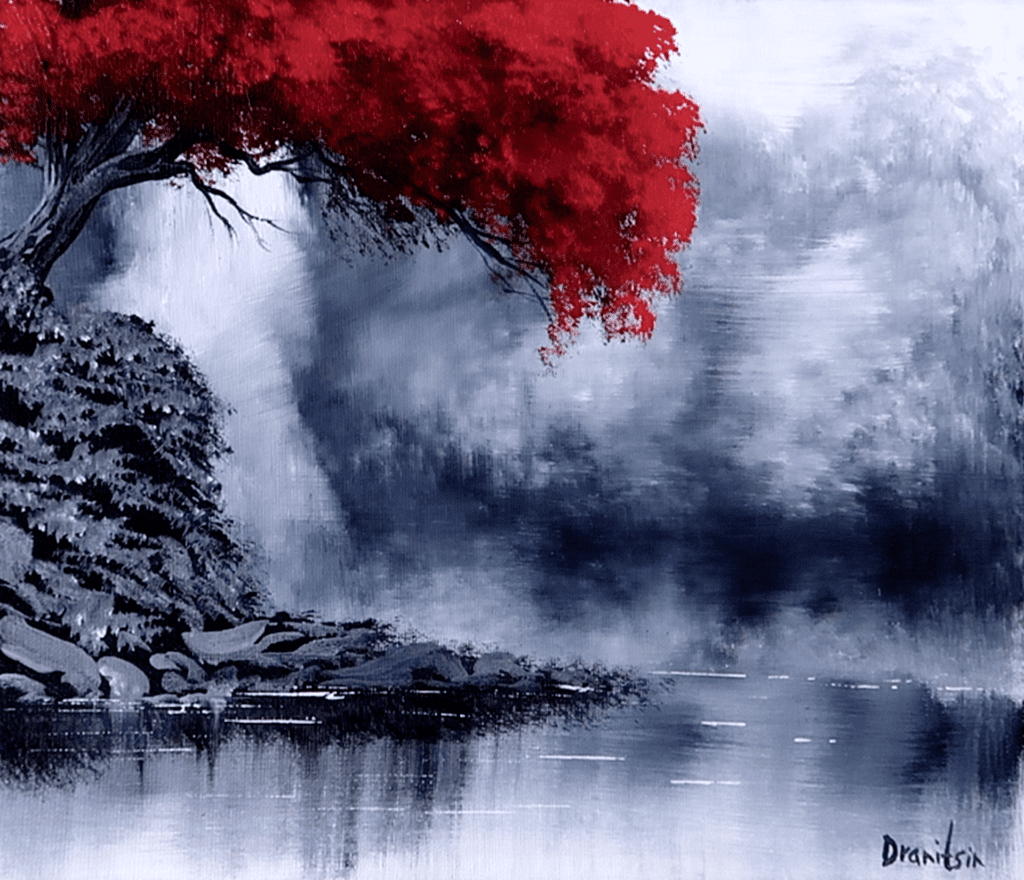
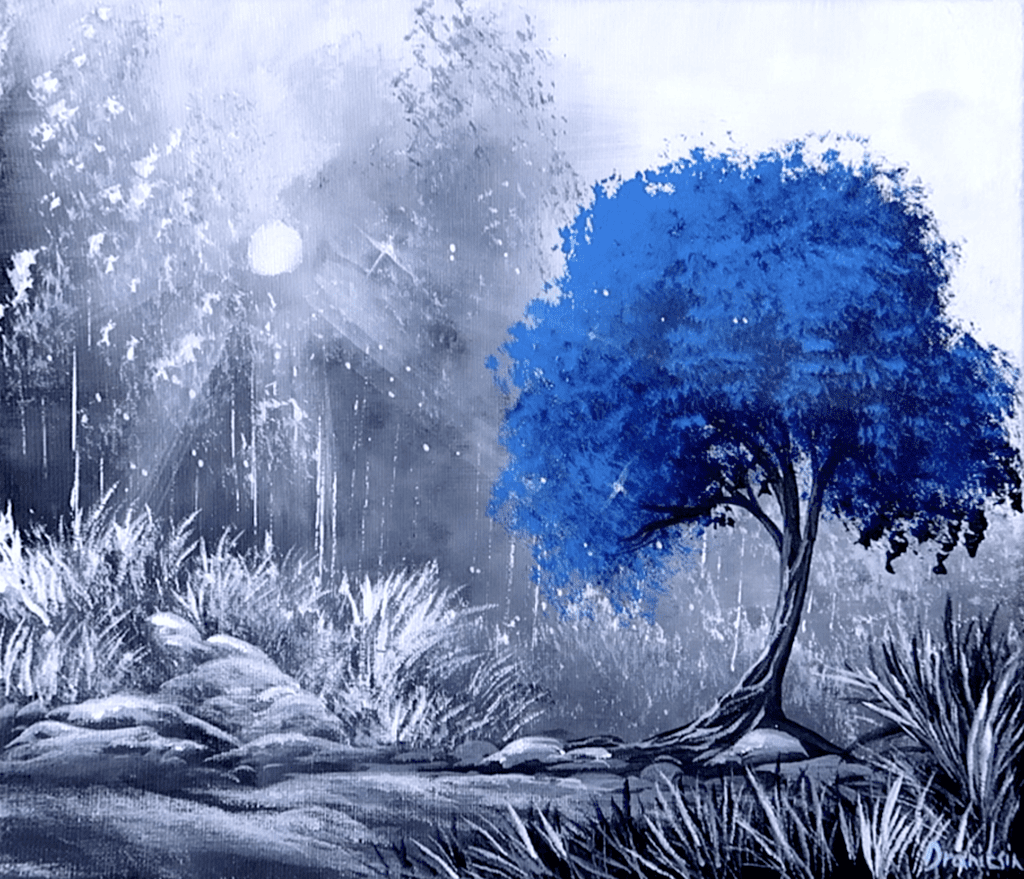
Welcome, fellow art lovers, to our step-by-step acrylic painting tutorial! Today, we’ll bring your dreams to life with a magical scene—a majestic tree embraced by gentle moonlight. Join me on this peaceful journey as we create a captivating masterpiece on our canvas. Let’s begin and let our creativity soar!
Preparing the Canvas
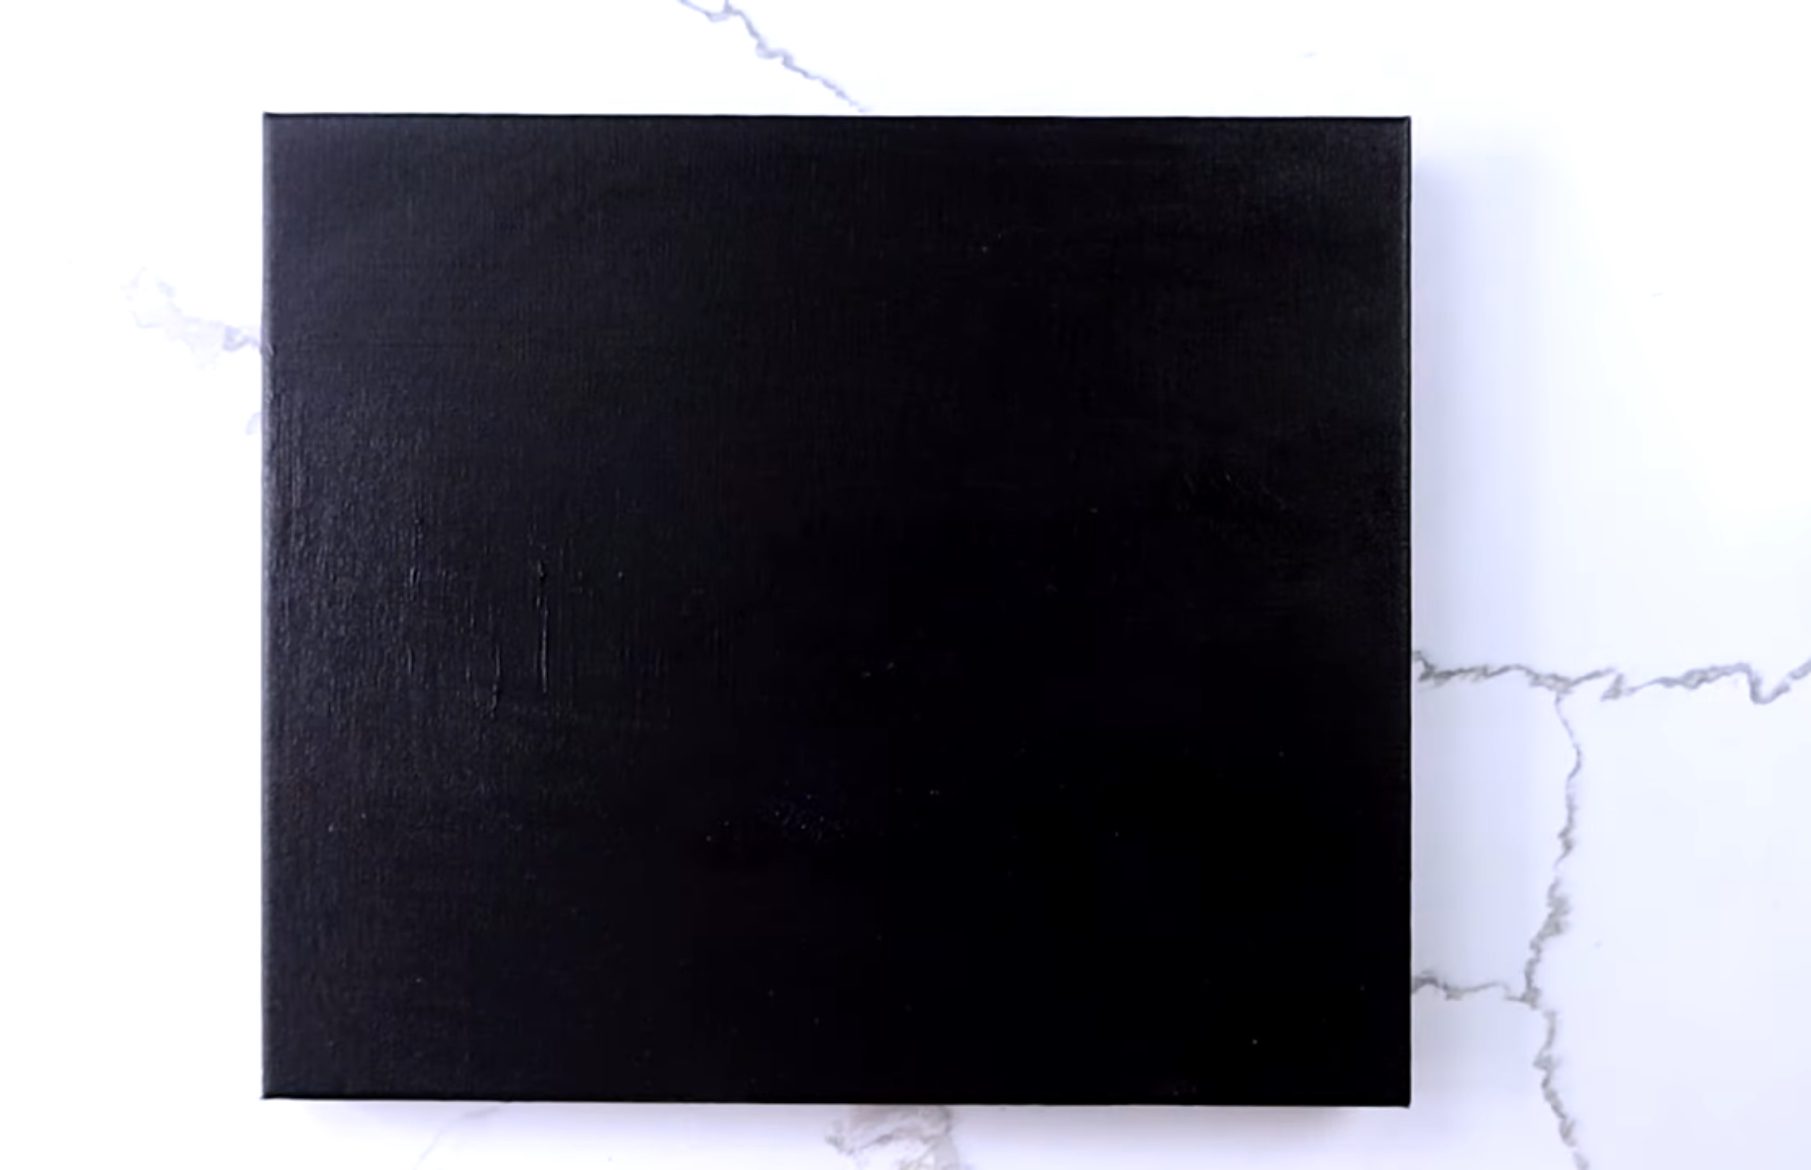
Before we embark on our artistic journey, let’s ensure our canvas is ready for the creation to come. We are utilizing a 12×14″ stretched canvas that has been covered with black acrylic paint.
Preparing the Brush
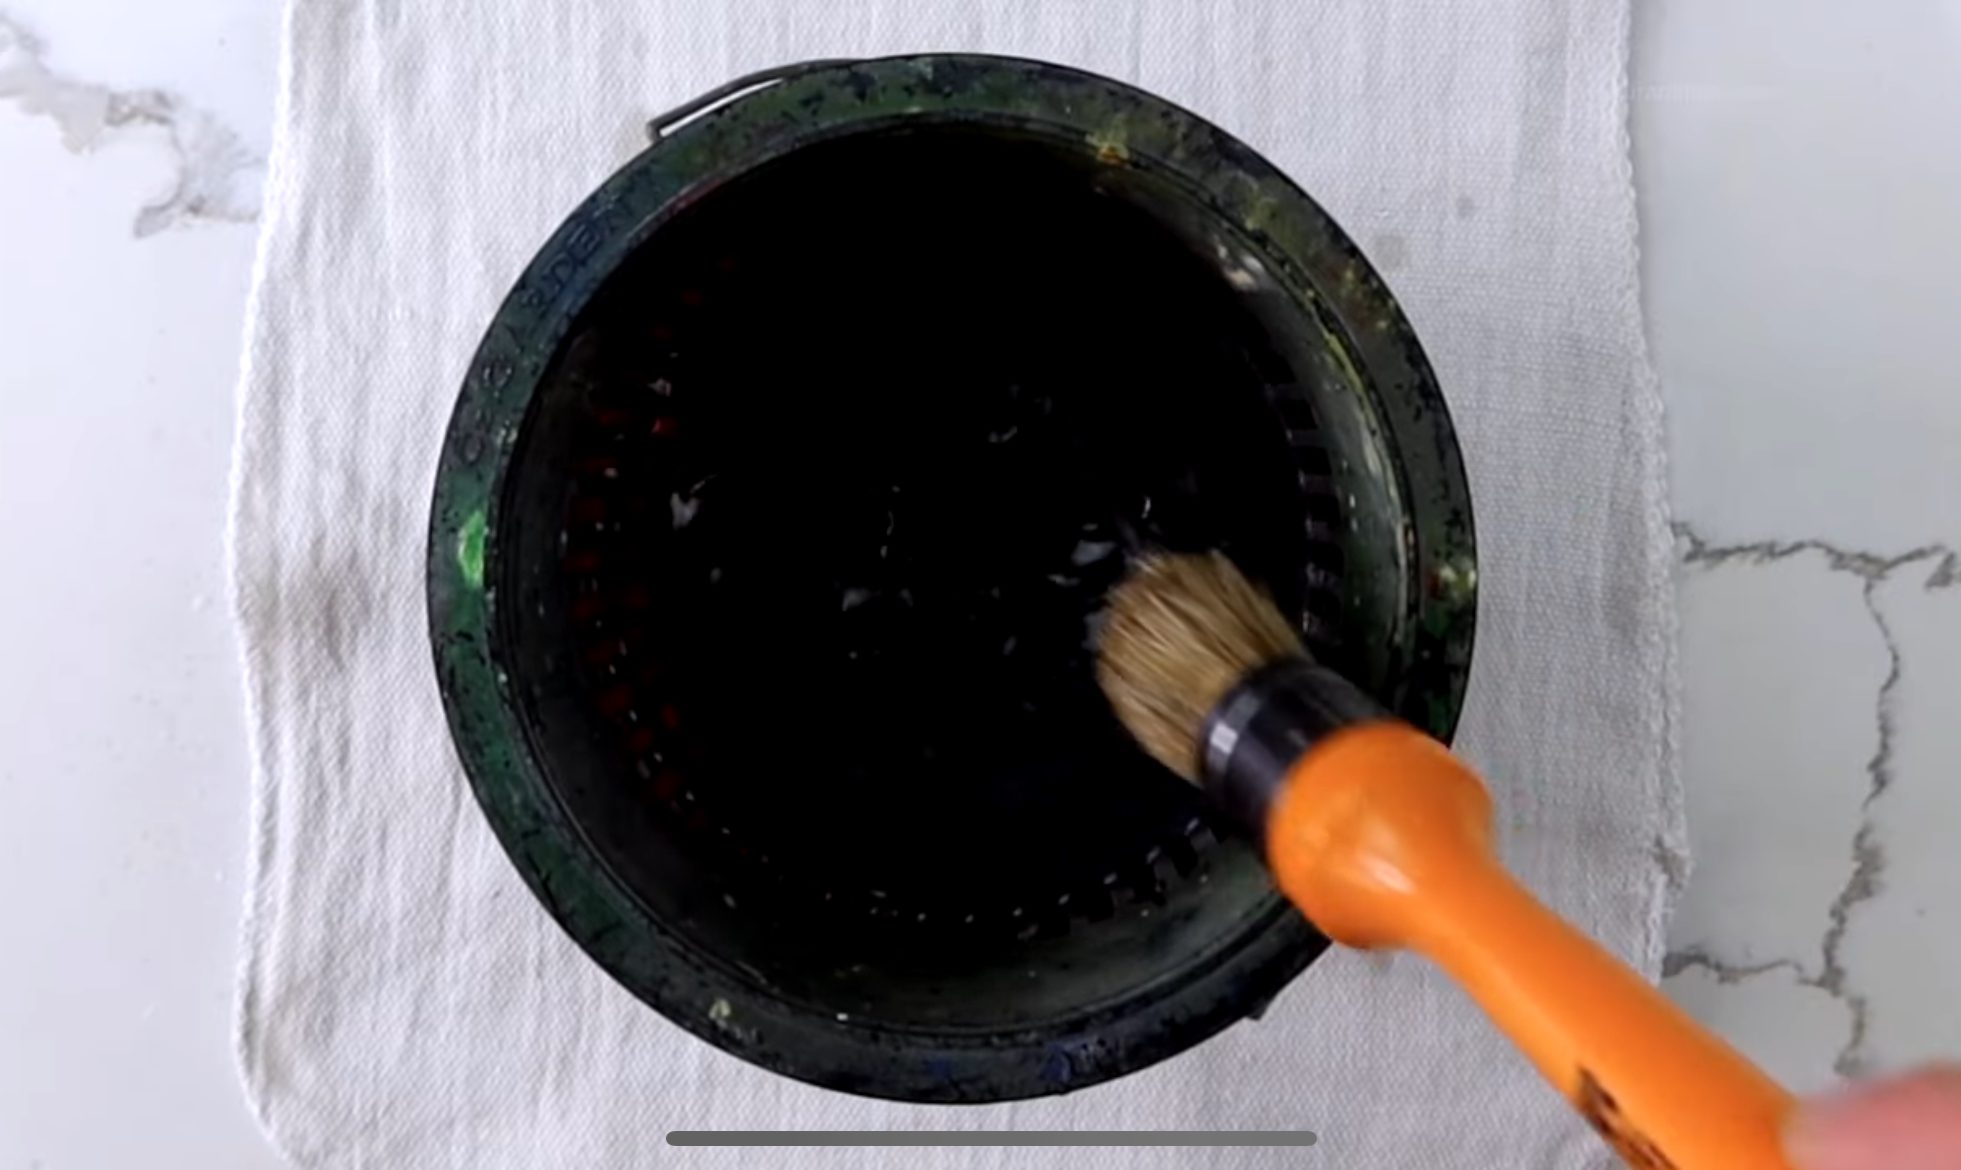
Take out your big oval brush and dip it in a clean bucket of water. Wipe off any excess water on a cloth or a clean paper towel. This step ensures the brush is moist, making it easier to work with acrylic paint.
For more helpful painting tips and tricks, we encourage you to swing by our website at urartstudio.com. Learn the ropes on prepping your canvas, keeping your paints and palette moist, and much more.
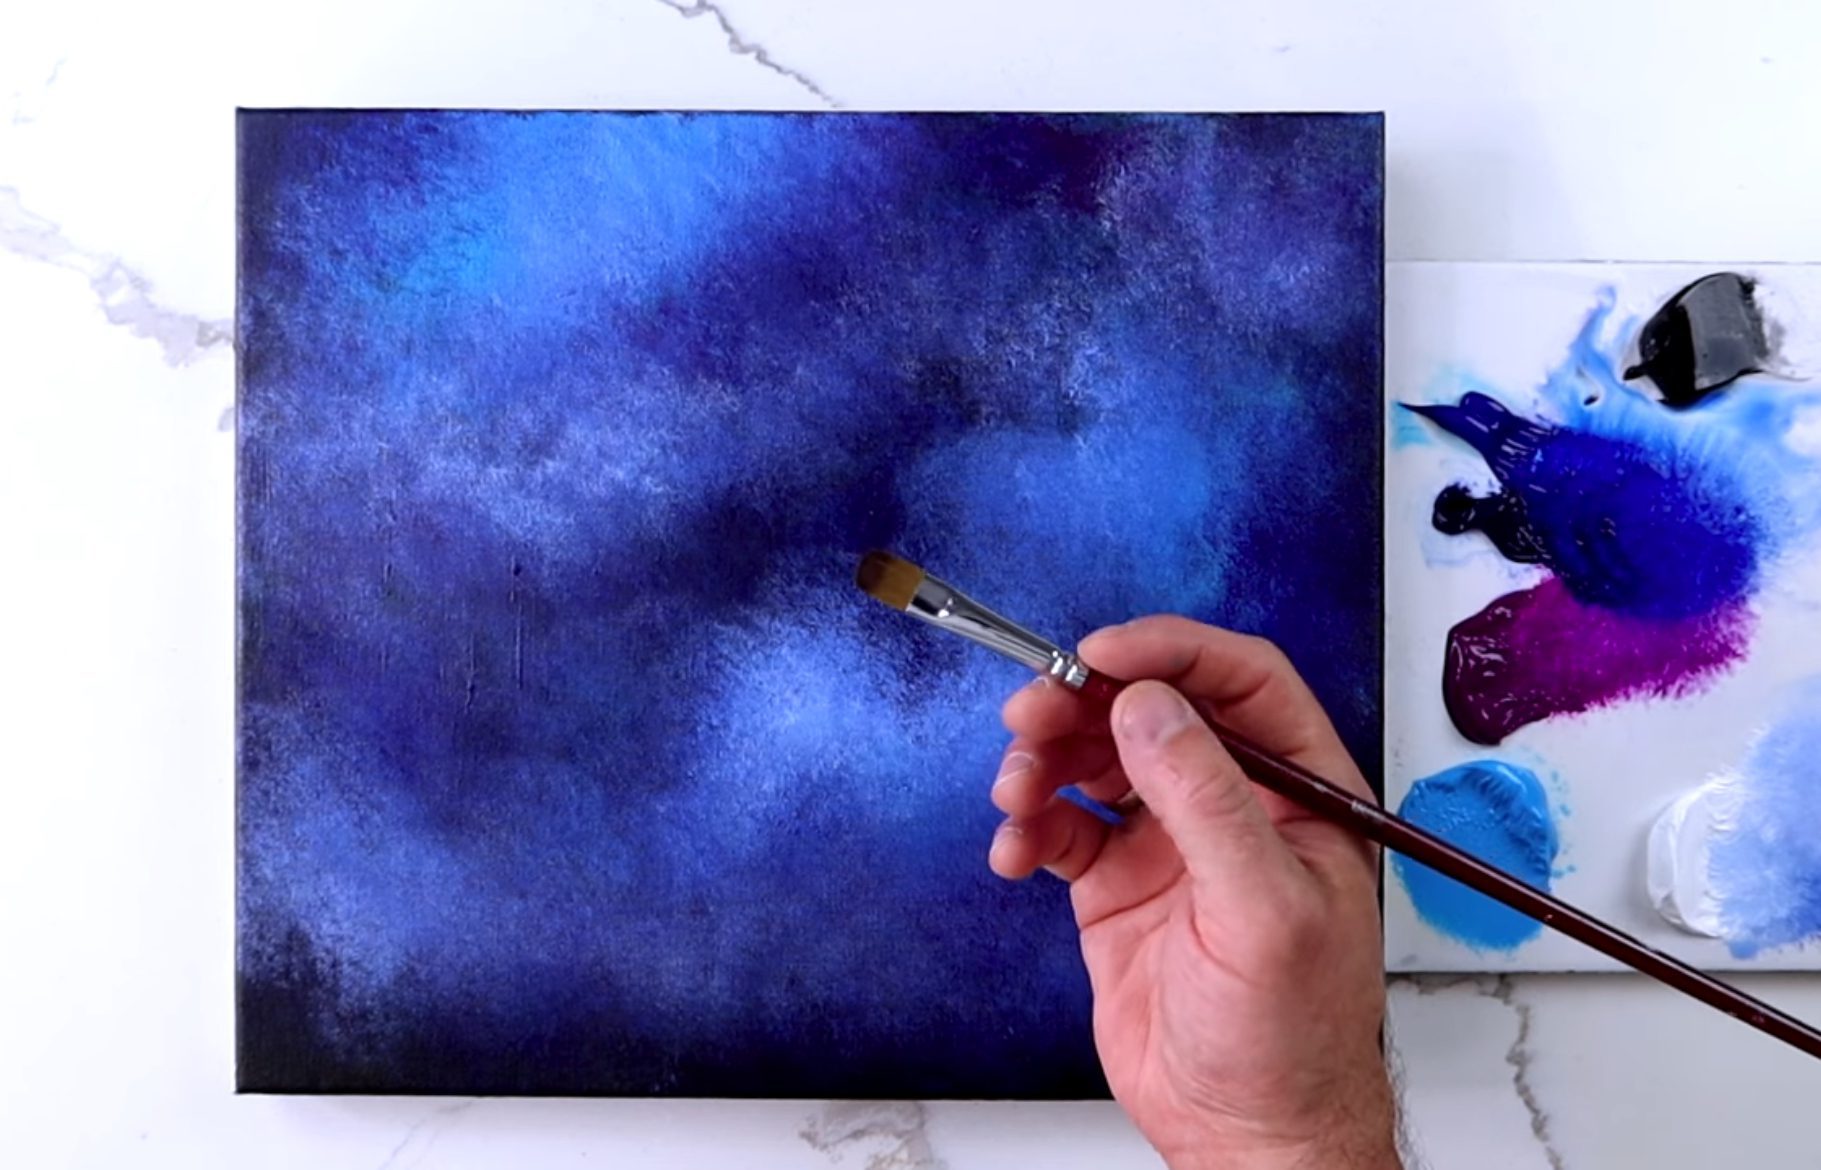
Mixing the Palette
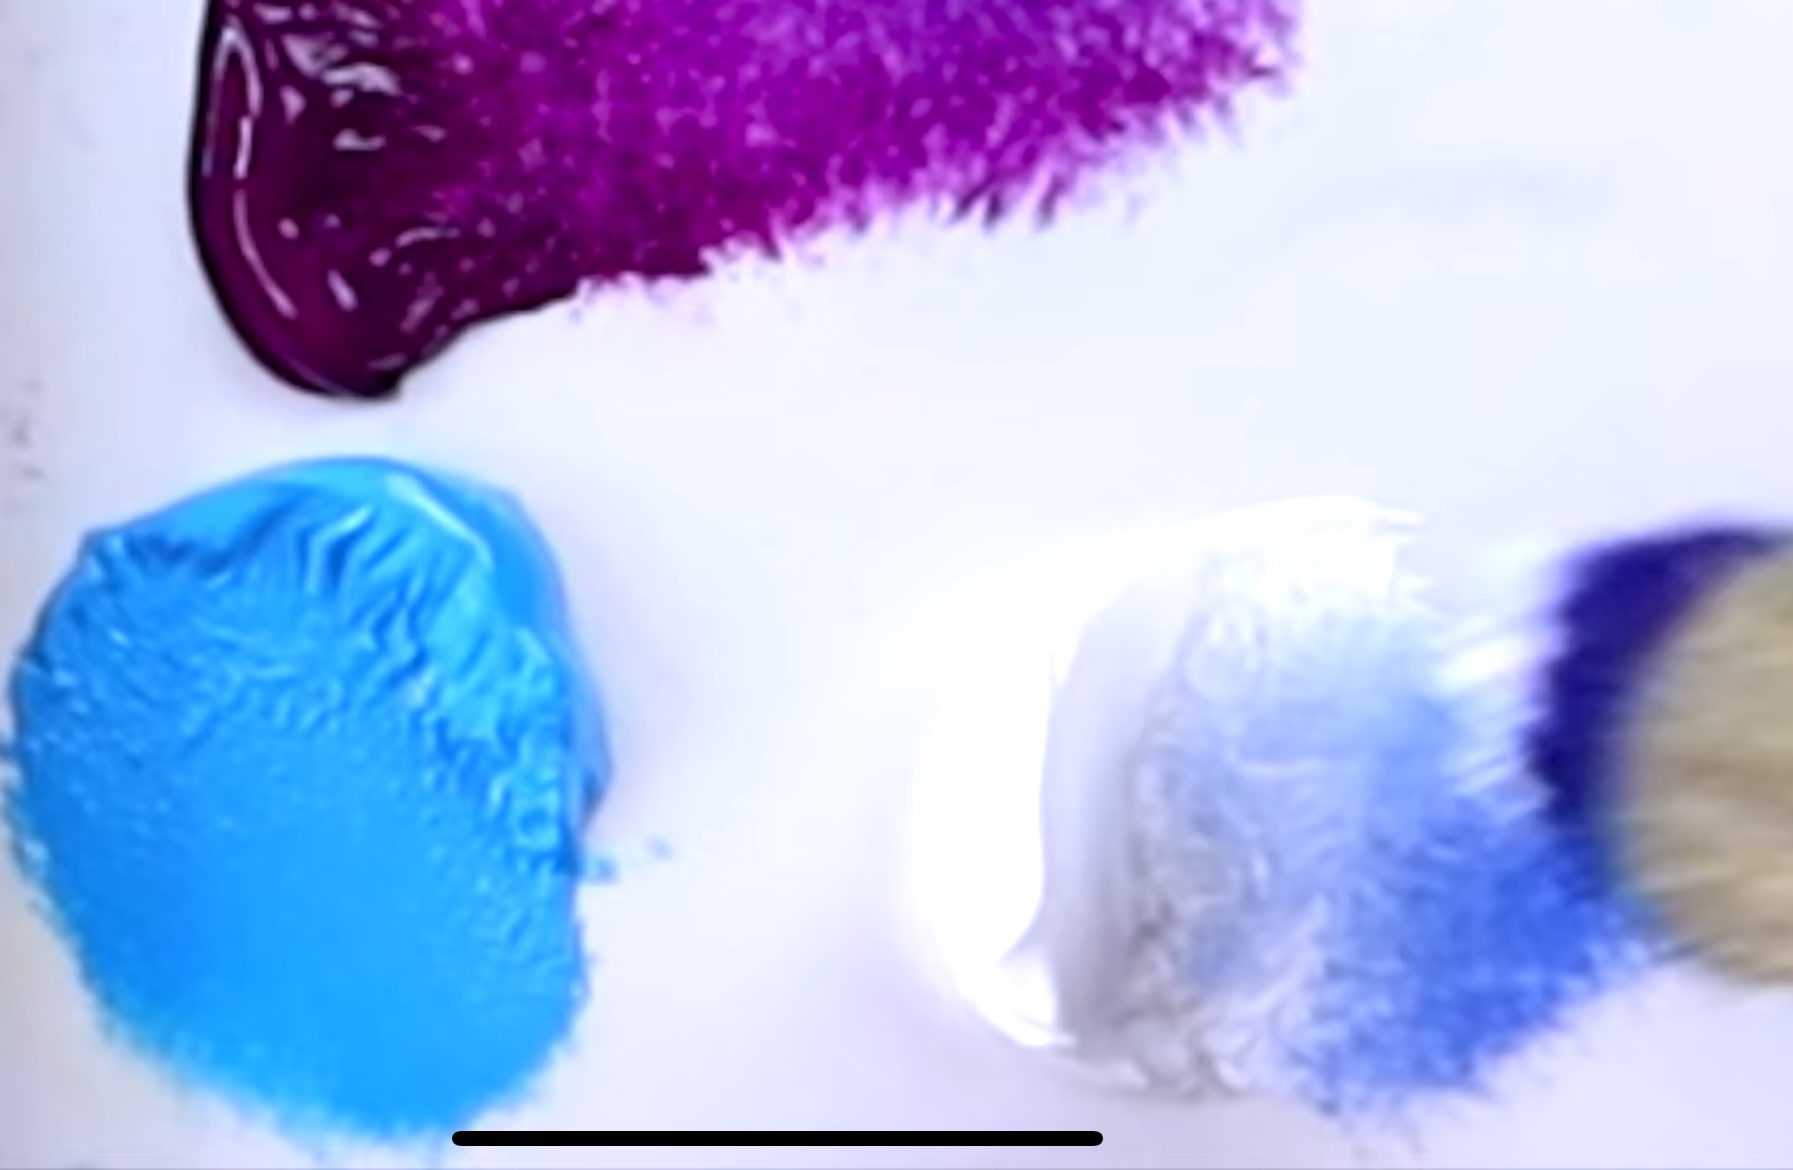
The colors we are using today are:
- Sky Blue
- Prussian Blue
- Phthalo Blue
- Violet
- Black
- White
Step 3: Painting the Sky
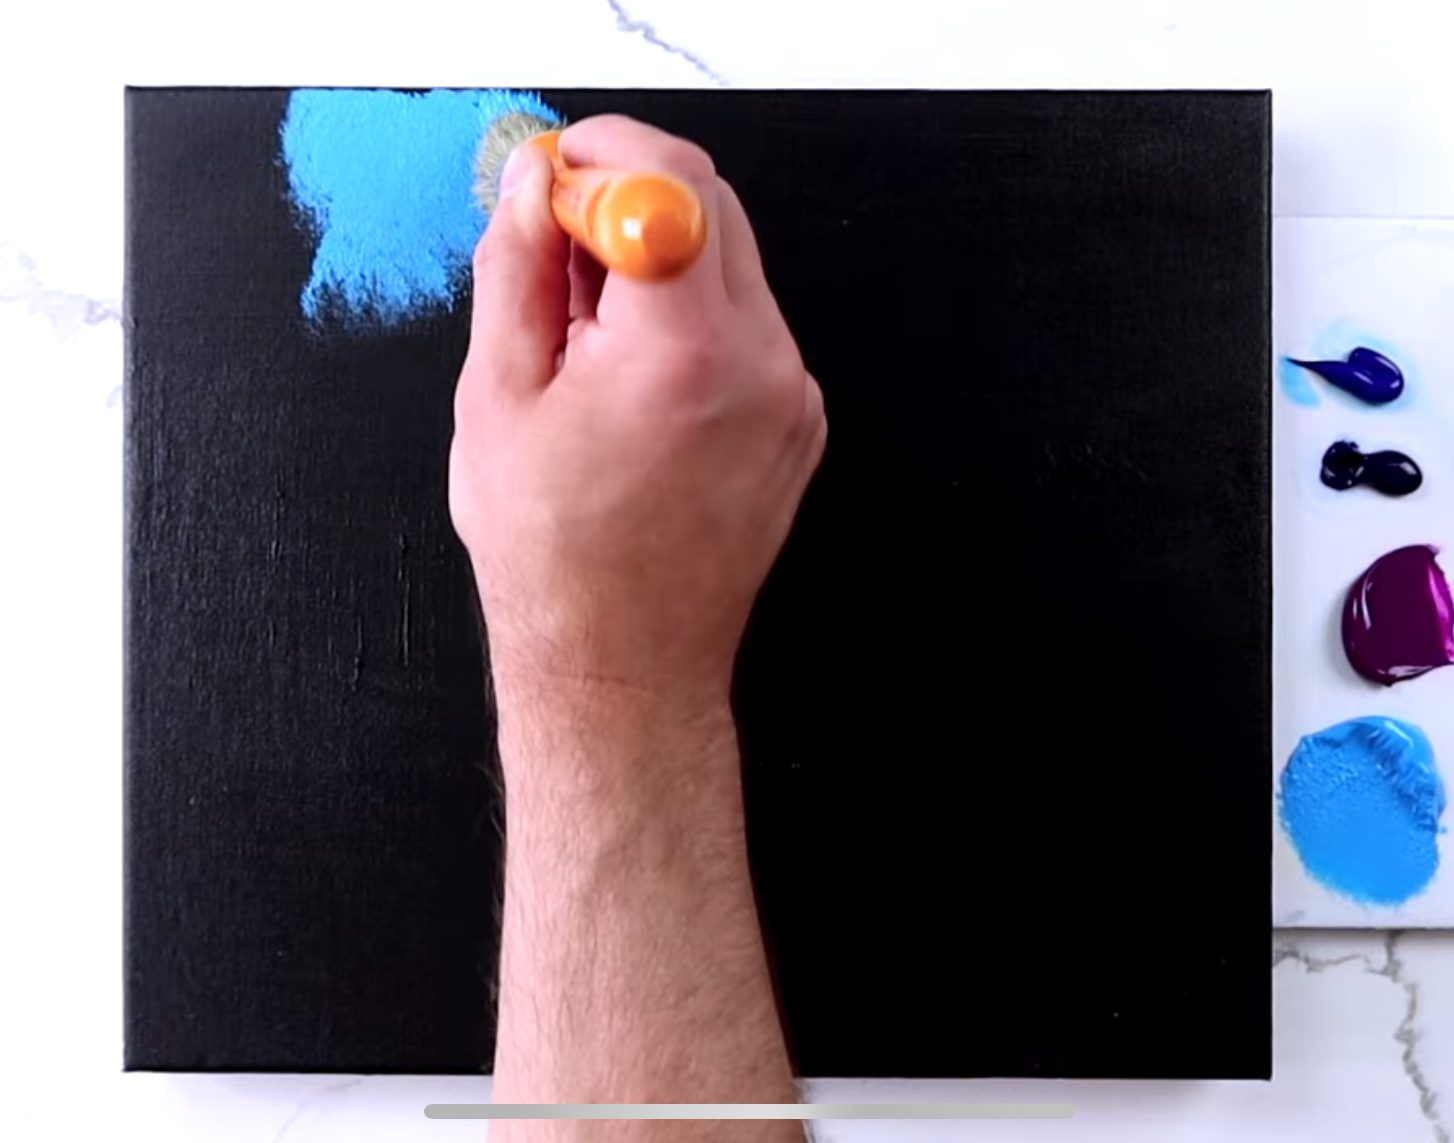
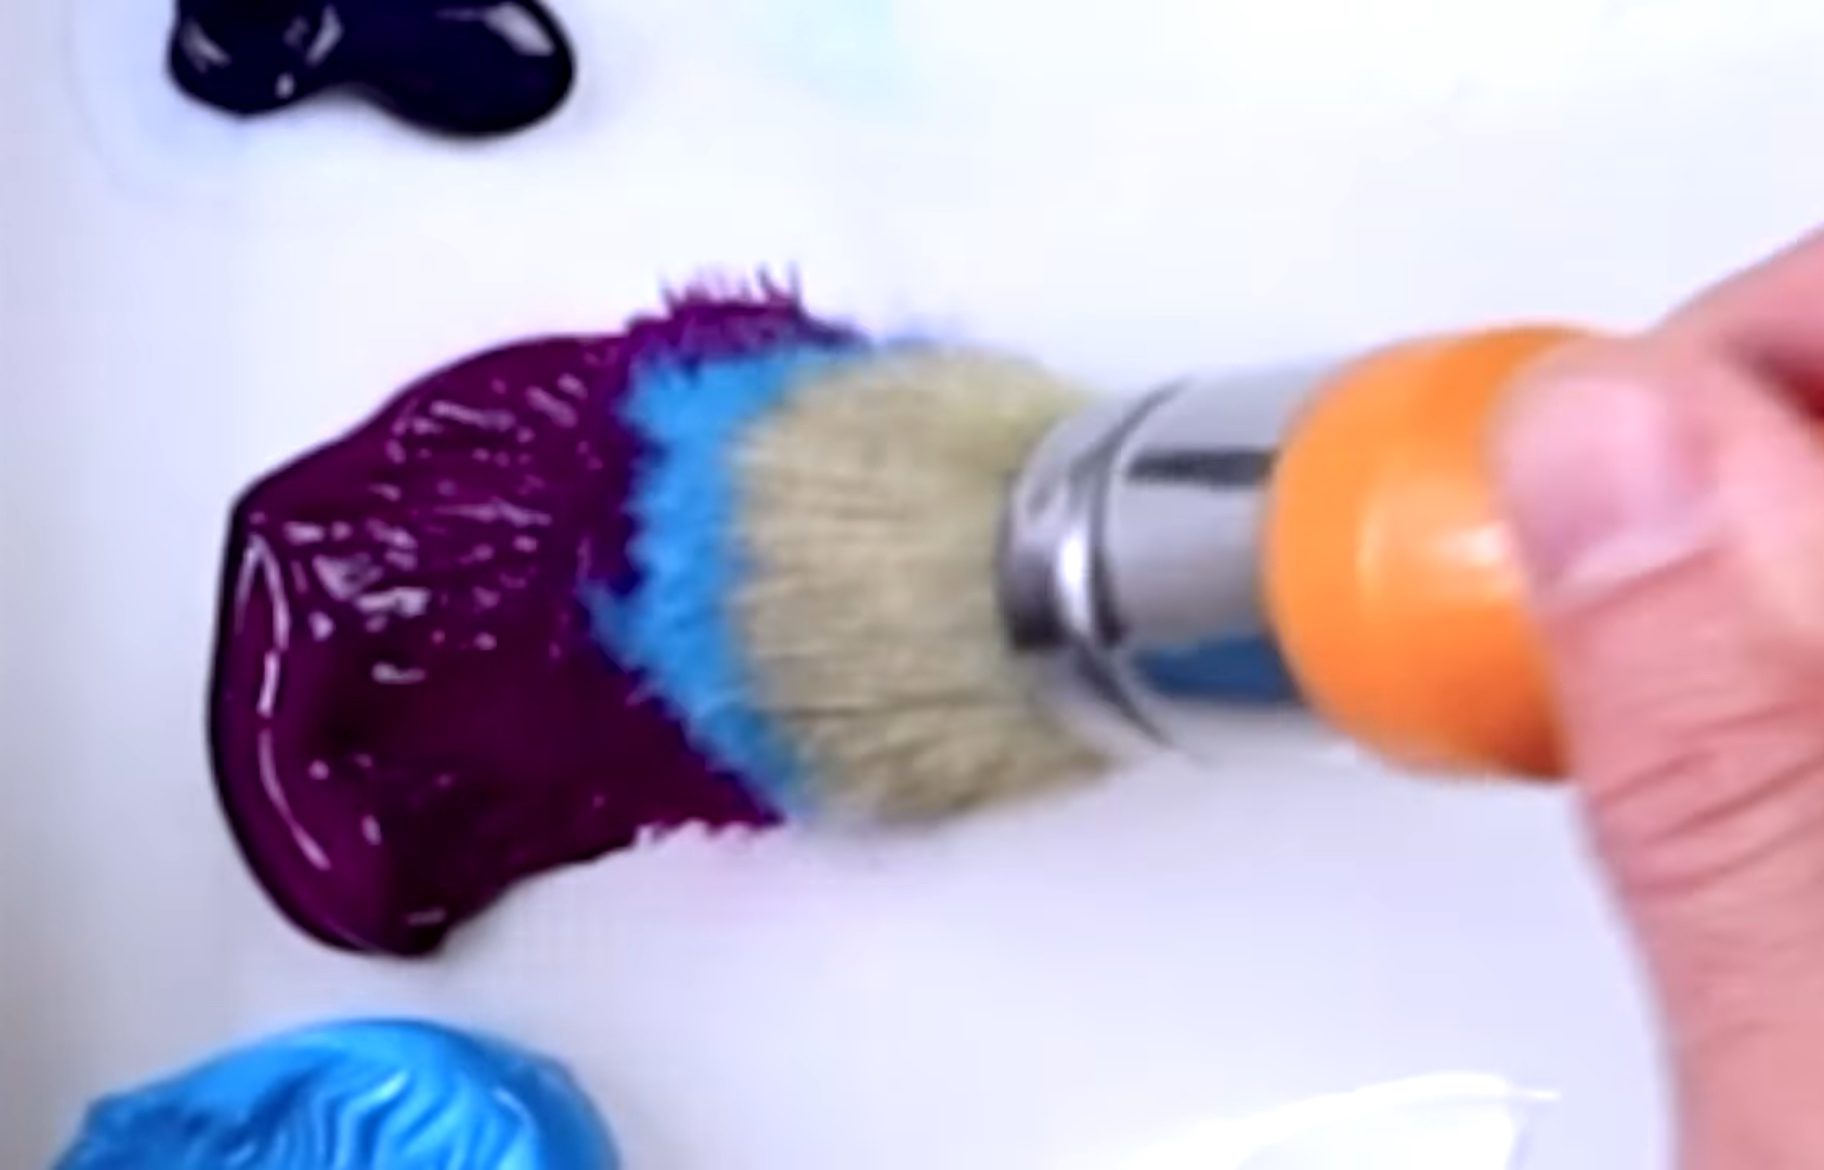
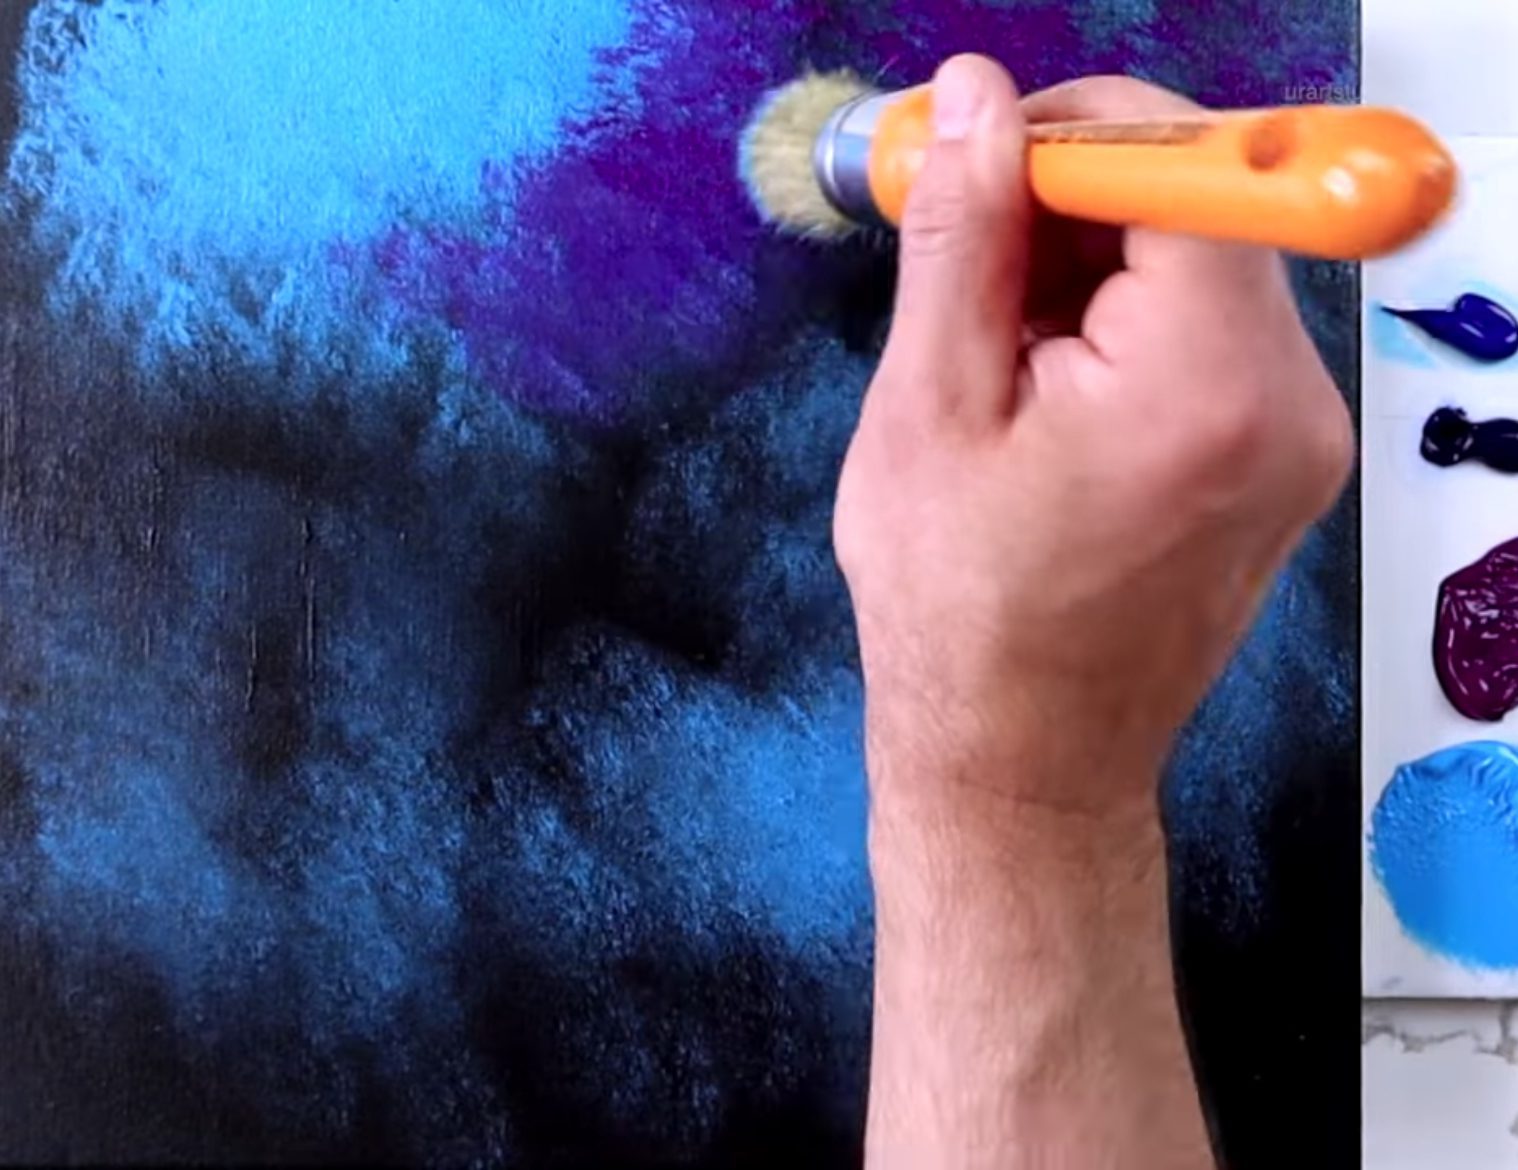
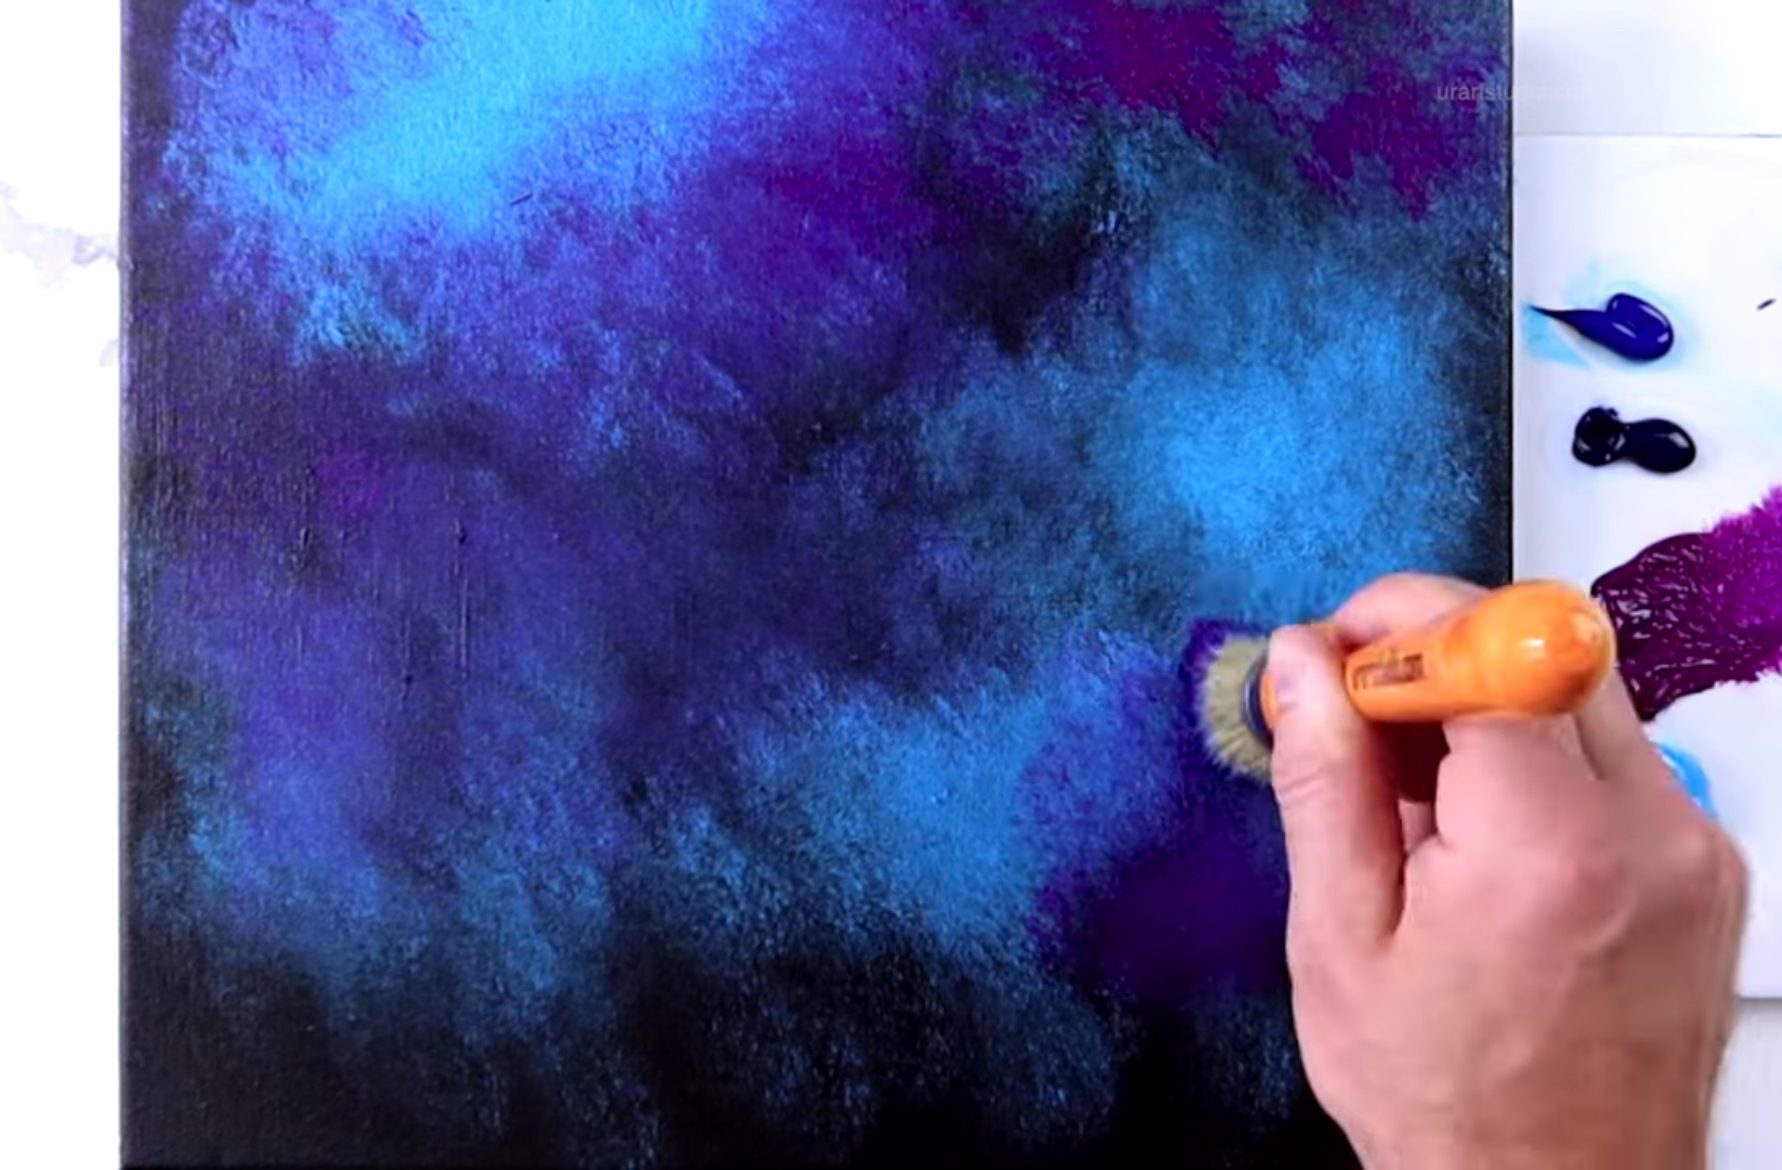
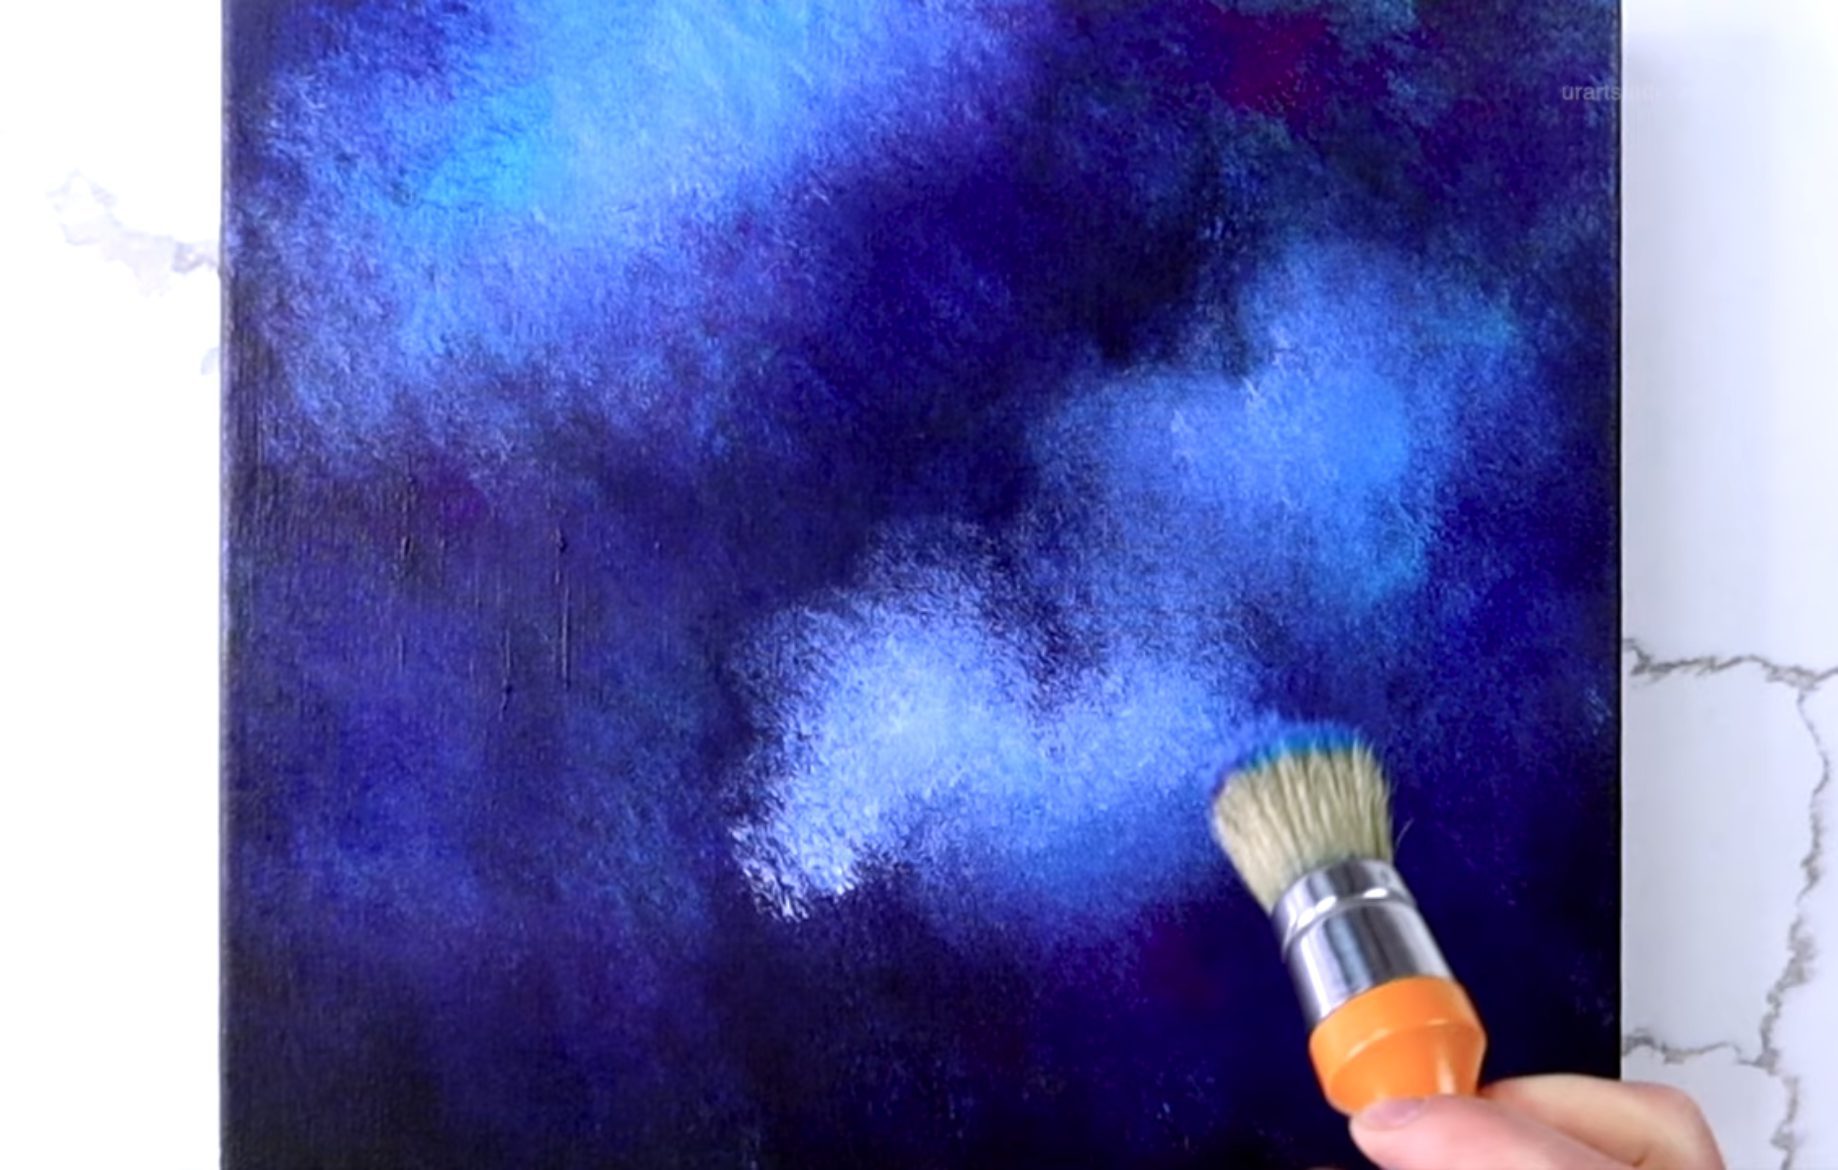
Let’s touch a little bit of Sky Blue color with our big oval brush. With a delicate dabbing motion, let’s breathe life into our canvas—creating a celestial realm with blooming hues, unveiling hints of starry whispers.
Now, let’s have some fun with colors. Let’s introduce Violet in select places, gently blending it with Sky Blue. Remember to preserve dark areas, allowing the canvas to peek through.
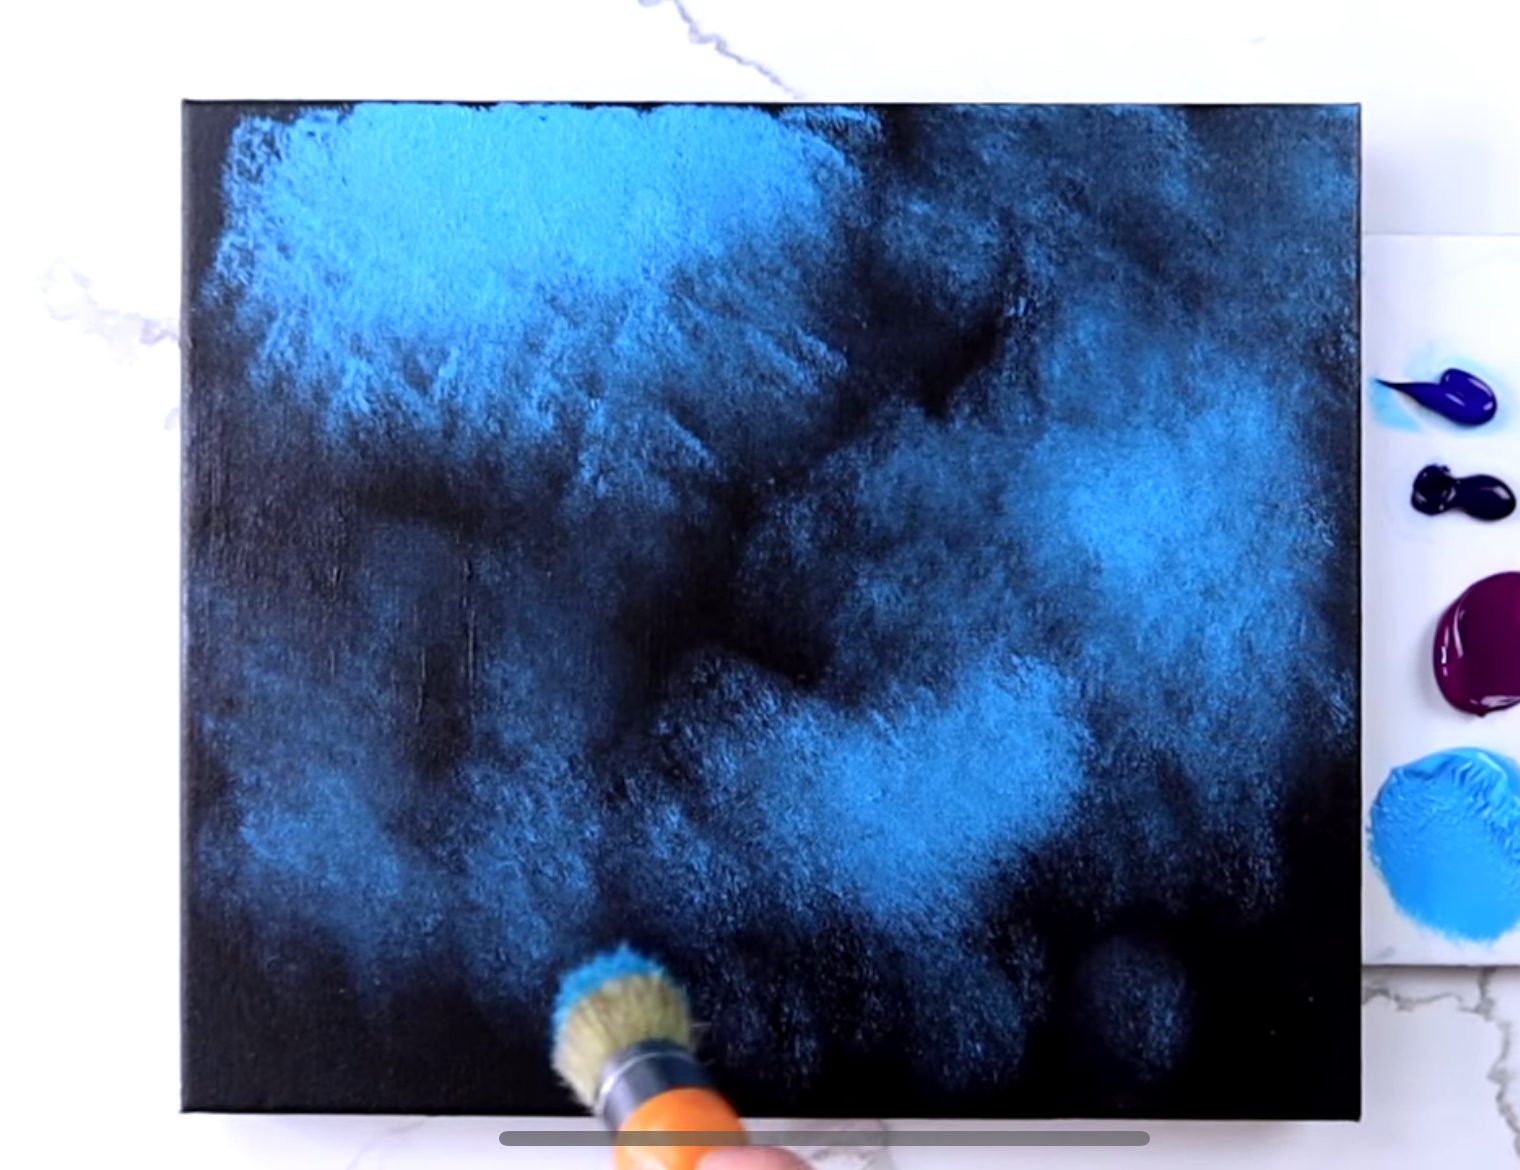
Playfully touch a hint of Prussian and Phthalo Blue without cleaning your brush and merge it into the beautiful mix of colors we already have on the canvas.
To enhance the depth of your painting’s background, pick up a touch of White paint with your big oval brush. By adding these soft, luminous accents, you’ll infuse your artwork with the illusion of light shining through, brilliantly showcasing the scene’s radiance. Blend these strokes seamlessly into the existing colors on the canvas to achieve a captivating effect.
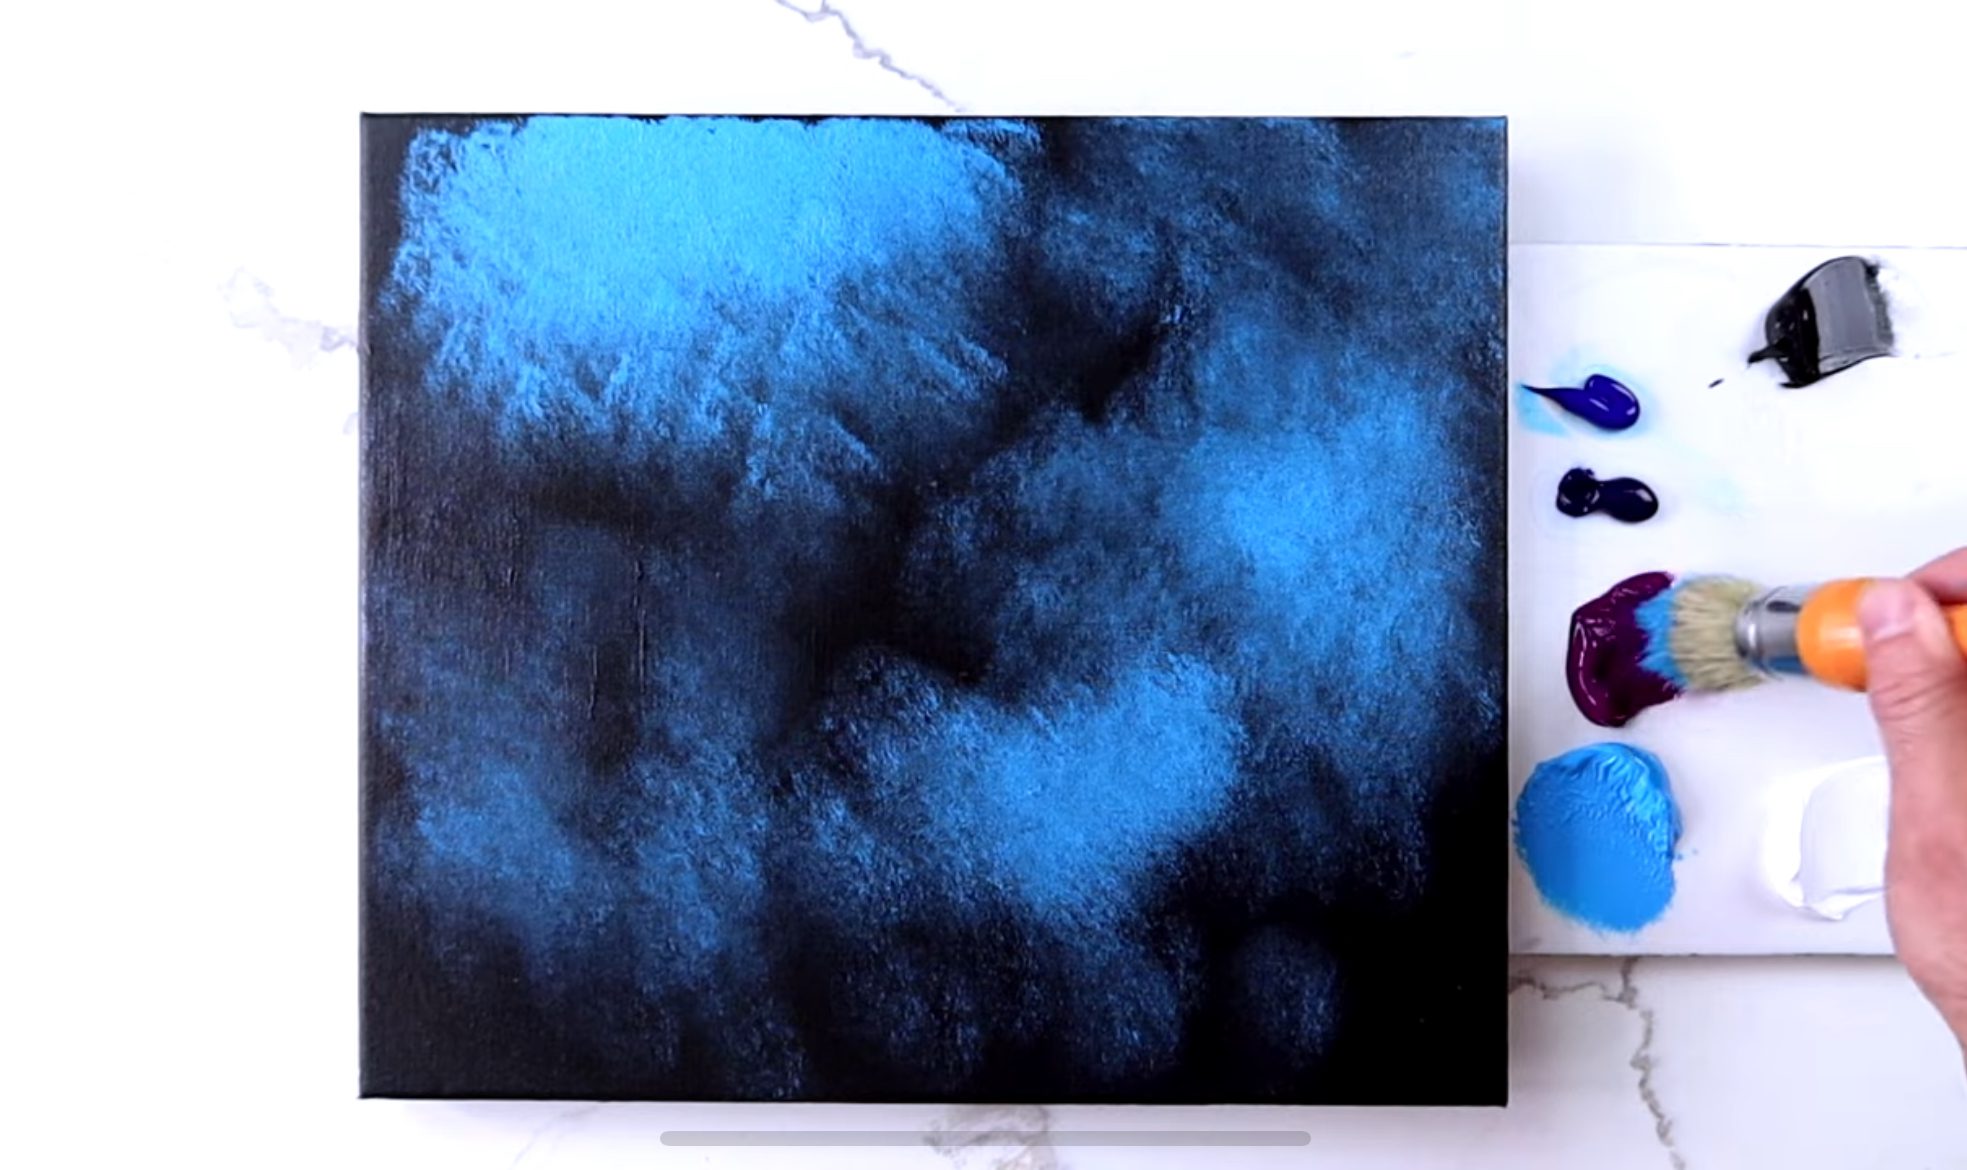
Marvel at the exquisite tonal shifts and the captivating depth we’ve crafted on our black canvas. We’re poised for the next chapter in our artistic voyage.
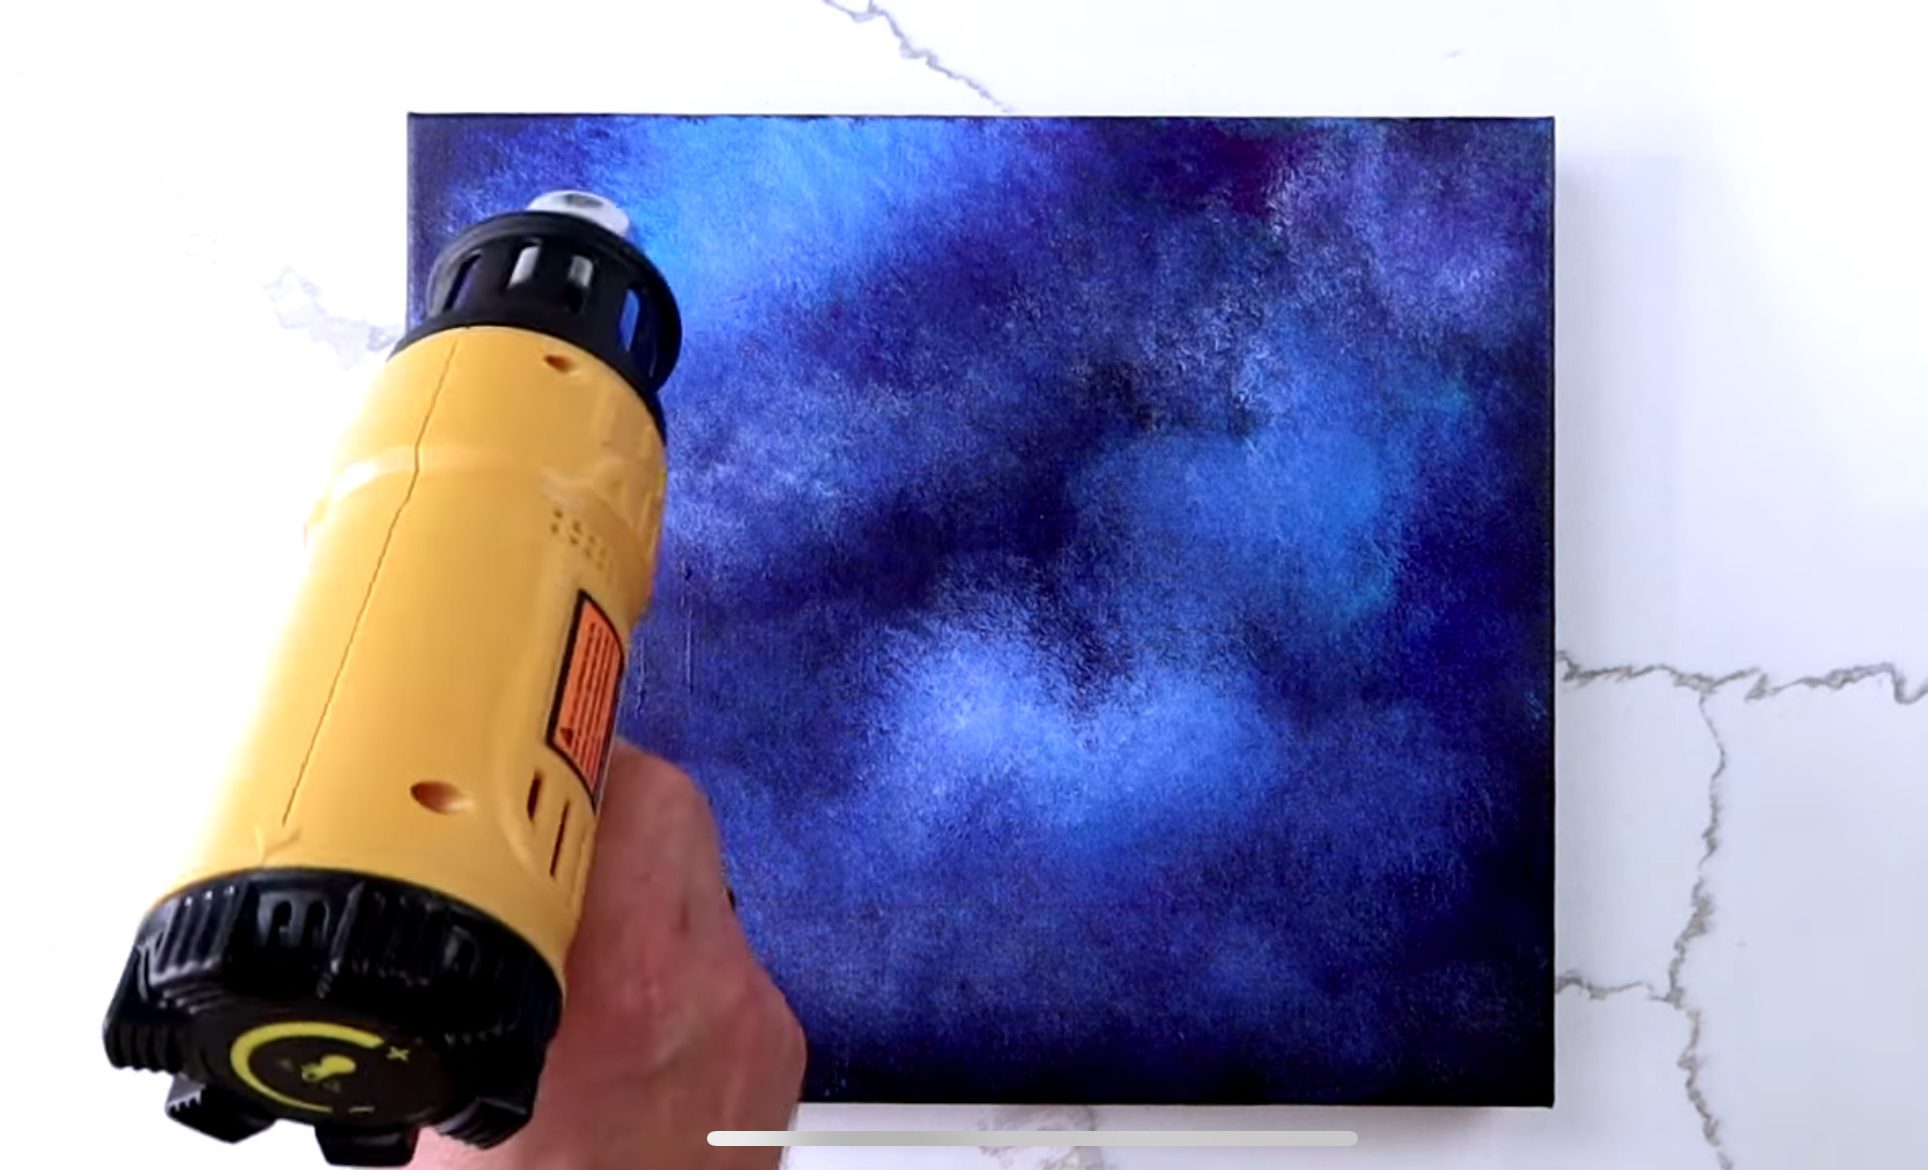
Drying the Painting
Before we move on, let’s ensure our painting is dry. You can use a hairdryer or a heat gun to gently dry the entire artwork. Take your time and allow the paint to dry completely. This will help prevent any smudging or blending when we proceed to the next step. Once the painting is dry, we’re ready to continue our creative journey.
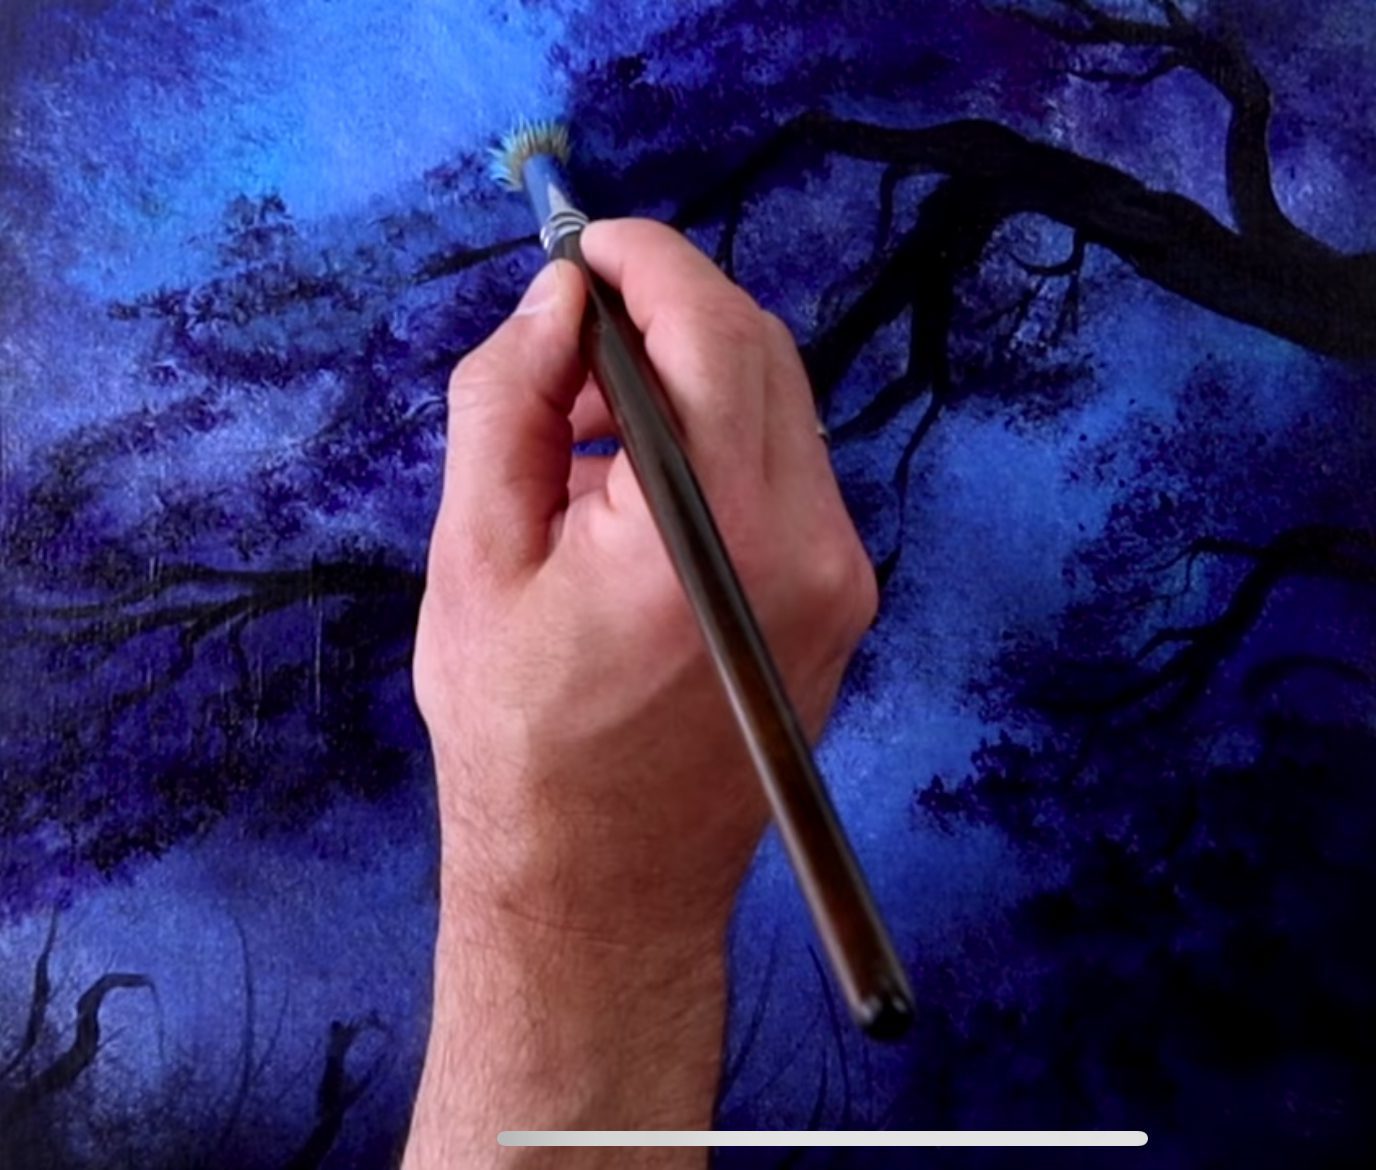
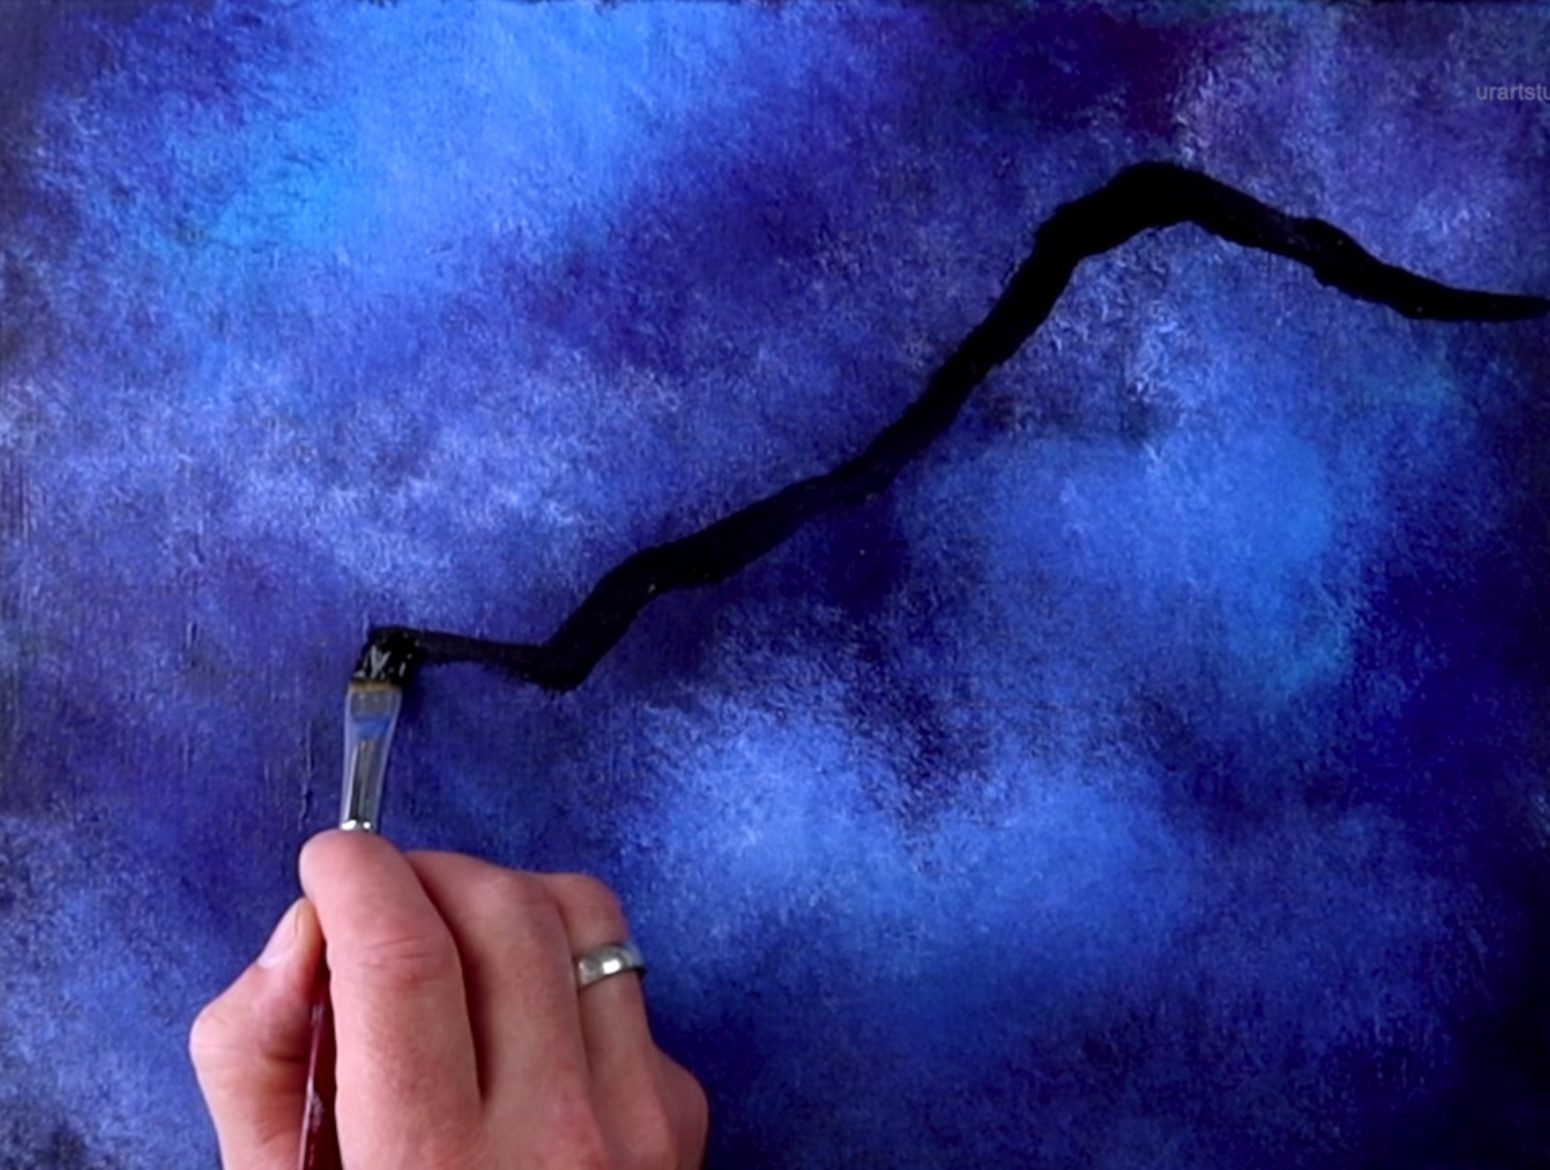
Step 4: Painting the Tree Trunk
Using your filbert brush, create the captivating tree trunk that stretches from the right side of the canvas to the left, gracefully bowing in the night sky. Dip your brush into the black paint, and with confident strokes, bring this majestic form to life.
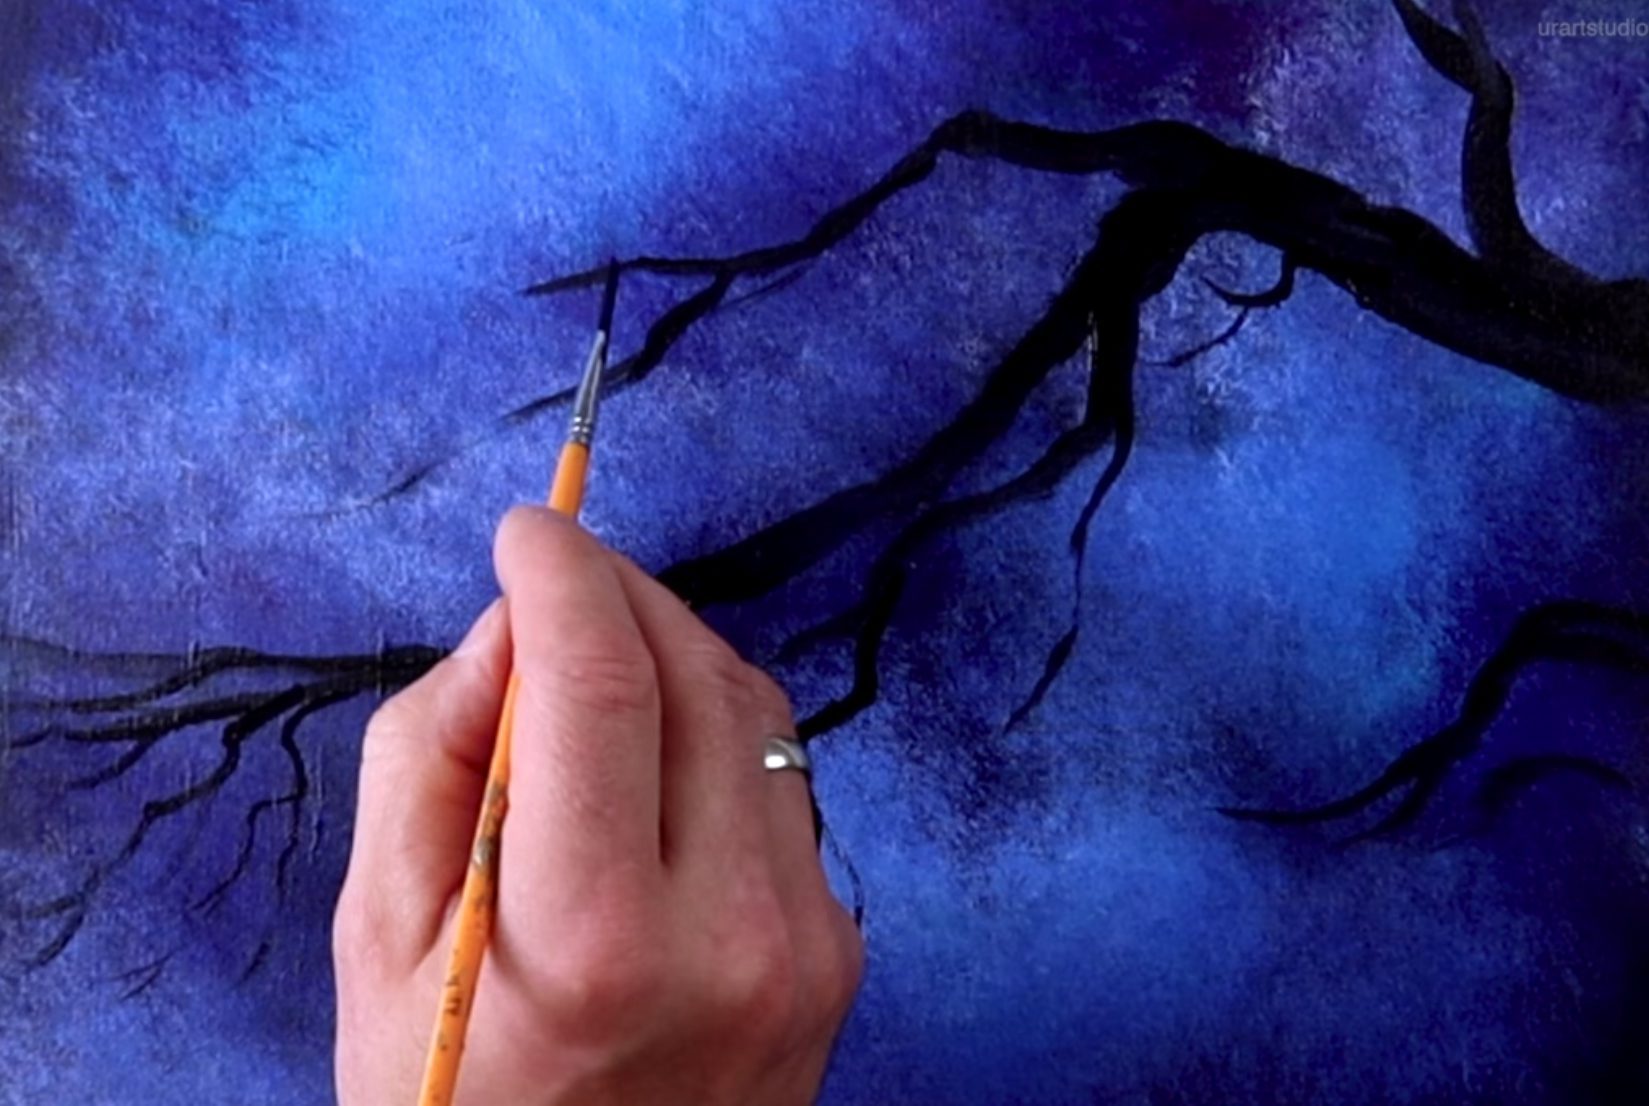
Imagine the tree as it reaches and bows, whispering secrets to the moonlit night. With a liner brush, let’s add elegant tree limbs and branches, protruding gracefully from the tree trunk. And let’s not forget about the ground below. With a few delicate strokes of the liner brush, add a scattering of grassy blades, contributing to the harmony of our moonlit scene.
Step back and marvel at the magical sight unfolding on your canvas. With each stroke, you breathe life into your dreams, continuing this artistic journey guided by the beauty of nature’s creation.
Adding Tree Foliage
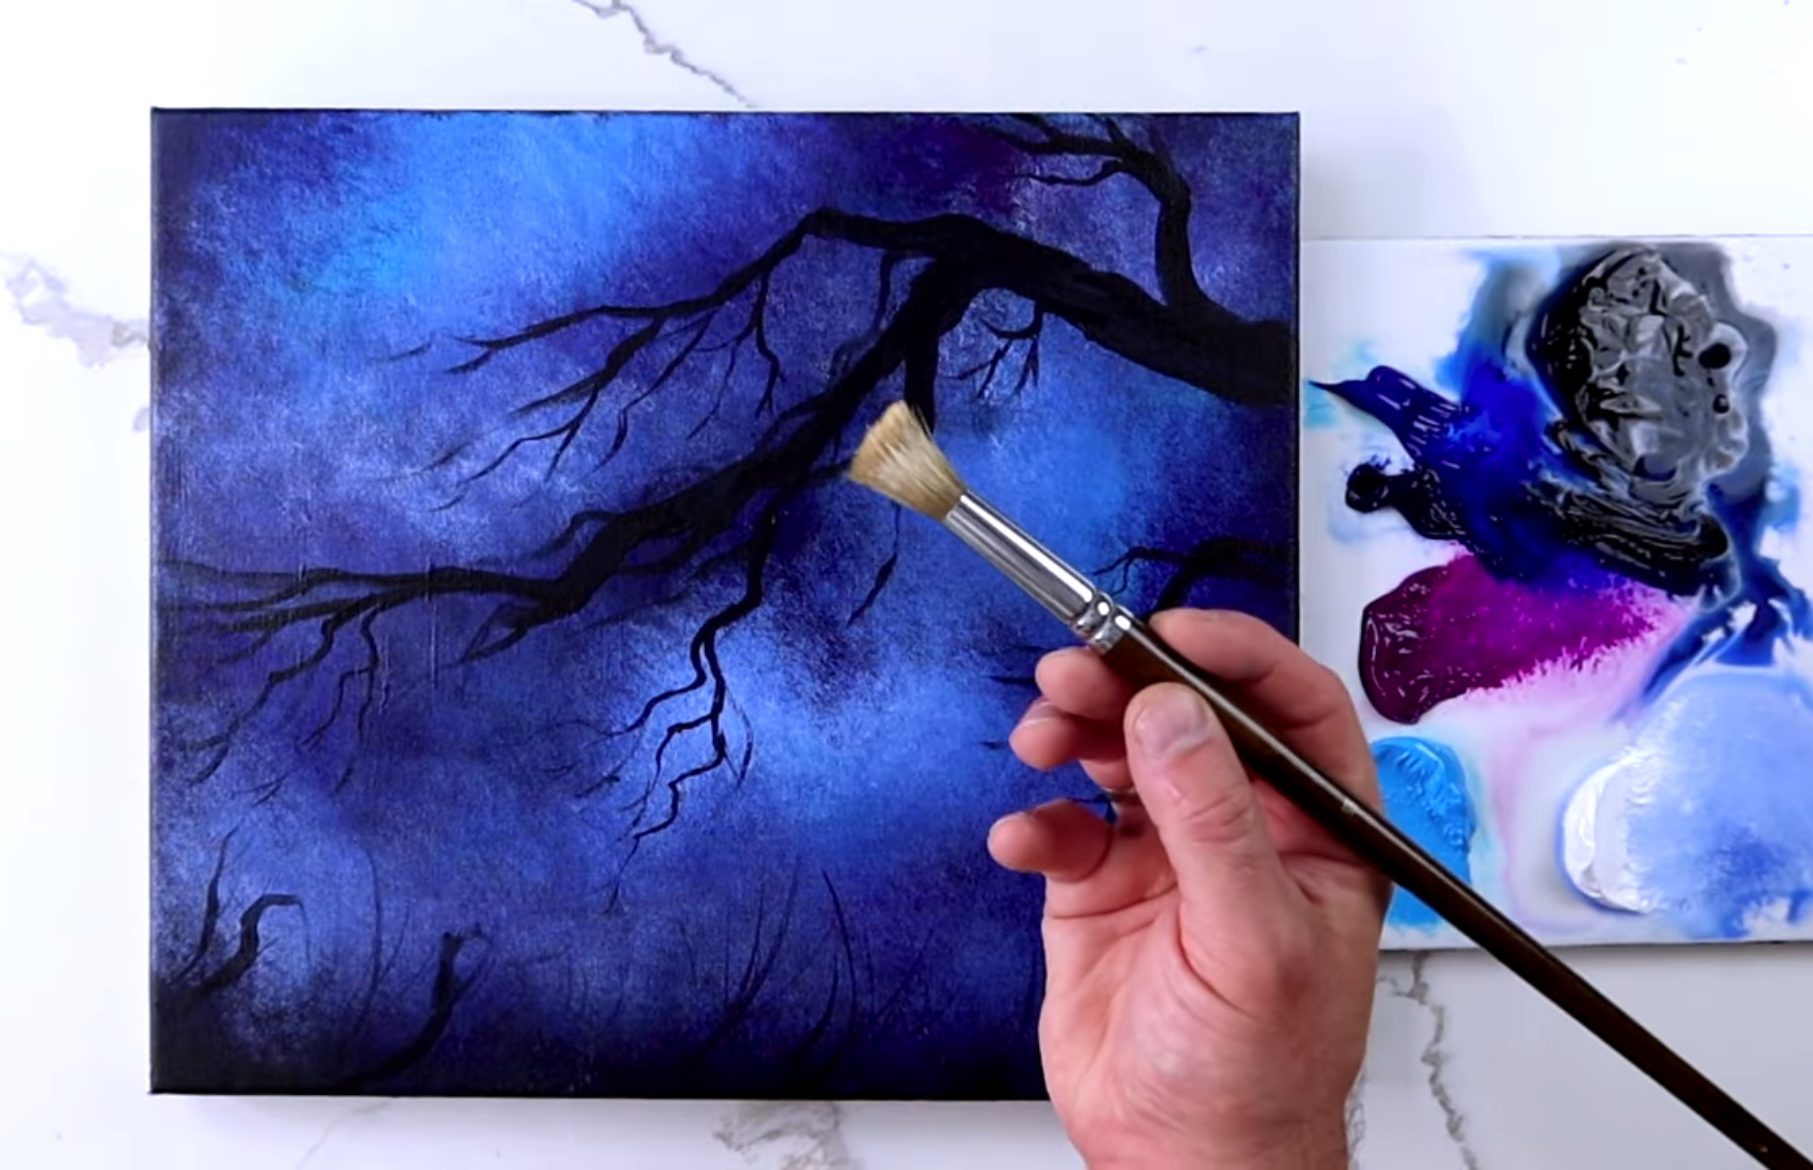
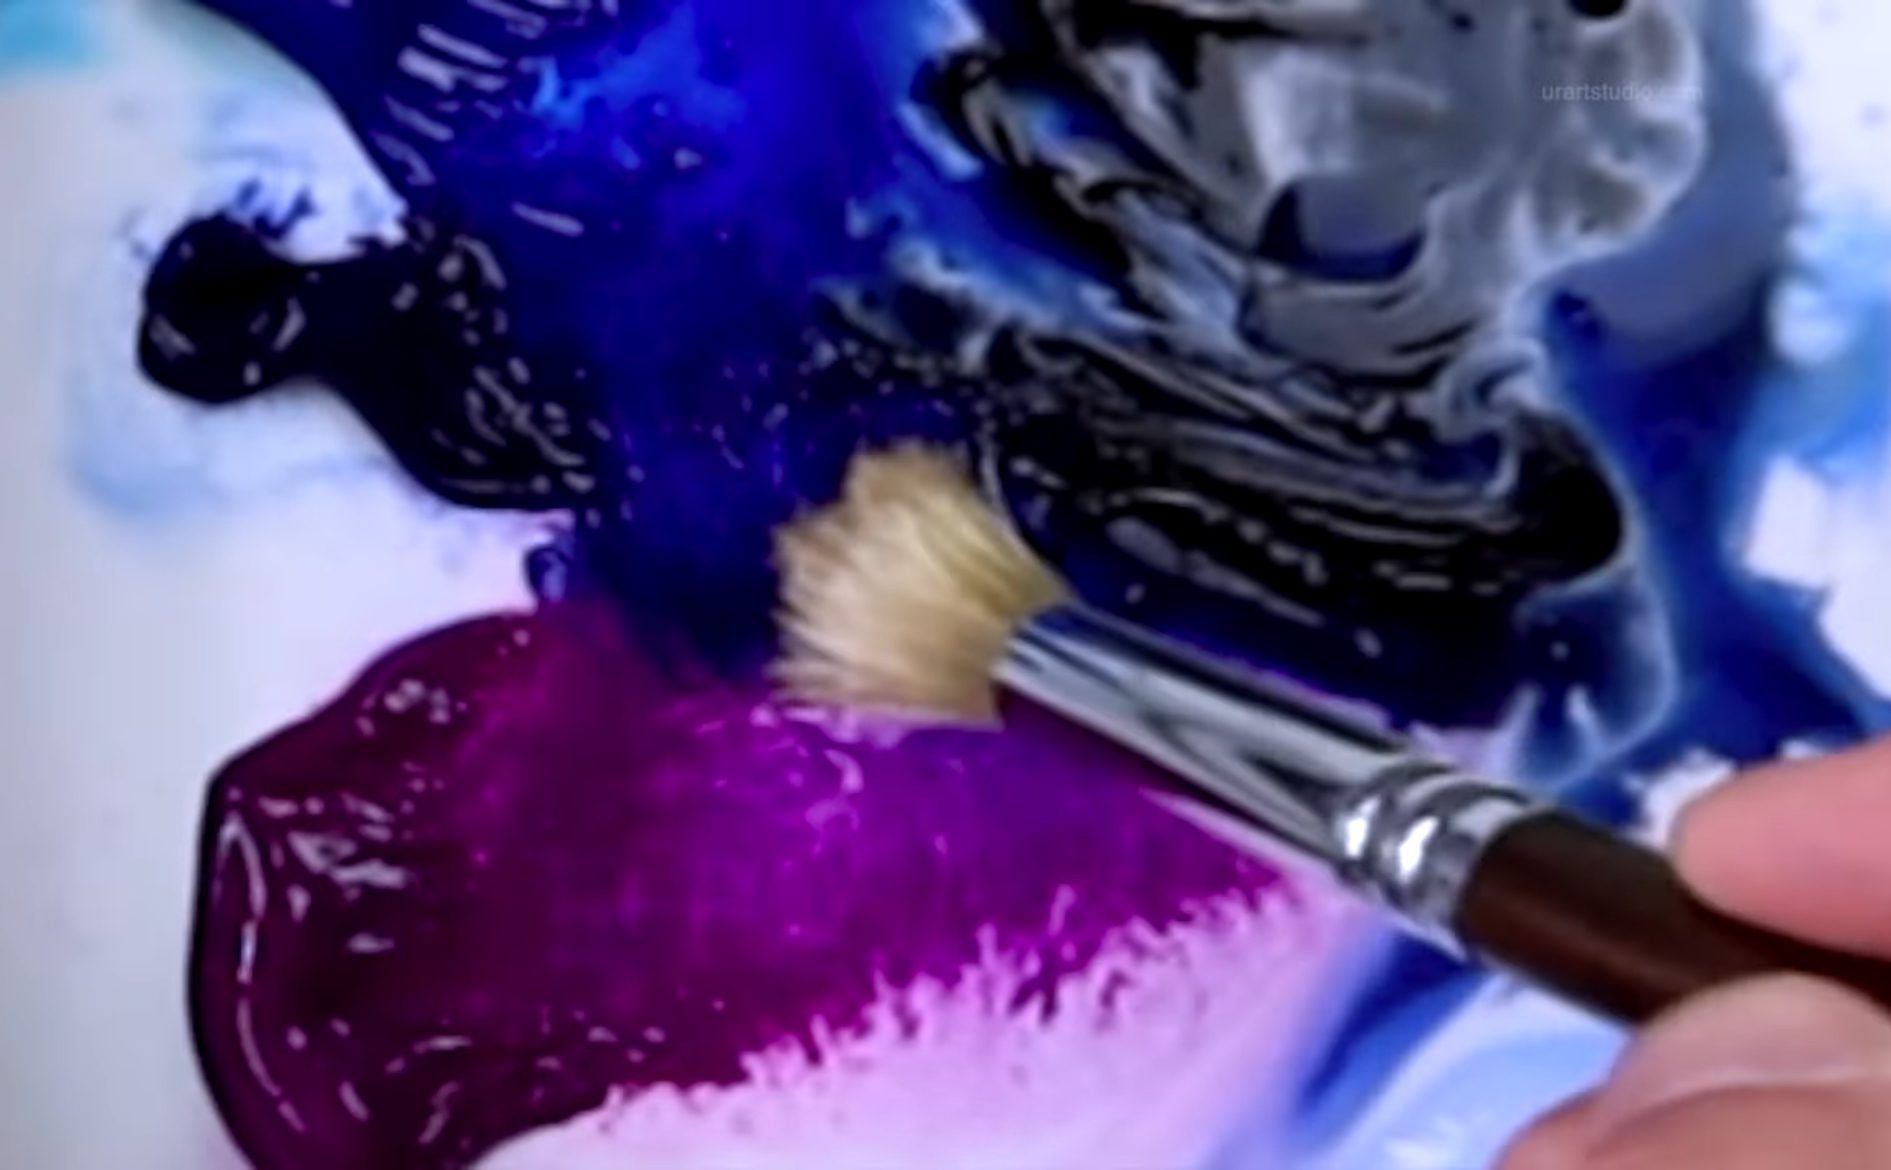
Now it’s time to bring vitality to our tree by adding foliage. Grab your small round brush and mix dark colors such as blue and violet with black. With gentle strokes, apply these darker tones along the night tree, creating a sense of depth and richness.
Next, for the highlights, mix Sky Blue with the dark colors, and using that same small round brush, gently add highlights, infusing our tree with a luminous touch. Remember to balance the dark and highlighted areas to achieve a natural and captivating effect.
Continue to paint with care, capturing the essence of the night and the enchantment of our moonlit scene.
Step 5: Adding Highlight to the Tree Trunk
Now, it’s time to make our tree trunk truly stand out in the moonlit night. Take your small filbert brush and mix light blue colors that mimic the moonlight’s touch. With careful strokes, apply these highlights to the areas of the trunk where the gentle glow of the moon would naturally illuminate.
By adding these highlights, the tree trunk will take on a remarkable depth and dimension, contrasting beautifully against the darkness of the night. Step back and observe the transformation as your tree emerges as a striking focal point in the moonlit landscape.
Continue to paint with precision, harmonizing the interplay between light and shadow and capturing the essence of this enchanting scene.
Step 6: Adding Small Details using Custom Bristle Brush
To further enhance our painting, it’s time to add some sparkling details. Grab your custom bristle brush and mix light blue and bright violet colors. With delicate touches, add a scattering of sparkling leaves on our magnificent night tree. These leaves will glisten and dance in the moonlight, adding to the enchantment of the scene.
Next, still using the custom bristle brush and the same colors, add highlights to the grass below the tree. With gentle strokes, let the light catch the blades of grass, creating an inviting glow.
Now, using the same brush but switching to pure white color, add a few radiant, glowing flowers amidst the grass. These blossoms will make our painting come alive with brilliance and charm.
Step back and admire the way these details bring a new level of vibrancy and luminosity to the artwork, making it truly shine.
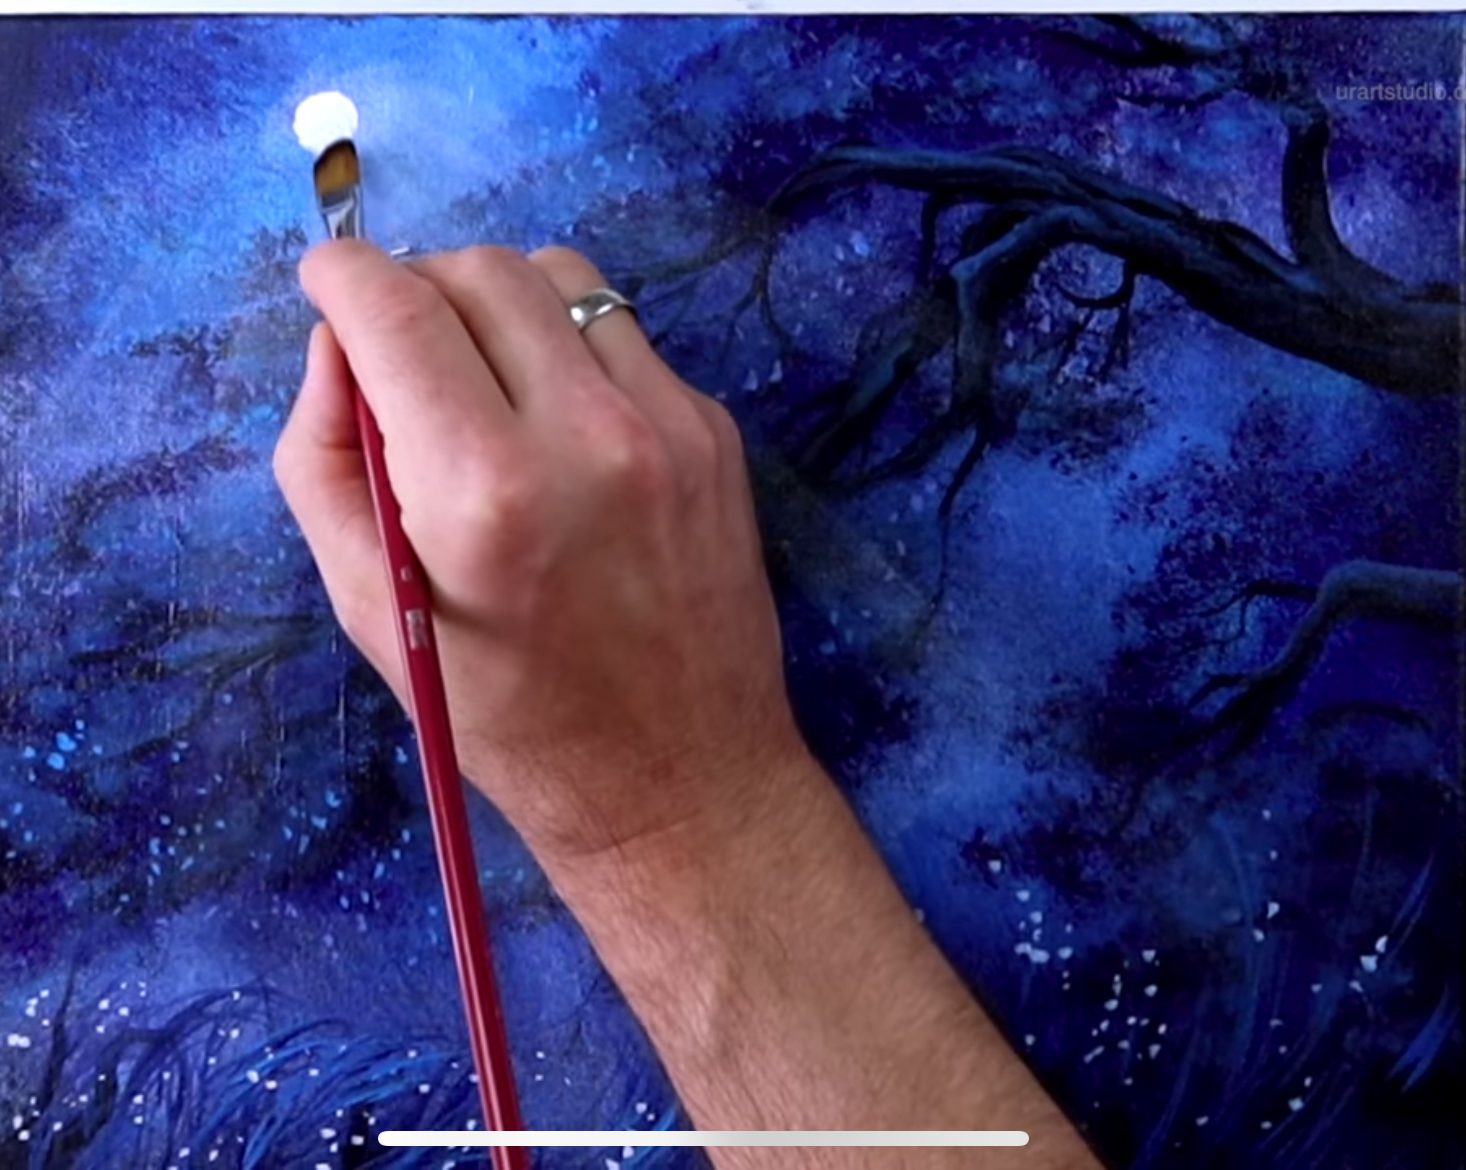
Step 8: Moistening the Canvas
For our next step, we need to moisten the canvas in the top left corner. This will allow us to create a beautiful moon glow effect. Take a clean sponge and dampen it slightly. Gently dab the moist sponge onto the top left corner of the canvas, applying a thin layer of moisture.
Shining Moon
Using our big filbert brush, we introduce a radiant moon glow in the top left corner just by using white paint. At the same time, create moonlight streaks that shine through the sky, mysterious and enchanting.
With the Ultrasoft Blending Brush, let’s blend those delicate streaks into the sky, softening the edges and creating a seamless transition that makes the moonlight appear as if it’s dancing among the night sky.
Using our finger, add a small circle for the moon. It’s the final touch that ties our moonlit masterpiece together. And using a clean filbert brush, blend the sides of our moon into the streaks of light.
Congratulations, you’ve crafted a breathtaking tree in the moonlit night! Step back, gaze upon your creation, and feel the peace and wonder wash over you. This journey has been a delight, but the real adventure begins when you bring your own moonlit dreams to life. Happy painting, my fellow artist!


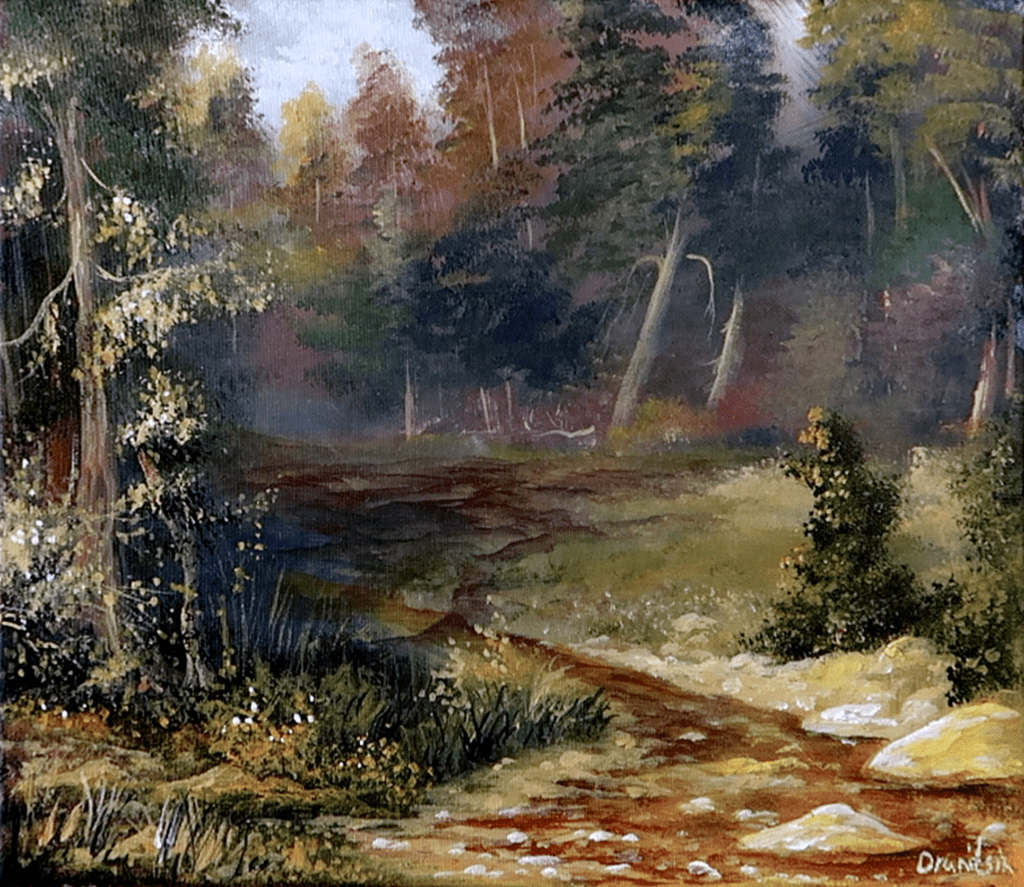
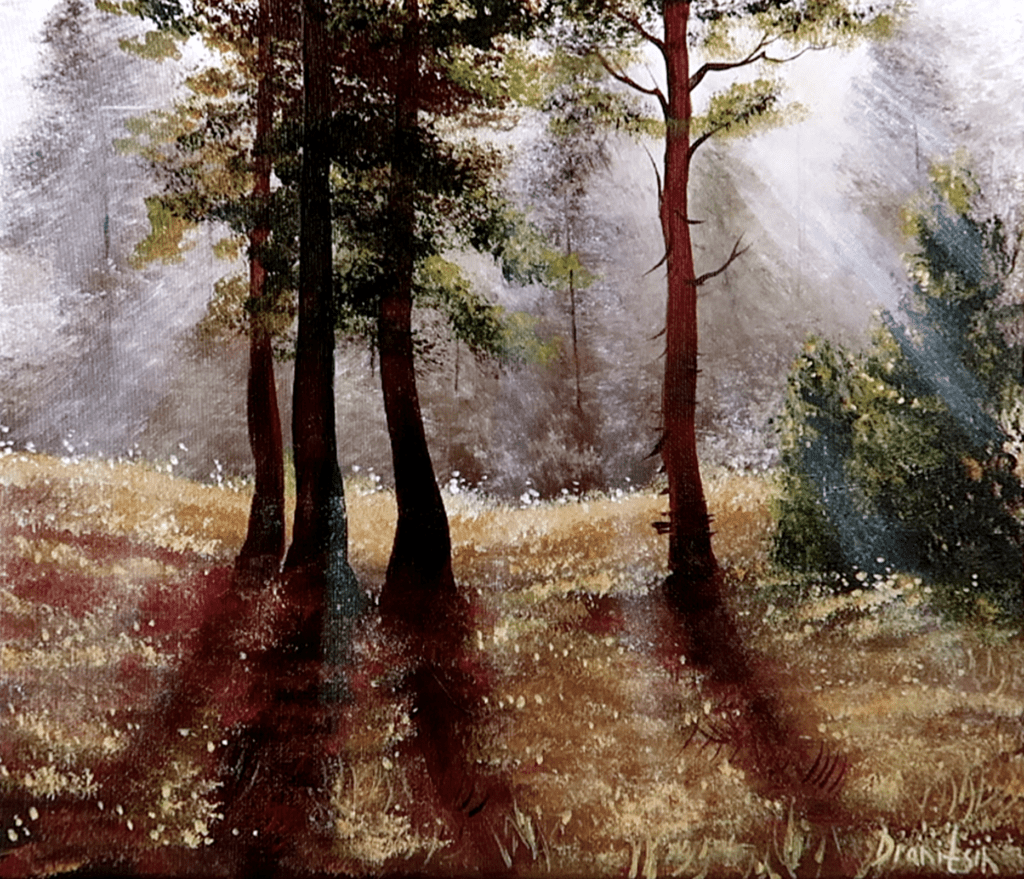
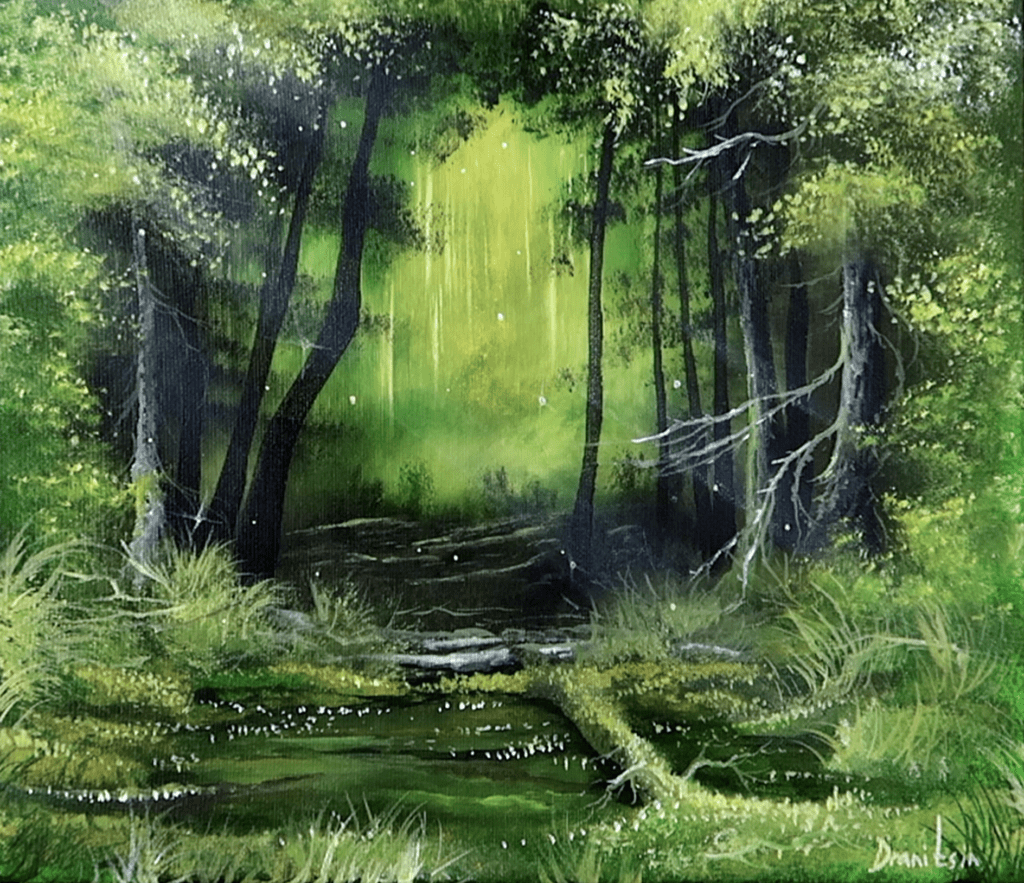
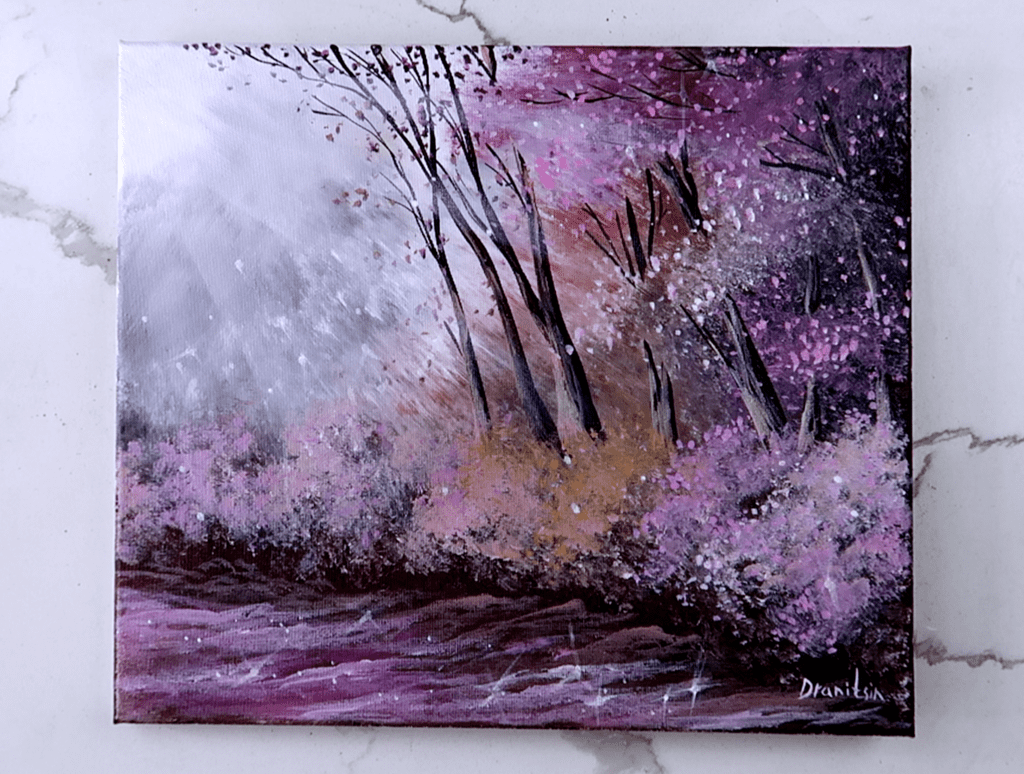
STEP BY STEP PAINTING INSTRUCTIONS AND NARRATED GUIDES FOR URARTSTUDIO.COM YOUTUBE ART VIDEO DEMONSTRATIONS

ART VIDEO STEP BY STEP VIDEO DEMONSTRATIONS AND ORIGINAL ART GALLERY BY URARTSTUDIO:
Welcome to the captivating world of URARTSTUDIO! Immerse yourself in the exquisite artistry and creativity with our step-by-step video demonstrations and exclusive original art gallery. Prepare to be spellbound as true mastery unfolds before your very eyes. Witness the artistic process come alive as our videos take you by the hand, guiding you through each brushstroke and technique. Discover the secret behind captivating compositions and the intricate details that make art truly mesmerizing. Our gallery proudly showcases a curated collection of unique and breathtaking artwork, where every piece tells a story and evokes powerful emotions. Journey with us and let your imagination take flight as URARTSTUDIO invites you to unravel the magic of art like never before.