

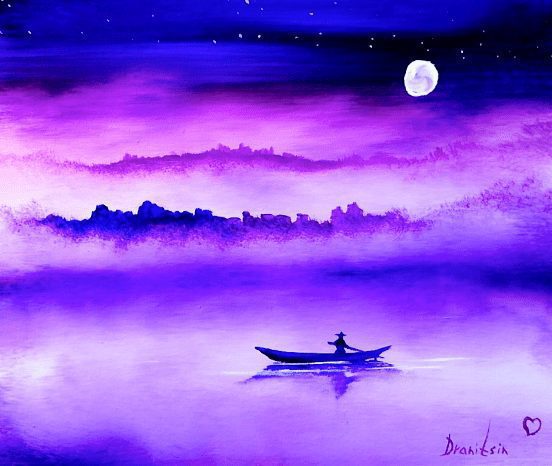
Welcome to an immersive journey into the realm of creativity and imagination! Follow along as we transform a blank canvas into a mysterious and serene acrylic landscape painting with ethereal fog and a solitary boat. This painting tutorial isn’t just an artistic exercise; it is your gateway to mastering landscape art techniques while bringing tranquility to your creations. Whether you’re a beginner or a seasoned artist, this guide will help hone your acrylic painting skills, offering essential painting tips and techniques every step of the way.
Step-by-Step Guide: Painting a Boat in the Fog
Step 1: Preparing Your Canvas
Setting the Stage for Magic
Before digging into the painting techniques, it’s essential to prepare your materials. Start with a medium-sized canvas (16″x20″ works perfectly). Use professional quality acrylic paints to ensure vibrant and long-lasting results. If you’re out of supplies, make sure to check out high-quality brushes and paints from our art supplies shop.
Create subtle background tones by applying a thin base coat of gesso to the canvas. A smooth and well-primed surface will allow the foggy landscape details to blend effortlessly. For this project, painting with soft hues such as light greys and soft blues will set the mood for a misty atmosphere.
Step 2: Mapping the Foggy Horizon
Using a wide flat brush, mix white, ultramarine blue, and a hint of black to create the foggy background. Start by working horizontally across the top of the canvas. Use painting techniques like light feathering with horizontal movements to establish the distant fog. Blend gently to achieve seamless gradations, making sure your tones transition smoothly into each other.
Pro Tip: Use a damp sponge or soft blending brush for mist effects. Don’t press too hard—let the random texture of the sponge mimic the unpredictable nature of natural fog.
Step 3: Layering Depth Into the Fog
To make your landscape painting more dynamic, gradually darken sections of the horizon by mixing in a bit of Payne’s grey or burnt umber. These slight contrasts create the illusion of layers within the fog, adding dimension and depth to your acrylic landscape painting.
At this stage, remember to reserve the center of the canvas as the focal point for your boat scene.
Step 4: Painting the Water Reflection
Using horizontal strokes, replicate the foggy tones onto the lower section of the painting to create a reflective water effect. Focus on smooth, blended transitions for a still, glass-like surface. Mirror some of the fog’s lighter tones into the “water” for added realism. This acrylic technique is essential for achieving the harmony between the sky and water.
Step 5: Defining the Boat Silhouette
The heart of your painting—a symbol of tranquility yet solitude.
Switch to a small detail brush and create the outline of a small boat gently resting amidst the fog. Use dark umber or black acrylic paint and maintain clean, precise lines. Once sketched, fill in the silhouette, keeping it sharp in the foreground. This creates the compelling contrast that draws the viewer’s gaze.
Pro Tip: Add a tiny mast or subtle reflections under the boat to enhance realism.
Step 6: Accentuating Highlights and Shadows
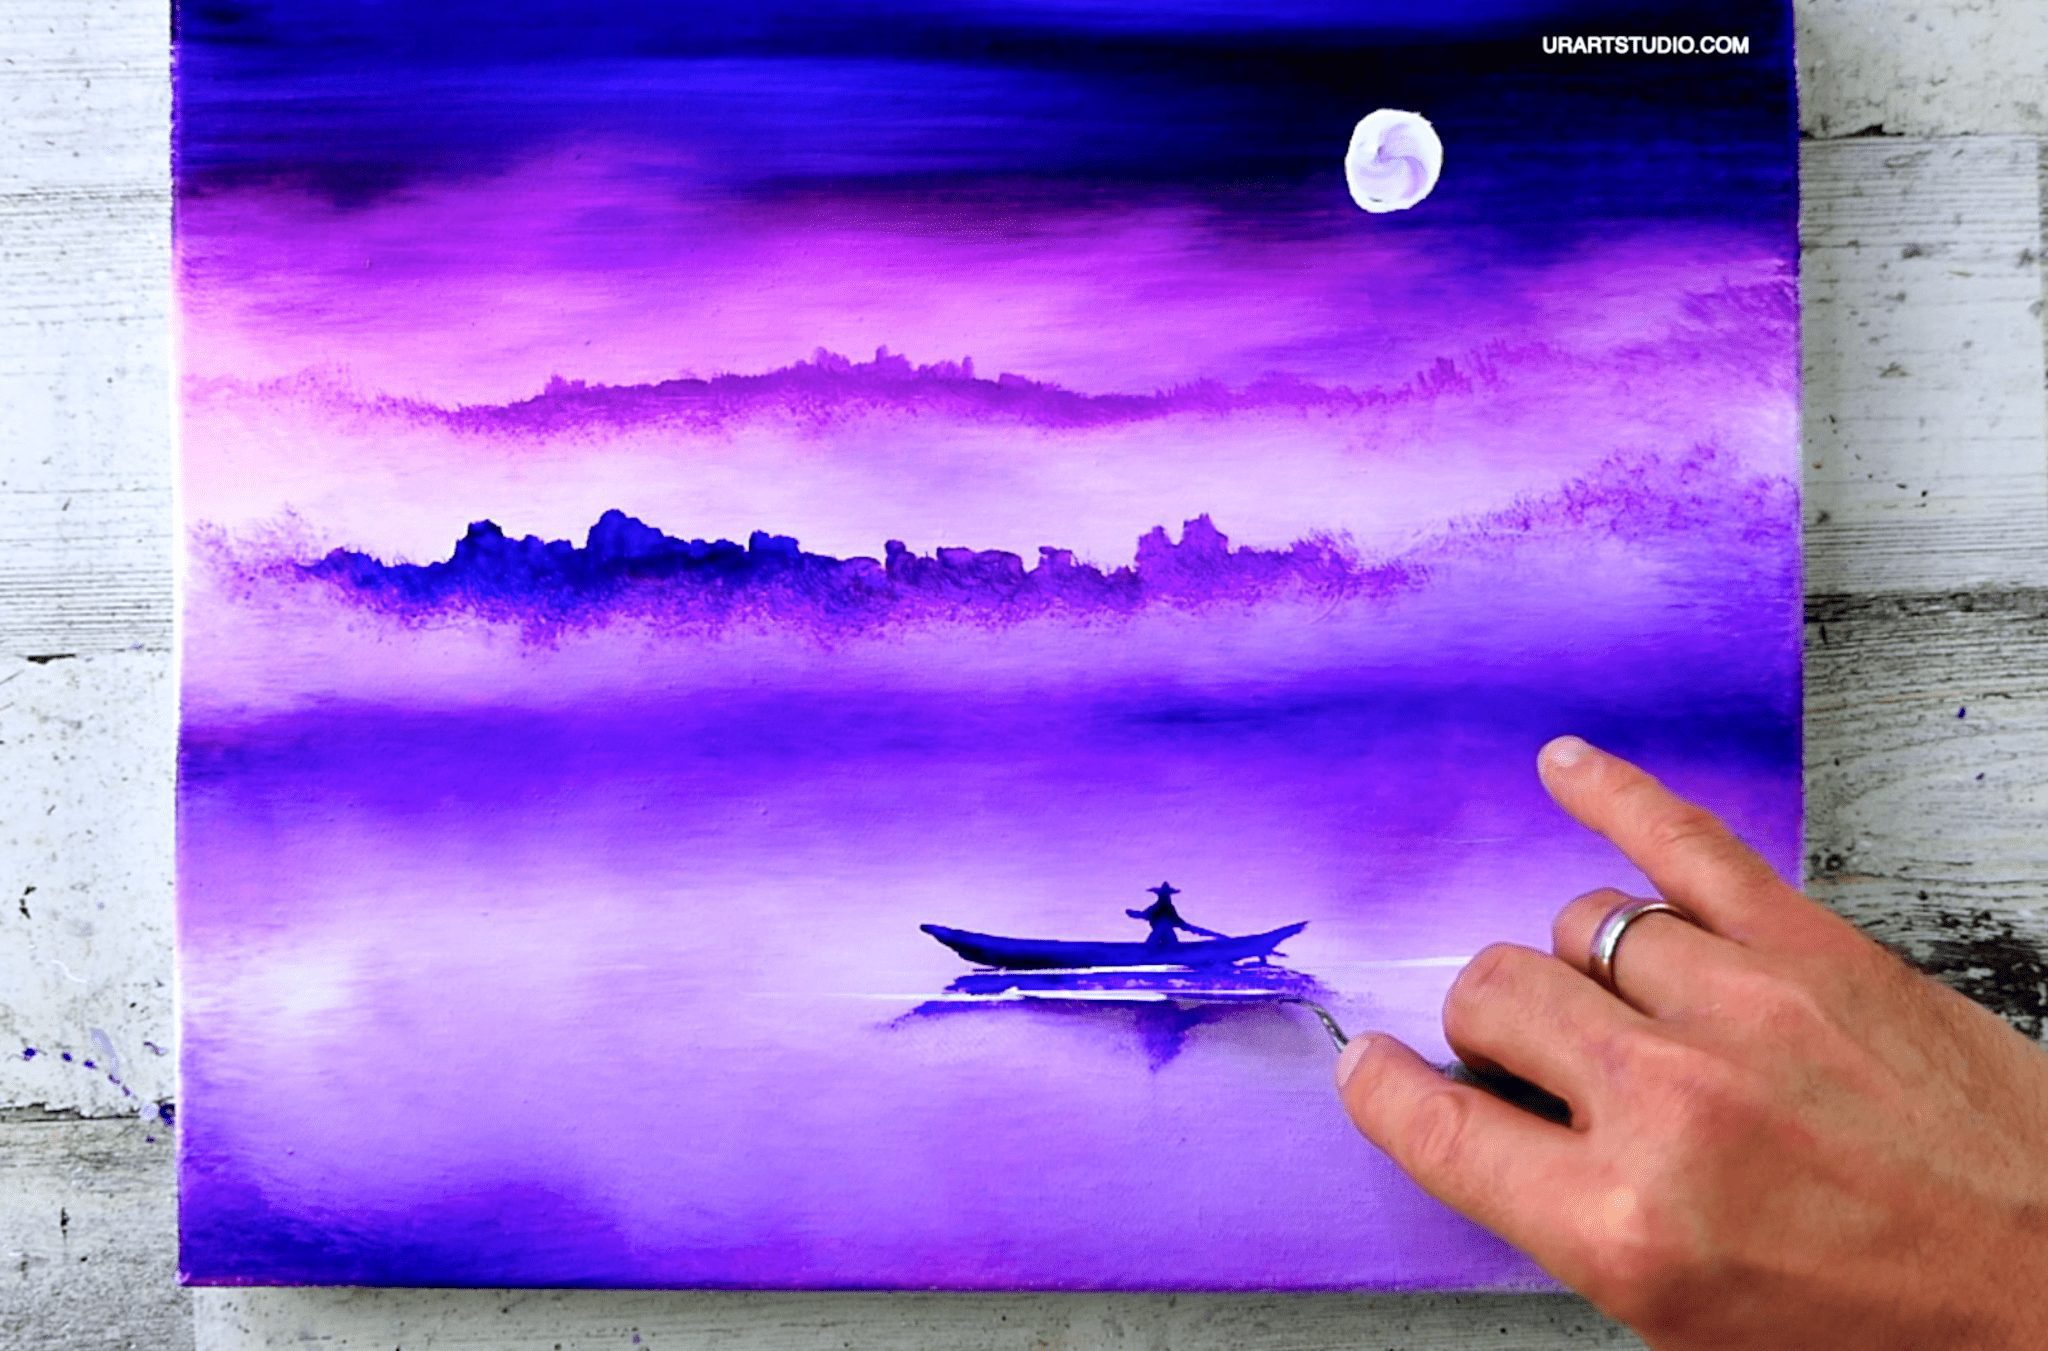
Introduce highlights to the boat and nearby water ripples by mixing Titanium White with a hint of your dominant blue tone. Add subtle streaks of white on the water’s surface to give it a shimmering effect as the fog interacts with light. Contrast is key to maintaining balance in a foggy acrylic landscape painting—don’t shy away from playing with light and shadow.
Step 7: Adding Finishing Touches
To complete the painting, refine the soft edges of the fog with a fan brush, dragging slightly onto the boat’s silhouette for a seamless, misty texture. Consider adding light distant objects, such as shadowy figures of trees or hills, to enrich the depth of the scenery.
Finally, step back, re-evaluate your work, and add any necessary adjustments. Remember, every detail—no matter how tiny—brings your creation to life!
Essential Painting Tips and Insights
- Use soft, high-quality brushes for blending smooth gradients in acrylics.
- Build fog layers by working wet-on-wet, but sparingly to avoid muddying colors.
- Stay patient—creating realism in landscape painting involves many buildable layers!
- Balance between soft edges (for the fog) and hard contrasts (for the boat) for depth.
- Experiment with sponge tools to enhance your fog textures.
For more inspiration, browse through our exclusive collection of original paintings.
Final Thoughts: Painting Tranquility
By following these steps and understanding foundational painting techniques, you’ll walk away with an ethereal landscape painting that captures a serene, foggy atmosphere. Whether a personal project or gifted creation, this acrylic tutorial teaches not just technique, but how to evoke a stunning sense of calm and mystery through art.
Are you ready to bring the quiet majesty of the fog to life? Grab your supplies and jump into the enchanting world of landscape painting today!
Don’t forget to check out our wide selection of brushes and step-by-step painting instruction guides to keep growing your skills.
Keywords
painting tutorial, acrylic landscape painting, painting tips, foggy landscape art, boat painting techniques, acrylic fog effects, step-by-step painting instructions, serene landscape painting
Hashtags
#AcrylicPainting, #FoggyLandscape, #PaintingTutorial, #BoatInTheFog, #LandscapeArt, #StepByStepArt, #AcrylicArtTips, #CalmingArt
Leave a Reply
You must be logged in to post a comment.