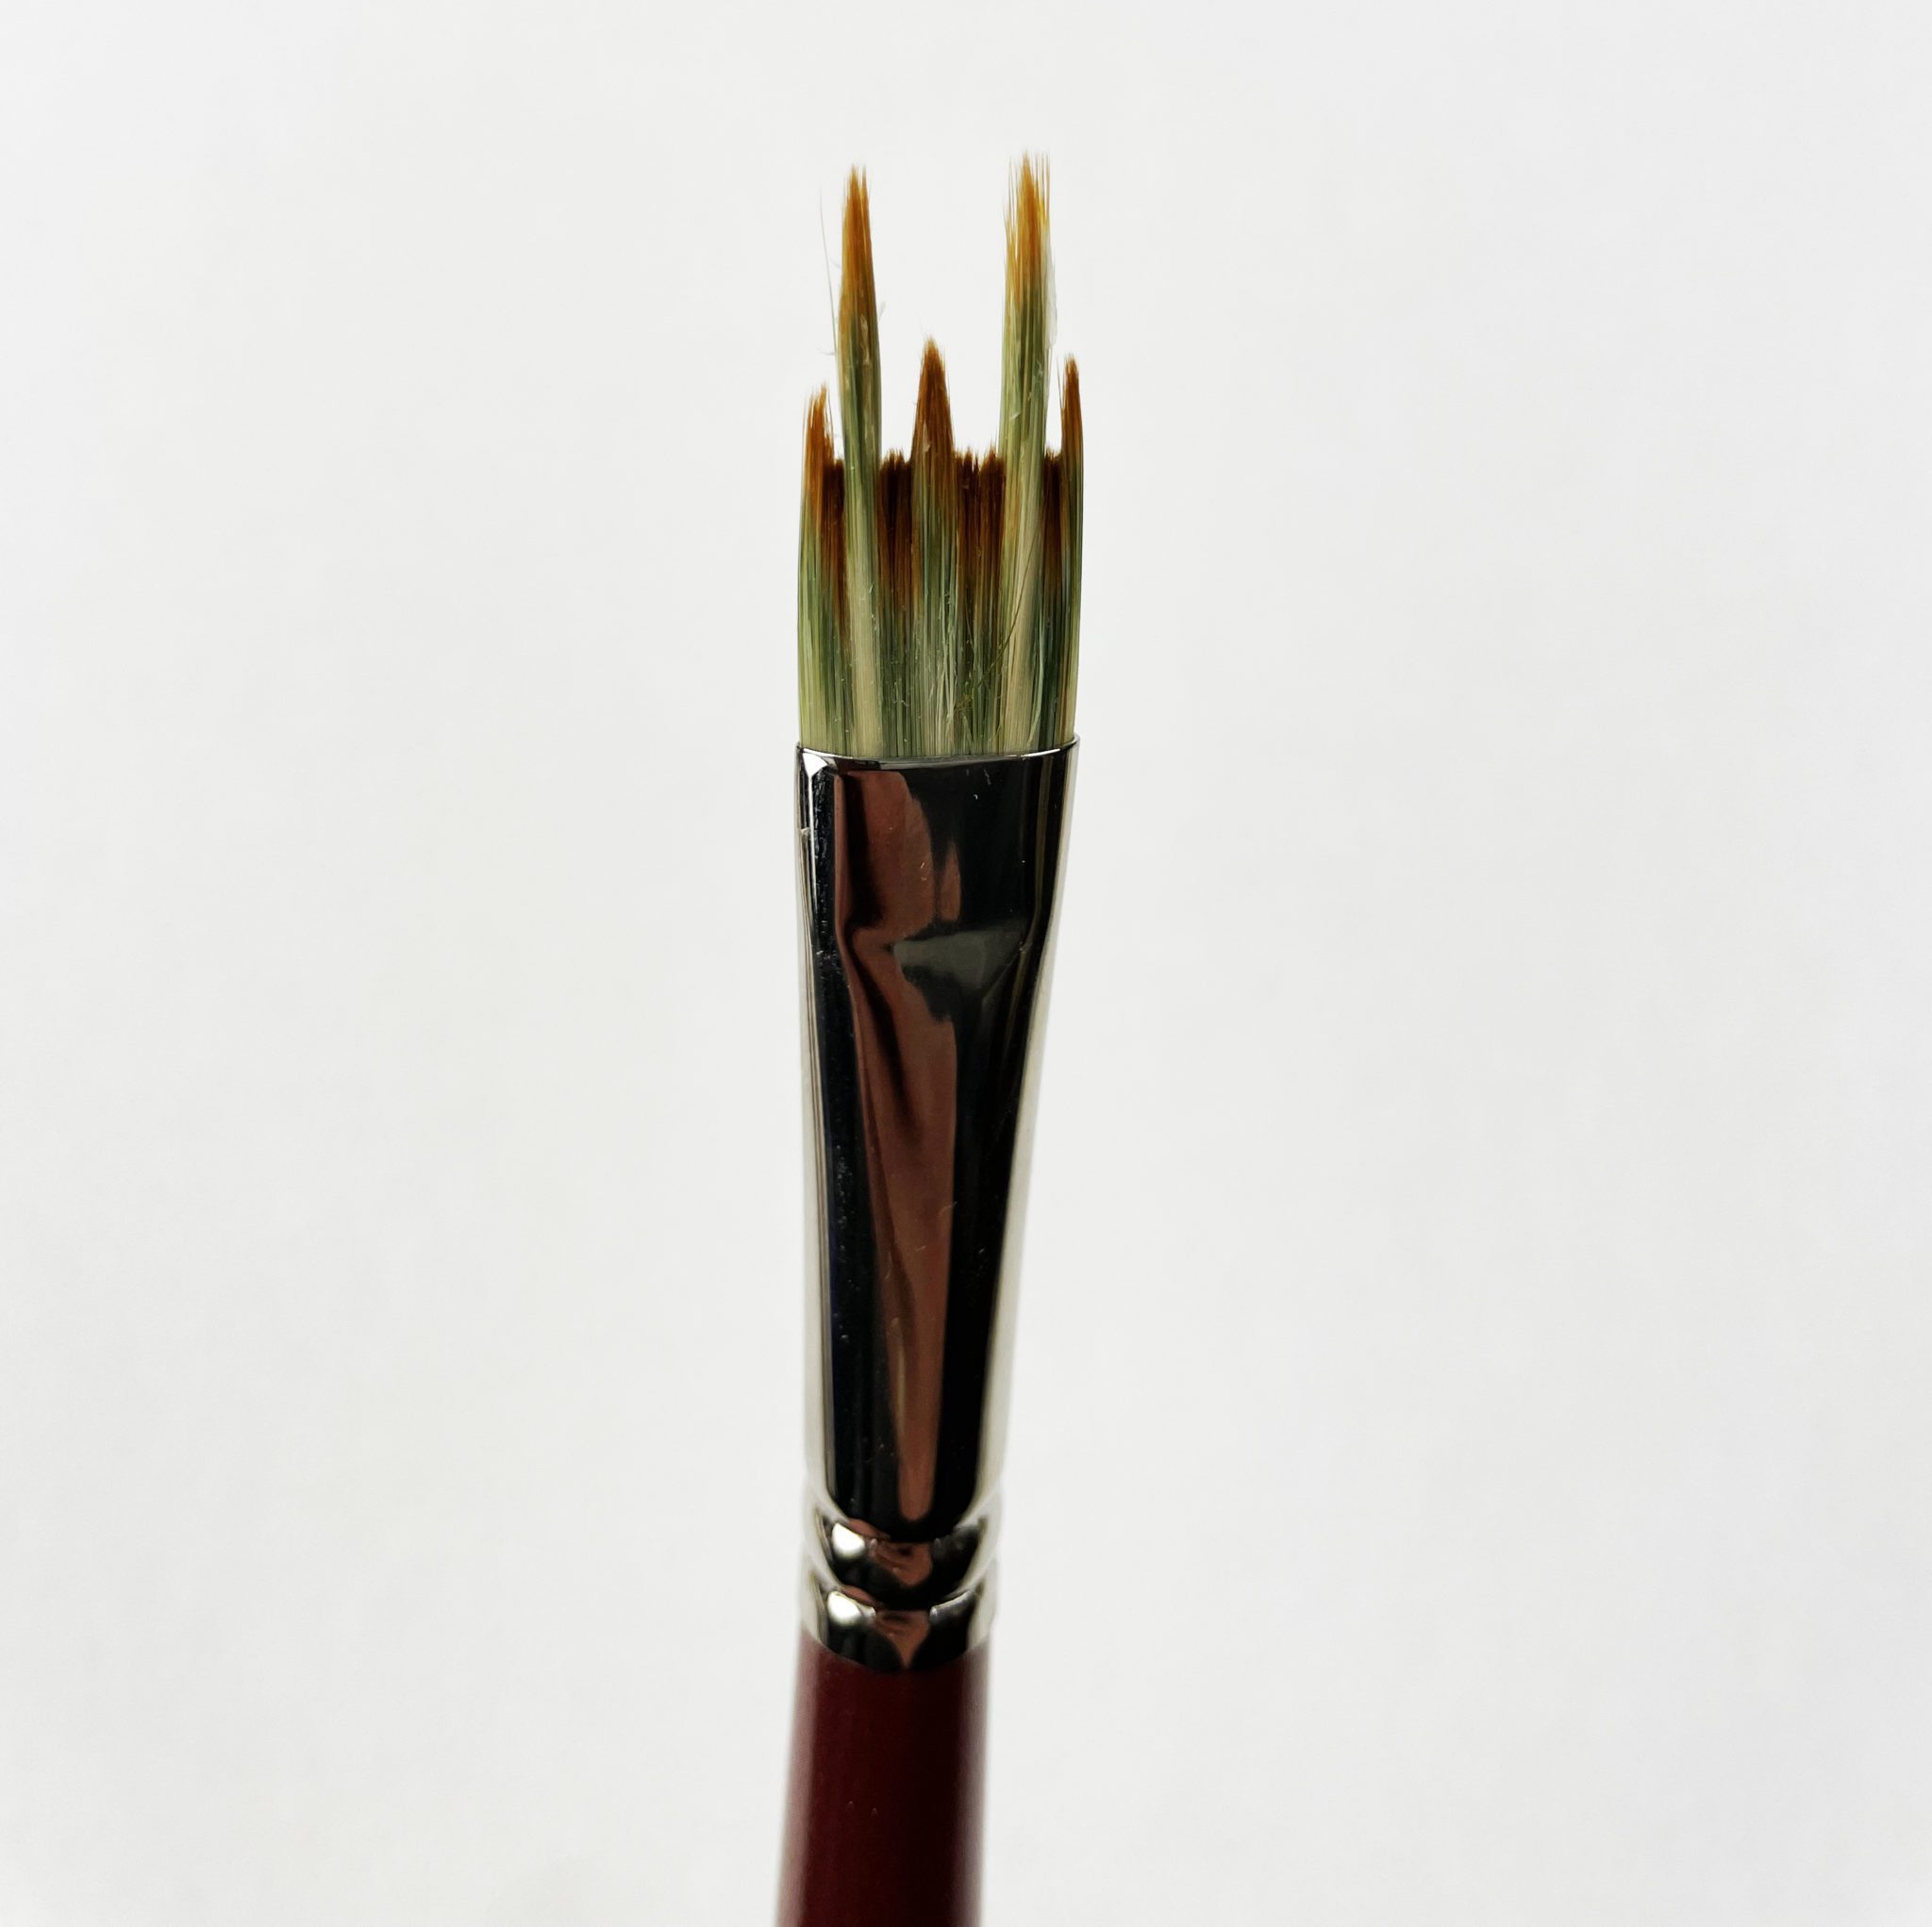
When exploring the diverse world of acrylic painting, the rake brush is a unique and often underutilized tool that can expand your artistic repertoire. With its distinctive comb-like bristles, the rake brush enables artists to create intricate textures and patterns that are difficult to achieve with traditional brushes. In this article, we will delve into the many ways to use the rake brush effectively, providing techniques that will enhance your acrylic paintings and create stunning visual effects. Be sure to explore the resources available at urartstudio.com for more tips, techniques, and art supplies!
1. Understanding the Rake Brush: A Unique Tool
The rake brush features stiff, angled bristles that are designed to create textures rather than paint broad strokes or details. The bristles can vary in length and firmness, making the rake brush versatile for different textures and effects. This brush is ideal for achieving patterns that can mimic natural elements such as grasses, fur, and rough surfaces, adding depth and interest to your artwork.
2. Techniques for Using the Rake Brush
To maximize the creative potential of your rake brush, consider the following techniques:
a. Textured Backgrounds
The rake brush excels at creating textured backgrounds that add dimension to your paintings. Here’s how to do it:
- Loading Your Brush: Start by loading your rake brush with a generous amount of paint. You may want to use a thicker consistency of paint to ensure optimal texture.
- Dragging Motion: Lightly drag the bristles across the canvas in various directions to create a pattern. The stiffness of the bristles will produce a unique texture that can serve as a dynamic background for your subject.
- Layering Colors: Experiment with layering different colors. Apply one layer, allow it to dry, and then use the rake brush again to add another color or texture on top.
b. Mimicking Natural Elements
The rake brush is particularly effective for creating textures that imitate natural materials:
- Grass and Foliage: For grassy fields or foliage, dip the rake brush into green and yellow hues and use a flicking motion. The bristles will create a sense of movement and organic randomness, simulating the appearance of natural grass.
- Water Textures: To depict ripples or waves, lightly drag the rake brush across a blue or turquoise background using horizontal strokes. This technique can effectively illustrate water surfaces, giving them a dynamic appearance.
c. Adding Detail and Dimension
Using the rake brush, you can add depth to your paintings by creating intricate details:
- Animal Fur or Feathers: When painting animals, use the rake brush to replicate the texture of fur or feathers. Load the brush with the base color and then use lighter shades to create highlights and depth, dragging the brush in the direction of the fur or feather growth.
- Stone or Brick Texture: To mimic the appearance of stone or brick surfaces, apply your base color with a flat brush, then use the rake brush with a contrasting color to drag vertical and horizontal lines or patterns across the surface.
3. Blending with the Rake Brush
While the rake brush is primarily known for creating textures, it can also be used for blending when combined with other brushes:
- Softening Edges: After applying colors with a standard round or flat brush, you can take the rake brush (with minimal pigment) to soften the junctions between colors. Gently drag the rake brush over the edges to smoothen the transitions while still allowing the texture to show through.
- Dry Brushing: Using a dry rake brush can add subtle textures when blending. Ensure that the brush is free of paint, then lightly run it over dry paint to create interesting textural effects without disturbing the underlying layers.
4. Experimentation and Creativity
Don’t be afraid to experiment with your rake brush. Every artist develops their unique style, and trying different techniques can lead to surprising and delightful results:
- Mixed Media: Consider mixing the rake brush technique with other mediums, such as acrylic gels or pastes. Applying these mixtures can enhance textural effects and elevate your artwork to new levels.
- Abstract Art: Use the rake brush in an abstract style, playing with colors, lines, and shapes. The inherent unpredictability of the rake brush can create captivating patterns that contribute to modern, abstract compositions.
5. Conclusion: Unlock the Potential of the Rake Brush
Mastering the rake brush can significantly enhance your acrylic painting by adding depth, texture, and unique visual elements. With the various techniques outlined in this guide, you’ll be well on your way to creating stunning artworks that captivate and inspire.
Remember to explore our extensive selection of rake brushes and other essential art supplies at urartstudio.com to support your creative journey!
Don’t forget to visit our online store at https://urartstudio.com/shop/ for a variety of art supplies and tools. Additionally, explore insightful painting tips at urartstudio.com/painting-tips/ and check our step-by-step painting instructions at https://urartstudio.com/step-by-step-painting-instructions/ to further enhance your skills.
Keywords: rake brush, texture techniques, acrylic painting, natural elements, blending, art supplies.
#RakeBrush, #TextureTechniques, #AcrylicPainting, #NaturalElements, #Blending, #ArtSupplies


Leave a Reply
You must be logged in to post a comment.