

So, you’ve poured your heart and soul into an acrylic painting. The colors are vibrant, the composition is perfect, and you’re incredibly proud of your creation. But now what? Protecting that artwork with a varnish is the crucial final step. While seemingly straightforward, varnishing acrylics can be tricky. This guide will walk you through the process, highlighting best practices and common mistakes to avoid.
Why Varnish?
Before we dive into the “how,” let’s quickly recap the “why.” Varnishing your acrylic painting offers several key benefits:
- Protection: Varnish acts as a barrier against dust, UV rays, moisture, and general wear and tear. It shields the paint layers from environmental damage.
- Uniform Sheen: Acrylic paints can dry with uneven sheen levels, leading to a patchy appearance. Varnish unifies the surface, creating a consistent matte, satin, or gloss finish (depending on your chosen varnish).
- Enhanced Color: Some varnishes can subtly enhance the vibrancy of your colors, making your artwork pop.
- Cleanability: A varnished surface is much easier to clean than raw acrylic paint.
Choosing the Right Varnish
Selecting the appropriate varnish is crucial. Here are the main types to consider:
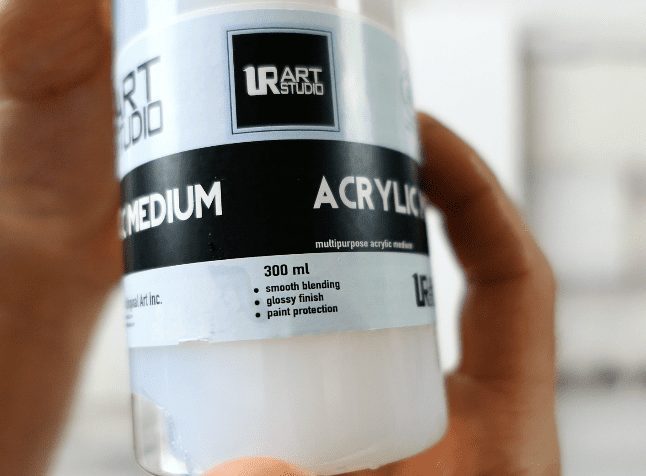
- Polymer Varnishes (Acrylic-Based): These are generally considered the safest and most compatible option for acrylic paintings. They remain flexible and are less prone to cracking or yellowing over time.
- Solvent-Based Varnishes (Mineral Spirit Based): These varnishes are generally tougher and more durable than acrylic varnishes. However, solvent-based varnishes are less flexible, which can lead to cracking, and yellowing over time.
- Water Based Varnishes (Water Based): These varnishes are easy to apply and clean up, but they are not as durable as solvent-based varnishes.
Consider the desired finish (matte, satin, gloss) and the application method (spray or brush). Read reviews and choose a reputable brand for consistent results.
Preparing Your Painting for Varnish
Proper preparation is key to a successful varnish application:
- Ensure the Paint is Fully Cured: Acrylics need time to fully cure and harden. Allow at least 72 hours, and ideally a week or two, for the paint to dry completely before varnishing.
- Clean the Surface: Gently remove any dust, dirt, or fingerprints from the painting surface. A soft brush or a slightly damp, lint-free cloth can be used.
- Work in a Clean Environment: Choose a well-ventilated area free from dust and debris.
- Test Your Varnish: Before applying to the entire painting, test the varnish in an inconspicuous area to ensure compatibility and desired effect.
Application Techniques
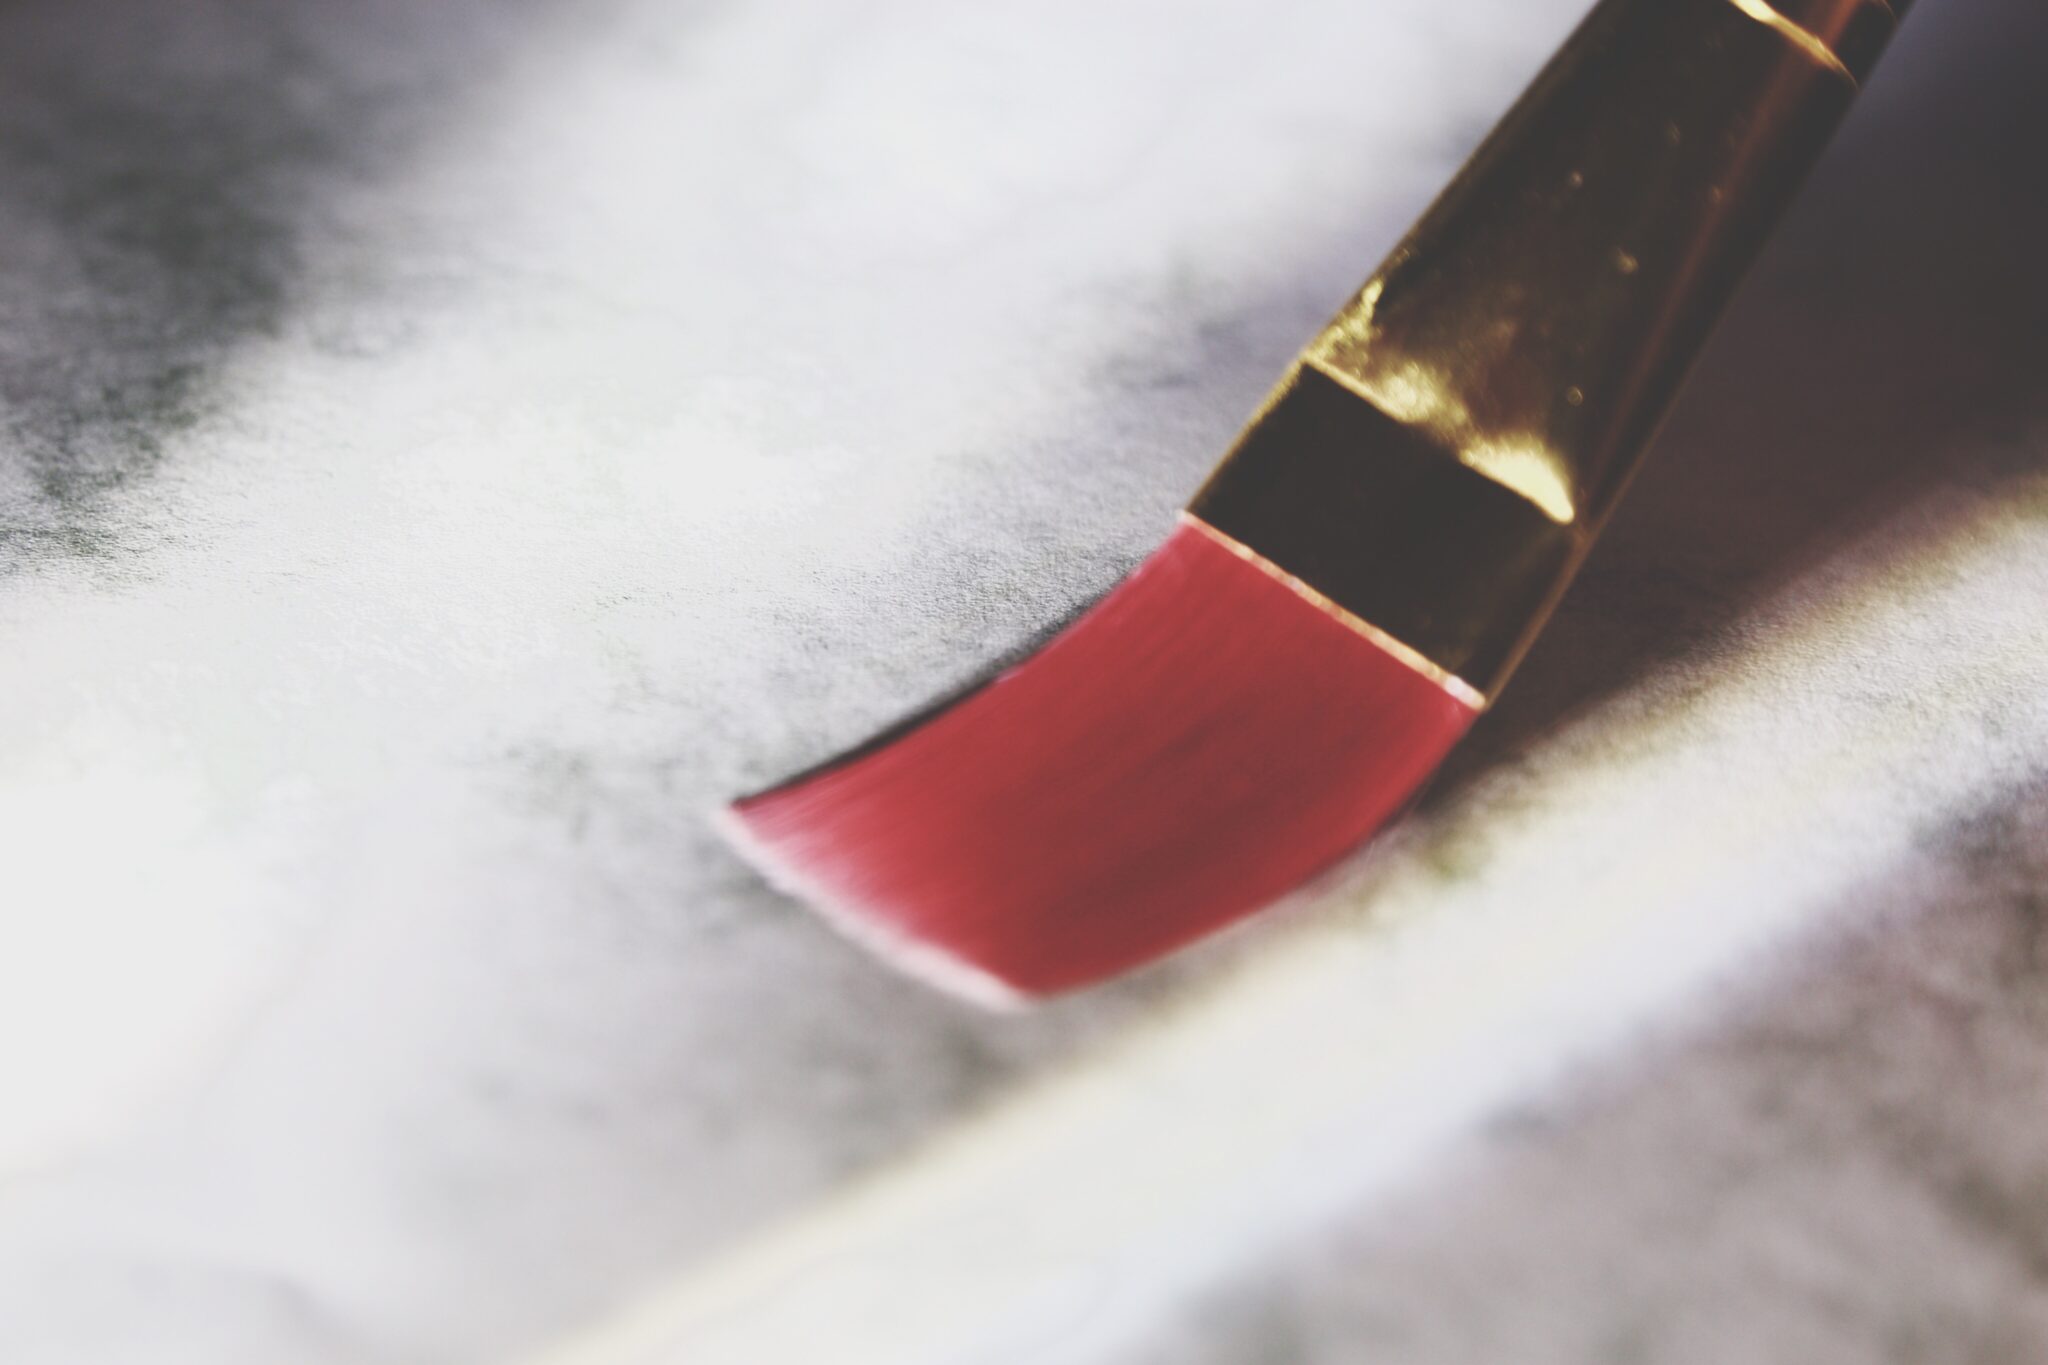
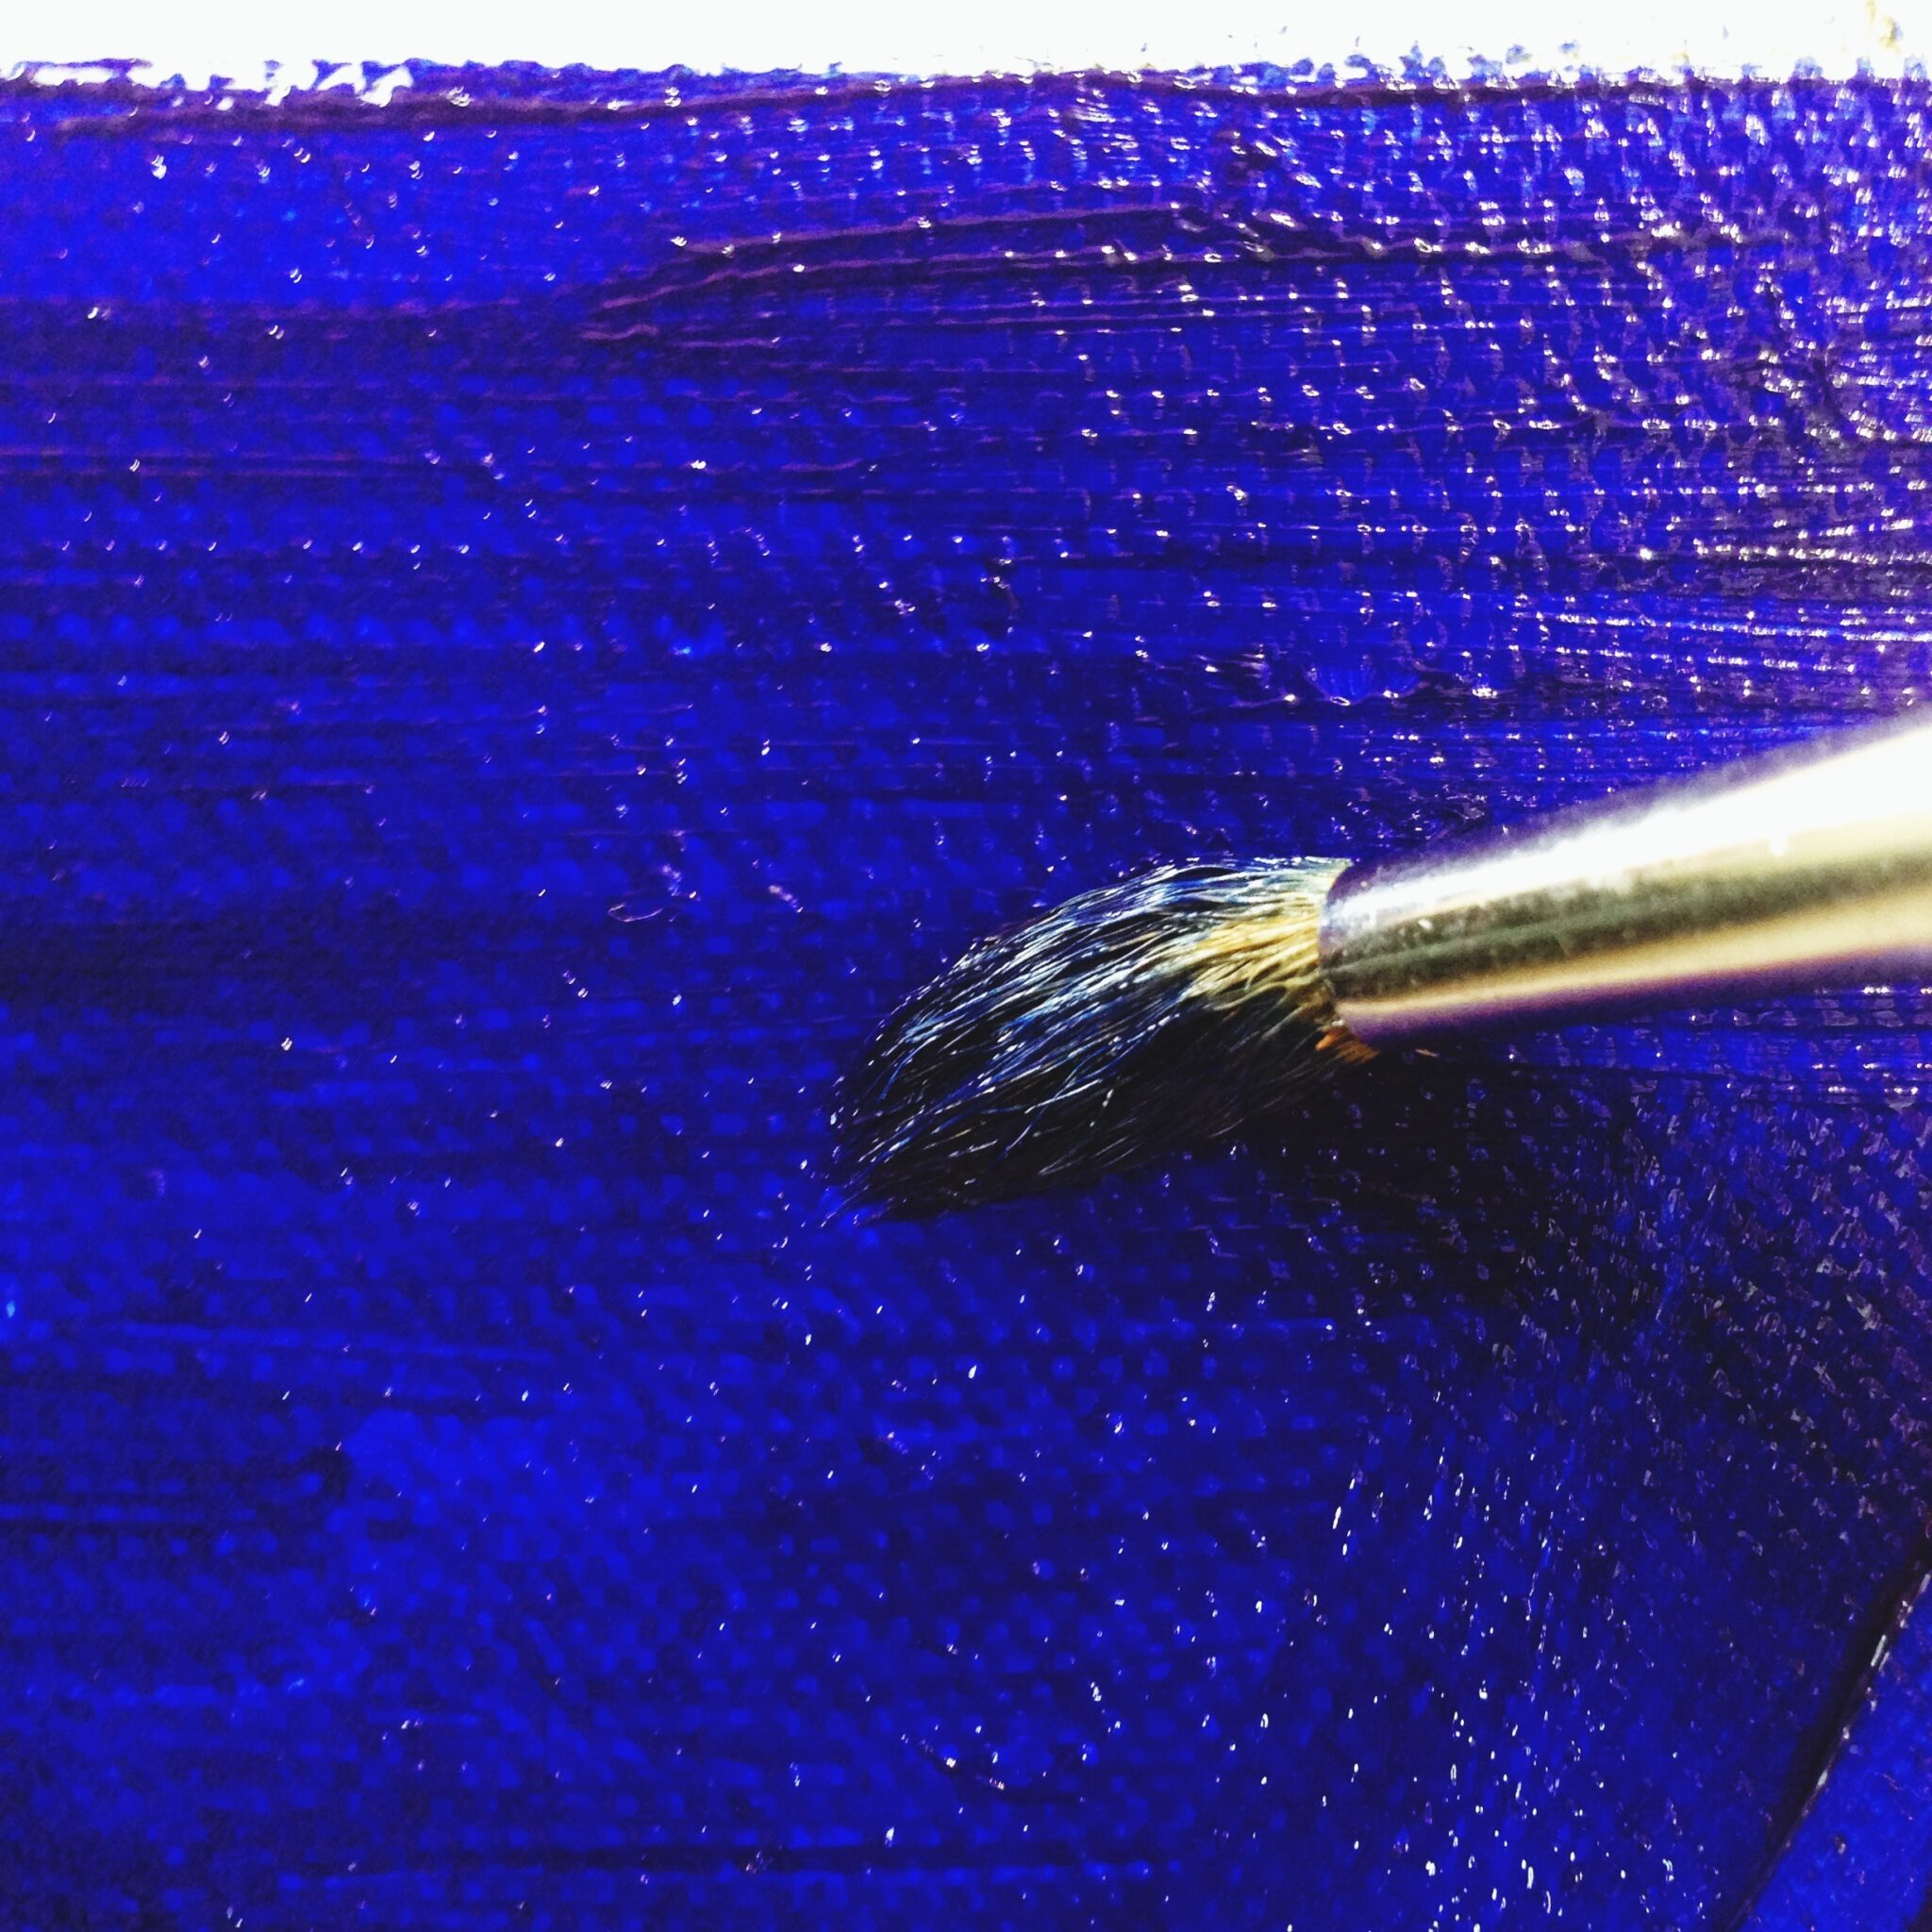
- Brush Application:
- Use a high-quality, soft brush designed for varnish application.
- Apply thin, even coats, overlapping slightly to avoid streaks.
- Work in one direction, following the brush strokes consistently.
- Allow each coat to dry completely before applying the next.
- Avoid overworking the varnish, as this can create bubbles or brush marks.
- Spray Application:
- Shake the can thoroughly before use.
- Hold the can 10-12 inches away from the painting surface.
- Apply thin, even coats in a sweeping motion.
- Overlap each pass slightly.
- Allow each coat to dry completely before applying the next.
- Avoid spraying too much varnish in one area, as this can lead to drips or pooling.
Common Pitfalls (and How to Avoid Them!)
- Bubbles: Avoid shaking the varnish vigorously before applying. Apply the varnish with smooth, even strokes, avoiding sudden movements.
- Brush Marks: Use a high-quality brush designed for varnishing and apply thin, even coats. Avoid overworking the varnish.
- Uneven Sheen: Ensure the painting surface is clean and free of dust before varnishing. Apply the varnish in thin, even coats.
- Cracking or Yellowing: Select a high-quality varnish specifically designed for acrylic paintings. Ensure the paint is fully cured before varnishing.
- Cloudiness: Apply varnish in a well-ventilated area to allow for proper drying. Avoid applying varnish in humid conditions.
Layering for Longevity
For maximum protection, consider applying multiple thin coats of varnish. Allow each coat to dry completely before applying the next. Two to three coats are generally sufficient.
Finishing Up
Once the final coat of varnish is completely dry, your artwork is ready to be displayed! Avoid touching the varnished surface for at least 24 hours to allow it to fully cure.
Ready to take your art to the next level? Explore our selection of high-quality art supplies and resources at Urartstudio.com! We have everything you need to bring your creative vision to life.
Leave a Reply
You must be logged in to post a comment.