

Few elements in landscape painting are as enchanting—and as challenging—as capturing the shifting, ephemeral beauty of clouds and skies. The right tools and techniques don’t just help you render what you see; they let you evoke mood, movement, and atmosphere. In this post, we’ll explore the best brushes for painting clouds and skies, plus pro tips for using them to create luminous, expressive effects.
Why Brush Selection Matters for Skies and Clouds
Skies and clouds can be delicate and wispy, billowing and stormy, or streaked with color at sunset. The softness of clouds, subtle gradient shifts, and atmospheric perspective all require careful control over texture and blending. The right brushes allow you to:
- Blend and feather edges seamlessly
- Build up soft, diffused forms layer by layer
- Suggest movement and depth in your skies
Essential Brushes for Painting Clouds and Skies
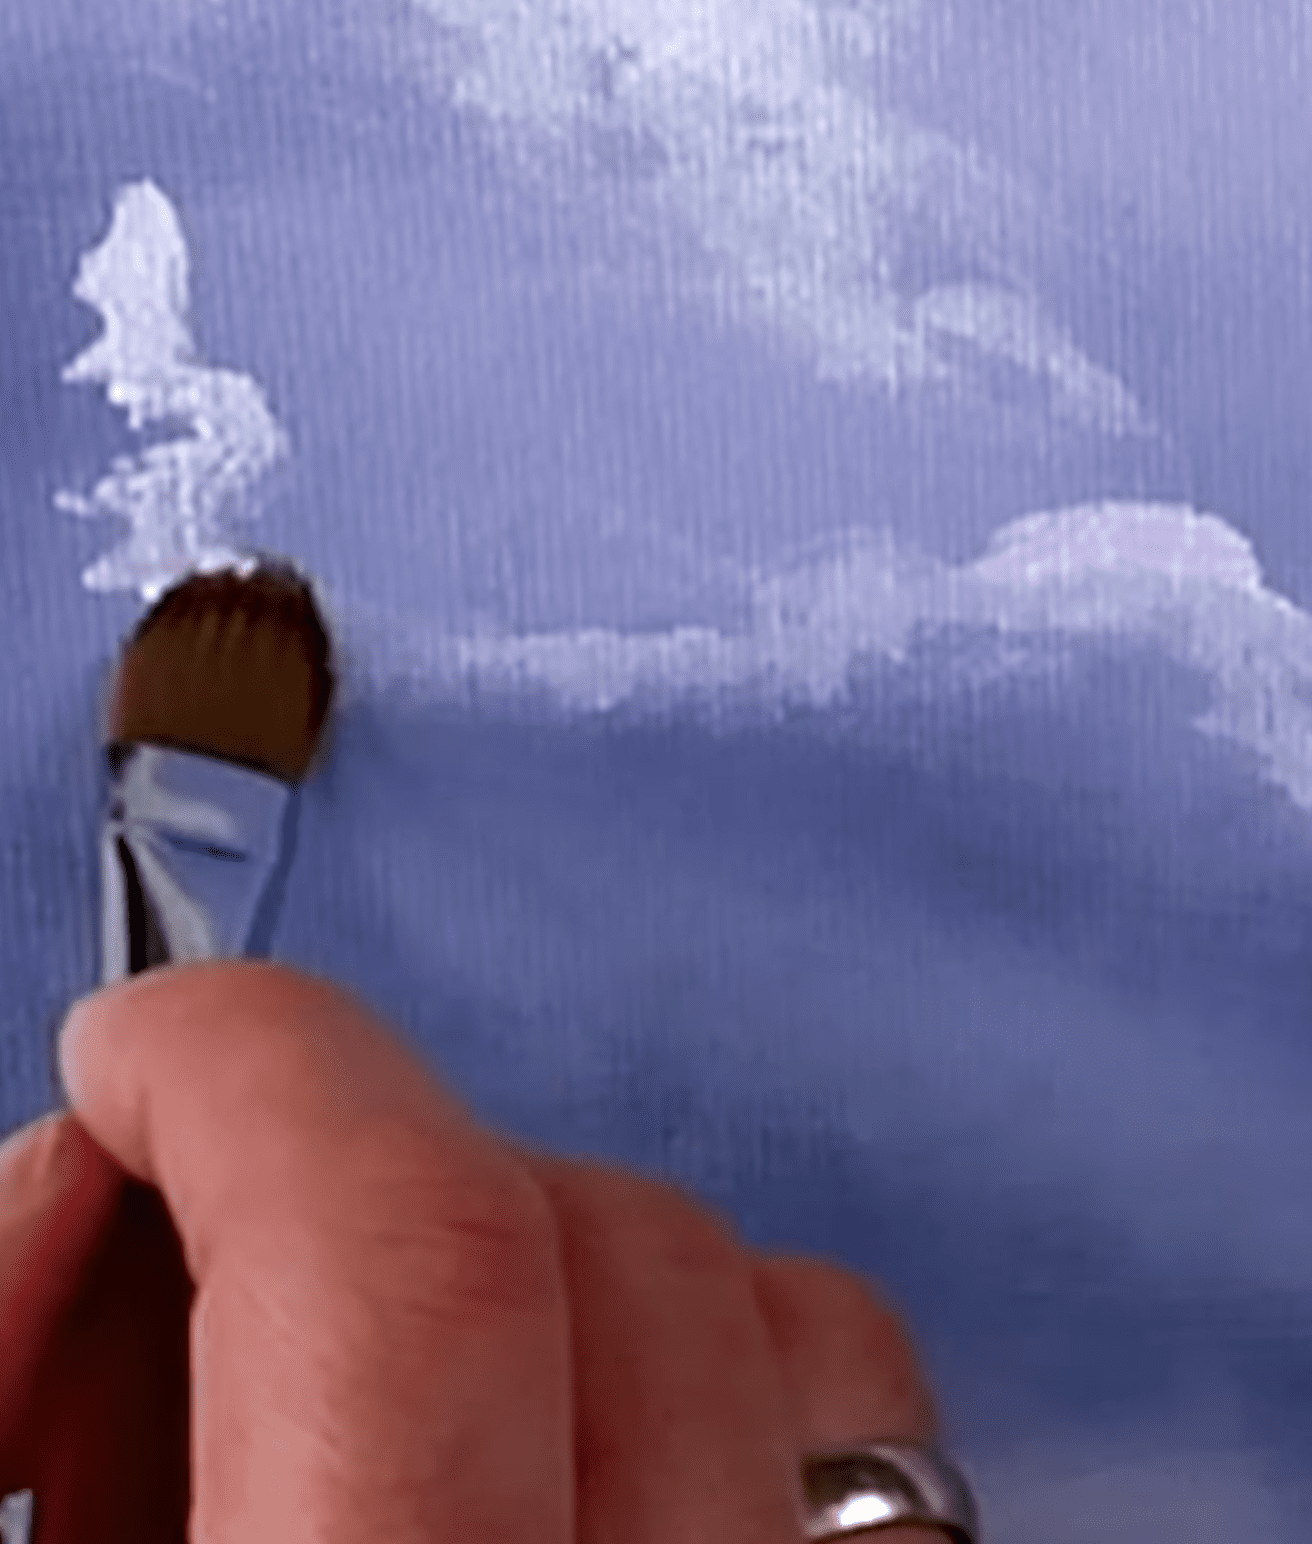
1. Filbert Brushes
- Why choose them? Their rounded shape is perfect for creating the curved, organic forms of clouds.
- How to use: For soft, puffy cumulus clouds, gently dab and swirl with the flat and rounded sides, then blend into the sky with light, circular motions.
2. Fan Brushes
- Why choose them? Fan brushes excel at feathering edges and suggesting wispy, airy effects.
- How to use: Use a dry, clean fan to blend wet paint at the cloud’s edge or lightly sweep across the sky to suggest delicate cirrus clouds or subtle streaks of color.
3. Flat Brushes
- Why choose them? Ideal for laying down broad swaths of sky and creating smooth gradient backgrounds.
- How to use: Load with two similar tones and drag horizontally for a subtle sky gradient. Flip and use the edge for sharper cloud shapes or lower horizon lines.
4. Mop Brushes
- Why choose them? These super-soft, fluffy brushes are perfect for blending and creating flawless transitions.
- How to use: After applying paint, softly sweep with a clean mop brush for buttery transitions and glowing atmospheres.
5. Round Brushes
- Why choose them? Excellent for detail work and lifting or adding highlights to the brightest parts of clouds.
- How to use: Use the tip for precise dabs and swirls, or add delicate outlines where sunlight hits the clouds.
Techniques for Atmospheric Effects
1. Layering and Blending
- Start with a flat or filbert brush to block in the main colors of your sky.
- While paint is still wet, use a mop or soft filbert to blend transitions between shades, especially around the horizon.
- Build clouds in layers, working from the most distant (faintest) to those closer and brighter, using a combination of filbert and round brushes.
2. Softening Edges
- Clouds rarely have hard edges. After placing your cloud color, immediately feather the edges with a clean, dry fan or mop brush in light, circular strokes.
- For extra-soft effects, gently pat the edges with a barely damp mop brush.
3. Creating Depth and Luminosity
- Use glazing: Thin layers of translucent color applied over dry paint (with a soft flat or filbert brush) add depth to skies and clouds.
- Highlight the sunlit edges or cloud “tops” with a round brush and clean white, then softly blend toward the center to build volume.
4. Suggesting Movement and Mood
- Use faster, angled fan or flat brush strokes for windy, dramatic skies.
- For serene skies, slow down, blending gently with filberts and mops to keep transitions seamless.
Pro Tips for Luminous Skies
- Work wet-into-wet for effortless blending—especially for sunrise or sunset gradients.
- “Load and tap” technique: Load a filbert or round brush with paint, lightly tap onto canvas for building up cloud forms.
- Don’t overblend: A little edge contrast helps clouds pop against the sky—preserve some sharper transitions in the brightest areas.
- Have plenty of clean brushes handy: Switch frequently to avoid muddying colors.
Building Your Brush Arsenal
To paint expressive clouds and skies, consider adding the following to your studio:
- Soft filberts (sizes 6–12)
- Medium round brushes (sizes 4–8)
- 1–2 mop brushes for blending
- Fan brushes (medium and large)
- Large flat brushes for backgrounds and gradients
Explore trusted brands and shapes at URARTSTUDIO’s artist brush collection to discover options that suit your creative process.
Conclusion: Let Your Brushwork Set the Mood
Mastering clouds and skies is a rewarding way to bring atmosphere, light, and emotion into your landscapes. With the right brushes and a little experimentation, you’ll soon capture the subtlety and drama of nature’s greatest canvas.
Looking for more inspiration and technical tips? Check out our painting techniques page and follow along with our step-by-step landscape tutorials—and let your next sky be your most breathtaking yet!
Keywords: painting clouds, skies in acrylic, brush techniques, atmospheric effects, landscape brushes, URARTSTUDIO
#cloudpainting #skypainting #acrylictechniques #brushrecommendations #URARTSTUDIO
Leave a Reply
You must be logged in to post a comment.