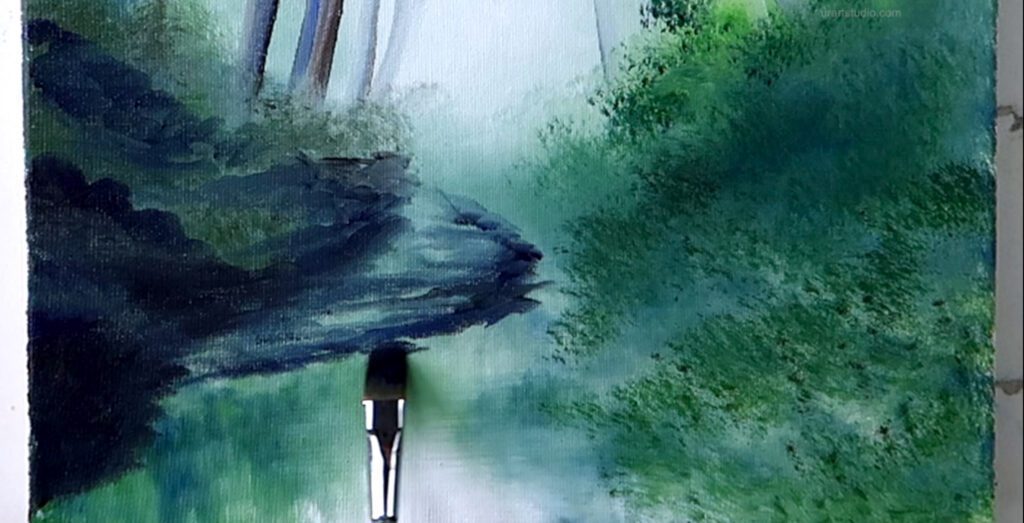
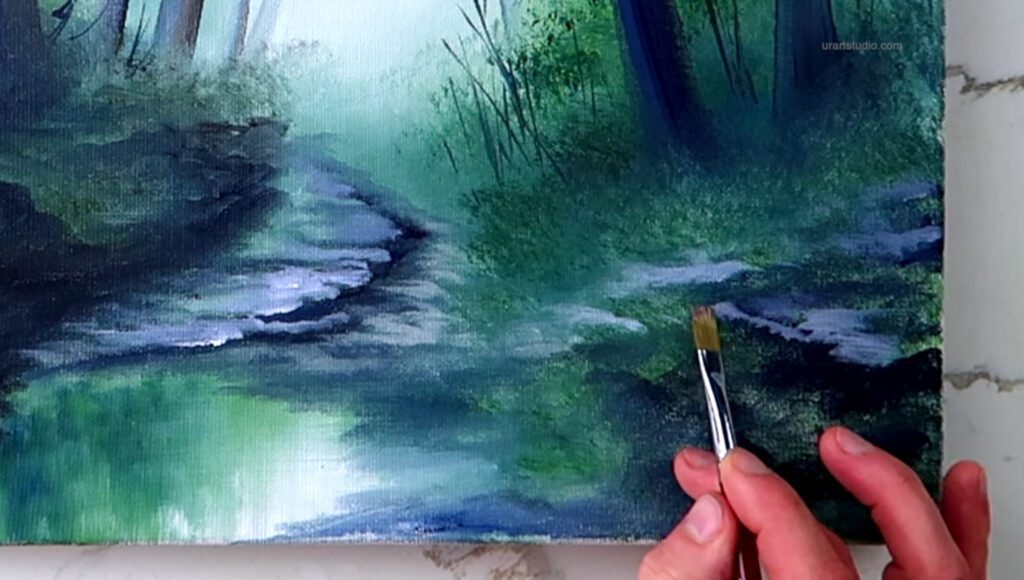
The filbert brush, known for its unique oval shape with a flat edge, is a versatile tool that can be invaluable for landscape painting. It combines attributes of both round and flat brushes, allowing for detailed work, soft blending, and broad strokes. This guide will explore how to effectively use the filbert brush to enhance your landscape paintings through various blending techniques.
1. Understanding the Filbert Brush
Characteristics:
- Shape: The filbert brush features a rounded edge but a flat profile, which makes it ideal for both broad strokes and fine details.
- Versatility: It can create soft lines and curves, making it perfect for organic shapes found in nature, such as leaves, clouds, and rolling hills.
- Bristles: Usually made from synthetic or natural fibers that can hold a significant amount of paint, facilitating smooth application and blending.
2. Techniques for Using a Filbert Brush in Landscape Painting
A. Blending Techniques
- Wet-on-Wet Blending:
- Preparation: Start by applying your base colors while the paint is still wet on the canvas. This technique allows for smooth transitions between colors.
- Using the Filbert Brush: Load the brush with a second color. Gently apply the new color next to the first and use a soft, sweeping motion to blend the two colors together. The rounded edges of the filbert brush help to softly meld colors without harsh lines, resulting in a natural gradient and a smooth finish.
- Scumbling:
- Technique Description: Scumbling involves dragging a thin layer of paint over a dry base layer. This technique can create texture and add depth to your landscape.
- How to Use the Filbert Brush: Dip the filbert brush in a lighter shade and, using a dry brushing technique, lightly sweep the brush across the canvas. The bristles’ oval shape allows for thin, irregular patterns that suggest texture like grasses, clouds, or rocky surfaces.
- Feathering:
- Achieving Soft Edges: Feathering is perfect for creating soft transitions in your landscape. Start with your background color applied and let it dry. Use the edge of the filbert brush to lightly drag across the boundary between two colors, gradually blending with lighter or darker hues to create depth.
- Blending with Care: Use light pressure and a gentle stroke to avoid lifting the underlying paint. Feathering works particularly well for skies or soft edges in foliage.
B. Detail and Texture Enhancement
- Creating Foliage:
- Leaf Layers Application: Use a mix of greens to create vibrant leaf textures. Start with a dark green base using the flat edge of the brush to apply areas of color. Then, with a lighter green or yellow, use the filbert brush to create highlights and texture, utilizing the rounded tip for small individual leaves or clumps.
- Layering Colors: By building layers, you can enhance the depth of your landscape; going from darker greens at the base to lighter tones at the tips can create dimension.
- Painting Rocks and Terrain:
- Textured Application: Use the filbert brush to create irregular shapes and colors for rocks or uneven terrain. The combination of flat and rounded edges allows you to achieve varied textures easily.
- Highlights and Shadows: Work from dark to light, applying shadows with darker tones and adding touches of lighter color for highlights to give the surface a three-dimensional feel.
3. Large Area Coverage
- Background Washes:
- Initial Layering: To establish the foundation of your landscape, use the filbert brush to apply washes of color in the sky or ground areas. A mixture of blues and whites can establish a serene sky or soft clouds.
- Blending for Gradation: While your initial wash is still wet, use the filbert brush to quickly blend colors together, creating a seamless transition from light to dark.
- Softening Edges:
- Blending Edges of Different Elements: The filbert brush is excellent for softening the harsh edges between different elements of the landscape, such as where the sky meets the mountains or the water. Use the brush to gently pull the colors of the sky into the mountains or the reflections in the water.
- Merging Background with Foreground: The brush’s ability to blend can help transition the foreground to the background, creating a more cohesive composition.
4. Cleaning and Maintenance
To keep your filbert brush in top condition for blending:
- Immediate Cleaning: Clean the brush promptly after use to prevent paint from drying in the bristles. Use warm, soapy water for thorough cleaning.
- Reshape the Bristles: After rinsing, reshape the bristles to maintain their form. This is especially important for the filbert brush to ensure the edge remains effective for blending and detail work.
- Storage: Store your brushes upright or in a protective case to avoid damage and keep them in optimal condition.
5. Conclusion
The filbert brush is a powerful tool for creating stunning landscapes with its ability to blend colors smoothly and create intricate textures. By incorporating the techniques outlined in this guide, you can elevate your landscape painting to new dimensions, capturing the beauty and complexity of natural scenes.
Don’t forget to explore our selection of filbert brushes and other essential art supplies available at urartstudio.com to support your artistic journey!
Be sure to visit our online store at https://urartstudio.com/shop/ for a variety of art supplies and tools. Additionally, check out valuable painting tips at urartstudio.com/painting-tips/ and our step-by-step painting instructions at https://urartstudio.com/step-by-step-painting-instructions/ for further enhancing your skills.
Keywords: filbert brush, landscape painting, blending techniques, acrylic painting, art supplies.
#FilbertBrush #LandscapePainting #BlendingTechniques #AcrylicArt #ArtSupplies


Leave a Reply
You must be logged in to post a comment.