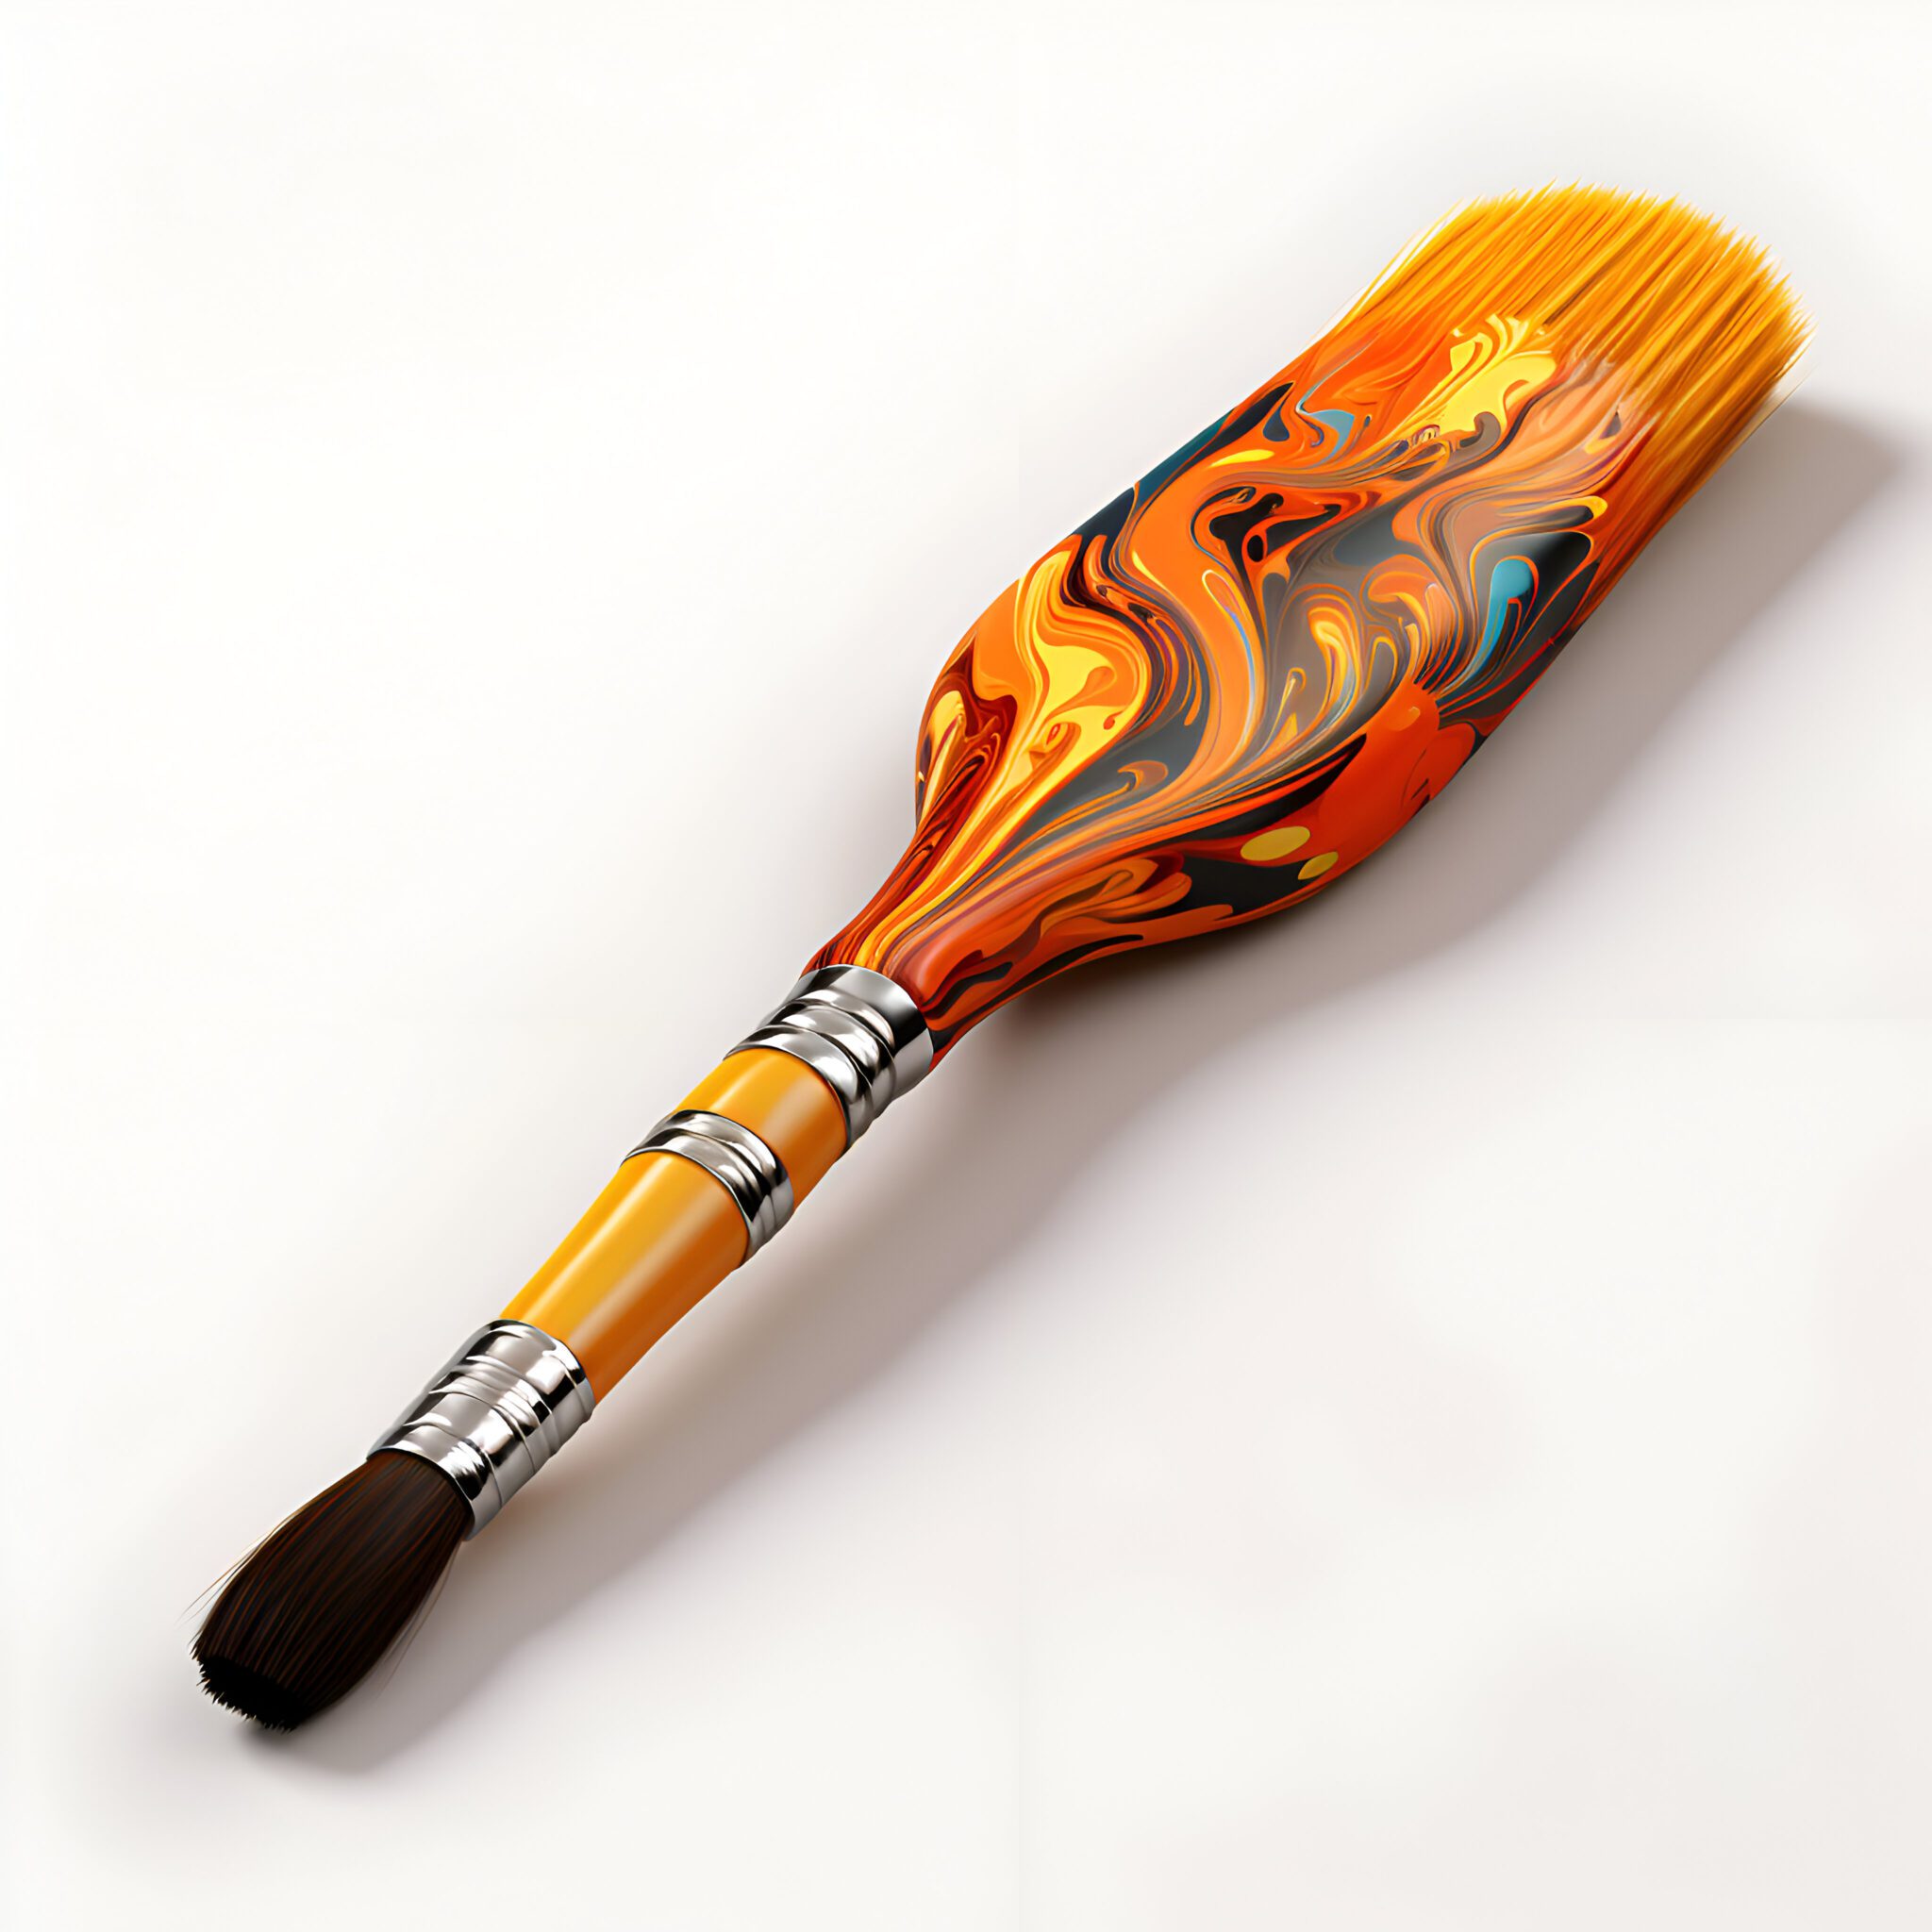
In the realm of acrylic painting, specialty brushes can dramatically expand your creative possibilities. Each uniquely shaped brush is designed to serve specific techniques and effects, allowing artists to explore a variety of styles and textures. Whether you’re aiming for precise details or bold strokes, understanding the functions of these specialty brushes can enhance your painting technique. In this guide, we will explore some of the most popular specialty brushes, their unique shapes, and how to effectively use them in your artwork. Be sure to check out urartstudio.com for resources, tips, and tools to elevate your artistic journey!
1. The Fan Brush
Shape and Use: The fan brush features a flat array of bristles that are fanned out, resembling a hand fan. This brush is perfect for creating textures and effects that mimic natural elements.
- Techniques:
- Foliage and Grass: Use tapping motions to create the illusion of leaves and grass. The unique shape allows for varied textures while keeping a natural look.
- Clouds and Hair: Apply soft strokes to create fluffy clouds or delicate hair strands, giving your paintings a sense of softness and realism.
- Abstract Patterns: Use the fan brush for fun, spontaneous mark-making by dragging or dabbing it across the canvas.
2. The Rake Brush
Shape and Use: The rake brush has a unique design where the bristles are arranged in a comb-like formation. This brush is effective for creating textures and patterns.
- Techniques:
- Natural Textures: Use the rake brush to create textures that mimic feathers, scales, and rough surfaces like bark or stone.
- Backgrounds: Apply washes or base layers while creating interesting visual textures, setting a dynamic foundation for your painting.
- Line Work: Achieve fine, detailed lines for drawing outlines or adding intricate patterns.
3. The Bright Brush
Shape and Use: The bright brush features a short, flat head with stiff bristles. This brush is excellent for creating sharp lines and is particularly effective at applying color with precision.
- Techniques:
- Bold Strokes: Use the bright brush flat against the canvas for smooth, opaque strokes. It excels in adding vibrant colors that stand out.
- Defined Edges: For outlining shapes and contours, hold the brush at an angle and use the edge for clean, crisp lines.
- Texture Techniques: Experiment with dry brushing techniques to create textured effects, allowing the bristles to catch on the canvas’ surface.
4. The Mop Brush
Shape and Use: The mop brush has a large, round, and fluffy bristle head, making it ideal for soft washes and blending colors.
- Techniques:
- Soft Transitions: Use the mop brush for creating seamless transitions between colors. Its softness allows for gentle blending without harsh lines.
- Washes: Apply large areas of diluted color evenly across the canvas with sweeping motions, perfect for background layers.
- Highlighting: Use a dry mop brush to apply lighter colors for highlights or accents—ideal in landscapes and atmospheric effects.
5. The Liner Brush
Shape and Use: The liner brush features long, thin bristles designed for fine details and precise control.
- Techniques:
- Fine Lines: Use the liner brush to create intricate lines and delicate details, such as hair, tree branches, or patterns in fabrics.
- Outlining and Accenting: Employ the liner brush to add final touches and highlights, such as accentuating edges or adding subtle details after the main painting has been completed.
- Calligraphy: With practice, you can use the liner brush to create artistic lettering or embellishments in your artwork.
6. The Angular Brush
Shape and Use: The angular brush has bristles cut at an angle, allowing for versatile use in sharp corners and edges.
- Techniques:
- Precise Edging: Ideal for painting corners and edges cleanly, making it perfect for geometric shapes or defined outlines.
- Blending and Feathers: You can create a feathering effect by using the angled edge to stroke in various directions, blending colors seamlessly.
- Crisp Lines: Use the corner for detailed areas without the worry of going outside the lines, allowing for controlled detailing.
7. Conclusion
Exploring the unique shapes of specialty brushes can significantly enhance your acrylic painting techniques. Each brush’s design offers specific advantages that can help you achieve a range of effects—from soft washes and precise details to textured patterns and bold strokes. By incorporating these specialty brushes into your practice, you will elevate your artwork and express your creativity more freely.
Don’t forget to explore our diverse selection of specialty brushes and other essential art supplies available at urartstudio.com!
Be sure to visit our online store at https://urartstudio.com/shop/ for a wide array of art supplies and tools. Additionally, check out valuable painting tips at urartstudio.com/painting-tips/ and our step-by-step painting instructions at https://urartstudio.com/step-by-step-painting-instructions/ to further enhance your skills.
Keywords: specialty brushes, acrylic painting, brush techniques, texture creation, art supplies.
#SpecialtyBrushes, #AcrylicPainting, #BrushTechniques, #TextureCreation, #ArtSupplies


Leave a Reply
You must be logged in to post a comment.