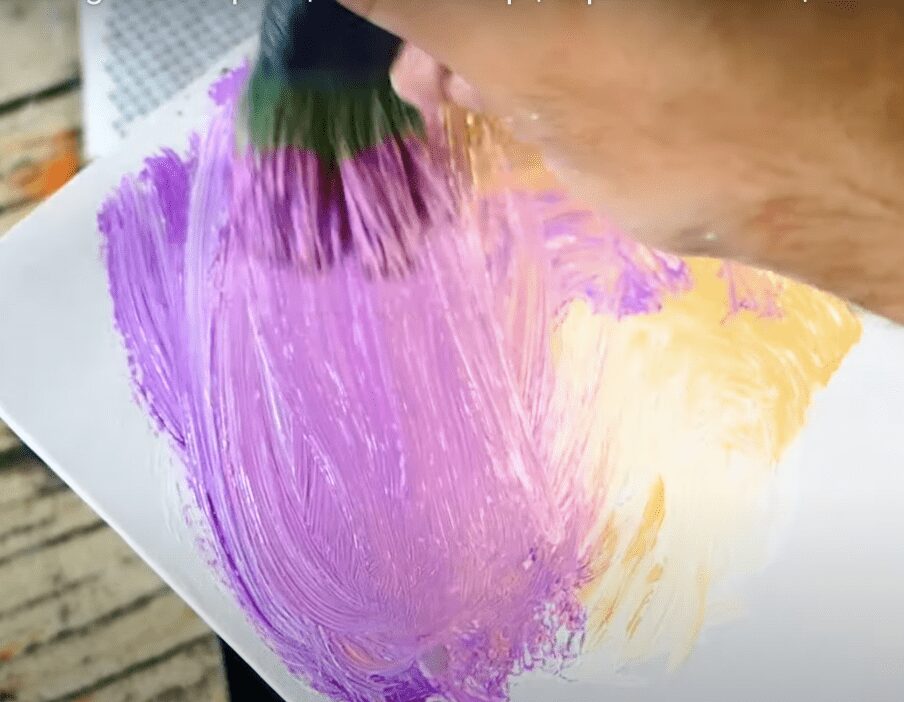
As the age-old adage suggests, “A journey of a thousand miles begins with a single step.” In the world of art, that journey starts with a brushstroke. For acrylic landscape painters, mastering brushwork is not just about technique; it’s about expression, connection to nature, and the joy of creativity. In this comprehensive guide, we will explore how to develop your brushwork skills, understand various brushes, and apply these techniques to create stunning acrylic landscapes. Whether you are a beginner or an experienced artist, every stroke brings you closer to mastery.
Understanding the Importance of Brushwork
1. The Role of Brushwork in Art
Brushwork is critical in determining the overall feel and texture of a painting. It influences how the viewer perceives light, atmosphere, and depth.
- Texture Creation: Different brush techniques can mimic textures found in nature, such as rough tree bark, soft clouds, or flowing water.
- Expressiveness: Brushwork can convey emotion and movement, allowing you to tell a story with your landscape paintings.
2. Developing Your Brushwork Skills
Like any skill, mastering brushwork requires practice, patience, and a willingness to experiment.
- Consistent Practice: Schedule regular painting sessions to develop your brush control and technique.
- Experimentation: Don’t be afraid to try new brushes and techniques. Each brush offers unique possibilities for texture and form.
Choosing the Right Brushes for Acrylic Painting
1. Types of Brushes
Understanding the different types of brushes available can significantly improve your brushwork.
- Flat Brushes: Excellent for bold strokes, creating sharp edges, and laying down large areas of color. They can also be used for blending.
- Round Brushes: Perfect for detailed work, fine lines, and delicate touches, making them great for foliage, tree branches, and clouds.
- Fan Brushes: Ideal for creating texture, such as grasses and fur. They can also be used to blend colors smoothly.
- Filbert Brushes: Combining the best features of flat and round brushes, filbert brushes are versatile and great for blending and detailing.
- Palette Knives: While not a brush, palette knives can be invaluable for creating texture and layering thick paint.
2. Brush Quality Matters
Investing in quality brushes can make a significant difference in your painting experience:
- Synthetic vs. Natural Hair: Synthetic brushes are widely used for acrylics due to their durability and ease of cleaning. Natural hair brushes can hold more water and are better for certain techniques but may not be as easy to maintain.
- Choose the Right Size: Smaller brushes are great for detail work, while larger brushes are better for broader strokes and backgrounds.
Techniques to Master Brushwork in Acrylic Landscapes
1. Thin vs. Thick Application
Understanding the difference between thin and thick paint applications will help you achieve different effects.
- Thin Application: Add water or medium to acrylic paint to create a wash-like effect. This is ideal for backgrounds and softening edges.
- Thick Application: Use heavy body acrylics without dilution to create impasto effects, which can add dimension to elements like rocks or tree trunks.
2. Brush Strokes Techniques
A. Dabbing and Stippling
- Technique: Use a stiff brush or a sponge to dab color onto the canvas, creating textured effects for foliage, clouds, or grassy areas.
B. Cross-Hatching
- Technique: Create texture and depth by applying paint in crossed lines. This method is effective for rendering shadows and textures in landscapes.
C. Scumbling
- Technique: Use a dry brush with a small amount of paint to lightly drag over the canvas, allowing the underlying colors to show through. This technique is excellent for clouds or mist.
D. Glazing
- Technique: Apply a thin layer of transparent paint over a dry layer. This technique deepens color and creates luminous effects that can enhance the atmosphere of your landscape.
3. Blending Techniques
A. Wet-on-Wet Blending
- Technique: Apply wet paint onto a wet surface to create soft transitions between colors. This is especially effective for skies and water.
B. Dry Brushing
- Technique: Use a dry brush to lightly blend edges or add highlights, creating a soft, subtle effect.
Bringing It All Together: Practical Application
1. Planning Your Composition
Before you start painting, sketch out your landscape composition and decide on the key elements you wish to focus on. Consider how brushwork will enhance these elements.
2. Layering Your Paints
Begin with background layers and build up to the foreground. This method helps maintain depth and allows for effective blending between layers.
3. Practice, Practice, Practice
Devote time to practicing specific brush techniques on scrap canvas or paper. The more you practice, the more confident and skilled you’ll become.
4. Seek Feedback
Join artist communities, share your work, and seek constructive feedback. Observing how others approach brushwork can provide new insights and inspiration.
Conclusion: The Journey Continues
Mastering brushwork in acrylic landscapes is a journey filled with exploration and creativity. As you practice and develop your techniques, remember that every stroke counts. Embrace each painting as an opportunity to learn and grow, and don’t be afraid to experiment. Your unique style will emerge through these thousands of strokes, allowing your landscapes to come to life with vibrancy and depth.
At Urart Studio, we are here to support you on your artistic journey. Explore our extensive collection of step-by-step acrylic painting tutorials, valuable painting tips, and a wide selection of unique art supplies designed to enhance your brushwork. Don’t forget to check out our original landscape painting art gallery and our engaging YouTube channel for practical demonstrations and inspiration.
Explore More at Urart Studio!
Ready to improve your brushwork skills in acrylic landscape painting? Visit our website for a wealth of resources:
- Browse our selection of art supplies and tools at Shop.
- Discover valuable painting tips at Painting Tips.
- Follow our step-by-step painting instructions at Step-by-Step Painting Instructions.
Your artistic journey begins with the first stroke—embrace it fully!


Leave a Reply
You must be logged in to post a comment.