

Acrylic painting opens a world of creative possibilities, allowing artists to explore various techniques and tools to enhance their work. One such tool, the ultrasoft blending brush, is a game-changer when it comes to creating smooth transitions and soft textures in landscape paintings. This blog post will guide you through using an ultrasoft blending brush to blend background acrylic colors effectively, even when the paint is in its dry state.
Understanding the Ultrasoft Blending Brush
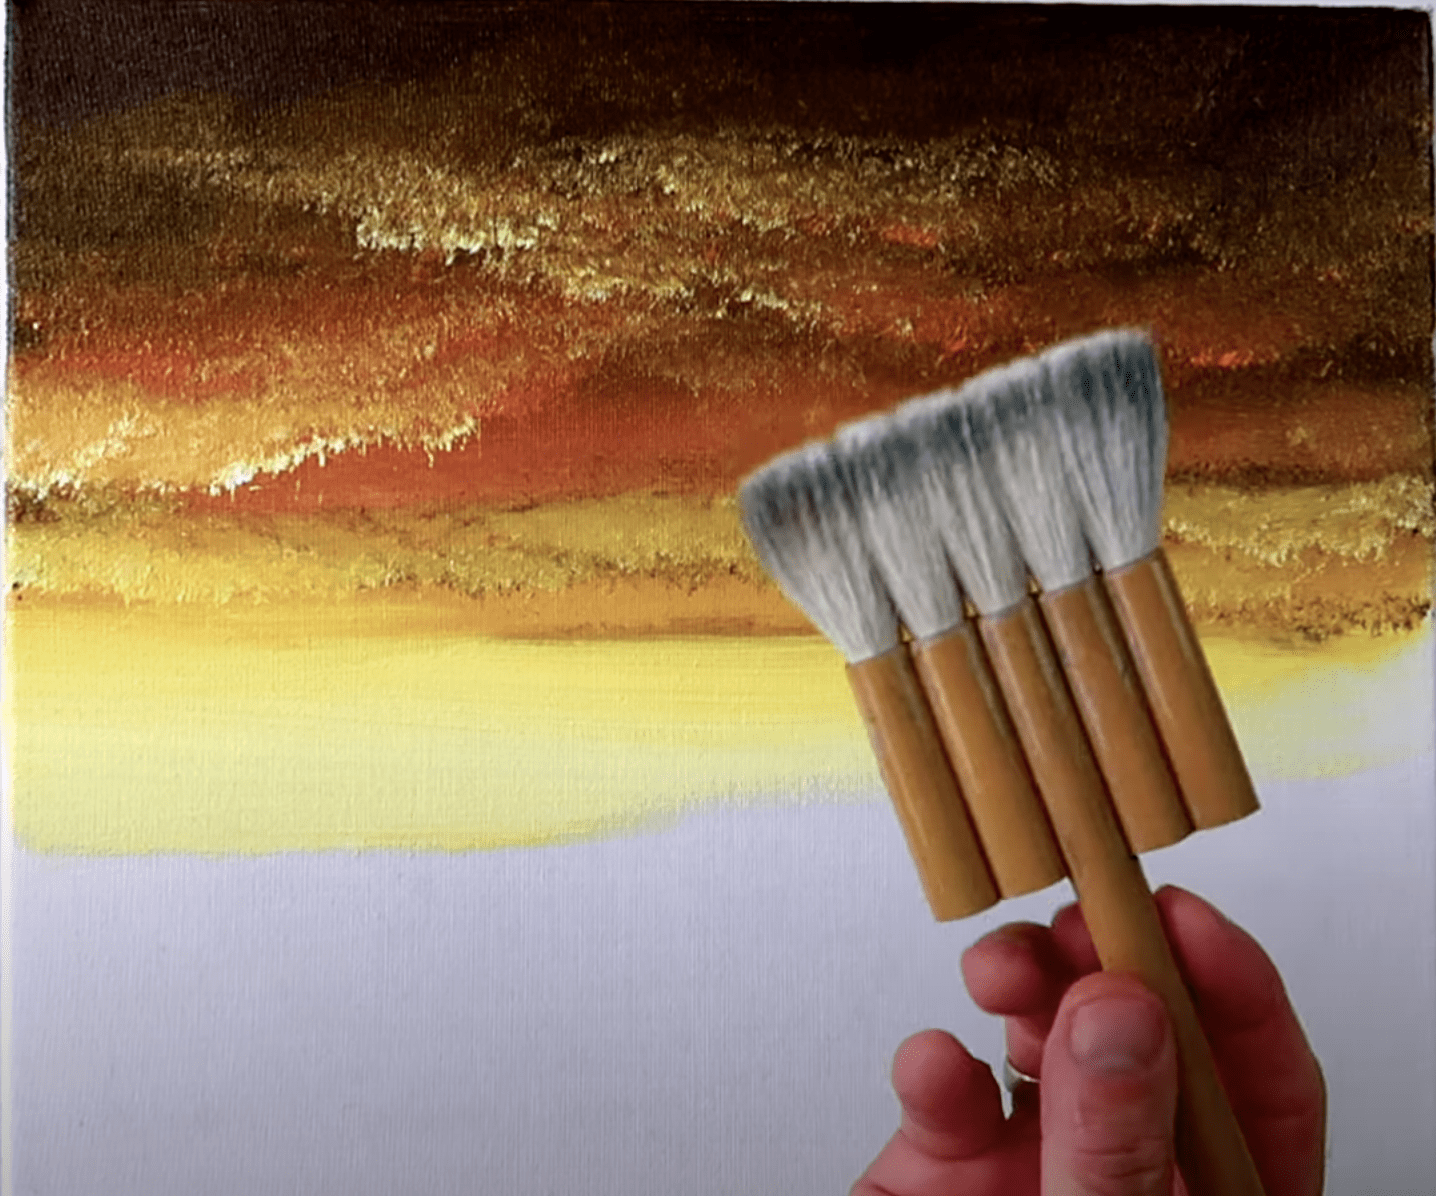
What is an Ultrasoft Blending Brush?
An ultrasoft blending brush features extremely soft bristles, typically made from synthetic fibers, designed specifically for blending and softening paint. The gentle bristles allow for seamless color transitions and reduce the harsh lines that can occur when working with standard brushes.
Benefits of Using an Ultrasoft Blending Brush
- Smooth Blending: This brush excels at creating soft, smooth transitions between colors, which is essential for painting realistic landscapes with subtle atmospheric effects.
- Versatility: While it’s fantastic for backgrounds, you can also use it for details and textures, enhancing your overall painting.
- Control: The soft bristles provide excellent control, allowing you to apply just the right amount of pressure for blending without damaging the underlying layers.
Preparing to Use the Ultrasoft Blending Brush
1. Setting Up Your Workspace
Before you start painting, it’s important to set up a clean, organized workspace to facilitate the blending process.
- Step 1: Clear your work area of distractions and clutter. Lay down protective coverings to keep your surfaces clean.
- Step 2: Ensure your acrylic paints are easily accessible, and have a palette ready for mixing colors.
2. Selecting Your Colors
Choosing the right colors is crucial for creating an effective background in your landscape. Here are some color palette suggestions:
- Sky Background: If you’re painting a daytime sky, select a range of blues, from a light cerulean to a deep ultramarine, and a few whites for clouds.
- Sunset: For sunsets, consider a gradient of warm hues like oranges, pinks, purples, and yellows.
- Ground Elements: When incorporating ground elements like hills or fields, use shades of green, brown, and ochre to add depth to your backdrop.
3. Preparing the Canvas
- Step 1: Prime your canvas if necessary. A well-prepared surface will help the paint to blend better.
- Step 2: Consider doing a light sketch of your composition with a pencil or thin paint to guide your blending process.
Techniques for Blending with an Ultrasoft Blending Brush
1. Wet-on-Dry Blending Technique
In this technique, you’ll blend dry acrylic paint on the canvas using the ultrasoft blending brush.
Step-by-Step Process
- Step 1: Begin your painting by applying your base colors for the background. Allow these layers to dry completely. Depending on the thickness, this could take anywhere from 20 minutes to a few hours.
- Step 2: Once dry, select a new color for blending. For instance, if your background is a clear blue sky, you might be adding white or a lighter shade of blue.
- Step 3: Load the ultrasoft blending brush lightly with the new color. It should not be heavily saturated—just enough to allow blending without overpowering the existing colors.
- Step 4: Use gentle, circular motions or soft sweeps with the brush over the area you wish to blend. The idea is to lightly soften the edges where the two colors meet without disturbing the underlying paint.
- Tip: Keep your brush clean and dry when switching between colors. If necessary, rinse the brush quickly and blot it to prevent muddying the colors.
2. Creating Atmospheric Effects
Using an ultrasoft blending brush is particularly advantageous for creating atmospheric effects that lend depth to your landscape.
Step-by-Step Process
- Step 1: Apply the base layer for larger elements like the sky or distant hills. Ensure these layers are completely dry.
- Step 2: To create a hazy or atmospheric effect, prepare a very light shade of your background color (for example, extremely diluted white or a soft sky blue) using your blending brush.
- Step 3: Apply this lighter shade to areas where you wish to indicate distance or atmospheric mist, such as where the sky meets distant mountains.
- Step 4: Blend the lighter color gently into the background using soft, sweeping motions to create a seamless transition that suggests depth and distance.
3. Achieving Texture
You can also use your ultrasoft blending brush to enhance texture in your landscape.
Step-by-Step Process
- Step 1: After laying down your background colors, apply a layer of color with more texture in dry or nearly dry paint, such as a thicker layer of brighter green for grass or a darker shade for shadows.
- Step 2: While this layer is still slightly wet, use your ultrasoft blending brush to sweep over the area, blending it into the background while still allowing the texture to remain visible. The soft fibers will help lift some paint while not disturbing the underlying layers.
- Tip: Experiment with pressure; varying your brush pressure can create different textures, from soft fields to rugged mountains.
Caring for Your Ultrasoft Blending Brush
To ensure your ultrasoft blending brush remains in top condition, proper care is crucial.
1. Cleaning Your Brush
- Step 1: After you finish painting, rinse the brush in lukewarm water to remove paint. Avoid using hot water, as this can damage the fibers.
- Step 2: Gently swirl the brush in the water, avoiding harsh scrubbing. If the paint does not come out easily, consider using a gentle brush cleaner.
- Step 3: Shape the bristles back to their original form and lay the brush flat or hang it upside down to dry.
2. Storage
Store your brushes upright in a jar or container with the bristles facing up. This prevents unnecessary bending or damage to the fibers.
Final Thoughts
Using an ultrasoft blending brush to blend background acrylic colors can significantly enhance the atmosphere and depth of your landscape paintings. Whether you’re softening edges, creating atmospheric effects, or adding textures, this tool allows for seamless integration of colors that can make your landscapes come alive.
At Urart Studio, we are dedicated to providing artists with the tools and resources needed to express their creativity fully. Explore our wide range of free step-by-step acrylic painting tutorials, valuable painting tips, and unique art supplies perfect for your artistic journey. Don’t forget to visit our original landscape painting art gallery and our engaging YouTube channel for additional inspiration and demonstrations you can learn from.
Explore More at Urart Studio!
Ready to dive into blending with an ultrasoft brush? Visit our website for a wealth of resources:
- Check out our selection of art supplies and tools at Shop.
- Discover valuable painting tips at Painting Tips.
- Follow our step-by-step painting instructions at Step-by-Step Painting Instructions.
Unleash your artistic potential and bring your landscapes to life with the right techniques and tools!
Leave a Reply
You must be logged in to post a comment.