Introduction:
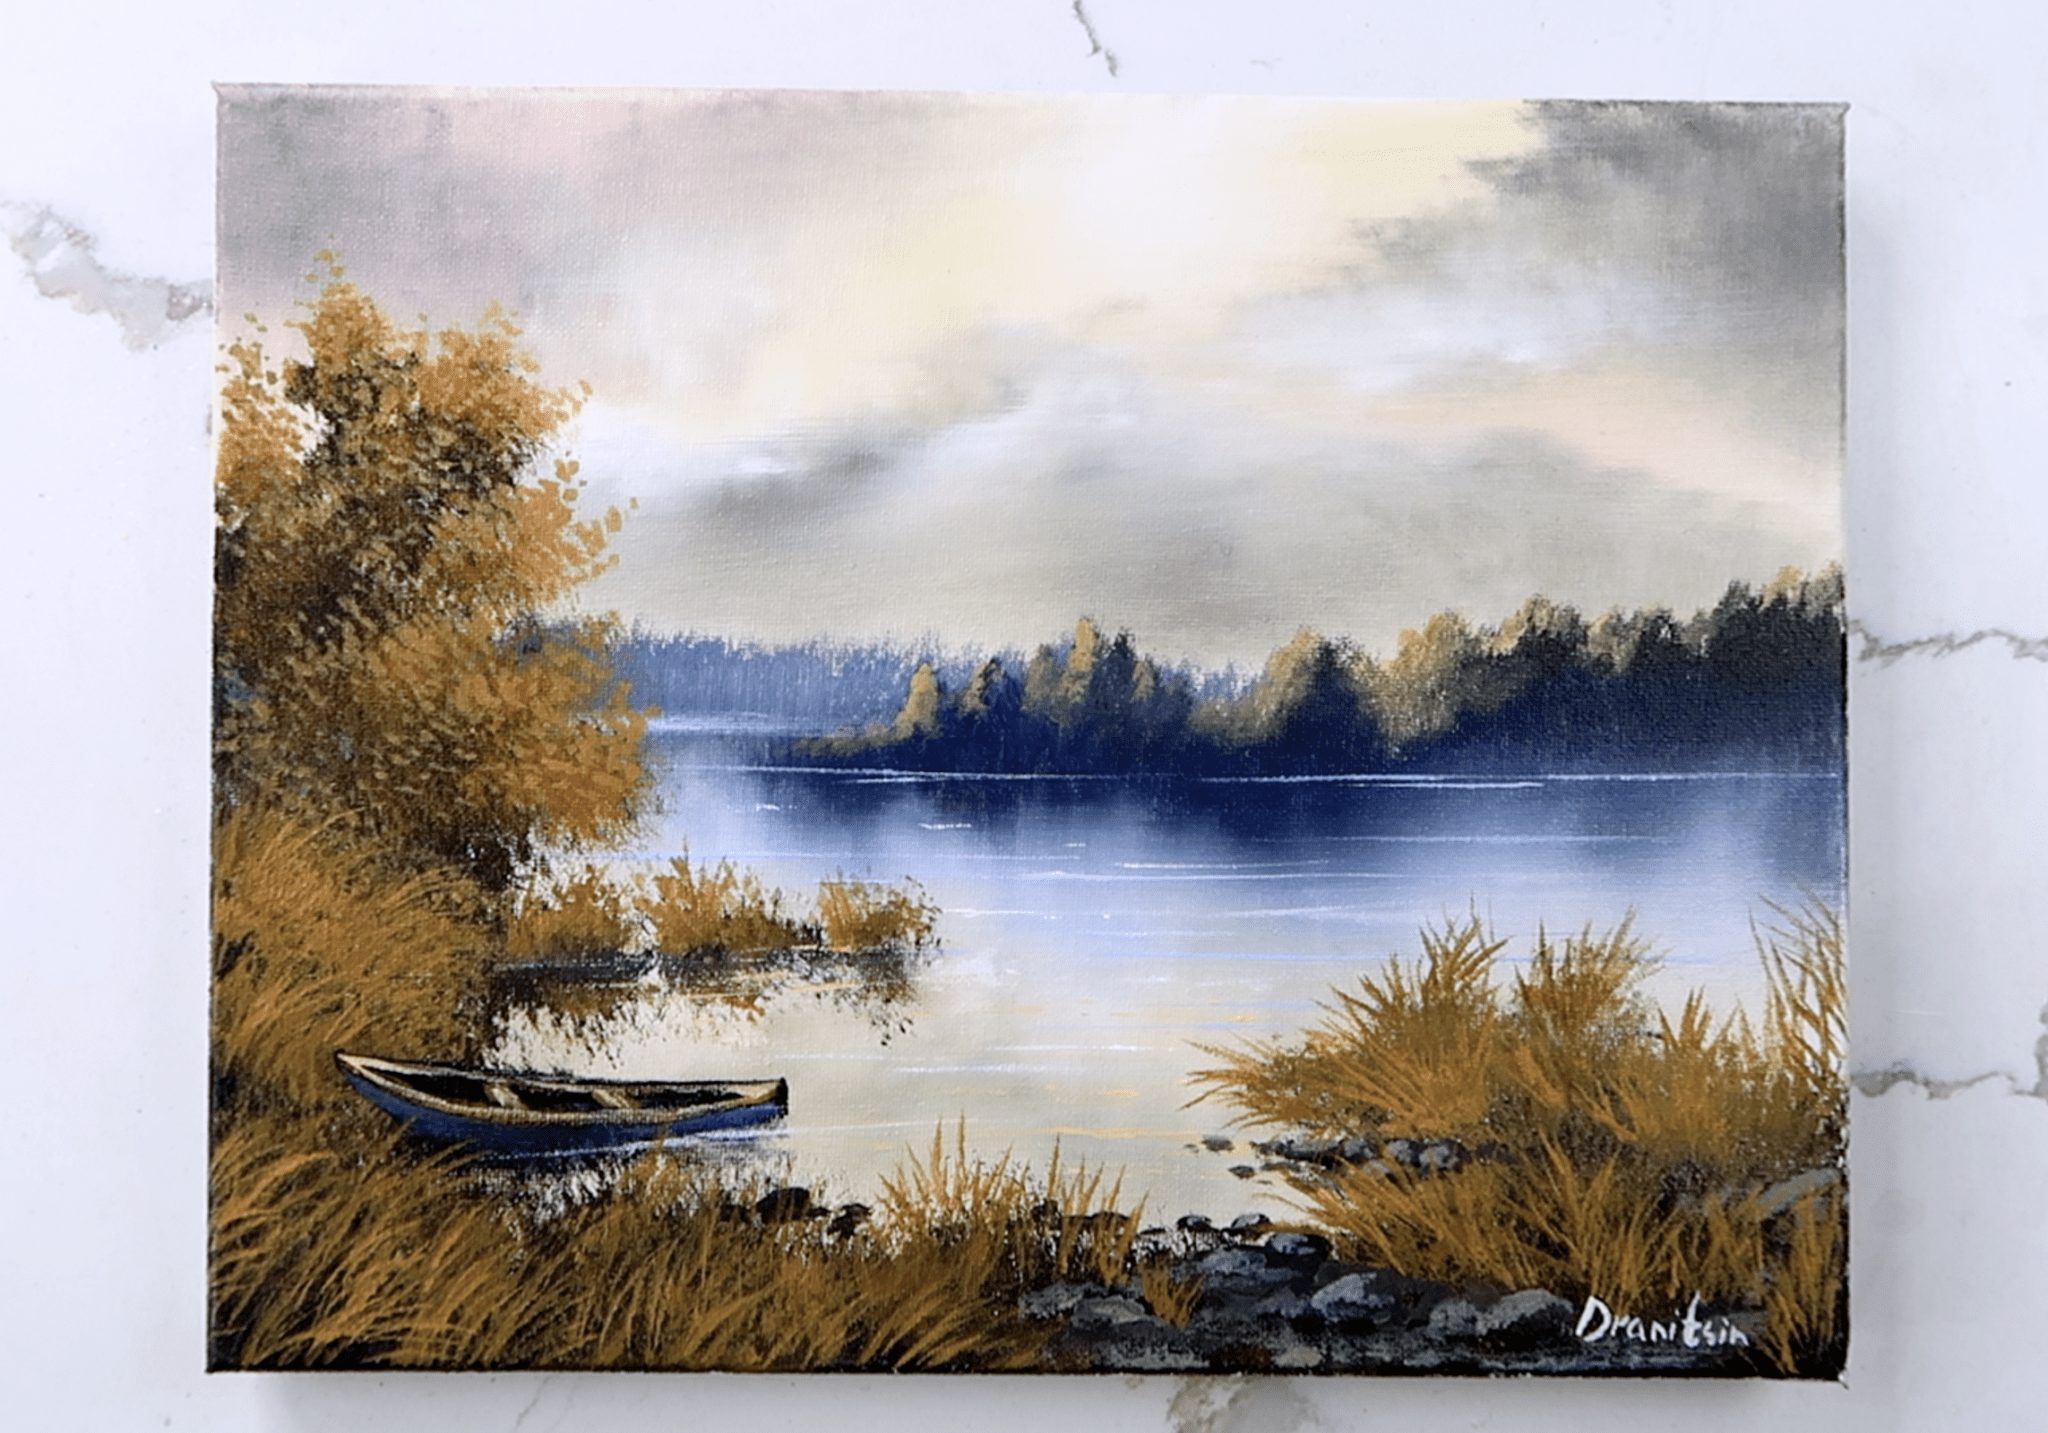
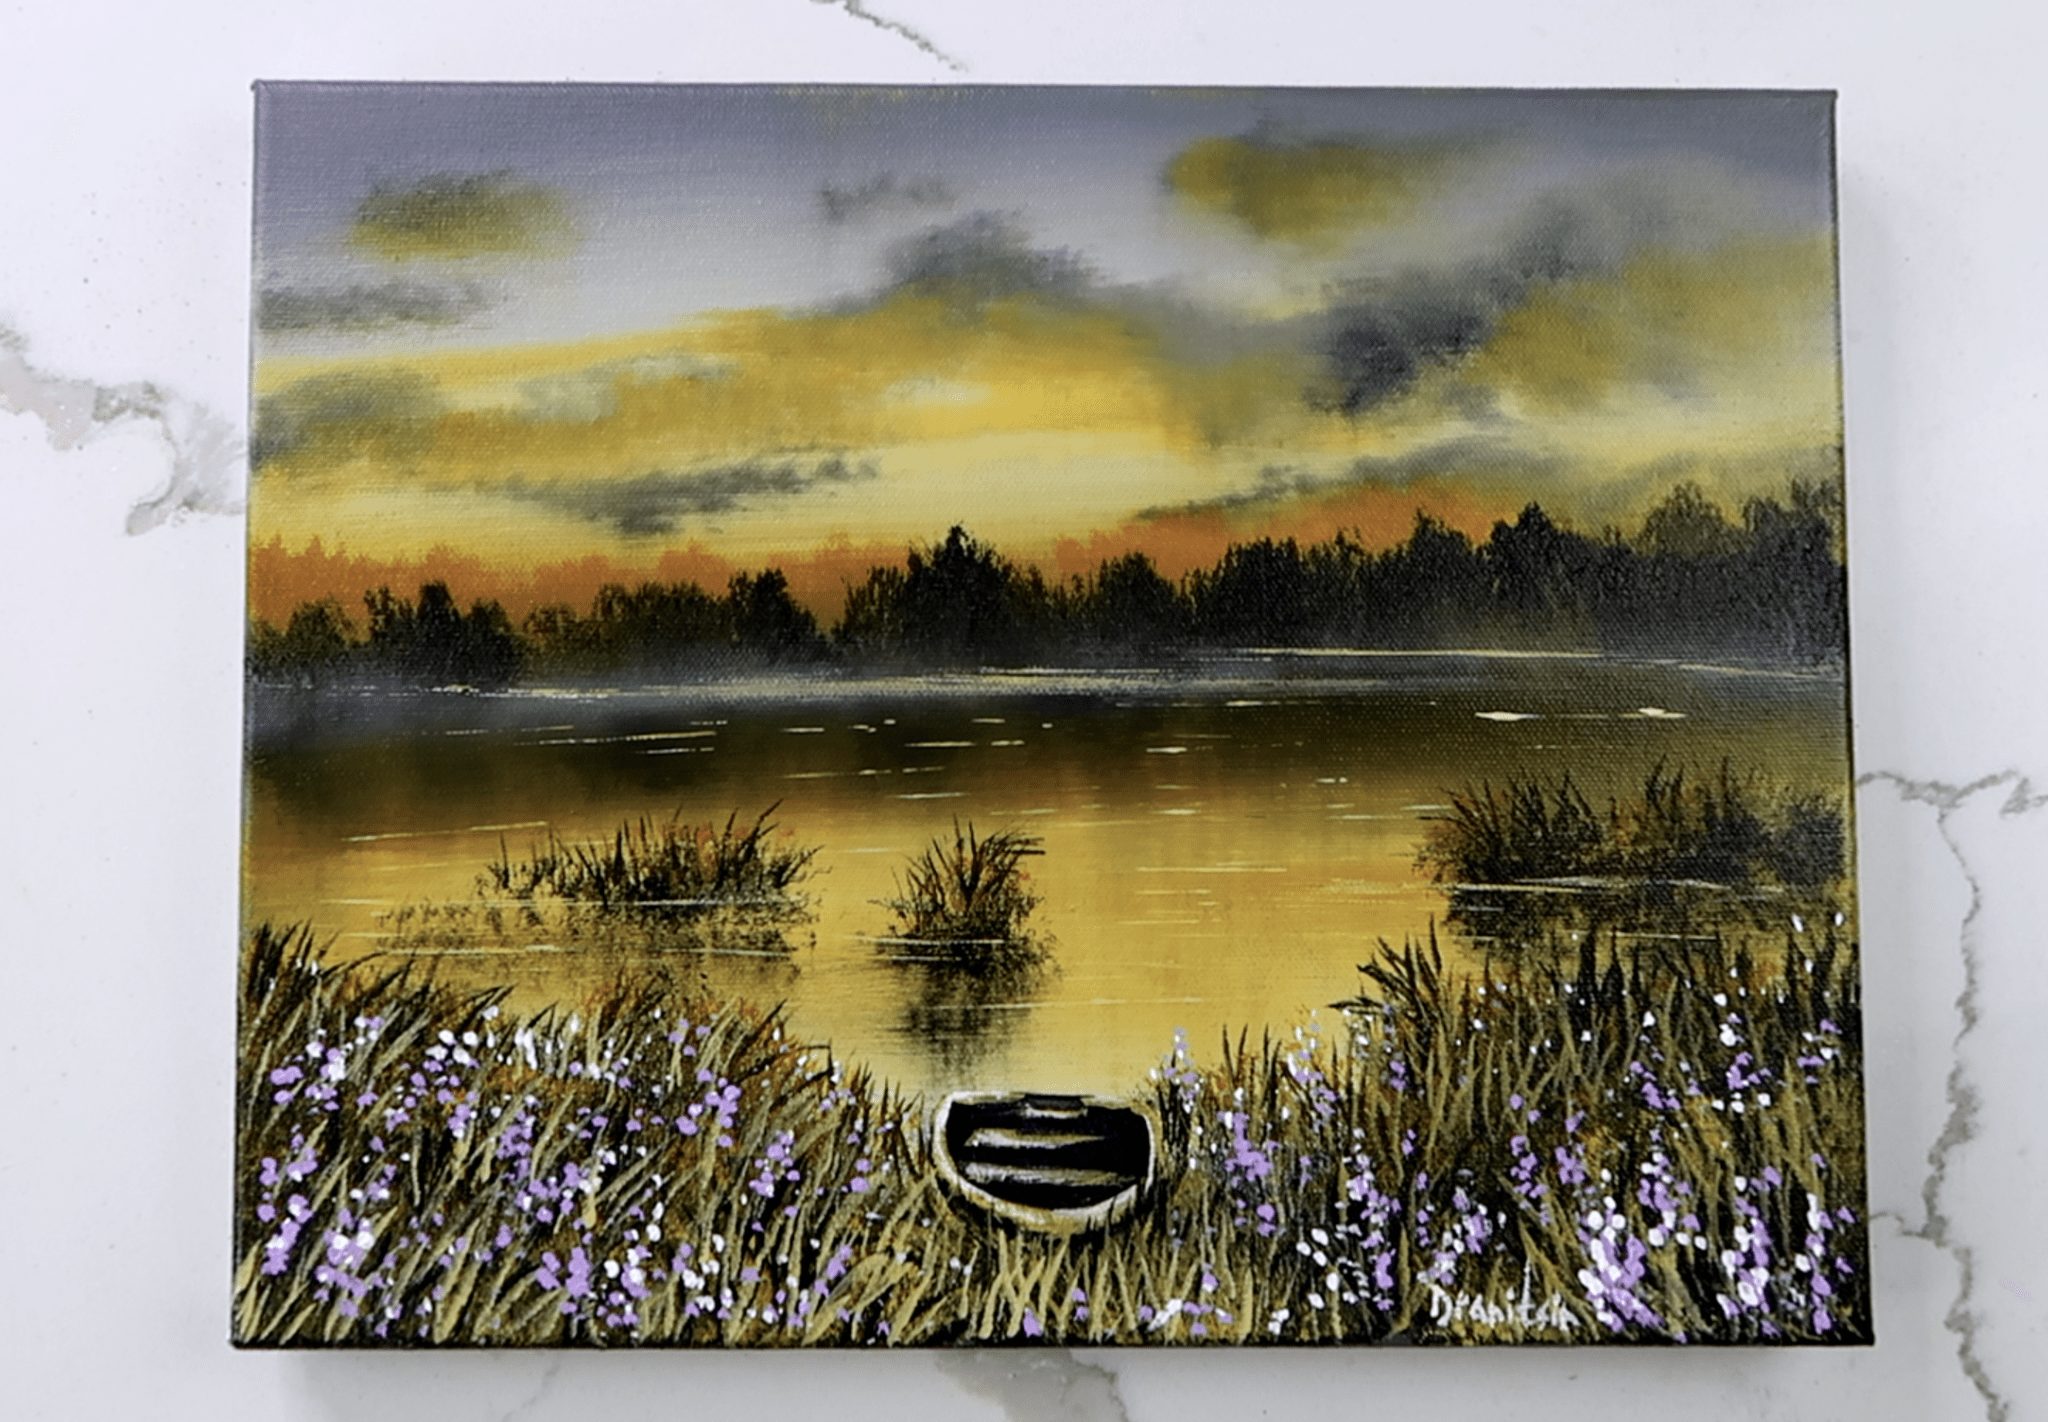
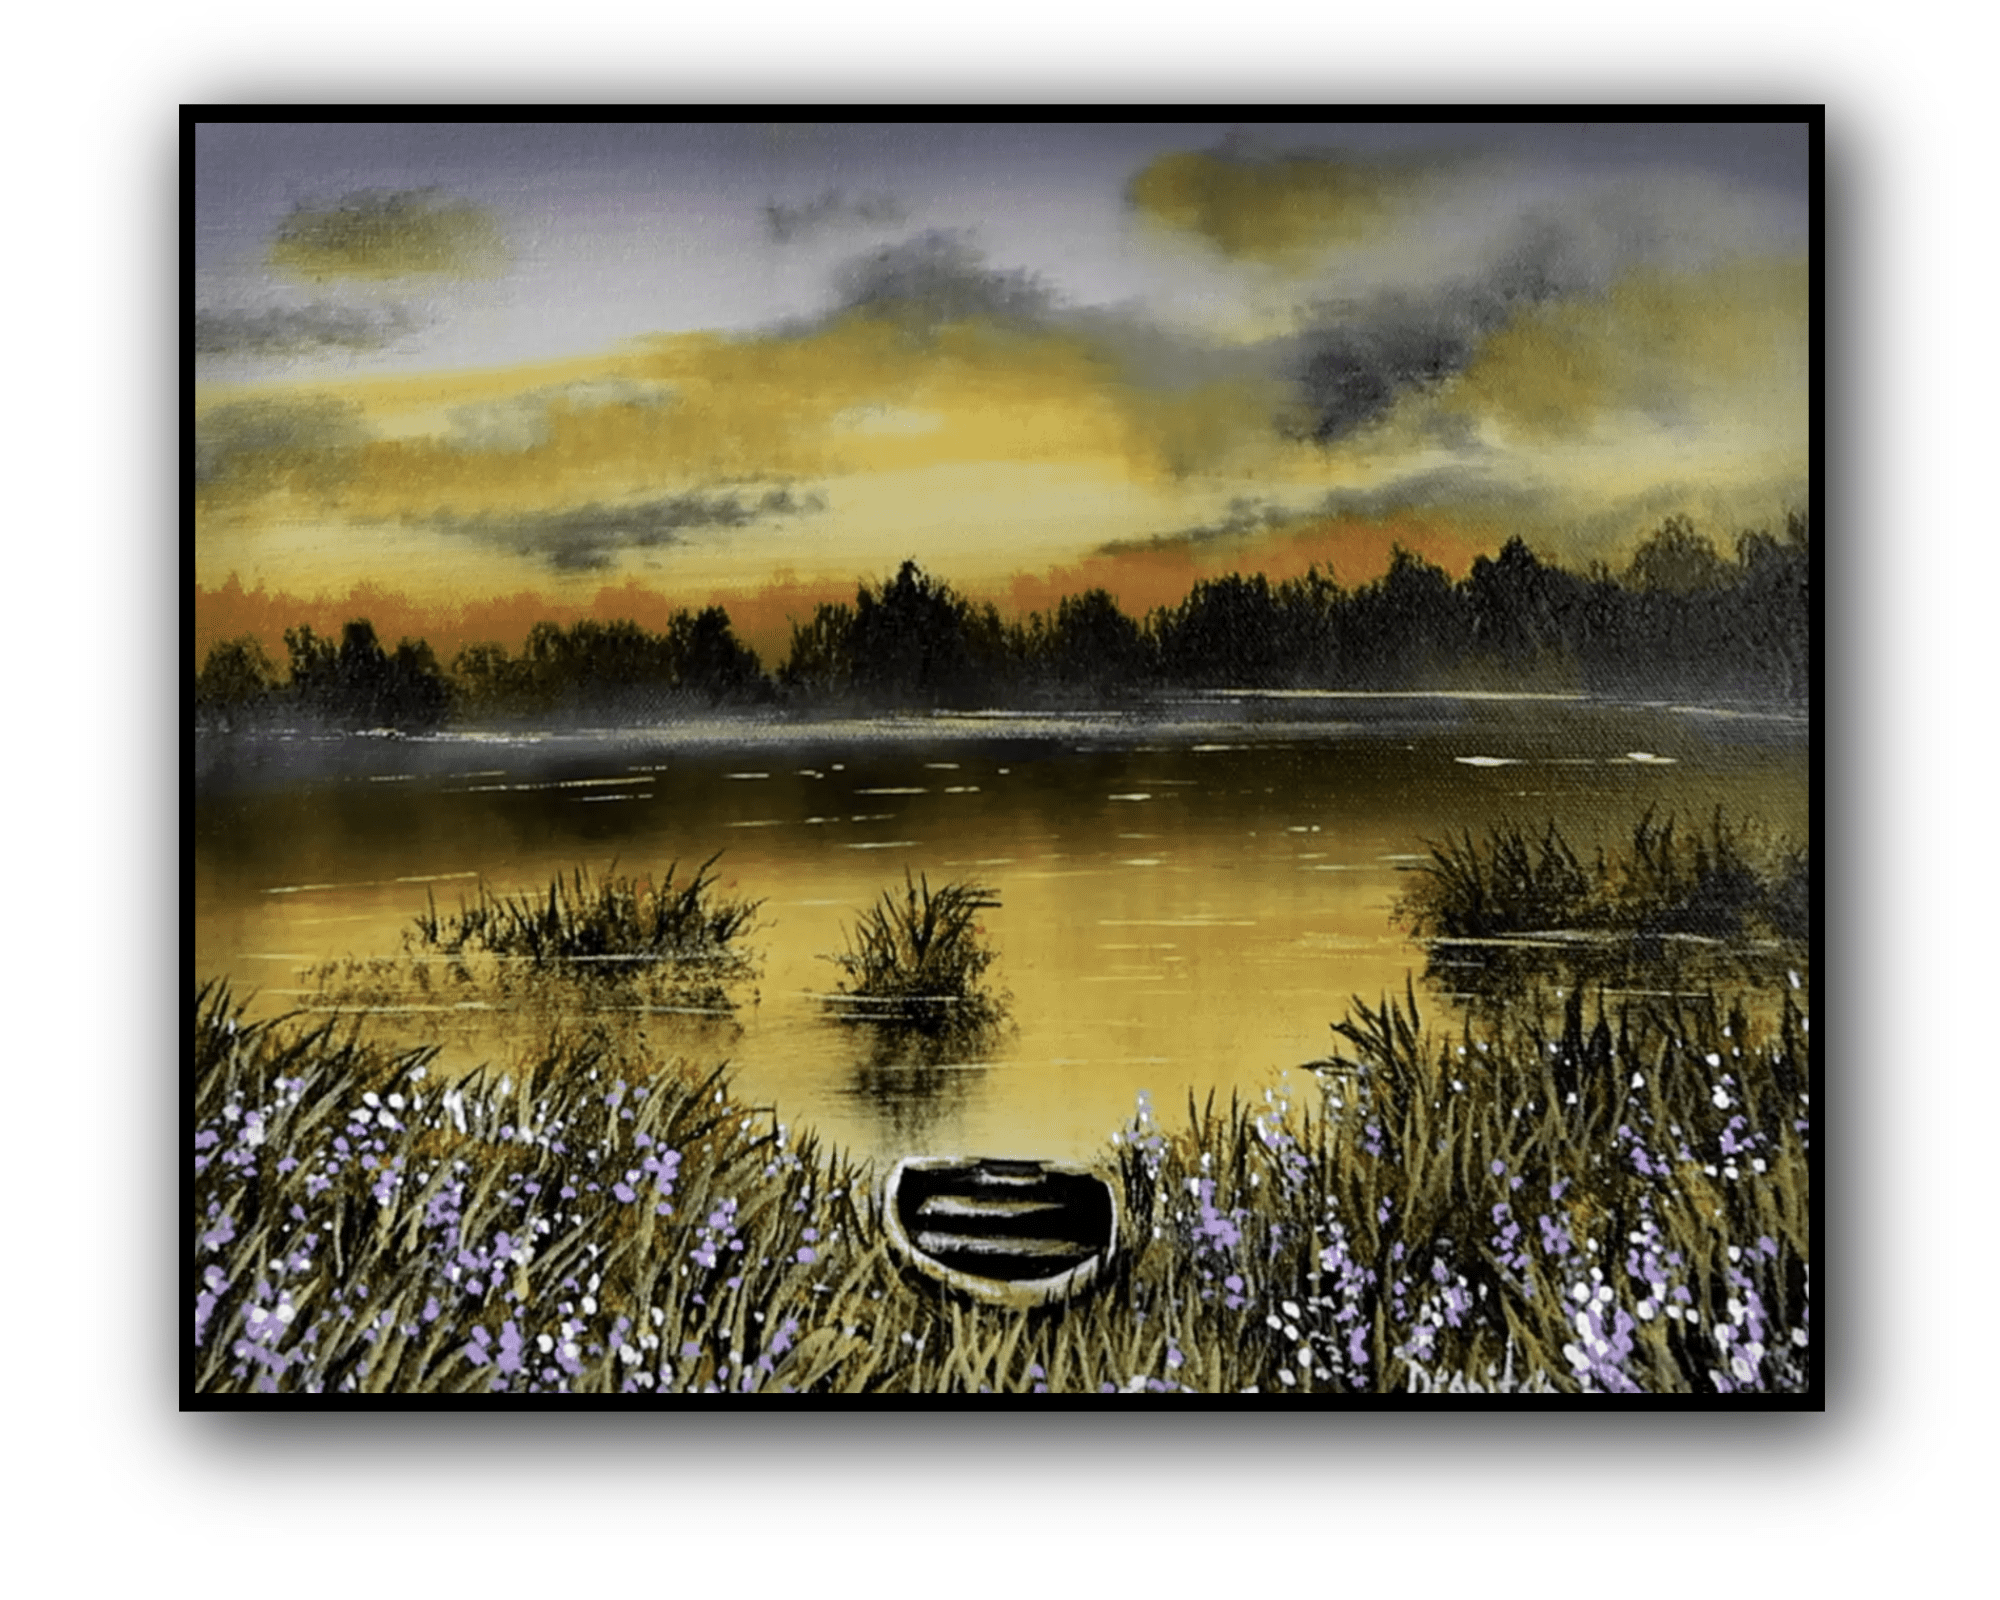
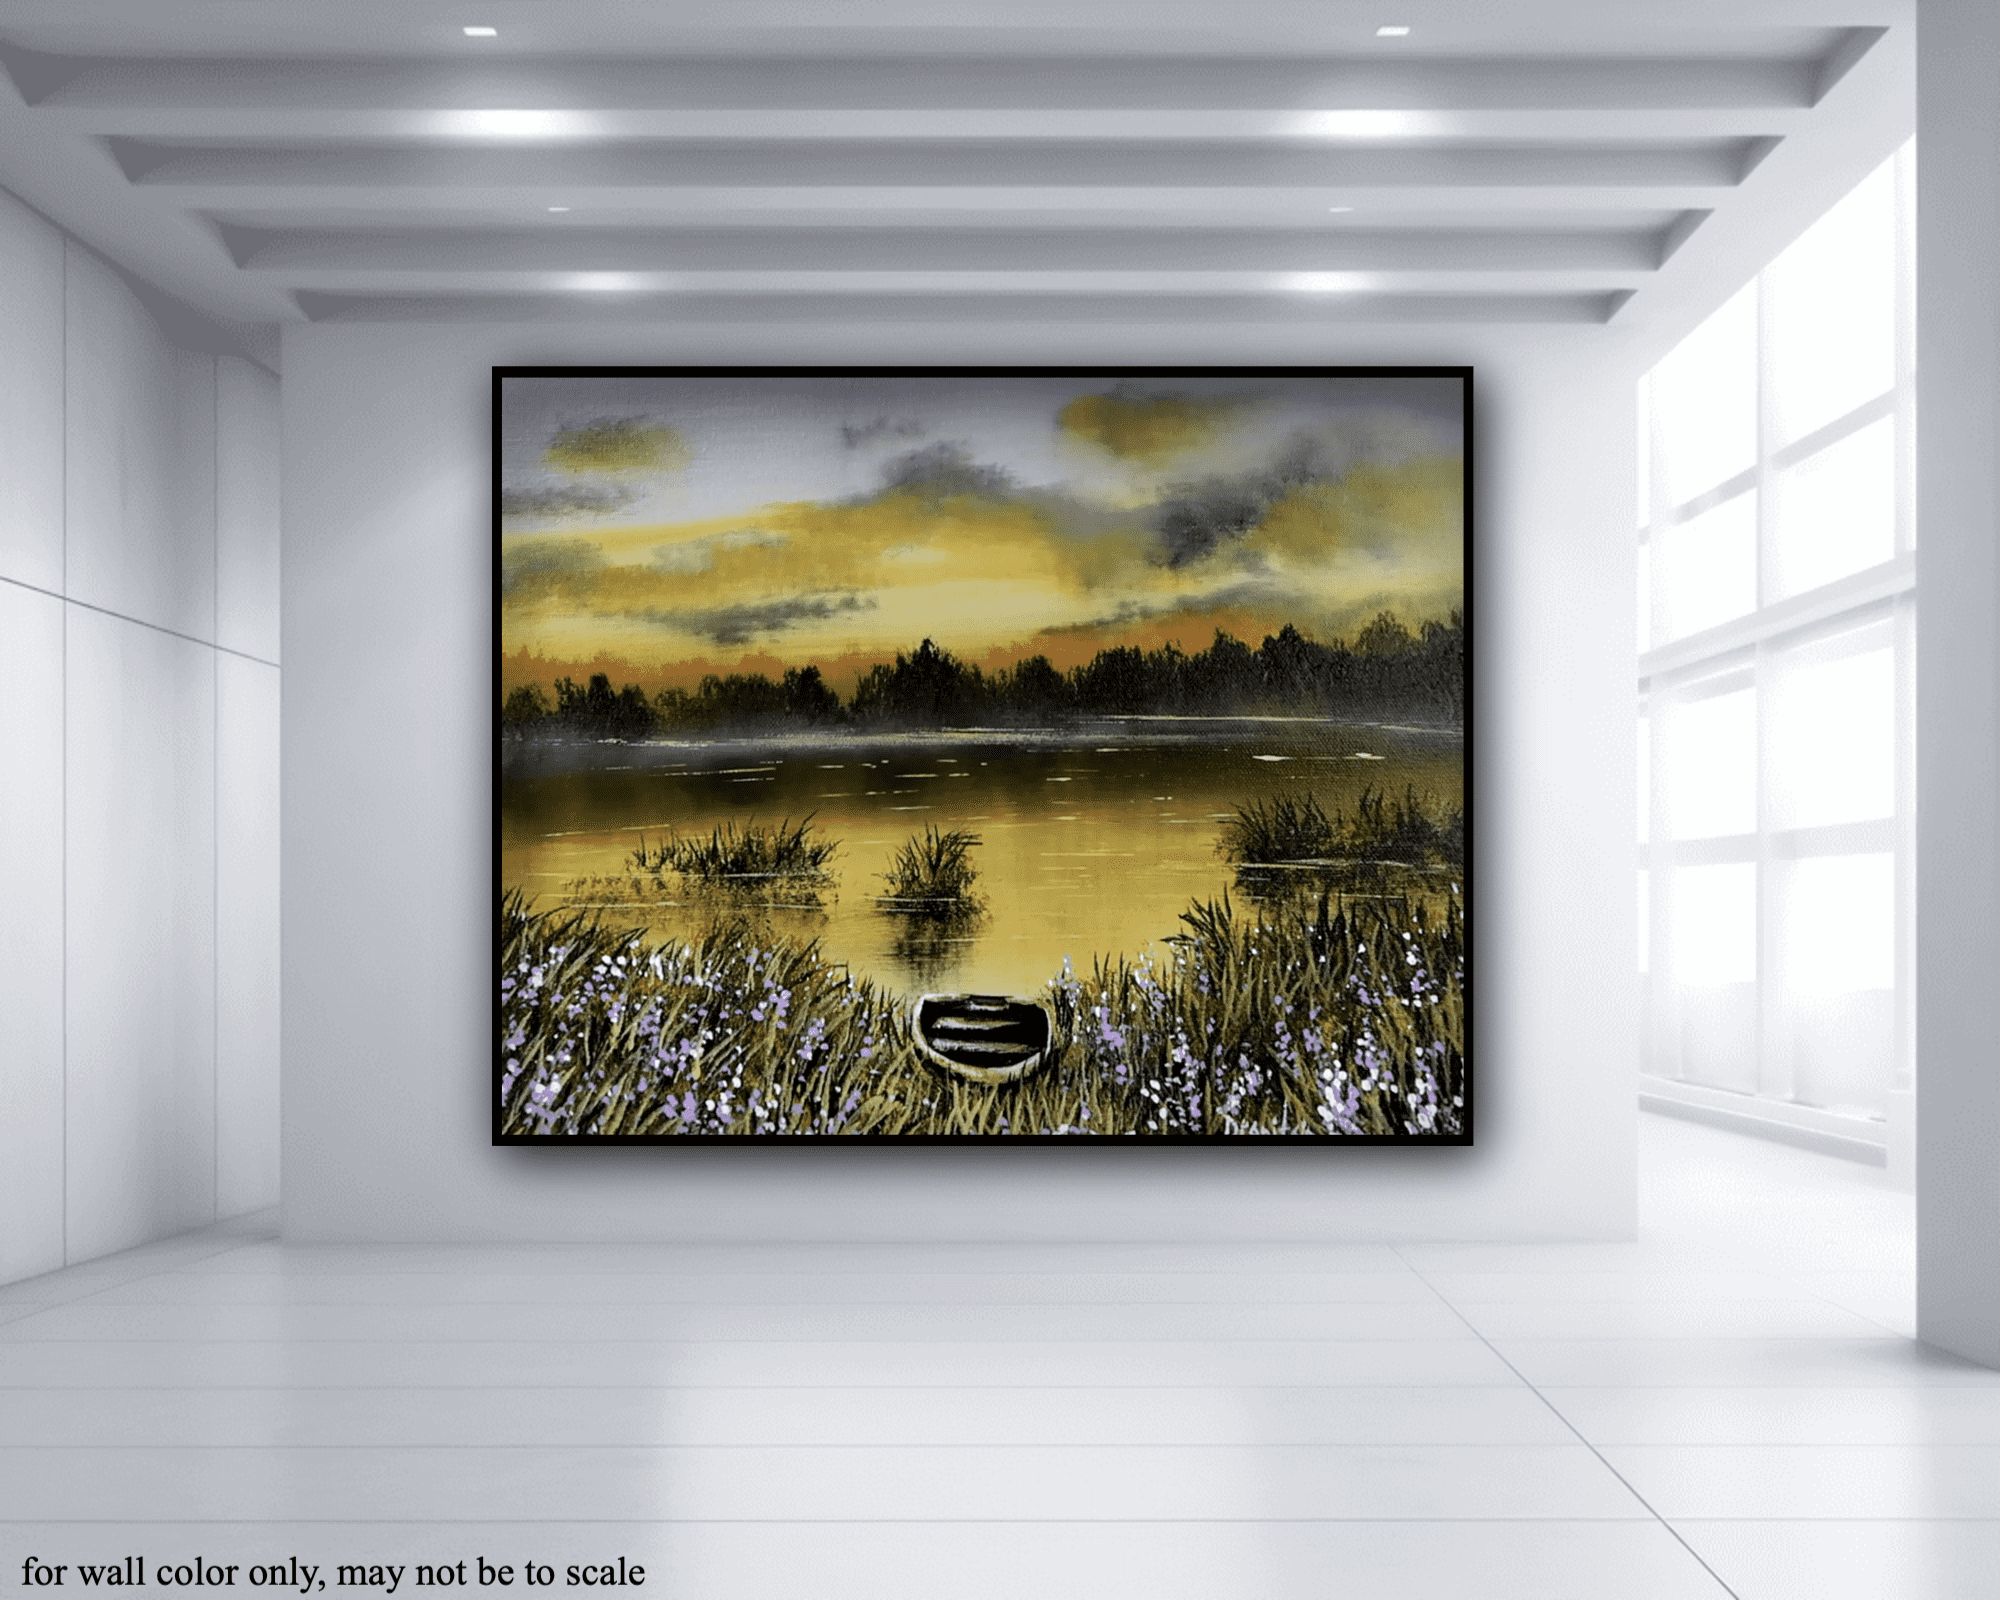
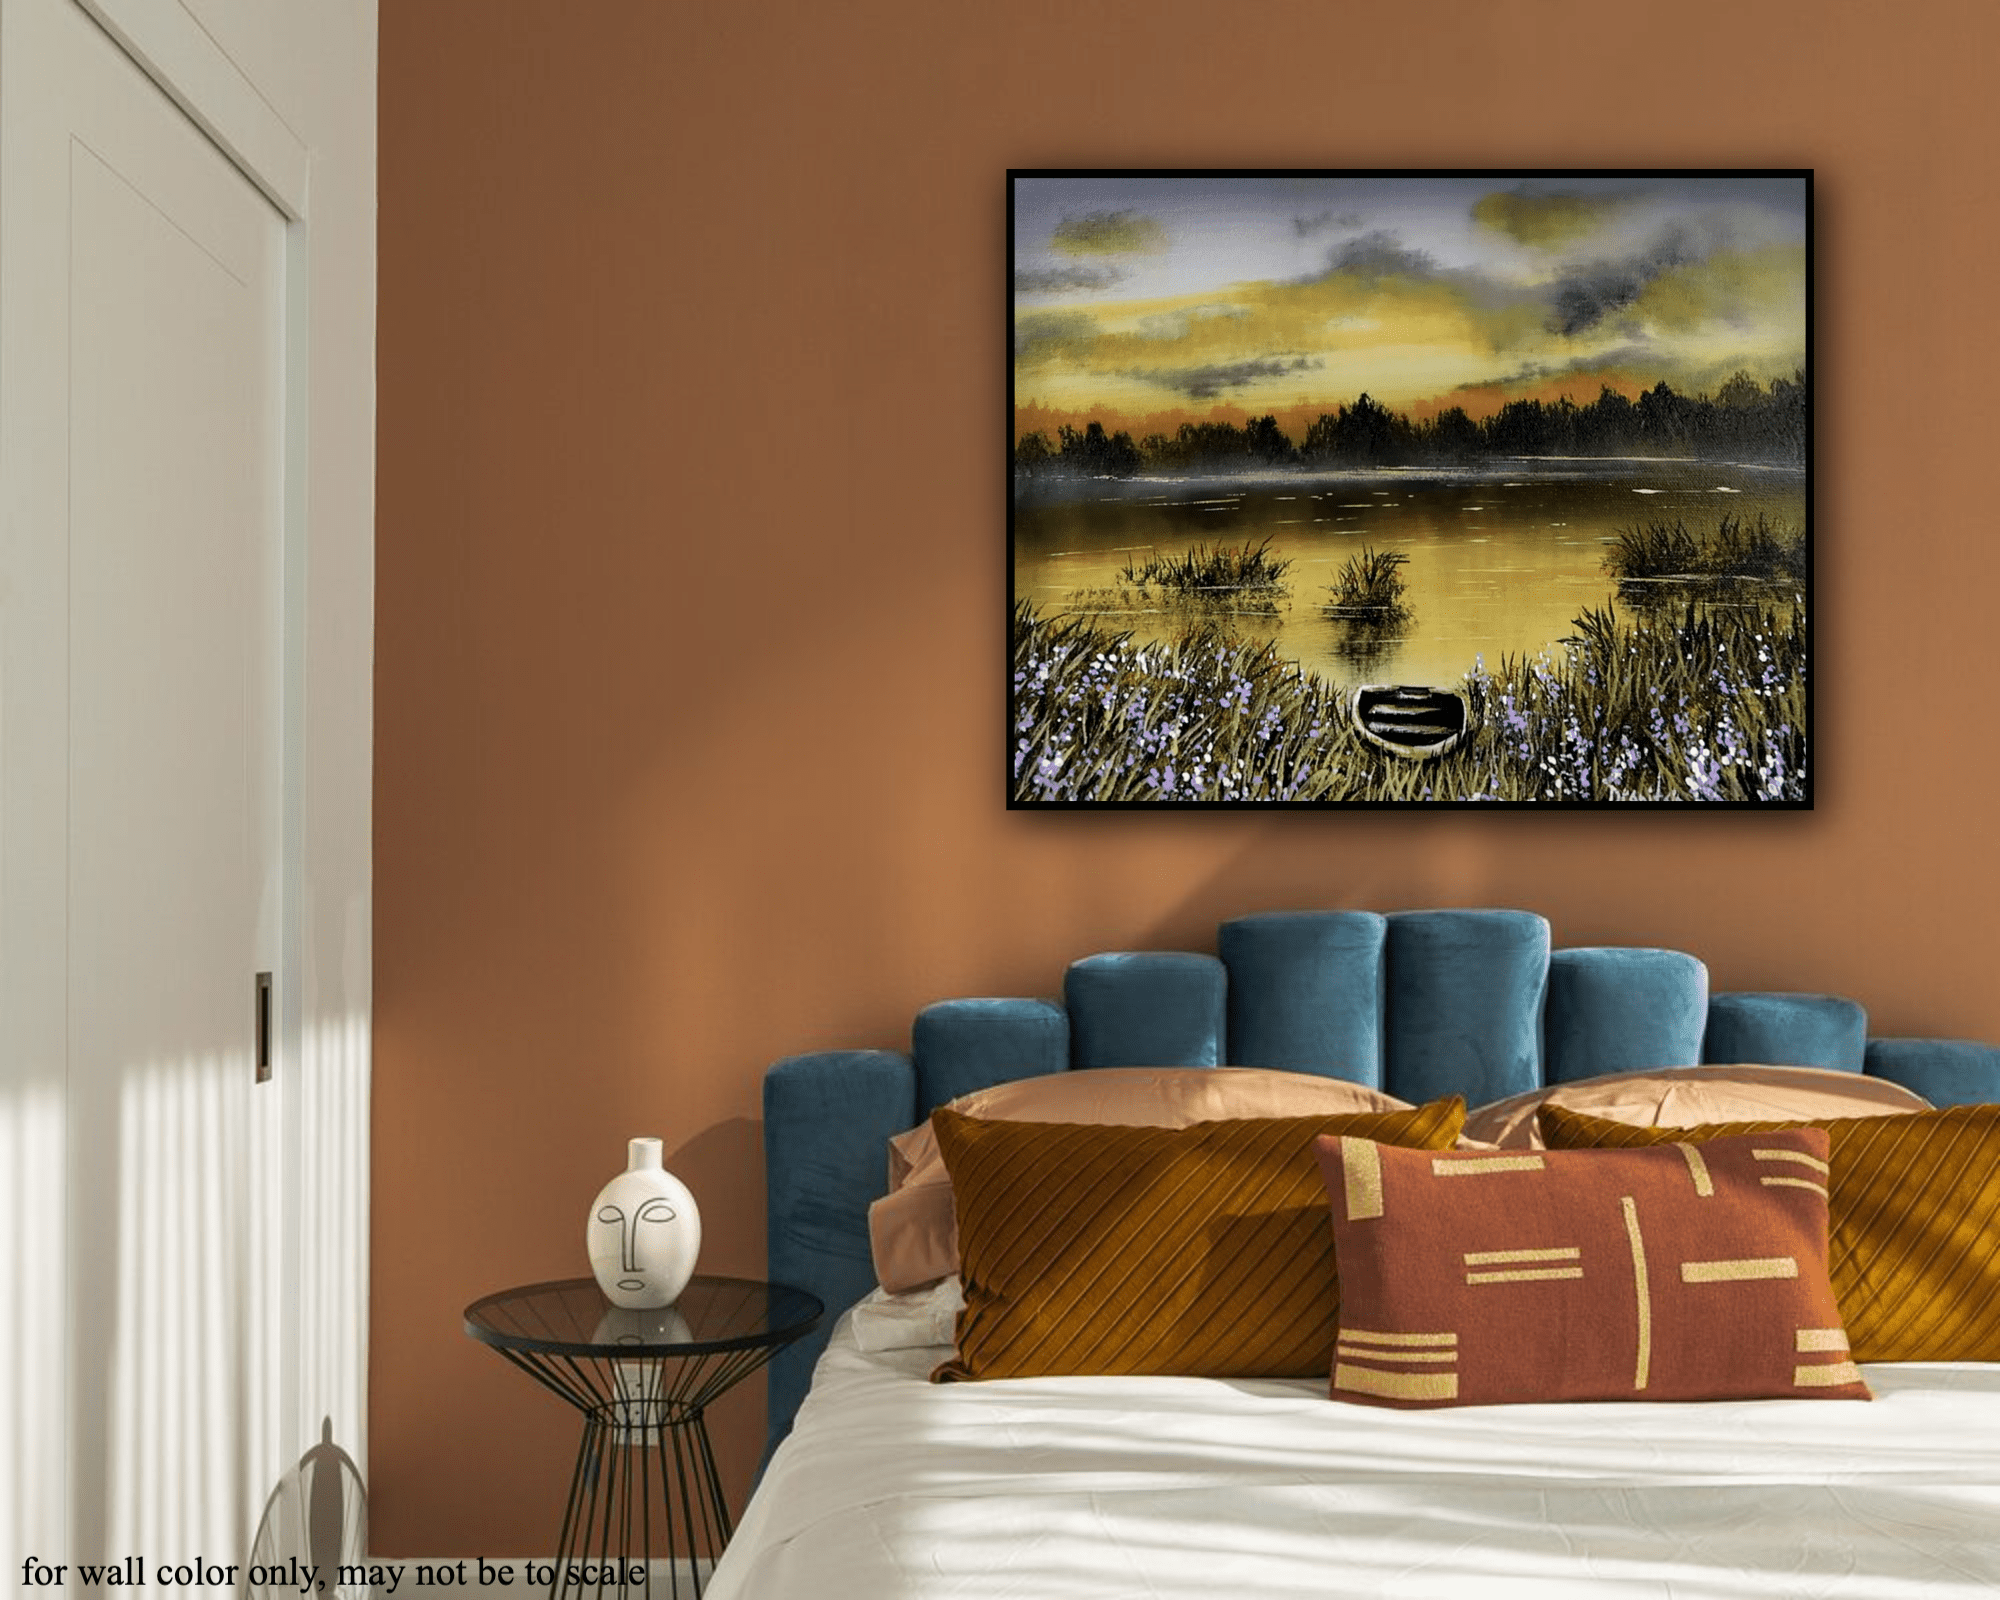
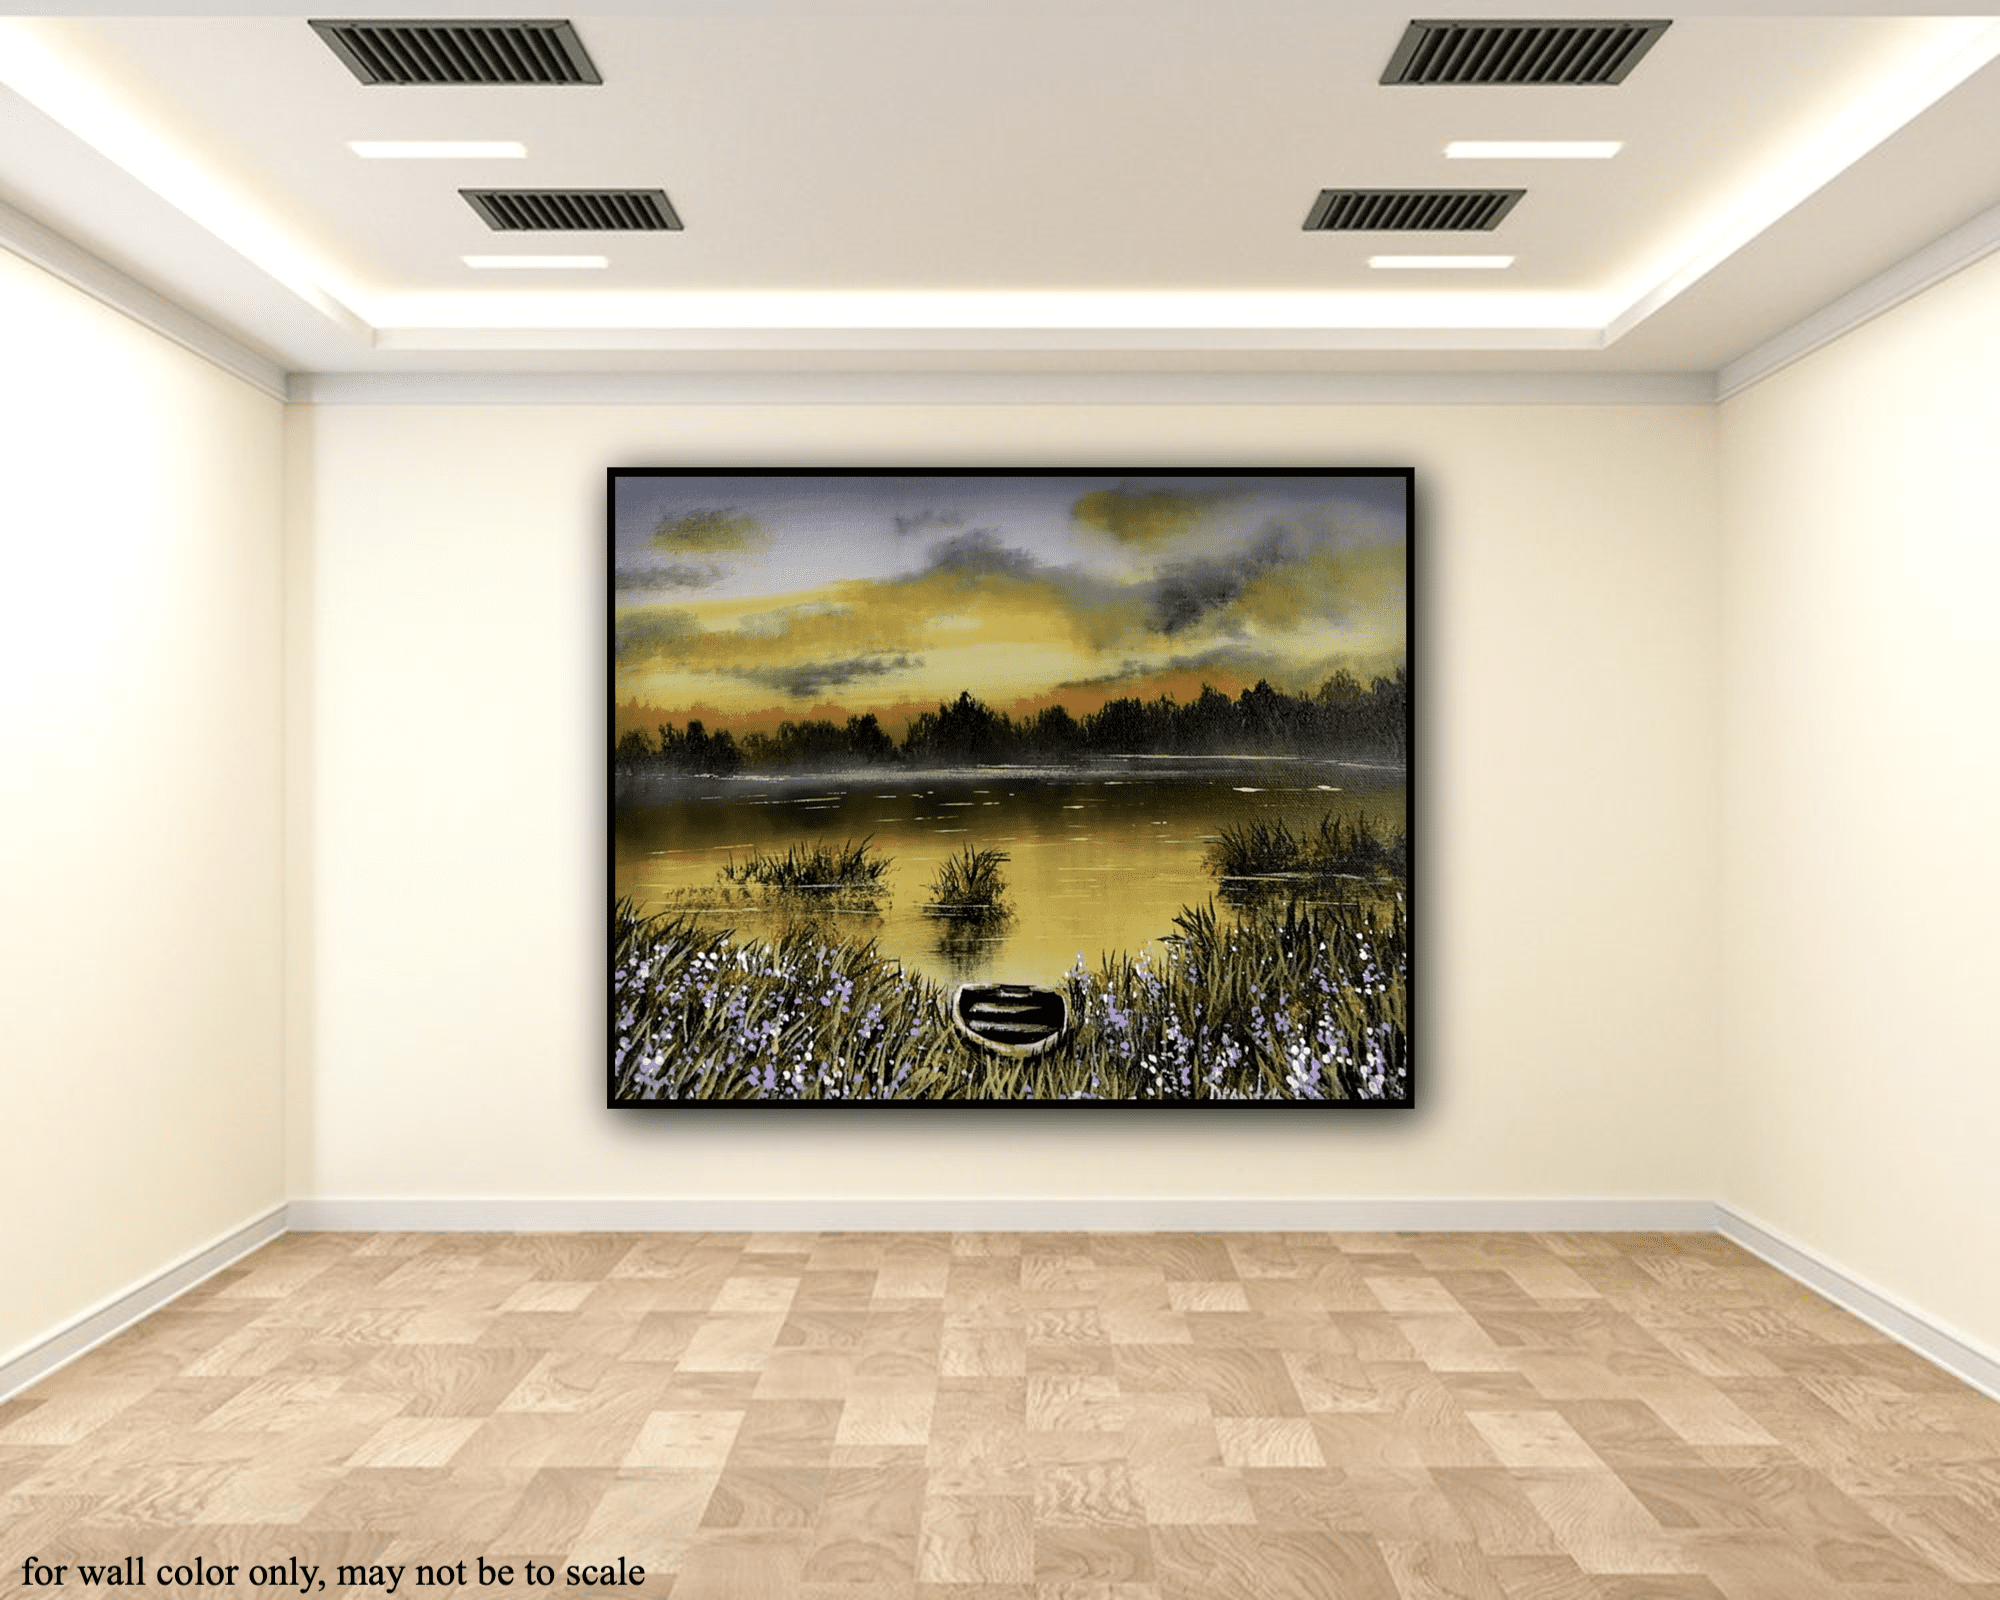
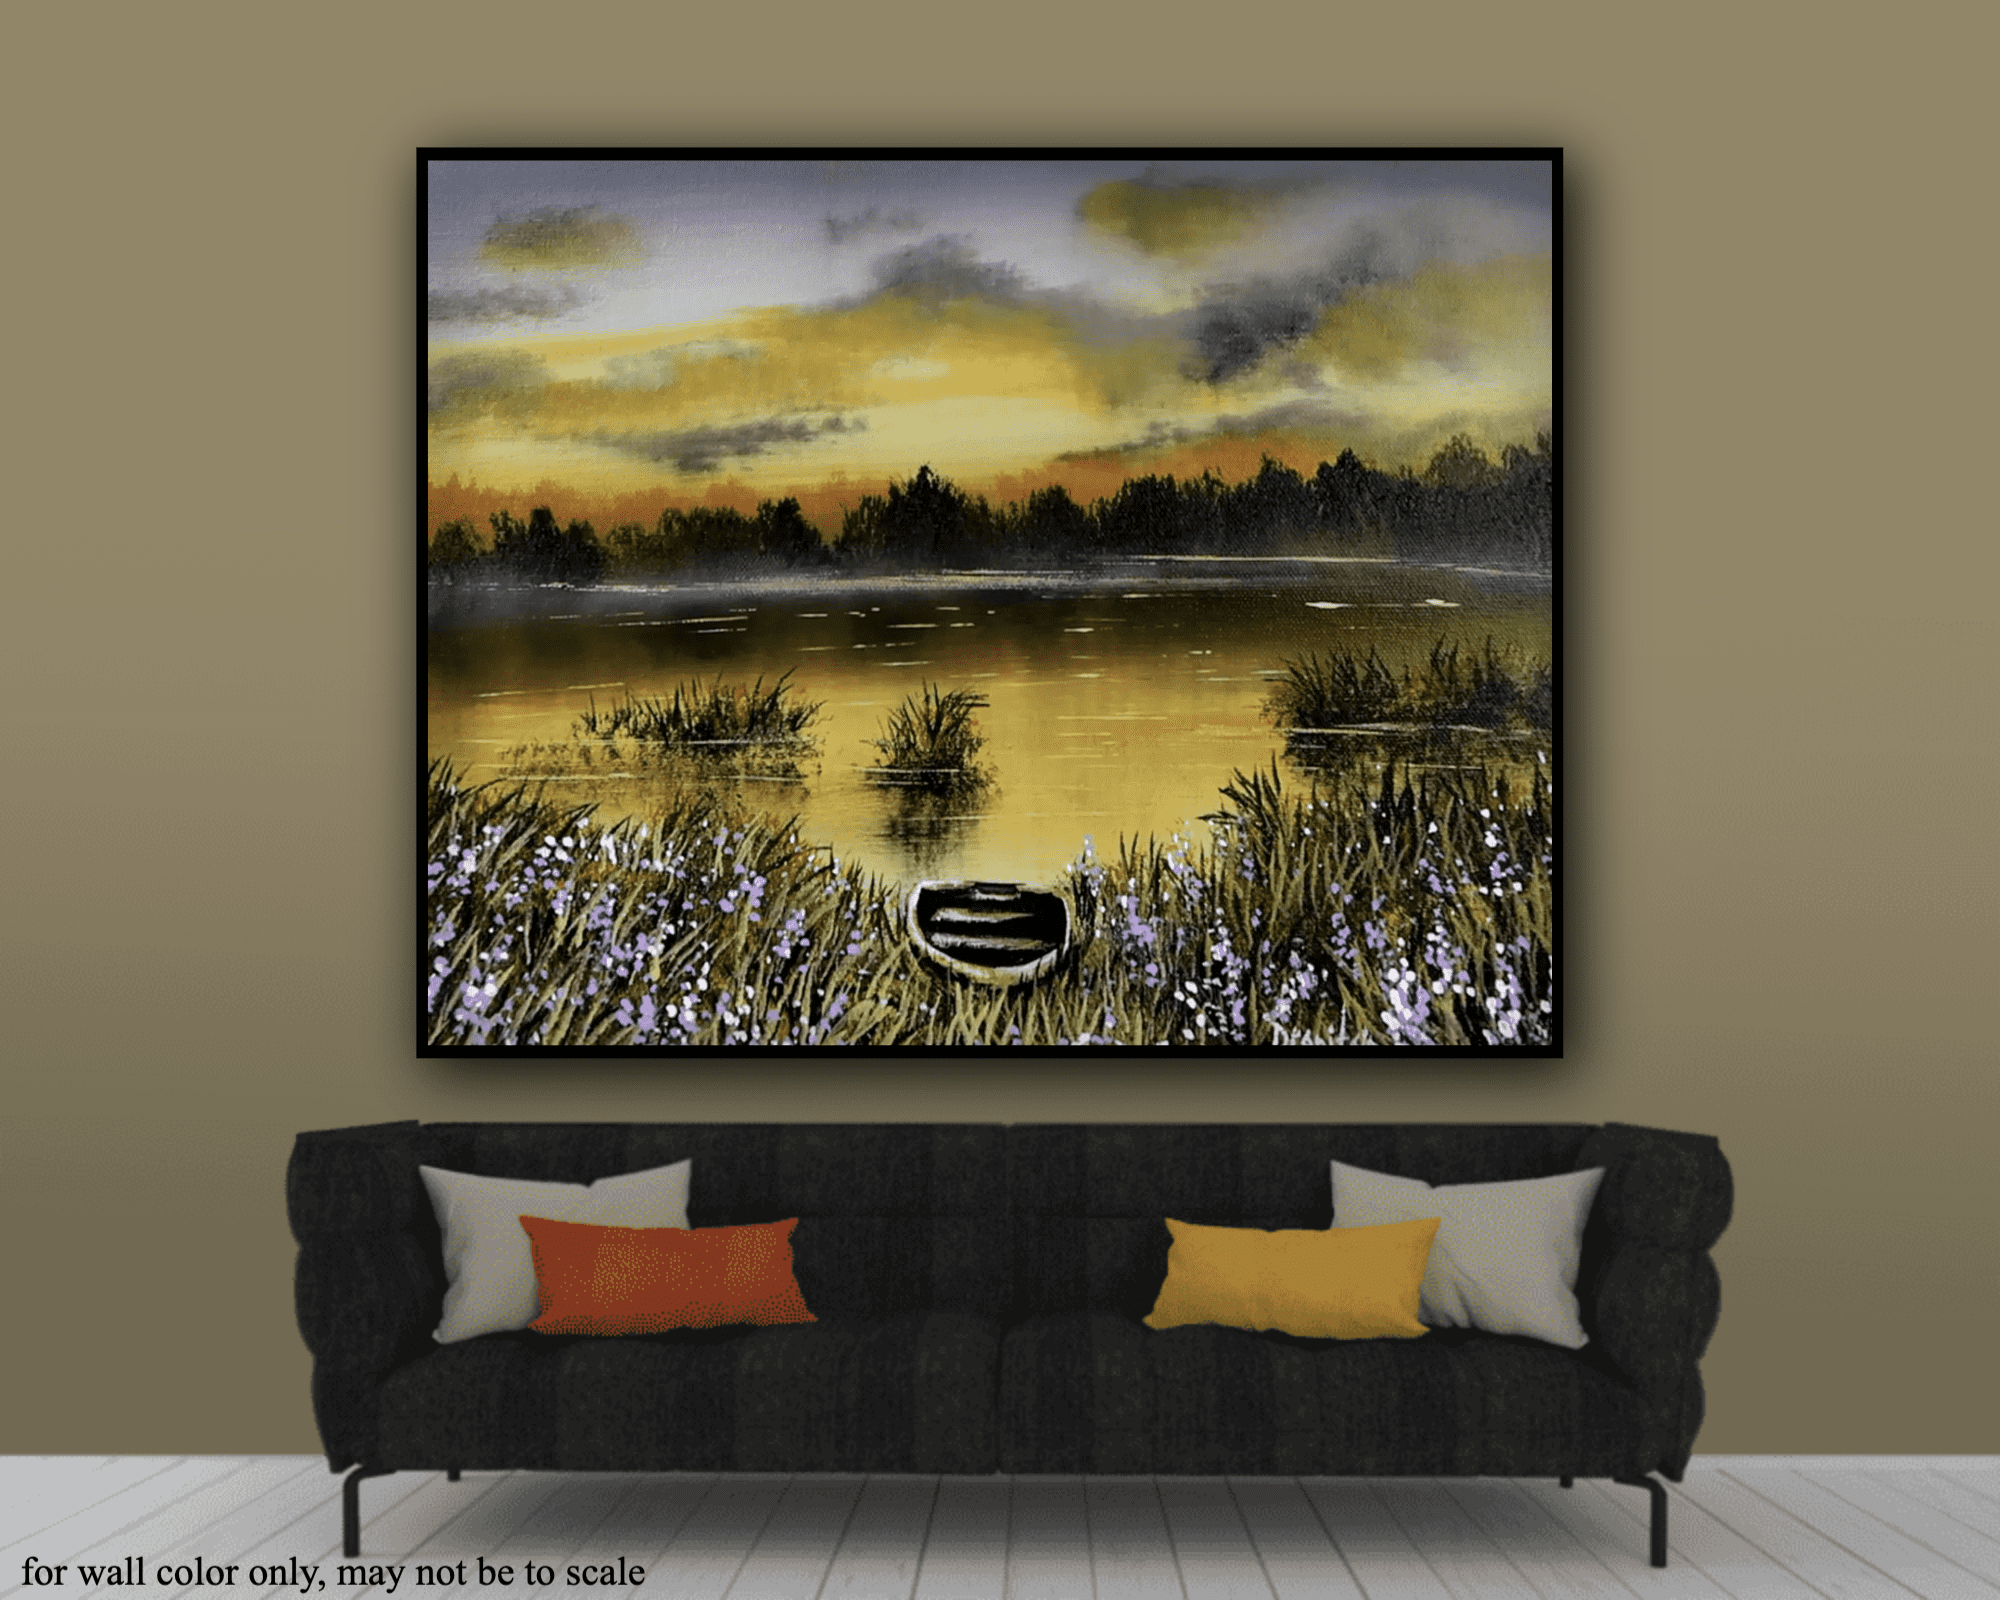
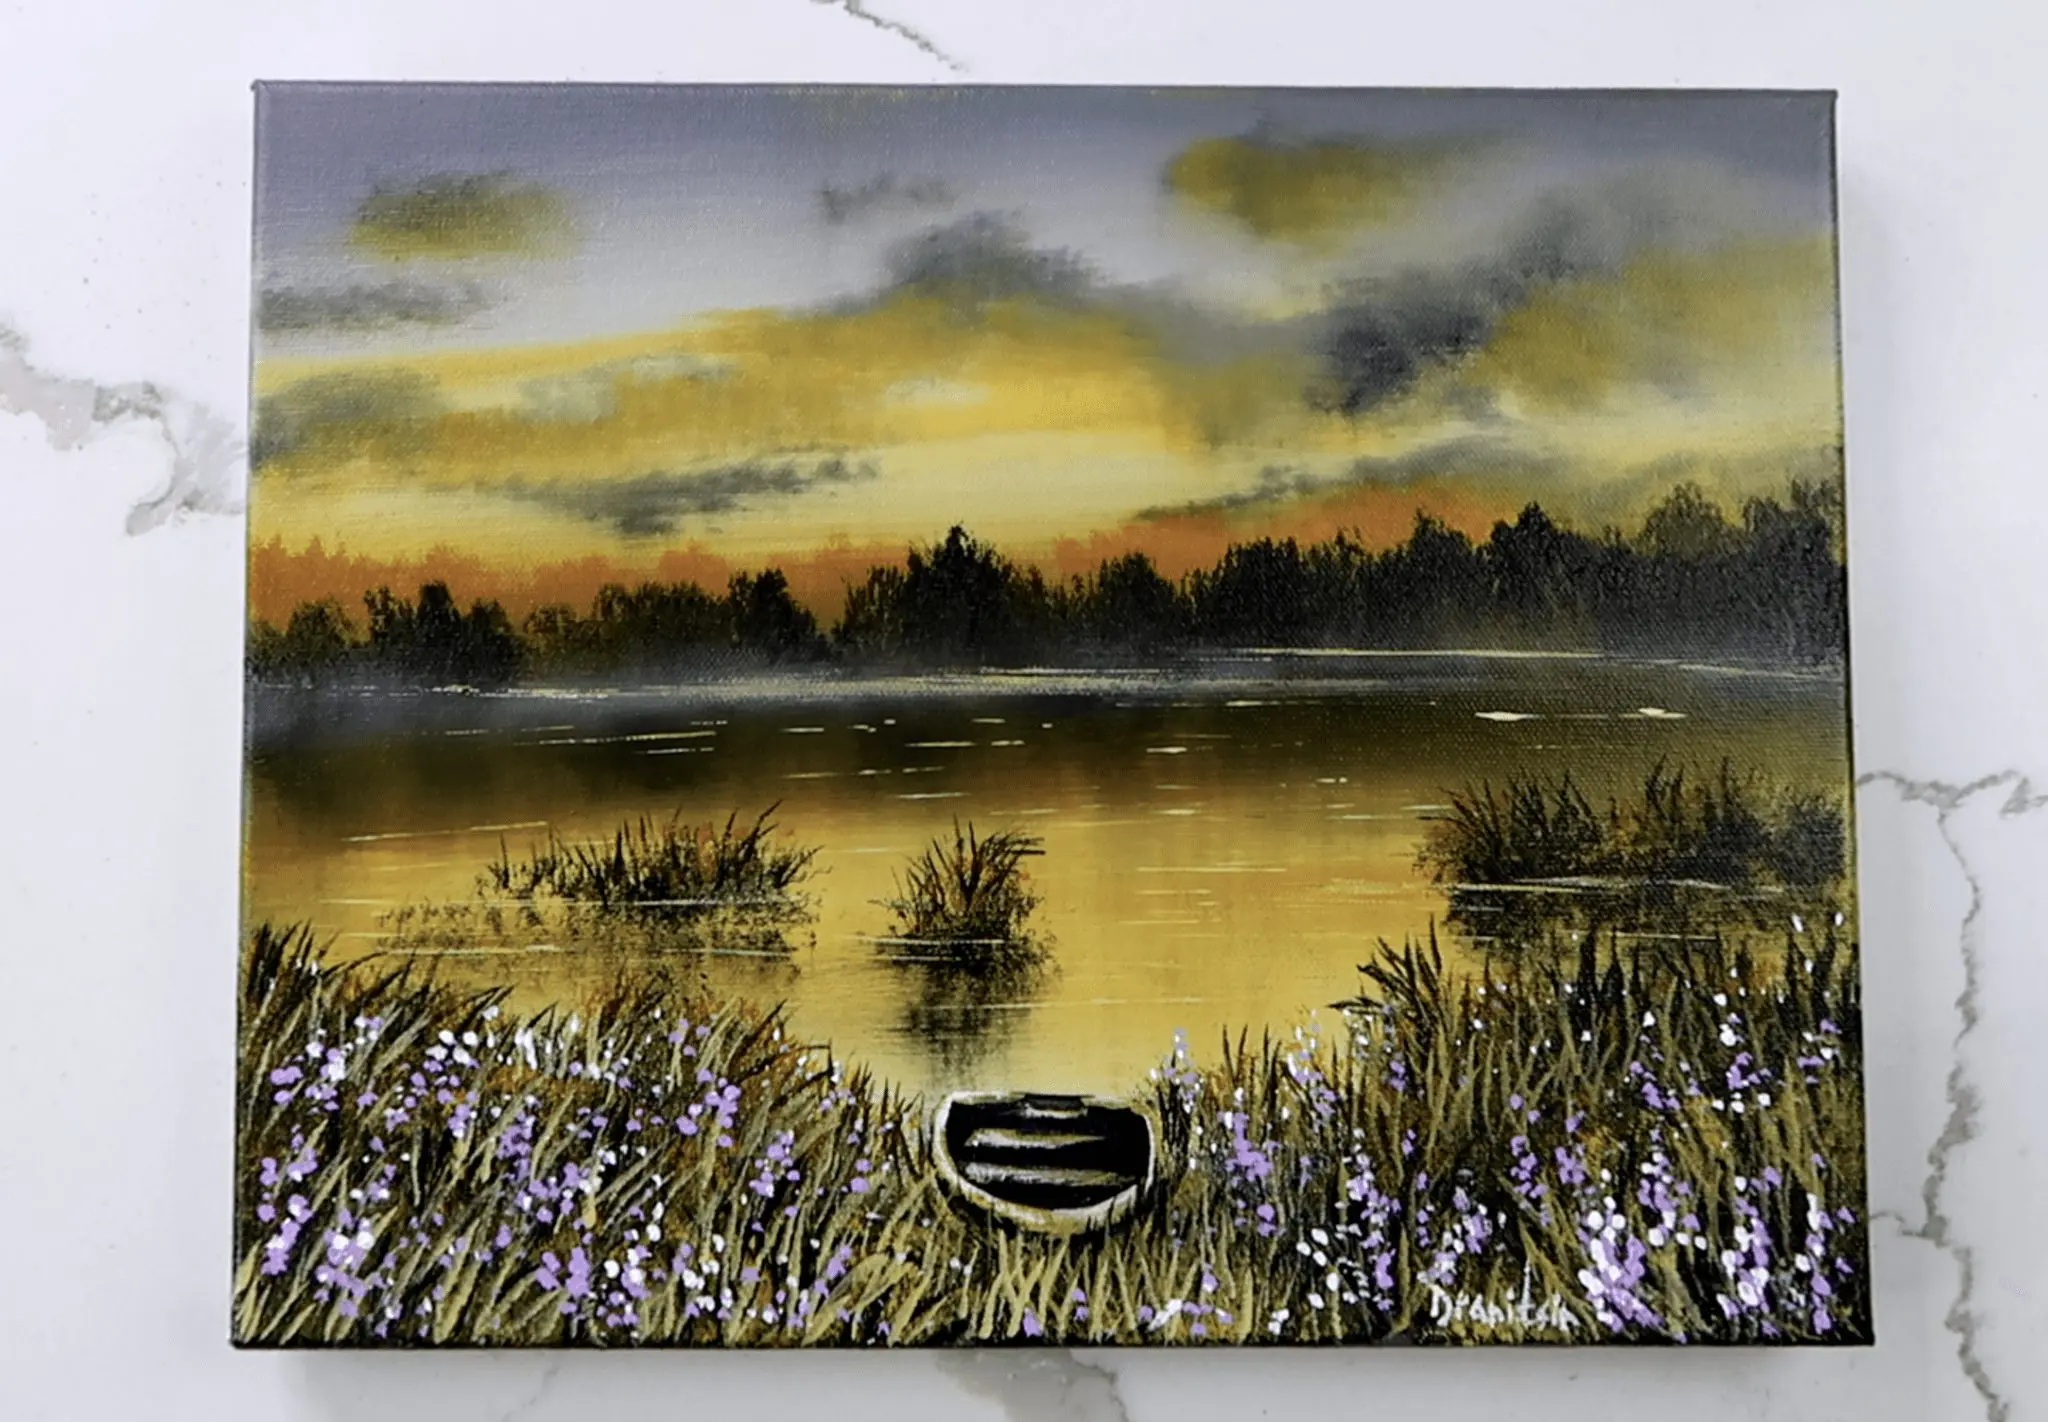
Hi, and welcome to our acrylic painting session! Today, we’re embarking on an enchanting artistic journey where imagination meets tranquility. Prepare to immerse yourself in a serene landscape titled “Fading Light,” capturing the graceful beauty of a solitary boat gliding across a calm lake under the softening glow of twilight. This painting not only reflects the essence of peace but also invites contemplation and a deeper connection to nature.
Materials Needed:
Before we dive into the joy of painting, let’s gather our materials. We’ll be working on a 12 x 14-inch canvas, but feel free to use any size you have available—remember, it’s all about expressing your unique vision! For tips on preparing your canvas, be sure to check out our helpful resource at painting tips page.
Our color palette today features a beautiful array of shades: gray, white, yellow ochre, Indian yellow, dark gray, and blues. These colors will help us convey the tranquil palette of a twilight sky and the reflections on the lake.
Tools and Materials List:
- Canvas
Dimensions: 12 x 14 inches (or your preferred size) - Brushes
- Flat Oval Brush: For backgrounds and blending
- Pointed Oval Brush: For fine details and blending
- Big Oval Brush: For blending reflections
- Ultra-Soft Blending Brush: For smoothing edges
- Small Square Brush: For the boat and shoreline details
- Liner Brush: For intricate details like grass and flowers
- Palette
For mixing and holding paints - Palette Knife
For mixing paints and creating texture (optional) - Colors (Acrylic Paints)
- Gray
- White
- Yellow Ochre
- Indian Yellow
- Water Container
For rinsing brushes between colors - Paper Towels or Rags
For wiping brushes and cleaning up - Easel (Optional)
To hold your canvas at a comfortable angle - Heat Gun or Hairdryer (Optional)
For drying layers of paint quickly - Protective Smock or Apron
To keep your clothes clean while painting - Varnish (Optional)
To seal your finished painting and enhance colors (for later use)

With these tools and materials collected, you are all set to embark on your painting adventure! Happy painting!
Step 1: Creating the Serene Sky
Let’s begin our journey by crafting the sky! Start by taking your flat oval brush and dipping it into a soothing gray acrylic paint. With gentle brushstrokes, cover the entire canvas. This calming base will set the mood for our twilight scene. Allow it to dry completely, taking just a few moments.
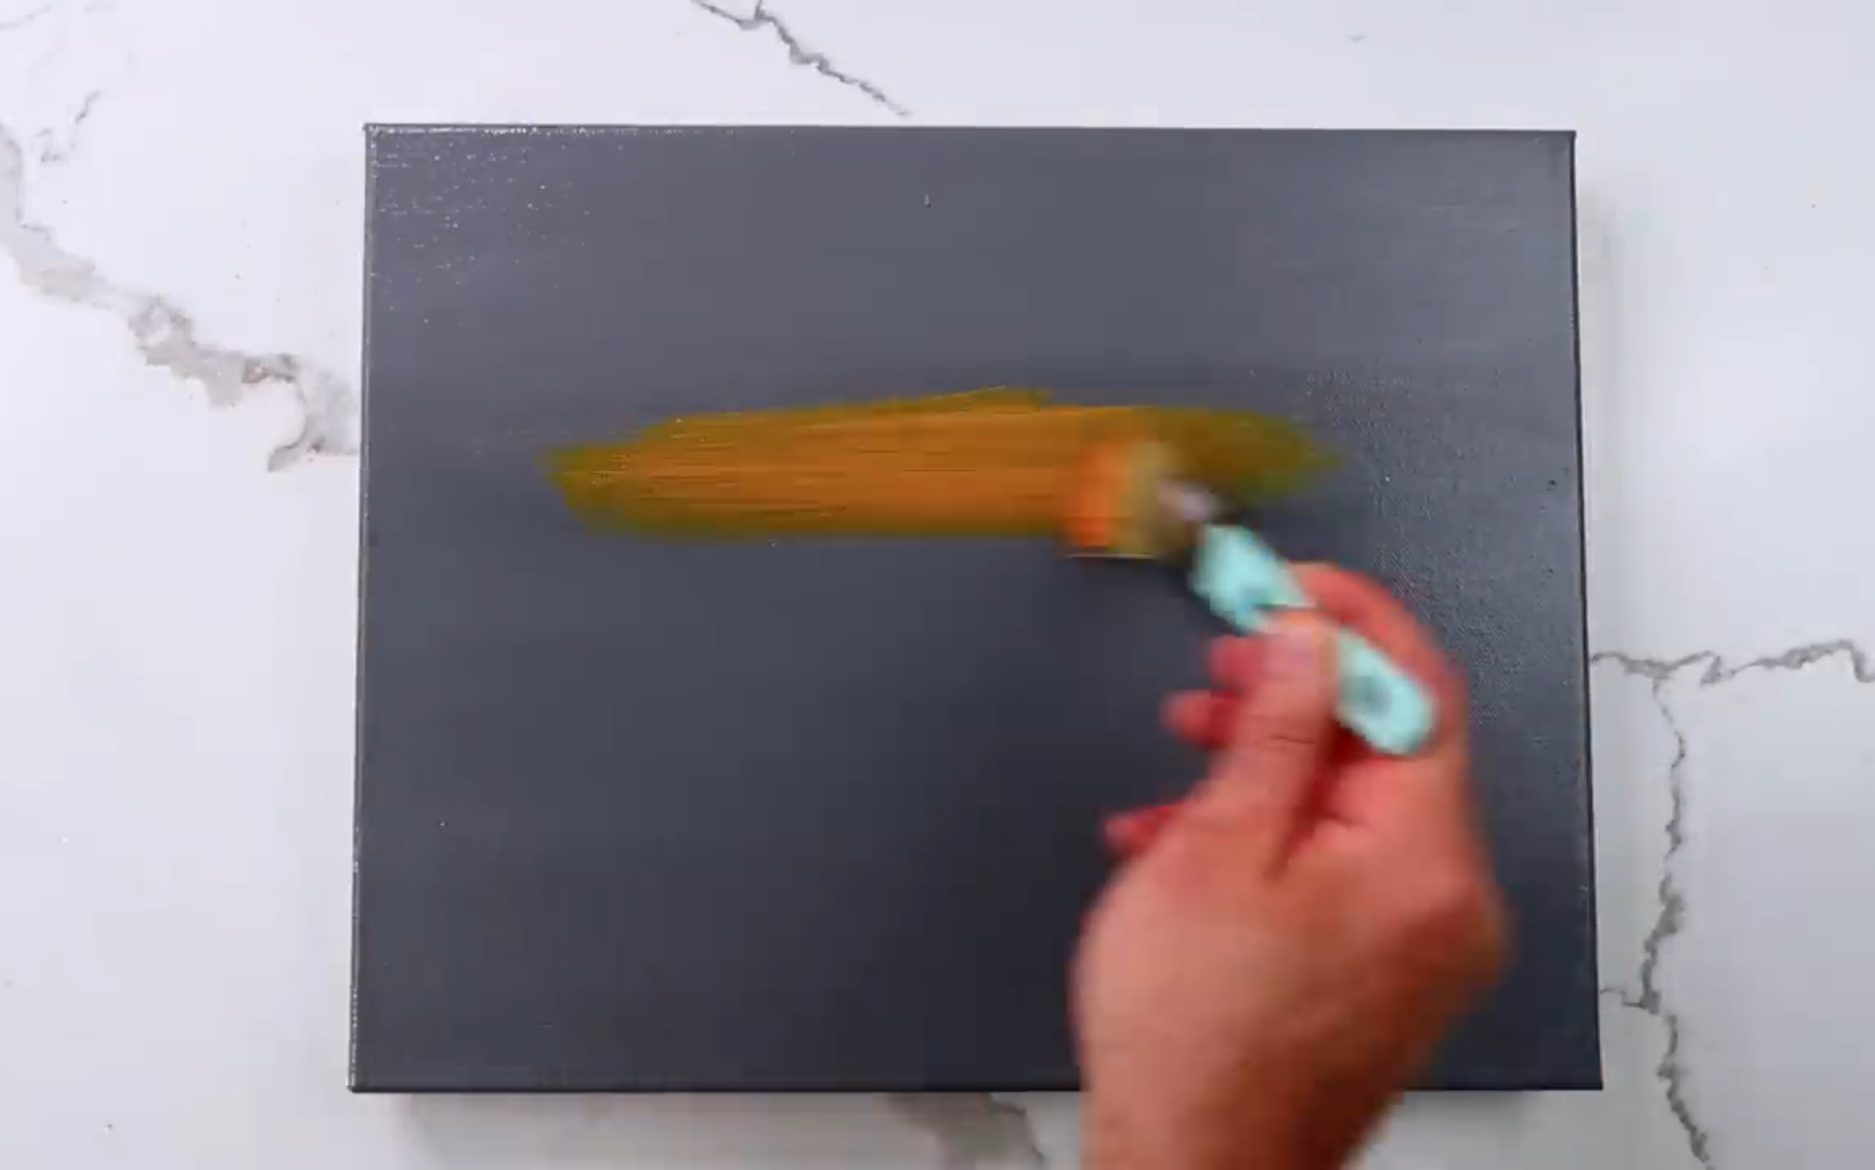
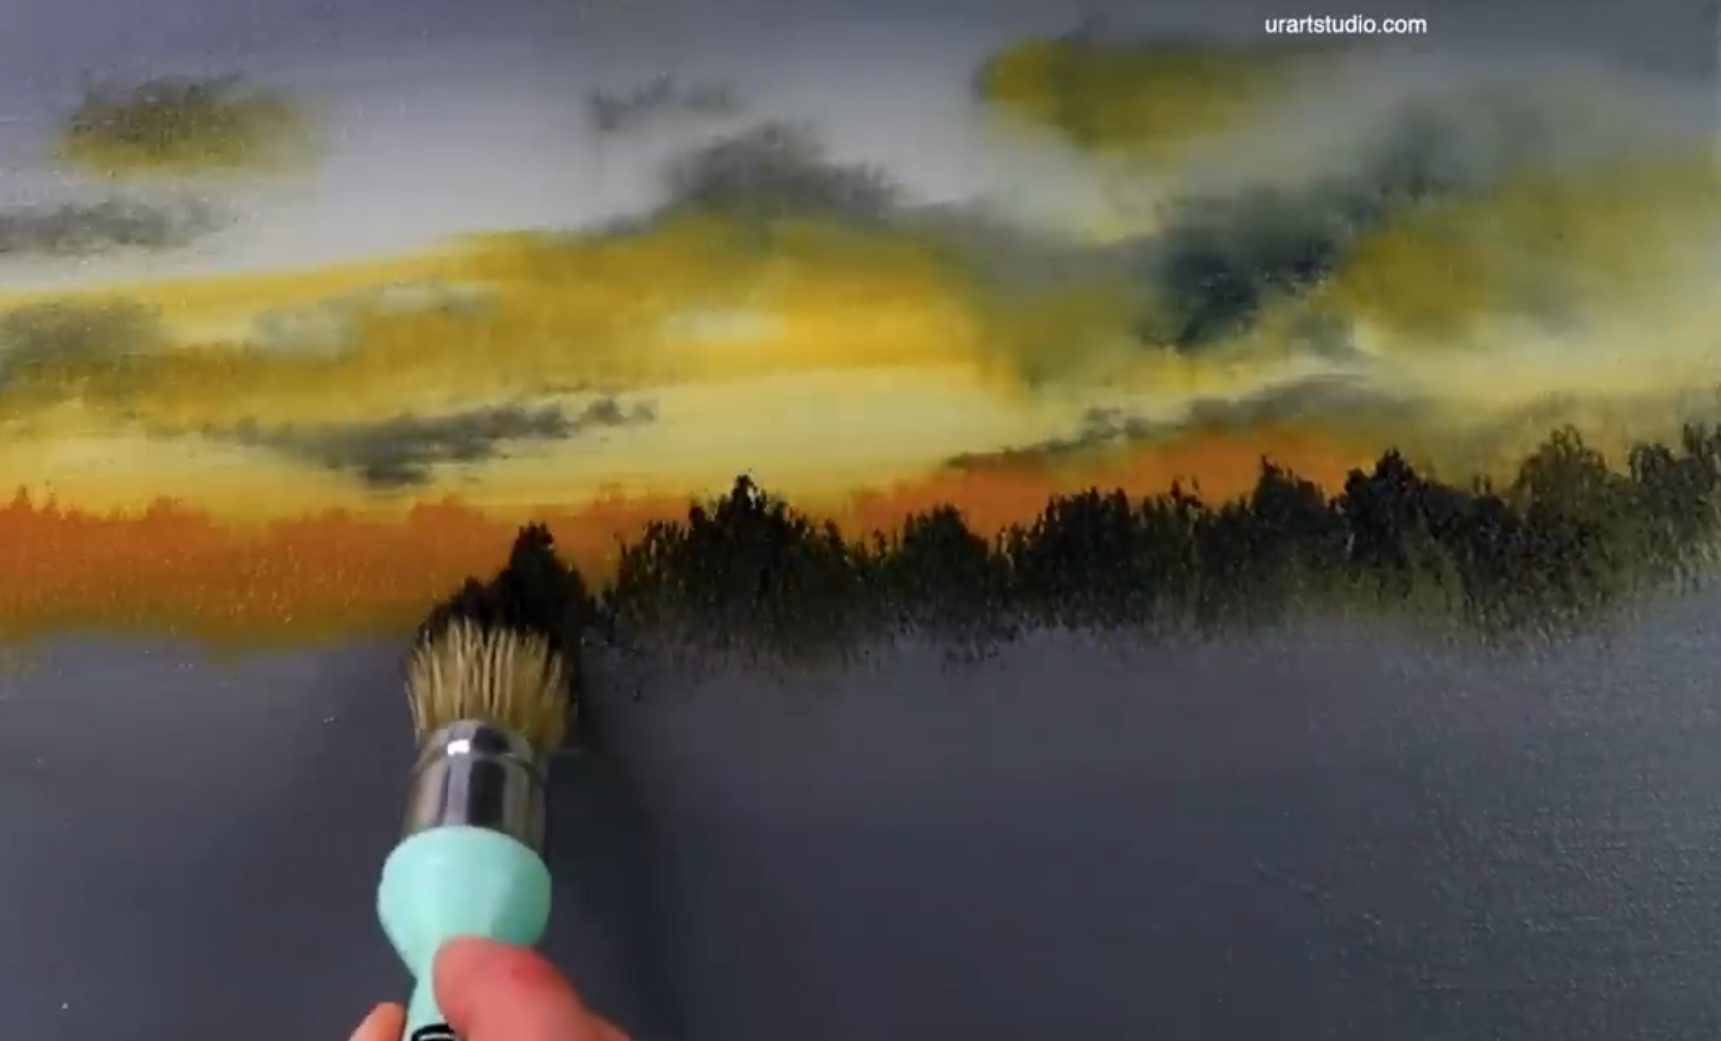
Now, let’s bring the sky to life! Load your oval brush with yellow ochre and begin painting just above the horizon line. Use smooth, horizontal motions as you layer this warm color across the sky. Imagine the sun dipping down, painting the sky in soft golden tones.
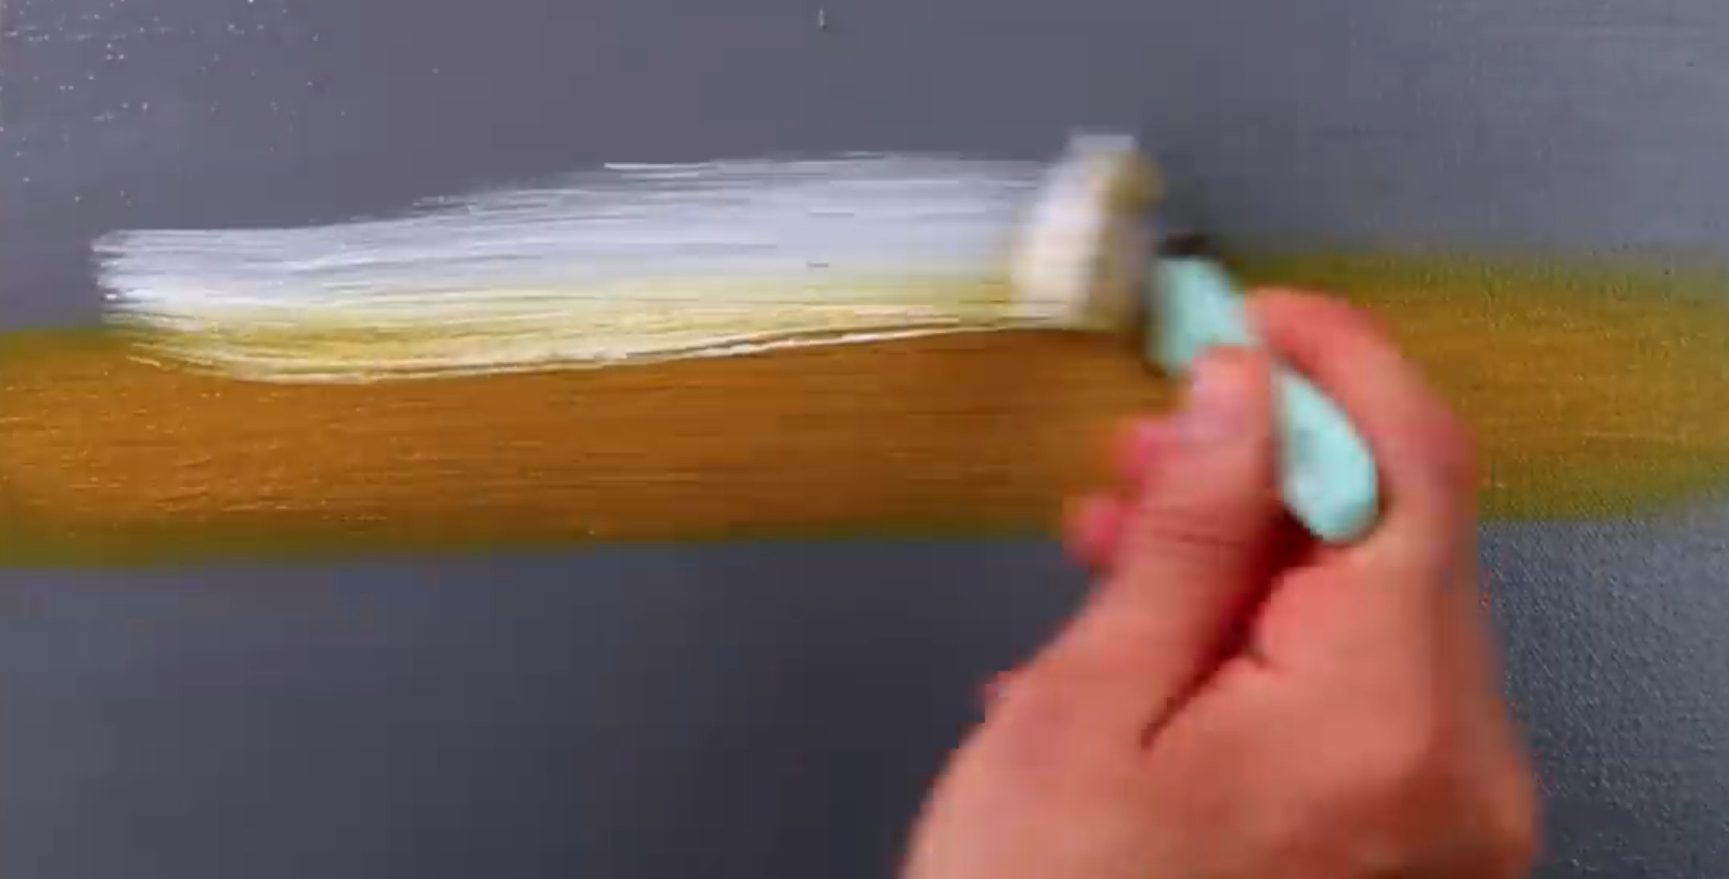
Next, dip your brush into pure white paint and carefully apply this above the yellow ochre, blending it gently to create a seamless transition. Visualize the brightness of the setting sun filtering through the clouds, casting a warm glow over the landscape.
To enhance our sky, use a mix of Indian yellow to paint stringy, fluffy clouds. With soft tapping motions, let these radiant shapes emerge from the deeper hues of the sky.
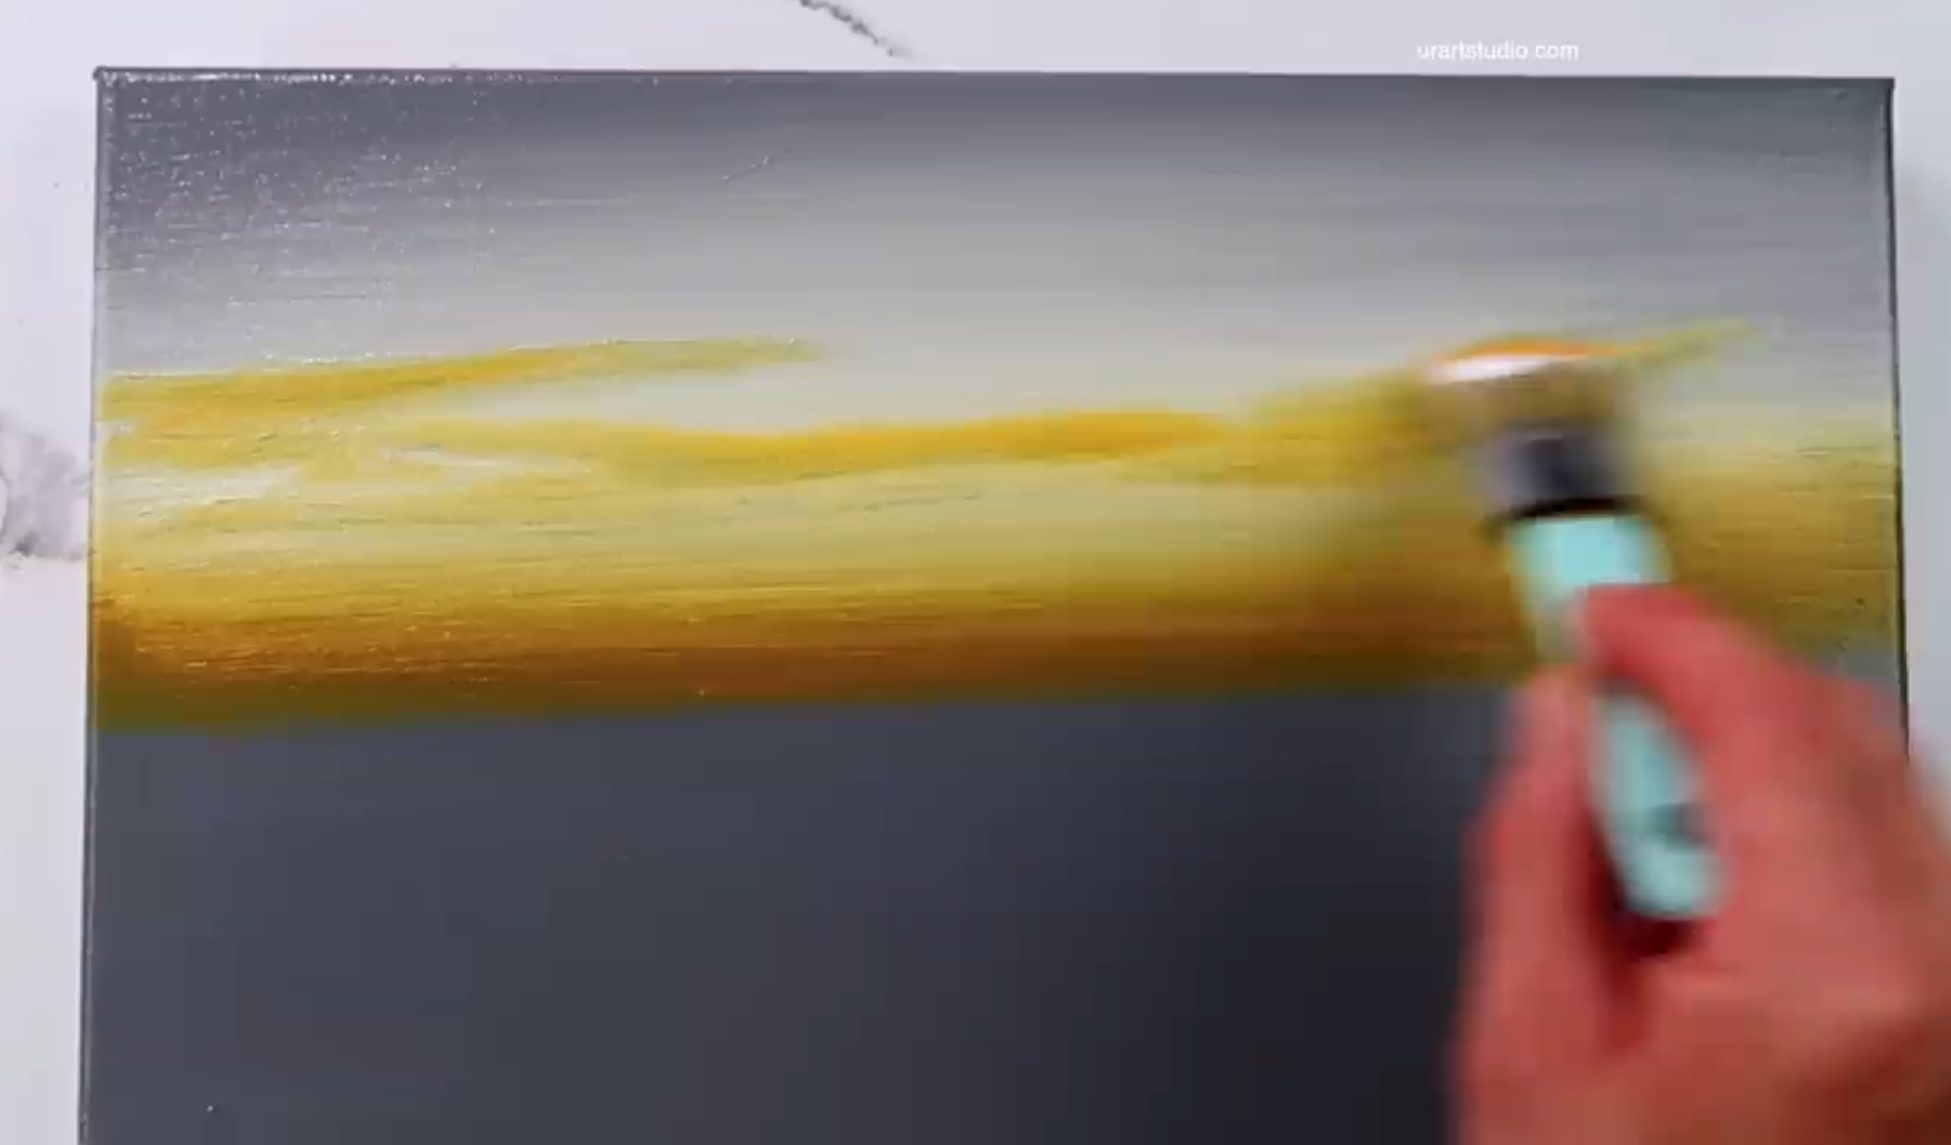
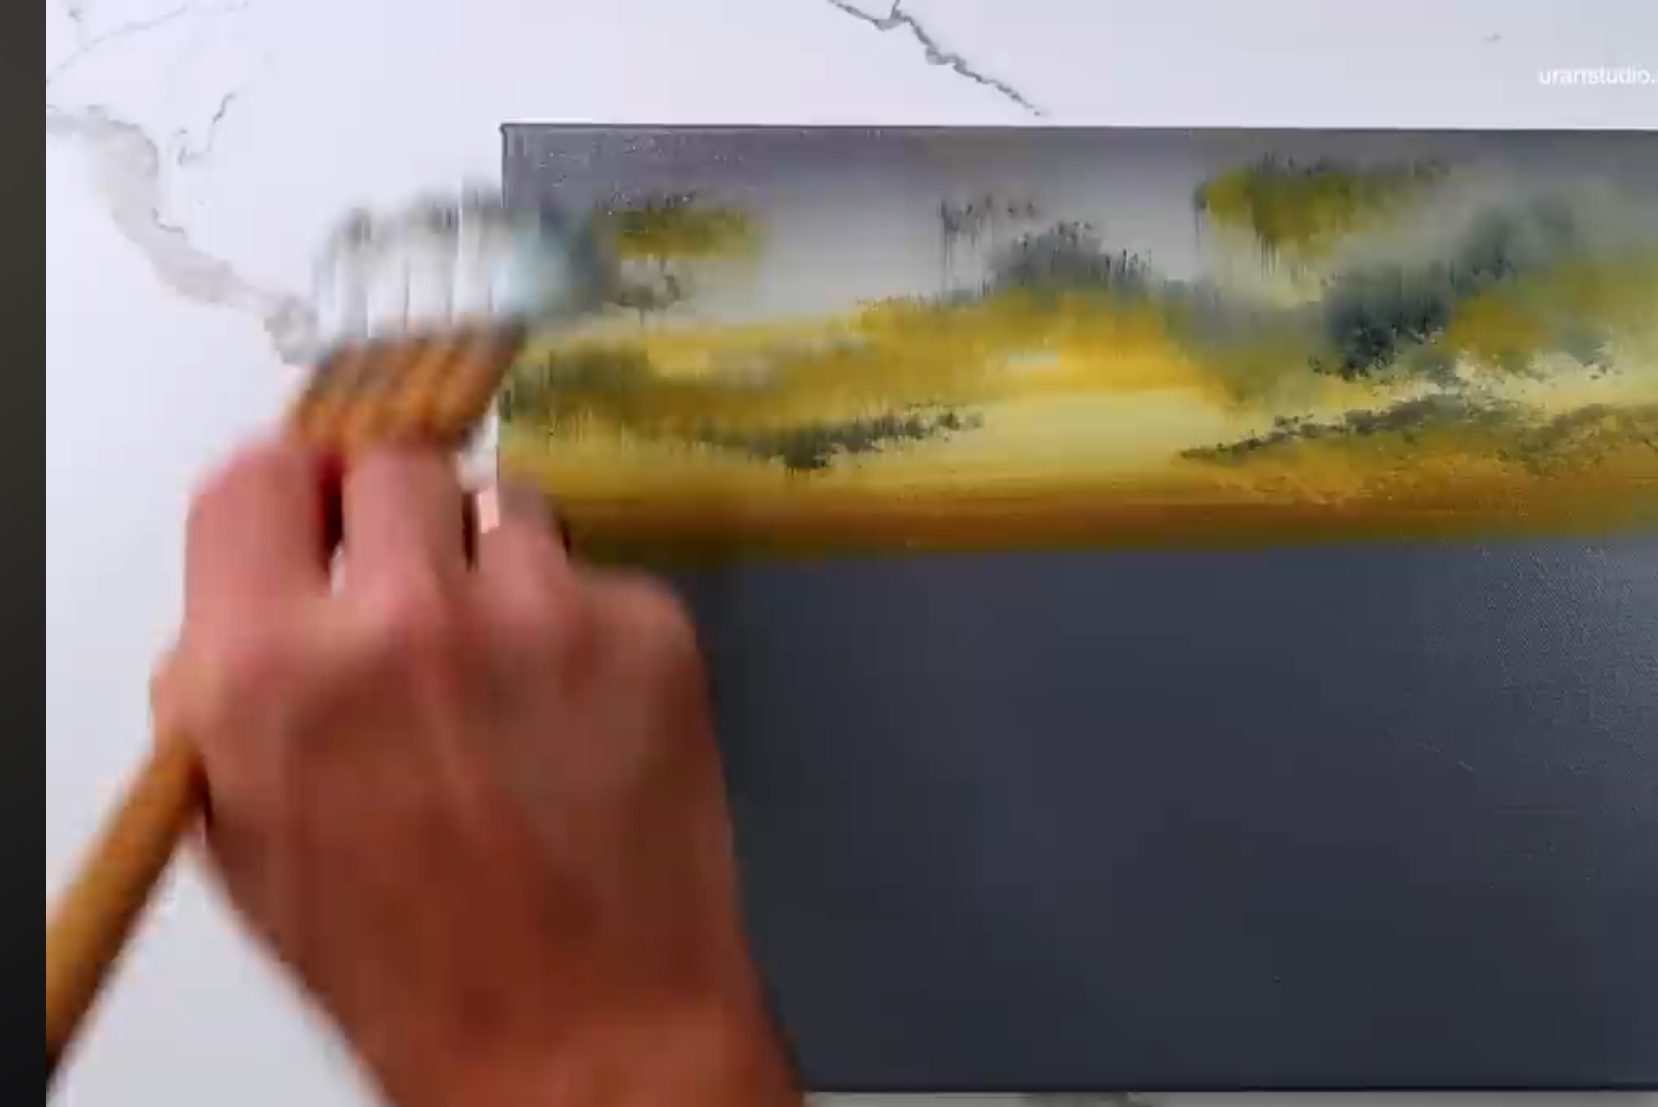
Now, let’s unify the colors! Grab your ultra-soft blending brush and gently blend the sky together; move the brush in both vertical and horizontal directions. Remember to wipe off any excess paint on a clean paper towel between strokes to achieve that blissfully soft finish. You may also use a heat gun or hairdryer to speed up the drying process—just be cautious not to scorch your canvas!
Step 2: Adding the Distant Tree Line
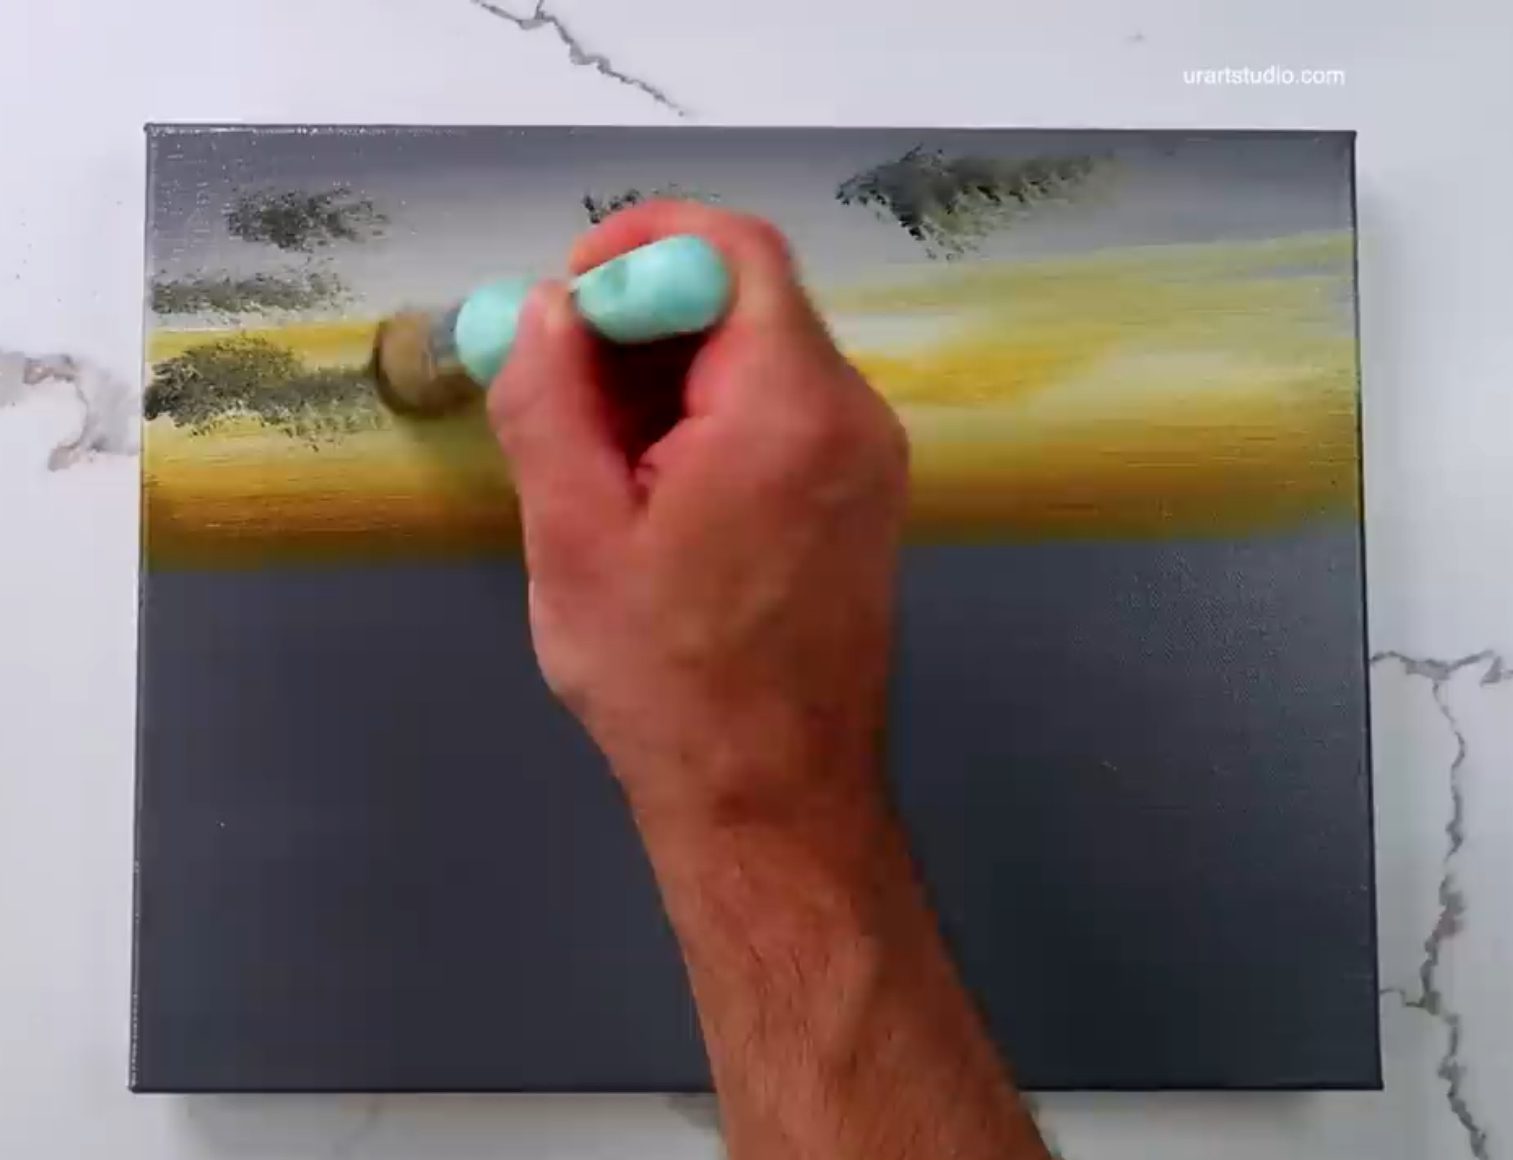
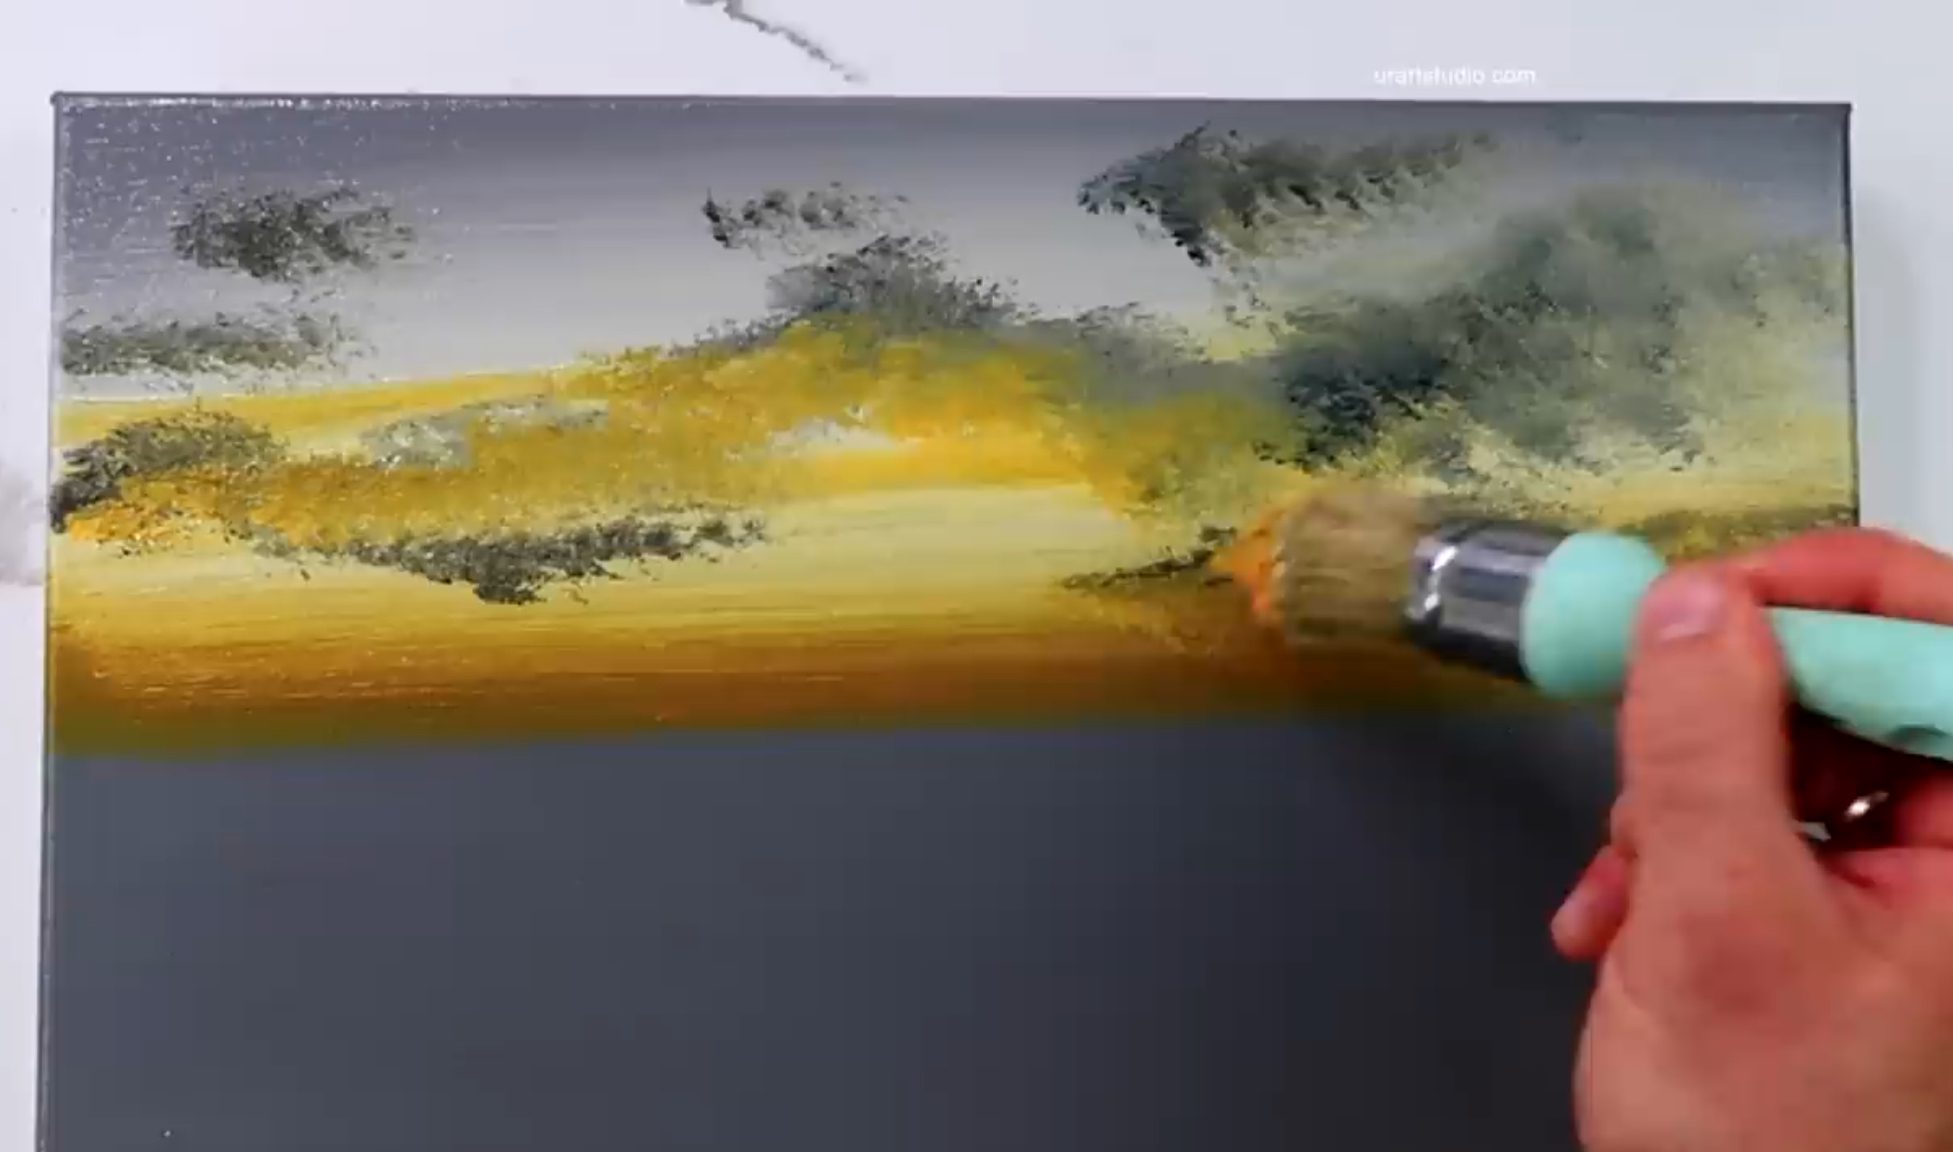
Our sky is blooming! Now, let’s create a distant tree line that grounds our painting. Mix Indian yellow and yellow ochre on your pointed oval brush, and paint a gentle outline of trees below the horizon. Imagining them silhouetted against the twilight sky, let these forms imply depth as they recede into the background.
We’ll add more richness by layering dark gray below the tree line. This shadowy presence creates a contrast, as if the sun is still lighting these trees from below, adding to our peaceful twilight scene.
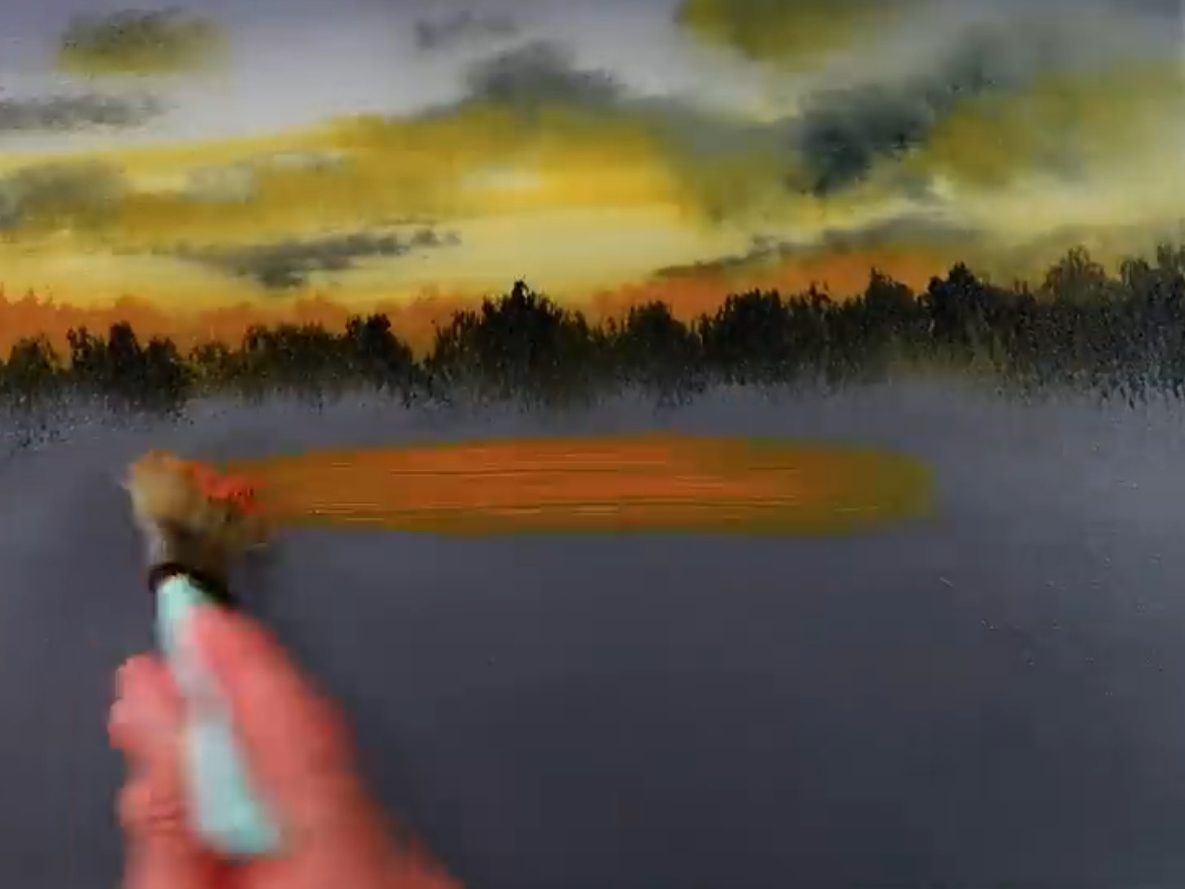
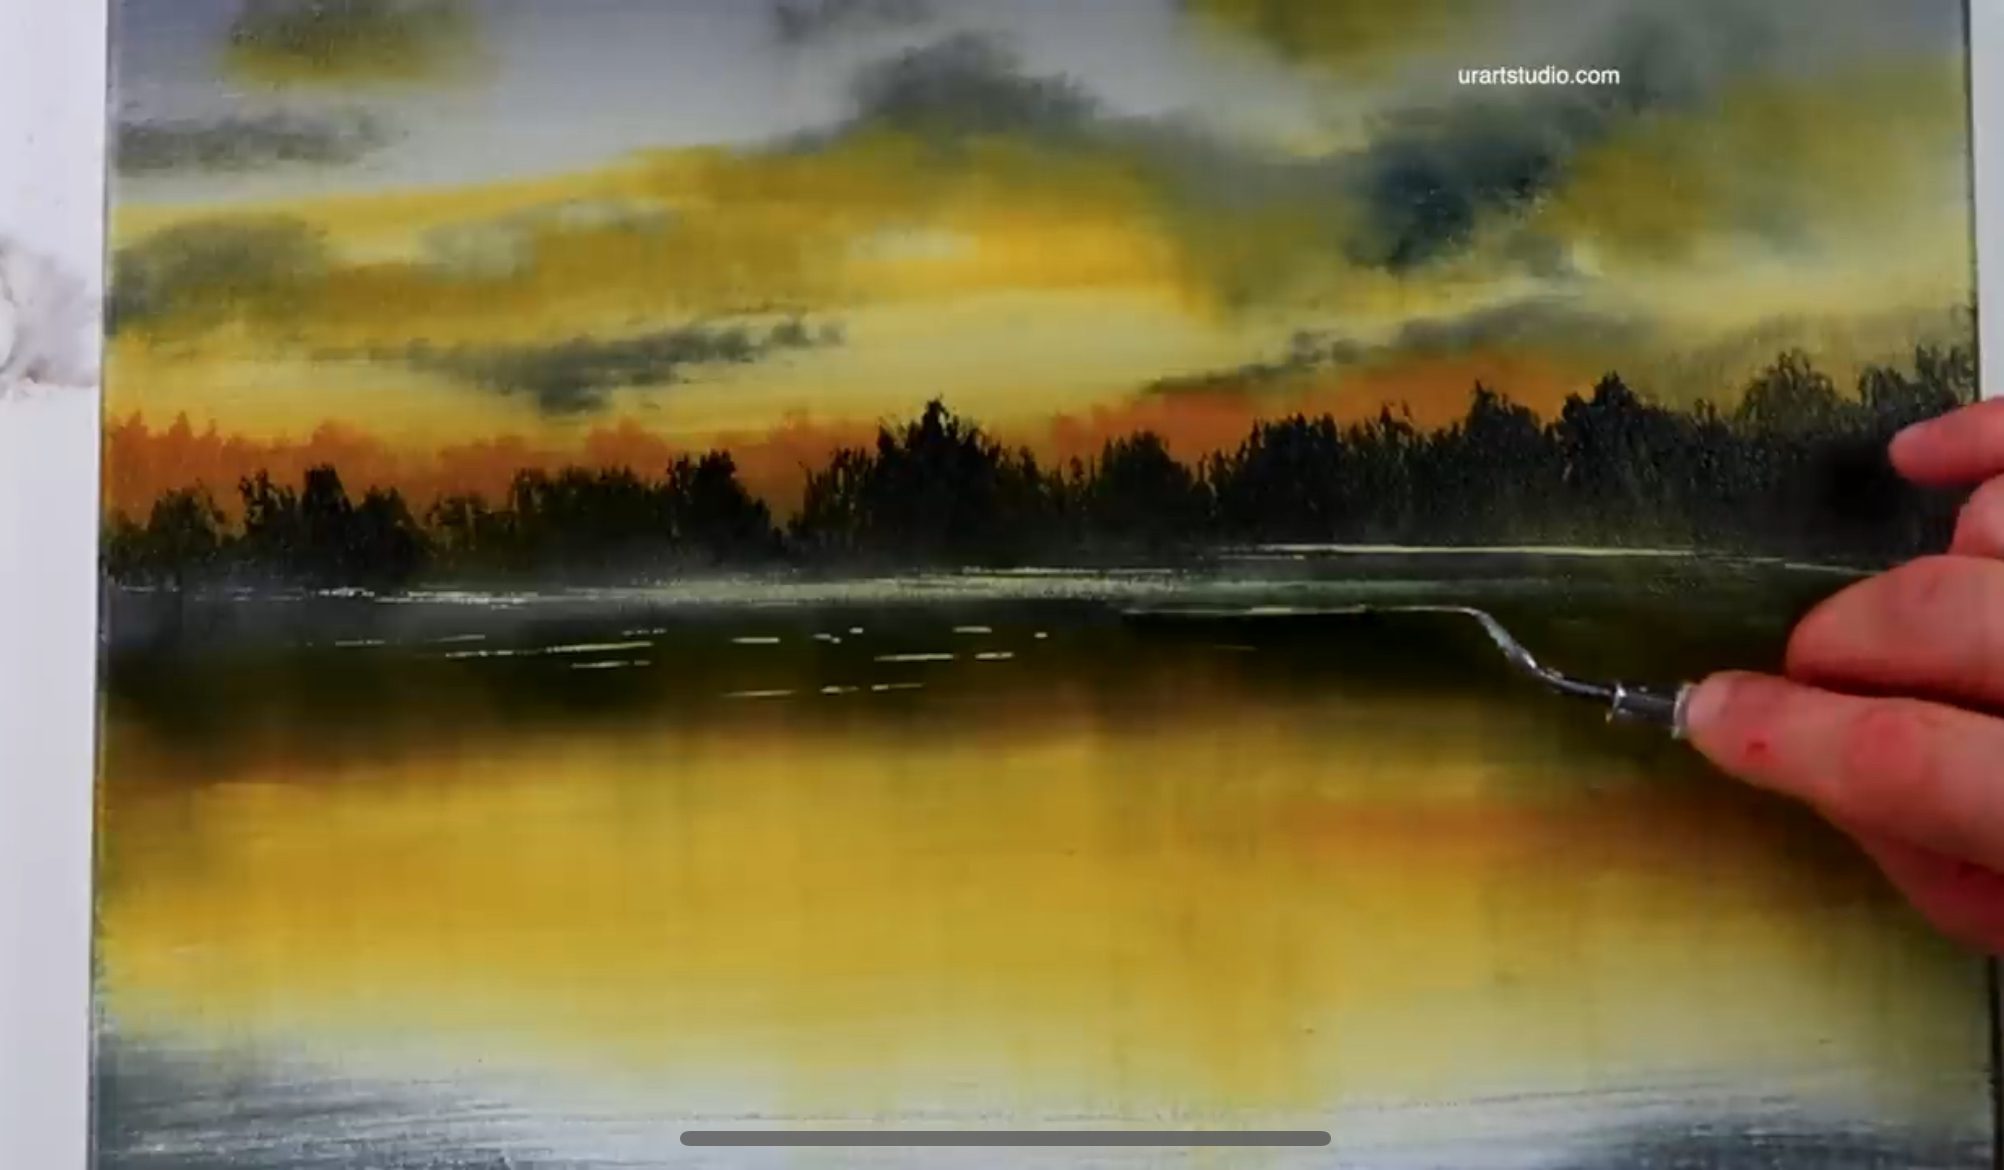
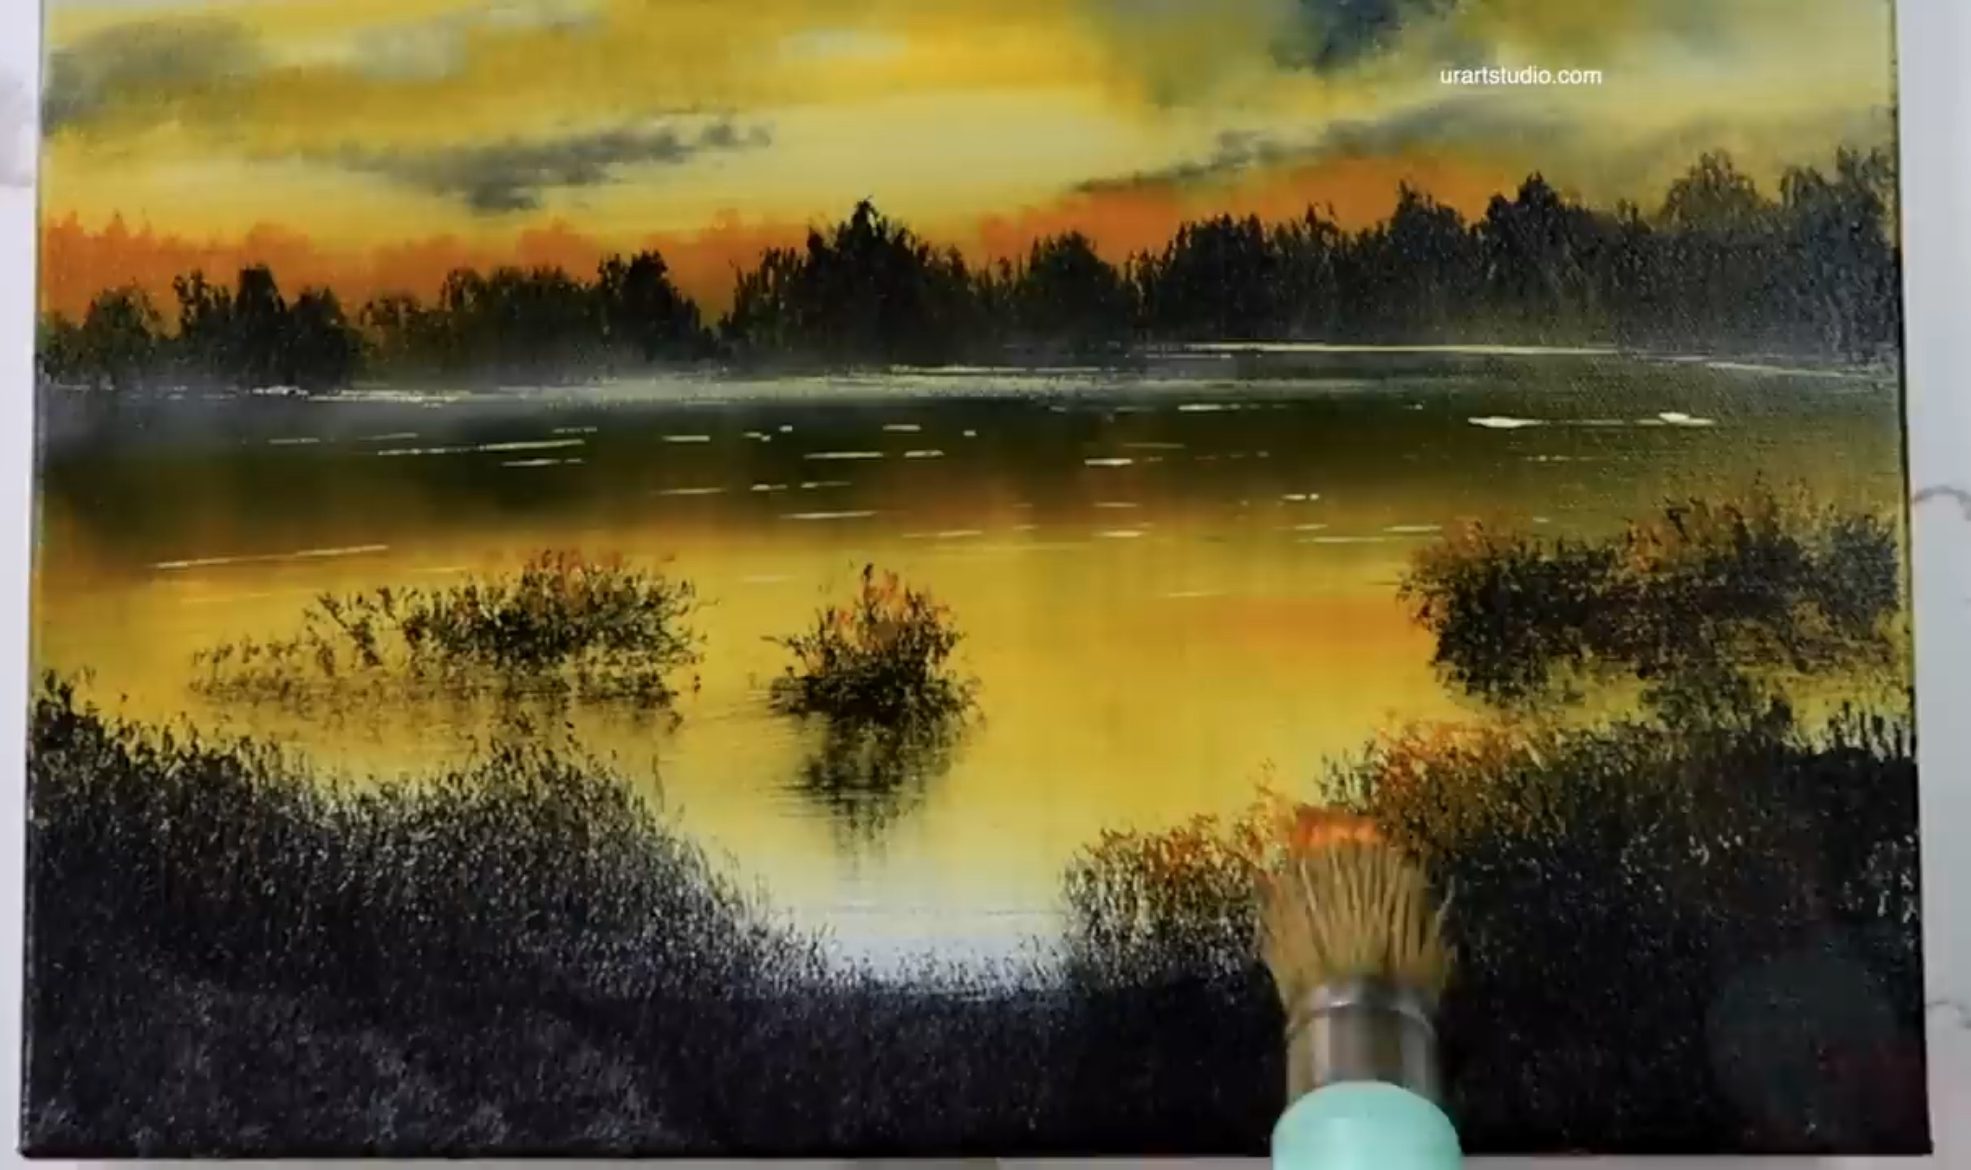
Step 3: Reflecting the Twilight on the Lake
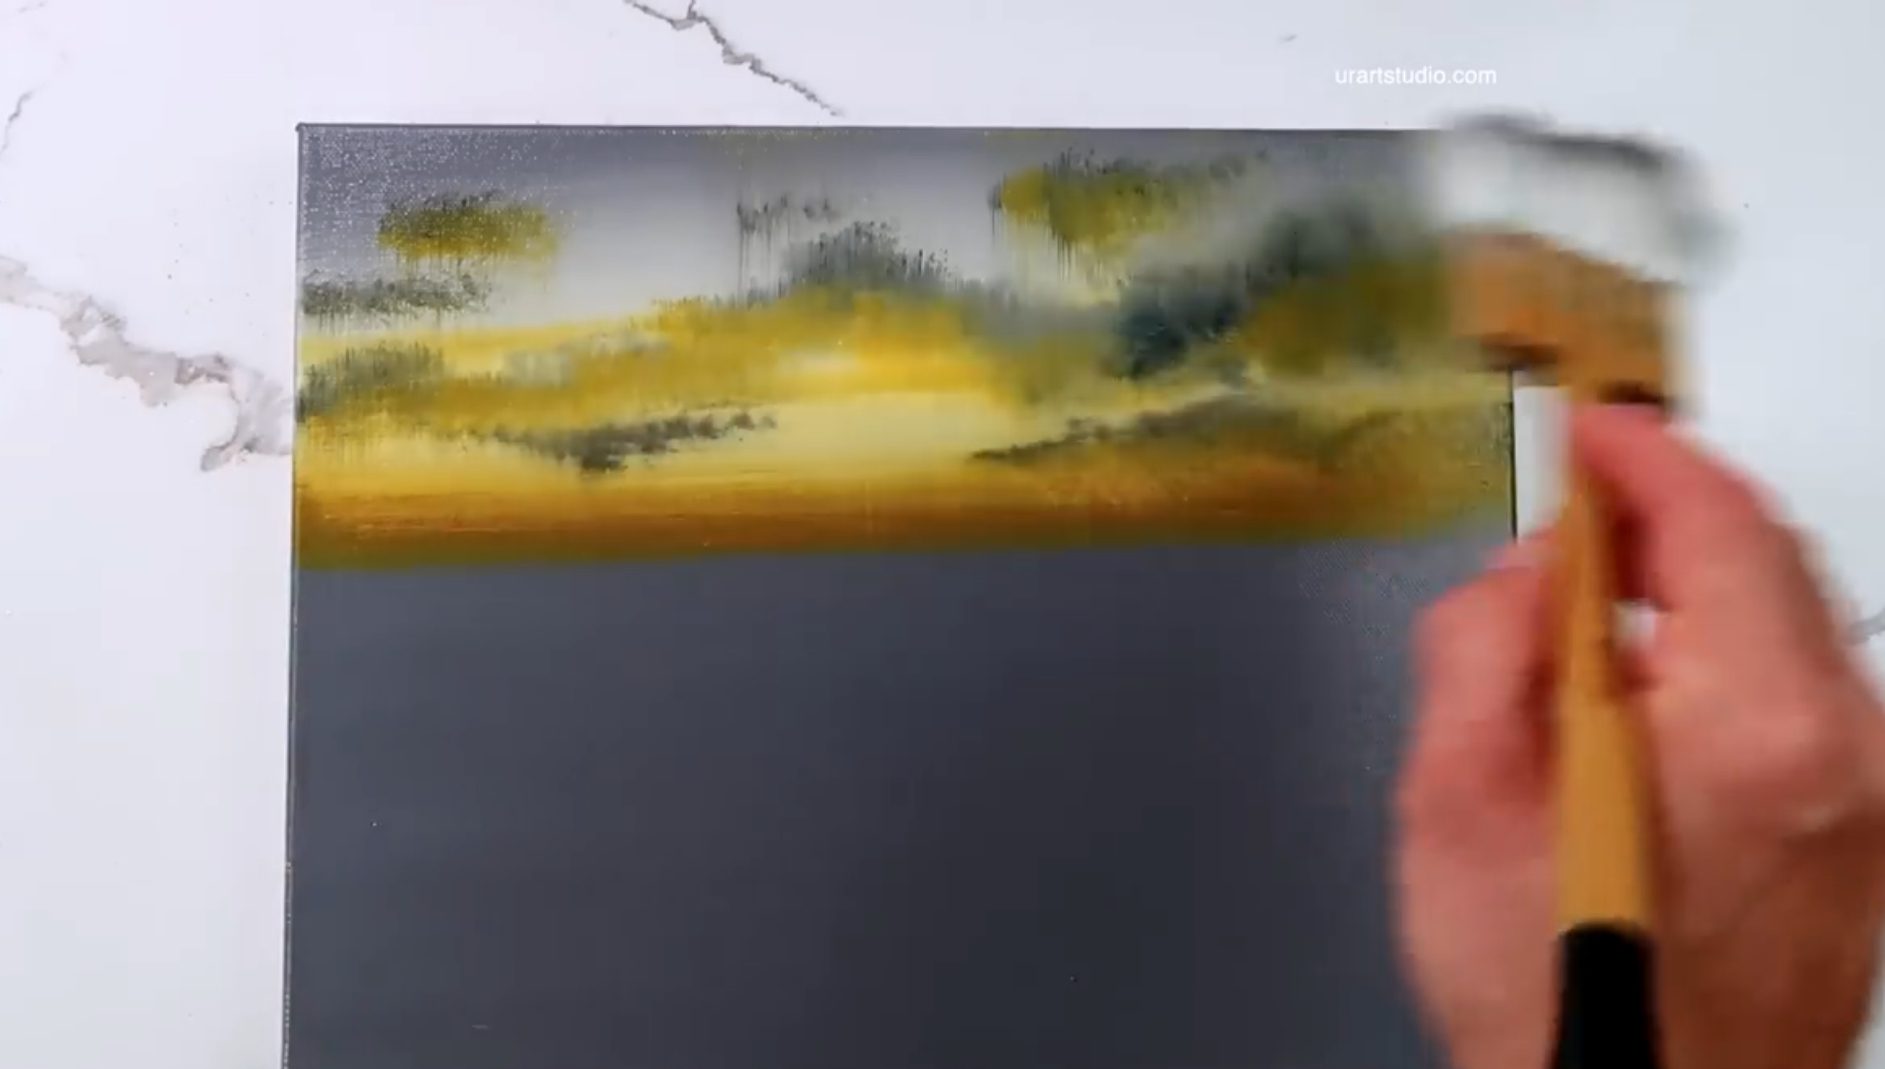
Now, let’s move to the shimmering lake beneath the tree line. Grab your flat brush and mix white with yellow to create a lovely reflection of the colors in the sky. Starting at the base of the trees, sweep across the canvas, keeping the strokes soft and flowing—let the water reflect the beauty above.
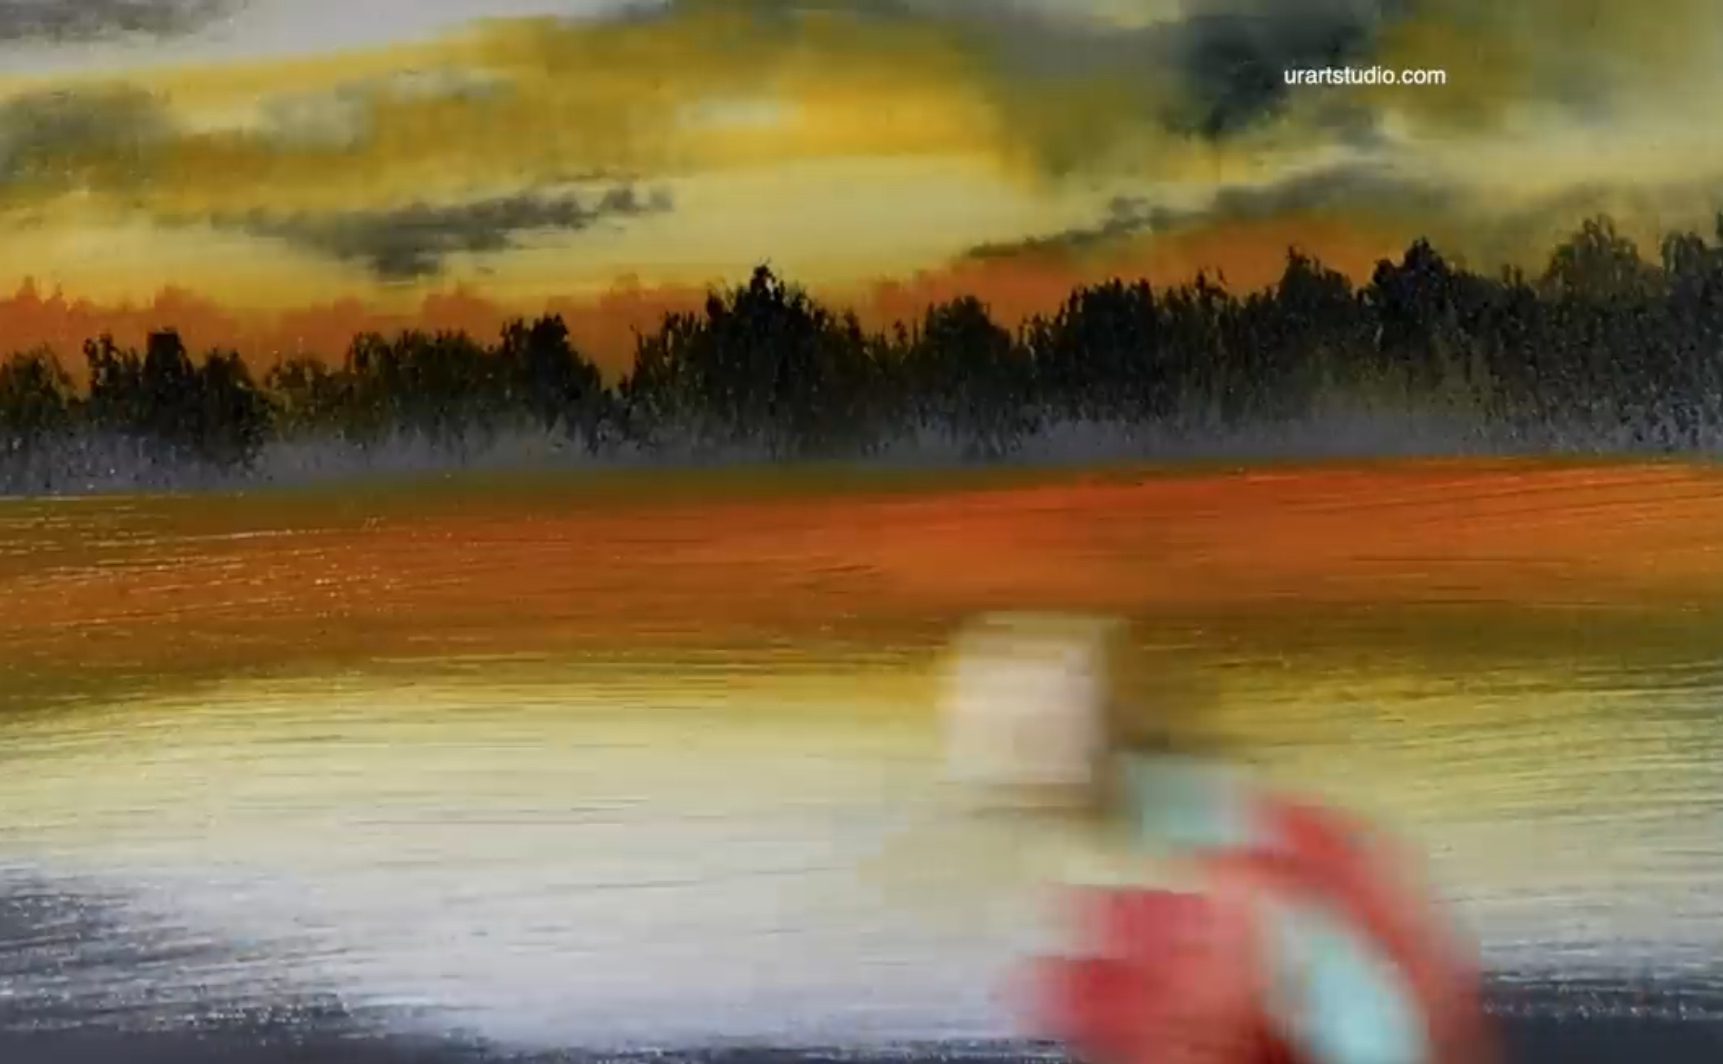
Next, load your pointed oval brush with dark gray and mirror the tree line in the water below. Feel the calm energy of the lake as you create these gentle waves of reflection.
To bring life to our lake, take your big oval brush and start blending the reflection. Work horizontally and vertically, moving across the water, and don’t forget to clean your brush on a paper towel between each stroke for that perfect finish.
Finally, grab your ultra-soft blending brush again, and carefully blend out any visible brush marks to achieve that silky smooth water effect.
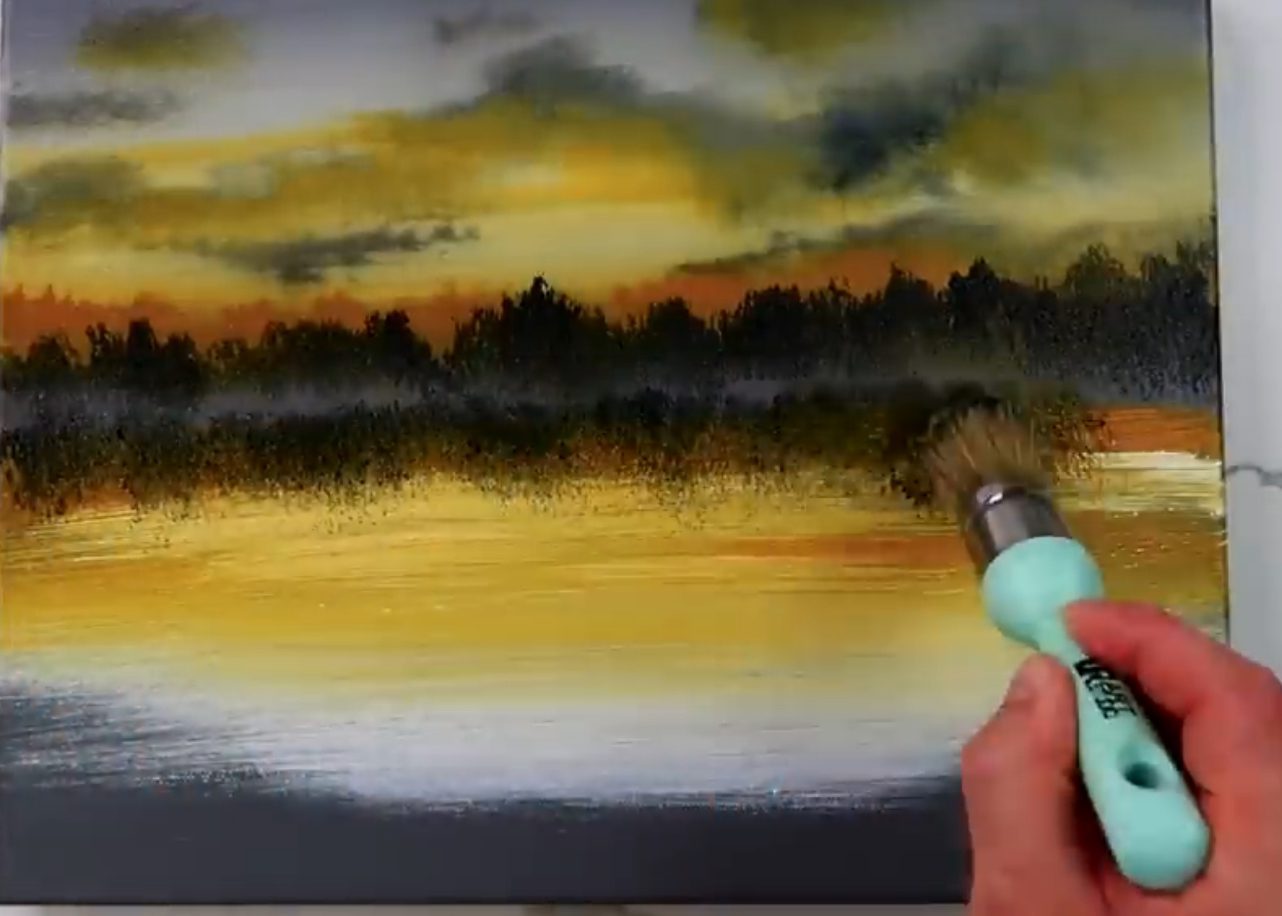
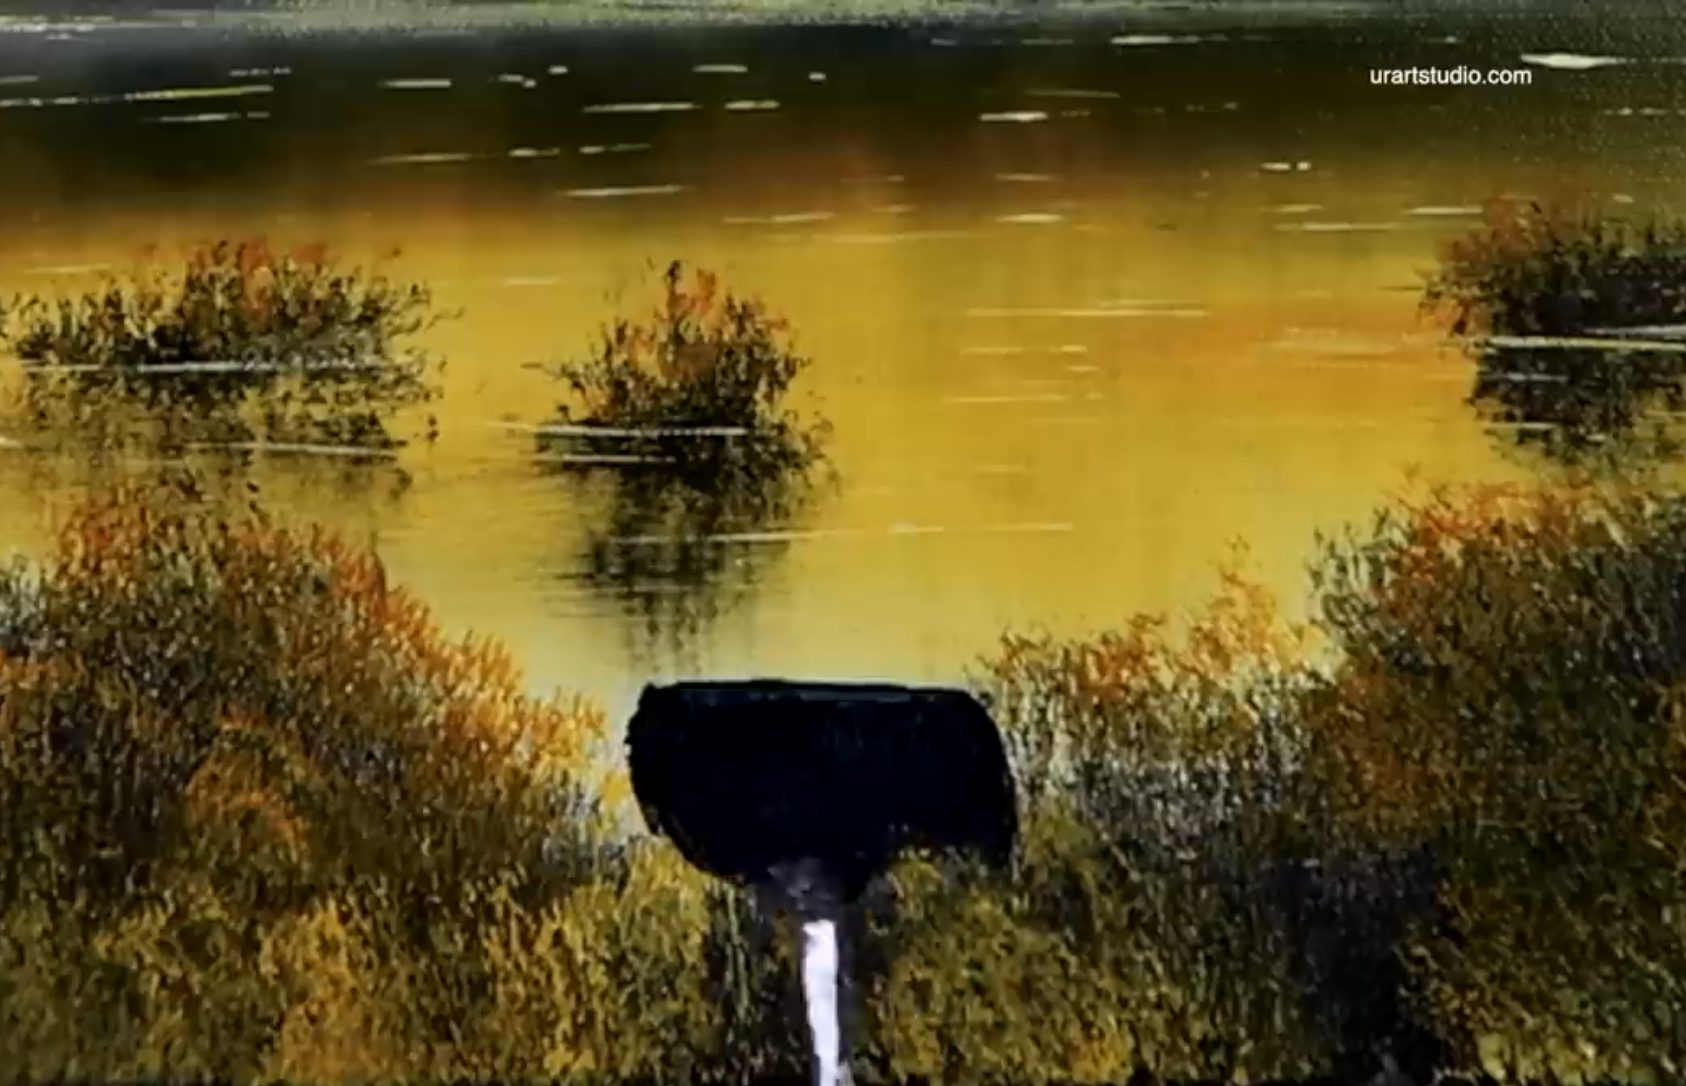
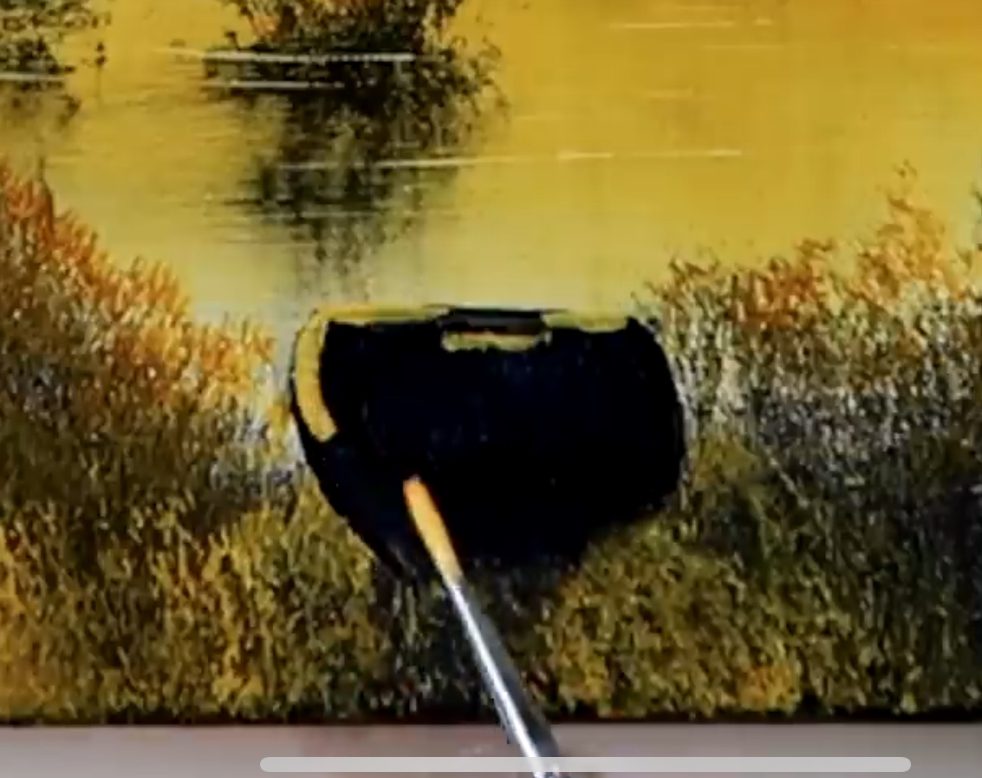
Step 4: Creating the Boat and Shoreline Details
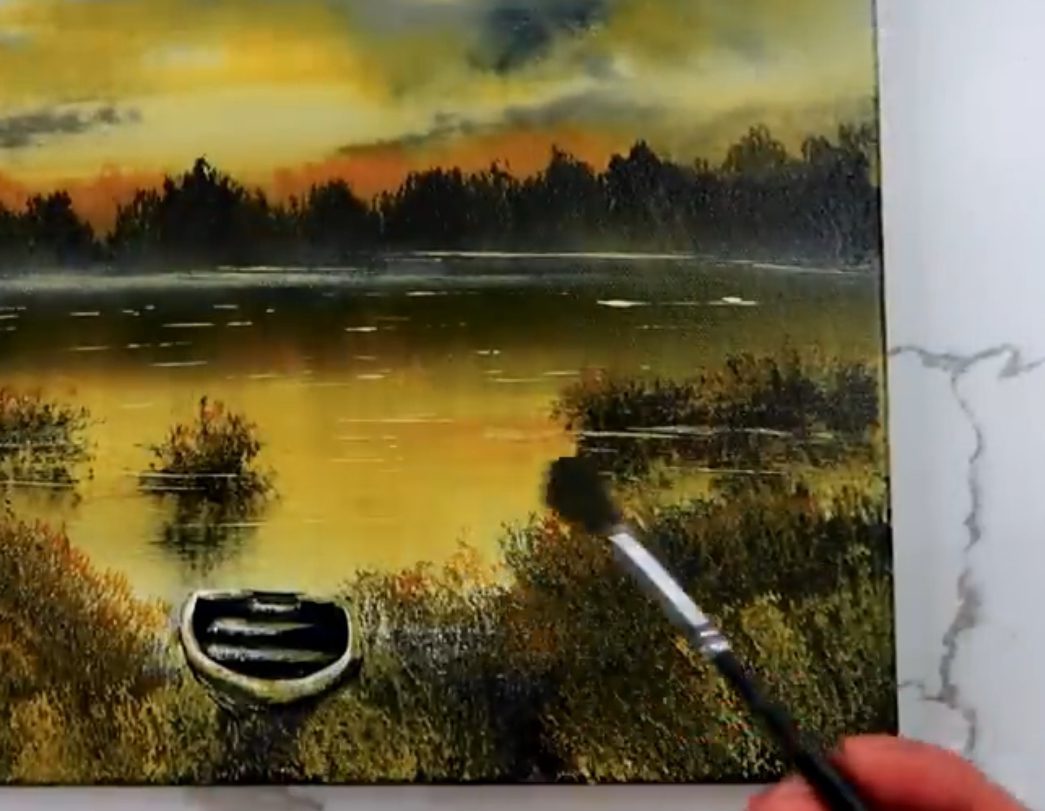
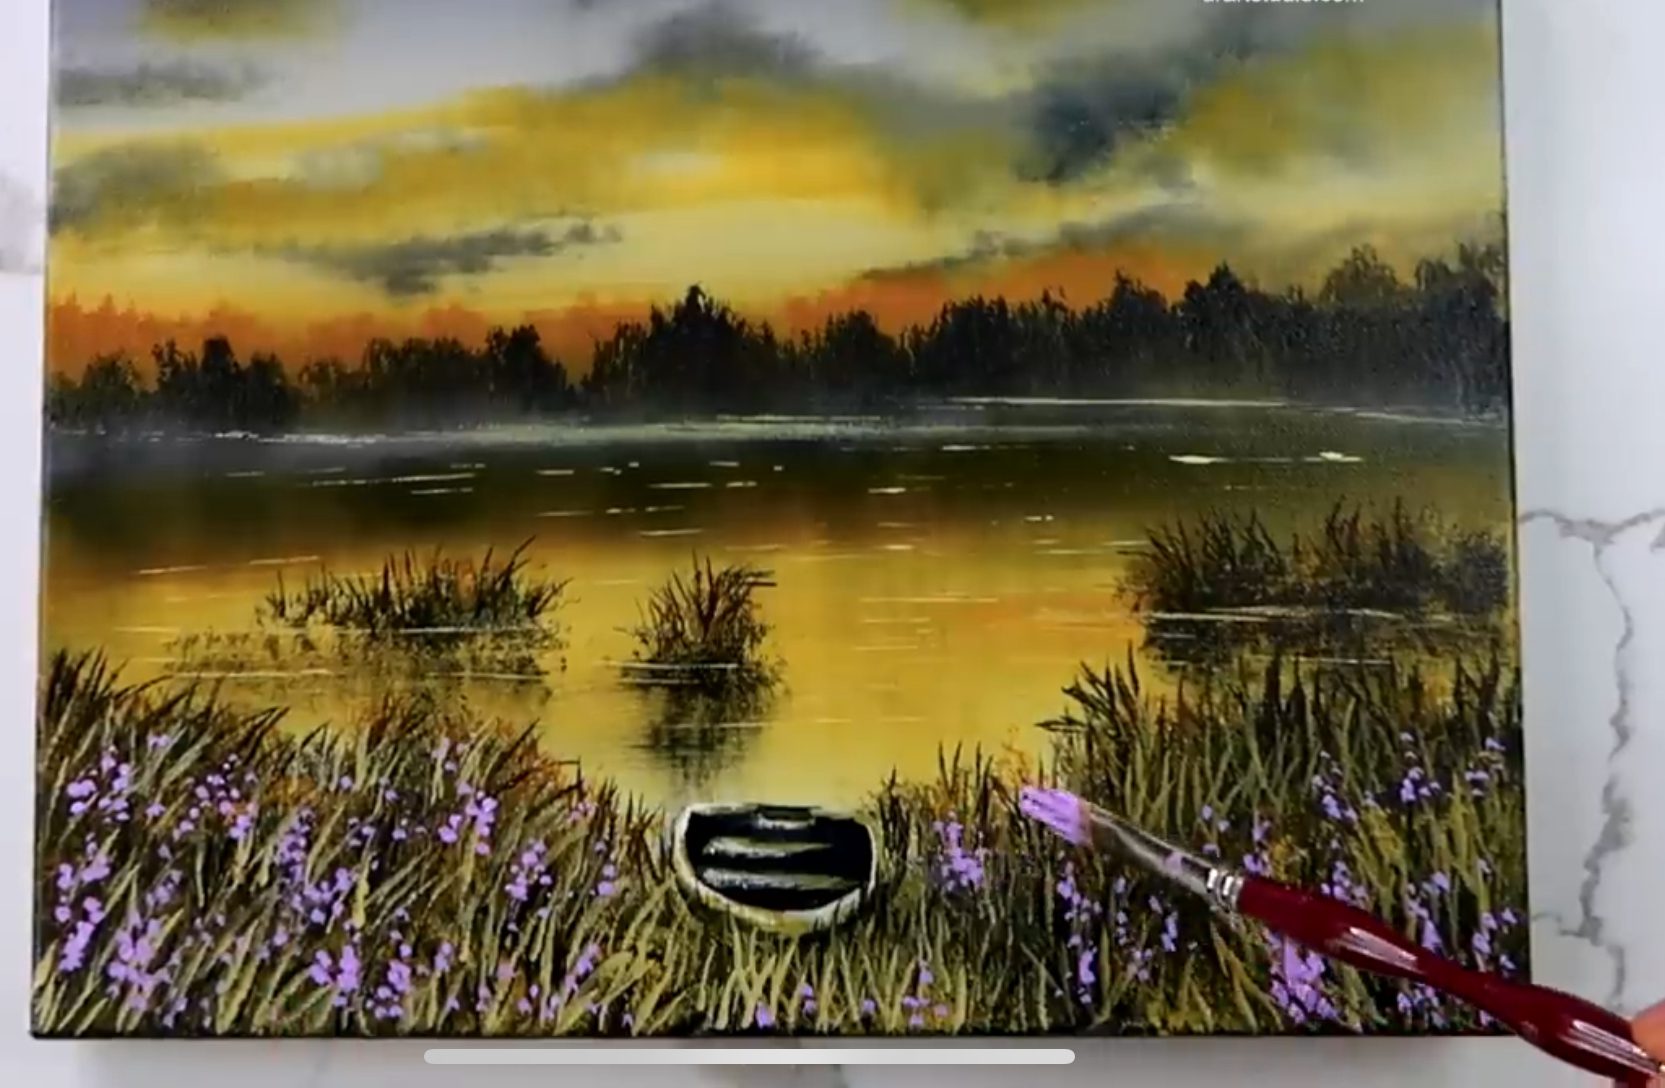
With our tranquil lake complete, it’s time to introduce a touch of life! Grab your small square brush and use dark gray to paint a simple silhouette of a boat nestled between the reeds along the shore. This will add a focal point to your serene scene.
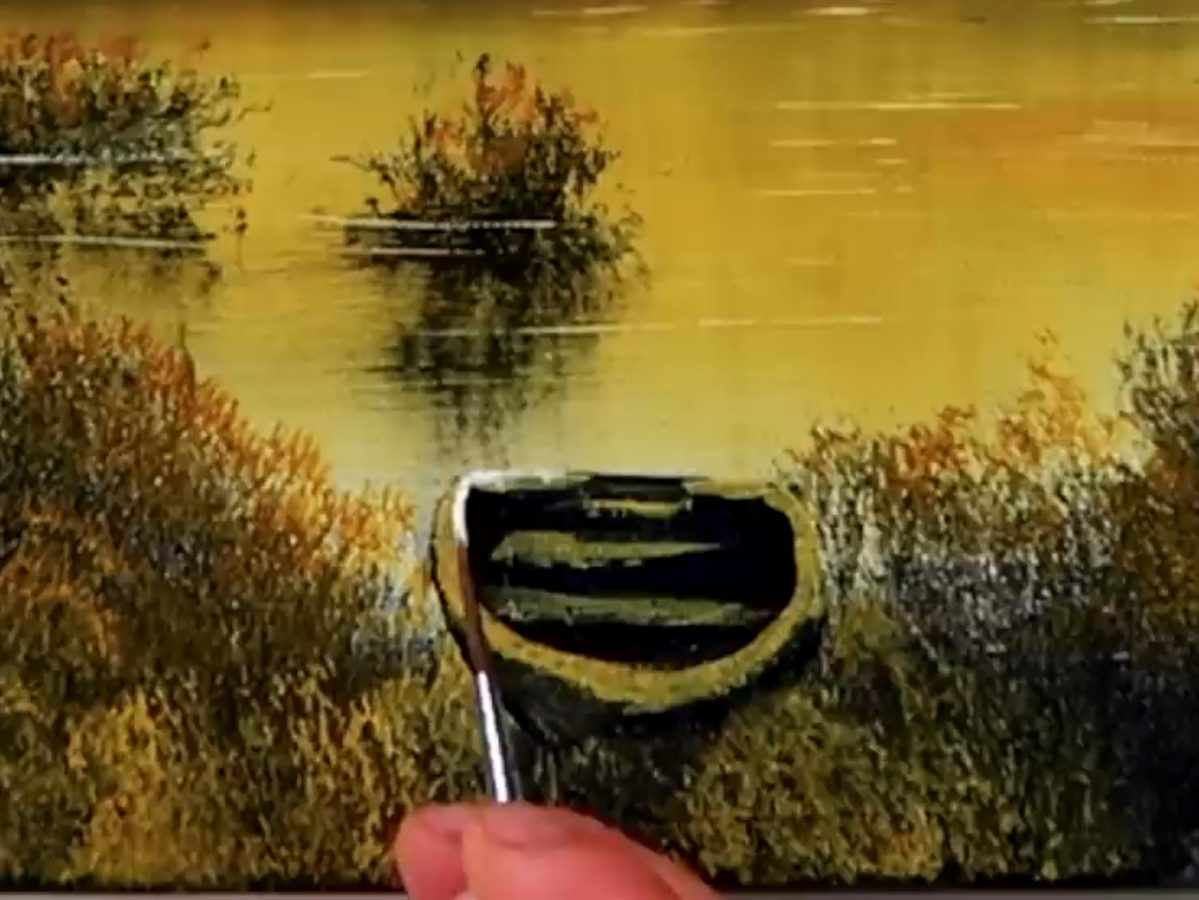
After the boat dries, use your detail brush to bring it to life by adding highlights with yellow and white. Imagine the gentle glimmer of light dancing on the surface as it reflects the twilight sky above.
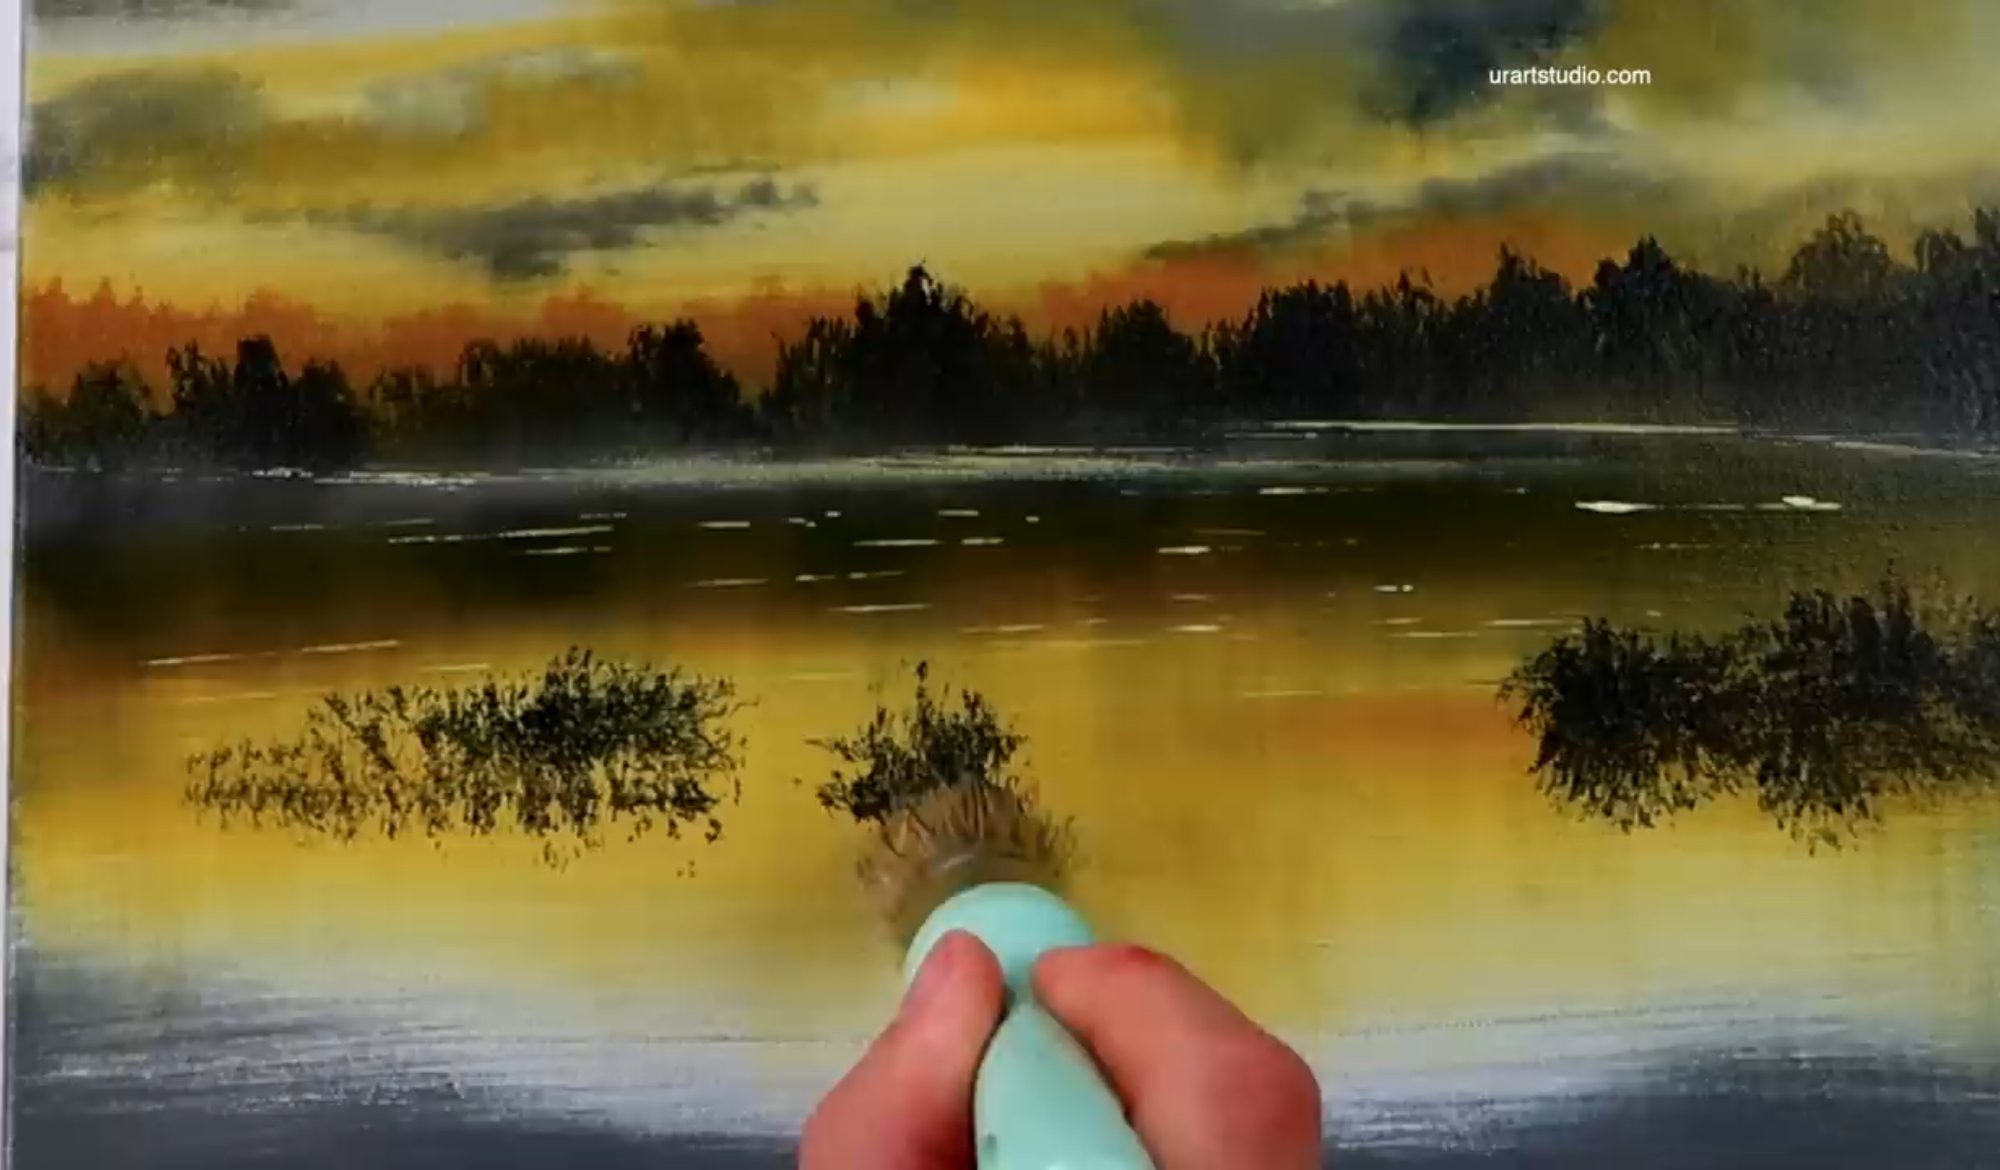
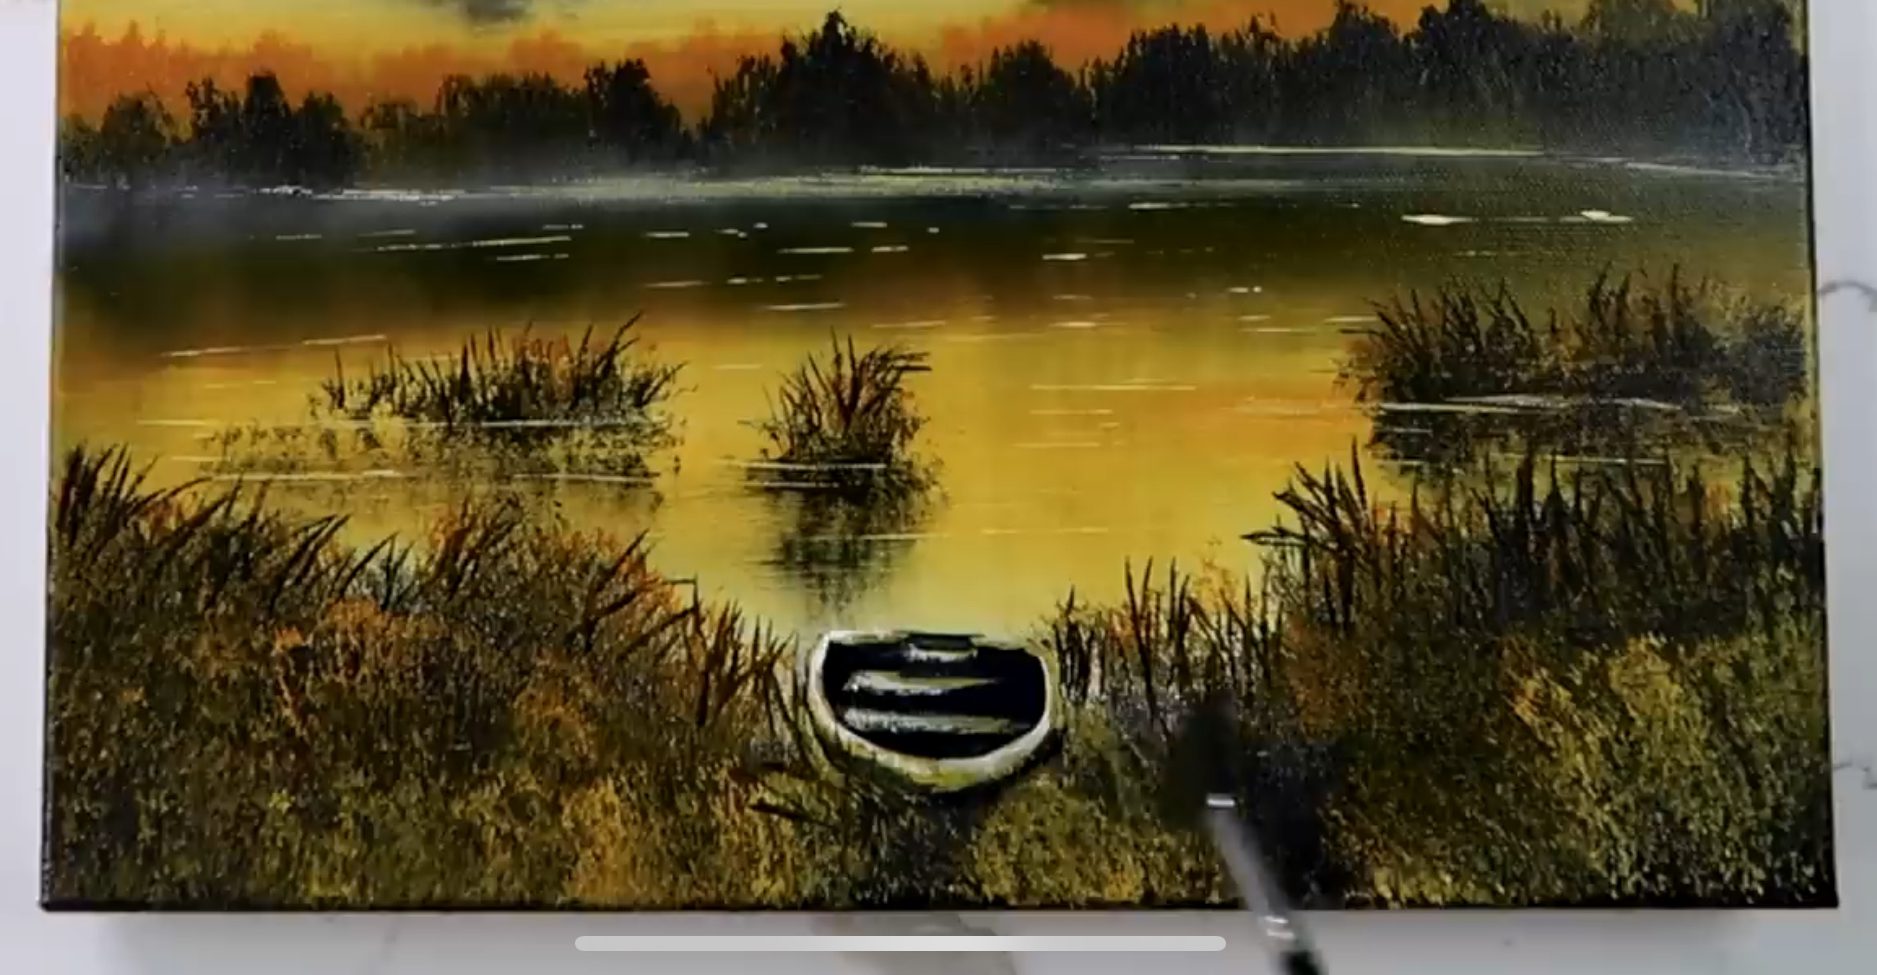
Now we’ll paint the shoreline! Use a pointed oval brush with dark gray paint to create a few shrubs and tall grass by the lake’s edge. Blend lightly into the water with your ultra-soft blending brush to maintain harmony in the scene.
For these natural elements, remember to add highlights with Indian yellow and yellow ochre, emphasizing the gentle warmth of fading light.
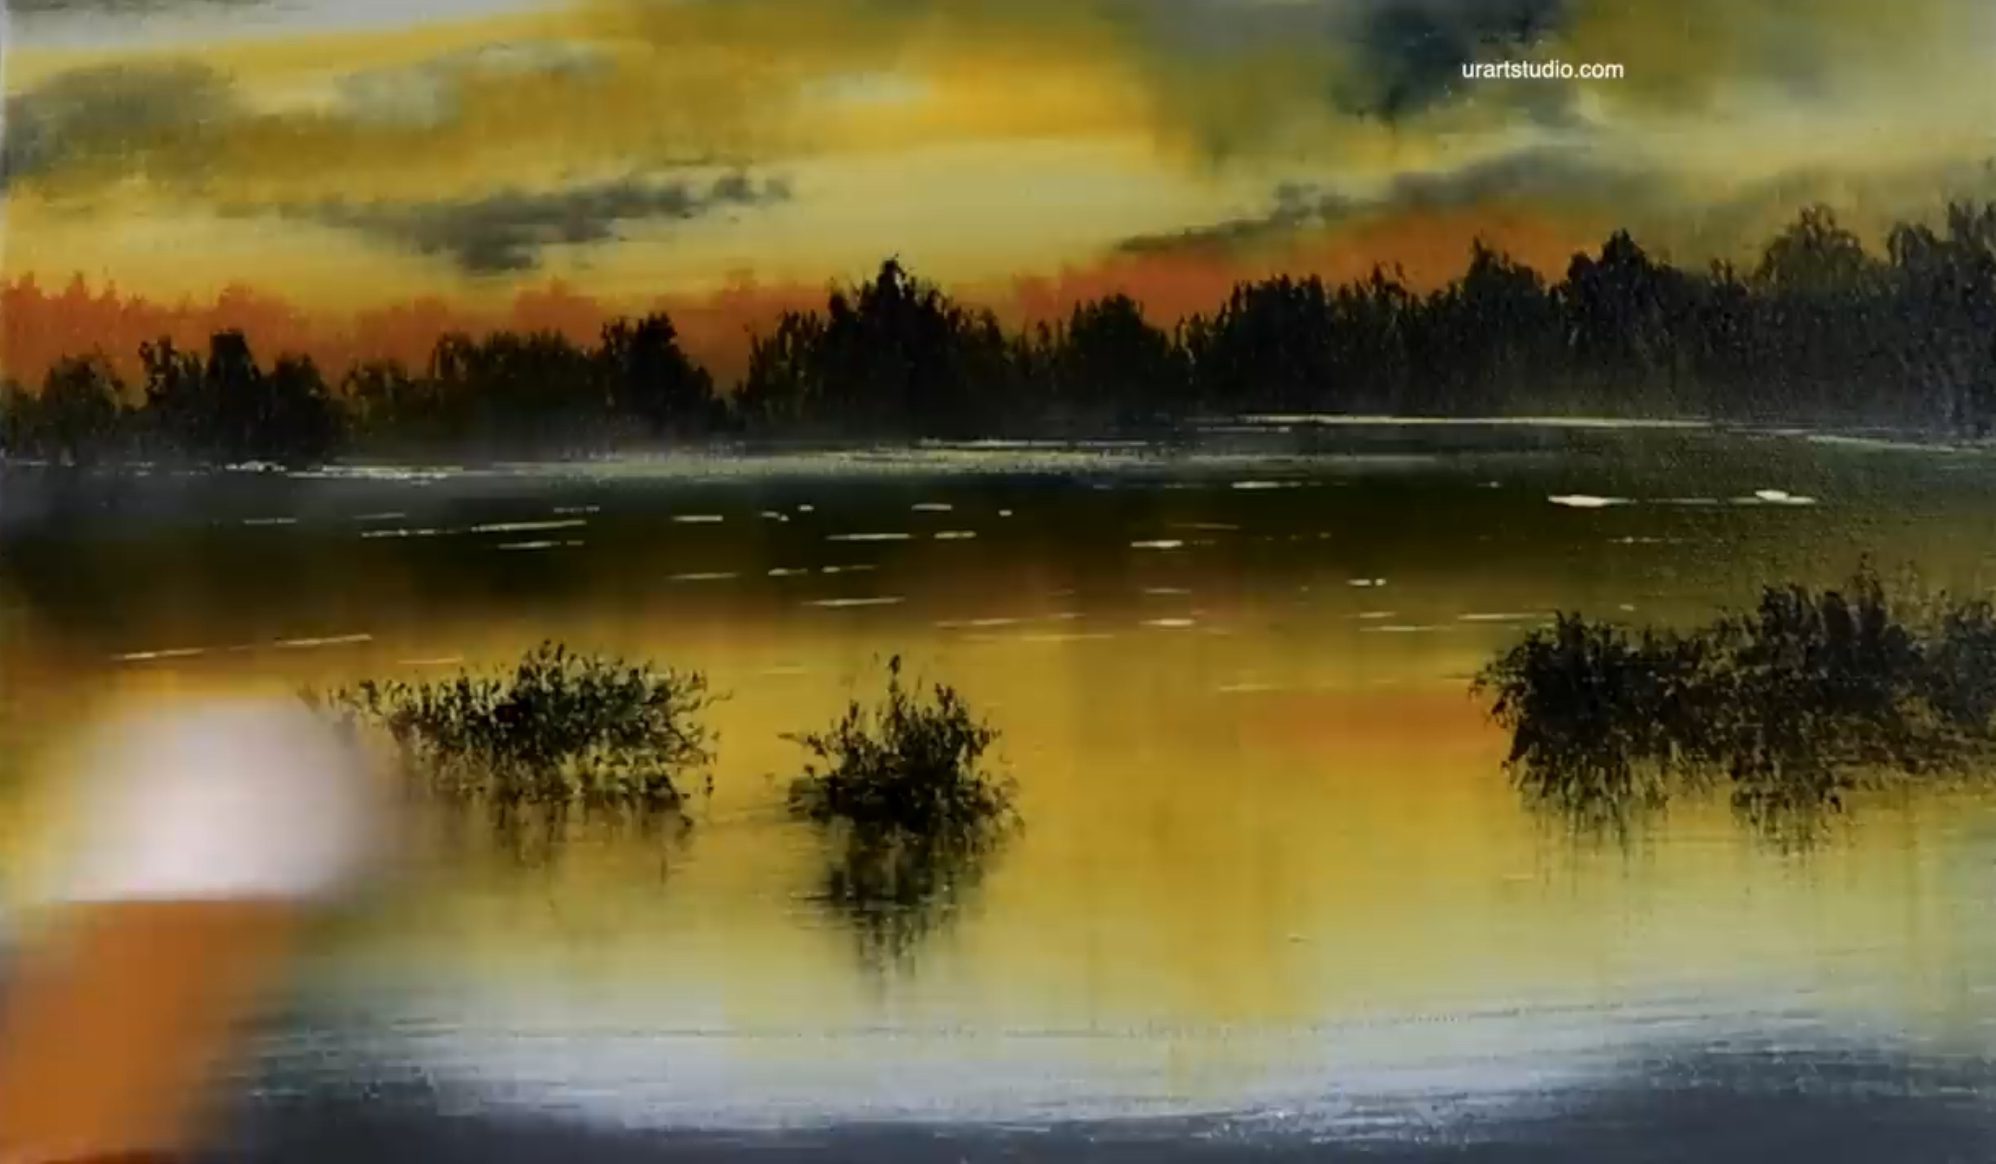
Step 5: Final Touches for Depth and Dimension
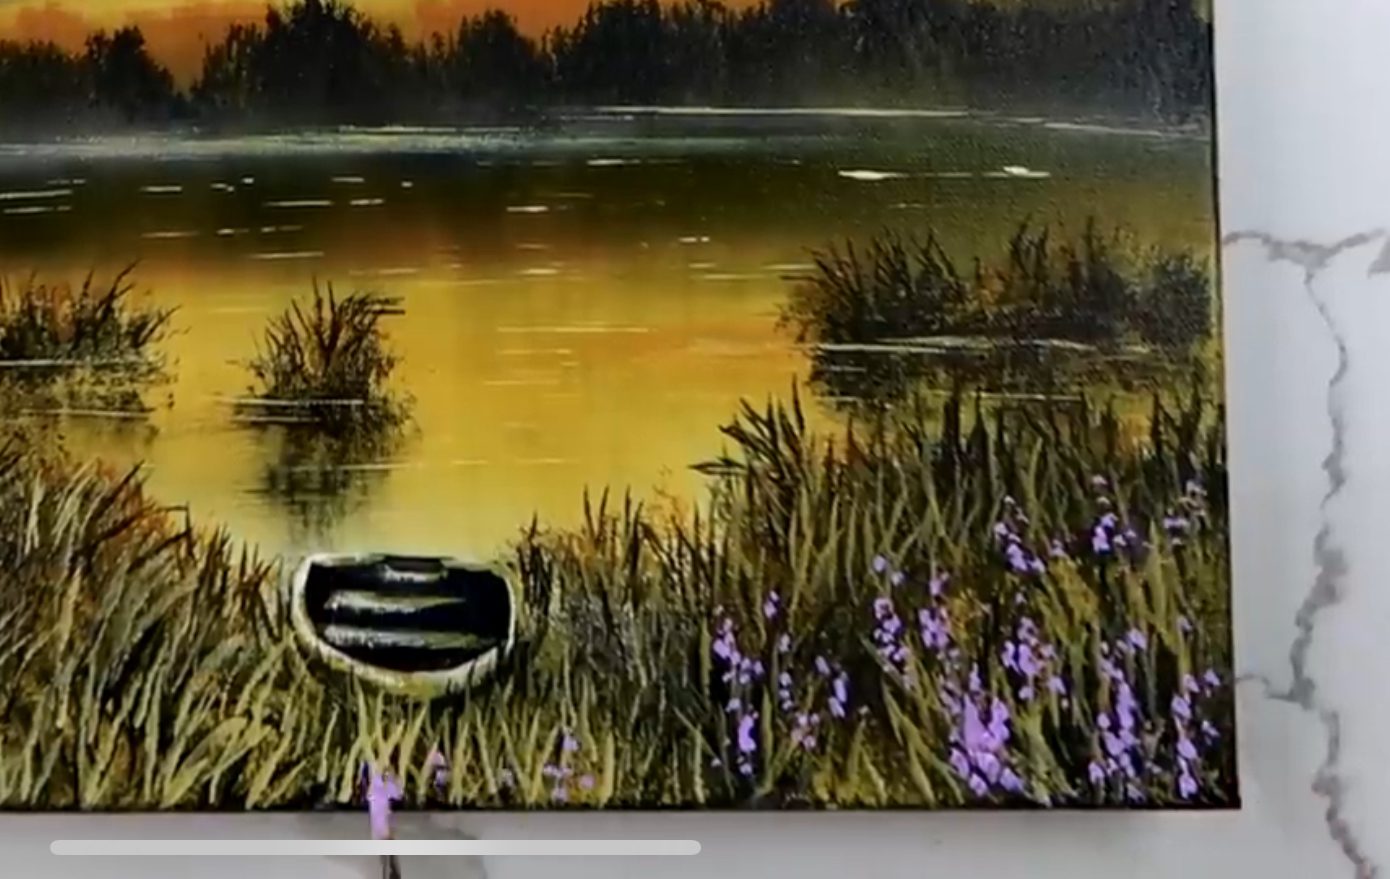
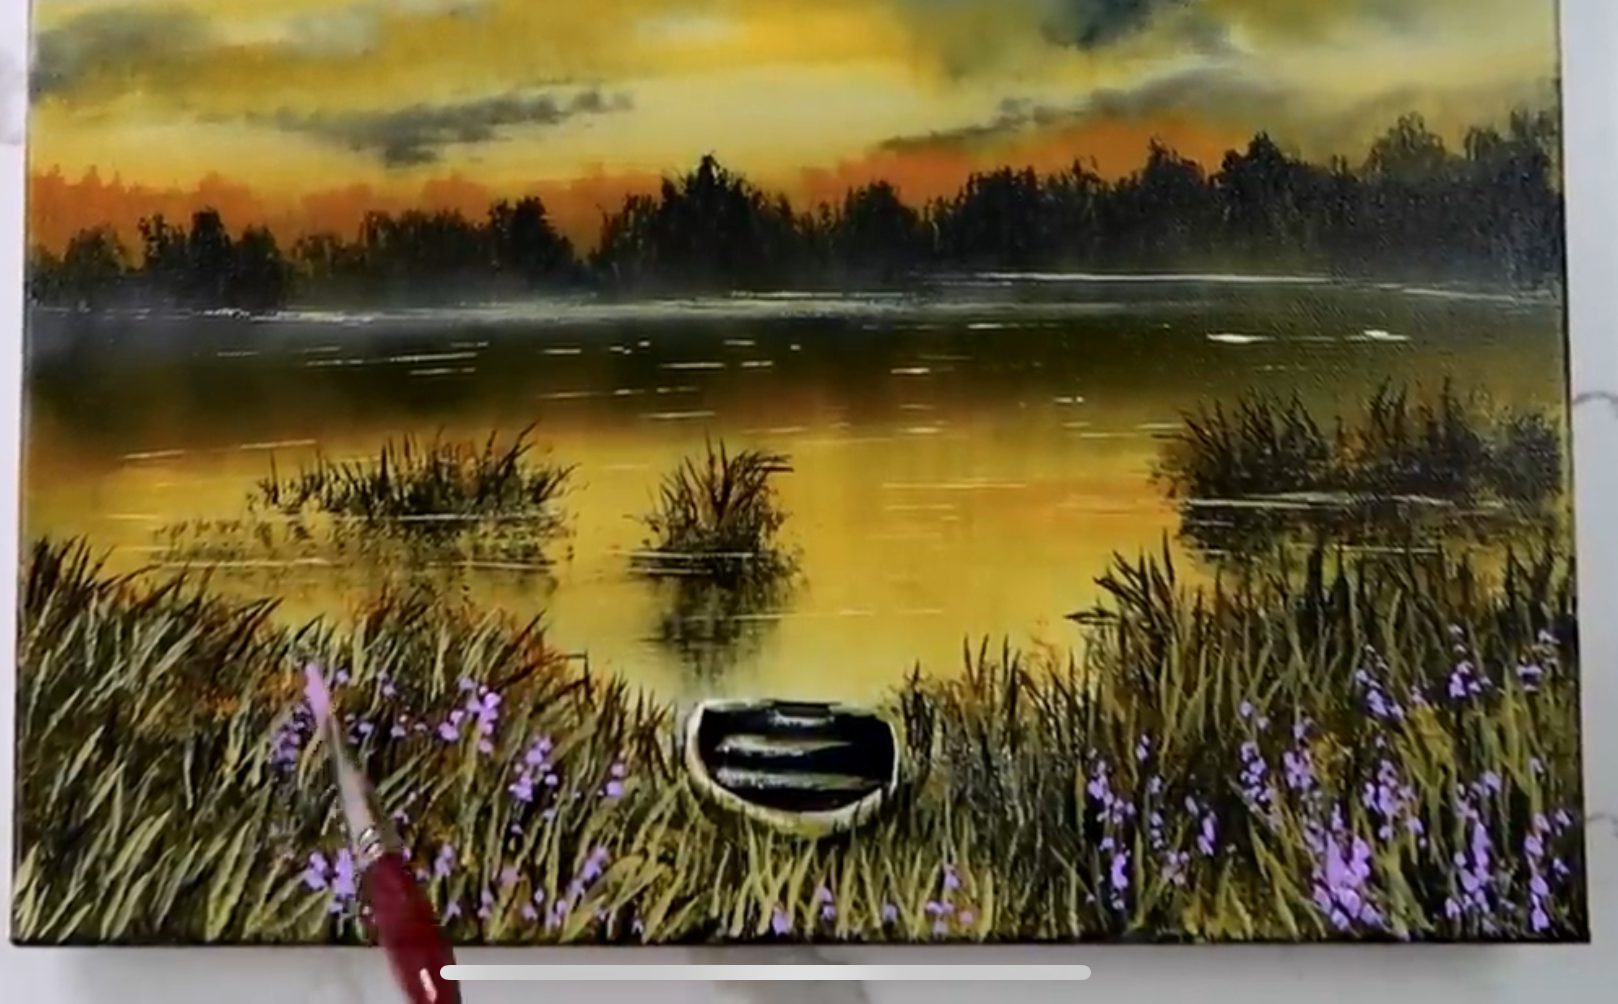
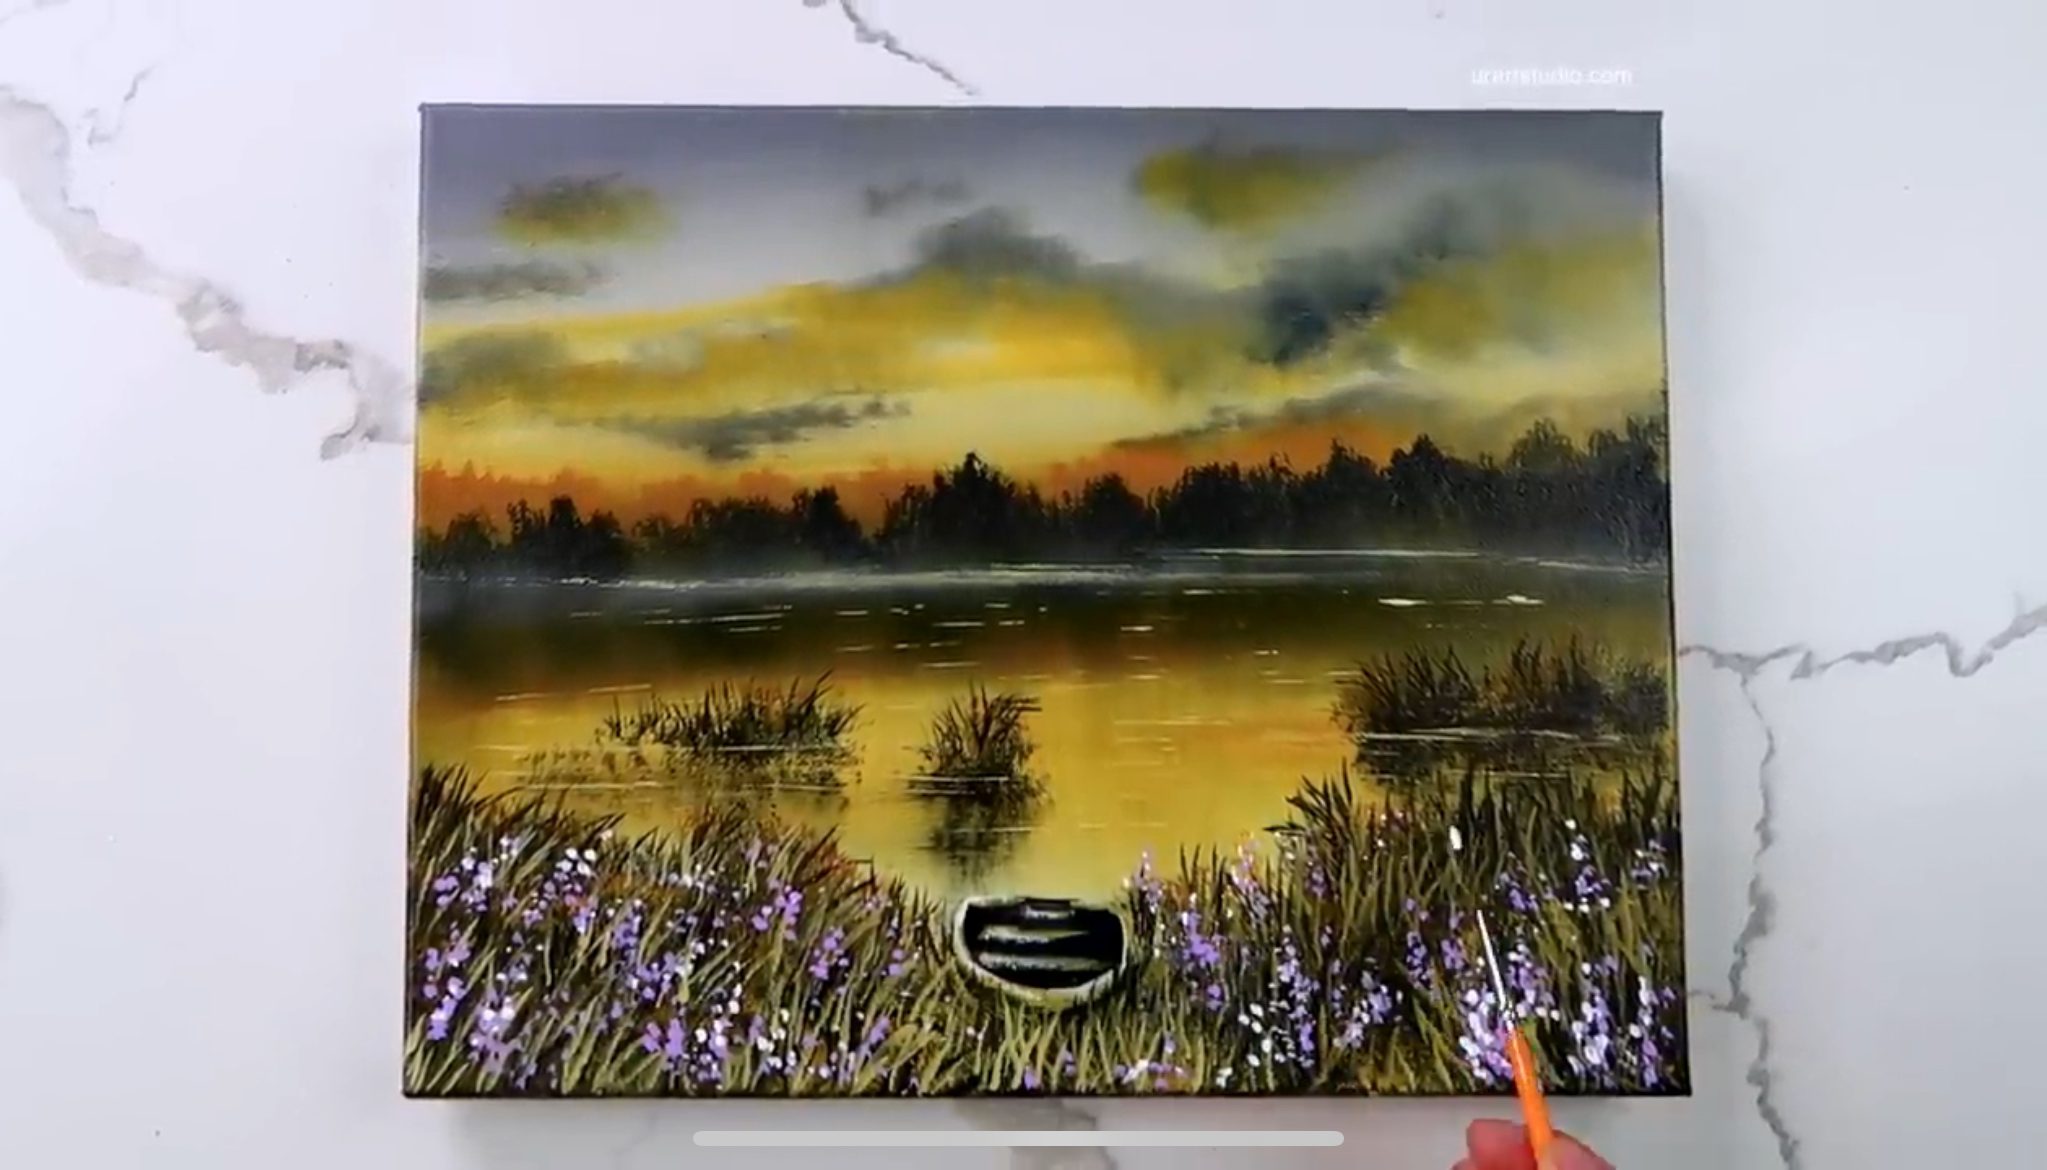
Now, let’s give our landscape some extra charm! Use your custom bristle brush with a touch of lavender and white to create small flowers along the shore. This adds delightful pops of color and variety to your composition.
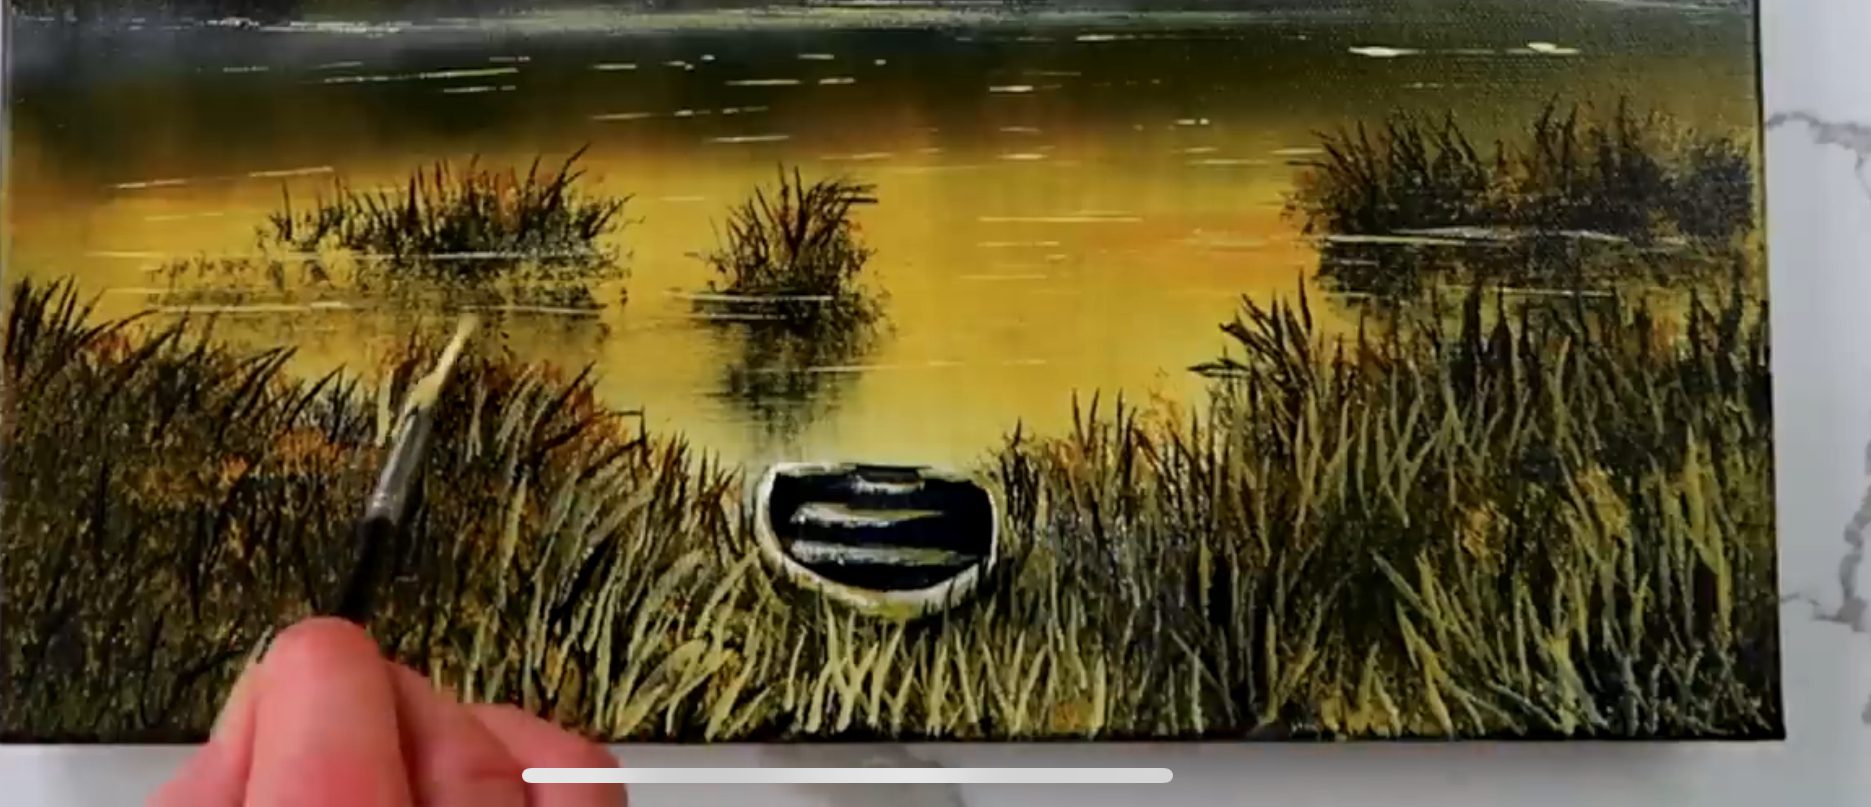
Don’t forget to enhance the blades of grass using your fan brush with dark paint. Stroke in fine lines of grass, and then return to highlight them with the previous Indian yellow and white mixture—these details will bring the scene to life.
As a final flourish, take your liner brush and gently dot a few delicate white flowers peeking through the tall grass. This adds an enchanting detail that captures the eye, inviting viewers to explore every inch of your artwork.
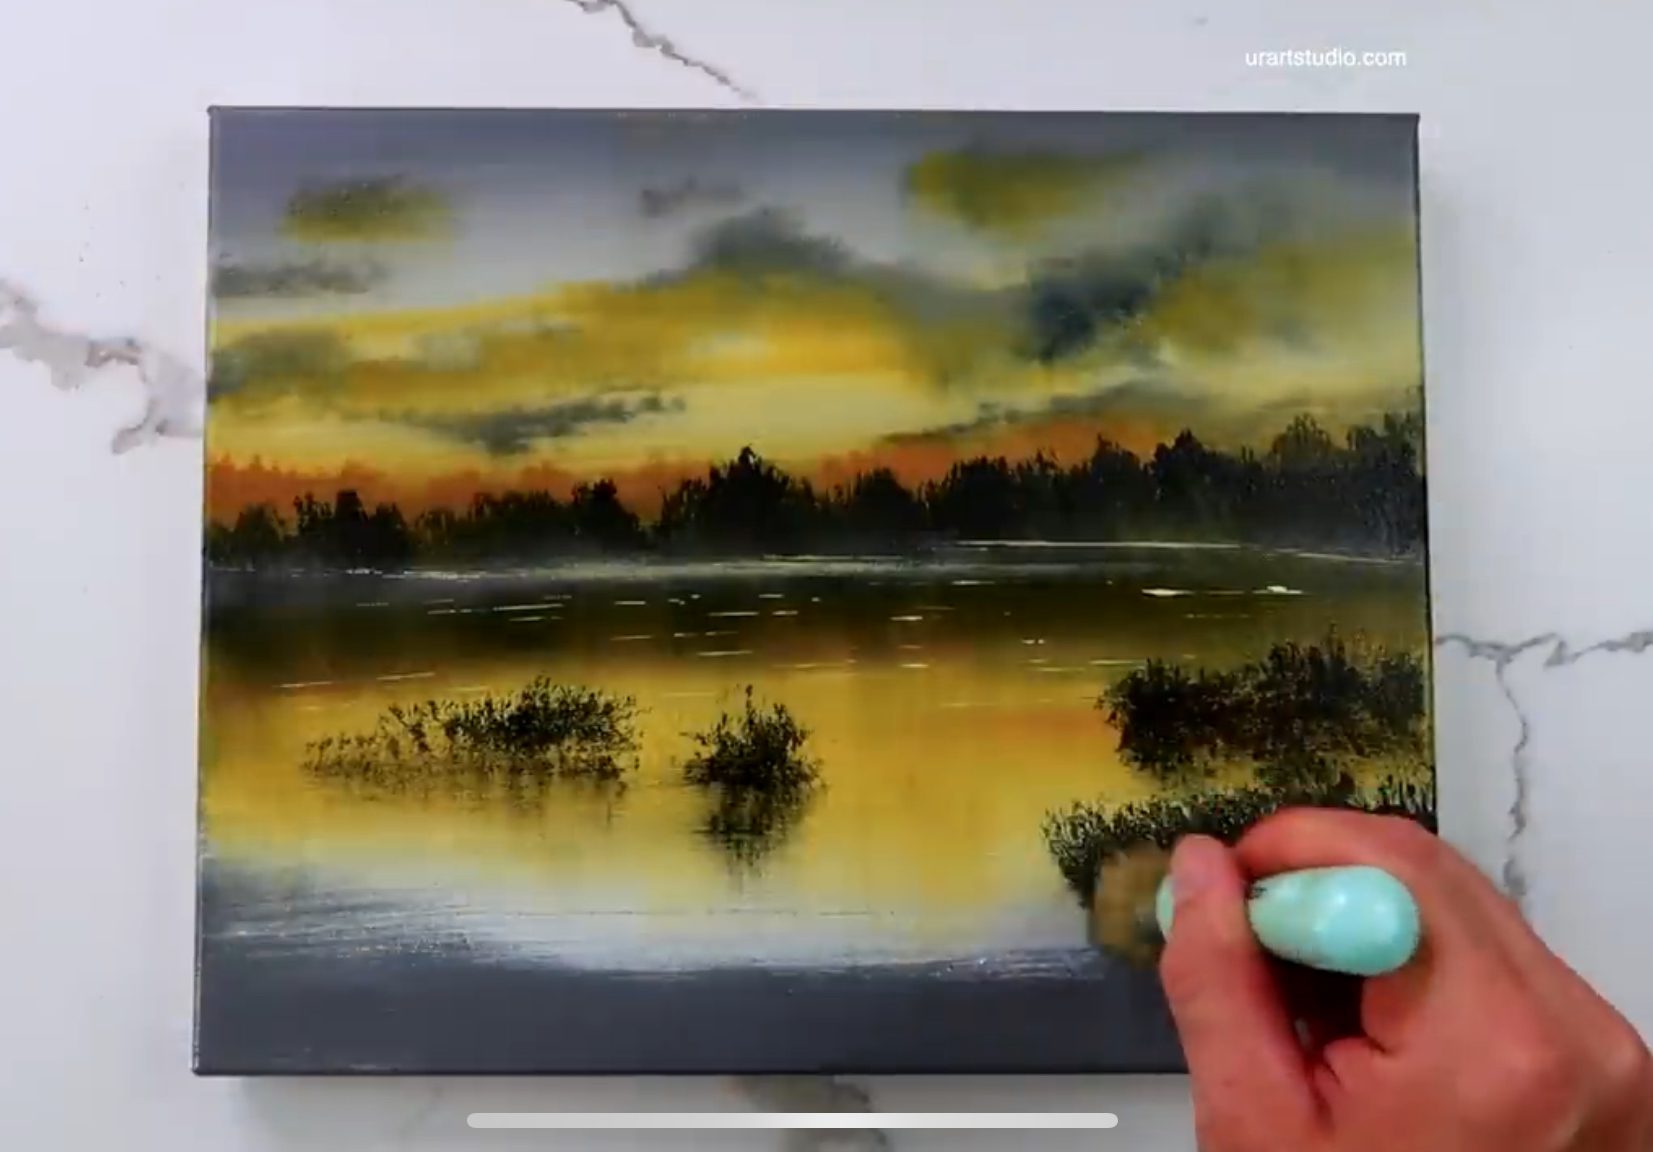
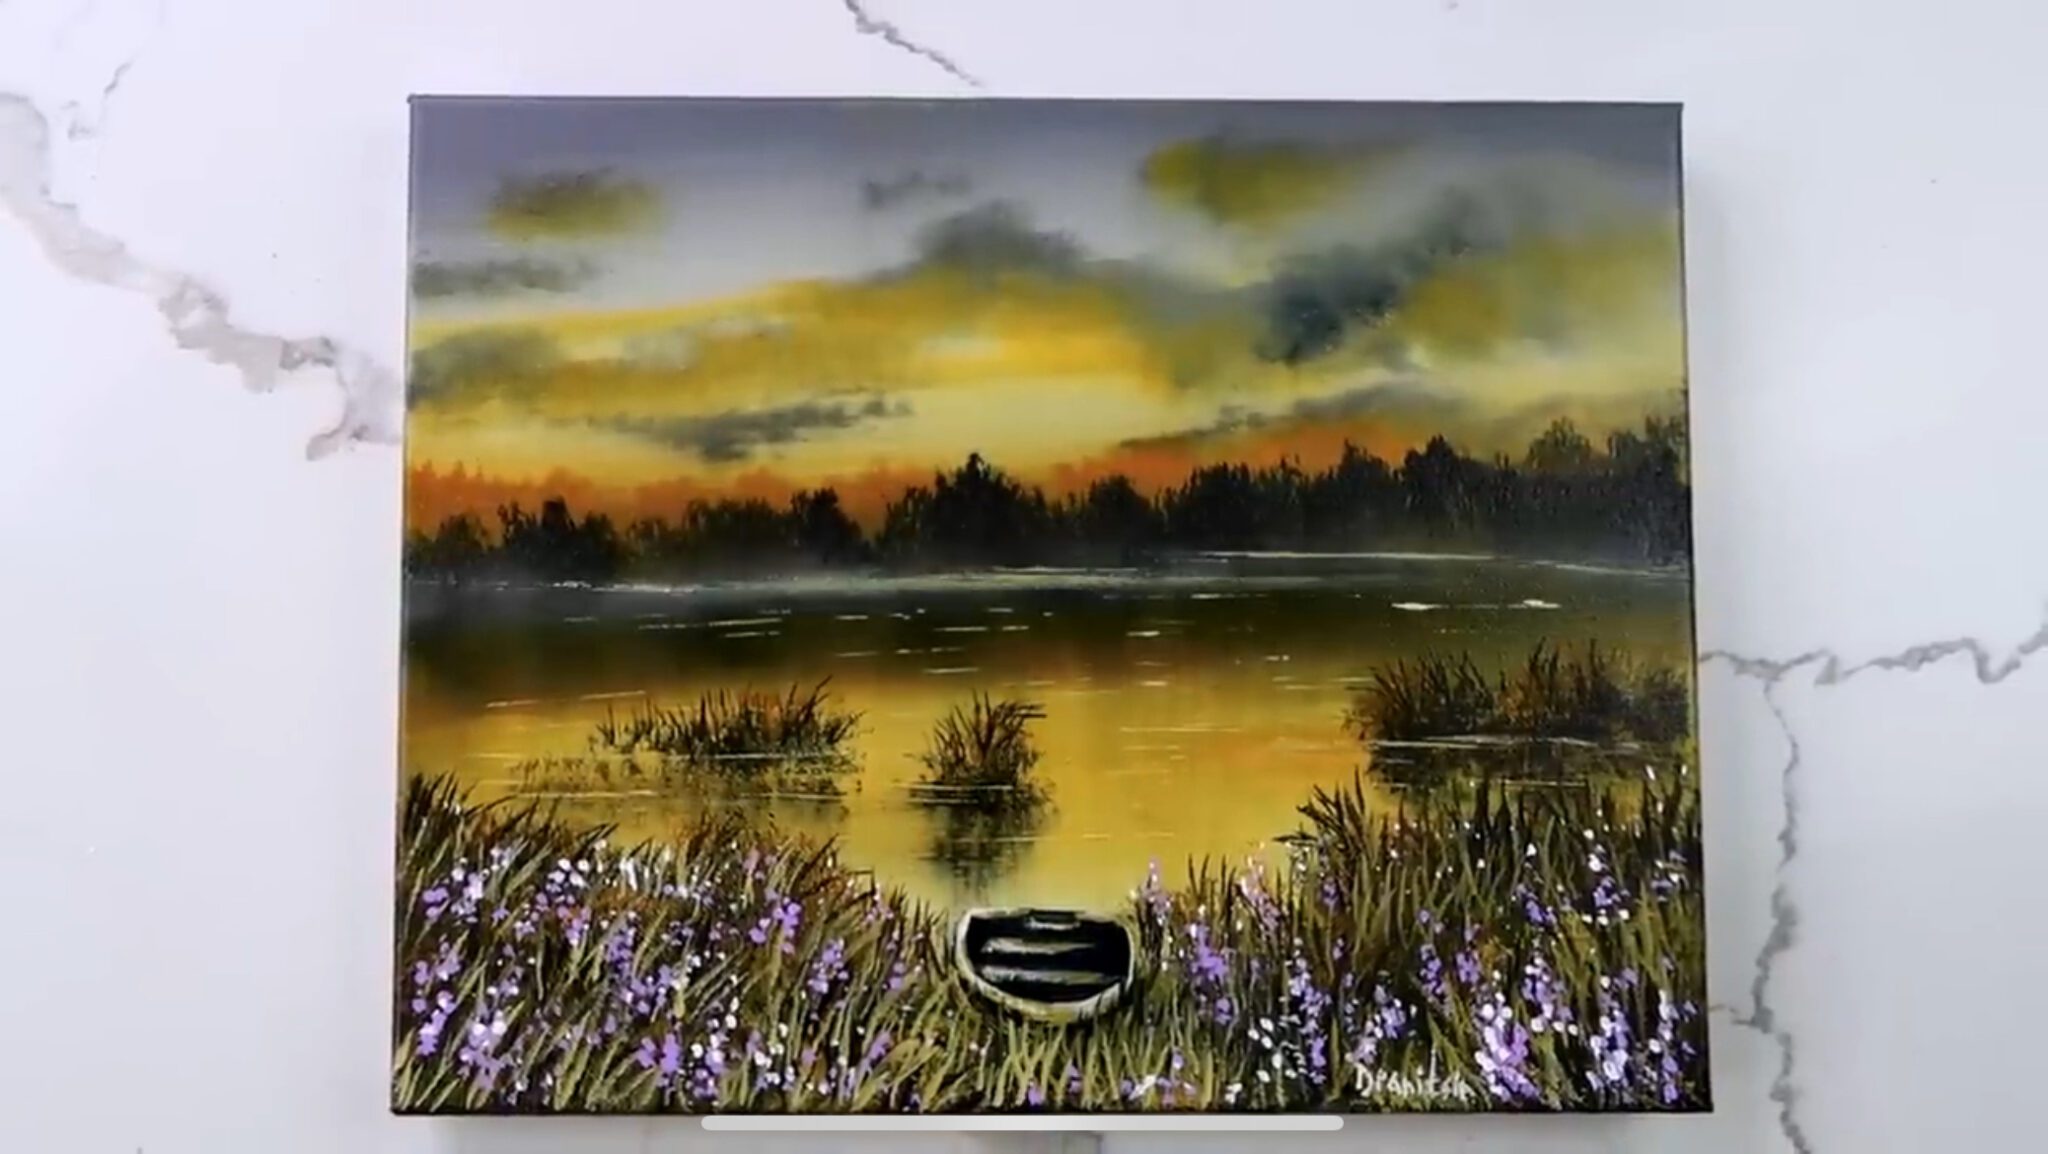
Conclusion:
And there we have it—our serene landscape, “Fading Light,” is complete! Step back and admire the beauty of your creation, showcasing a tranquil lake, a solitary boat, and the gentle glow of twilight filling the sky.
As you sign your painting, let that sense of accomplishment wash over you. You’ve captured a slice of nature, vibrant and filled with emotion.
We hope this step-by-step journey has ignited your artistic spirit and encouraged you to keep exploring the wonderful world of painting. Until next time, happy painting!


STEP BY STEP PAINTING INSTRUCTIONS AND NARRATED GUIDES FOR URARTSTUDIO.COM YOUTUBE ART VIDEO DEMONSTRATIONS

ART VIDEO STEP BY STEP VIDEO DEMONSTRATIONS AND ORIGINAL ART GALLERY BY URARTSTUDIO:
Welcome to the captivating world of URARTSTUDIO! Immerse yourself in the exquisite artistry and creativity with our step-by-step video demonstrations and exclusive original art gallery. Prepare to be spellbound as true mastery unfolds before your very eyes. Witness the artistic process come alive as our videos take you by the hand, guiding you through each brushstroke and technique. Discover the secret behind captivating compositions and the intricate details that make art truly mesmerizing. Our gallery proudly showcases a curated collection of unique and breathtaking artwork, where every piece tells a story and evokes powerful emotions. Journey with us and let your imagination take flight as URARTSTUDIO invites you to unravel the magic of art like never before.