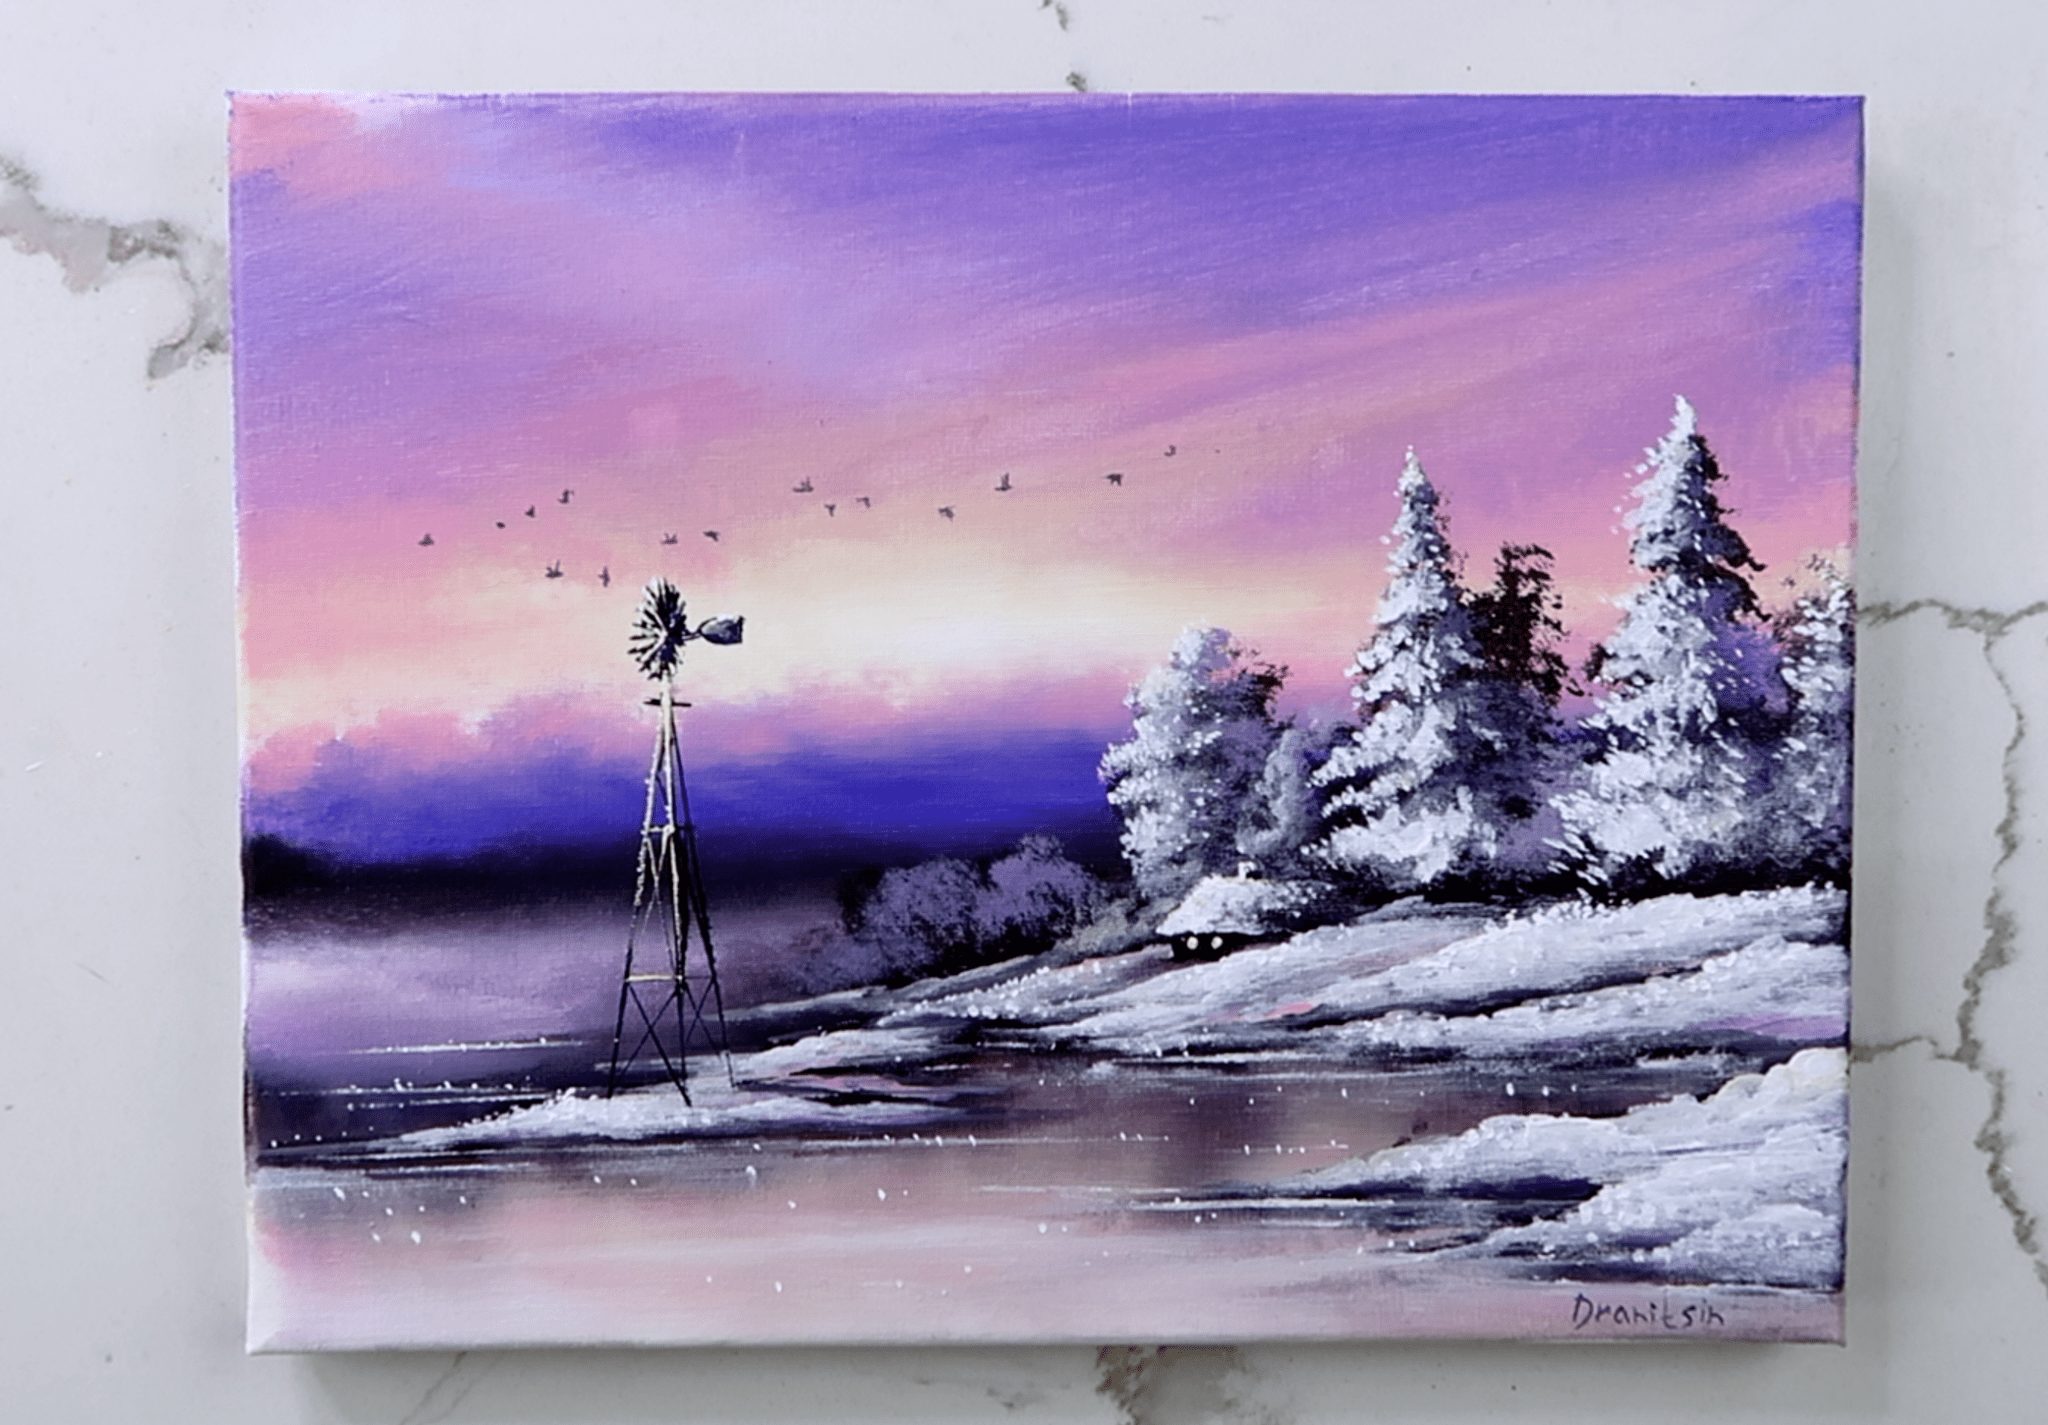
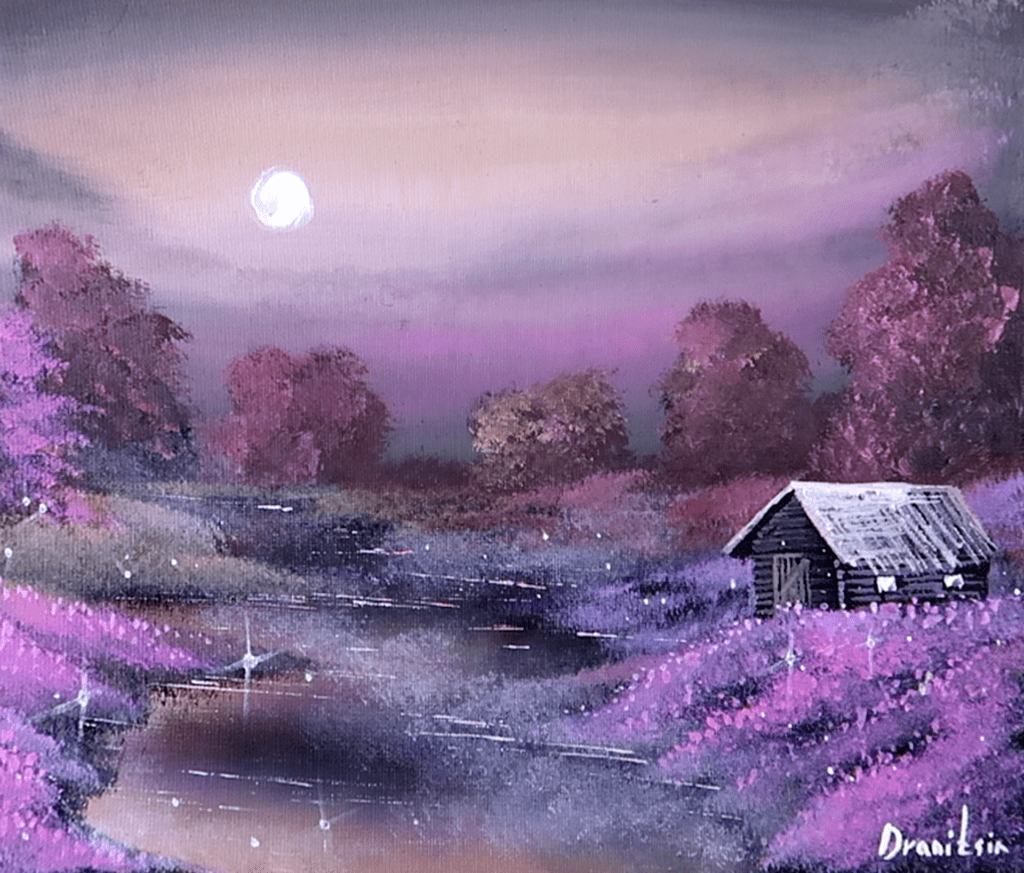
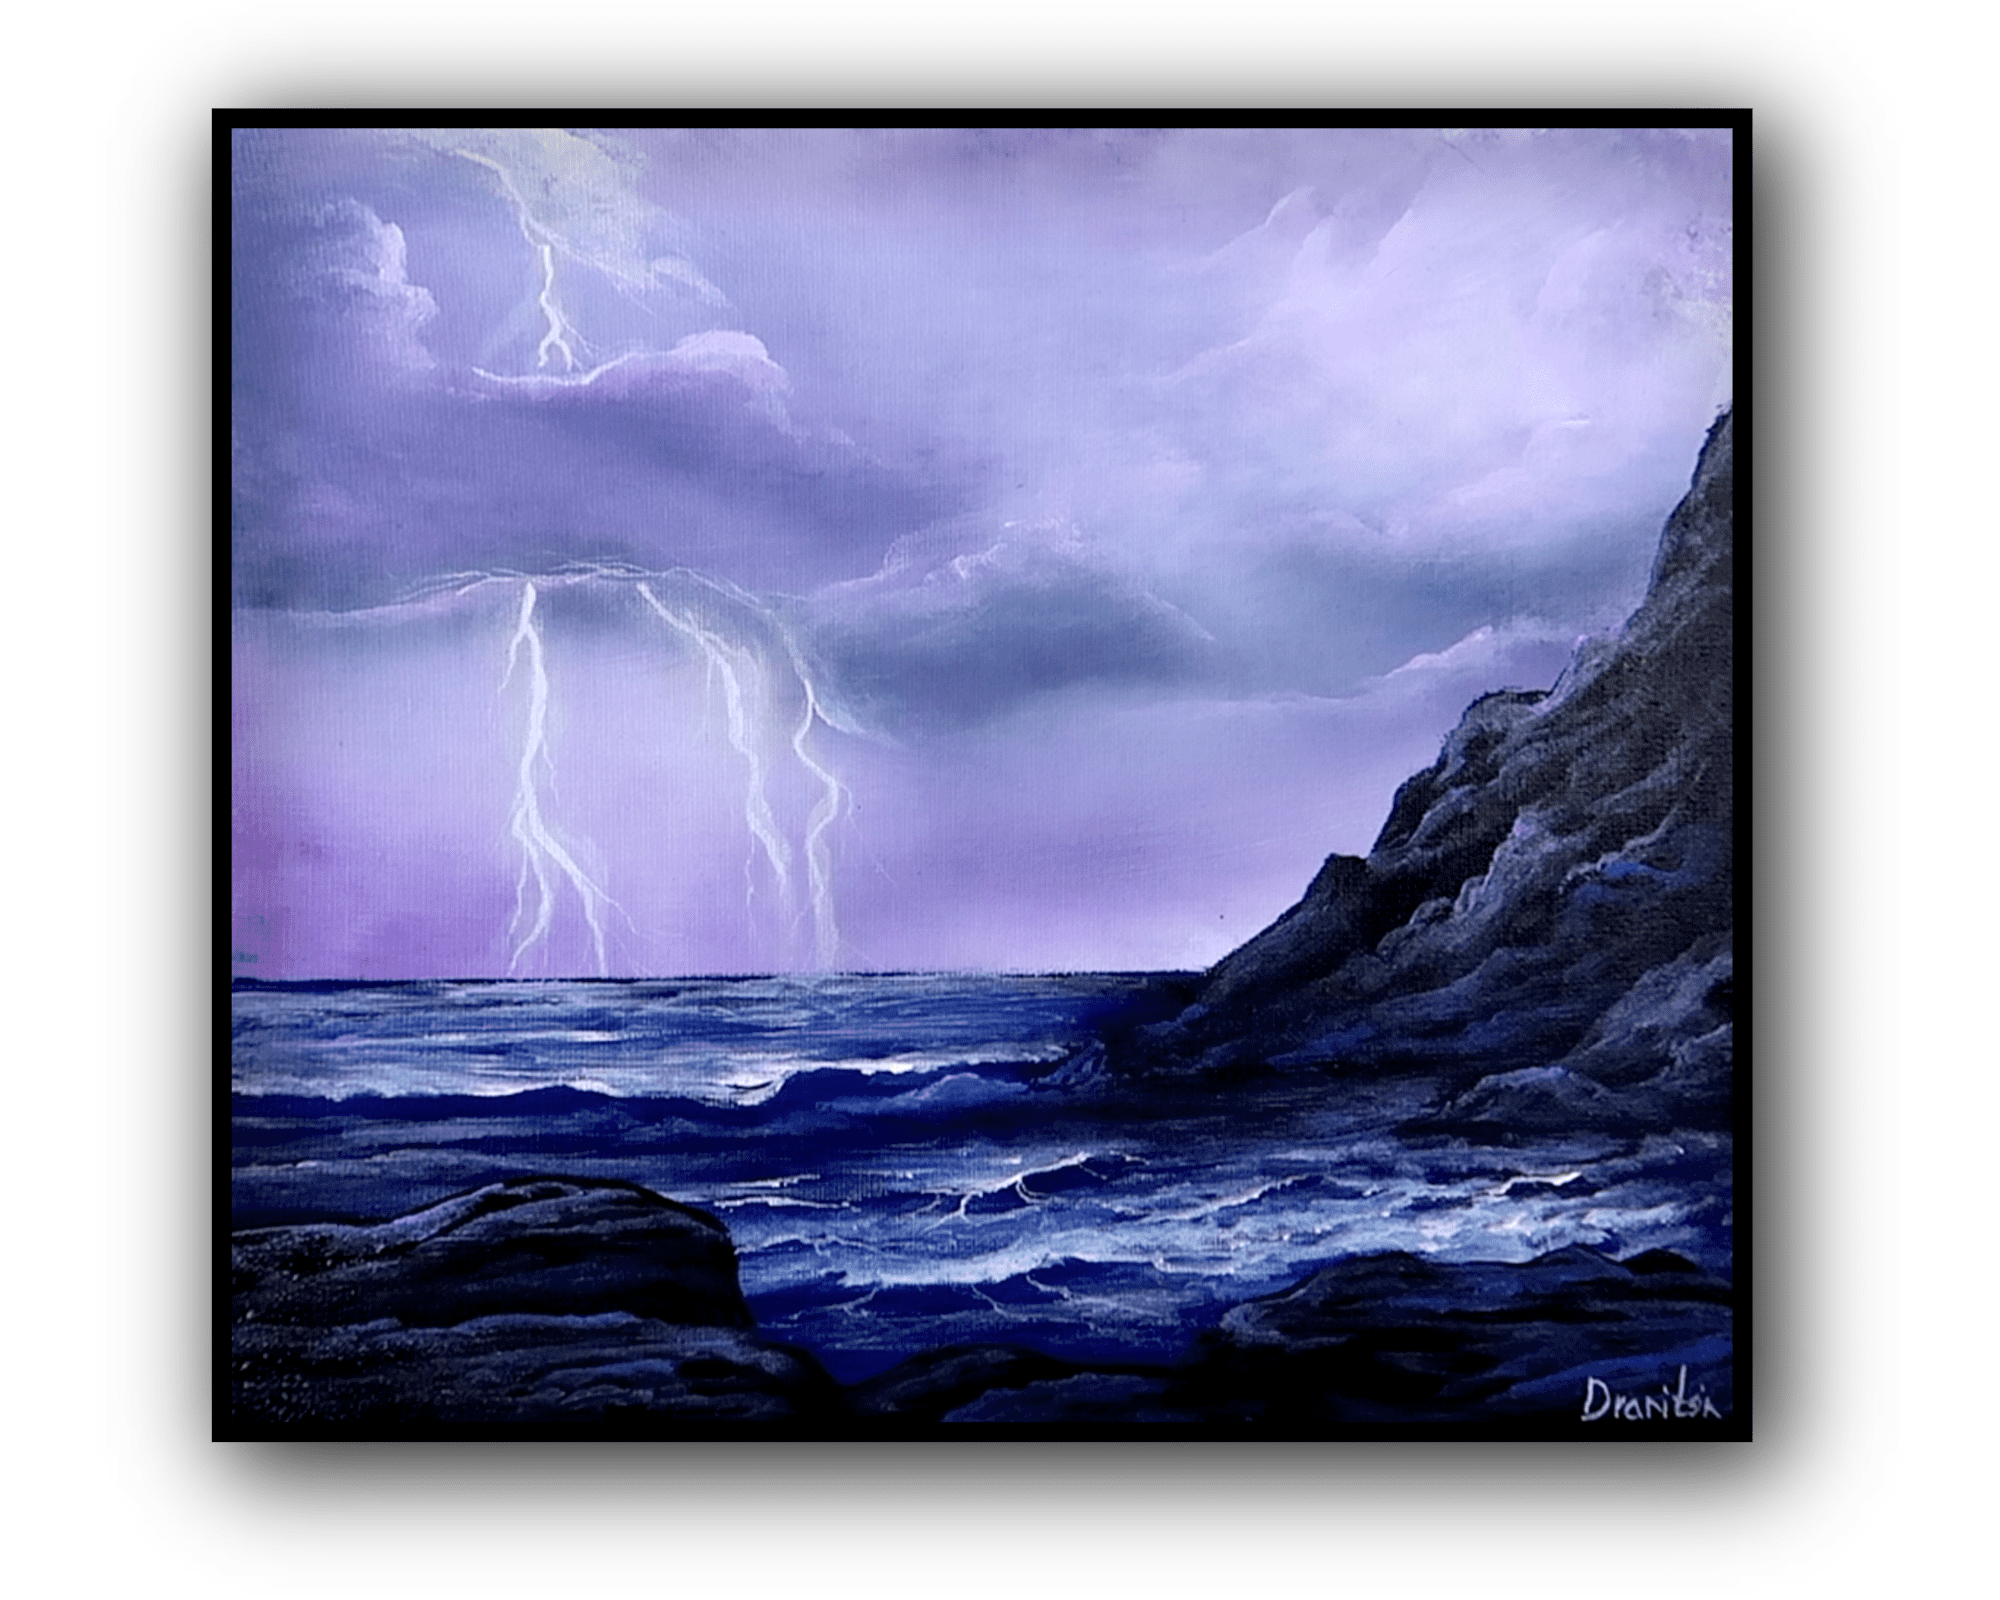
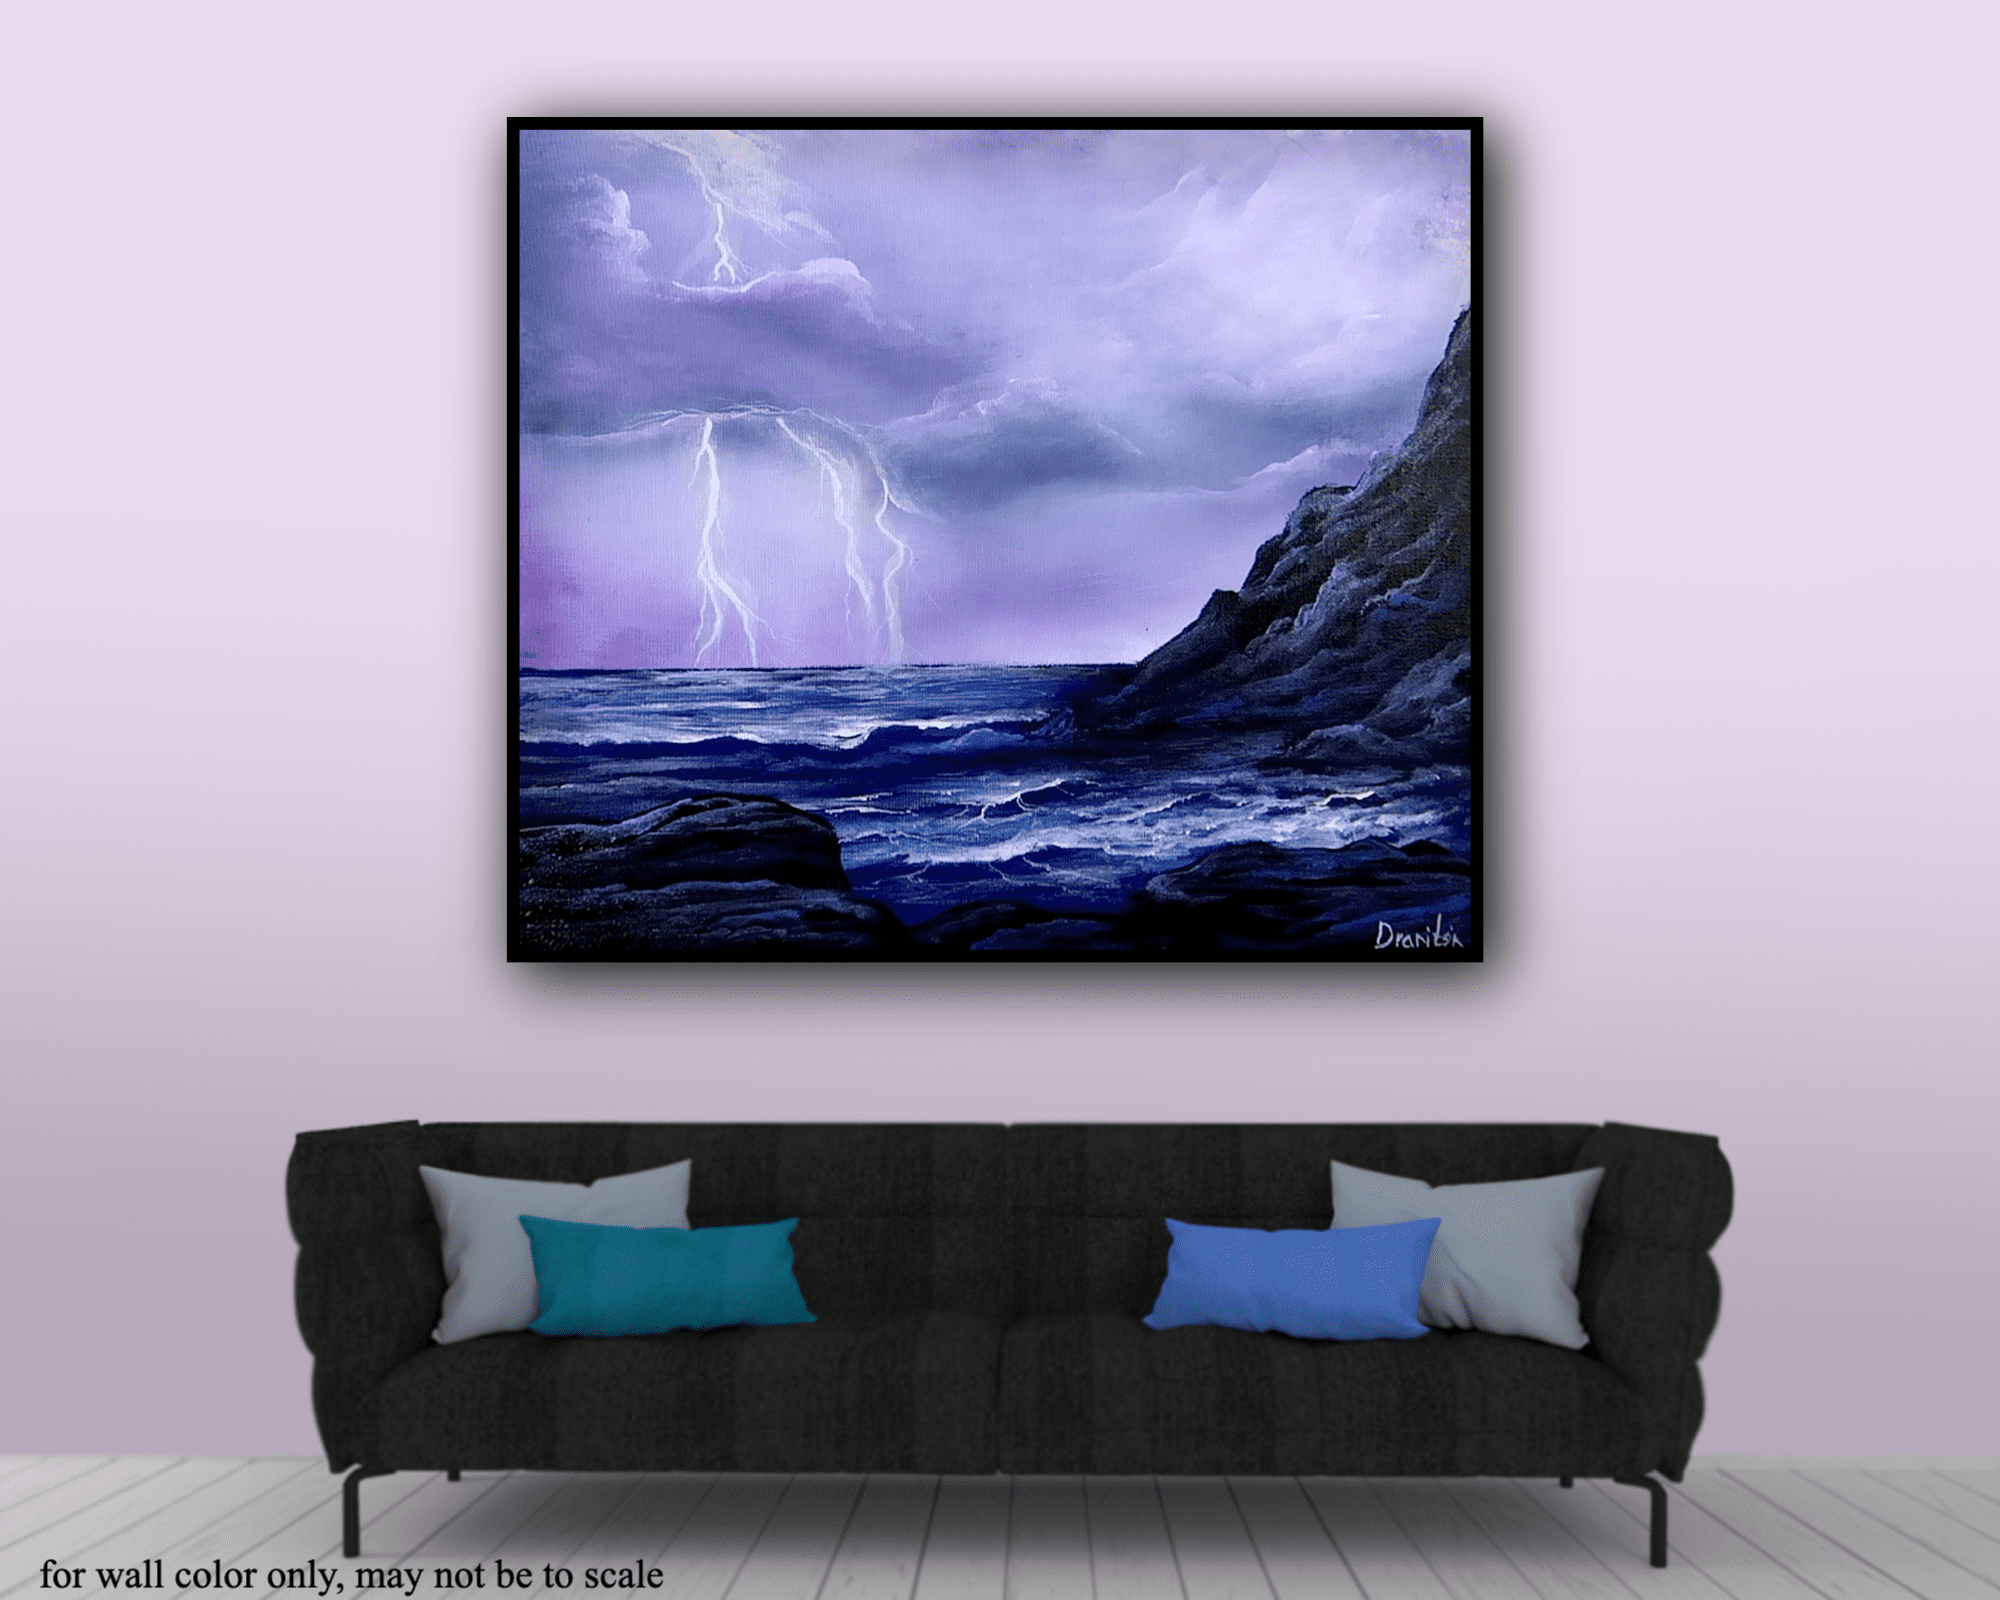
Hey everyone, I’m thrilled to welcome you to this exquisite painting journey. Today, we’re diving into the mesmerizing creation of distant lightning. As we explore this fascinating painting idea, we’ll be working with a 12 x 14″ canvas, although you’re free to adapt the steps to any size that suits your style best. Our palette will embrace the magic of white, lavender, violet, Prussian blue, phthalo blue, and black, capturing the essence of a brewing storm. Ensure your canvas is prepped with just the right amount of moisture to help your acrylic paint glide and blend effortlessly. For more details on canvas preparation and additional painting tips, please visit our website at urartstudio.com. Now, gather your brushes and let’s embark on this captivating artistic adventure!
Tools
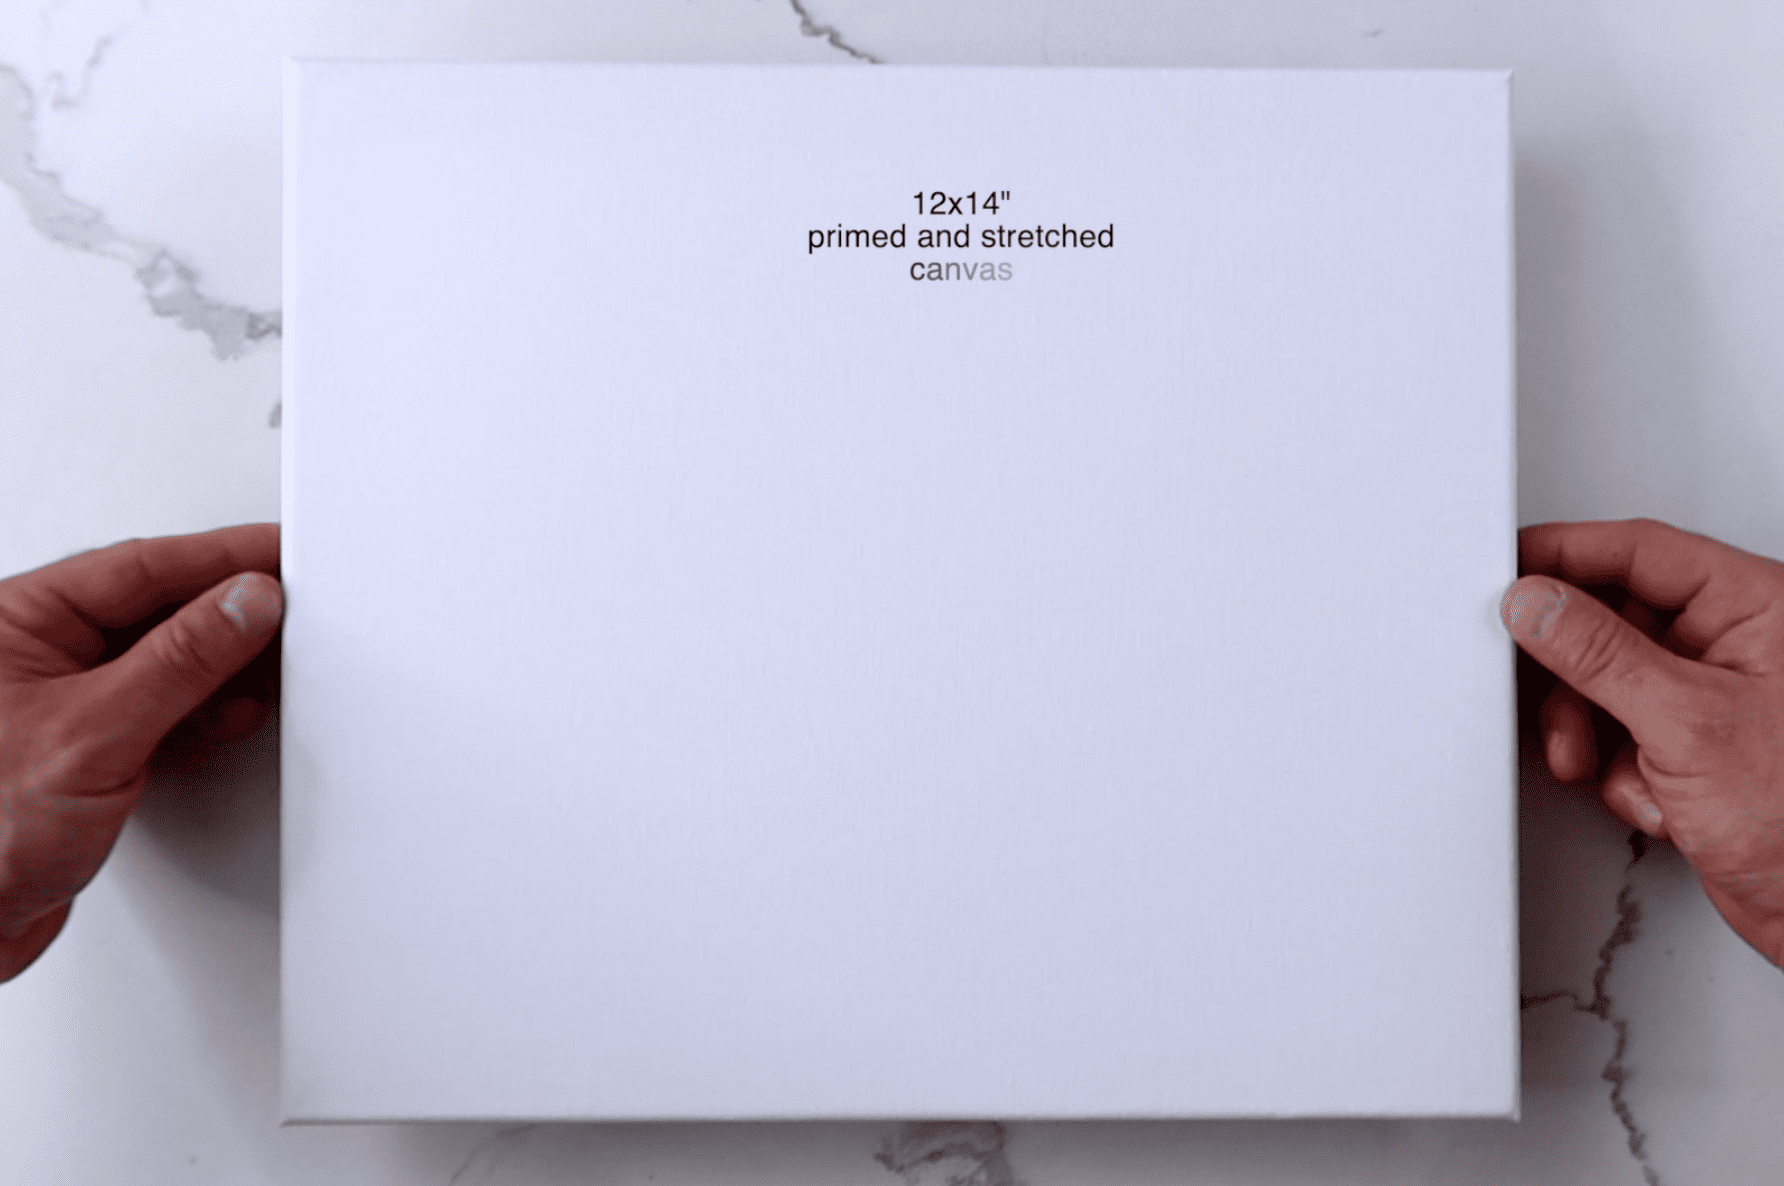
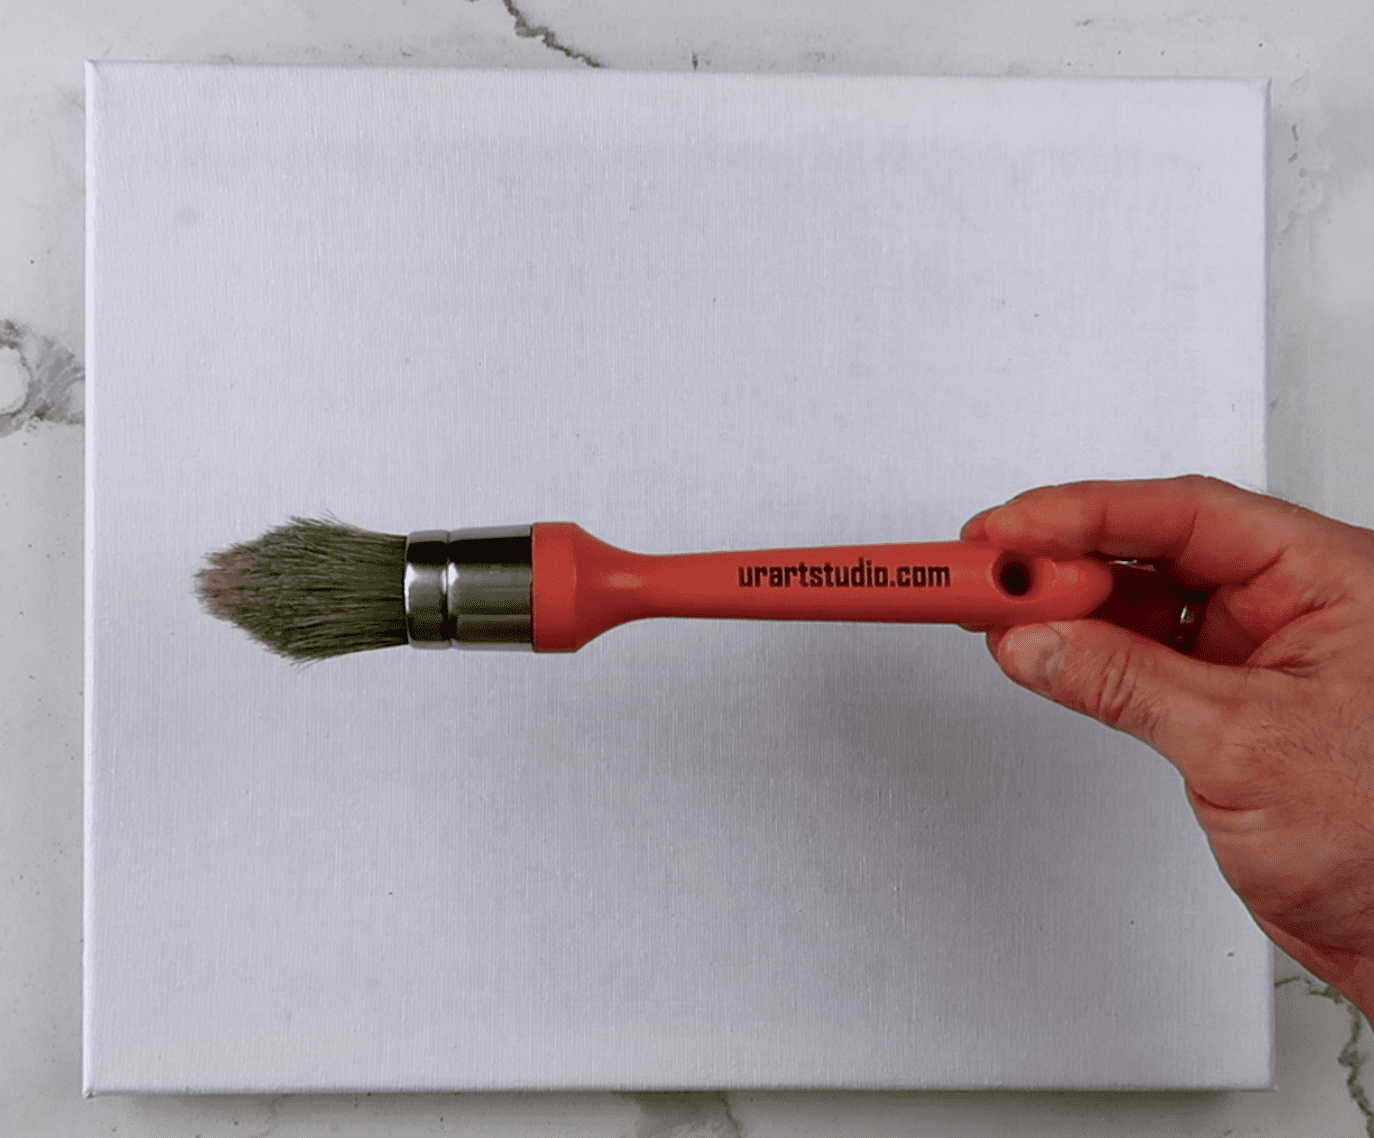
- 12 x 14″ Canvas (or your preferred size)
- Big Oval Brush
- Ultra-Soft Blending Brush
- Filbert Brush
- Thin Liner Brush
- Heat Gun or Hairdryer (for expediting the drying process)
- Water Container (for cleaning brushes)
- Palette (for mixing colors)
- Easel (optional but useful)
- Palette Knife (for mixing thick paints or creating textures)
Materials
- Acrylic Colors:
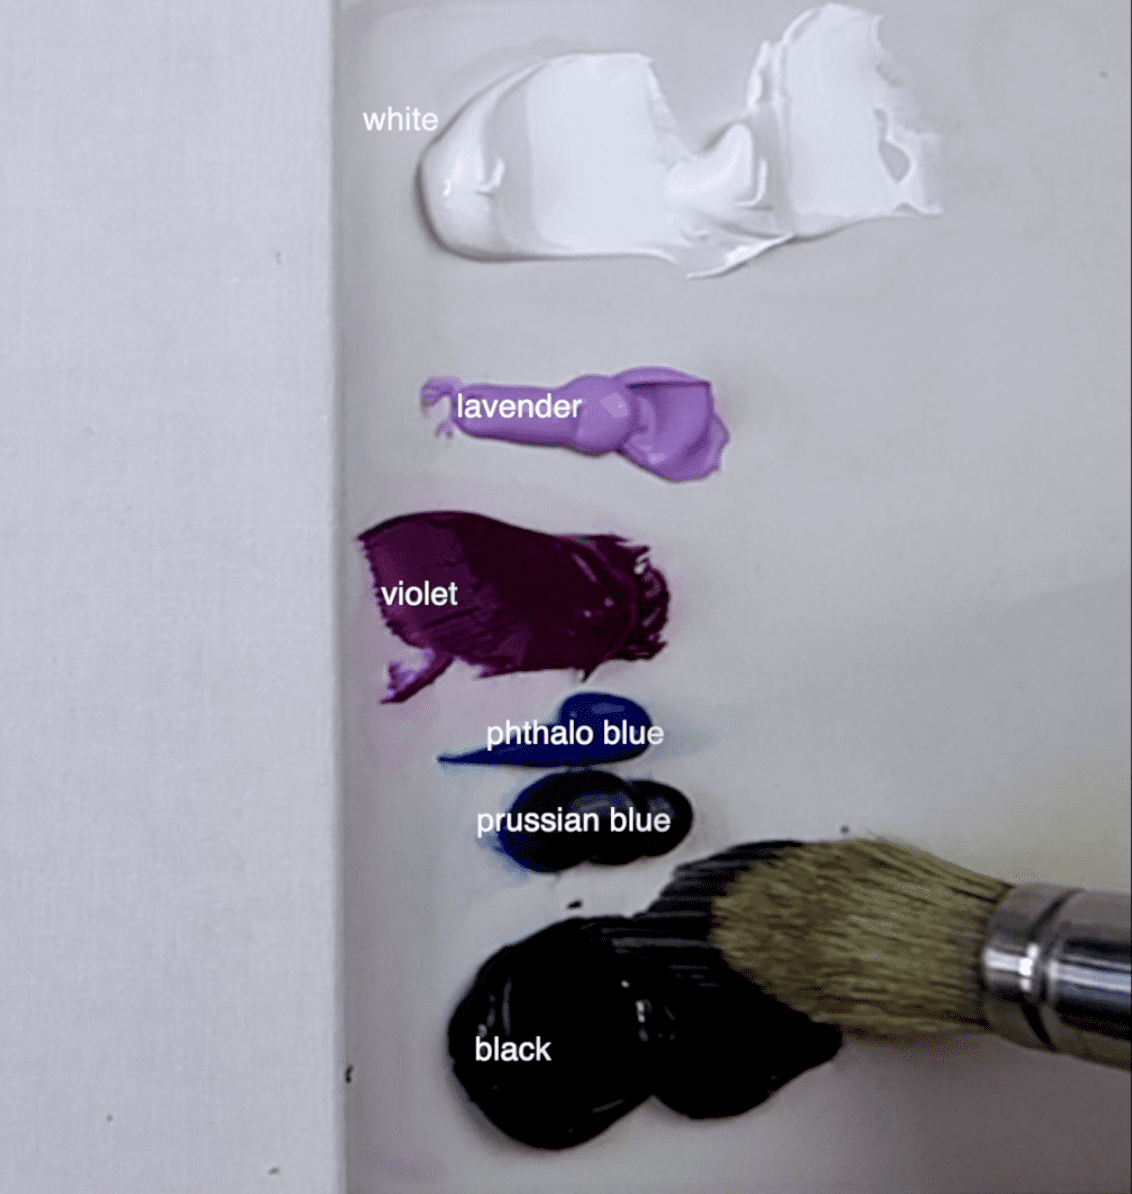
– Titanium White
– Lavender
– Violet
– Prussian Blue
– Phthalo Blue
– Black
- Canvas Prep Supplies:
– Moisture Application (light spray bottle with water or a damp cloth to prep the canvas) - Paper Towels or Old Rag (for cleaning brushes between colors)
- Apron or Painting Clothes (to keep your clothing clean)
- Masking Tape (to secure the canvas edges or create straight lines, if needed)
- Reference Photos or printed images (if available, to guide your painting)
- Varnish (optional, for sealing the painting after it’s dried)
Make sure all your tools and materials are within easy reach before starting your painting session to ensure a smooth and uninterrupted creative process. Enjoy your painting journey!
Step-by-Step Instructions:
Creating the Stormy Sky:
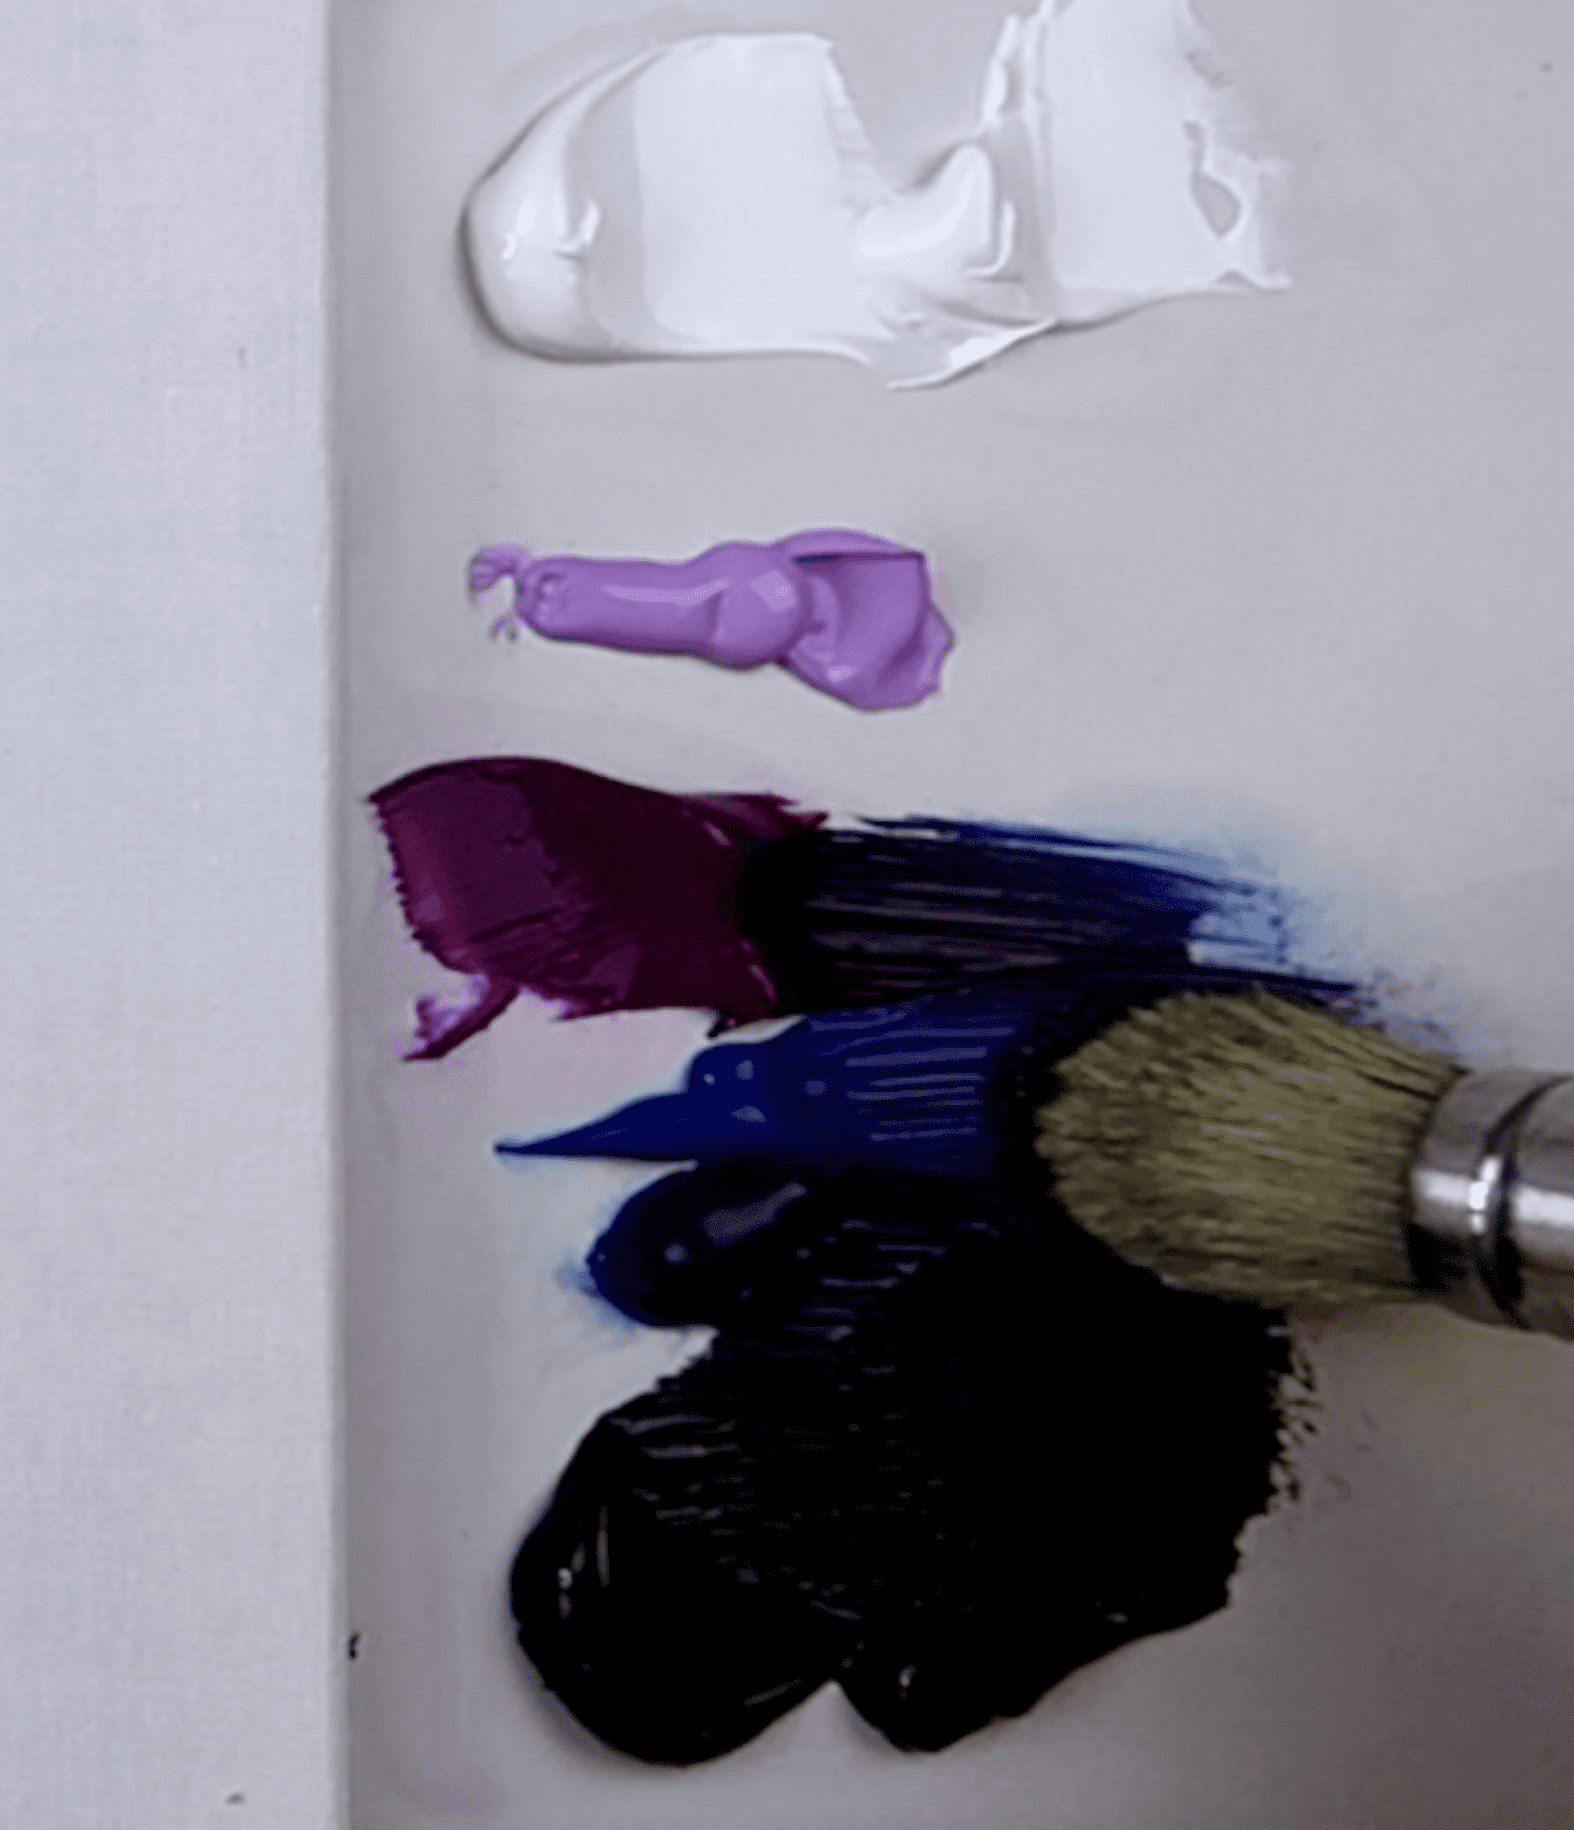
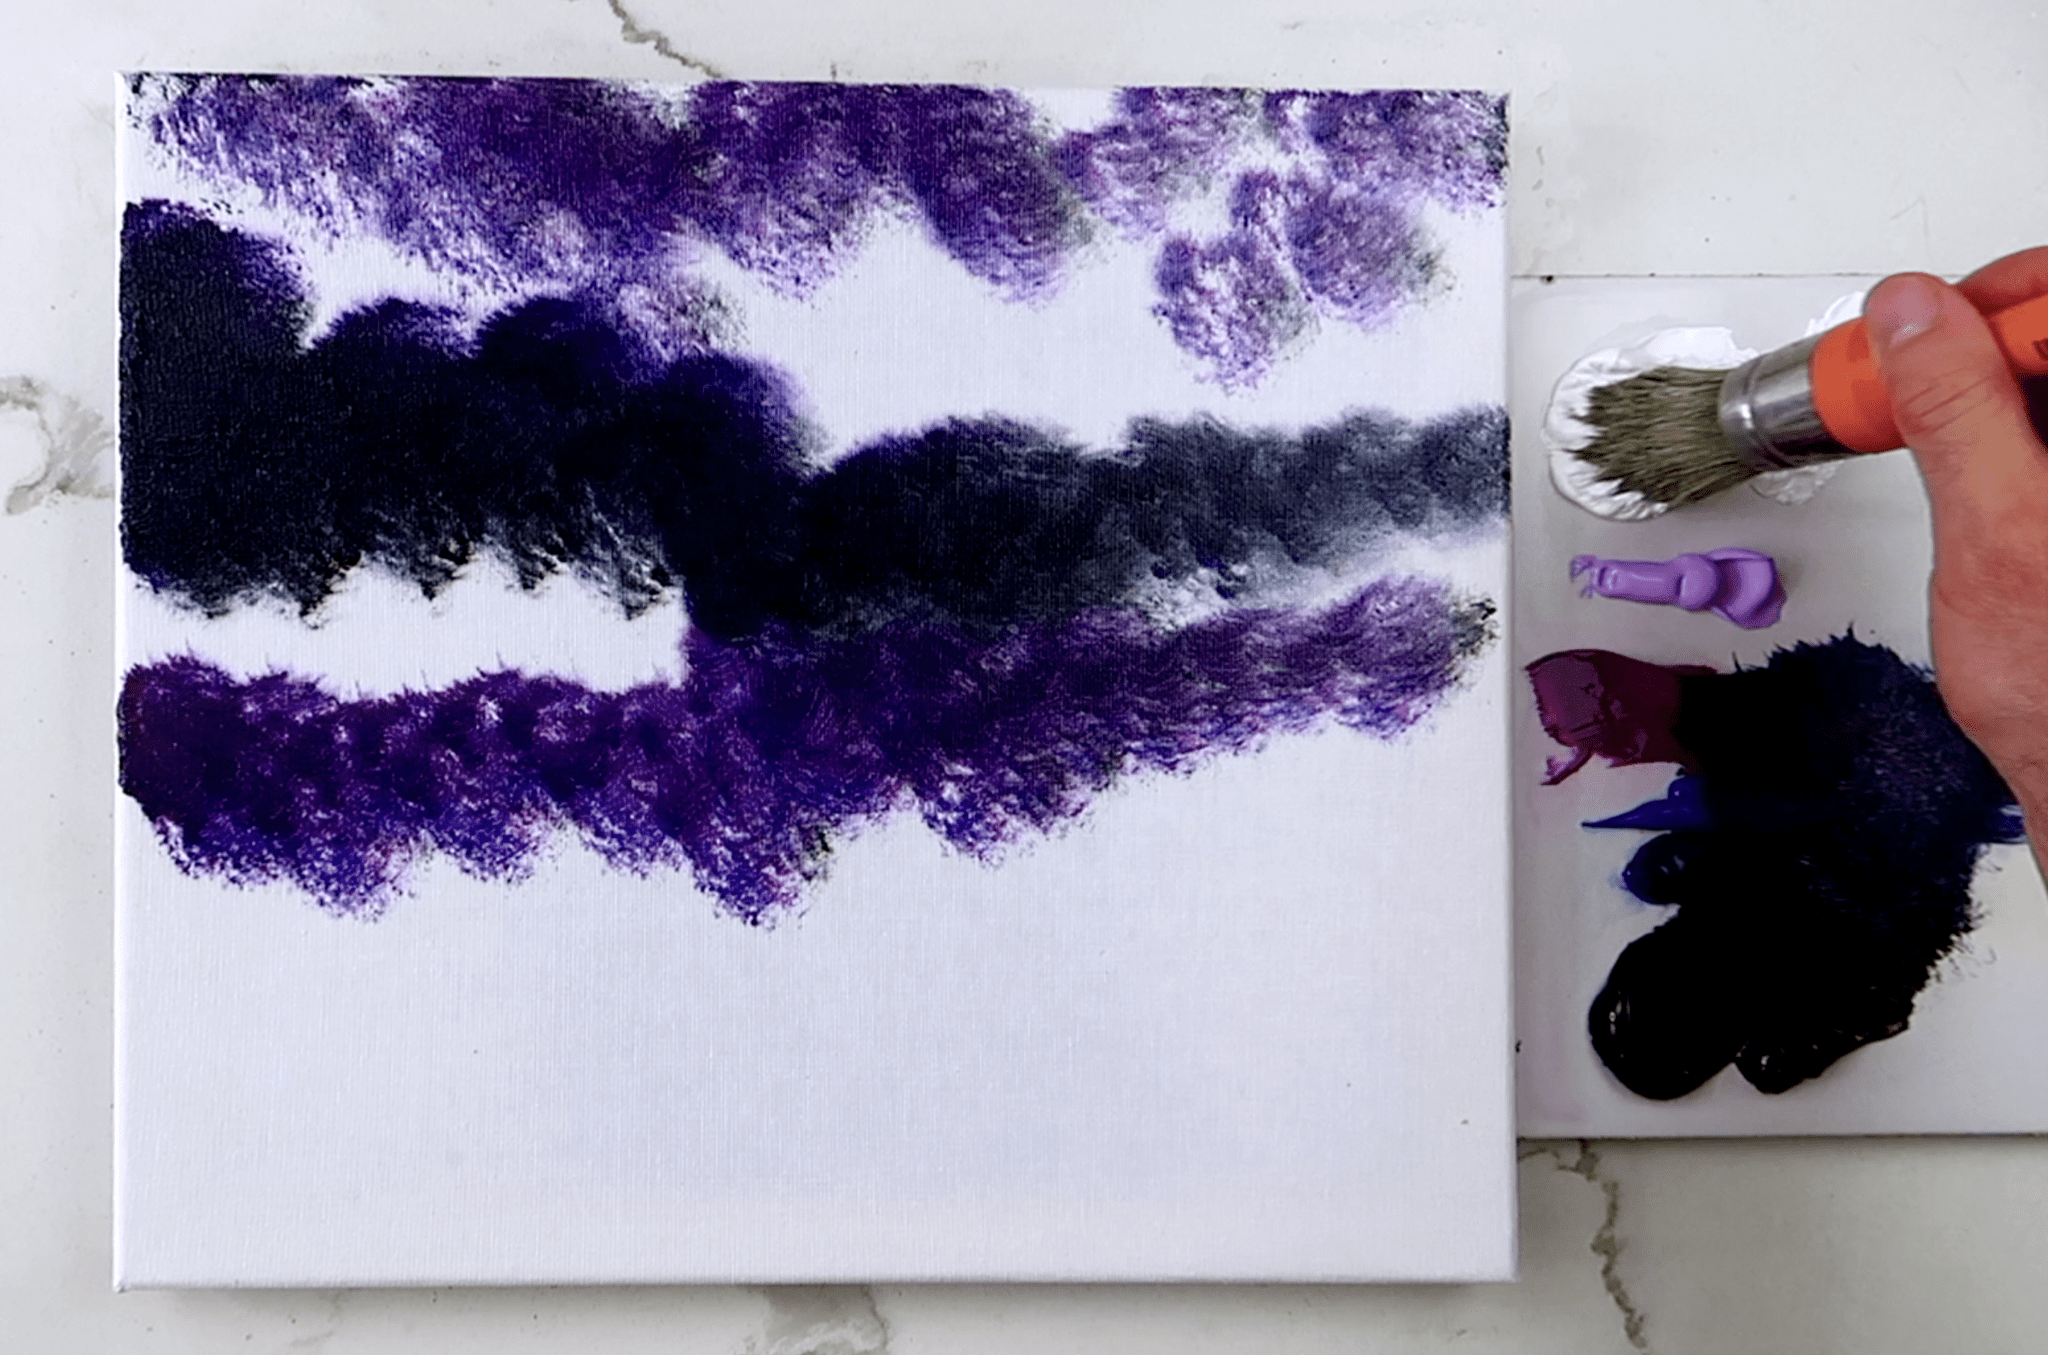
- Dip your big oval brush in a combination of dark colors (Prussian blue, Phthalo blue, Black).
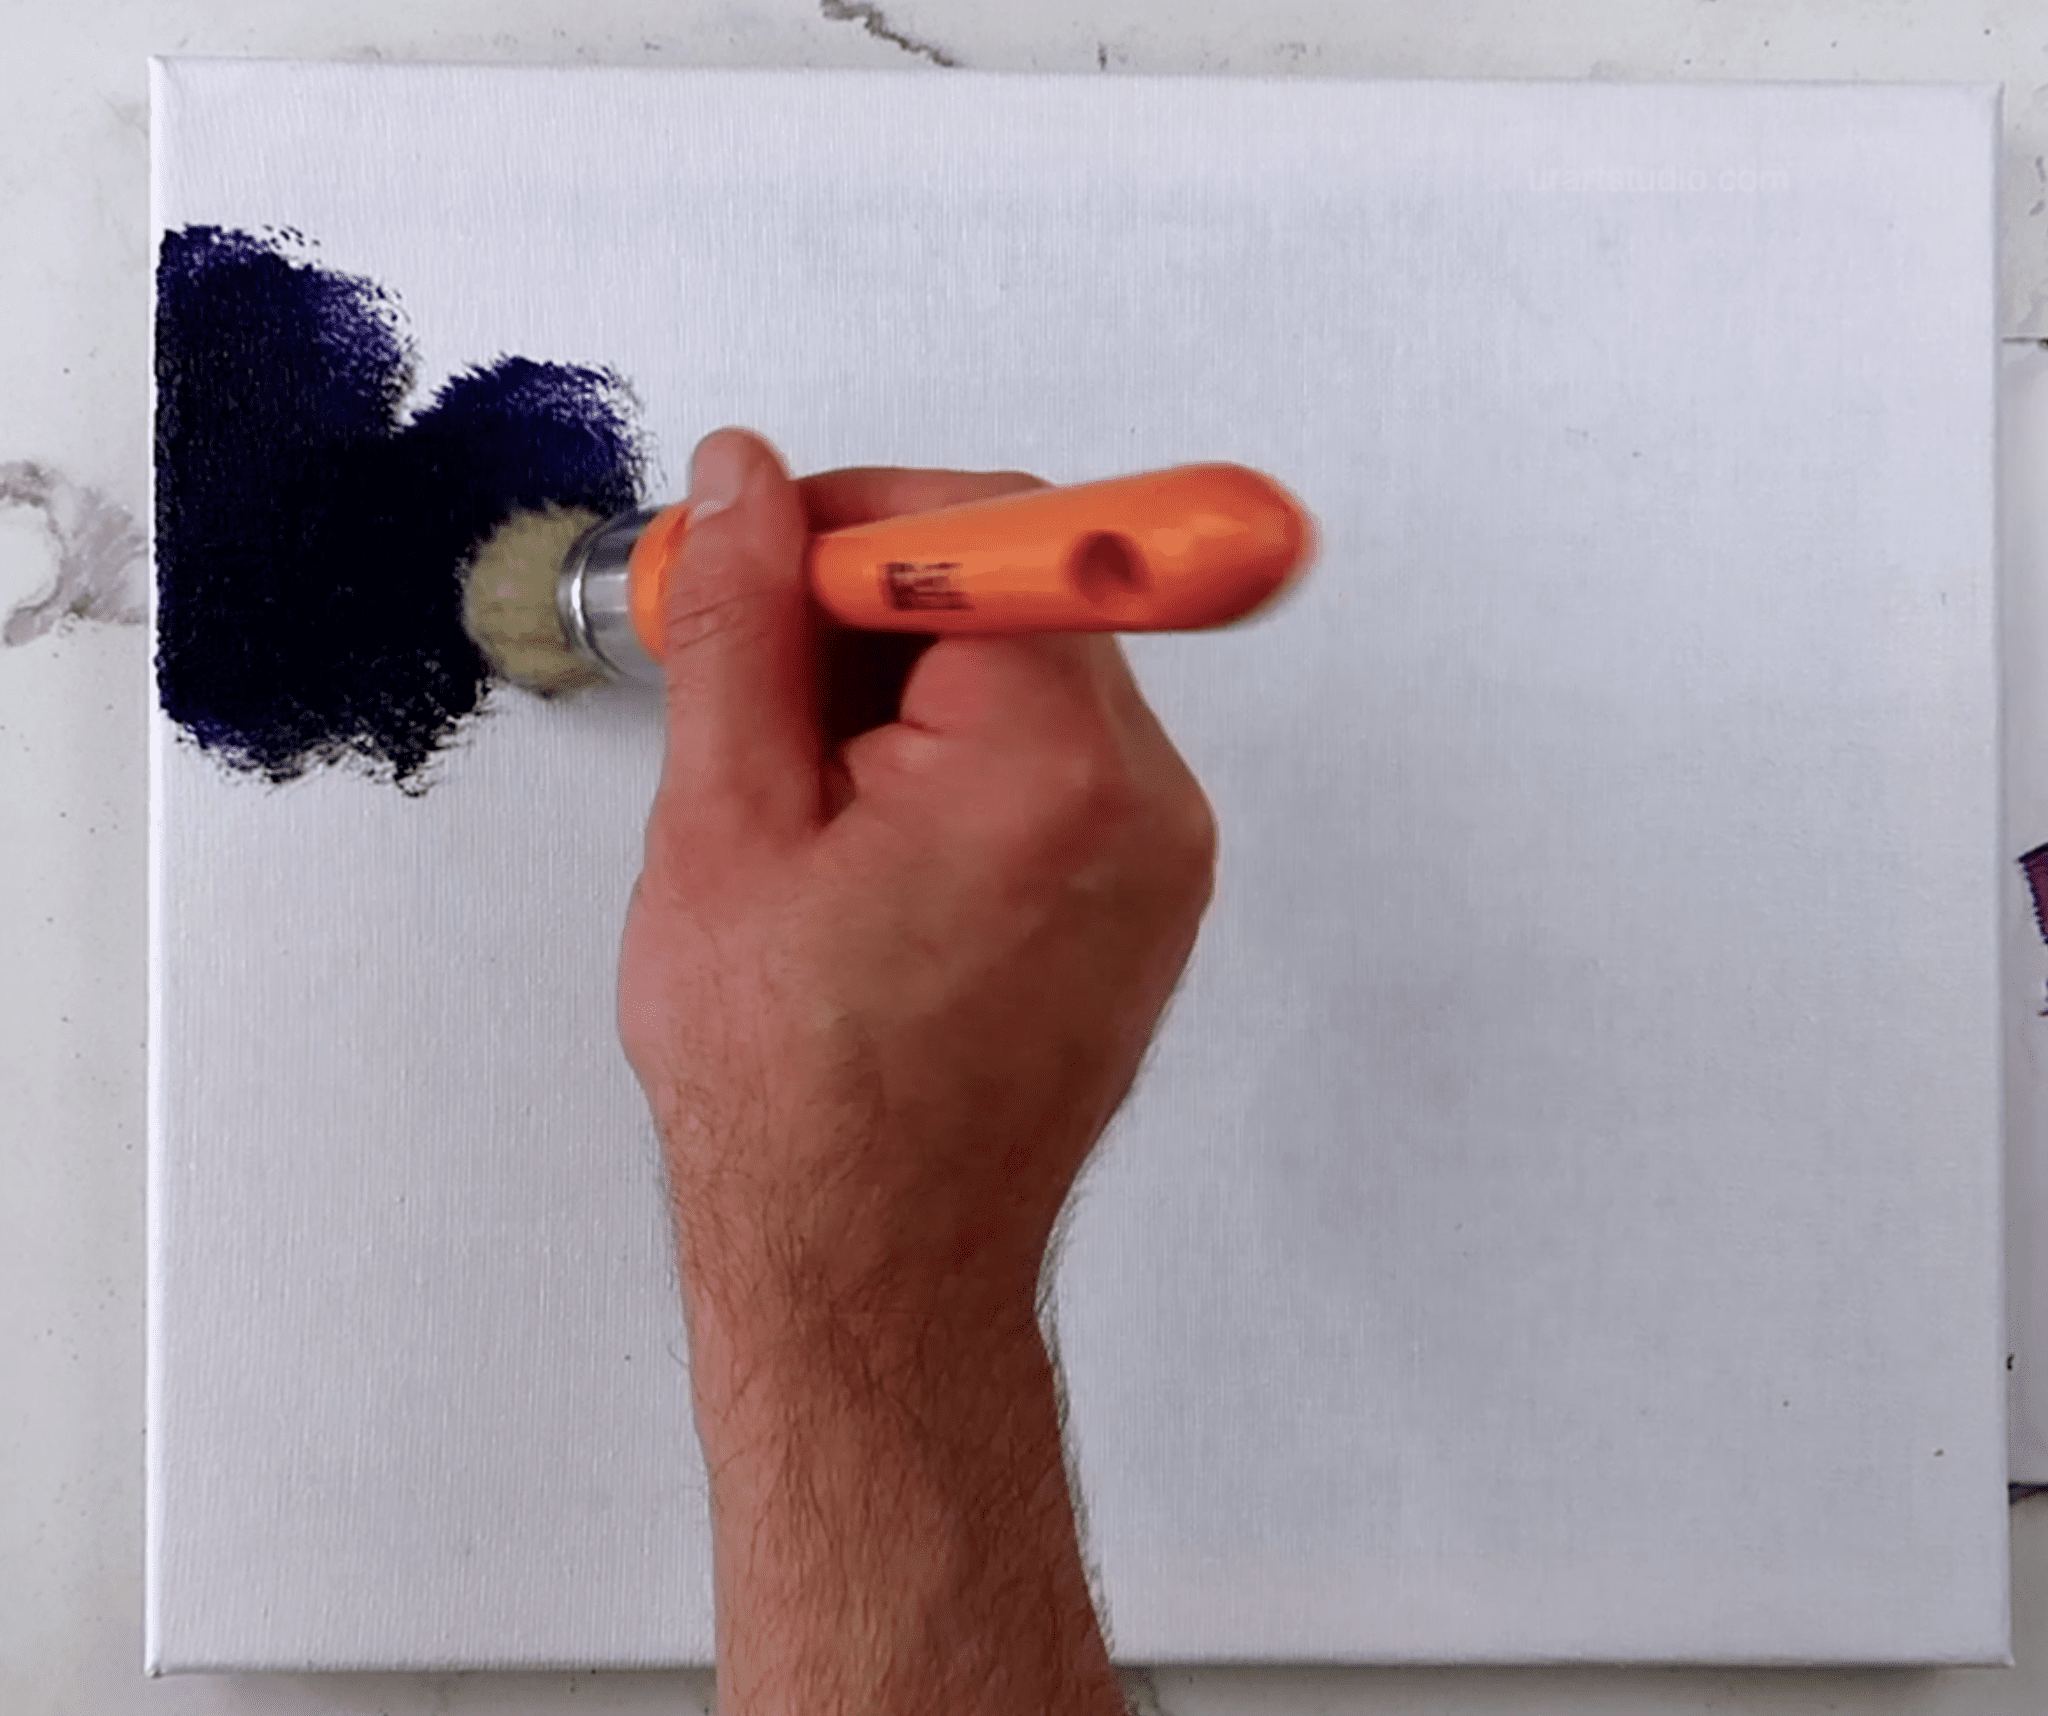
- Use a dabbing motion to create foundational shadows of storm clouds across the sky.
- Clean your brush thoroughly.
Adding Highlights to Clouds:
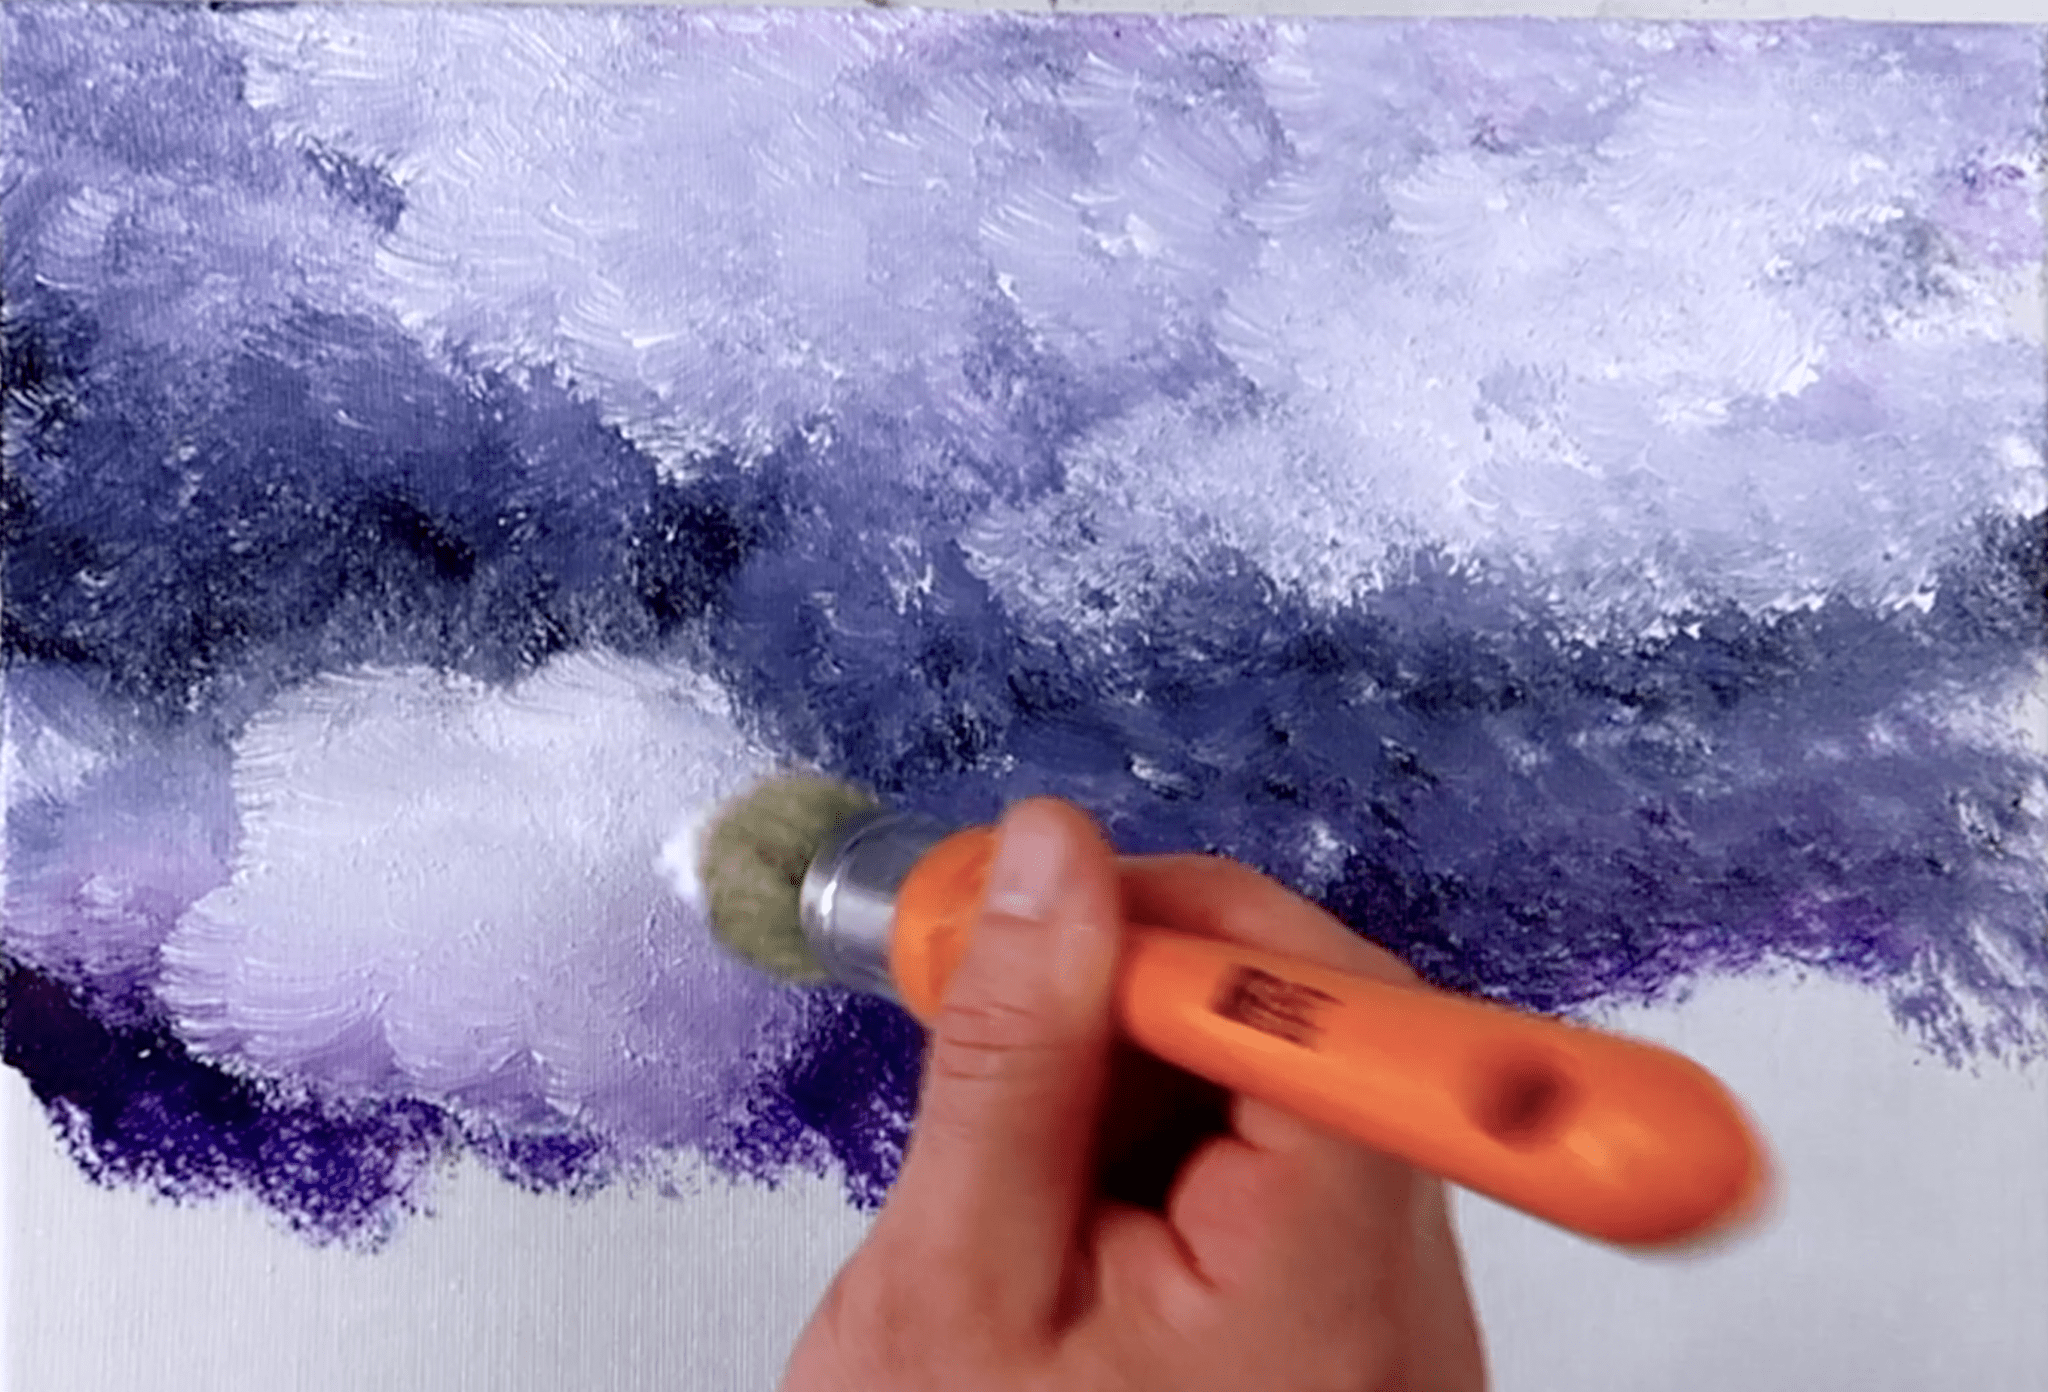
- Load the clean brush with Titanium white.
- Begin to introduce highlights into your dark clouds by sculpting their forms.
- Periodically clean your brush and add more highlights to increase contrast and texture.
Blending the Sky:
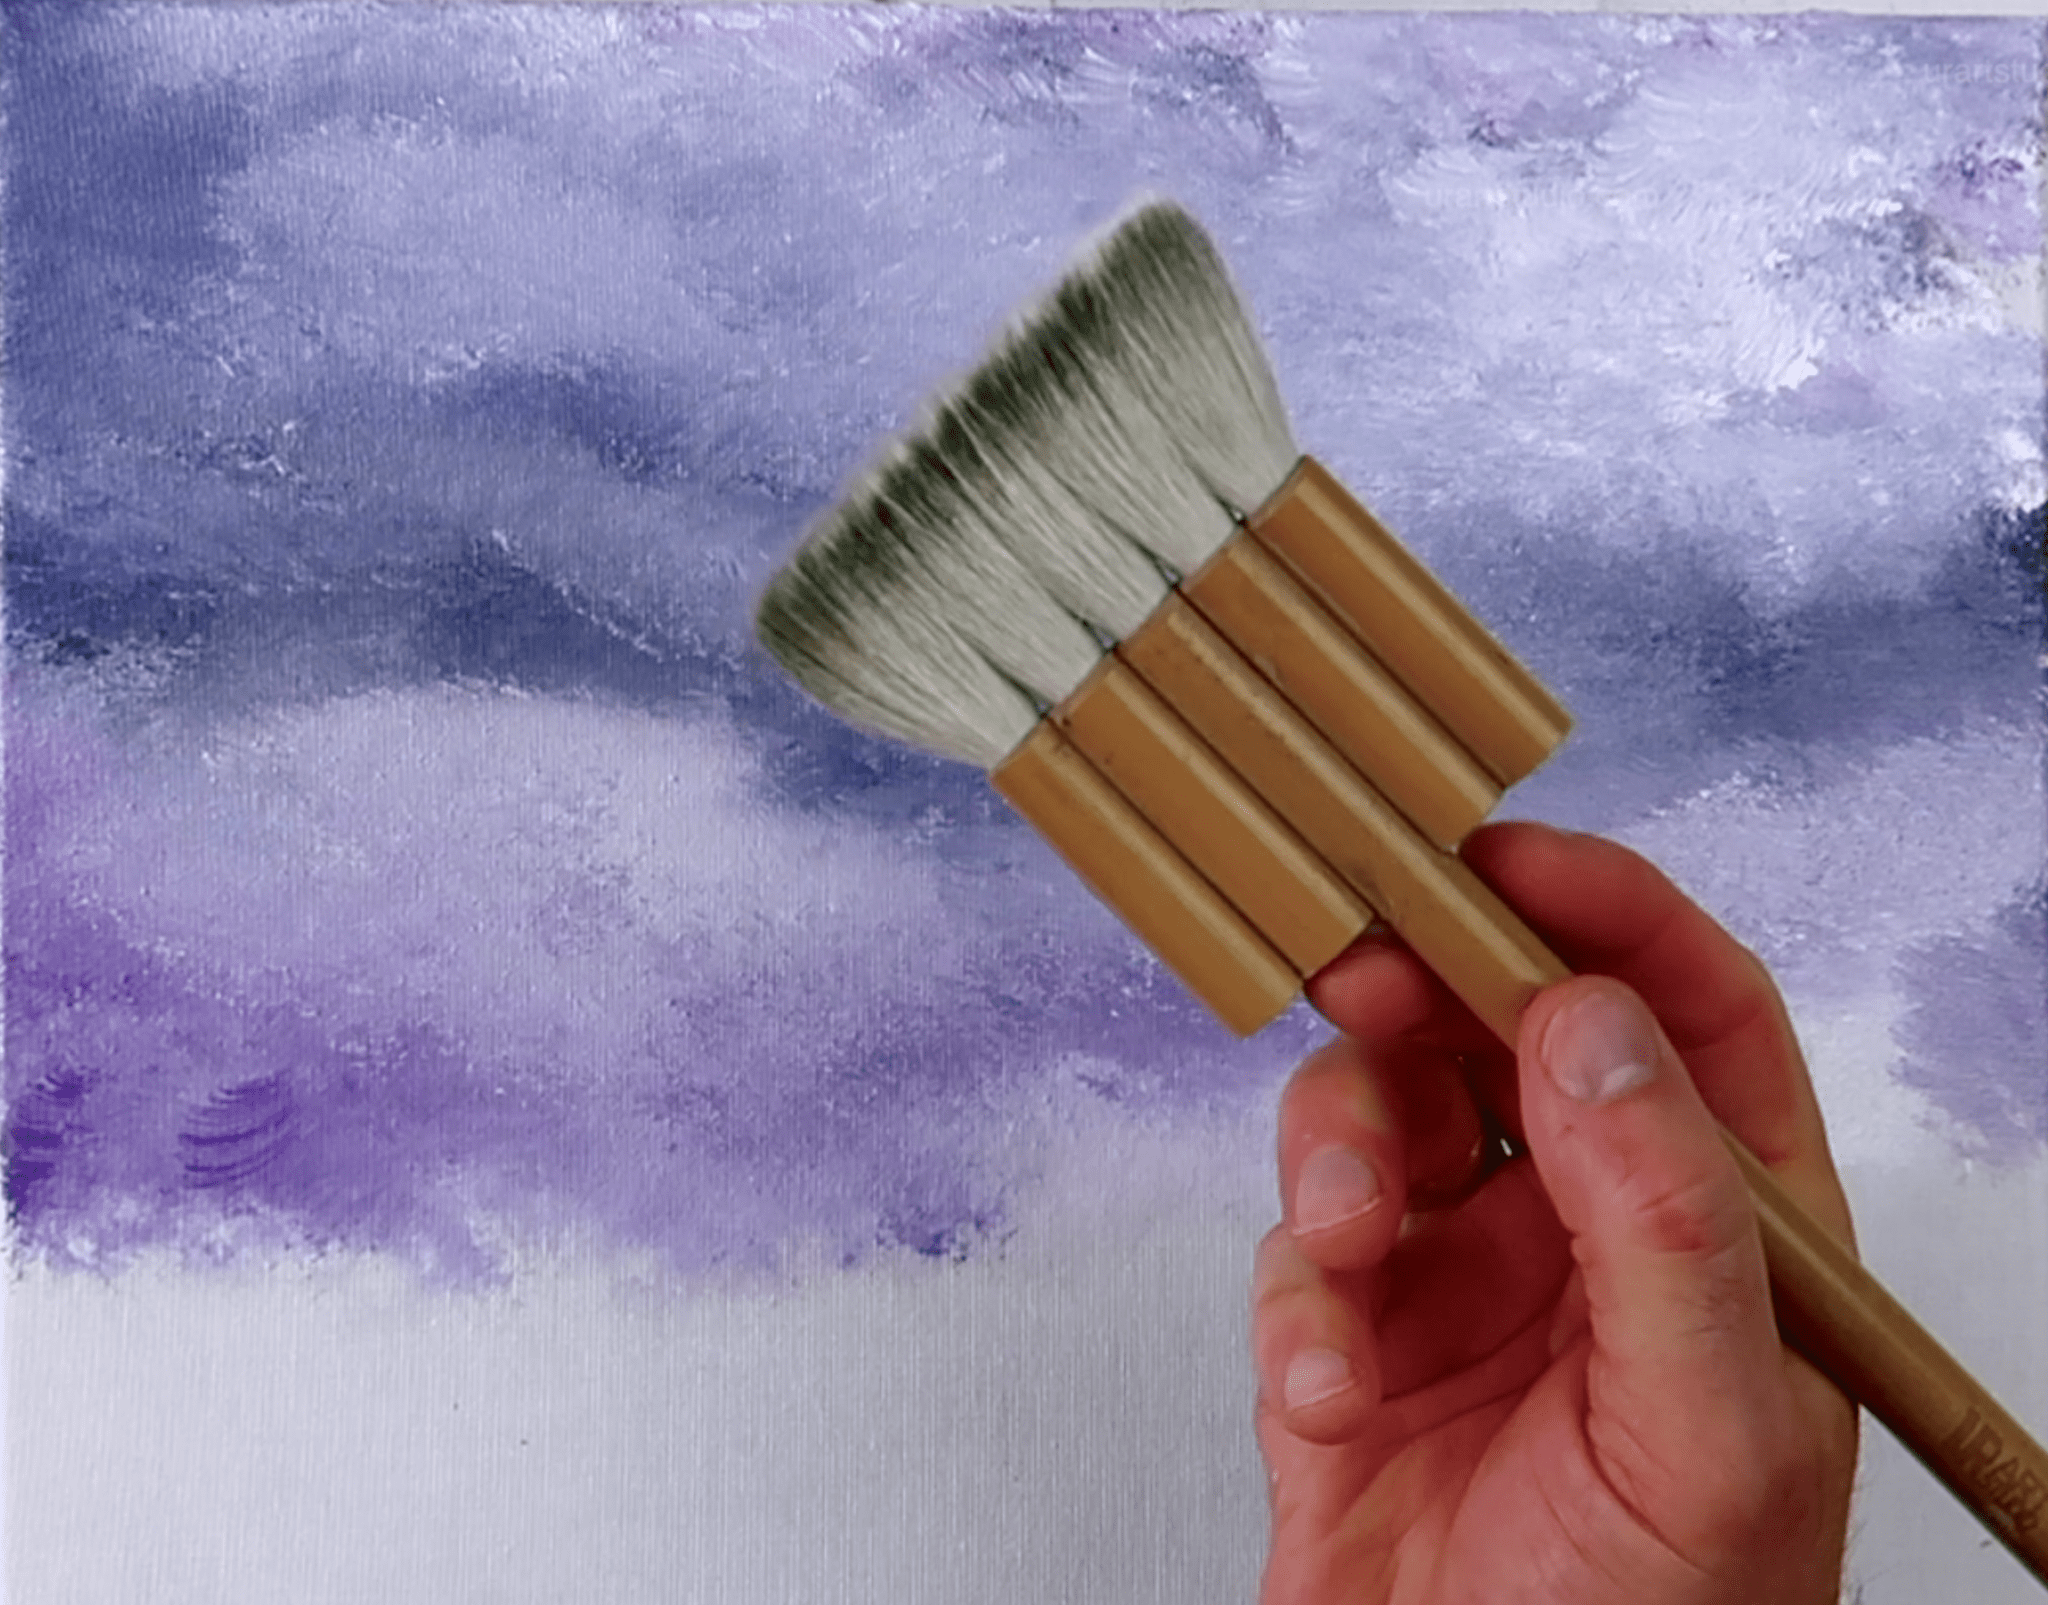
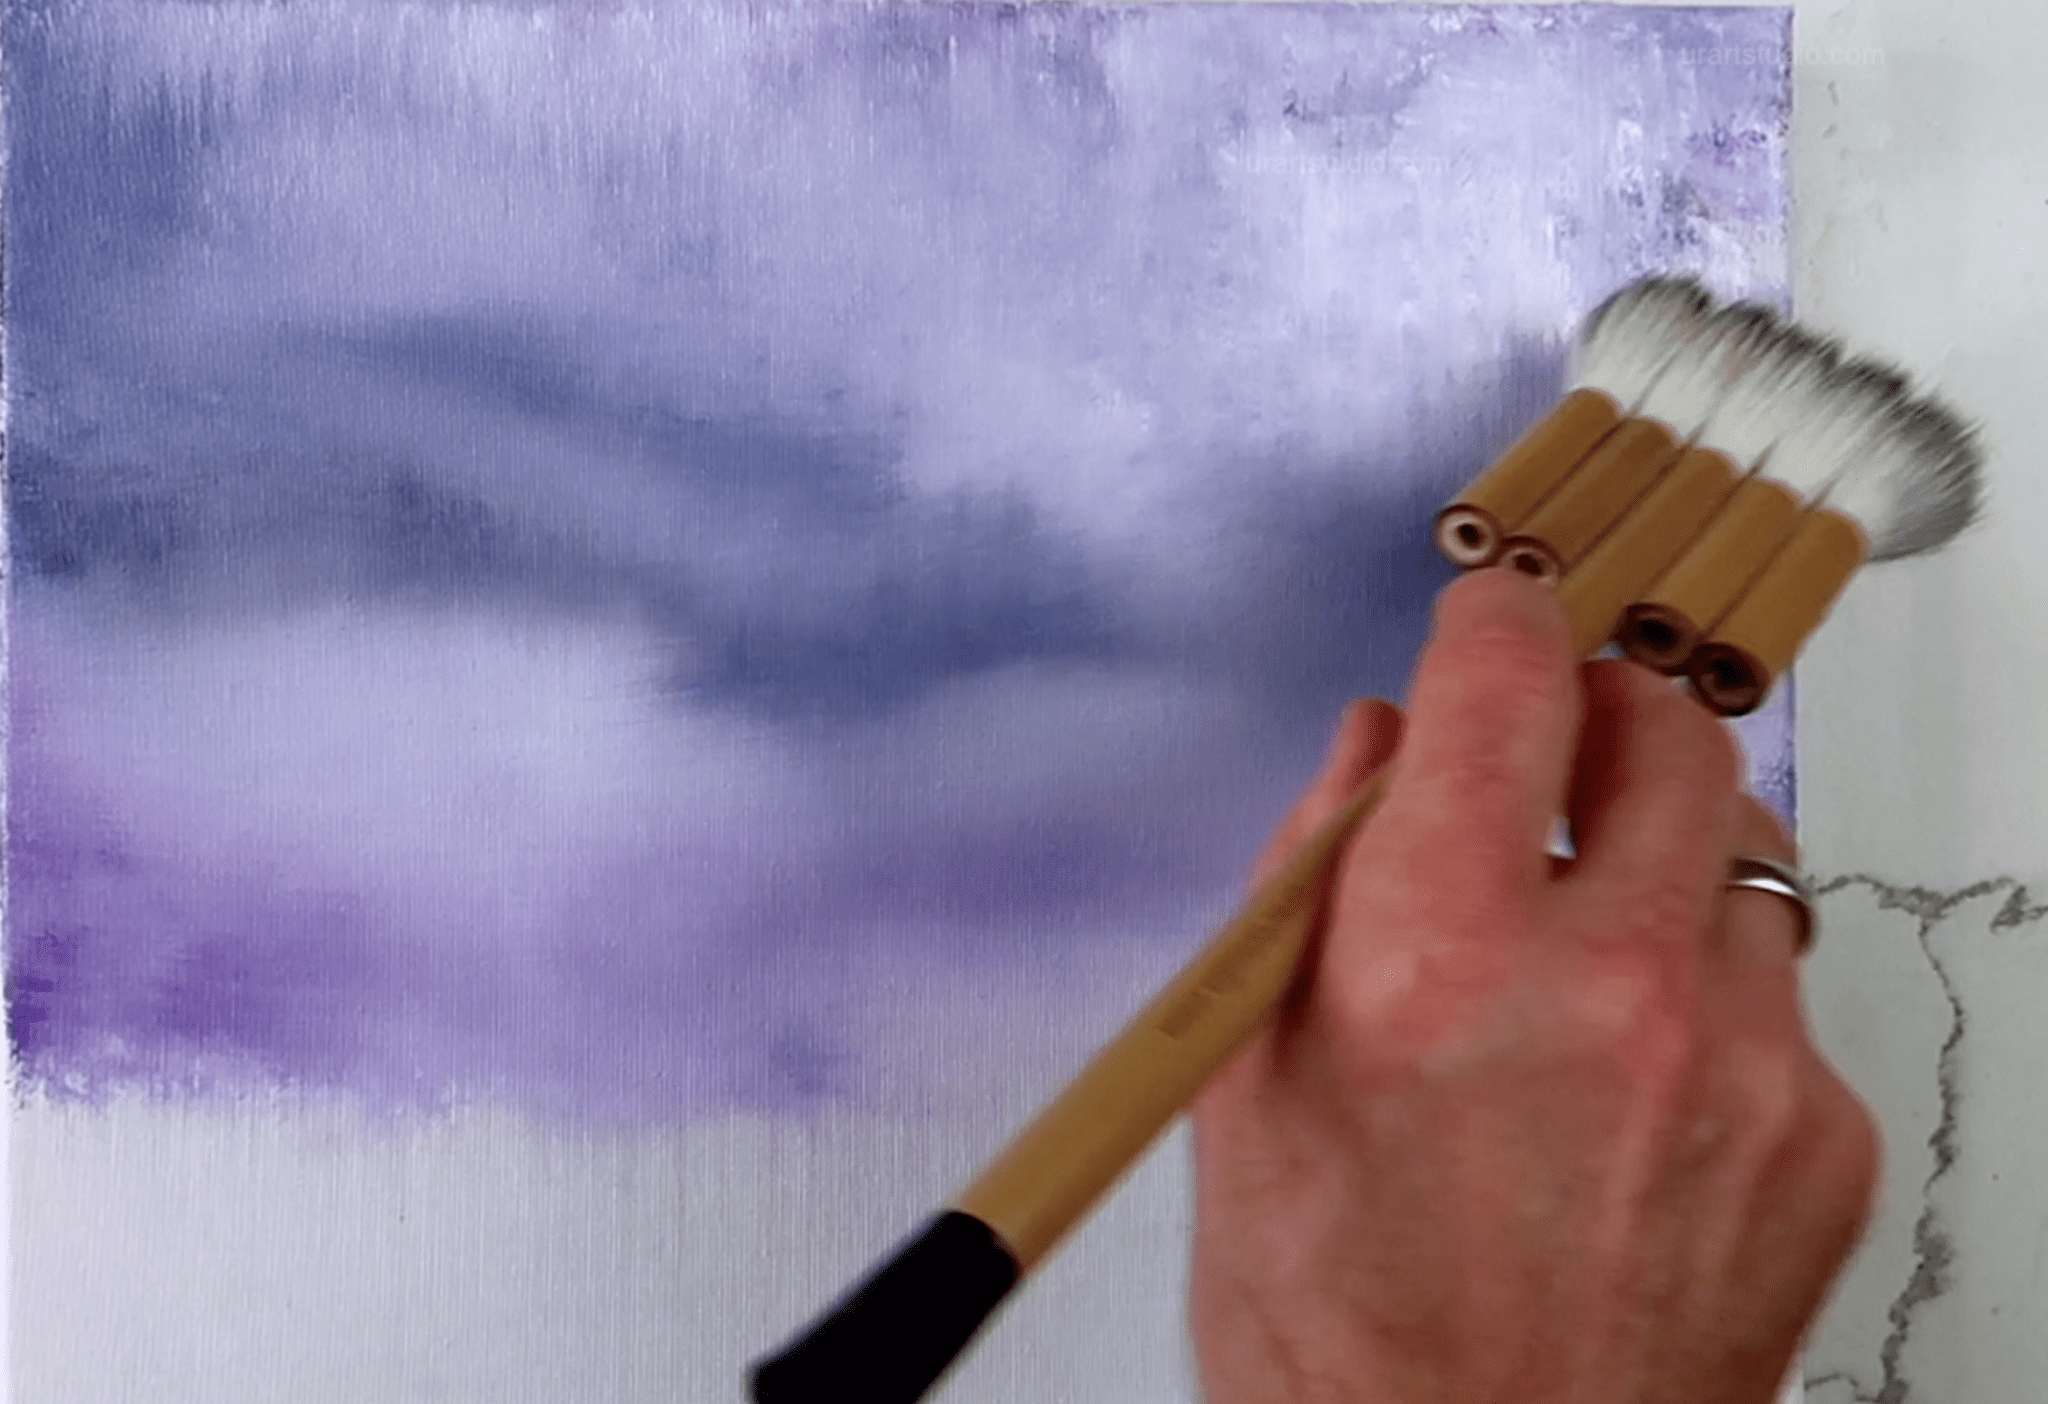
- Use an ultra-soft blending brush.
- Blend the colors vertically and then horizontally for a seamless background.
- Dry the canvas using a heat gun or hairdryer.
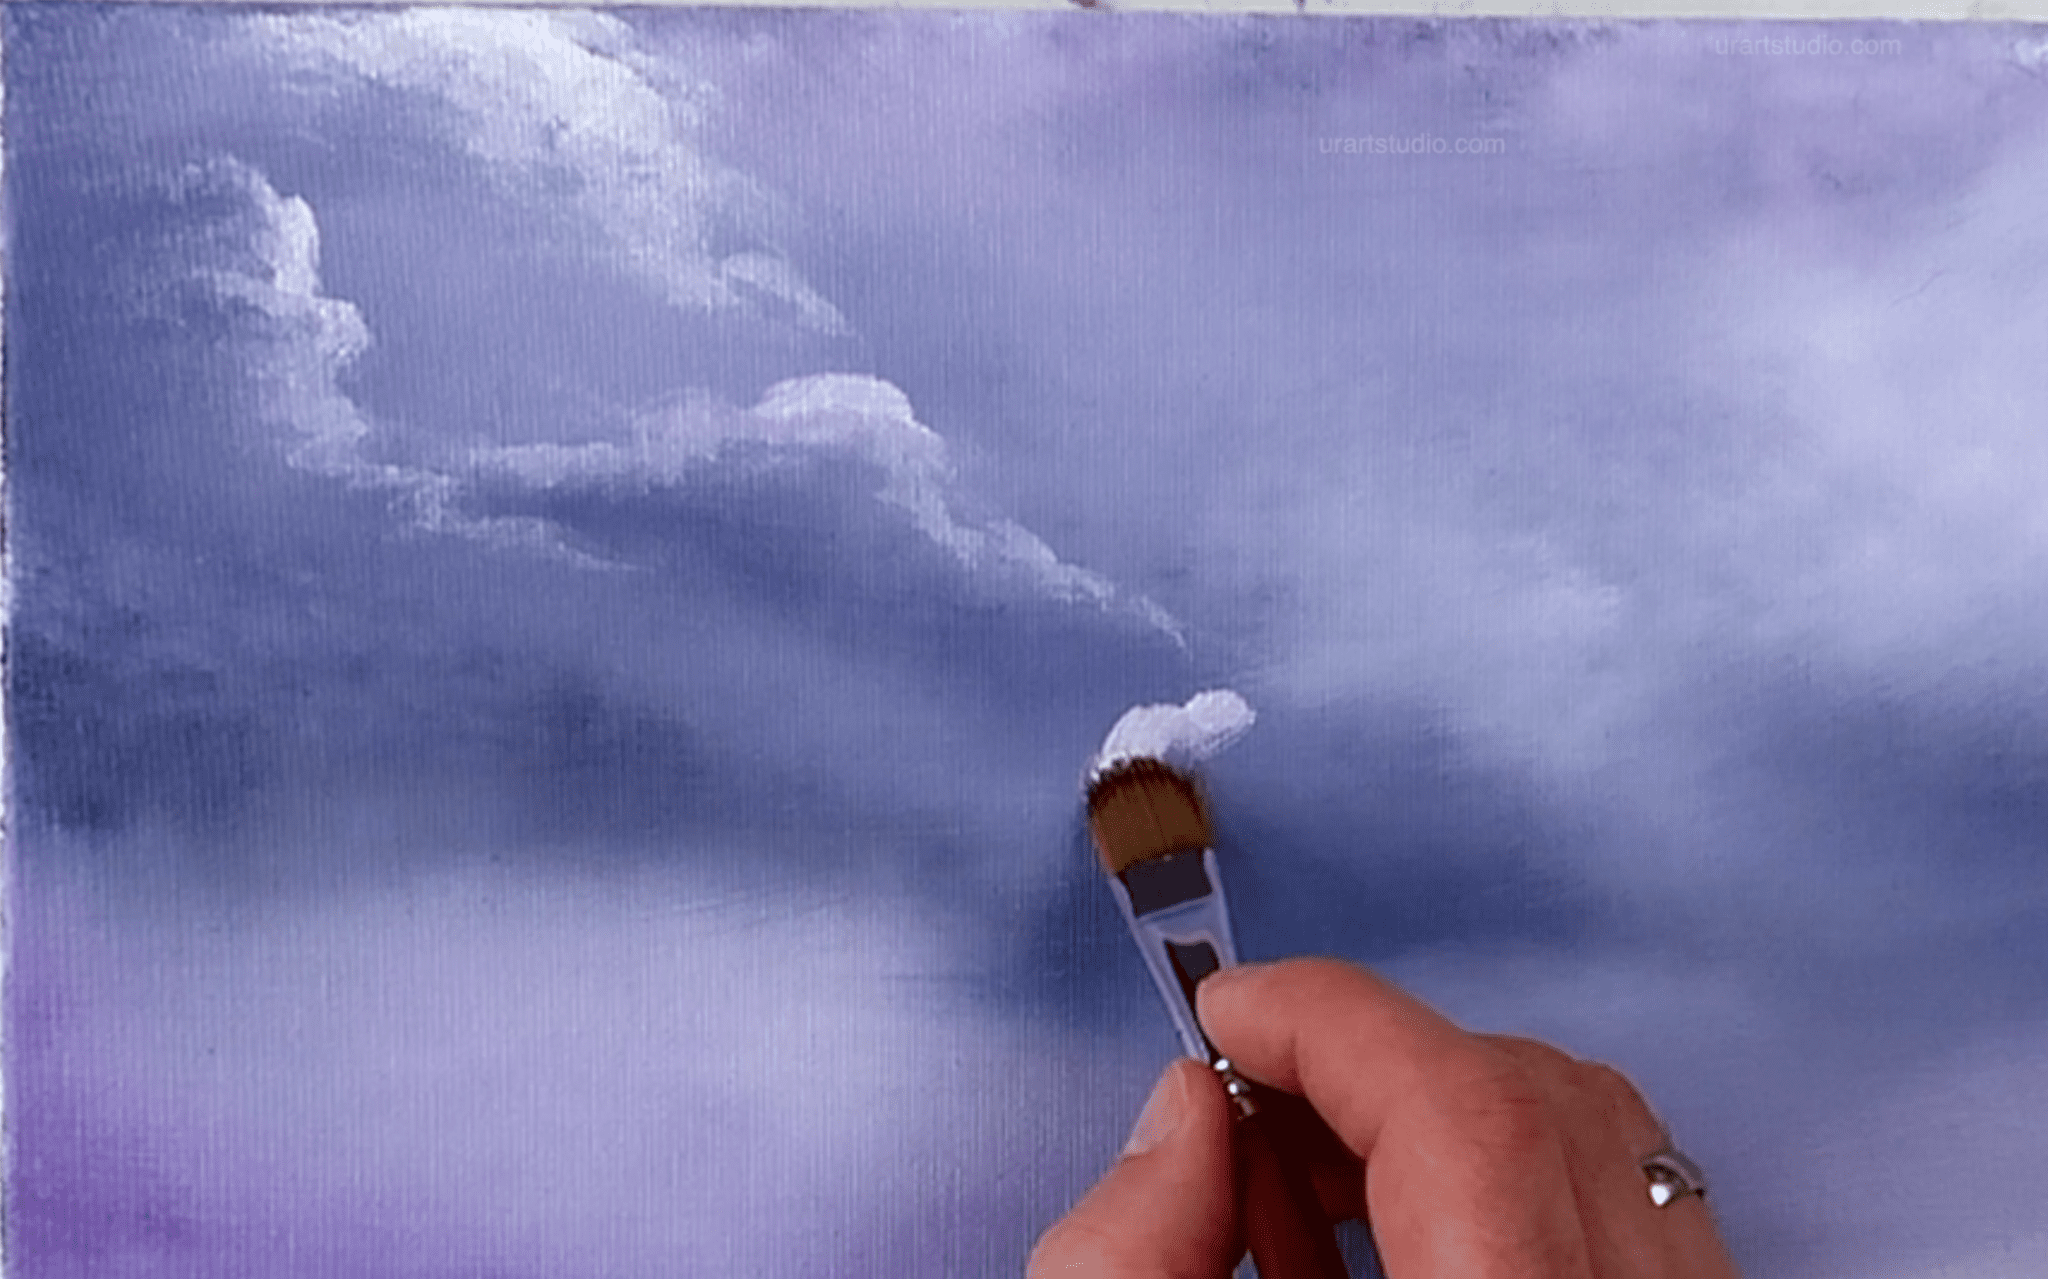
Enhancing Cloud Highlights:
- With a Filbert brush loaded with pure white, add luminous highlights to parts of the clouds reflecting from the lightning.
- Focus on the left side of the canvas to create a luminous backlight effect, suggesting storm energy.
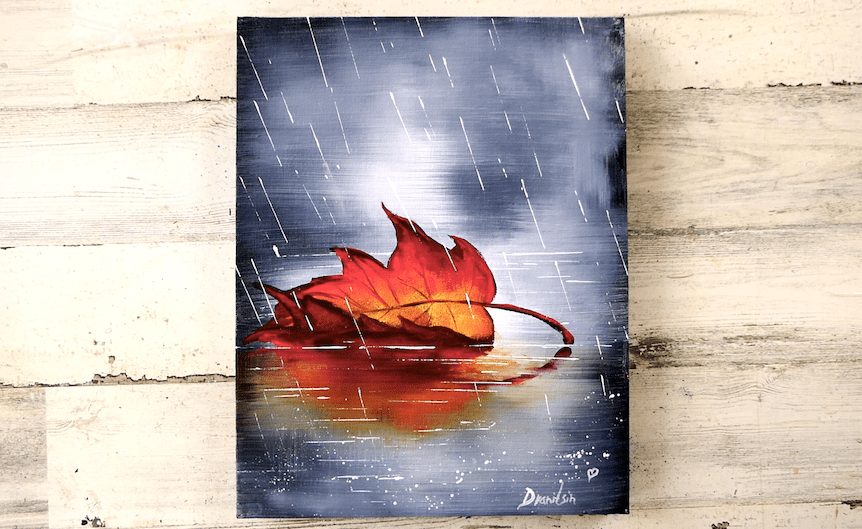
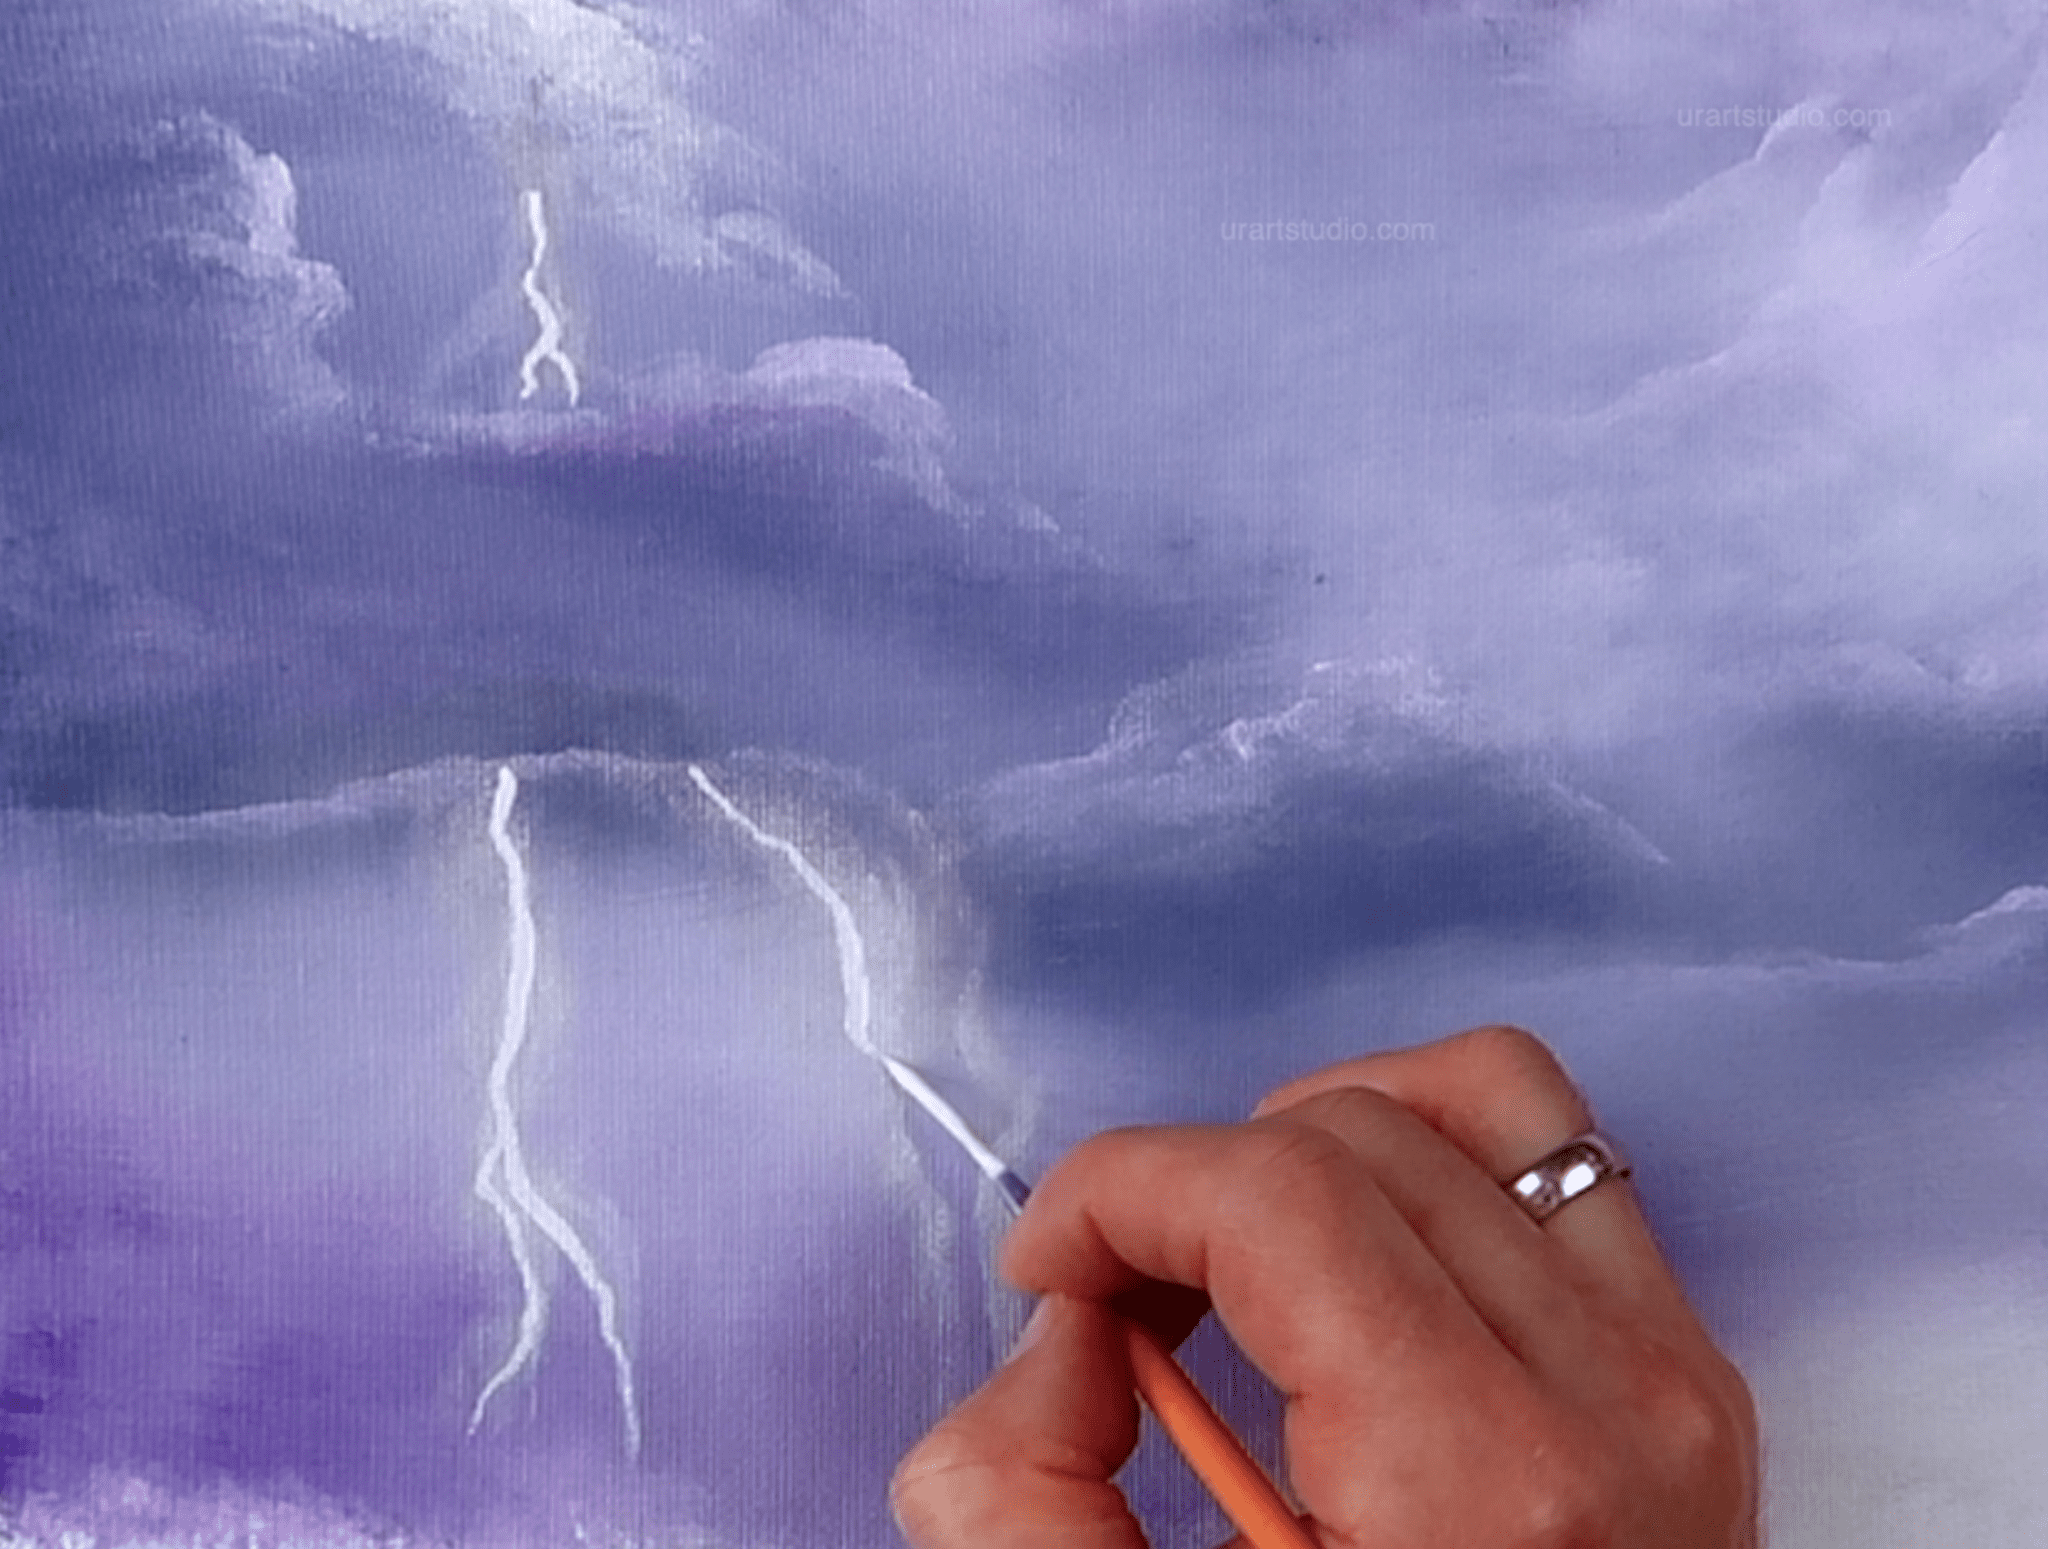
Crafting the Lightning Bolt:
- Using a thin liner brush and pure white paint, delicately craft a lightning bolt cutting through the clouds.
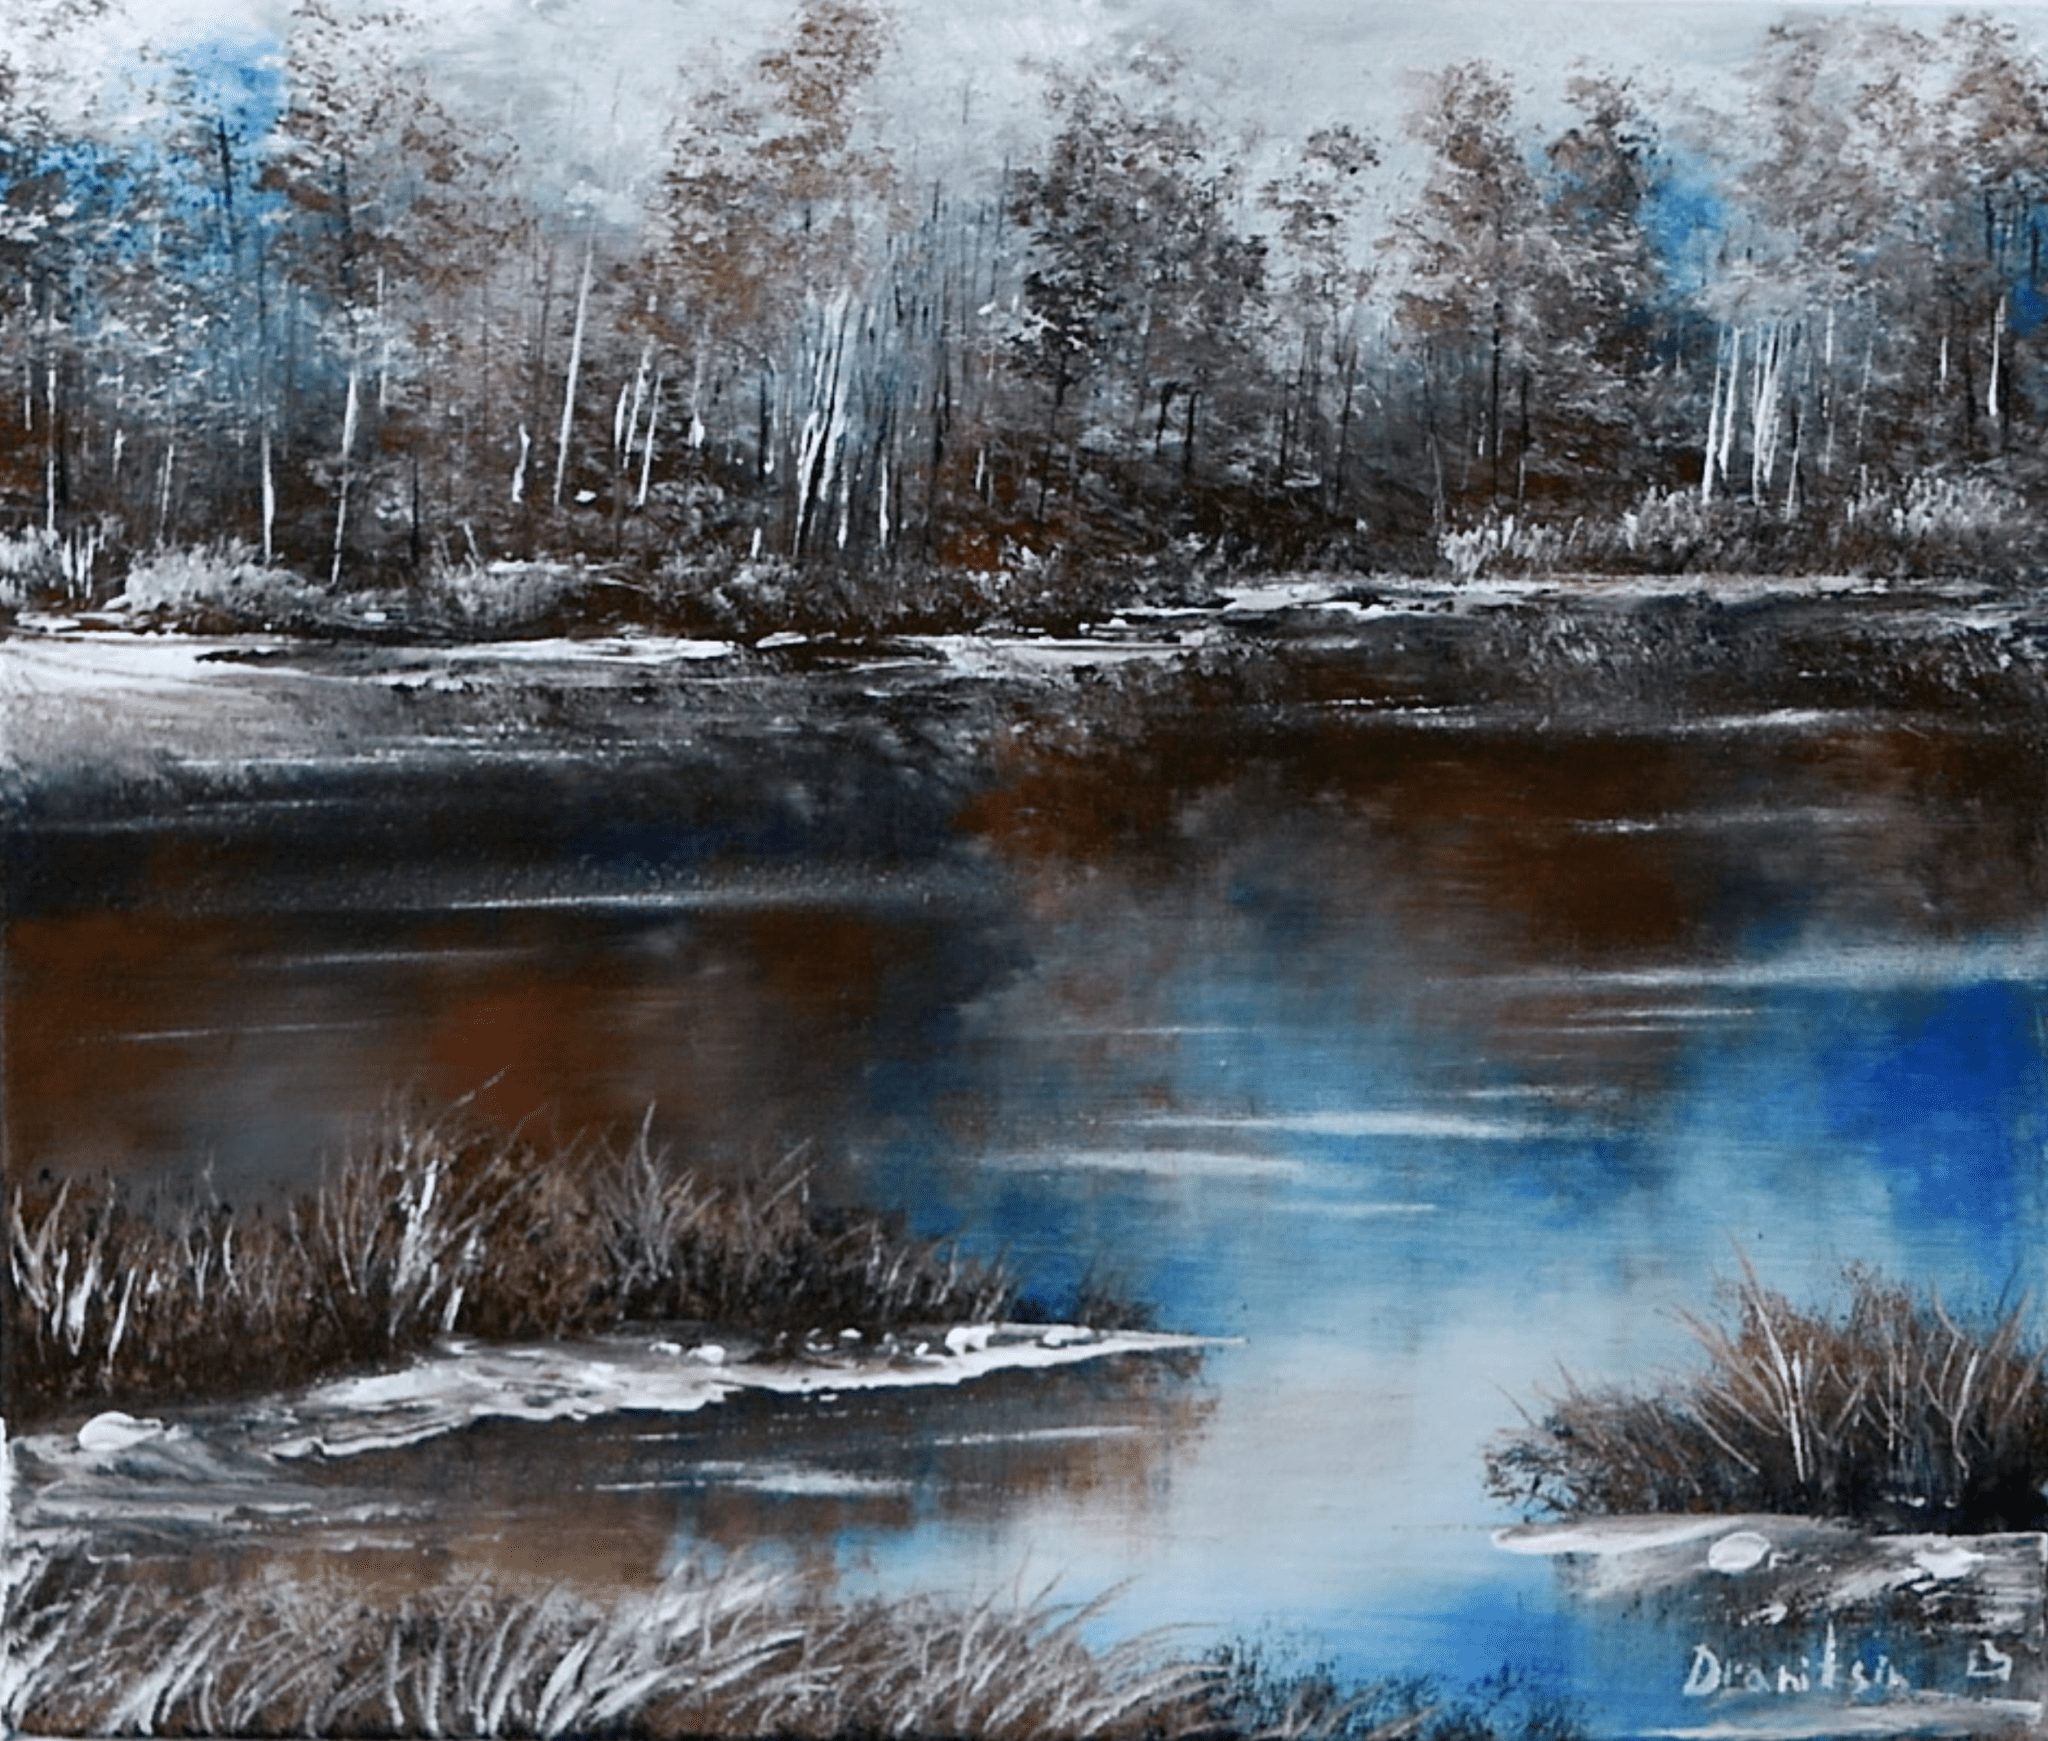
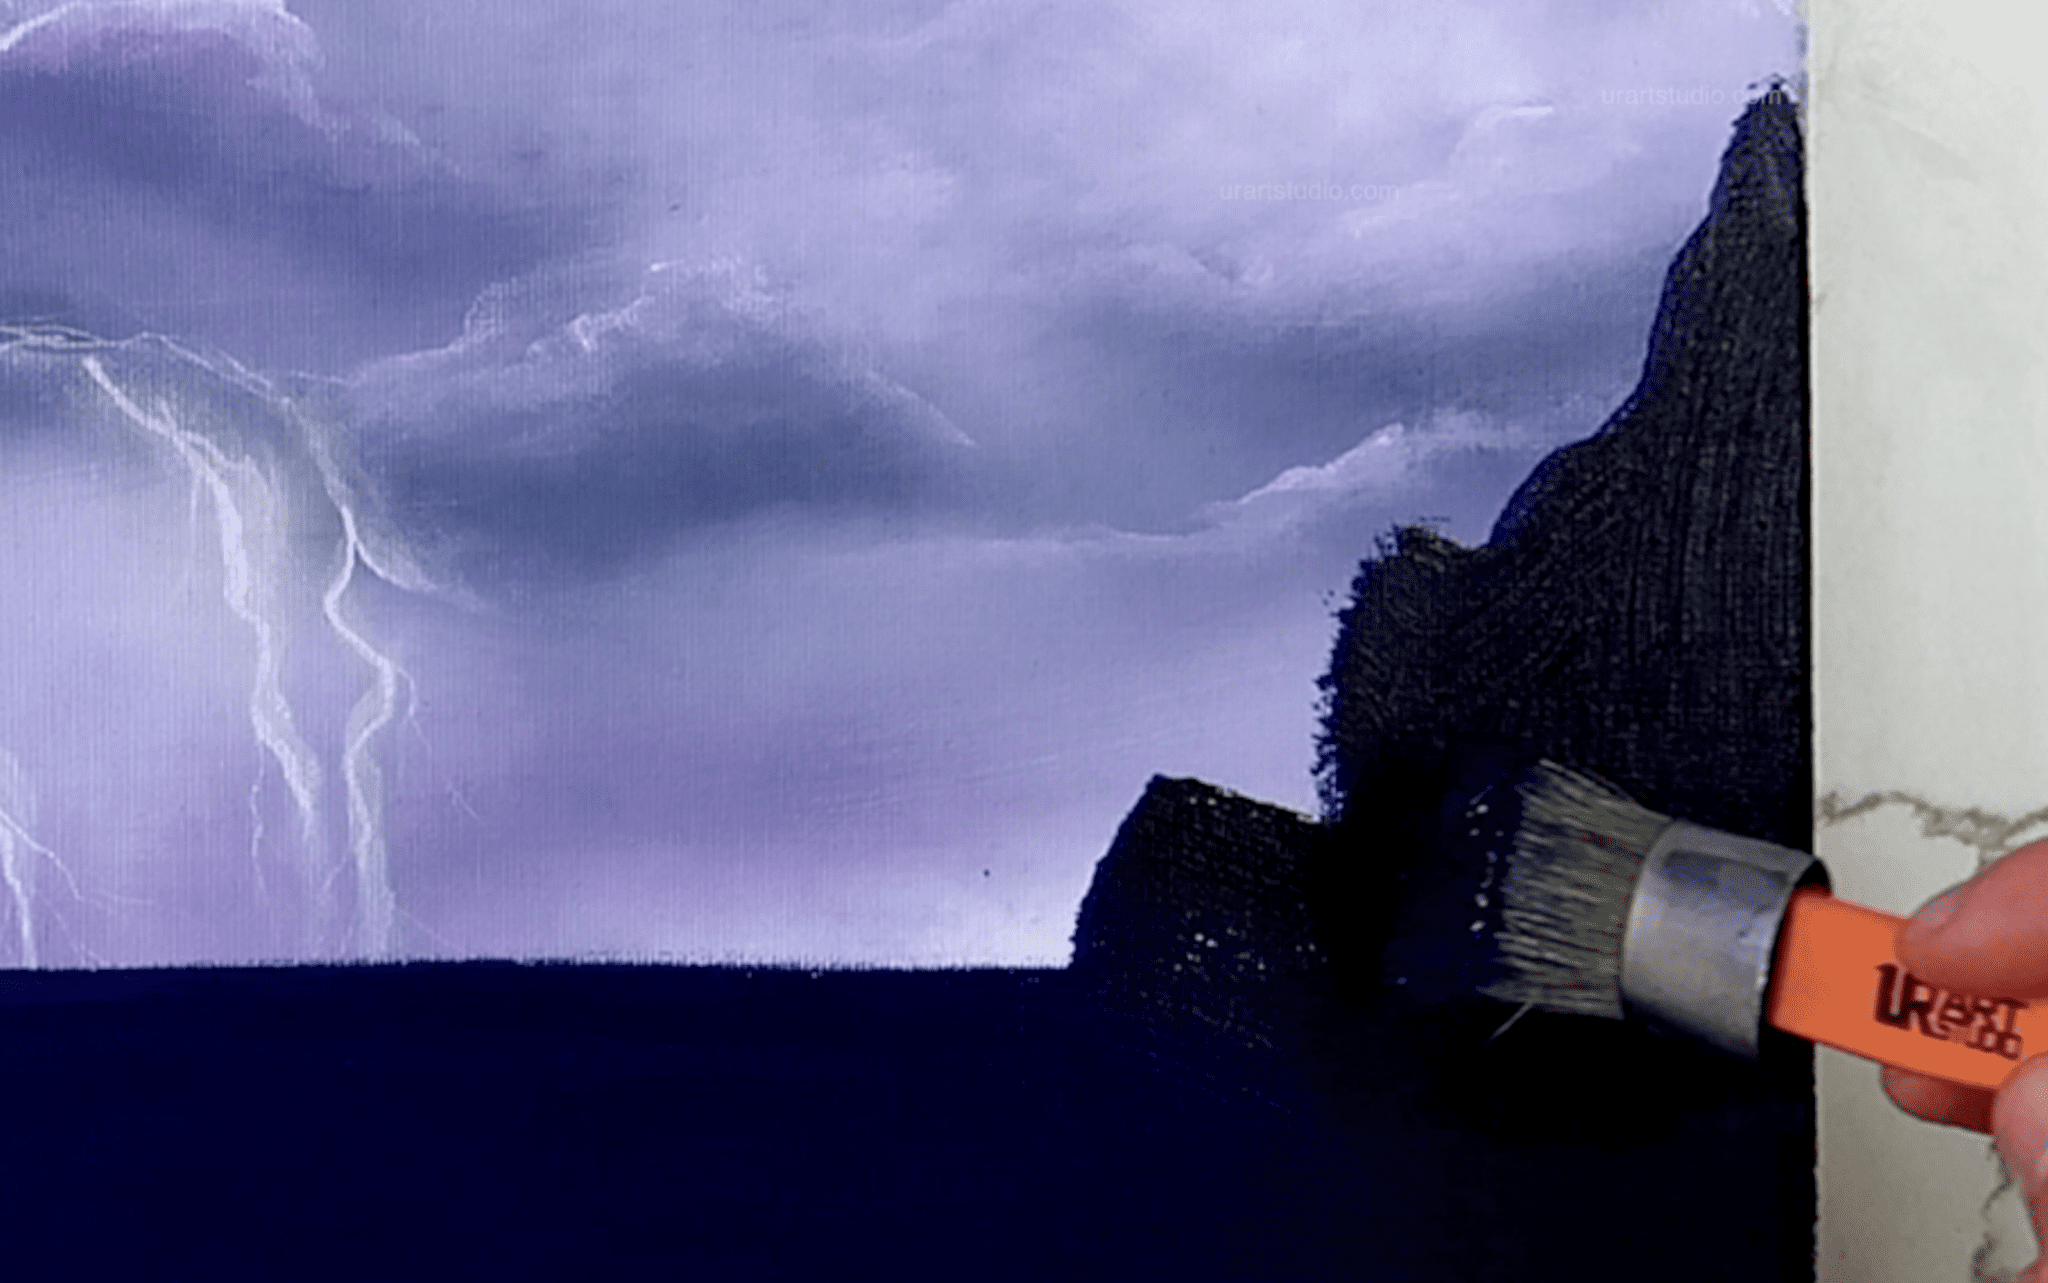
Painting the Ocean:
- With the oval brush, painted with dark tones, depict the ocean with sweeping horizontal motions.
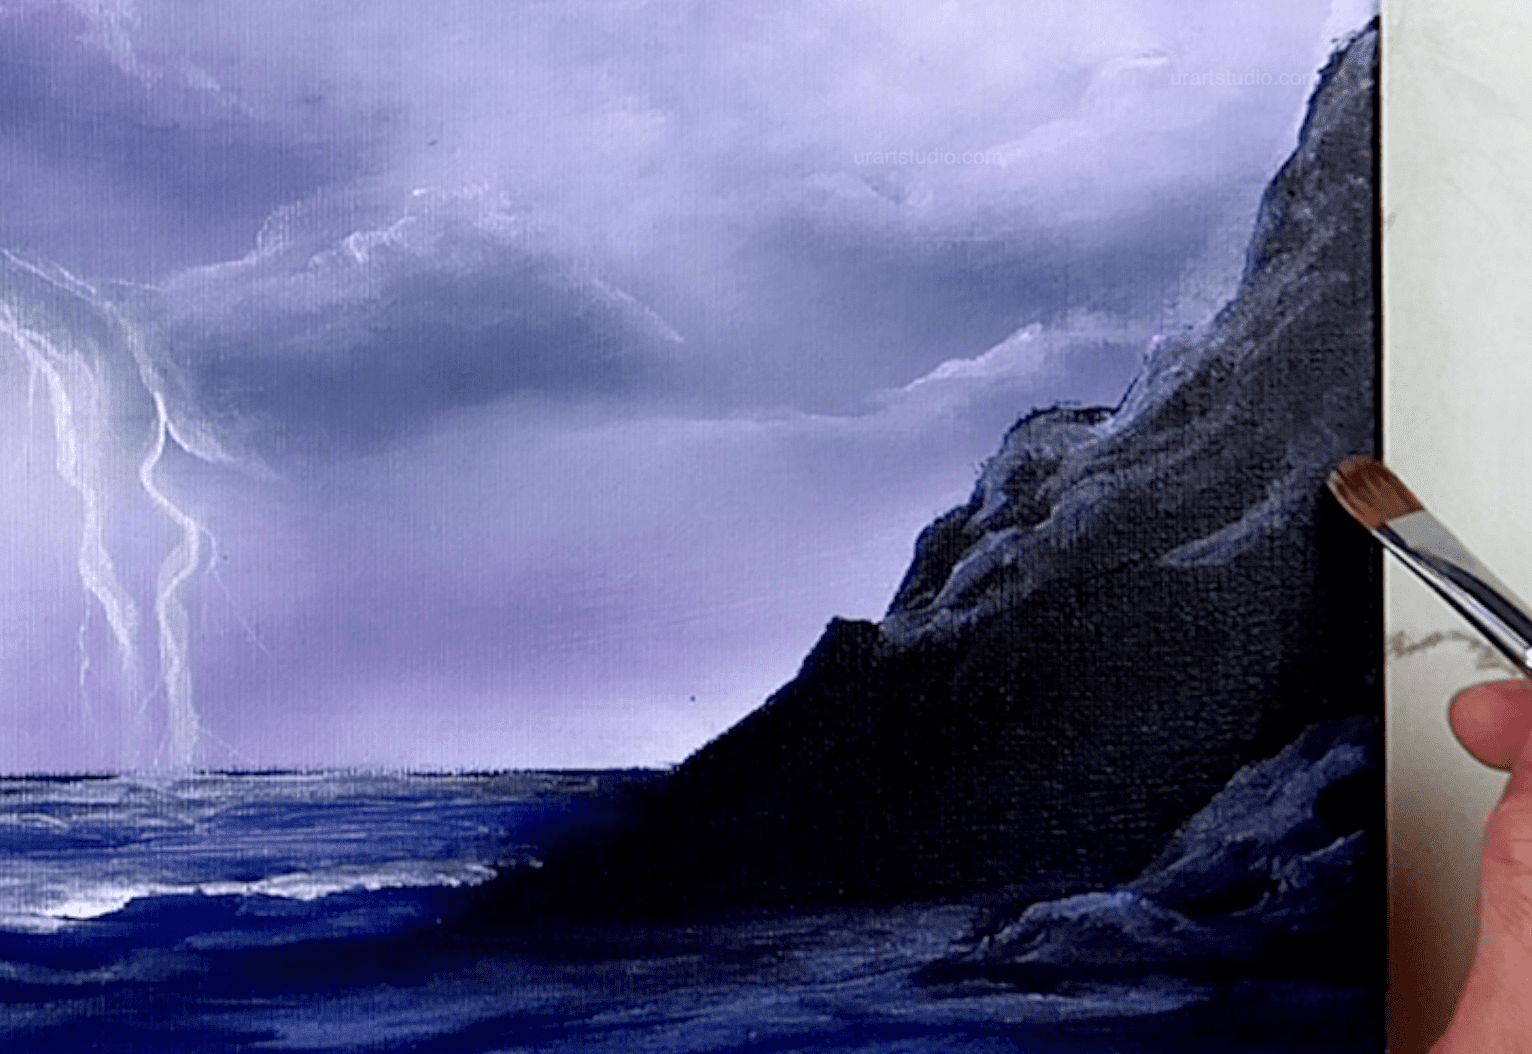
- Hint at distant mountain formations on the right side of the canvas with the same brush.
- Blend Phthalo blue and Lavender to add light reflections around the mountain in the water.
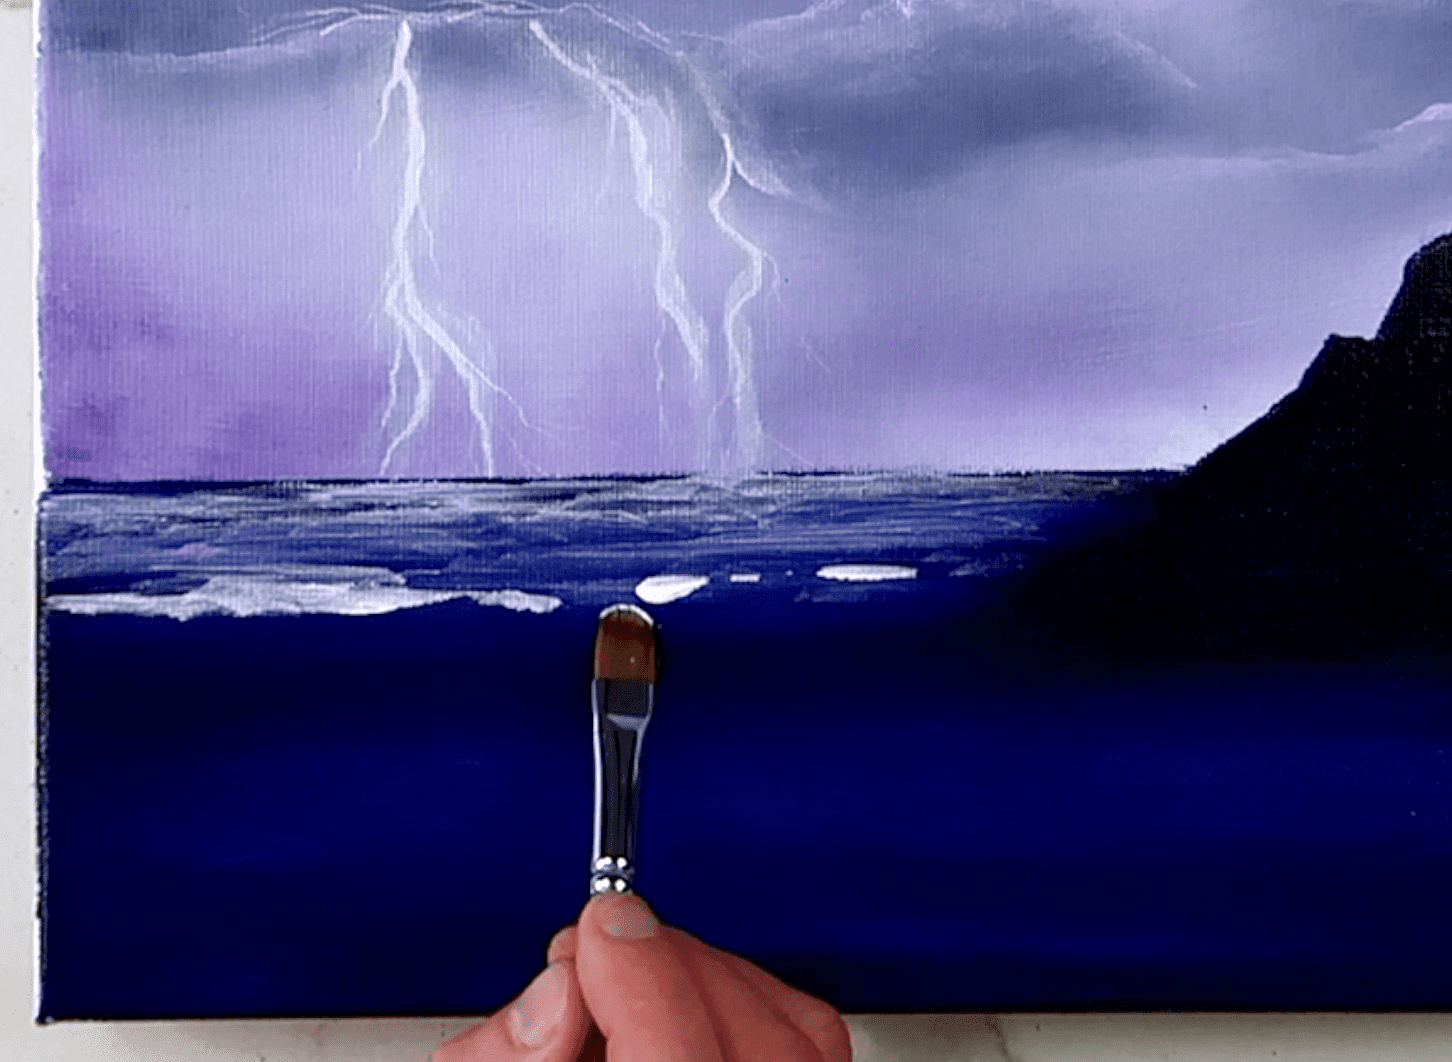
Detailing Ocean Waves:
- Mix white, Lavender, and blue with a Filbert brush to characterize the movement of ocean waves from the horizon to the foreground.
- Add highlights on rock formations with a delicate touch.
Adding Reflections and Final Touches:
- Infuse subtle blue reflections near the water’s edge.
- Clean the brush and use white to refine ocean waves, capturing dynamic motion.
- Use dark paint to define rugged foreground rock formations, adding depth and texture.
- Use a liner brush with white paint to add intricate details like floating foam and counter light on the waves for realism.
Final Refinements:
- Add highlights to the rock formations to accentuate their rugged textures.
Signing and Final Look:
- Sign your masterpiece.
- Step back and admire your creation.


Hey everyone, I’m thrilled to have you join me for this exquisite painting journey. Today, we’re diving into the mesmerizing creation of distant lightning.
As we explore this painting idea, remember we are using a 12 x 14″ canvas, but feel free to adapt these steps to the canvas size that suits your style best.
For our color palette, let’s embrace the magic of white, lavender, violet, Prussian blue, phthalo blue, and black. These colors will capture the essence of the storm brewing in the distance.
Before we commence, ensure your canvas is prepped with just the right amount of moisture, allowing your acrylic paint to glide and blend effortlessly.
For more details on canvas preperation and other painting tips please visit our website at urartstudio.com
Let’s begin by engaging our big oval brush with a medley of dark colors to lay down the foundational shadows for our stormy clouds. Using a dabbing motion, let these shadows dance across the sky, setting the mood for the upcoming lightning spectacle.
Now, cleanse your brush and saturate it with pure titanium white. It’s time to introduce brilliant highlights amidst the dark clouds, sculpting their forms and adding depth to the sky. Embrace the interplay of light and shadow as your brush dances across the canvas.
To enhance the contrast and bring out the purity of highlights, periodically clean your brush and layer on additional highlights. This technique will emphasize the textures and shapes of the clouds, creating a dynamic visual impact.
Transitioning to an ultra-soft blending brush, delicately merge the colors on the canvas in a vertical motion, then horizontally, to create a seamless, soft background that sets the stage for the impending lightning strike.
Before progressing, use a heat gun or hairdryer to expedite the drying process, ensuring a smooth transition to the next phase of our artwork.
Now, with your Filbert brush loaded with pure white, infuse luminous highlights into the clouds, replicating the radiant light reflected from the imminent lightning strike. These touches of light will illuminate the sky with a captivating glow.
Shift your focus to the left side of the canvas, where we’ll incorporate a luminous backlight blending into the background, evoking a sense of impending storm energy.
With the thin liner brush, delicately craft the lightning bolt piercing through the layers of clouds, infusing the sky with a brilliant and electrifying glow, capturing the raw power of nature.
Transitioning back to the oval brush, laden with dark tones, introduce the inky depths of the ocean with horizontal sweeping motions, hinting at the vast expanse below our stormy sky.
Continuing with the same brush, hint at a distant mountain on the right side of the canvas, unveiling nature’s rugged beauty.
With a touch of phthalo blue and lavender, and we will add light encompassing our mountain in the dark waters below.
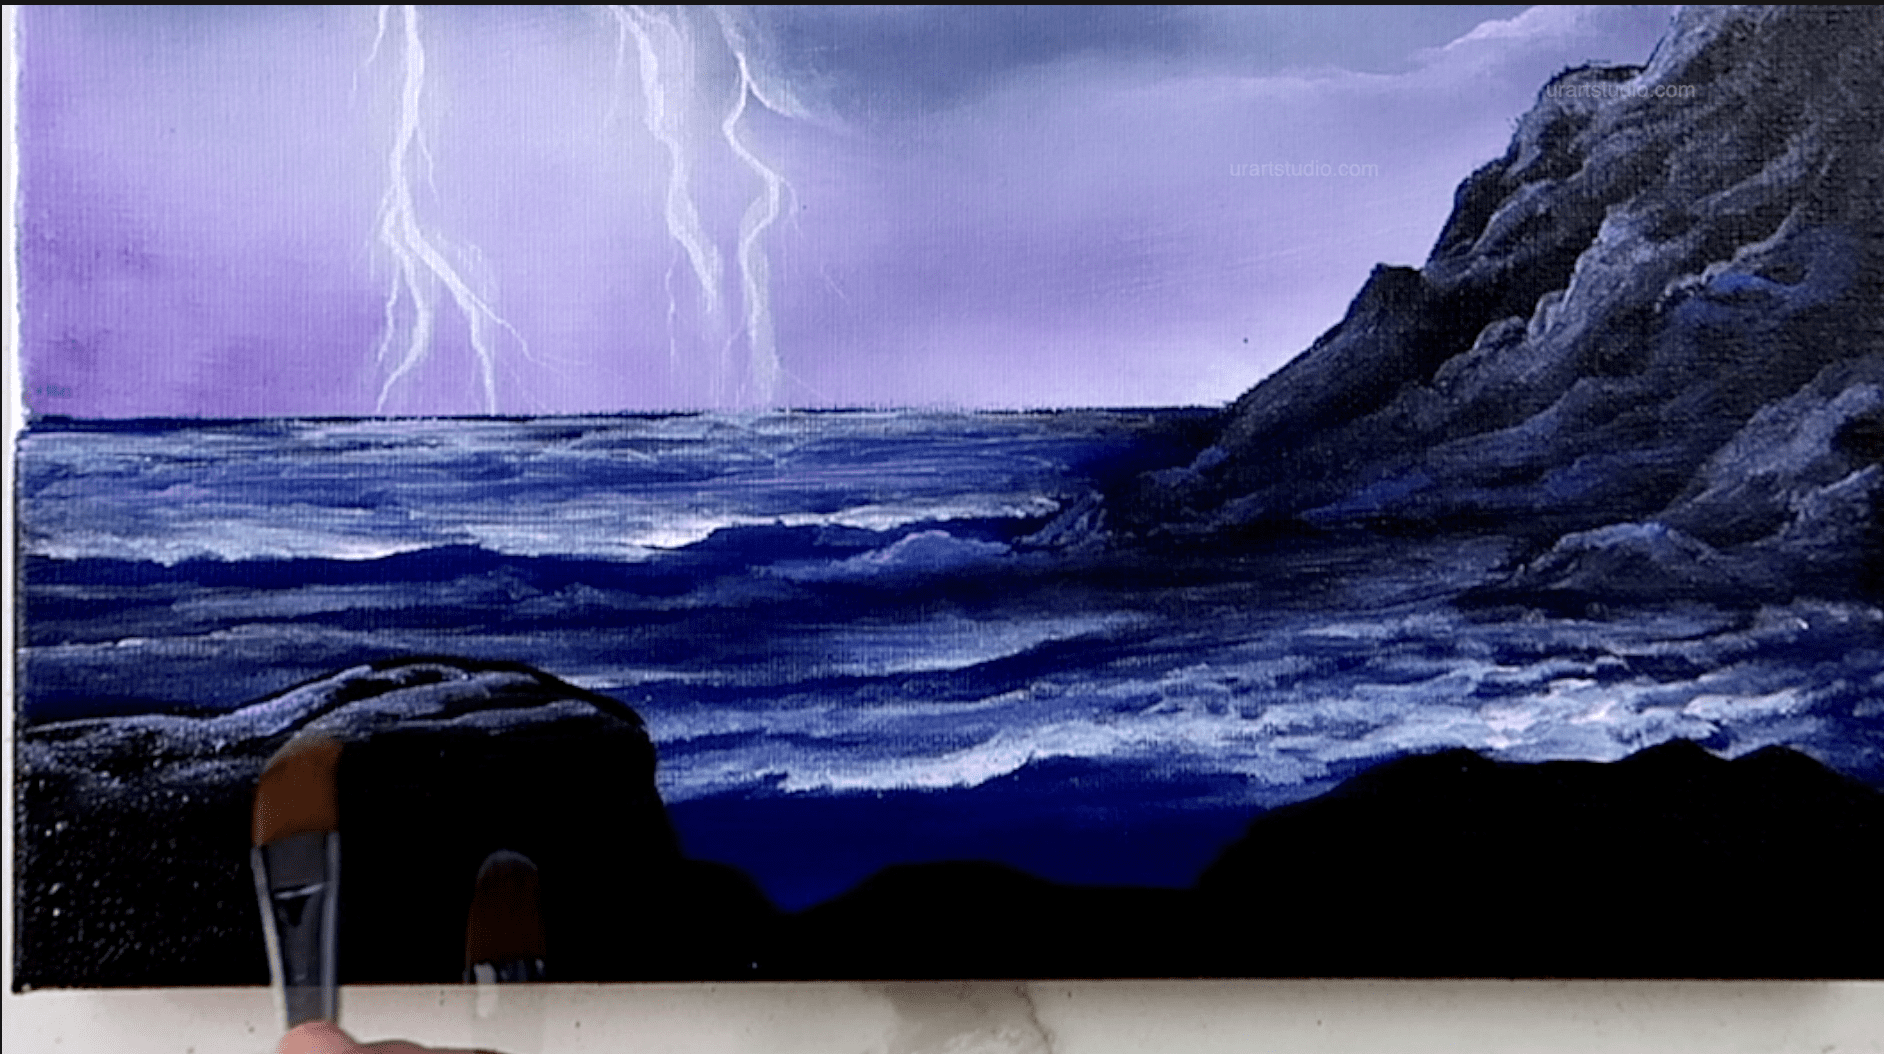
Utilizing the Filbert brush, blend white with hues of lavender and blue to characterize the ocean waves, starting from the distant horizon and progressing towards the foreground, shaping the movement and energy of the sea.
As you refine the ocean waves, infuse highlights on the rock formations with a delicate touch, highlighting their rugged contours and adding depth to the landscape.
Don’t forget to infuse a subtle hint of blue reflection as you reach closer to the water’s edge, mimicking the interplay of light and water on the mountainous terrain.
Clean your brush, introduce a touch of white paint, and with calculated strokes, define and refine the ocean waves, capturing their dynamic motion and energy.
After cleaning your brush, load it with dark paint to depict the rugged rock formations in the foreground.
Brush on the dark paint to outline these rugged features, adding depth and texture to the landscape.
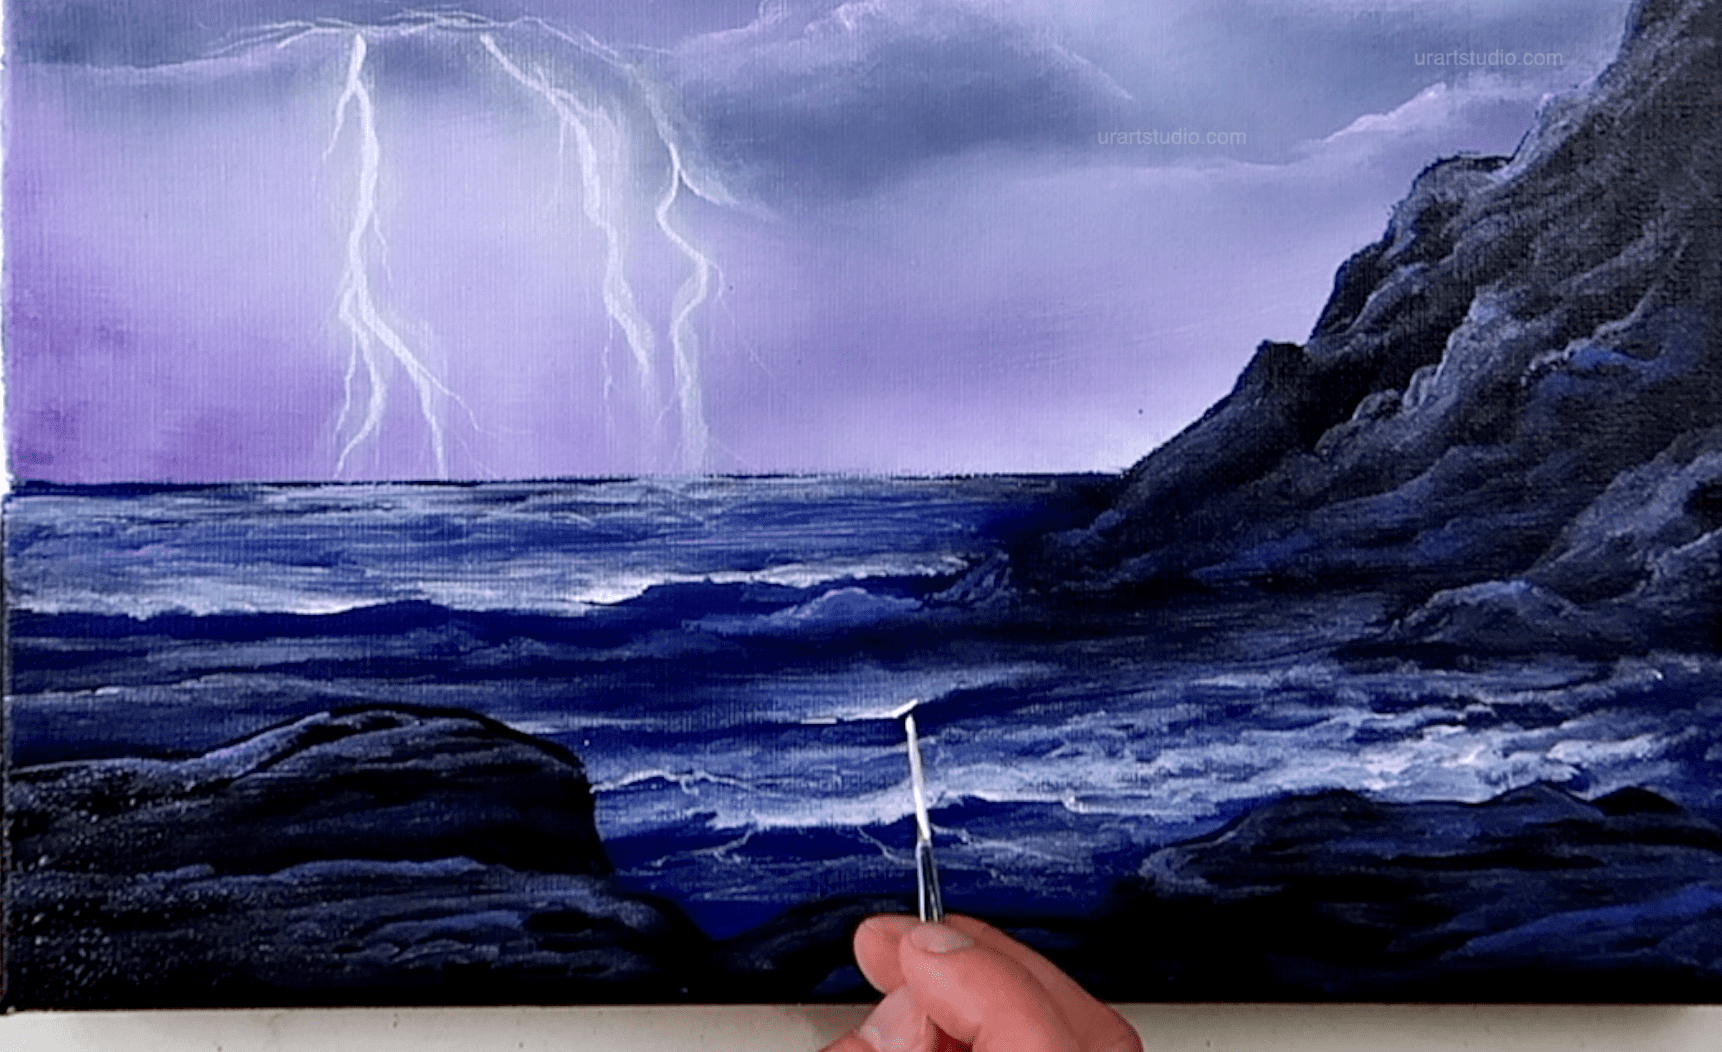
With precision and care, add depth and dimension to the foreground rock formations, using highlights to accentuate their rugged textures and character.
Grab your liner brush, load it with white paint, and now let’s bring definition to our foreground ocean waves. Add intricate details like floating foam and hints of counter light on the waves to enhance their realism and depth.
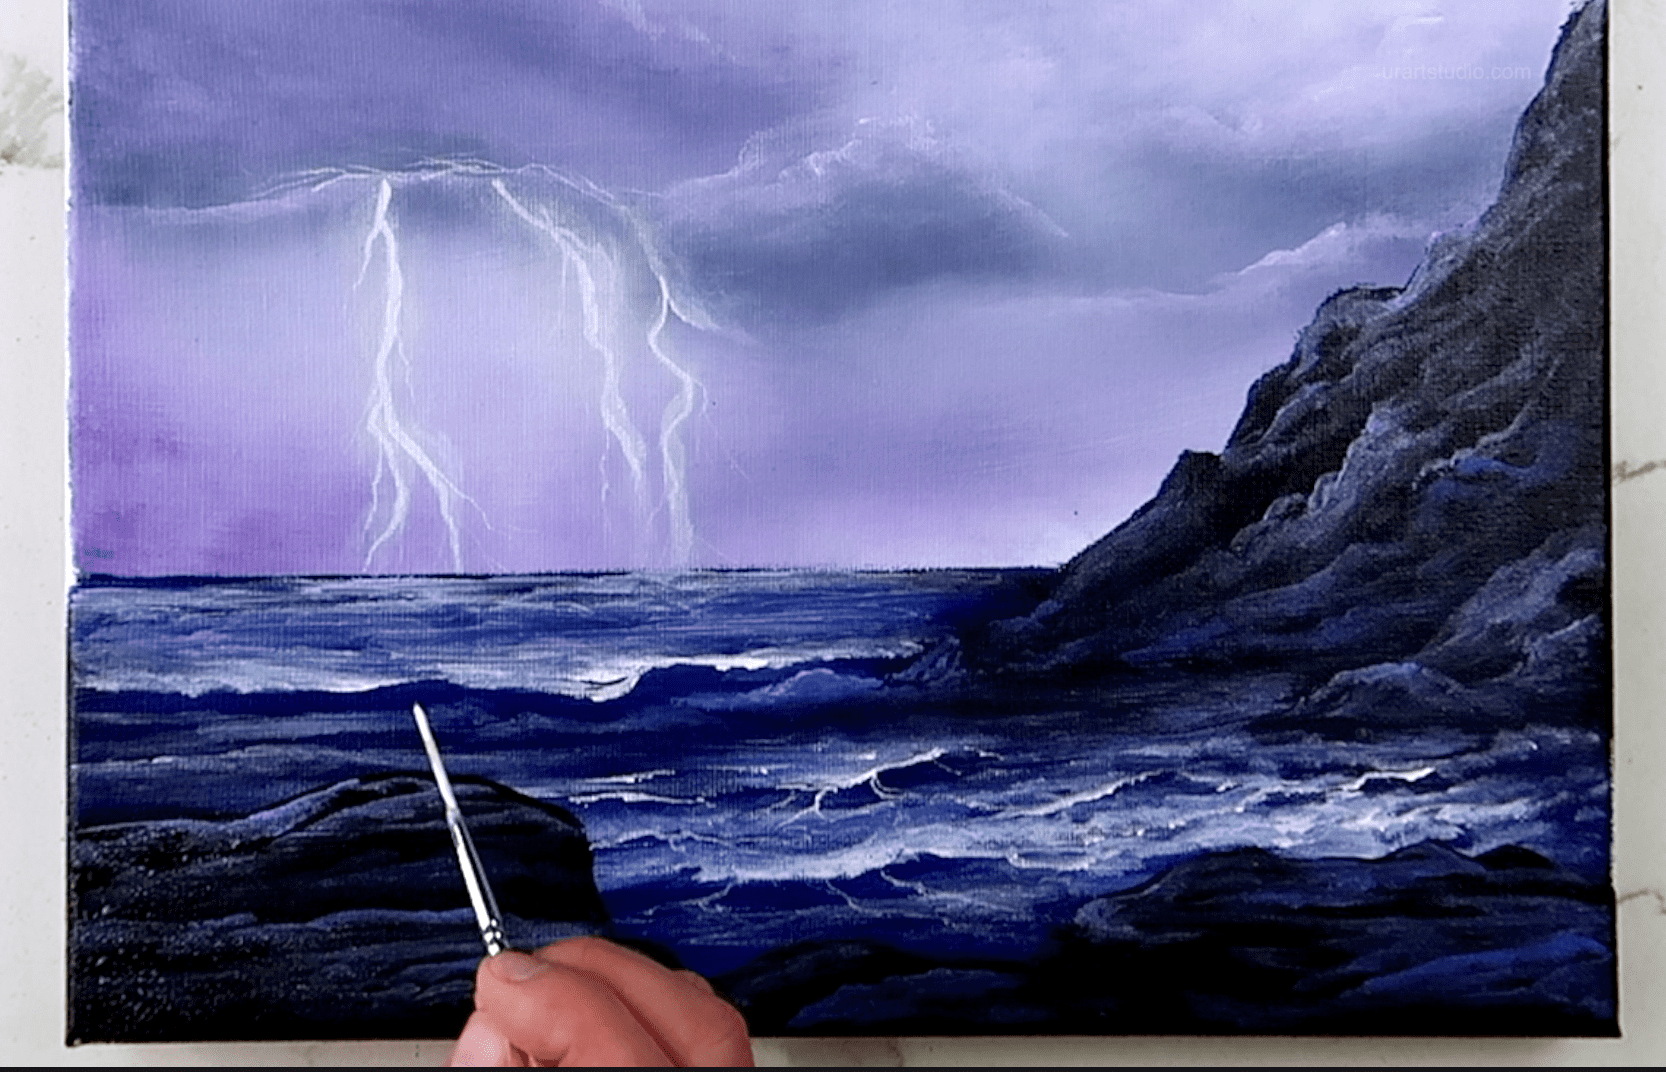
Sign your masterpiece, step back, and marvel at the beauty you’ve created on canvas.
I hope you enjoyed this artistic journey.
Keep painting, let your creativity flourish, and be sure to visit our website for more valuable painting tips at urartstudio.com.
Happy creating!
STEP BY STEP PAINTING INSTRUCTIONS AND NARRATED GUIDES FOR URARTSTUDIO.COM YOUTUBE ART VIDEO DEMONSTRATIONS

ART VIDEO STEP BY STEP VIDEO DEMONSTRATIONS AND ORIGINAL ART GALLERY BY URARTSTUDIO:
Welcome to the captivating world of URARTSTUDIO! Immerse yourself in the exquisite artistry and creativity with our step-by-step video demonstrations and exclusive original art gallery. Prepare to be spellbound as true mastery unfolds before your very eyes. Witness the artistic process come alive as our videos take you by the hand, guiding you through each brushstroke and technique. Discover the secret behind captivating compositions and the intricate details that make art truly mesmerizing. Our gallery proudly showcases a curated collection of unique and breathtaking artwork, where every piece tells a story and evokes powerful emotions. Journey with us and let your imagination take flight as URARTSTUDIO invites you to unravel the magic of art like never before.