Summary:
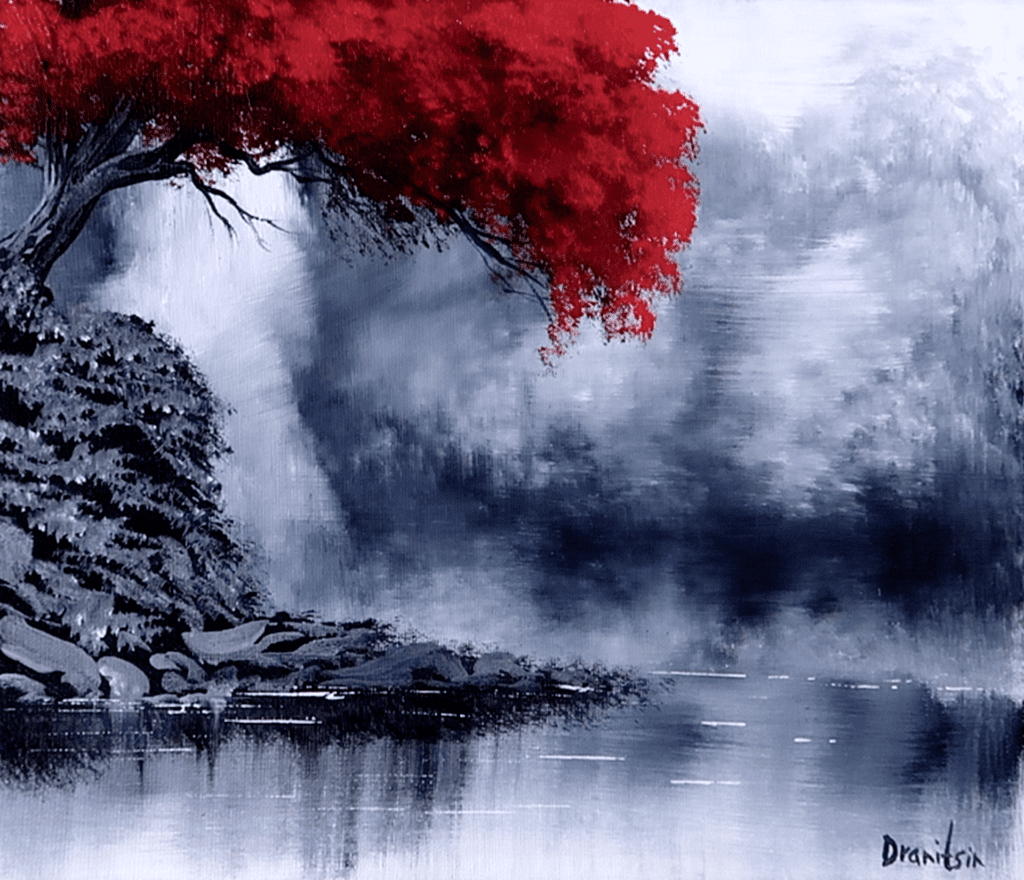
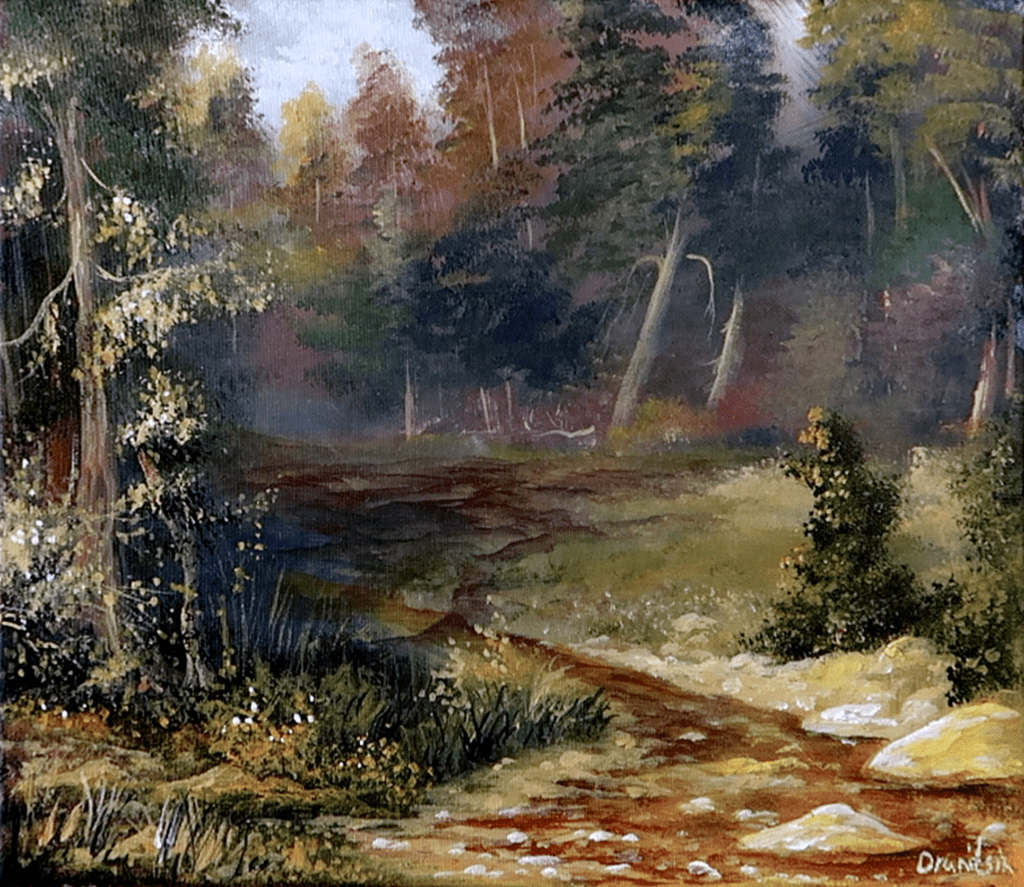
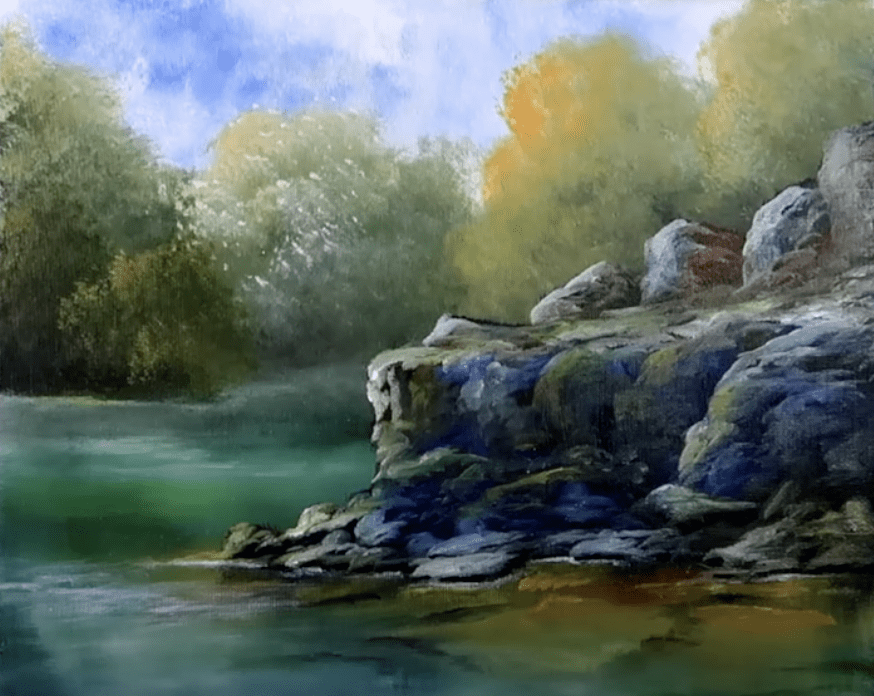
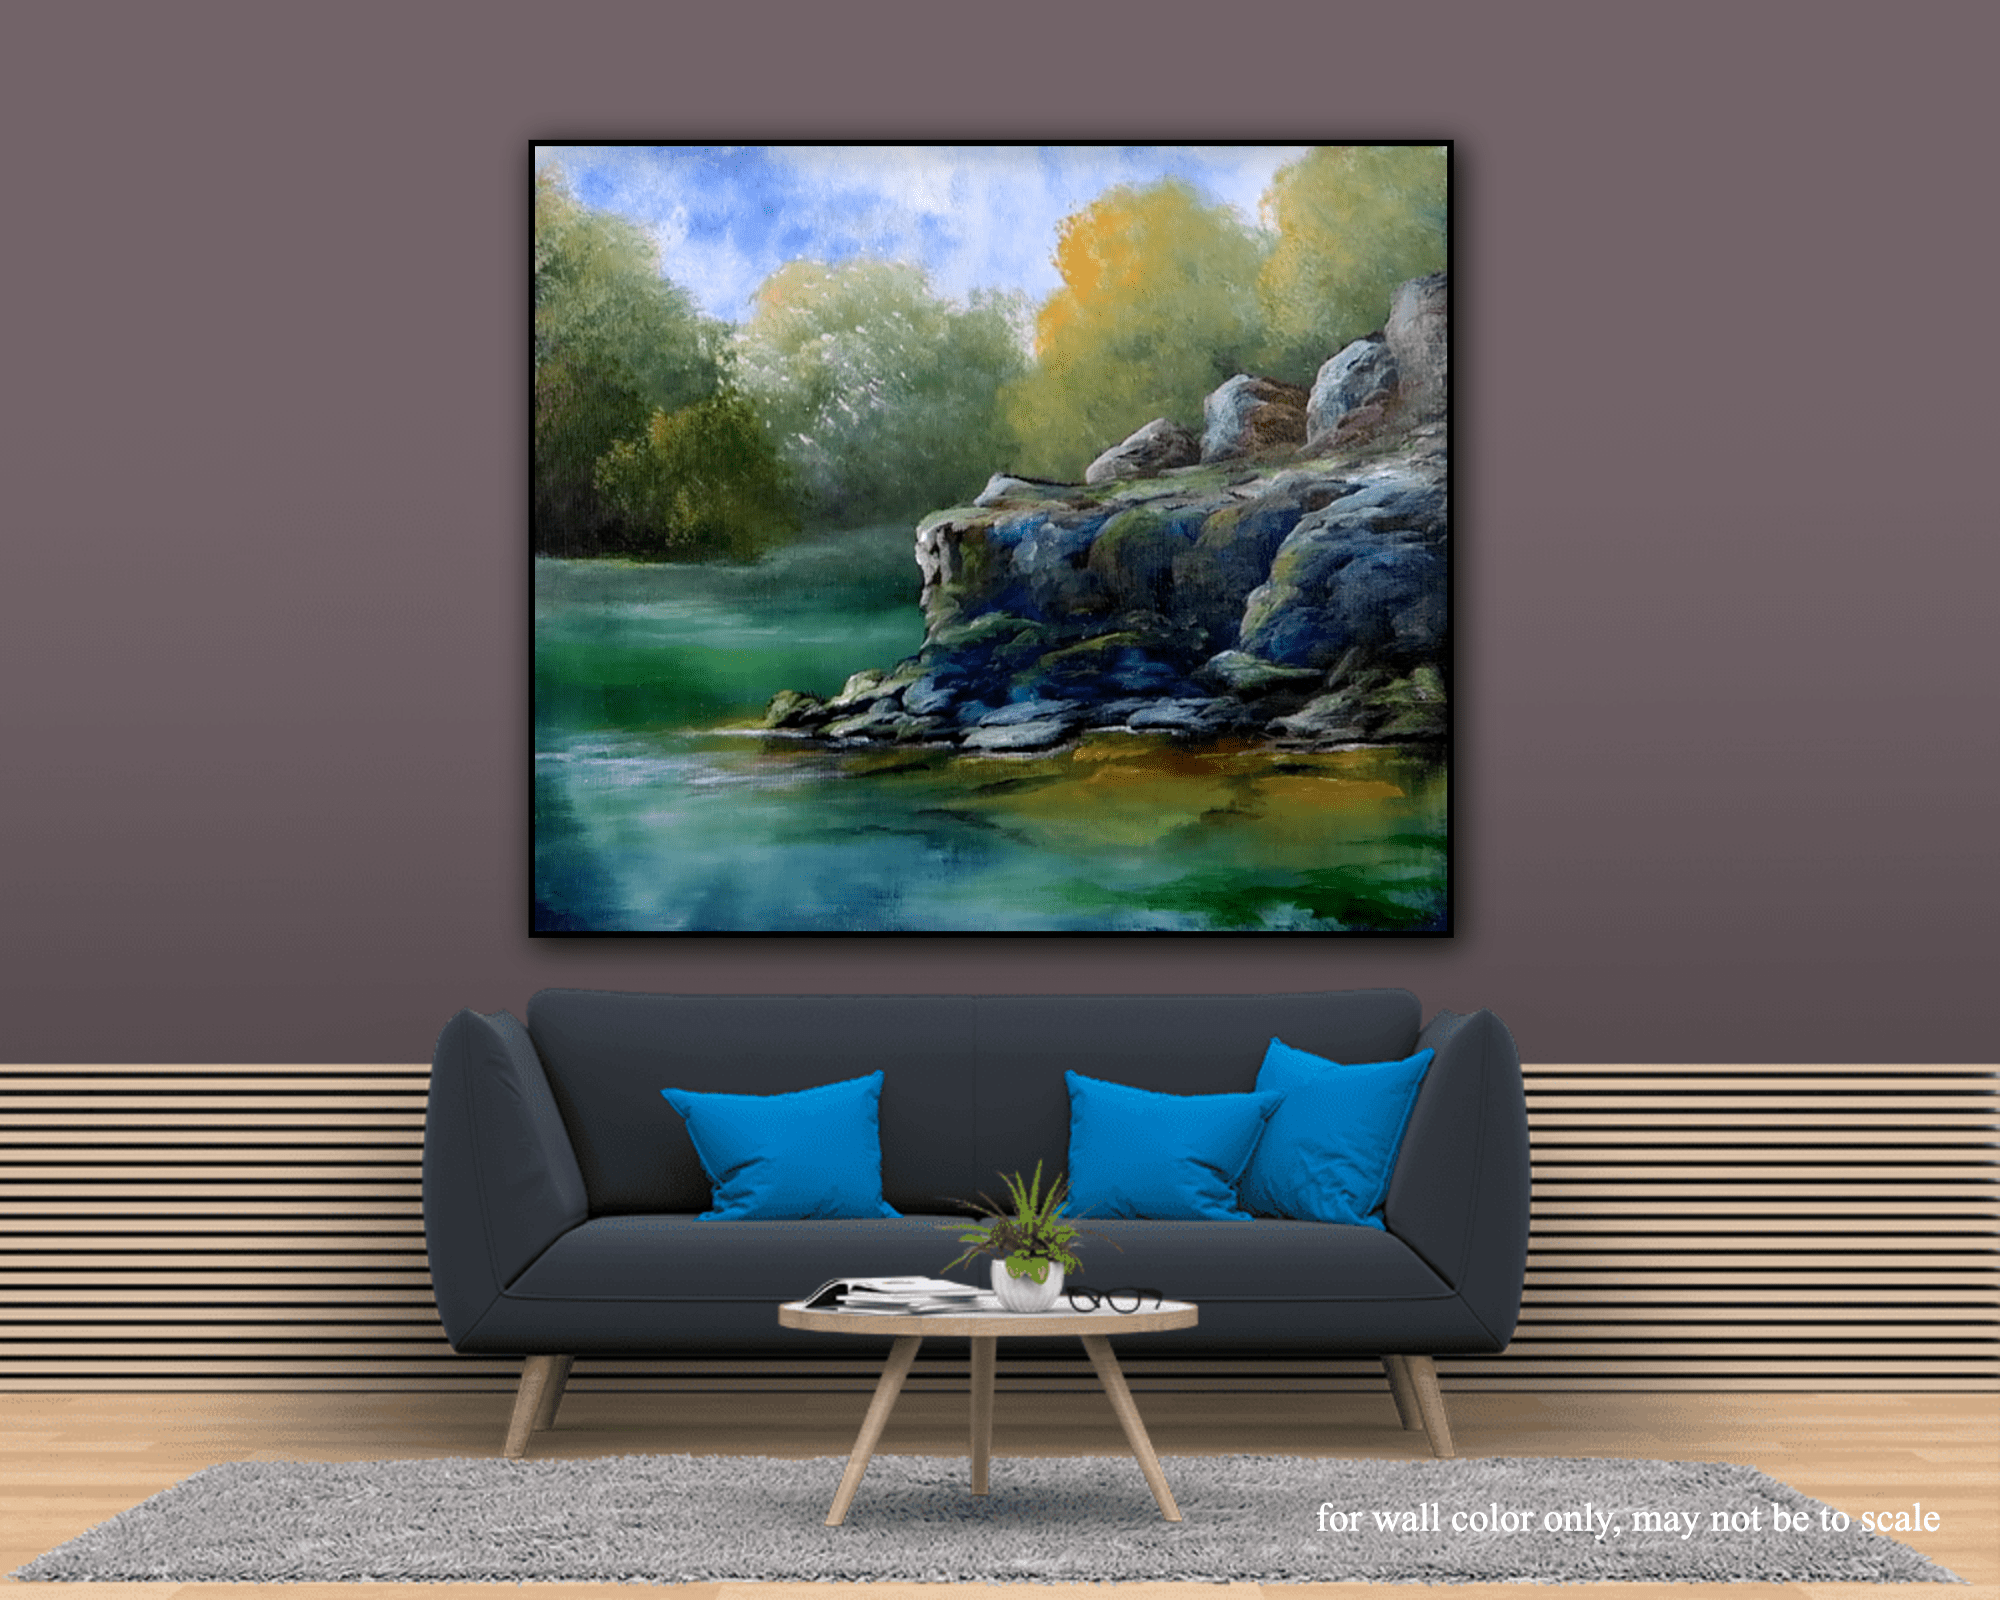
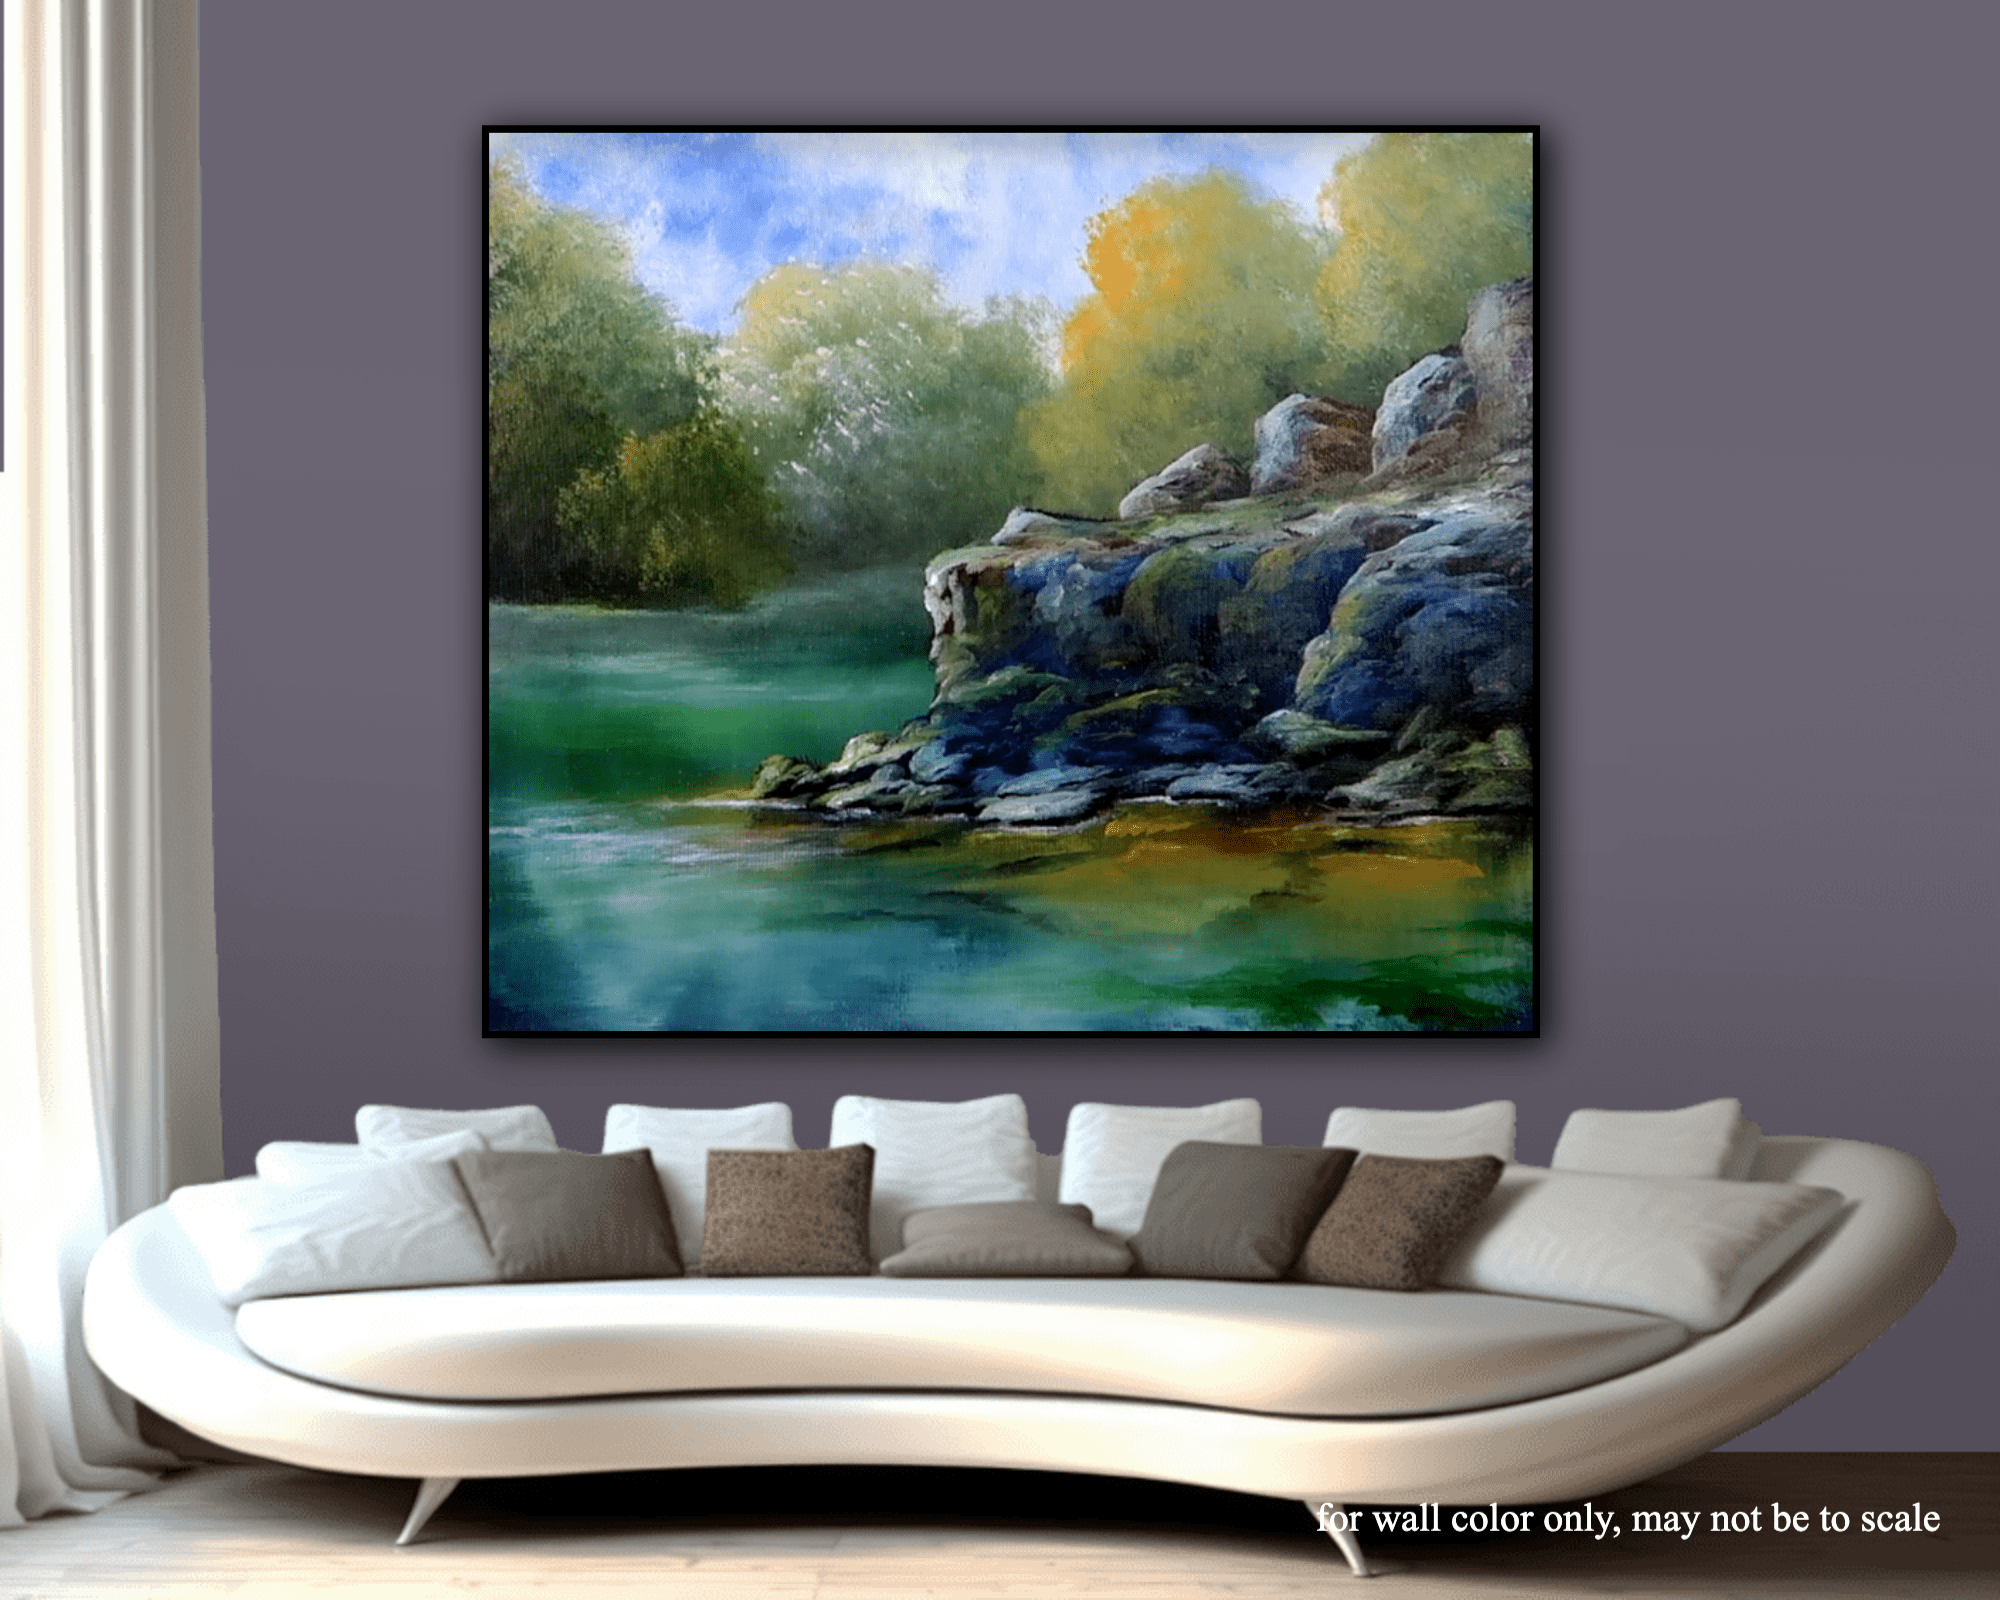
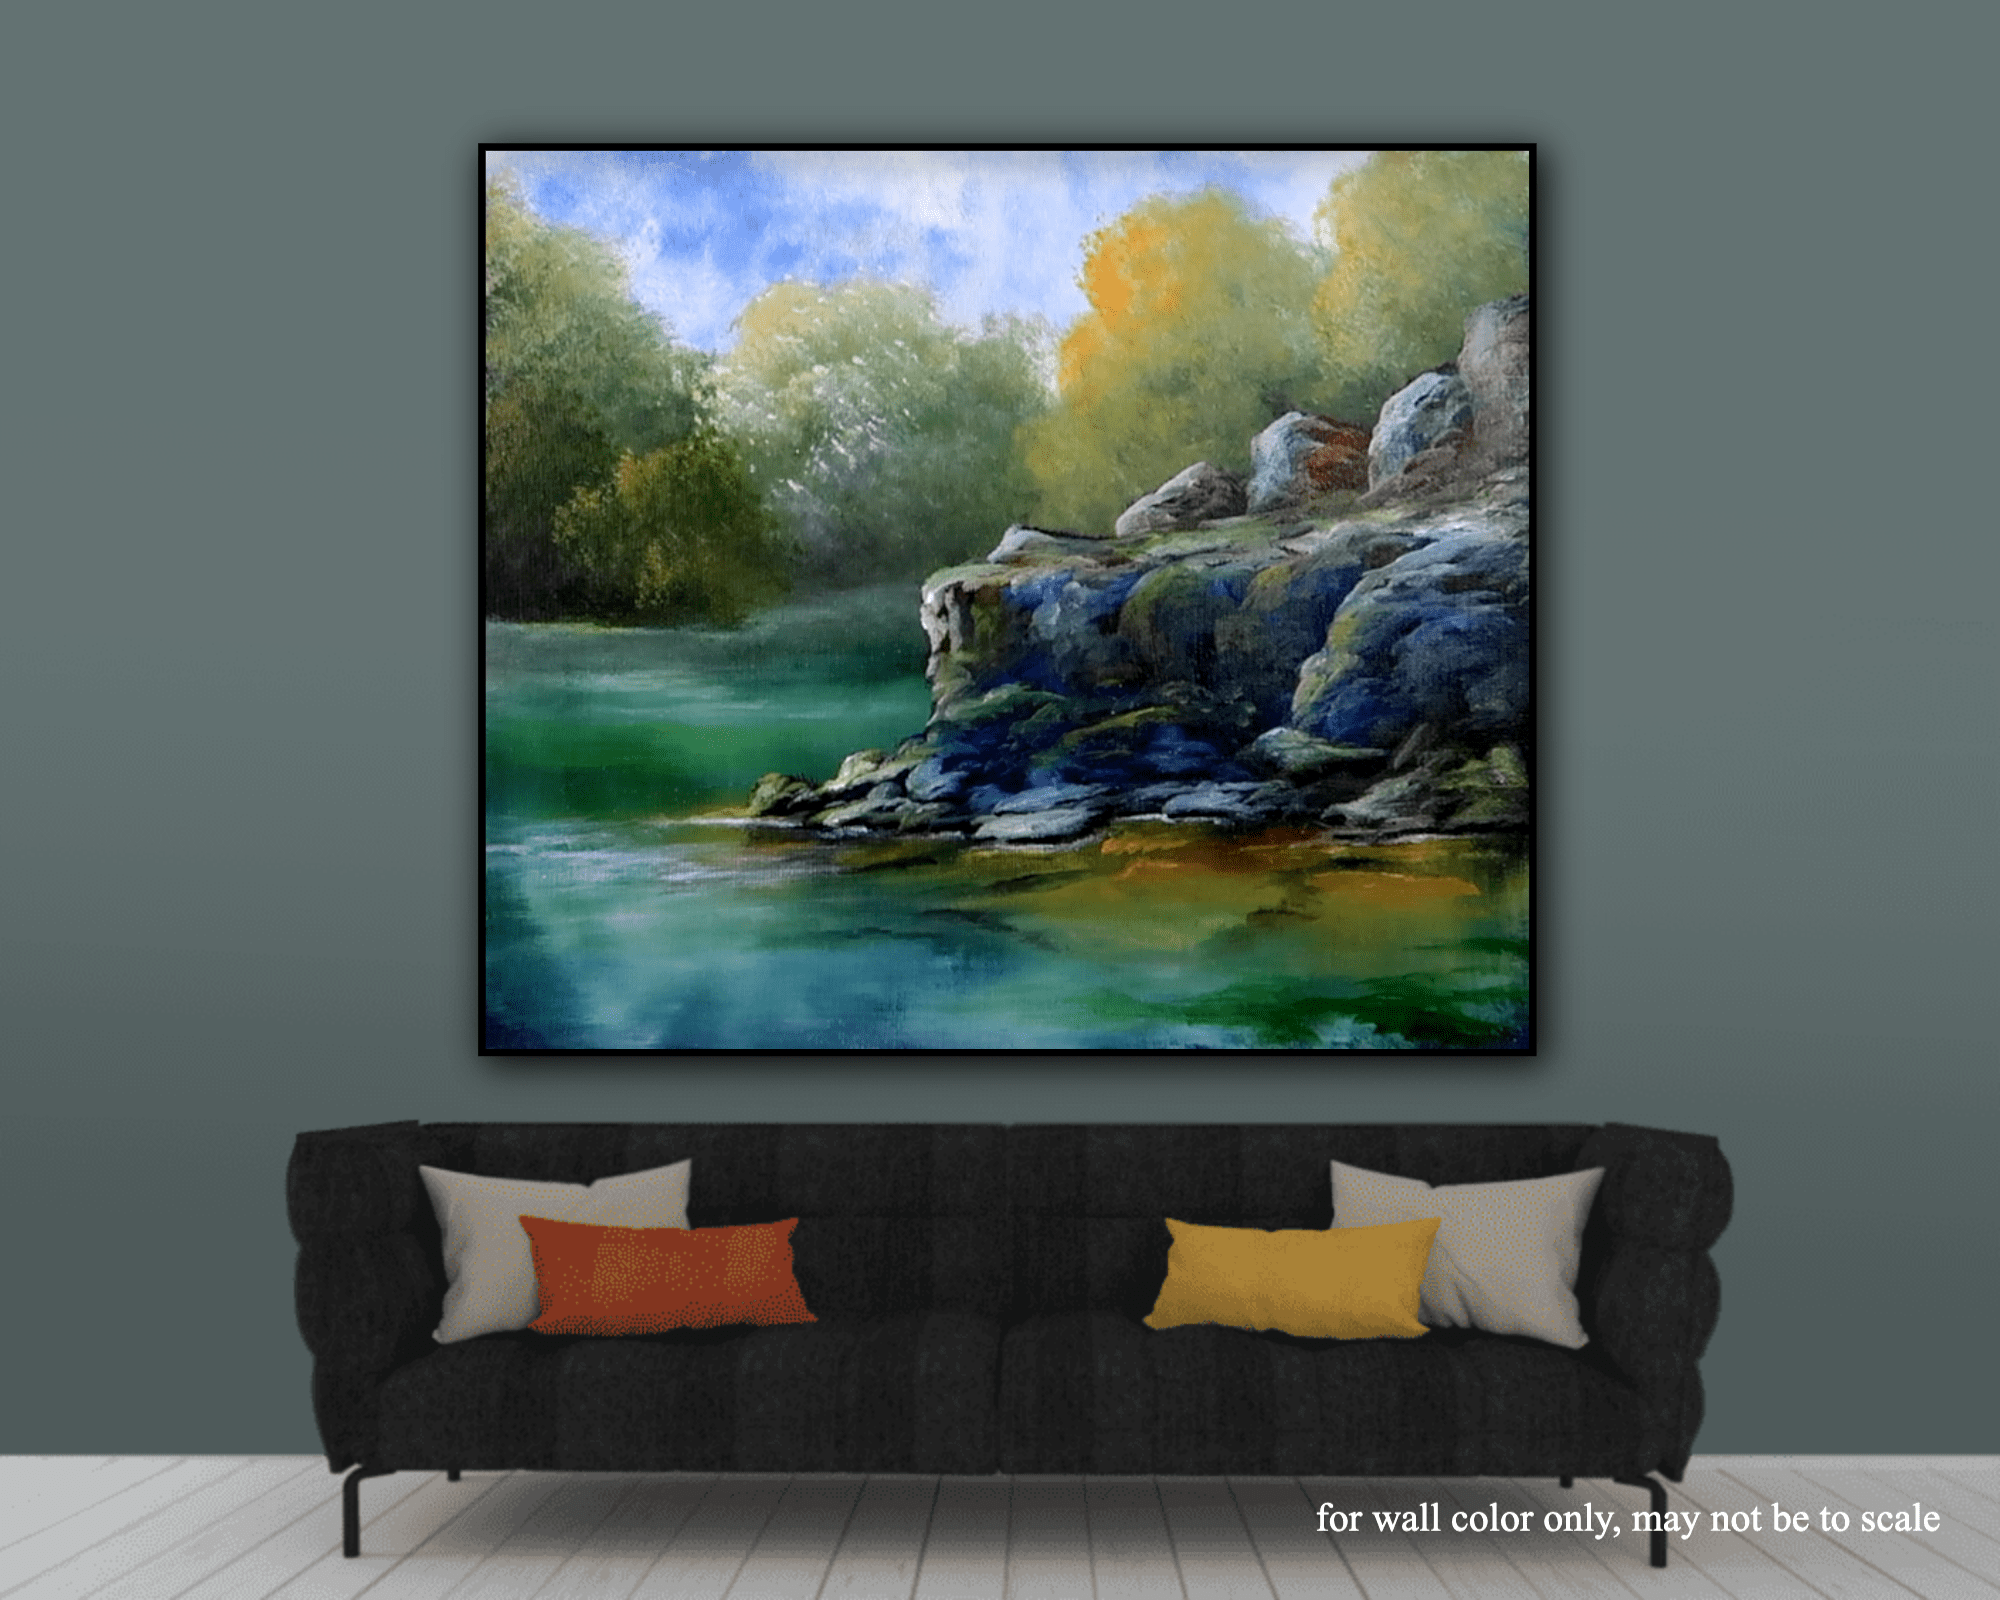
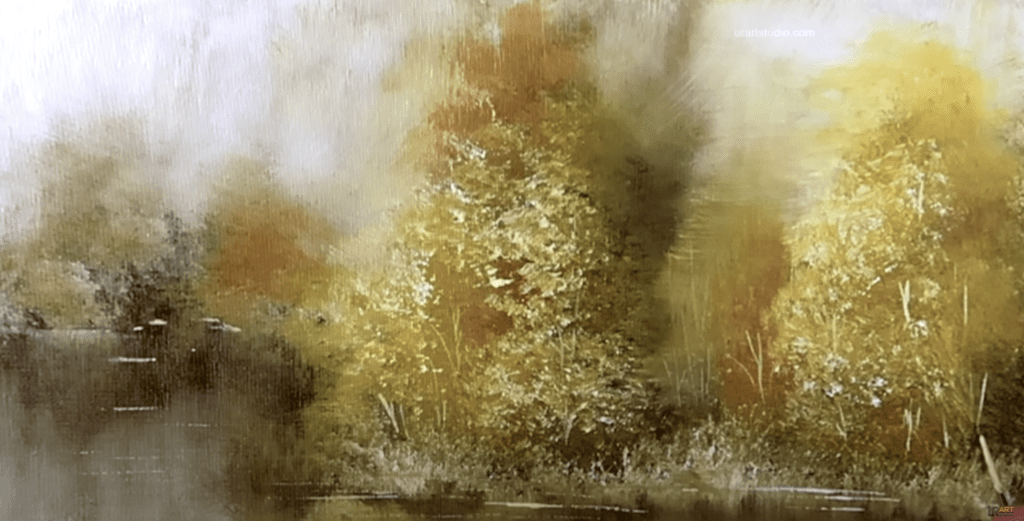
In this comprehensive acrylic painting tutorial for beginners, we dive into the mesmerizing world of creating Rocky Cliff by the Ocean step by step. Equipped with an assortment of essential tools like the big oval brush, Filbert brush, and more, we embark on a journey of artistic exploration that blends imagination with practical techniques to bring coastal beauty to life. From blending colors delicately to sculpting intricate shadows and highlights, each brushstroke builds a captivating scene of nature’s allure.
As the tranquil ocean side unfolds on canvas, we witness the transformation from blank space to a breathtaking rock formation masterpiece. Guided by a palette of colors ranging from serene blues to earthy tones, every detail contributes to the harmonious depiction of underwater rocks and marine life. With each stroke, the artwork evolves to capture the essence of the ocean’s depth, culminating in a composition where creativity meets skill. Join us on this artistic odyssey as we paint, blend, and create a vision that celebrates the beauty of coastal landscapes, inspiring you to infuse your art with passion and imagination.
Tools used in this painting tutorial for creating ocean rock formations:
Tools used in this painting tutorial for creating Rocky Cliff by the Ocean:
– Big oval brush
– Number 4 big square brush
– Filbert brush
– Thin liner brush
– Ultra soft blending brush
– Clean water for brush cleaning
– Clean towel for drying brushes
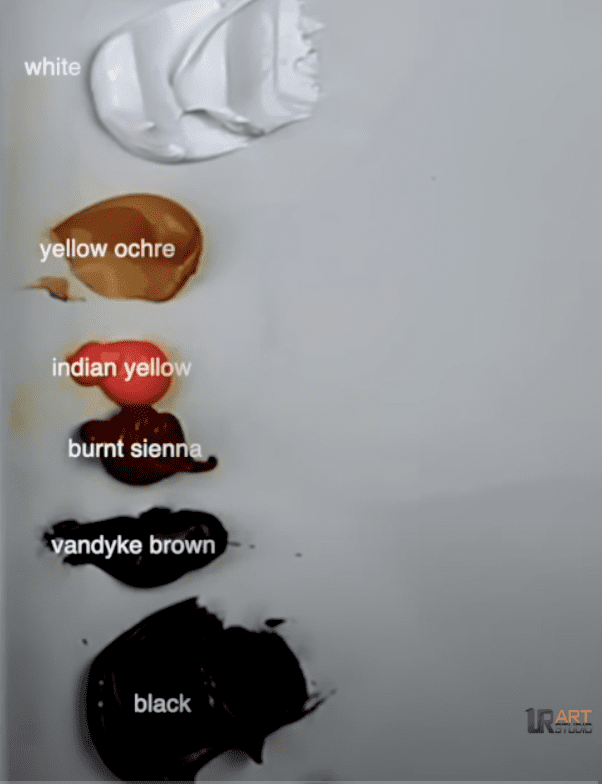
– Acrylic paints in various colors:
– White
– Prussian blue
– Black
– Brown
– Green
– Yellow
– Burnt sienna
– Canvas prepared with light dampening to maintain acrylic paint moisture
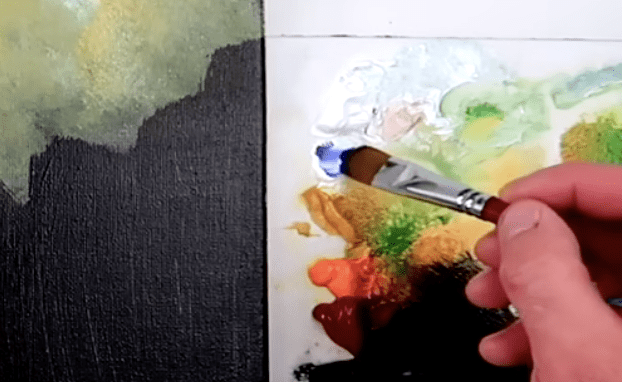
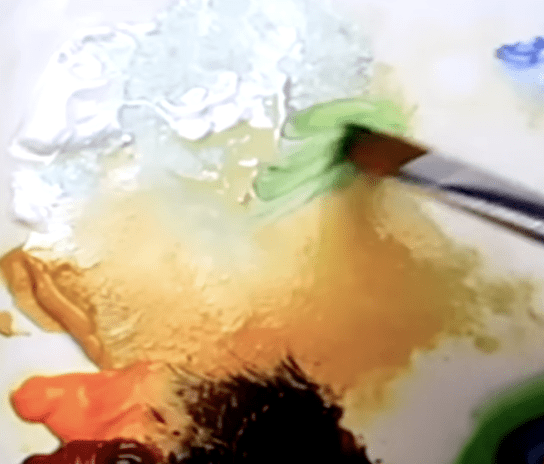
– Palette for mixing colors
– Screen for color reference
– Your imagination and creativity!
Hi everyone, thank you for joining me in today’s painting tutorial where we will embark on creating a breathtaking Rocky Cliff by the serene ocean side.
We have an array of colors at our disposal, all conveniently listed on the screen for you to reference.
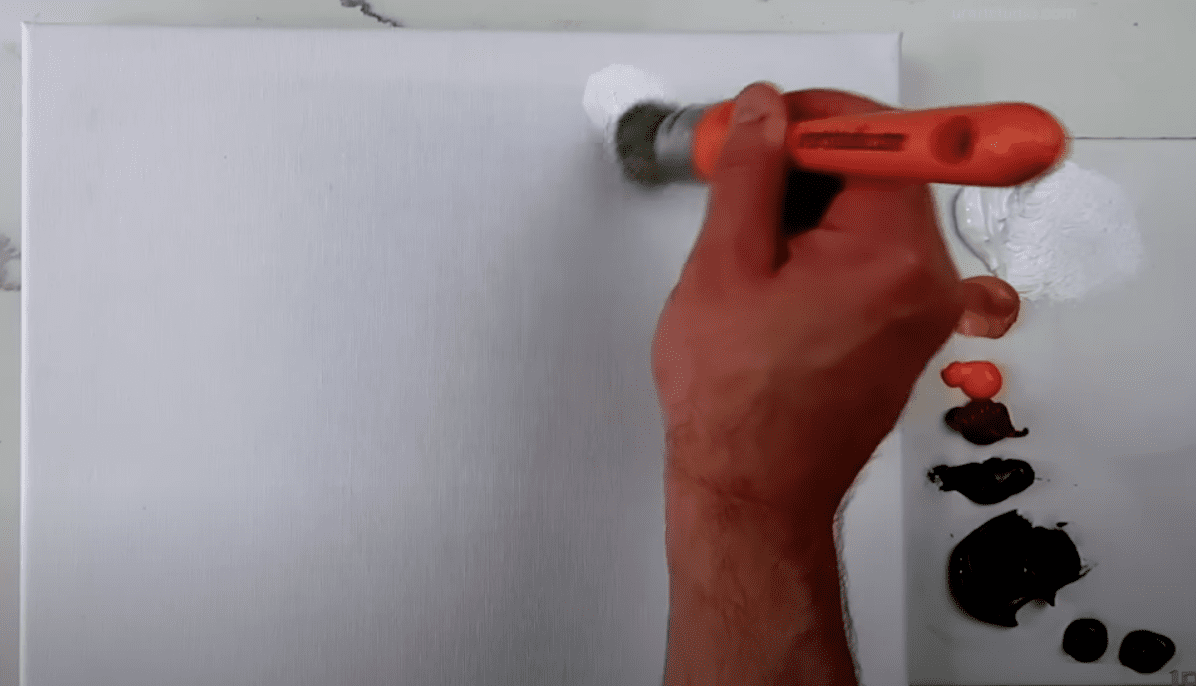
To begin, ensure your canvas is prepared by lightly dampening it to maintain the moisture required for our acrylic paints to glide smoothly during the entire painting process.
In the initial stages, we will primarily employ our big oval brush.
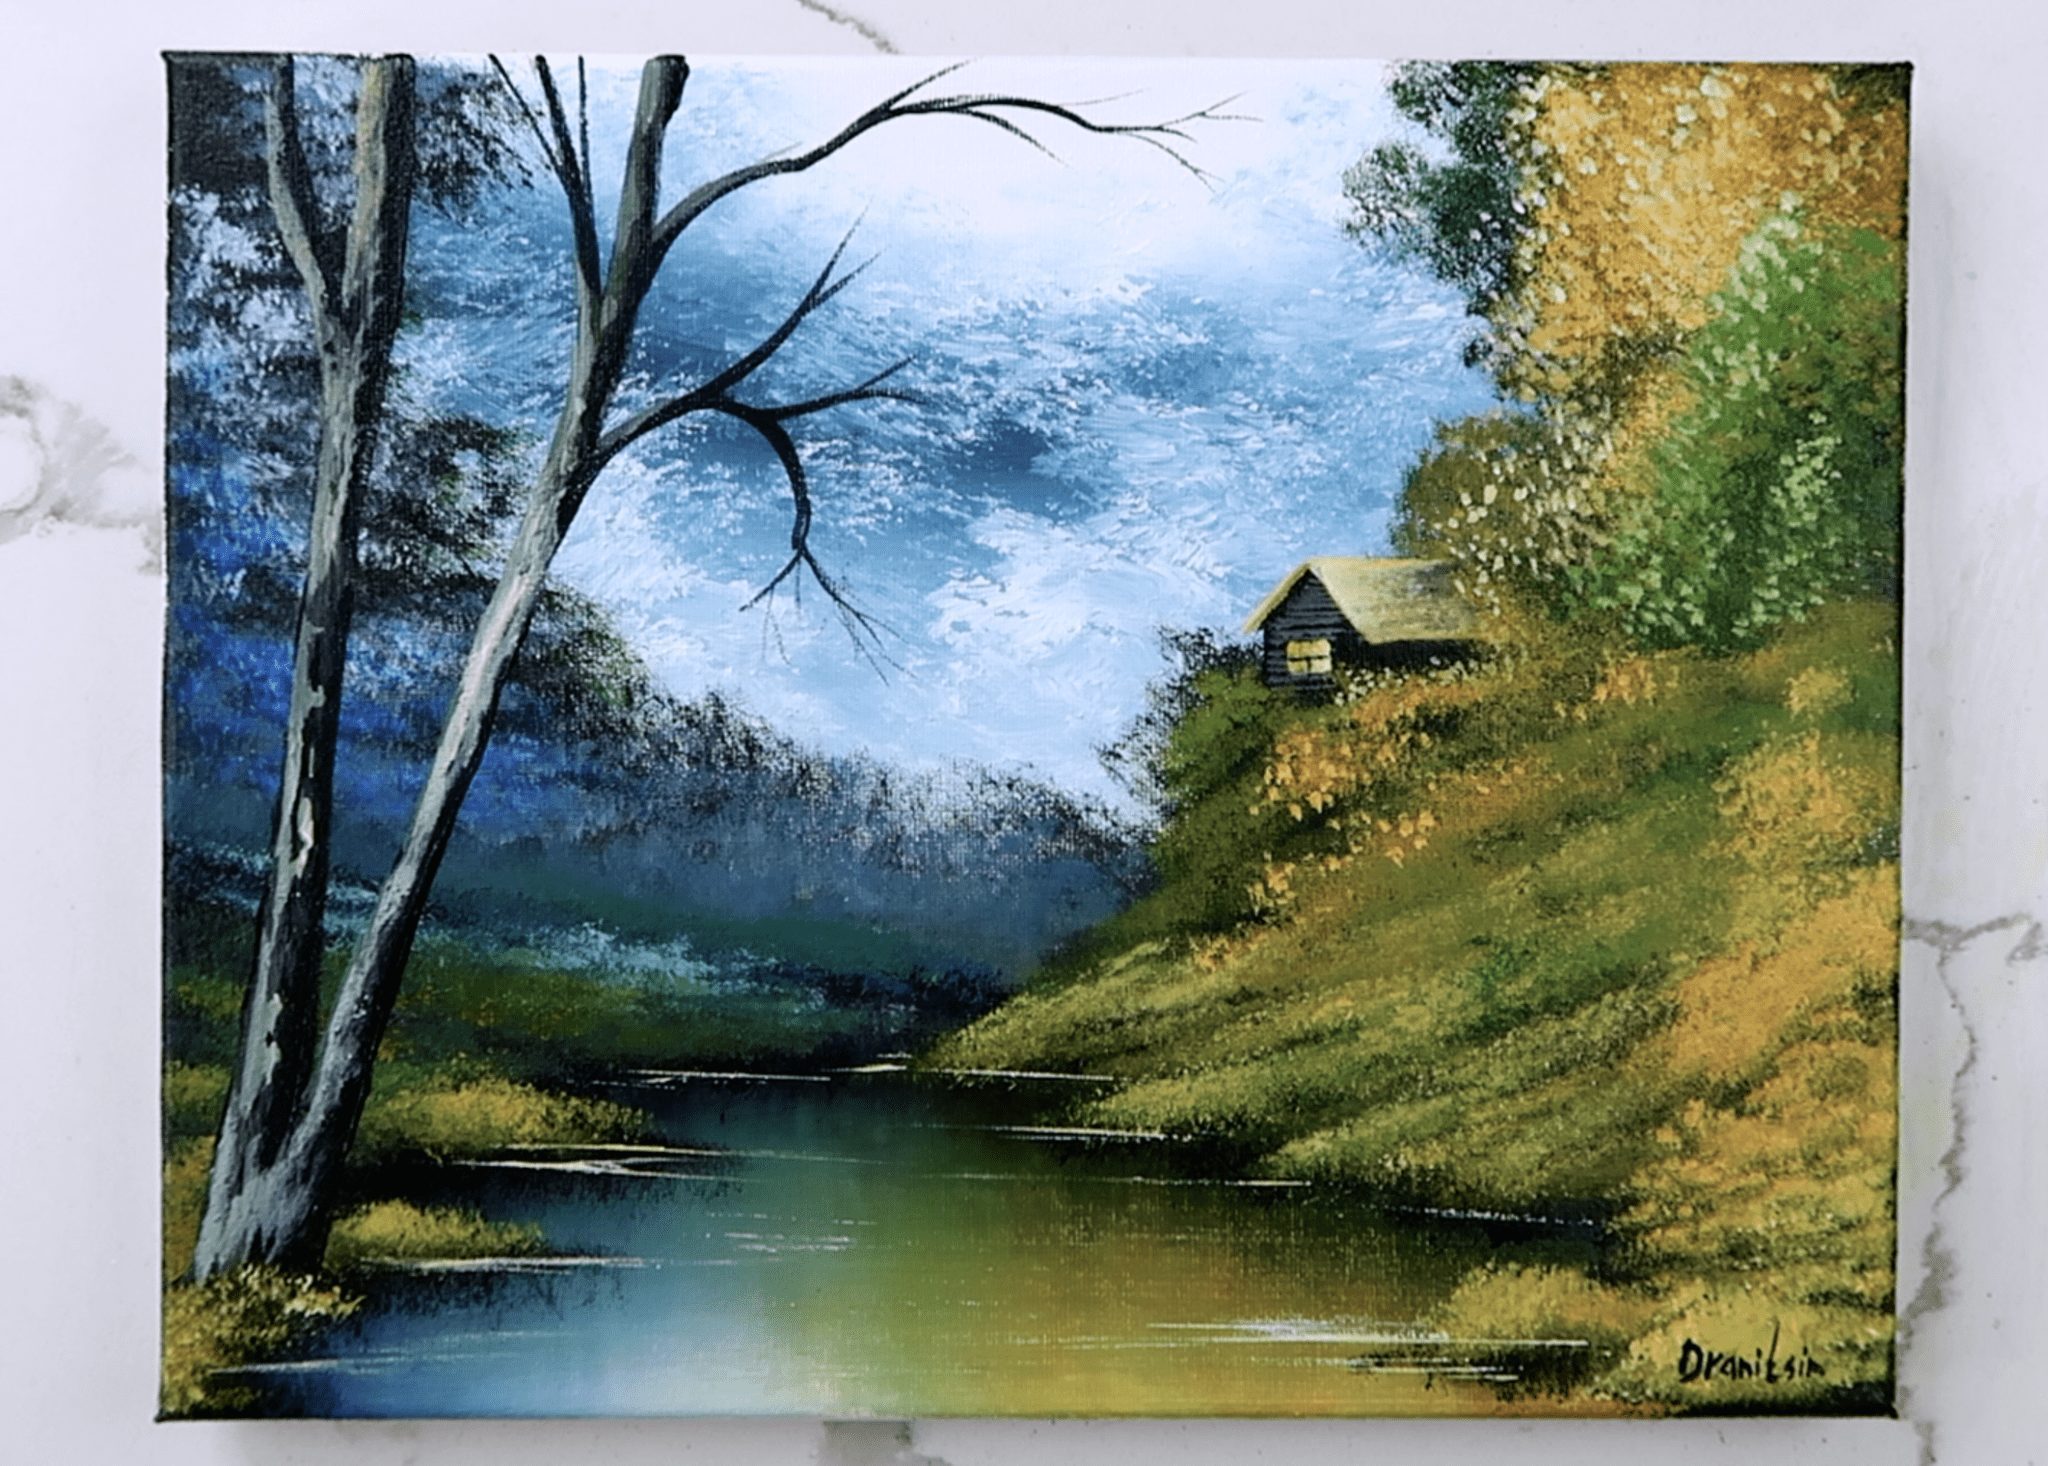
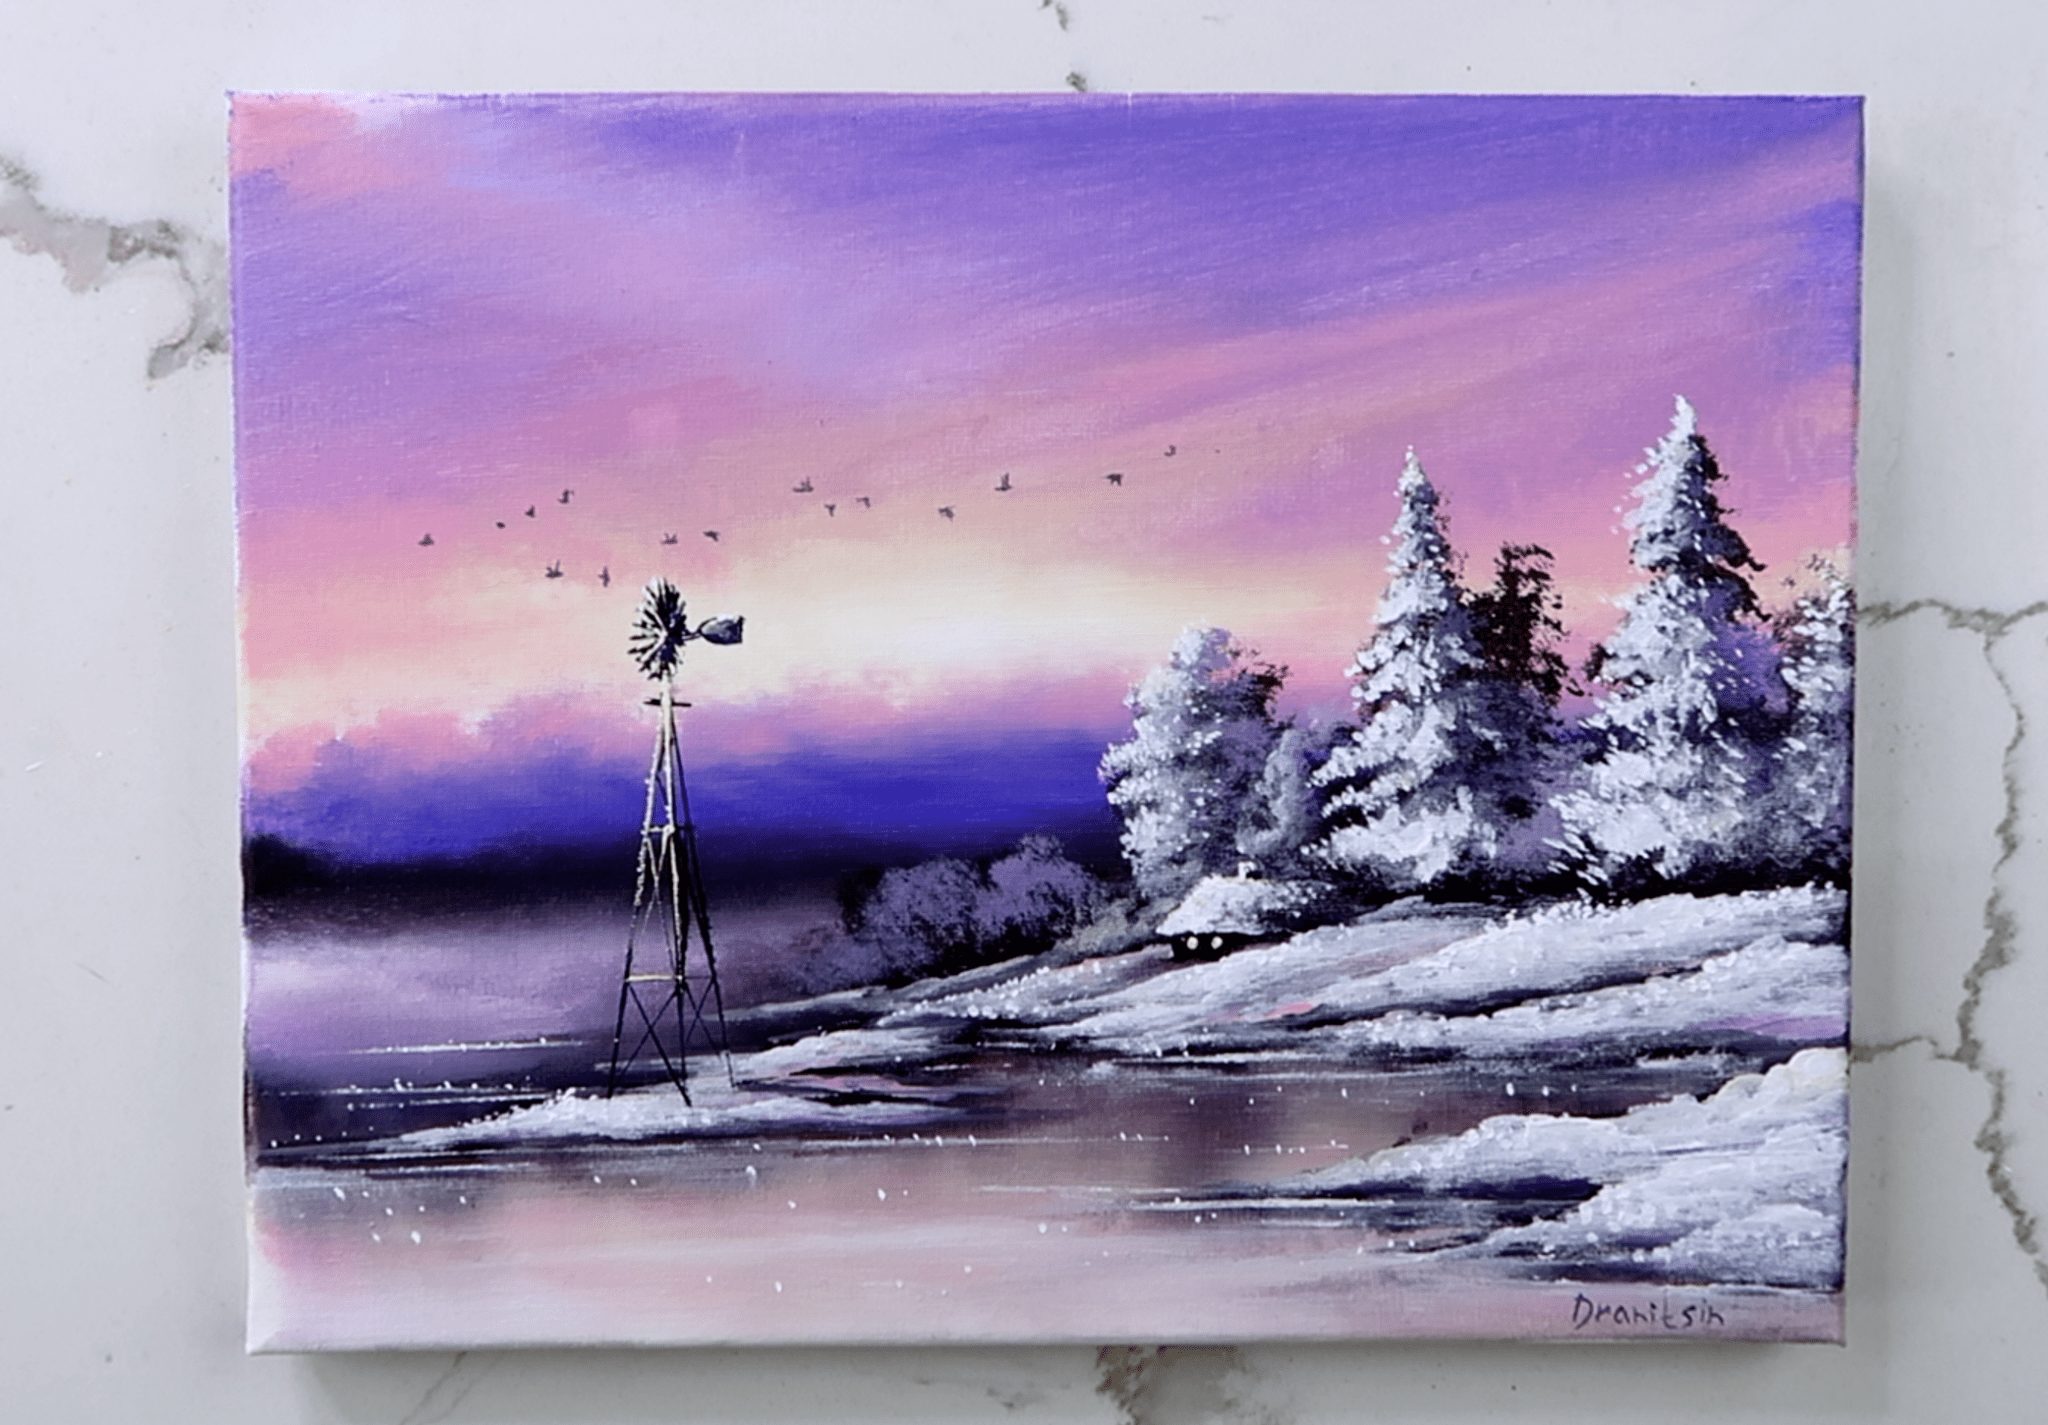
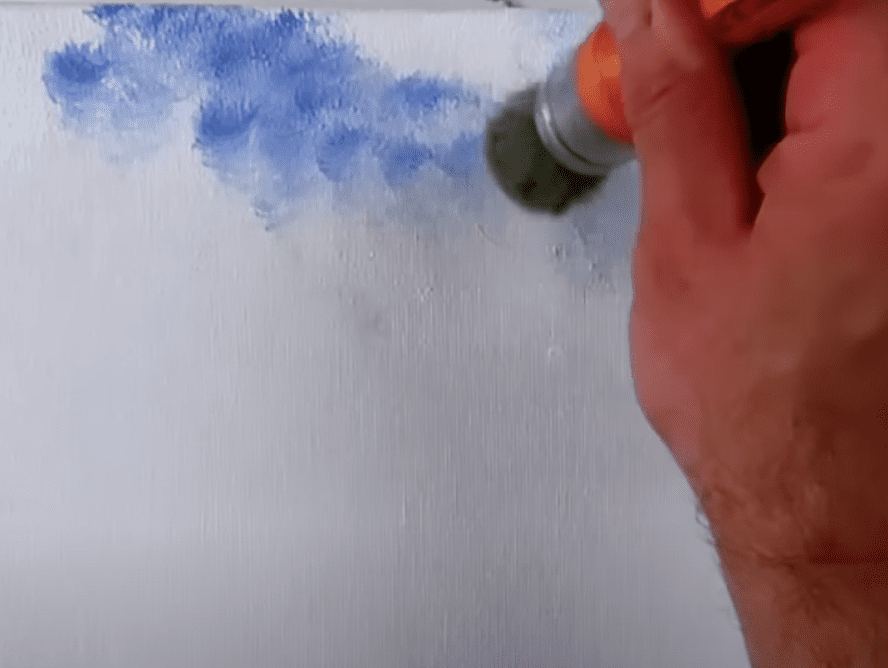
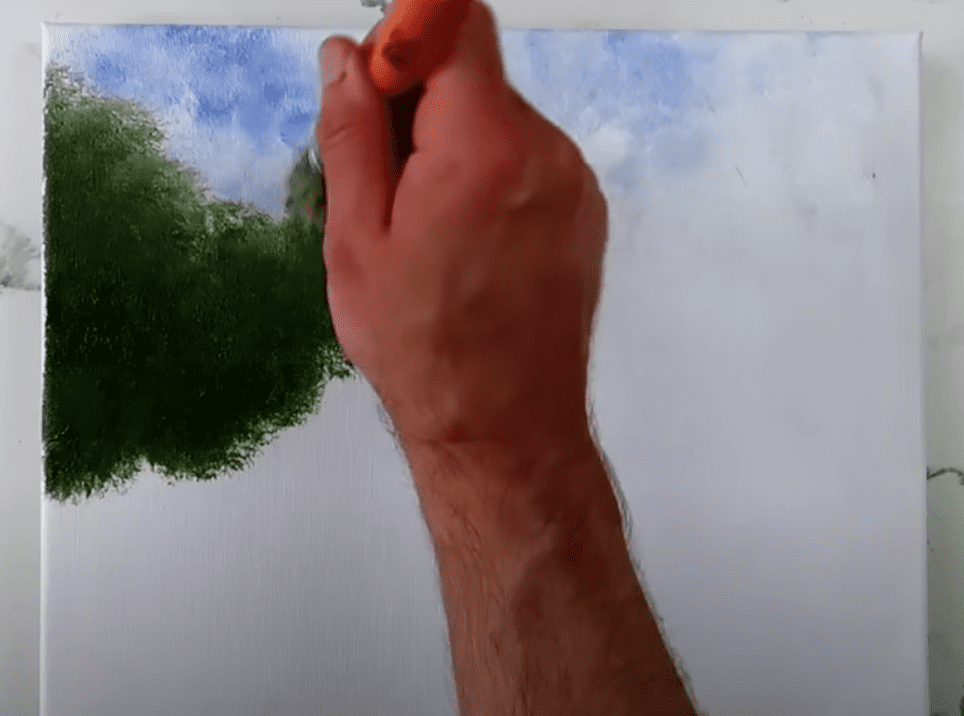
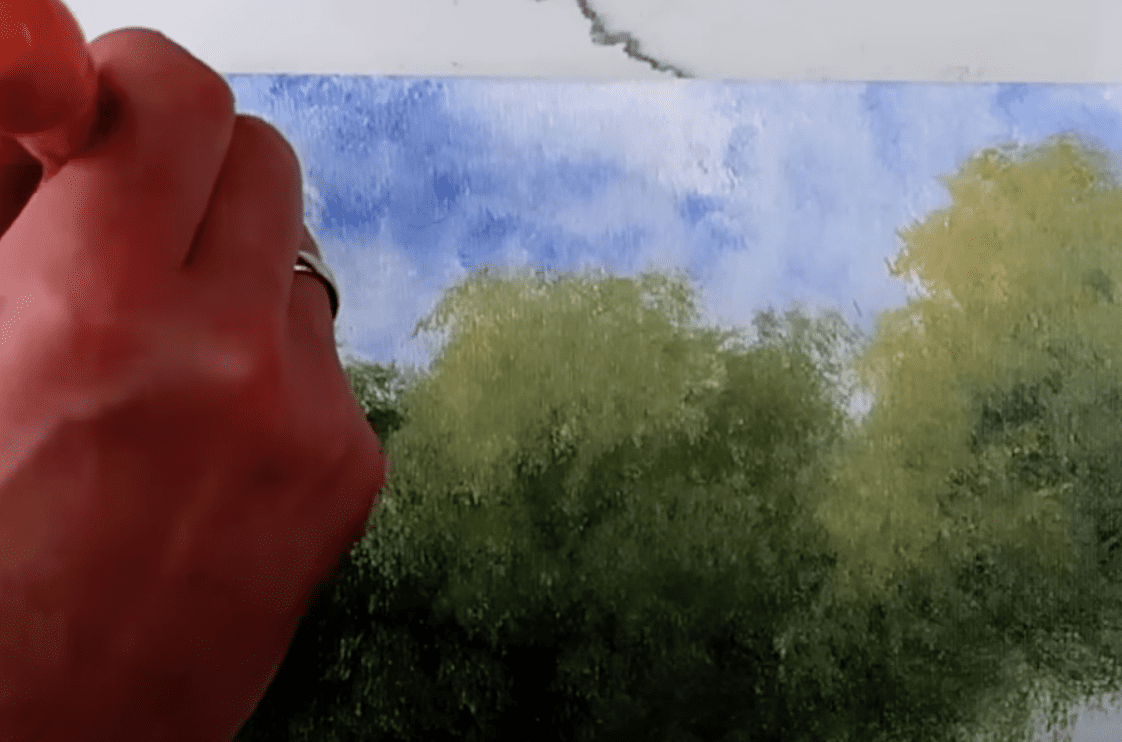
Using a blend of white and a hint of Prussian blue with the big oval brush, let’s delicately hint at the sky’s presence in the upper expanse of our canvas.
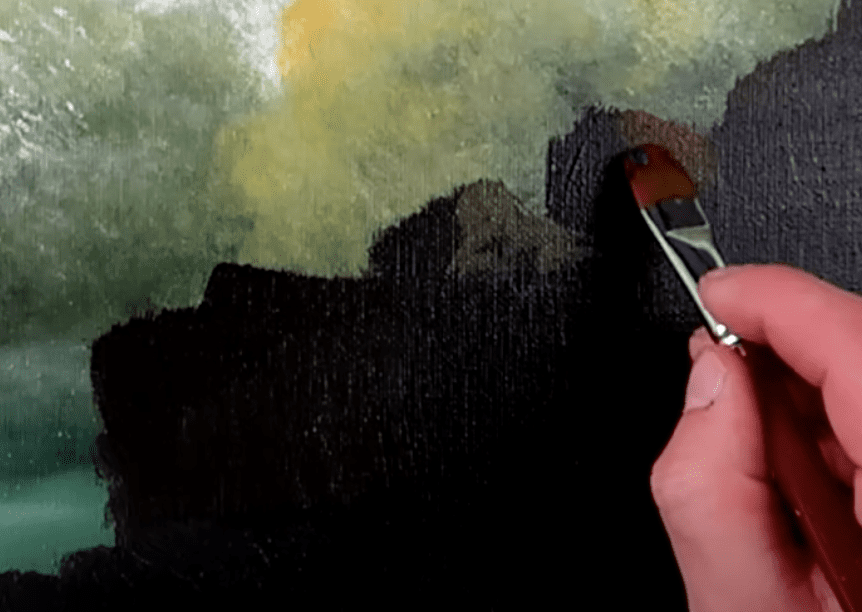
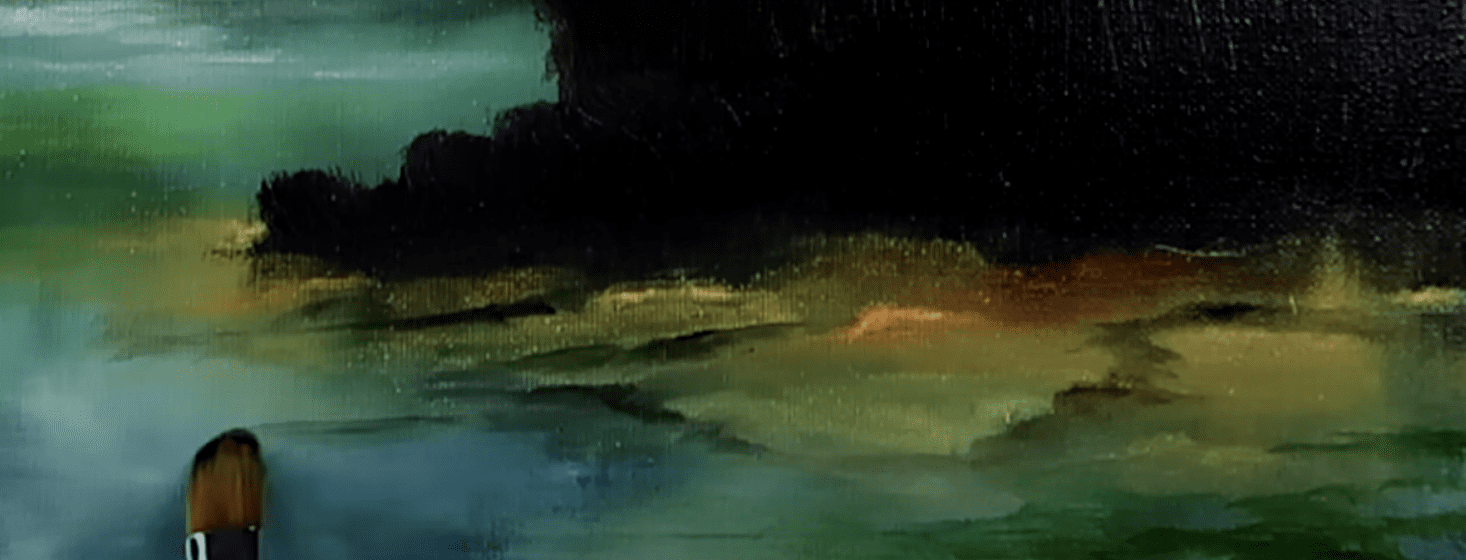
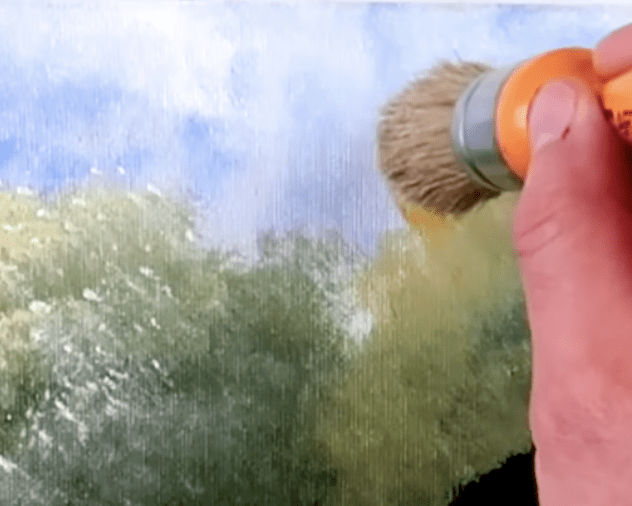
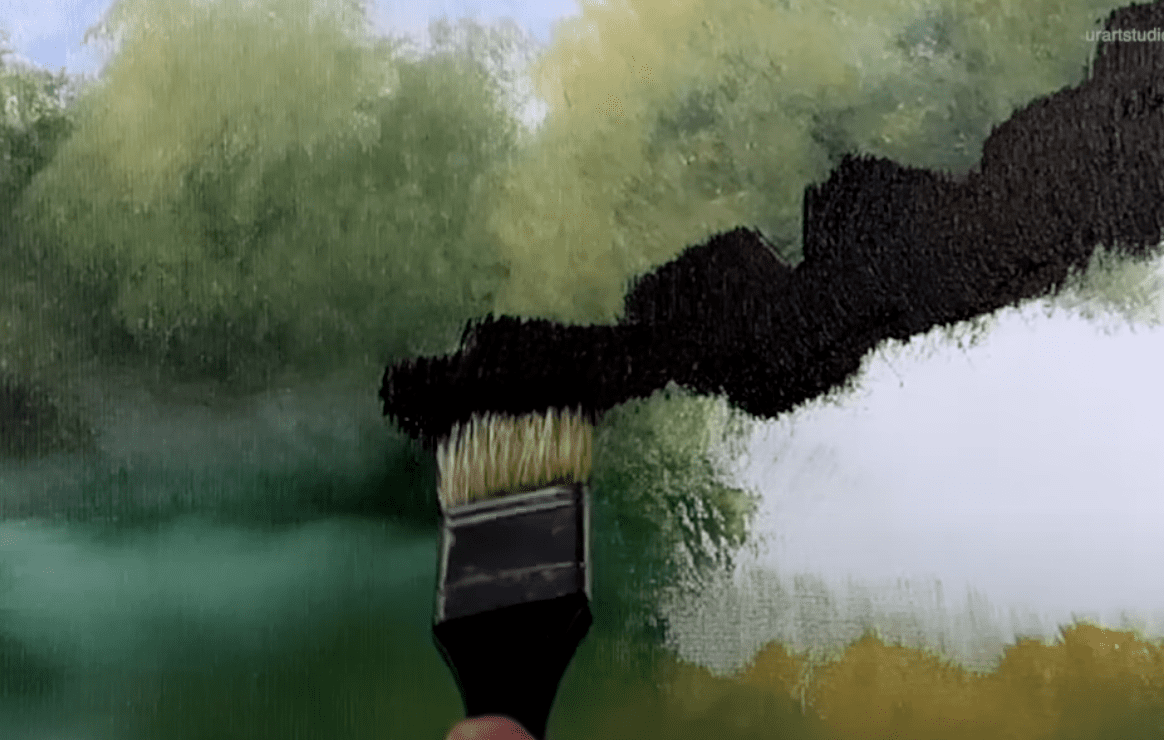
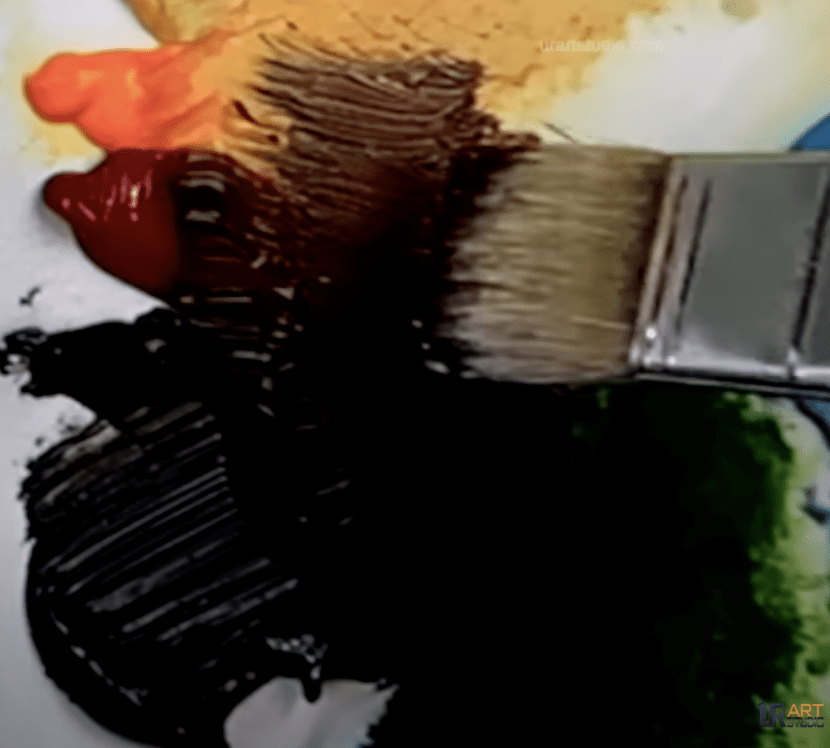
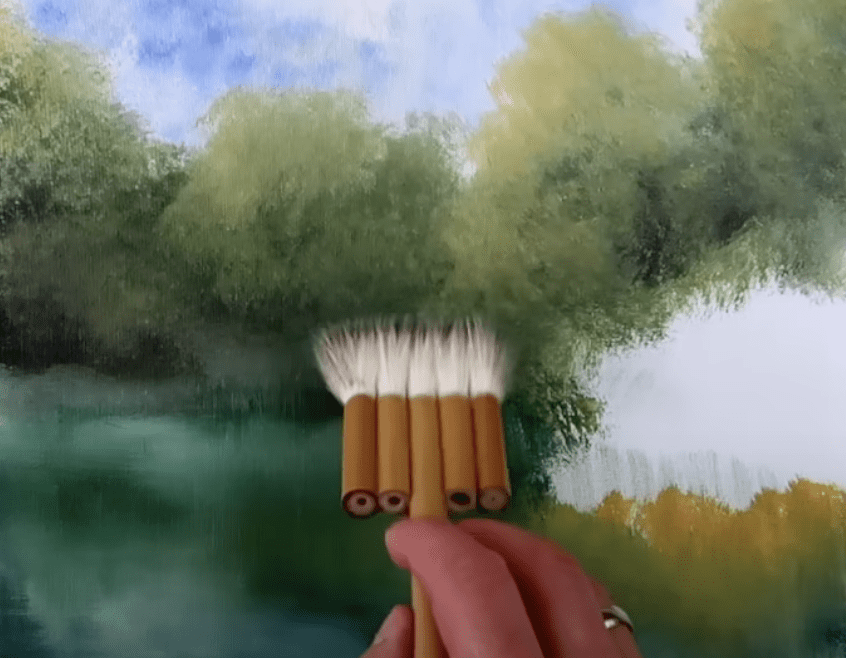
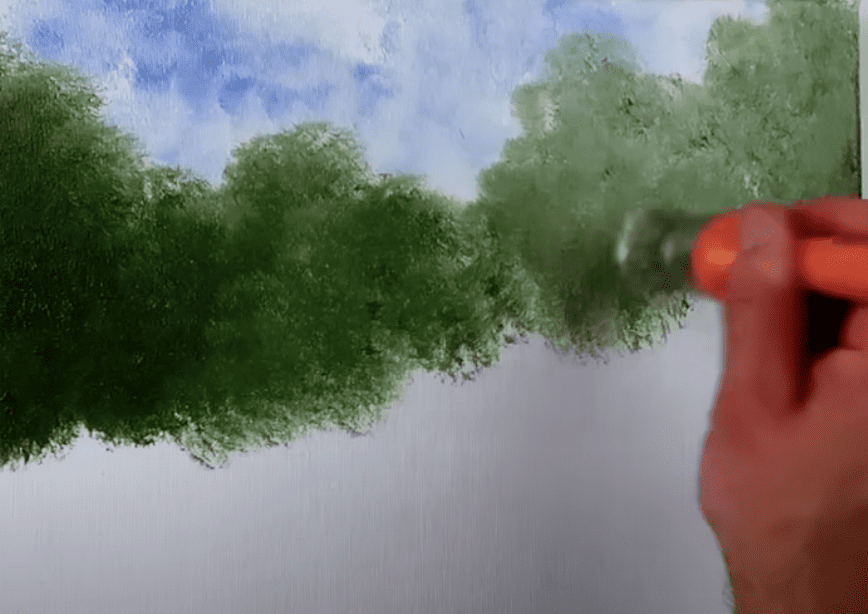
Transitioning to creating shadows for our tree line, we will intermingle black, brown, and green hues for a natural effect.
Remember, shadows precede highlights in painting to achieve a harmonious outcome.
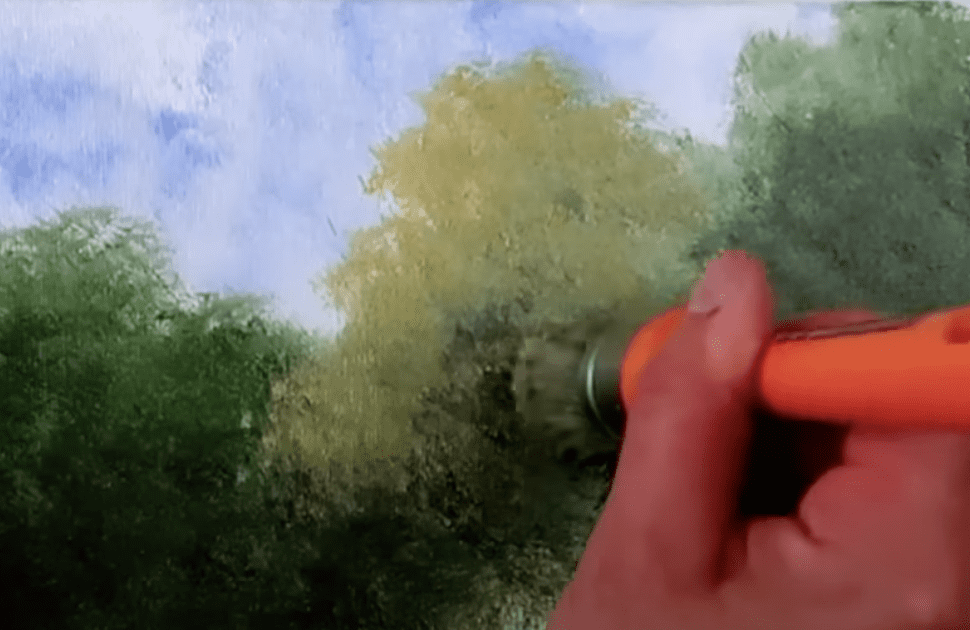
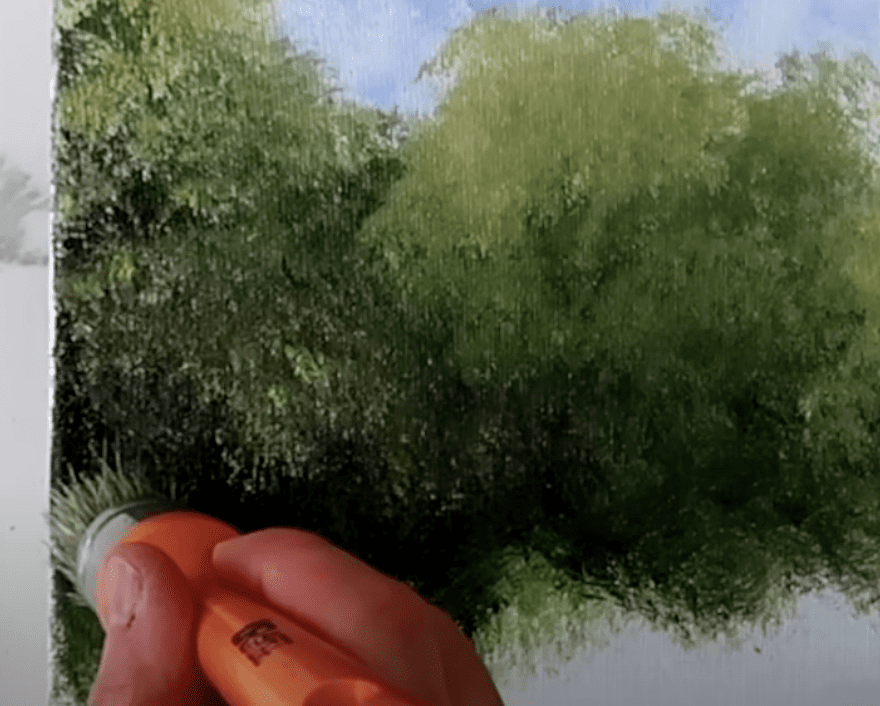
Dabbing accents of yellow mixed with white onto the wet paint, we gently highlight tree by tree, making our trees sparkle in the light of the sun.
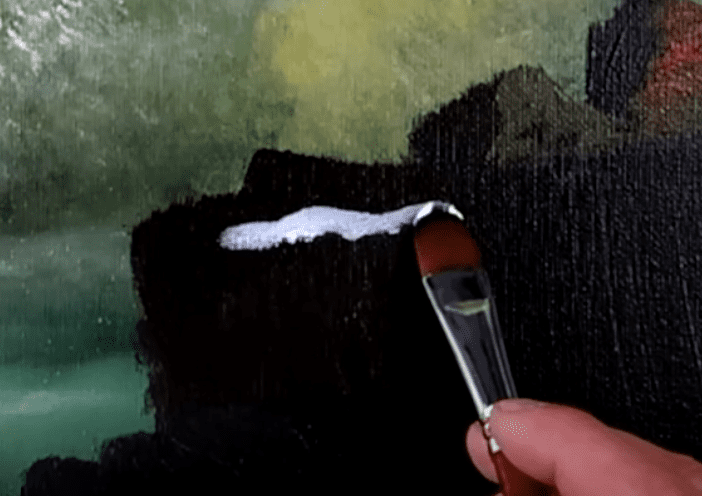
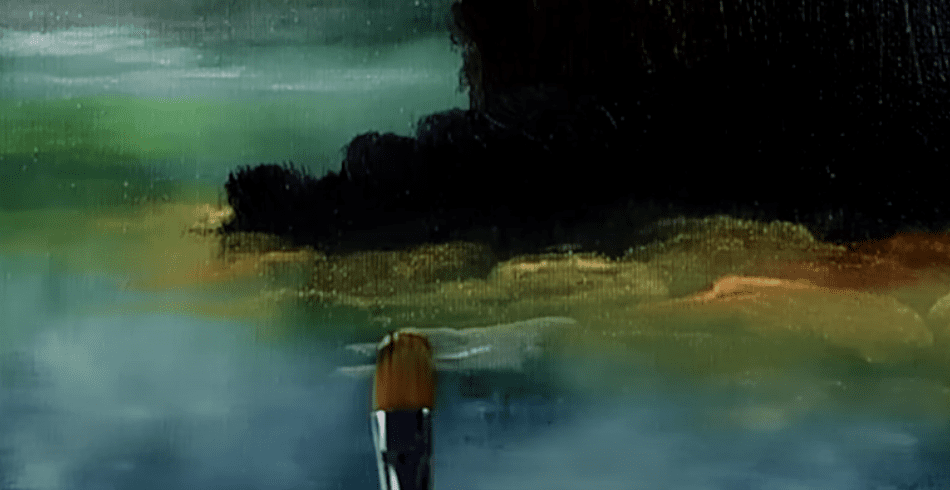
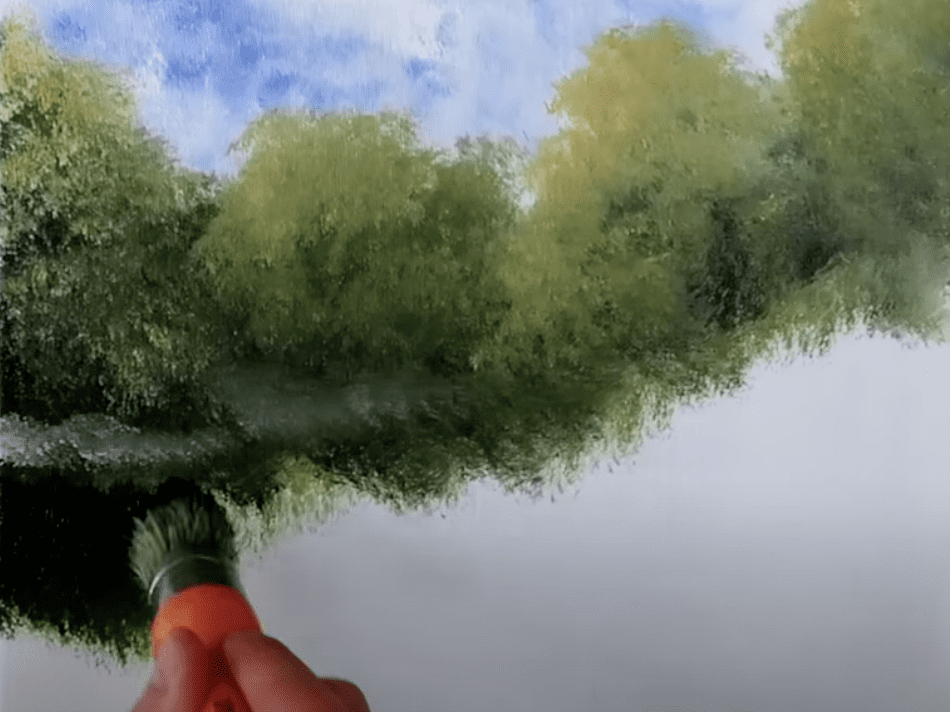
Next, we’ll delineate a distant shore beneath the trees using thin white line.
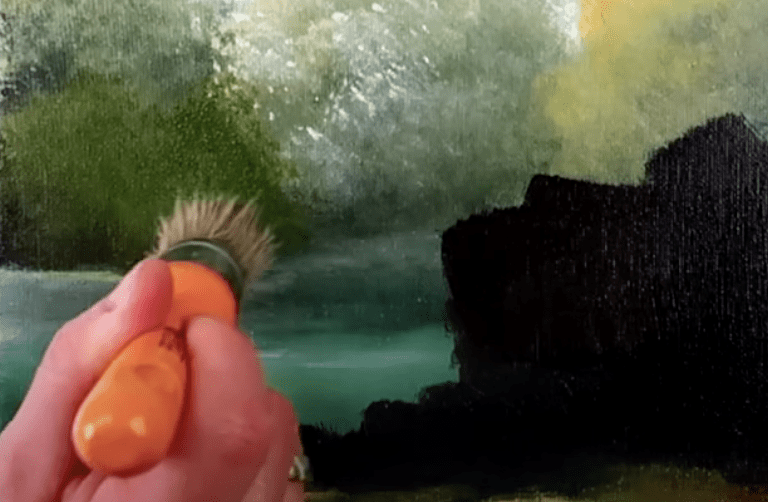
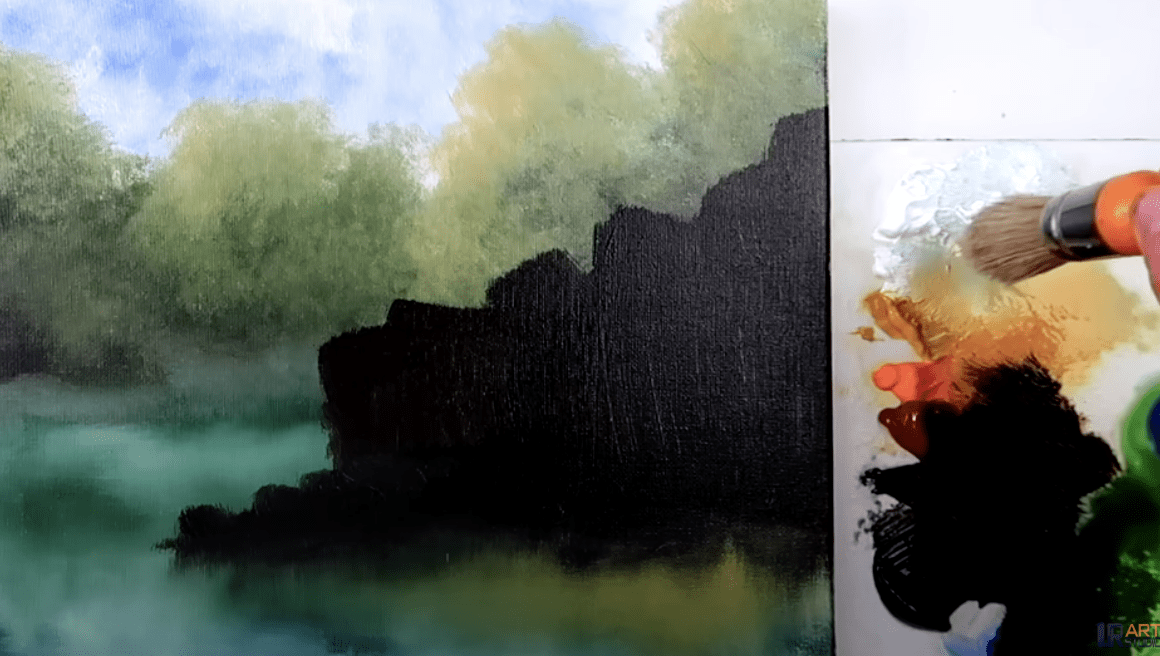
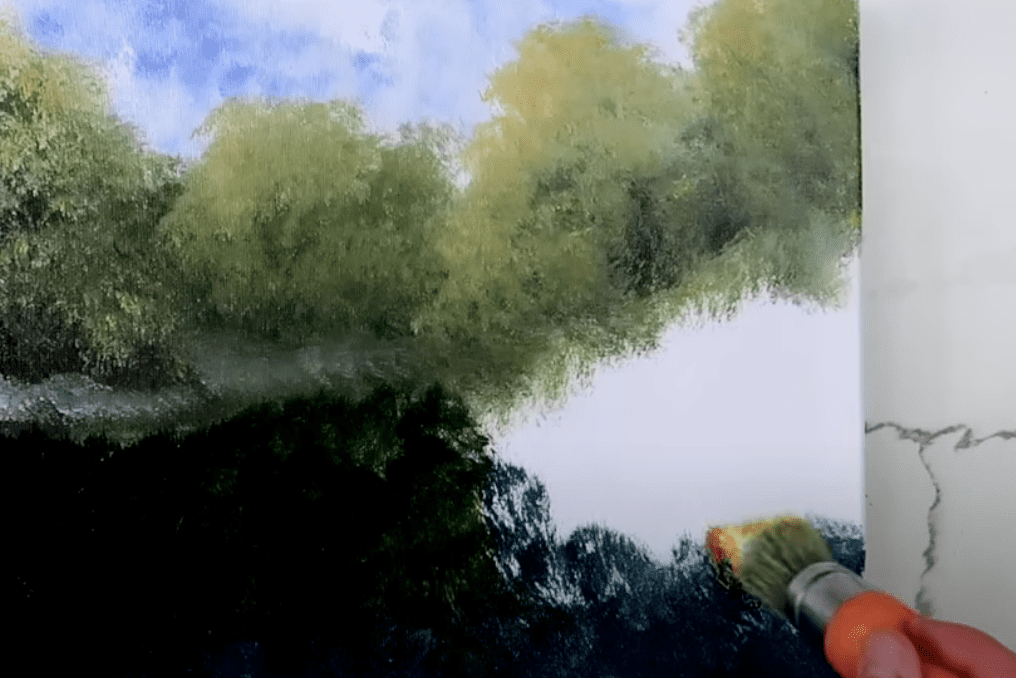
For the grand reveal of our ocean, a rich blend of dark colors like black, green, and blue will form the basis of the vast expanse.
It’s time to clean and refresh the big oval brush, preparing it for the next phase of painting.
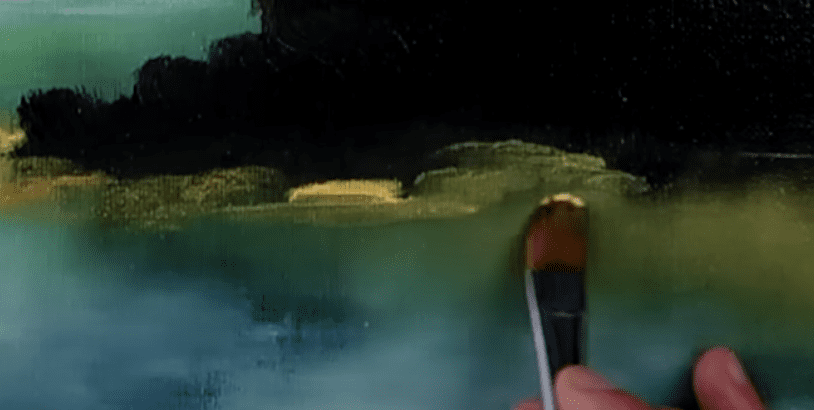
Integrating touches of yellow and white onto the big oval brush, we introduce these colors for our underwater rocks backdrop.
Reflecting the clouds in the water, a delicate touch of white is applied using a clean oval brush to preserve its luminosity.
Transitioning to the ultra soft blending brush, we softly merge the colors on the canvas to create a harmonious backdrop for our composition.
Now, onto the engaging segment of adding highlights and depth to our painting.
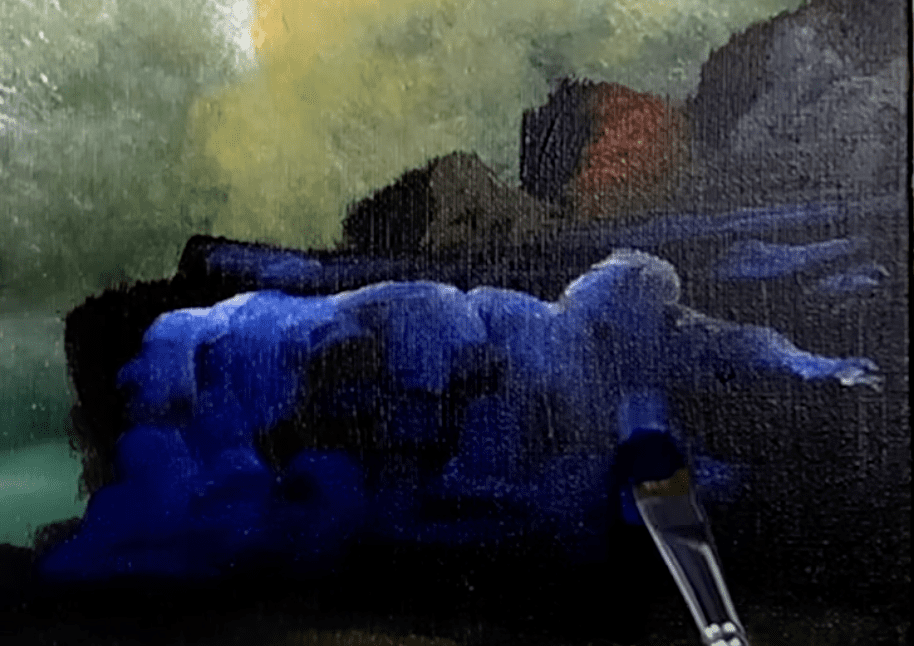
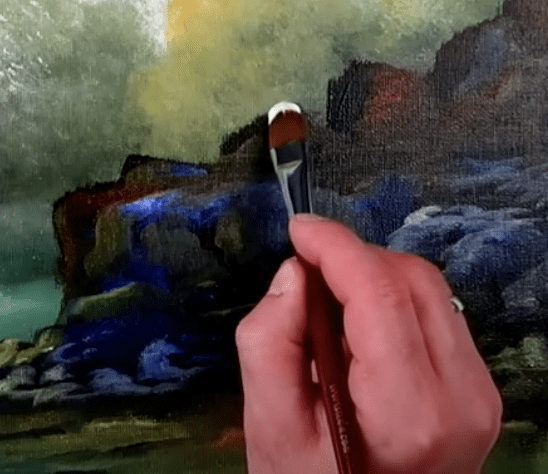
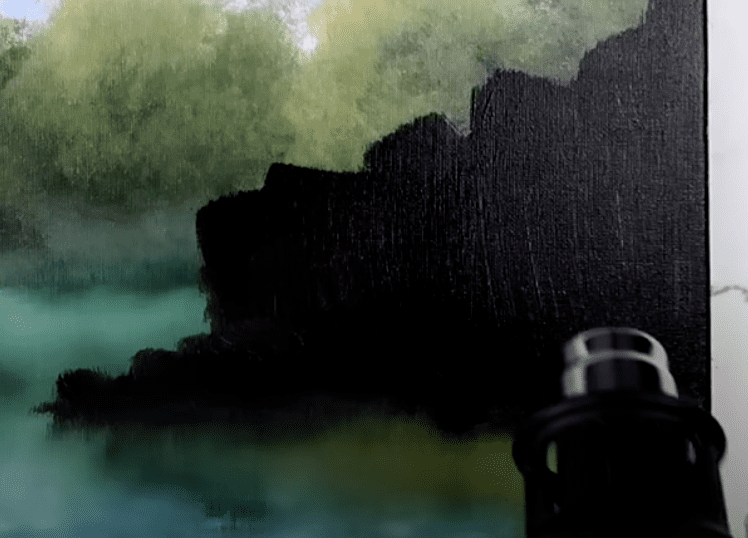
With the number 4 big square brush, we sculpt shadows for our rock formation.
Seamlessly blend the lower part into the water using clean ultrasoft blending brush.
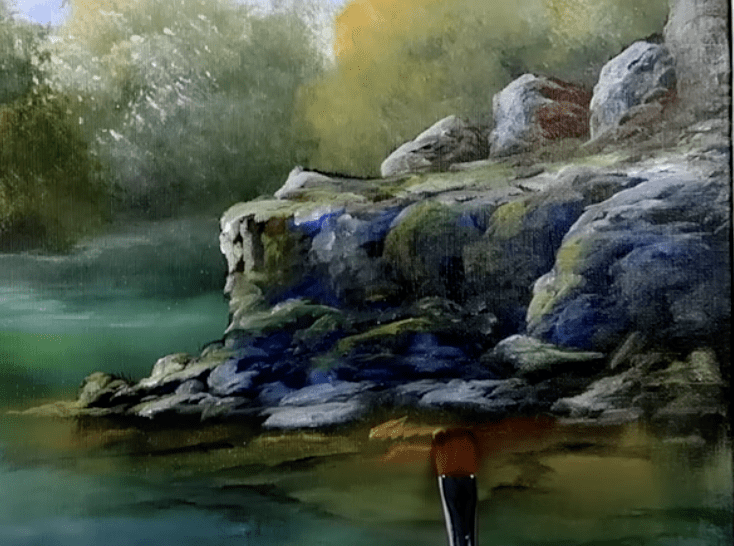
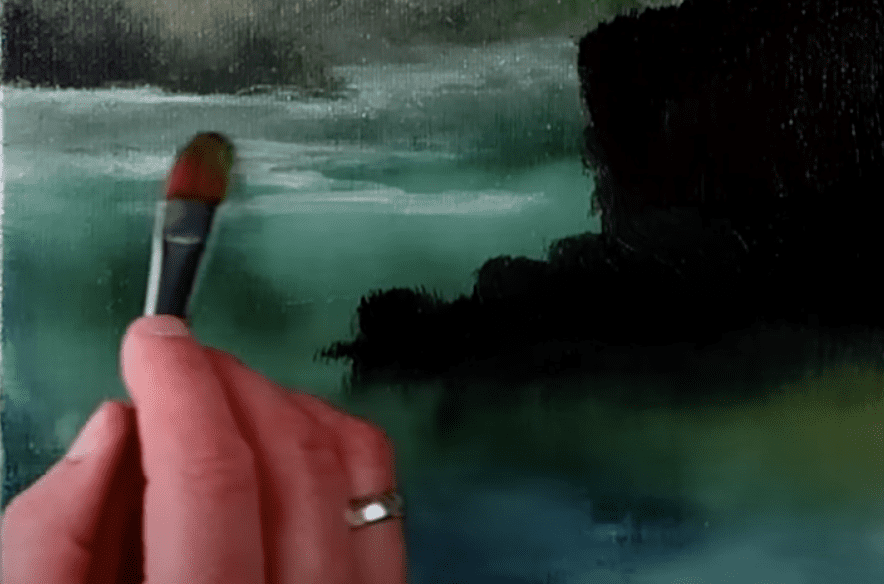
Let’s make our trees in the background to standout a little more and reflect some of that beautiful sunlight. Simply add a mixture of yellow and white on your big oval brush to our trees.
With our Filbert brush and light colors, a mixture of prussian green and white, let’s make our water shine by gently blending this highlight onto the water surface.
And let’s touch a few underwater stones with a mixutre of yellow and white.
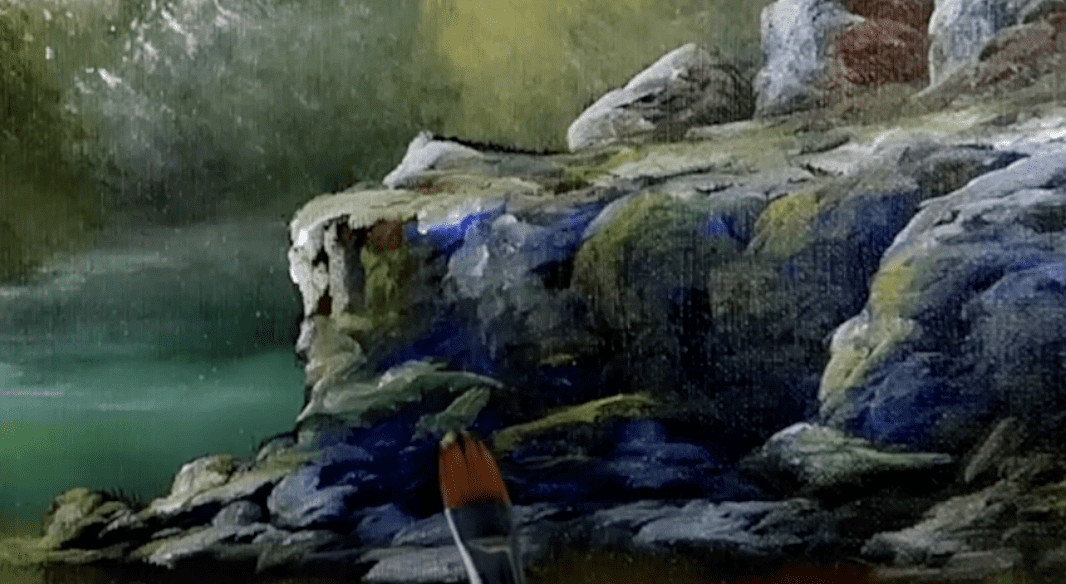
Introducing subtle variations in color by adding hints of white and Burnt Sienna to the mix, we craft a nuanced depiction of the underwater landscape.
By employing dark hues and using the same brush, we outline distinct shapes for the rocks, complementing the scenery and making our underwater rocks come to life.
Add a few glimpses of green seaweed in the to our underwater senery.
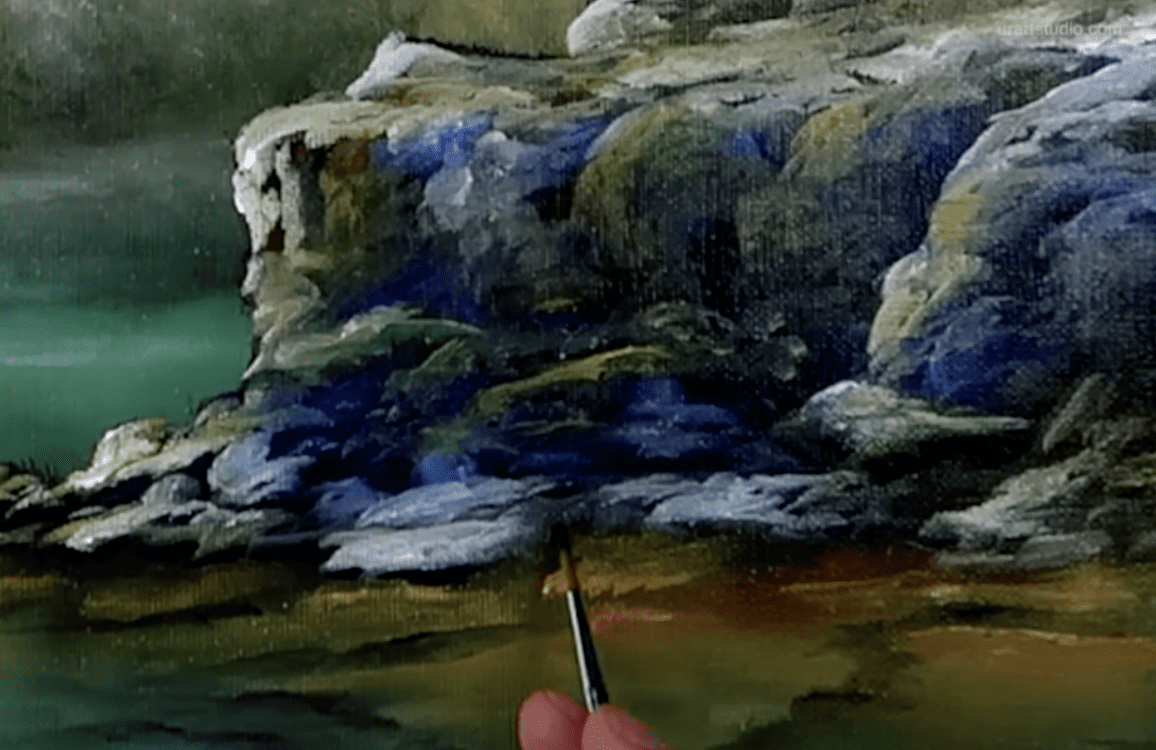
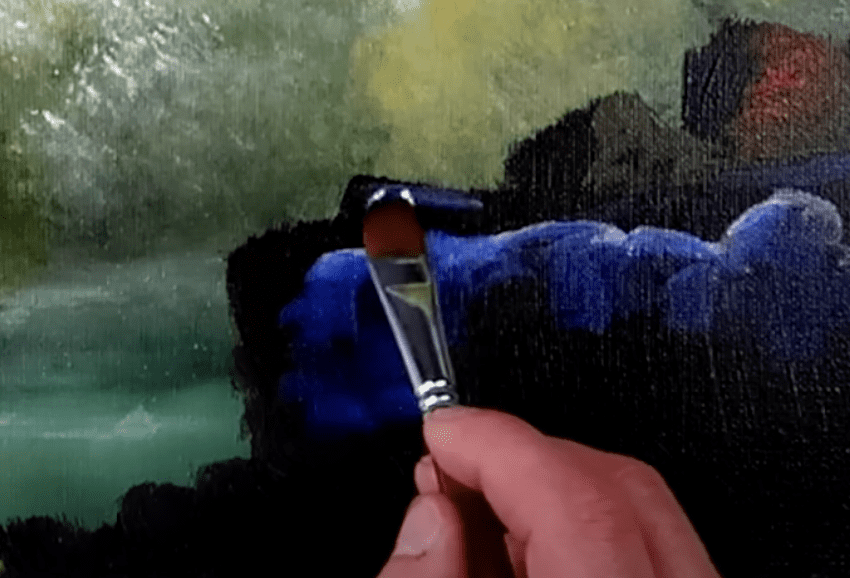
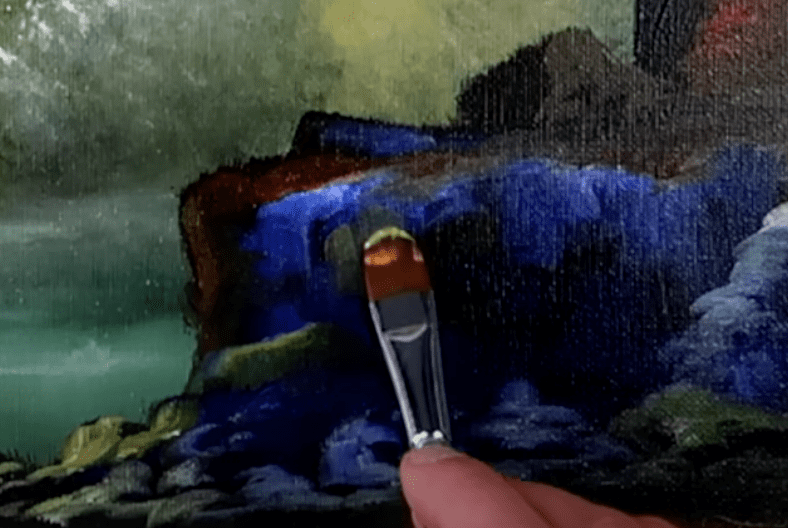
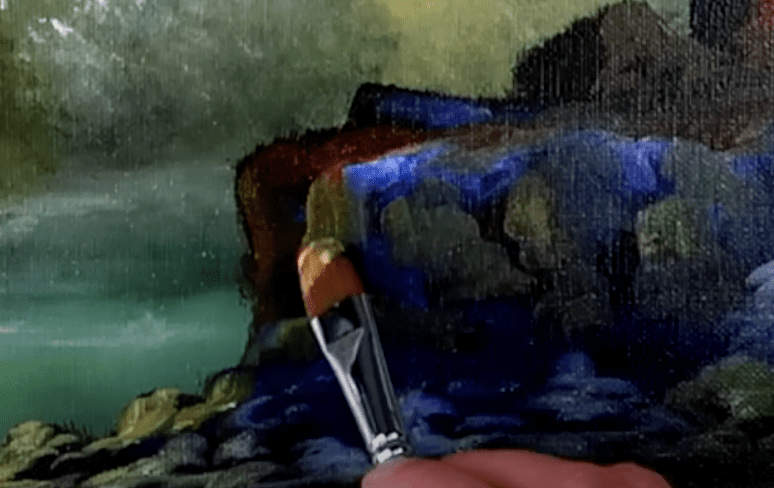
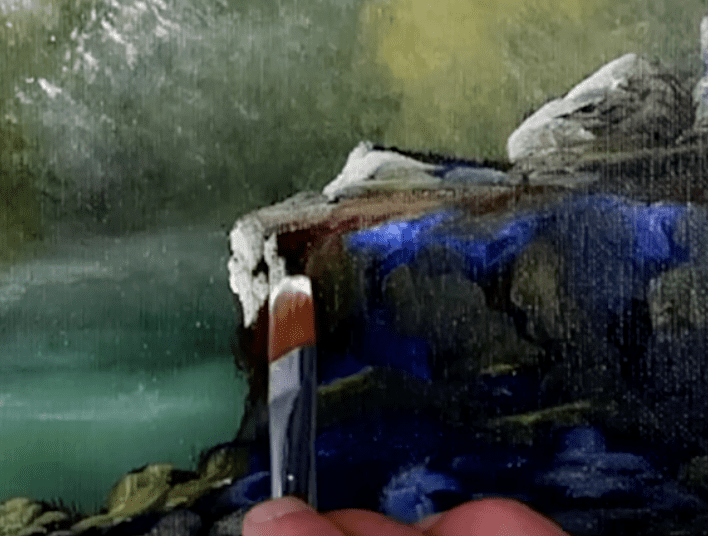
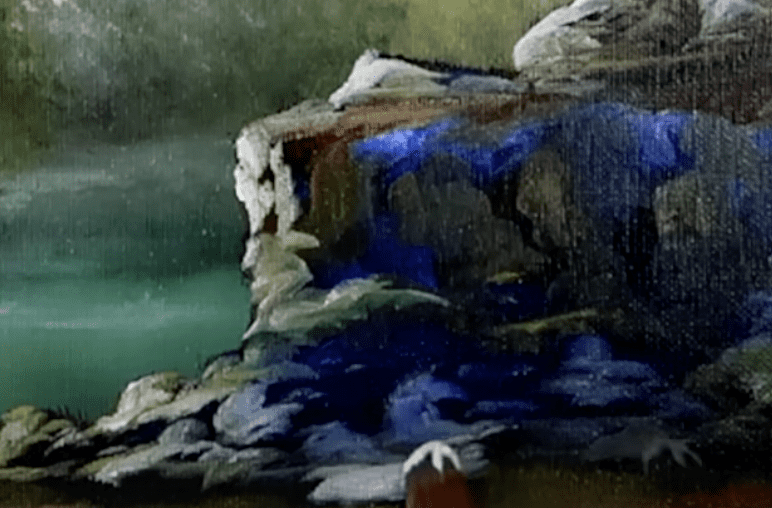
Exploring a spectrum of colors with the Filbert brush, predominantly infused with white, we accentuate the rock formation with captivating highlights and shapes.
From warm tones of burnt sienna and yellows to cooler shades of blue mixed with white, we create a dynamic interplay to enhance the rocks’ structure and form.
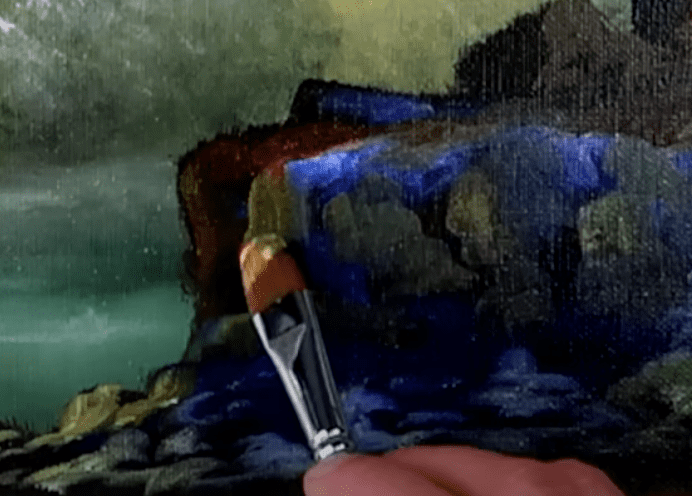
Finally, a fusion of yellow, white, and burnt Sienna hues applied to the underwater rocks adds depth, bringing the uppermost section of the rocks closer to the water’s surface.
Using a thin liner brush and black paint, we define the rocks’ outlines that meet the water surface, infusing our composition with distinctive character.
To conclude, sign your masterpiece, step back, and bask in the beauty you have created.
Until our next creative endeavor, keep painting and let your imagination soar.
Step-by-Step Guide to Creating a Breathtaking Rocky Cliff by the Ocean Painting:
- Prepare Your Canvas: Lightly dampen the canvas to maintain moisture for smooth acrylic paint application.
- Sky and Tree Highlights:
- Use the big oval brush with a mix of white and Prussian blue for the sky.
- Create tree shadows with a blend of black, brown, and green before adding highlights of yellow and white.
- Ocean and Shore Details:
- Define the distant shore with a thin white line.
- Build the ocean expanse with dark colors like black, green, and blue.
- Underwater Rocks and Cloud Reflections:
- Refresh the big oval brush and introduce touches of yellow and white for underwater rocks.
- Reflect clouds in the water using a delicate touch of white with a clean oval brush.
- Blending and Adding Highlights:
- Transition to the ultra-soft blending brush for a harmonious backdrop.
- Highlight trees with a mix of yellow and white, and enhance the water’s shine with a blend of prussian green and white.
- Enhancing Rock Formations and Detailing:
- Use the number 4 big square brush for sculpting shadows in the rock formation.
- Blend underwater elements using the ultrasoft blending brush and add vibrancy with a mixture of yellow and white for underwater stones.
- Creating Depth and Character:
- Incorporate variations in color with hints of white and Burnt Sienna to depict the underwater landscape.
- Define rocks with dark hues using the Filbert brush, adding accents of green seaweed to enhance the underwater scenery.
- Highlighting and Final Touches:
- Explore a range of colors with the Filbert brush, infusing highlights and shapes.
- Finish by blending warm and cool tones to enhance the rocks’ structure and form, bringing depth with a fusion of yellow, white, and burnt Sienna hues.
- Adding Distinctive Features and Finishing:
- Use a thin liner brush and black paint to outline rocks, infusing character into the composition.
- Sign your masterpiece, step back, and admire the beauty you’ve created, letting your imagination soar until your next creative adventure.


STEP BY STEP PAINTING INSTRUCTIONS AND NARRATED GUIDES FOR URARTSTUDIO.COM YOUTUBE ART VIDEO DEMONSTRATIONS

ART VIDEO STEP BY STEP VIDEO DEMONSTRATIONS AND ORIGINAL ART GALLERY BY URARTSTUDIO:
Welcome to the captivating world of URARTSTUDIO! Immerse yourself in the exquisite artistry and creativity with our step-by-step video demonstrations and exclusive original art gallery. Prepare to be spellbound as true mastery unfolds before your very eyes. Witness the artistic process come alive as our videos take you by the hand, guiding you through each brushstroke and technique. Discover the secret behind captivating compositions and the intricate details that make art truly mesmerizing. Our gallery proudly showcases a curated collection of unique and breathtaking artwork, where every piece tells a story and evokes powerful emotions. Journey with us and let your imagination take flight as URARTSTUDIO invites you to unravel the magic of art like never before.