Title: Painting with a Palette Cup: Explore Creative Techniques and Tips
Introduction:
Welcome to the wonderful world of painting with a palette cup! This unique technique offers artists an exciting way to express their creativity and explore new possibilities on canvas. Whether you’re a beginner or an experienced artist looking to add more texture and depth to your artwork, using a palette cup can bring a whole new dimension to your paintings. In this guide, we’ll delve into the step-by-step techniques and provide you with helpful tips to make the most out of your palette cup painting. For further inspiration and resources, don’t forget to visit our website at https://urartstudio.com.
Step 1: Gather Materials
Before you begin, make sure you have all the necessary materials. You will need a palette cup, which is a small container with a secure lid to hold your paint. Additionally, gather your preferred paints, brushes, palette knives, canvas, and any other tools you typically use for painting.
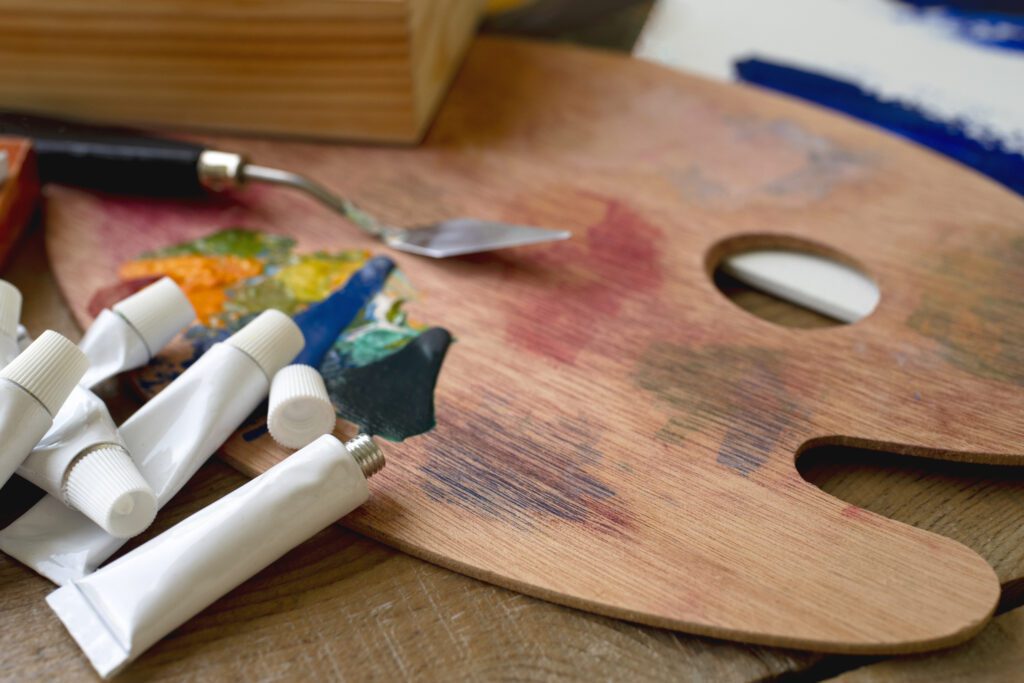
Step 2: Preparing the Palette Cup
Open the lid of your palette cup and choose the colors you want to work with. Squeeze a small amount of each color into the cup, ensuring that the paint is not overflowing. Try to select contrasting colors or hues that complement each other to create interesting color combinations.
Step 3: Mixing Colors
Using a palette knife or a brush, gently mix the colors inside the palette cup. This will create unique color blends and variations. Experiment with different mixing techniques to achieve the desired effects. Be mindful not to overmix the colors, as you want to maintain distinct color strokes when applying the paint.
Step 4: Load the Palette Cup
Dip a palette knife or brush into the mixed paint in the cup and load it with a generous amount. Make sure the paint is evenly distributed on the tool’s tip, allowing you to have better control when applying it to the canvas.
Step 5: Applying the Paint
Now comes the fun part! Start by dabbing or pressing the loaded palette cup onto the canvas. The pressure you apply will determine the texture and thickness of the paint on the canvas. Experiment with different pressure levels and angles to create various effects.
Step 6: Layering and Building Texture
To add more depth and texture to your painting, layer the paint by applying additional strokes with the palette cup. You can create a variety of textures by overlapping strokes, changing the direction, or using different paint consistencies. Remember to let each layer dry before adding the next to avoid muddying the colors.
Step 7: Removing Excess Paint
If you want to remove excess paint from the palette cup, gently wipe it with a cloth or paper towel. This allows you to control the amount of paint on the cup and achieve different effects as you work.
Step 8: Cleaning the Palette Cup
After completing your painting session, ensure you clean the palette cup thoroughly. Use water or an appropriate cleaning solution to remove any remaining paint. Keeping your tools clean will help maintain their longevity and ensure the quality of your future artwork.
Helpful Ideas for Artists:
- Experiment with different sizes and shapes of palette cups to expand your creative options.
- Combine palette cup painting with other techniques, such as brushwork or palette knife strokes, to create intriguing mixed-media effects.
- Play with various textures by using different objects in place of a palette cup, such as a sponge, crumpled paper, or even a toothbrush.
Conclusion:
Painting with a palette cup opens up a world of possibilities for artists to explore texture, depth, and unique color blends. By following these step-by-step techniques and embracing experimentation, you can create captivating artworks that reflect your artistic vision. Remember, practice and patience are key to mastering any new technique. For more inspiration and valuable resources, make sure to visit our website at https://urartstudio.com. Happy painting!