Title: Mastering the Sandpaper Technique: A Comprehensive Guide
Introduction:
Welcome to the world of the sandpaper technique! In this guide, we will delve into a detailed exploration of this unique artistic approach that can add texture, depth, and visual interest to your paintings. Whether you are a beginner or an experienced artist, this guide will take you through step-by-step techniques, helpful tips, and creative ideas to enhance your understanding and mastery of the sandpaper technique. Don’t forget to explore more free resources on our website at https://urartstudio.com to further enrich your artistic journey.
Step-by-Step Techniques:
- Gather Materials:
- Sandpaper: Choose various grits, such as fine, medium, and coarse, depending on the level of texture you desire.
- Surface: Select a firm substrate, like canvas, wood, or board.
- Paints: Acrylic or oil paints work well for this technique.
- Brushes: Have a variety of brushes with different bristle types and sizes for a versatile application.
- Prepare the Surface:
- Clean the surface to ensure there are no dust particles or debris.
- Apply a base color: Start with a solid layer of paint or a colored ground to provide a contrasting background for the sandpaper textured areas.
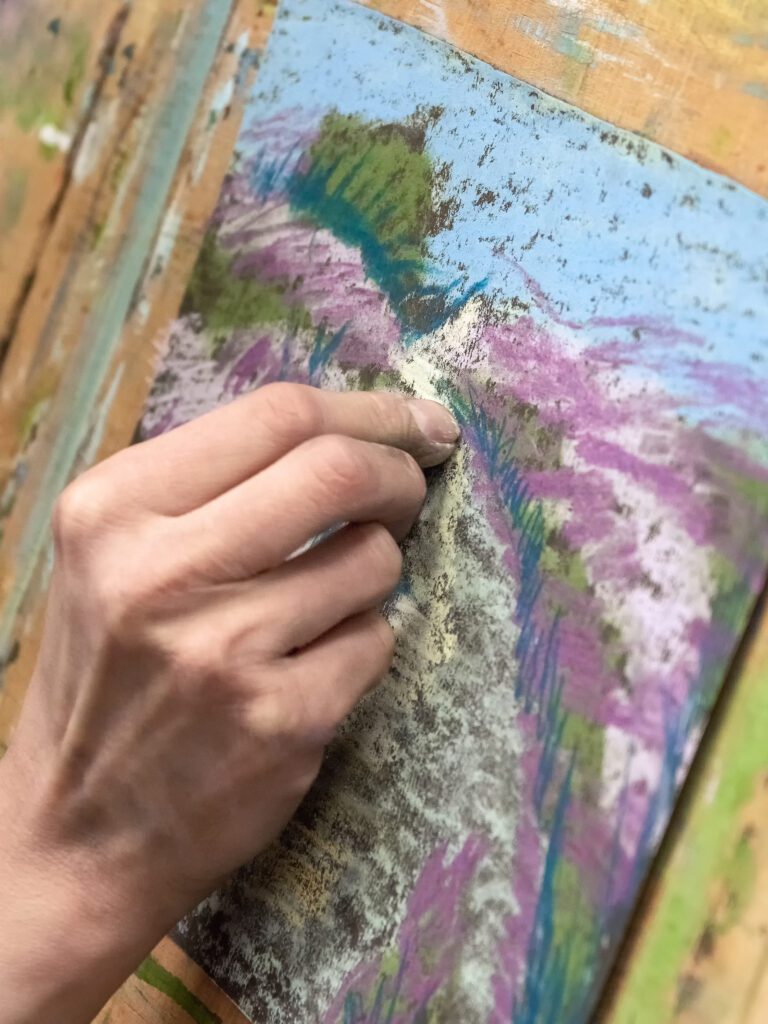
- Create the Sandpaper Textures:
- Experiment with the sandpaper: Tear it into various shapes or sizes to achieve different surface patterns.
- Attach sandpaper to a support: Use adhesive or tape to affix the sandpaper pieces onto a spare board or palette.
- Apply paint on the sandpaper: Select colors that complement or contrast with your base color. Use a brush or palette knife to apply paint directly onto the sandpaper.
- Transfer the Textures to the Painting:
- Press the sandpaper onto the prepared surface: Place the painted side of the sandpaper against the canvas and gently press it down.
- Experiment with pressure and movement: Vary how firmly you press and rub the sandpaper against the surface to control the level of texture and pattern.
- Lift the sandpaper carefully: Peel it off slowly to reveal the textured impressions left on the canvas.
- Refine and Enhance:
- Use additional painting techniques: Incorporate other brushwork, palette knife strokes, or glazing over the textured areas to further develop the painting.
- Experiment with additional layers: Apply similar or contrasting colors over the textured areas to add depth and complexity.
- Fine-tune the details: Add highlights, shadows, or intricate brushwork to enhance the overall composition.

Helpful Tips and Ideas:
- Practice on a separate surface: Before applying the sandpaper technique to your final piece, experiment on a practice painting to familiarize yourself with the process and refine your technique.
- Vary the sandpaper types and sizes: Combine different grits and shapes of sandpaper to create a multitude of textures and effects.
- Explore different paint effects: Experiment with transparent or translucent paints, glazes, or metallic mediums to amplify the visual impact of the sandpaper textures.
- Explore mixed media: Combine the sandpaper technique with other mediums, such as collage, ink, or pastels, to create dynamic and multi-dimensional artworks.
Remember, mastering the sandpaper technique requires patience, experimentation, and practice. Embrace the unexpected results and allow your creativity to guide you. And, if you’re seeking further inspiration and knowledge, be sure to browse through more free resources on our website at https://urartstudio.com. Happy creating!